How to Build a Dynamic Popup for JetEngine Listings
Let’s discover how to build a dynamic pop-up to work with JetEngine listings.
The JetPopup plugin lets you pull out the data from JetEngine listings within a pop-up. This tutorial will teach you how to display dynamic data inside the created pop-up.
Build a Popup
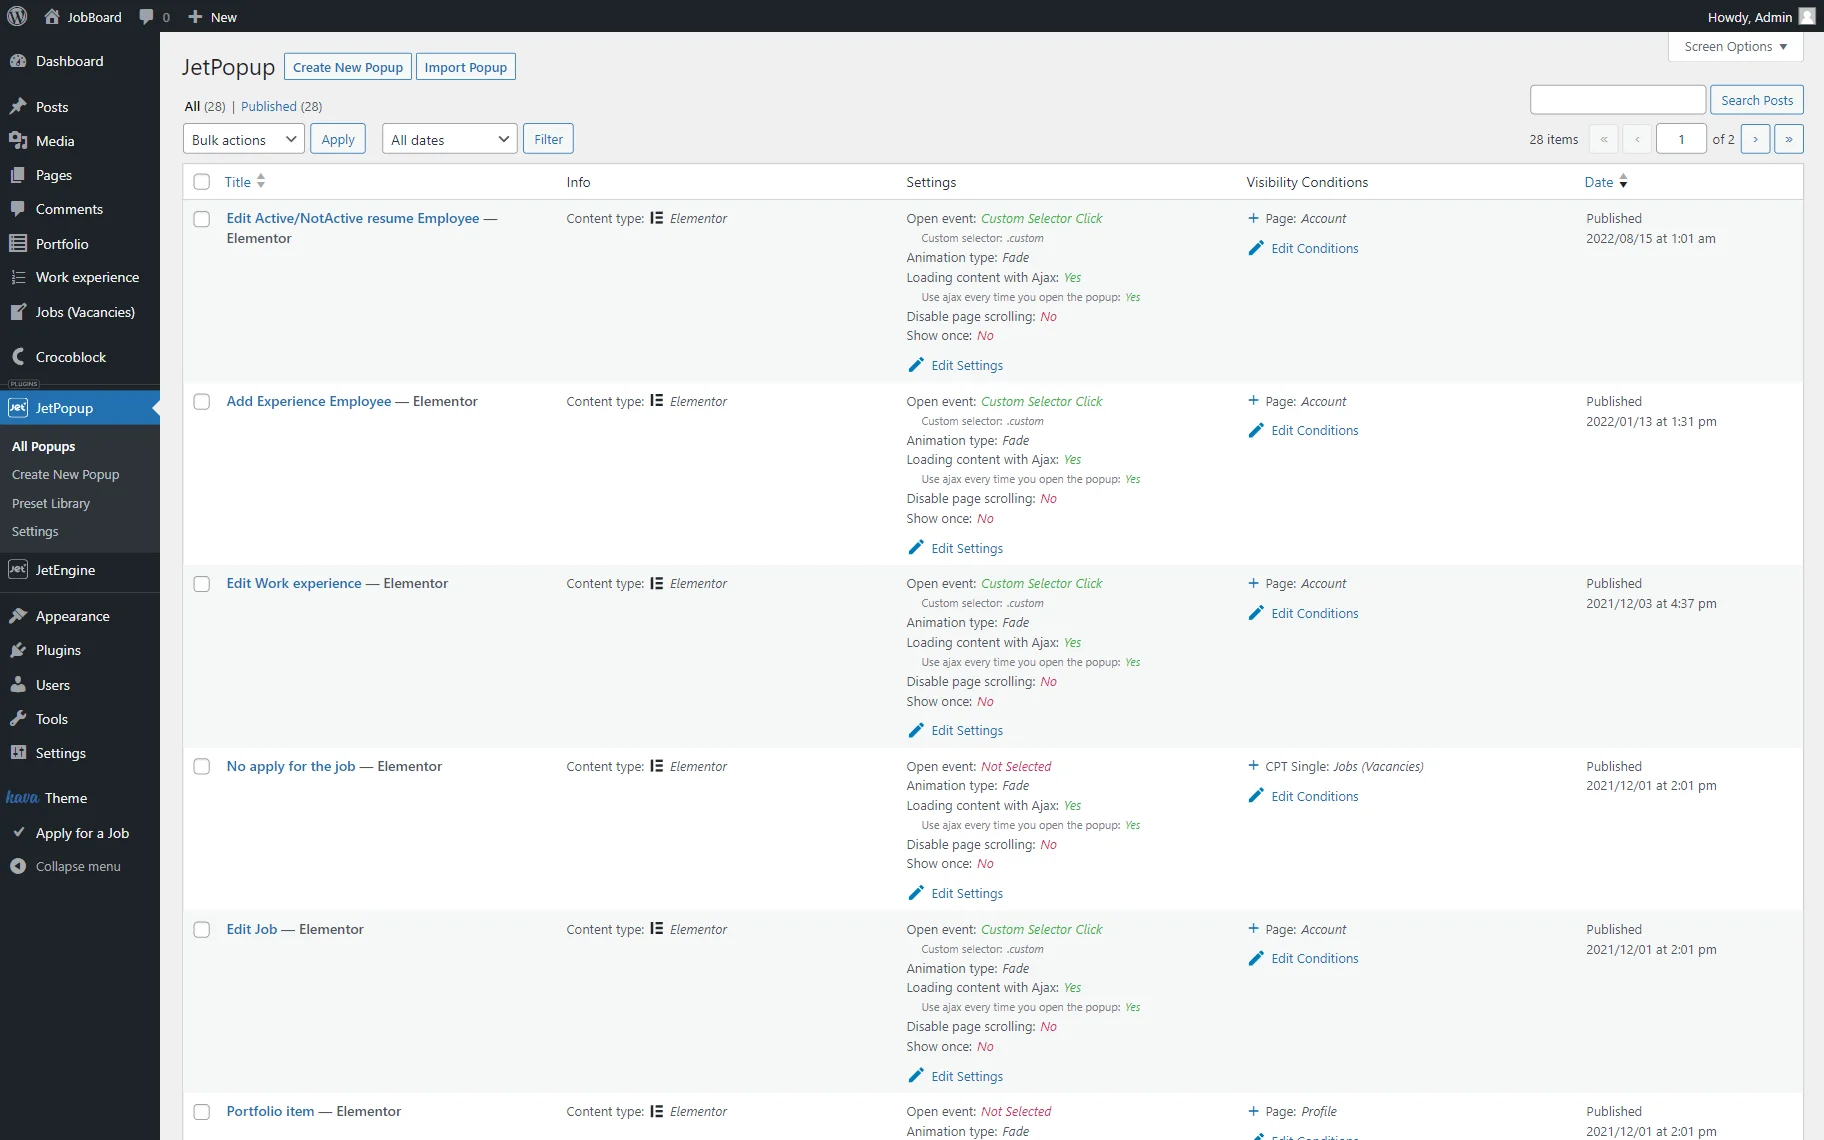
Proceed to the WordPress Dashboard > JetPopup > All Popups block. Press the “Create New Popup” button to build a new pop-up.
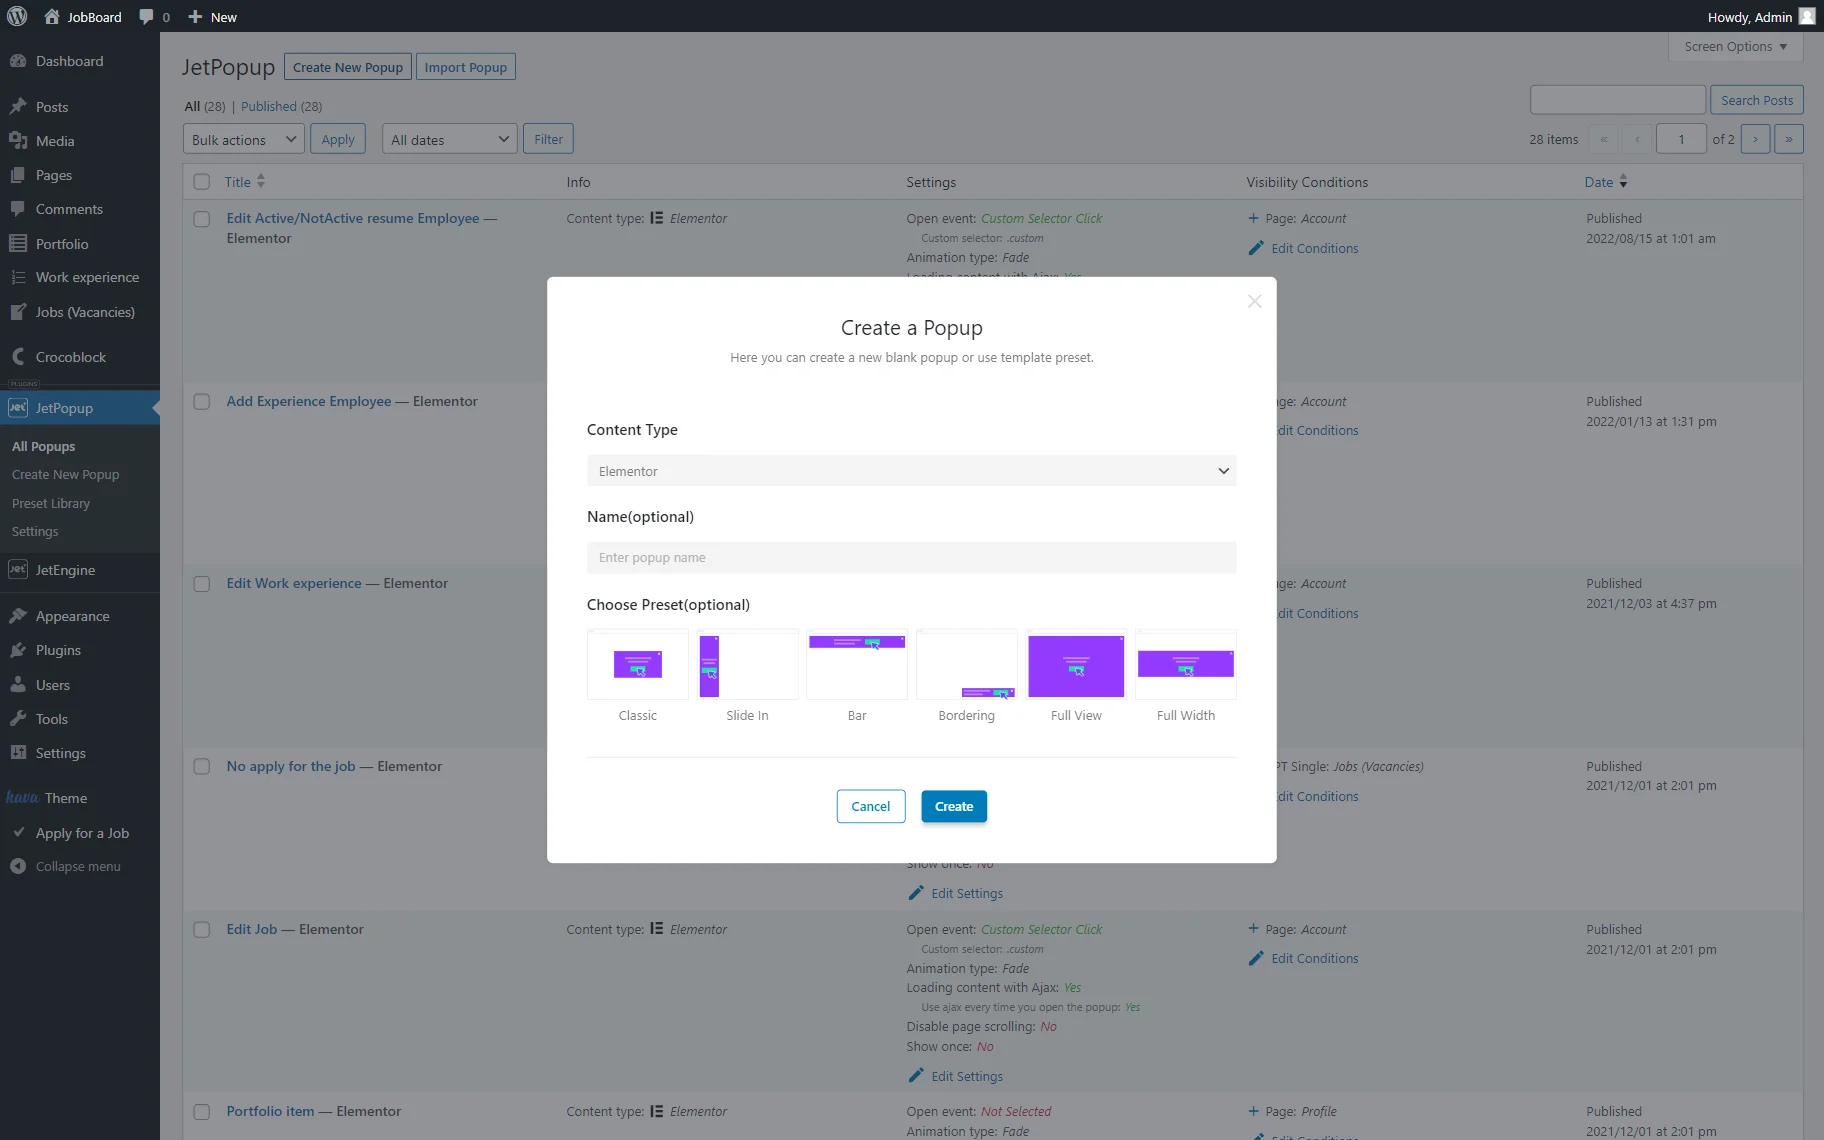
Choose the Content Type option and complete the Name field if desired. If this field is left empty, the name will be generated automatically.
Select the layout preset, and click the “Create” button.
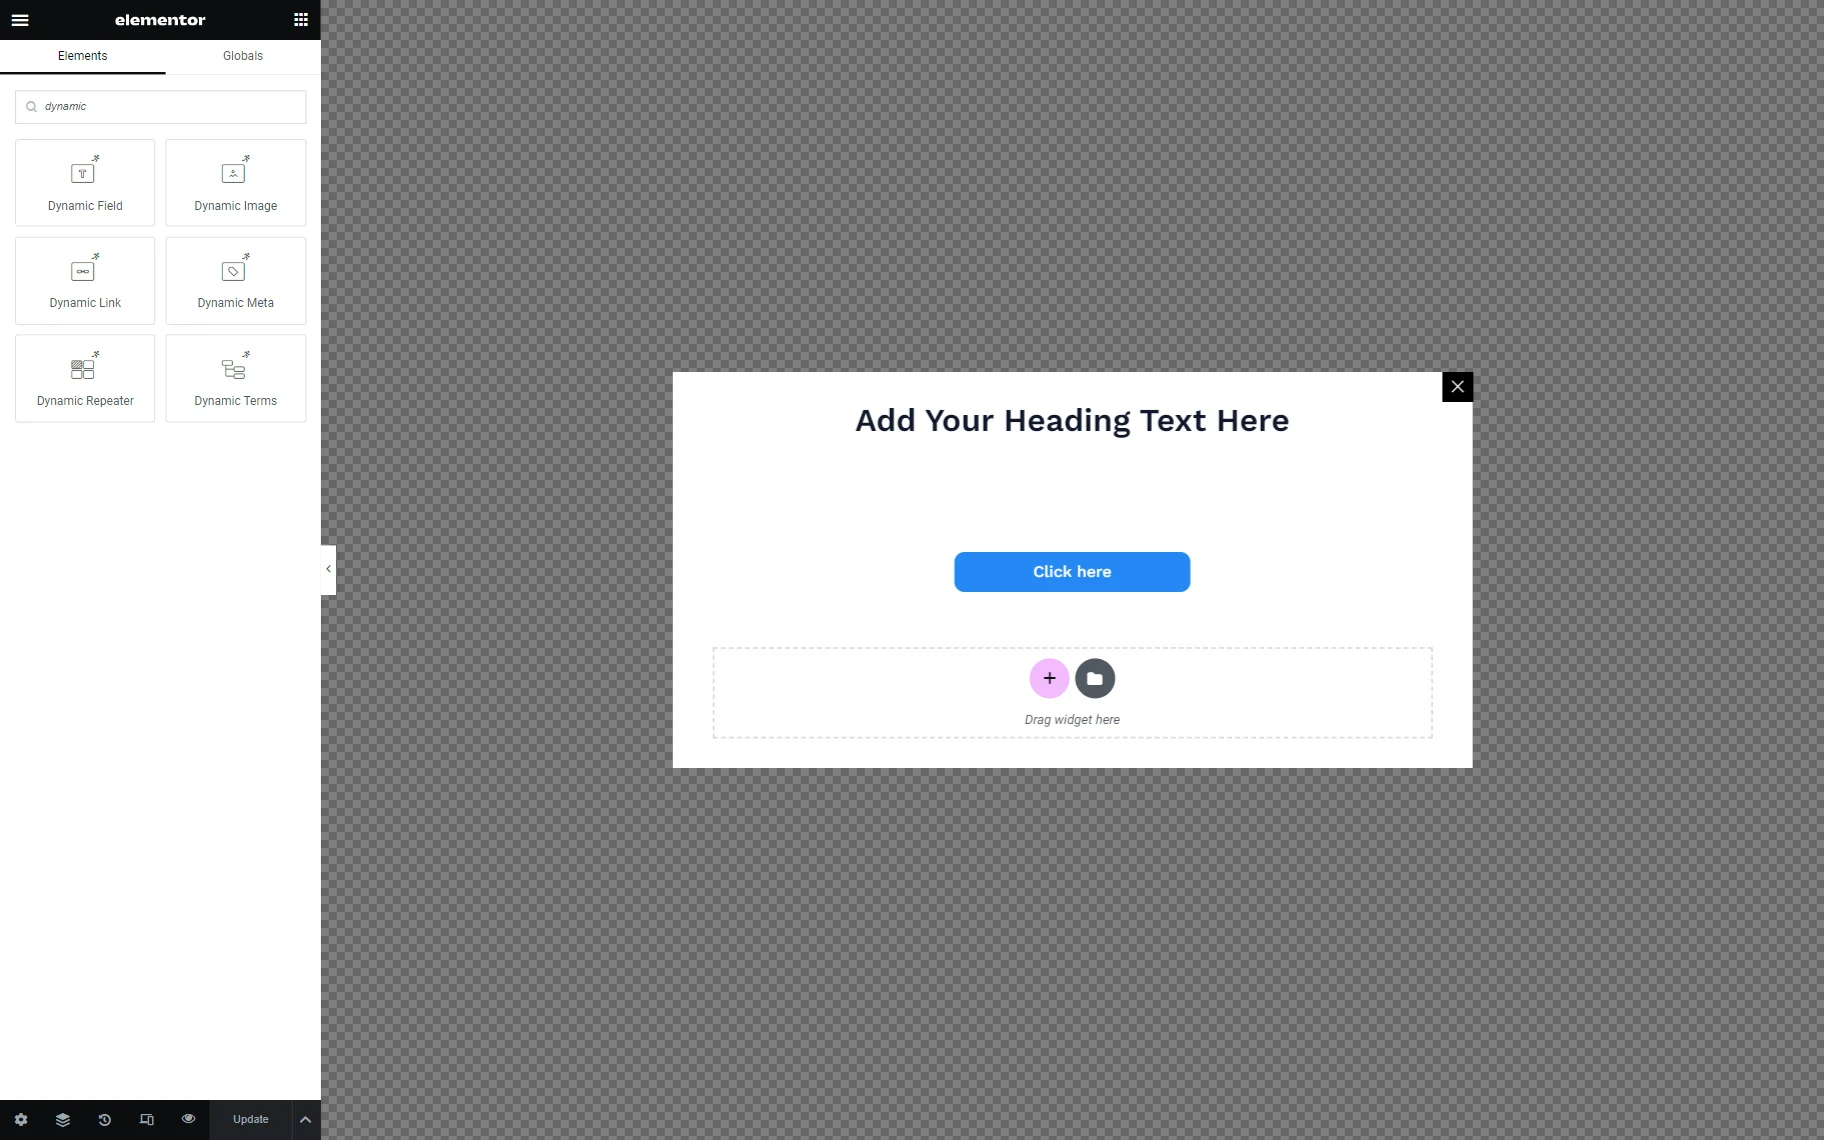
Now, delete the default fields if they are not needed.
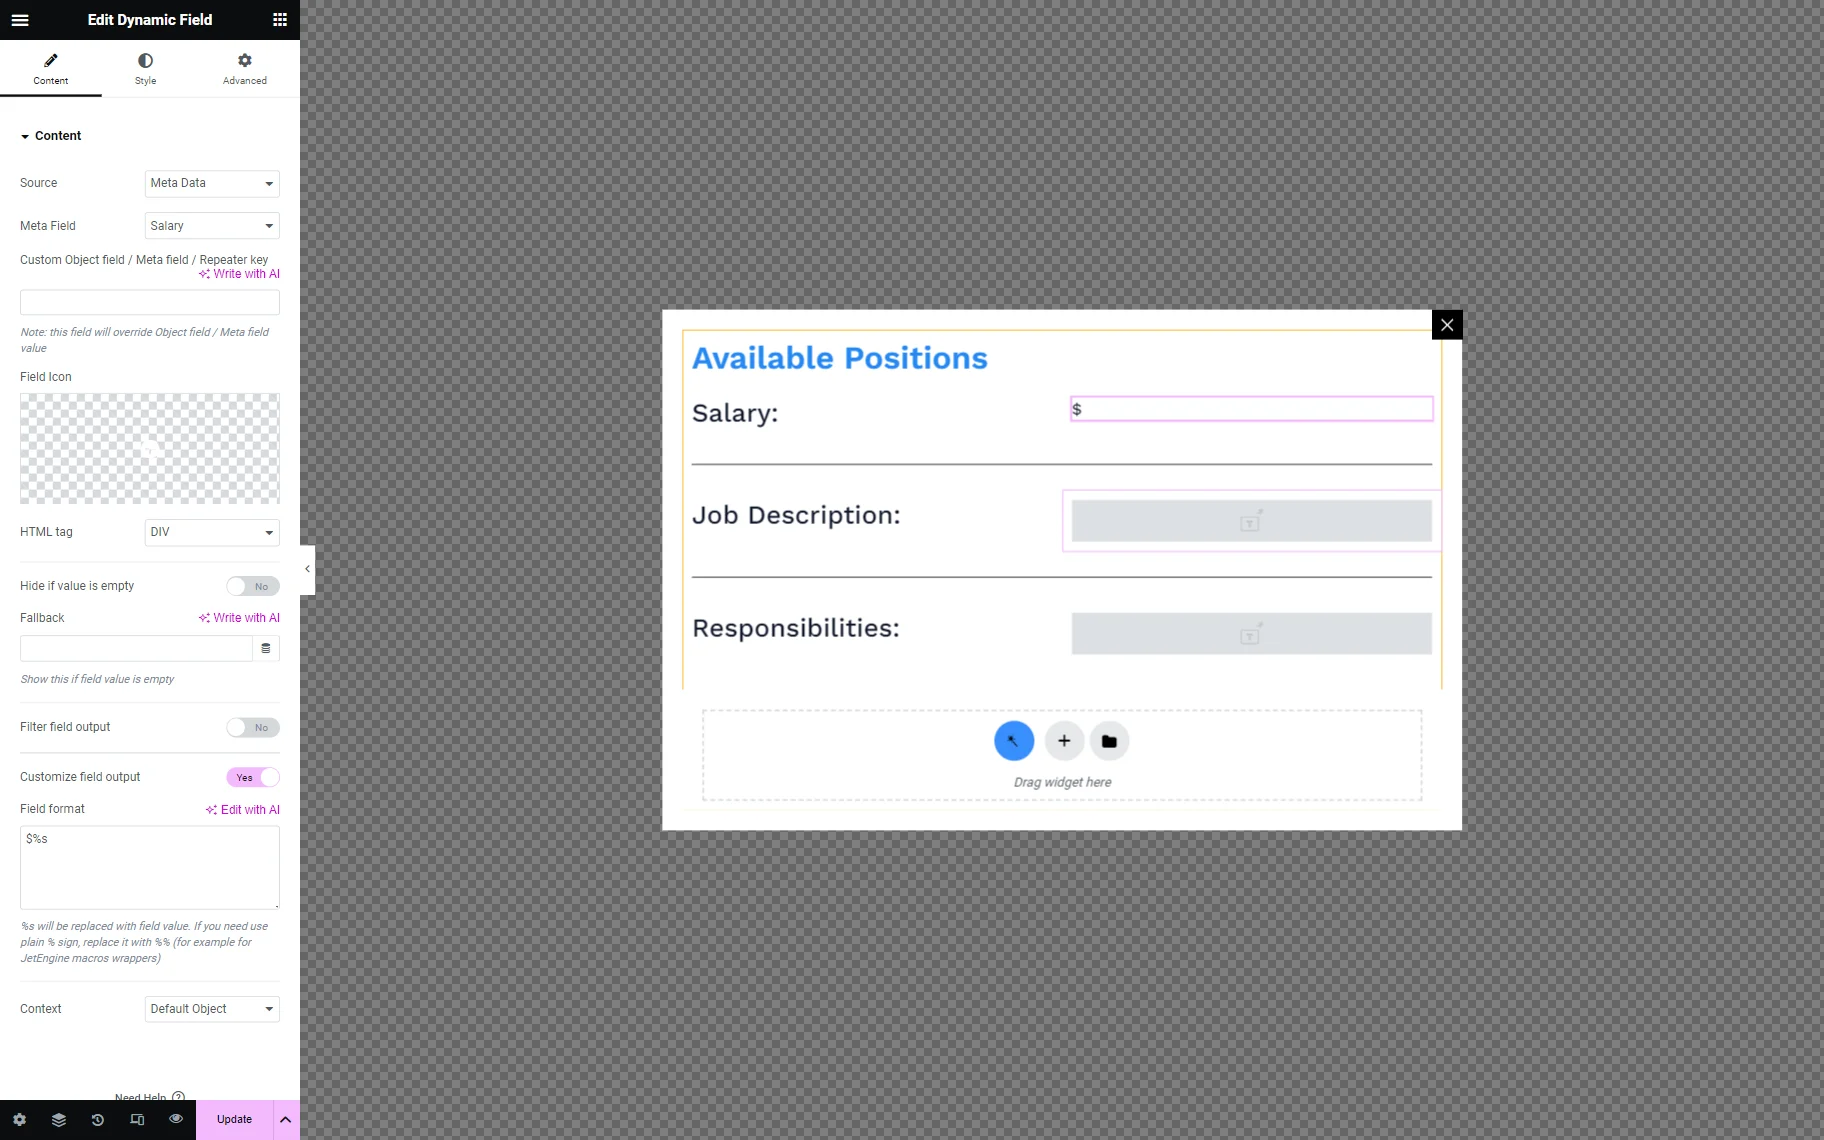
In the search bar, find dynamic widgets and place the desired ones on the page. For instance, it can be Dynamic Image to display a thumbnail of the custom post, Dynamic Field to showcase the title of the post and some metadata, Dynamic Terms to show attached categories, etc.
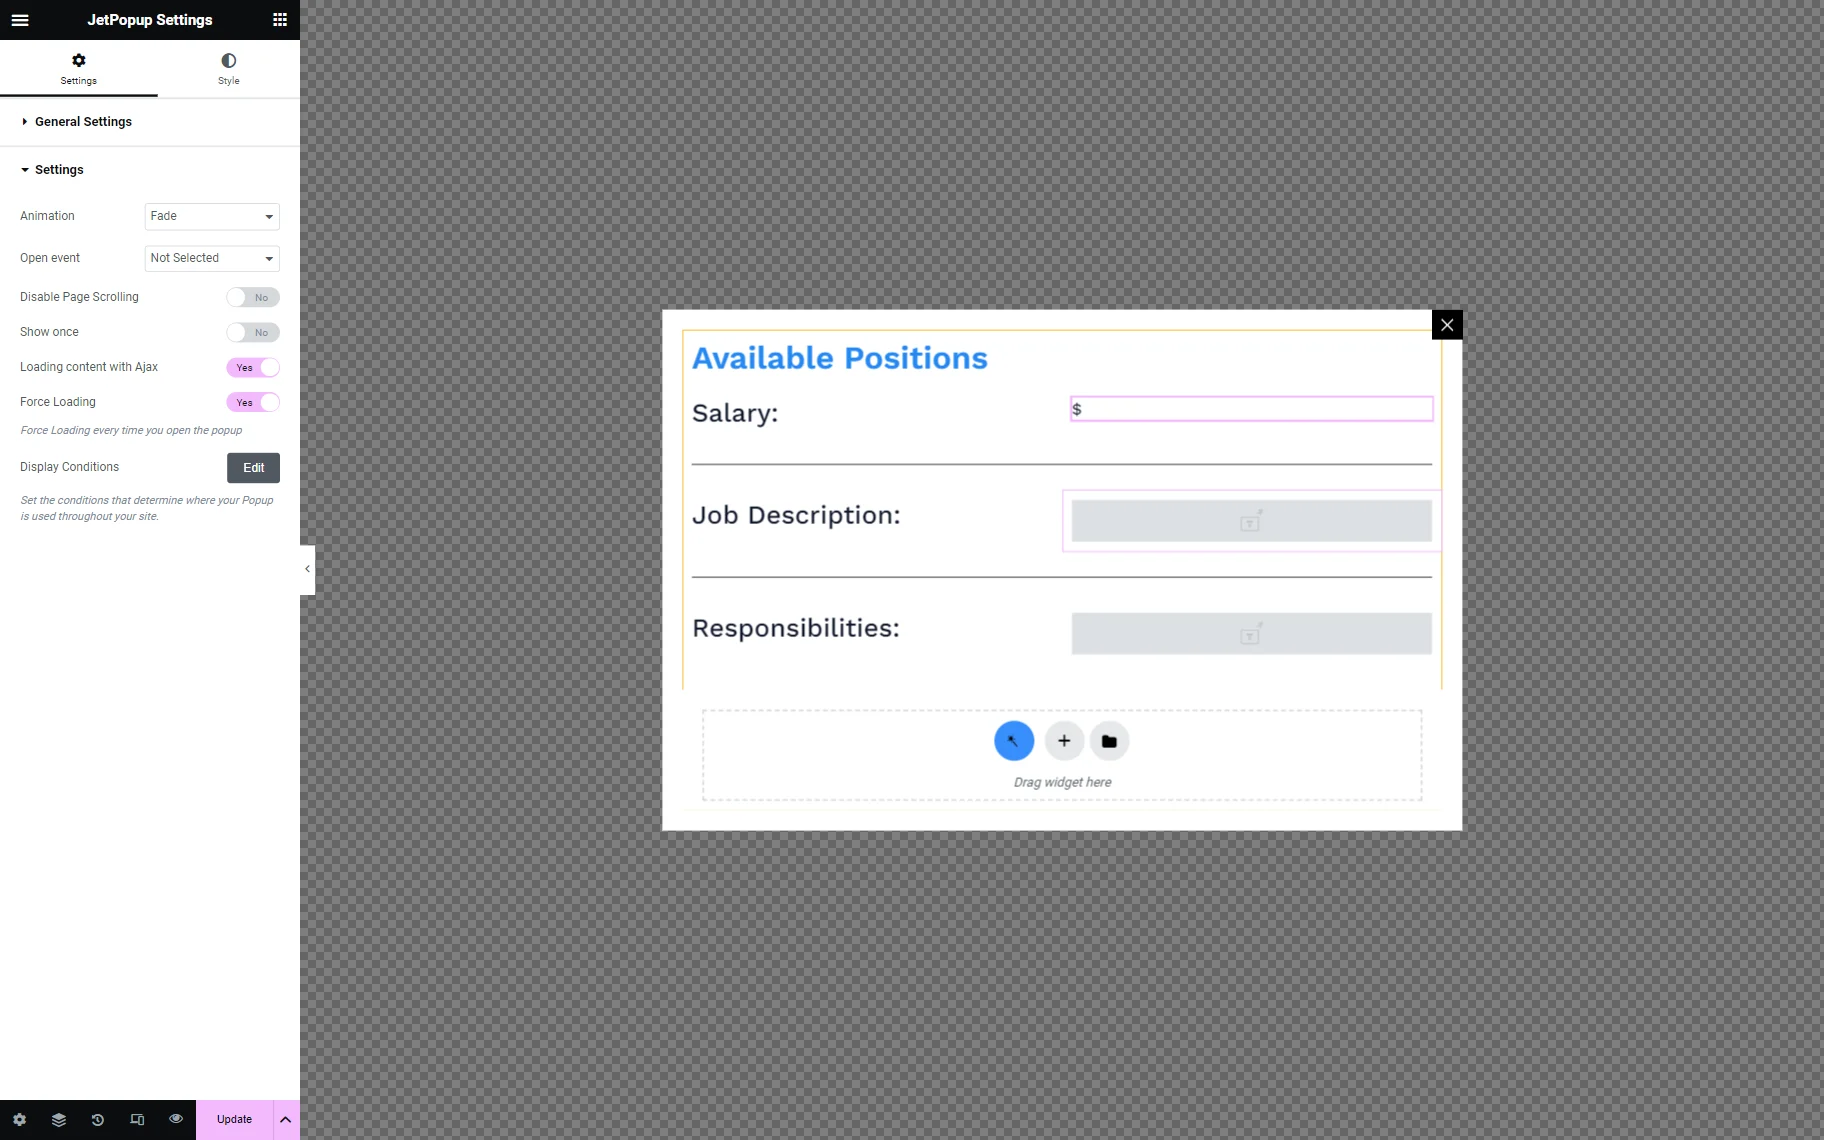
Now click the gear icon in the very bottom-left corner of the Elementor panel, and the JetPopup Settings will be displayed.
Open the Settings accordion block and toggle on the Loading content with Ajax option for the content of the pop-up to load using the AJAX method.
Also, enable the Force Loading option so that the content of the pop-up loads every time it is opened.
Then, click the “Edit” button next to Display Conditions to set the pop-up display conditions.
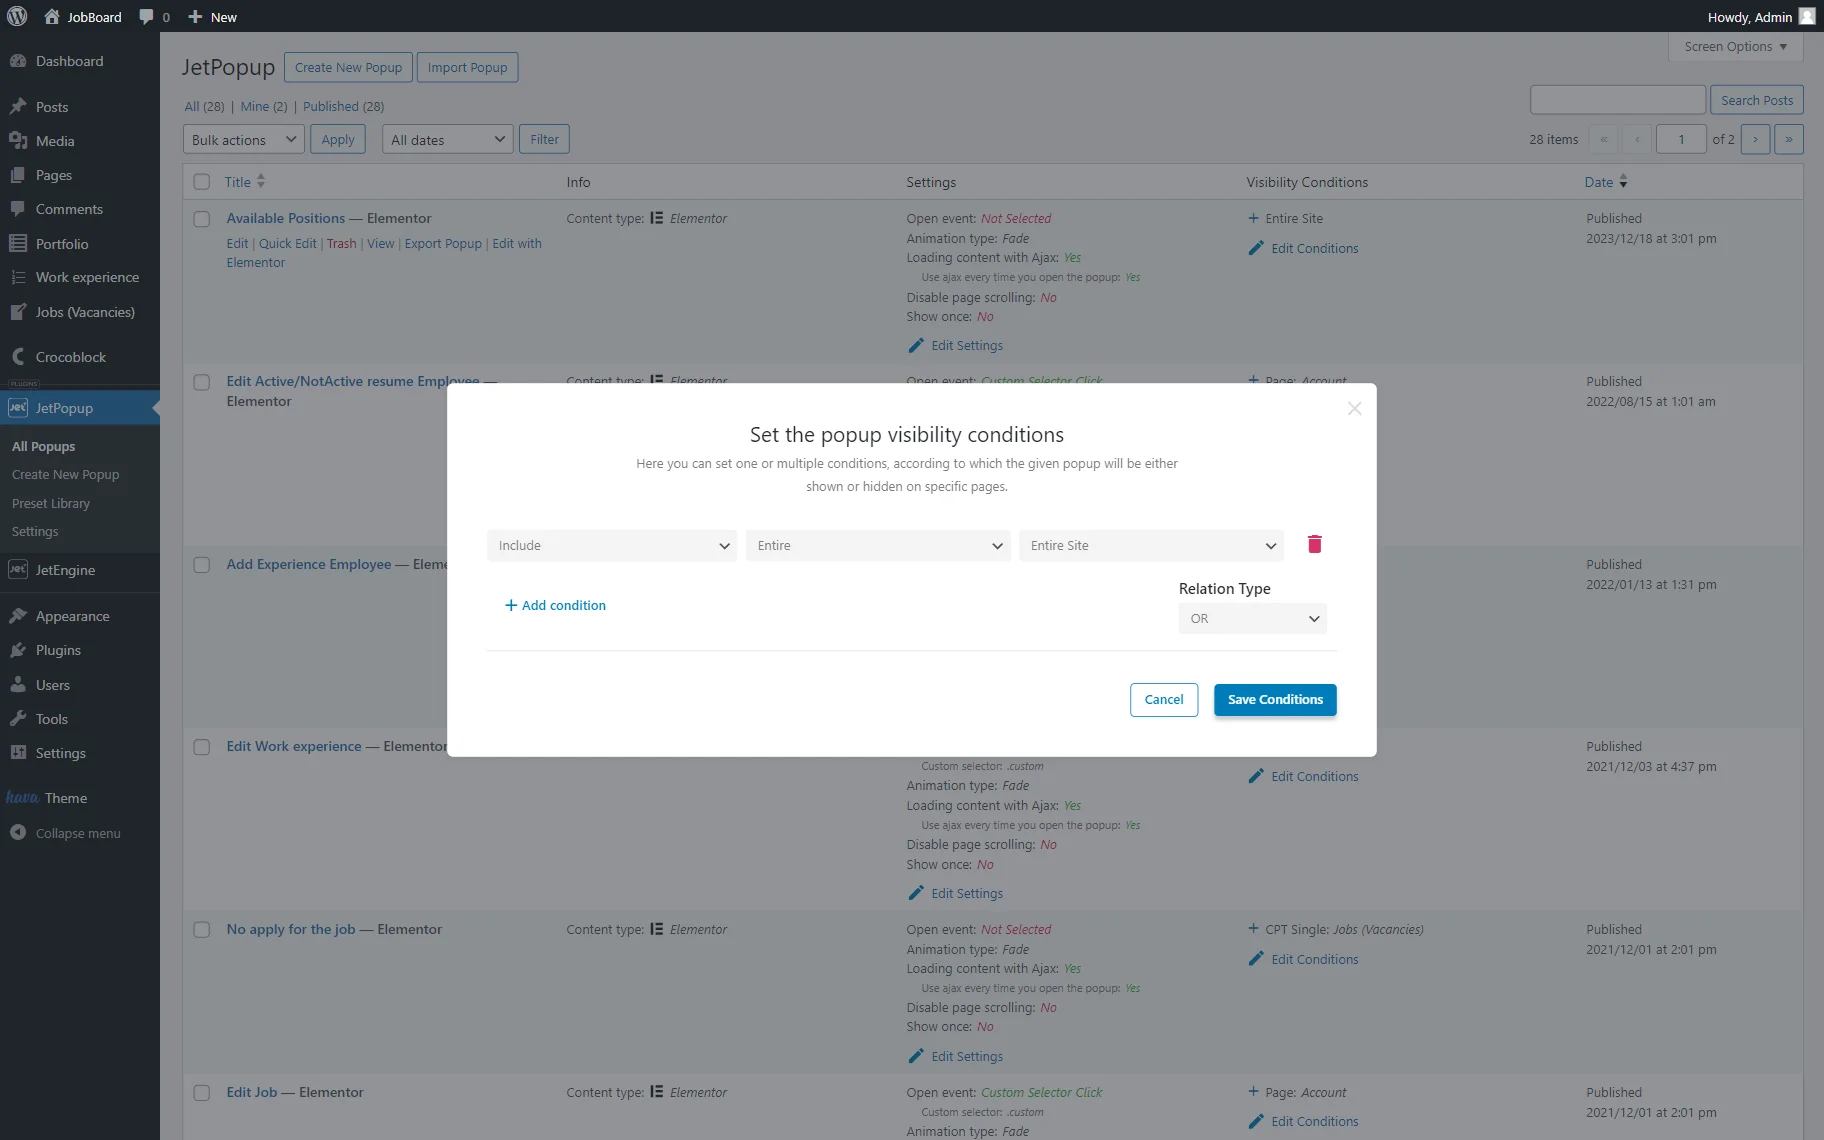
Once done, the new tab will be opened. Here, right away, you will see the conditions pop-up.
Set the conditions according to your needs and press the “Save Conditions” button.
As soon as everything is done correctly, return to the pop-up editor and save this pop-up by clicking the “Publish” button.
Attach the Popup
Before we begin the next step, make sure you have created a listing with the JetEngine plugin.
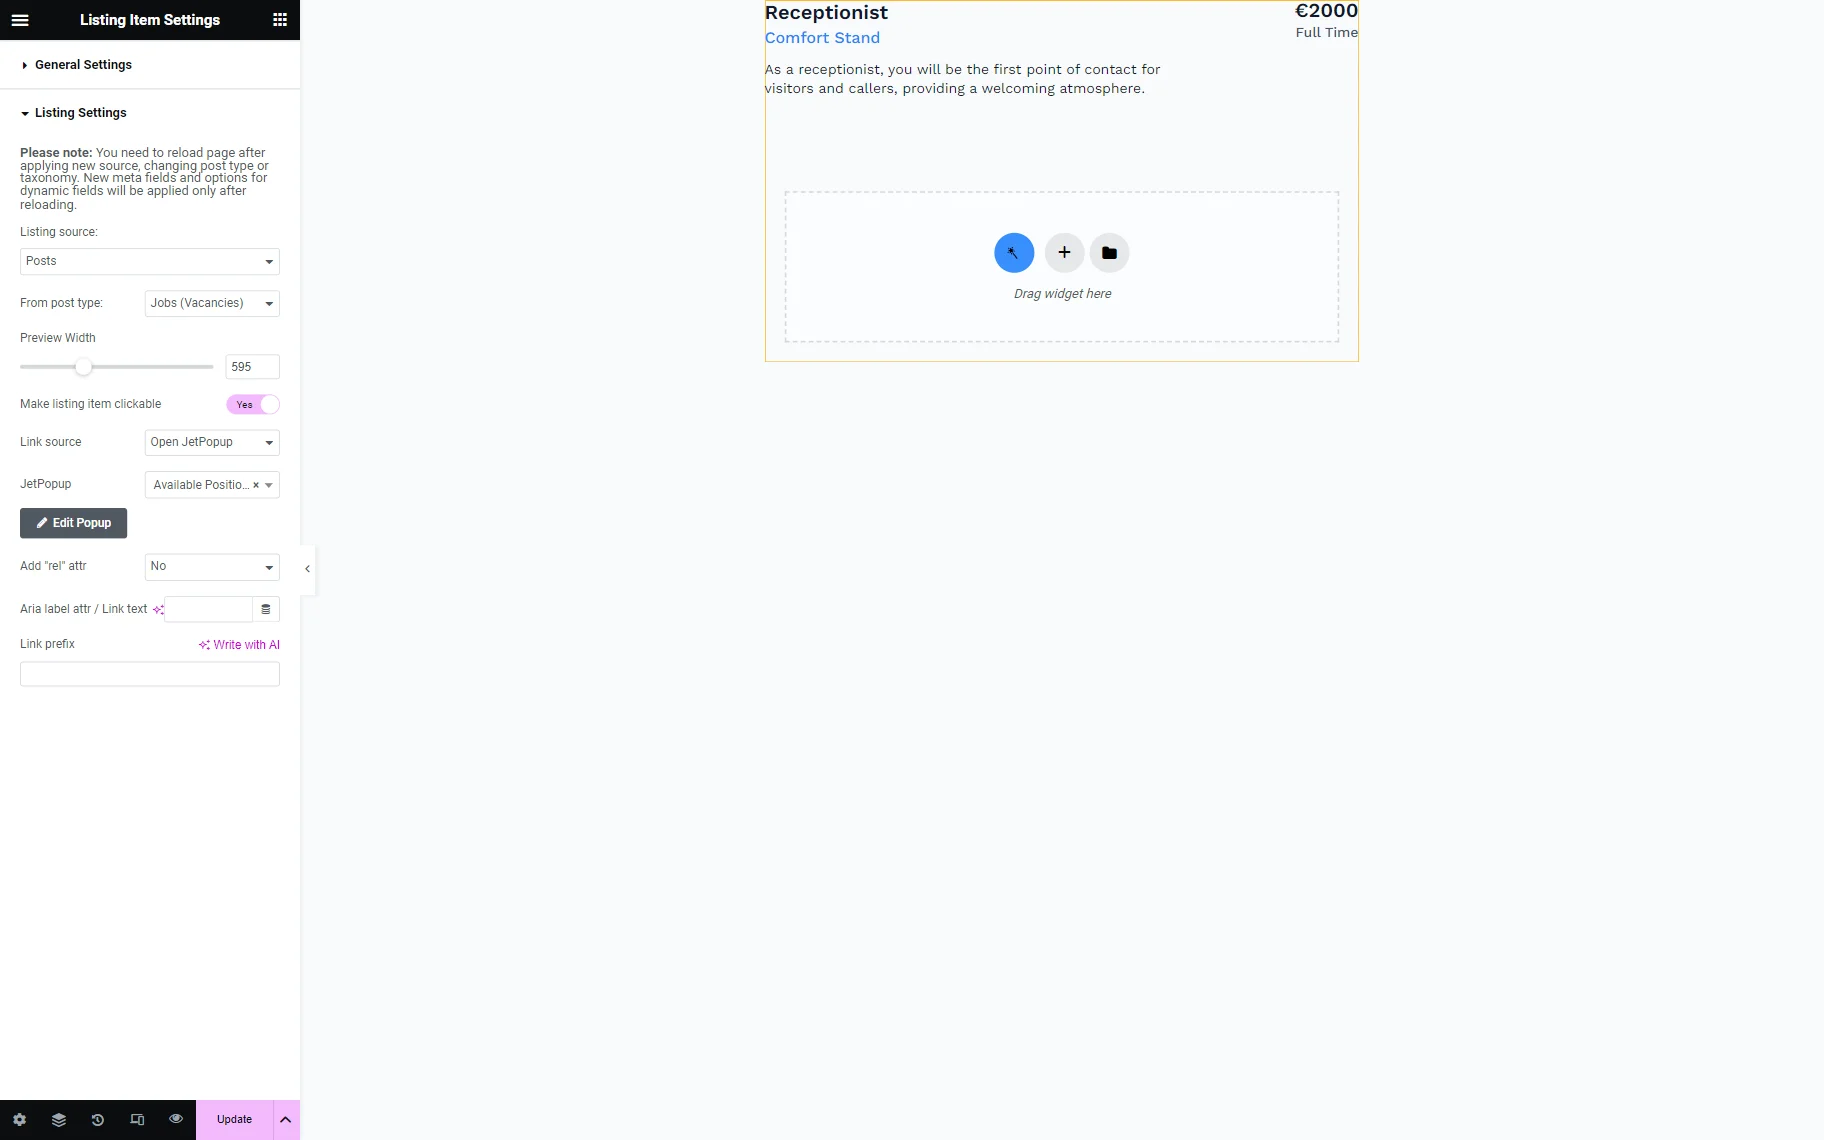
Open the Listing editor to attach the pop-up to it. One of the ways to do it is to click the gear icon in the bottom left corner of the screen, open the Listing Settings tab, and activate the Make listing item clickable feature.
Select the “Open JetPopup” option as a Link source and pick the needed JetPopup option below.
Now, the pop-up will open once users click on the Listing.
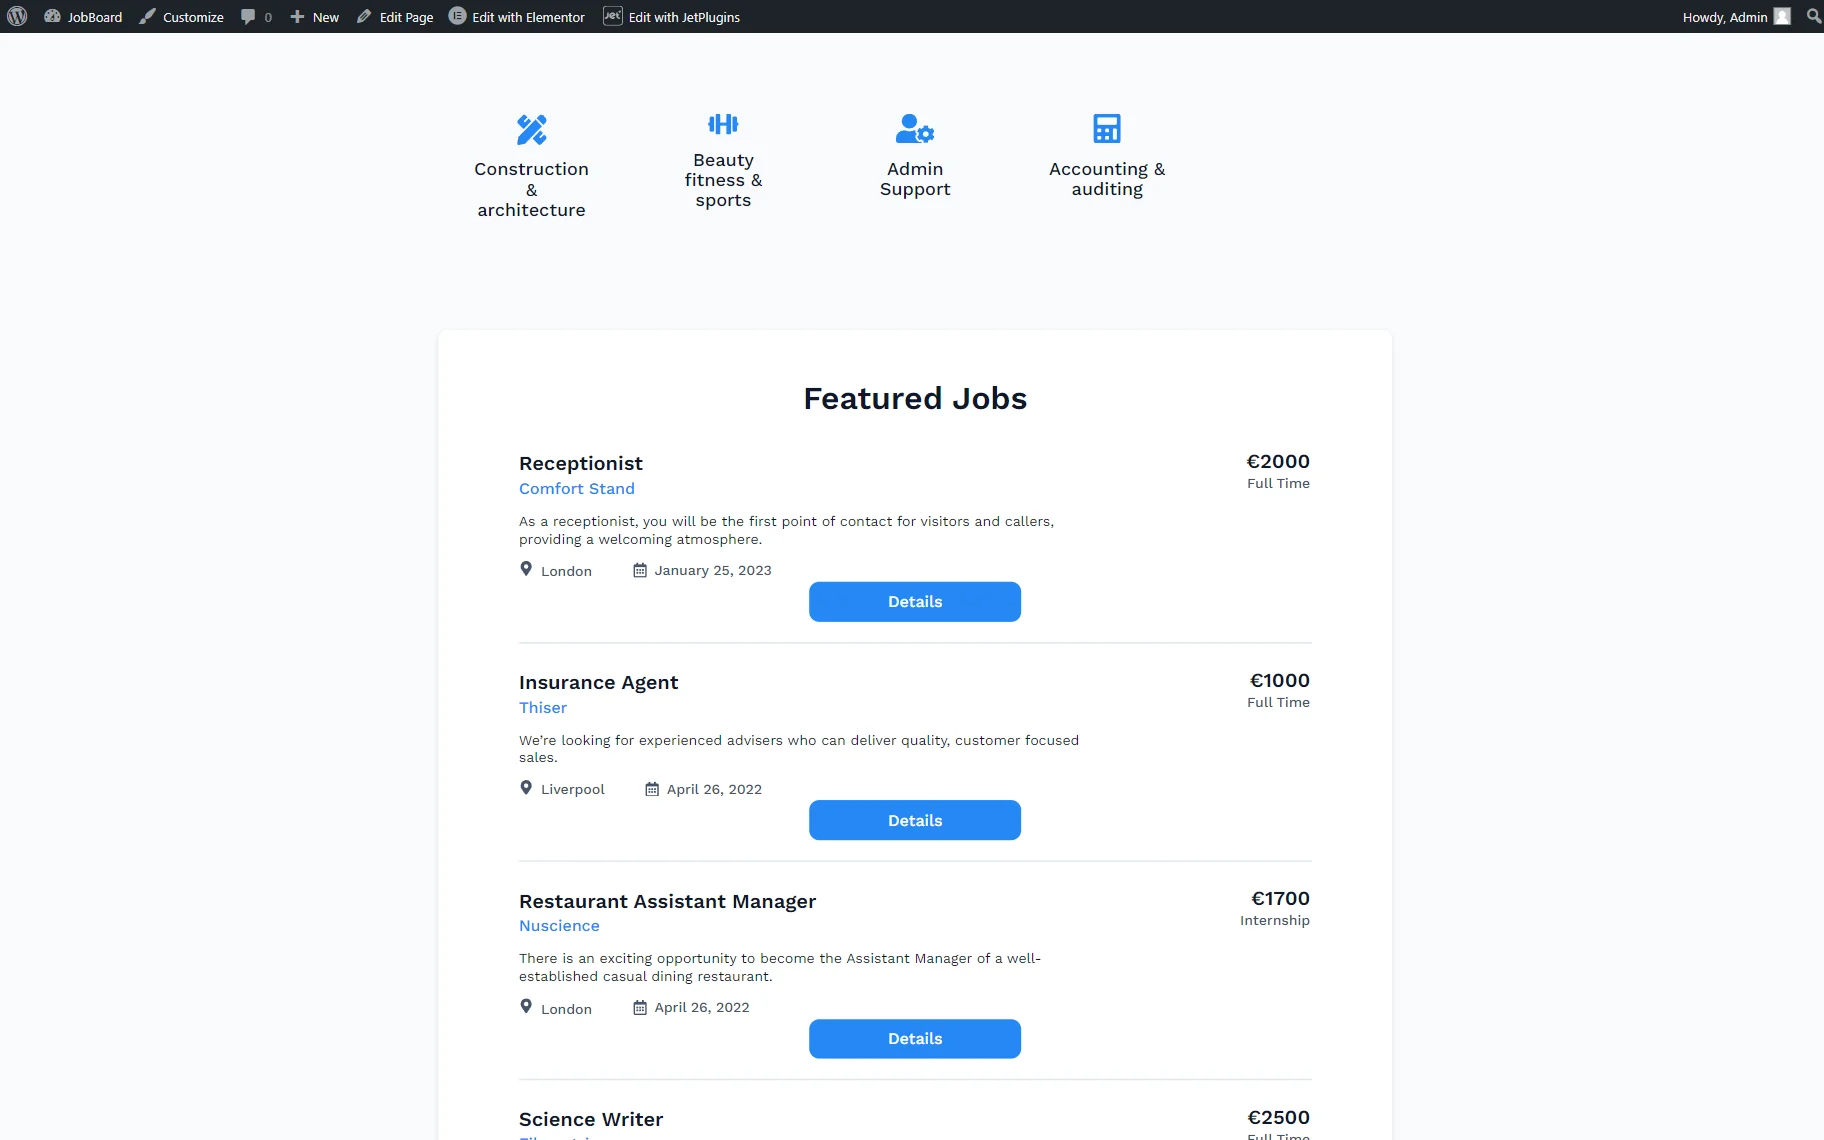
Another way to open the pop-up is to add the default Button widget with the desired label to the listing, allowing your customers to open the pop-up on click.
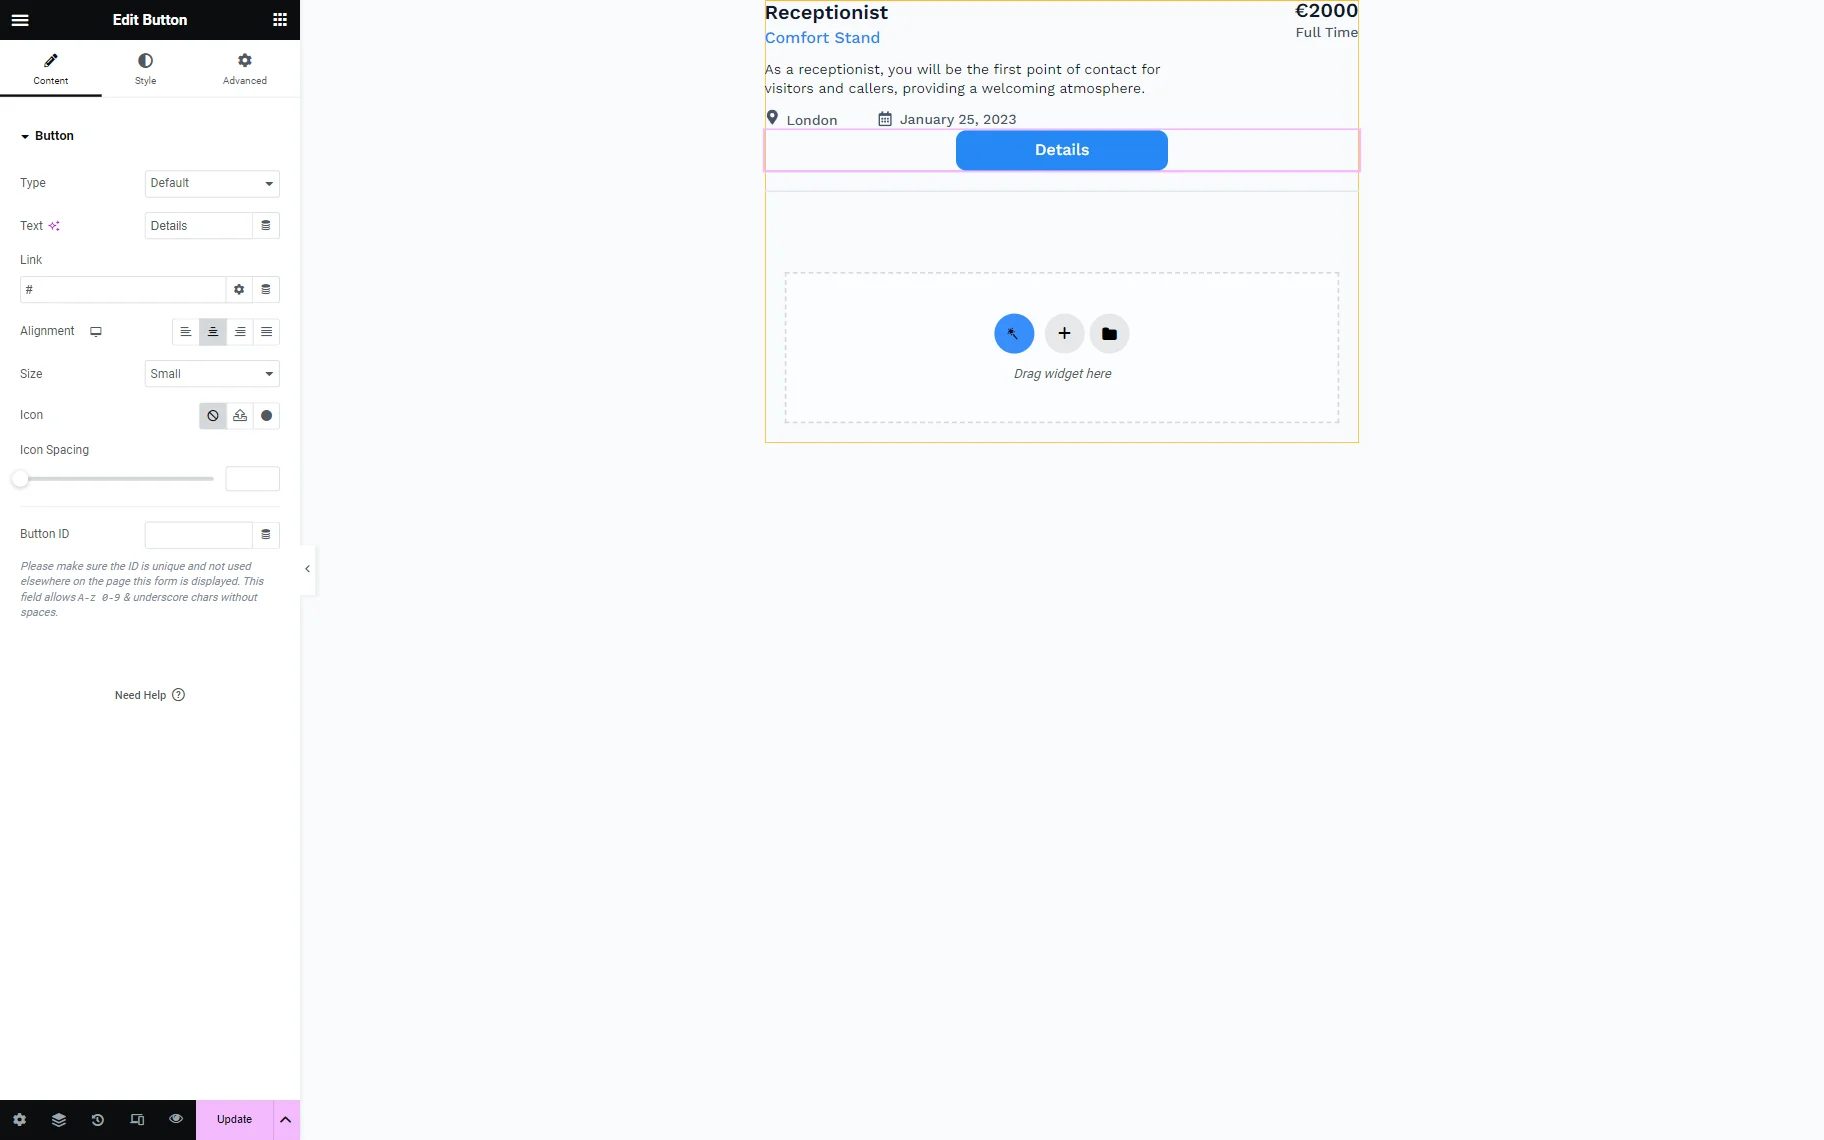
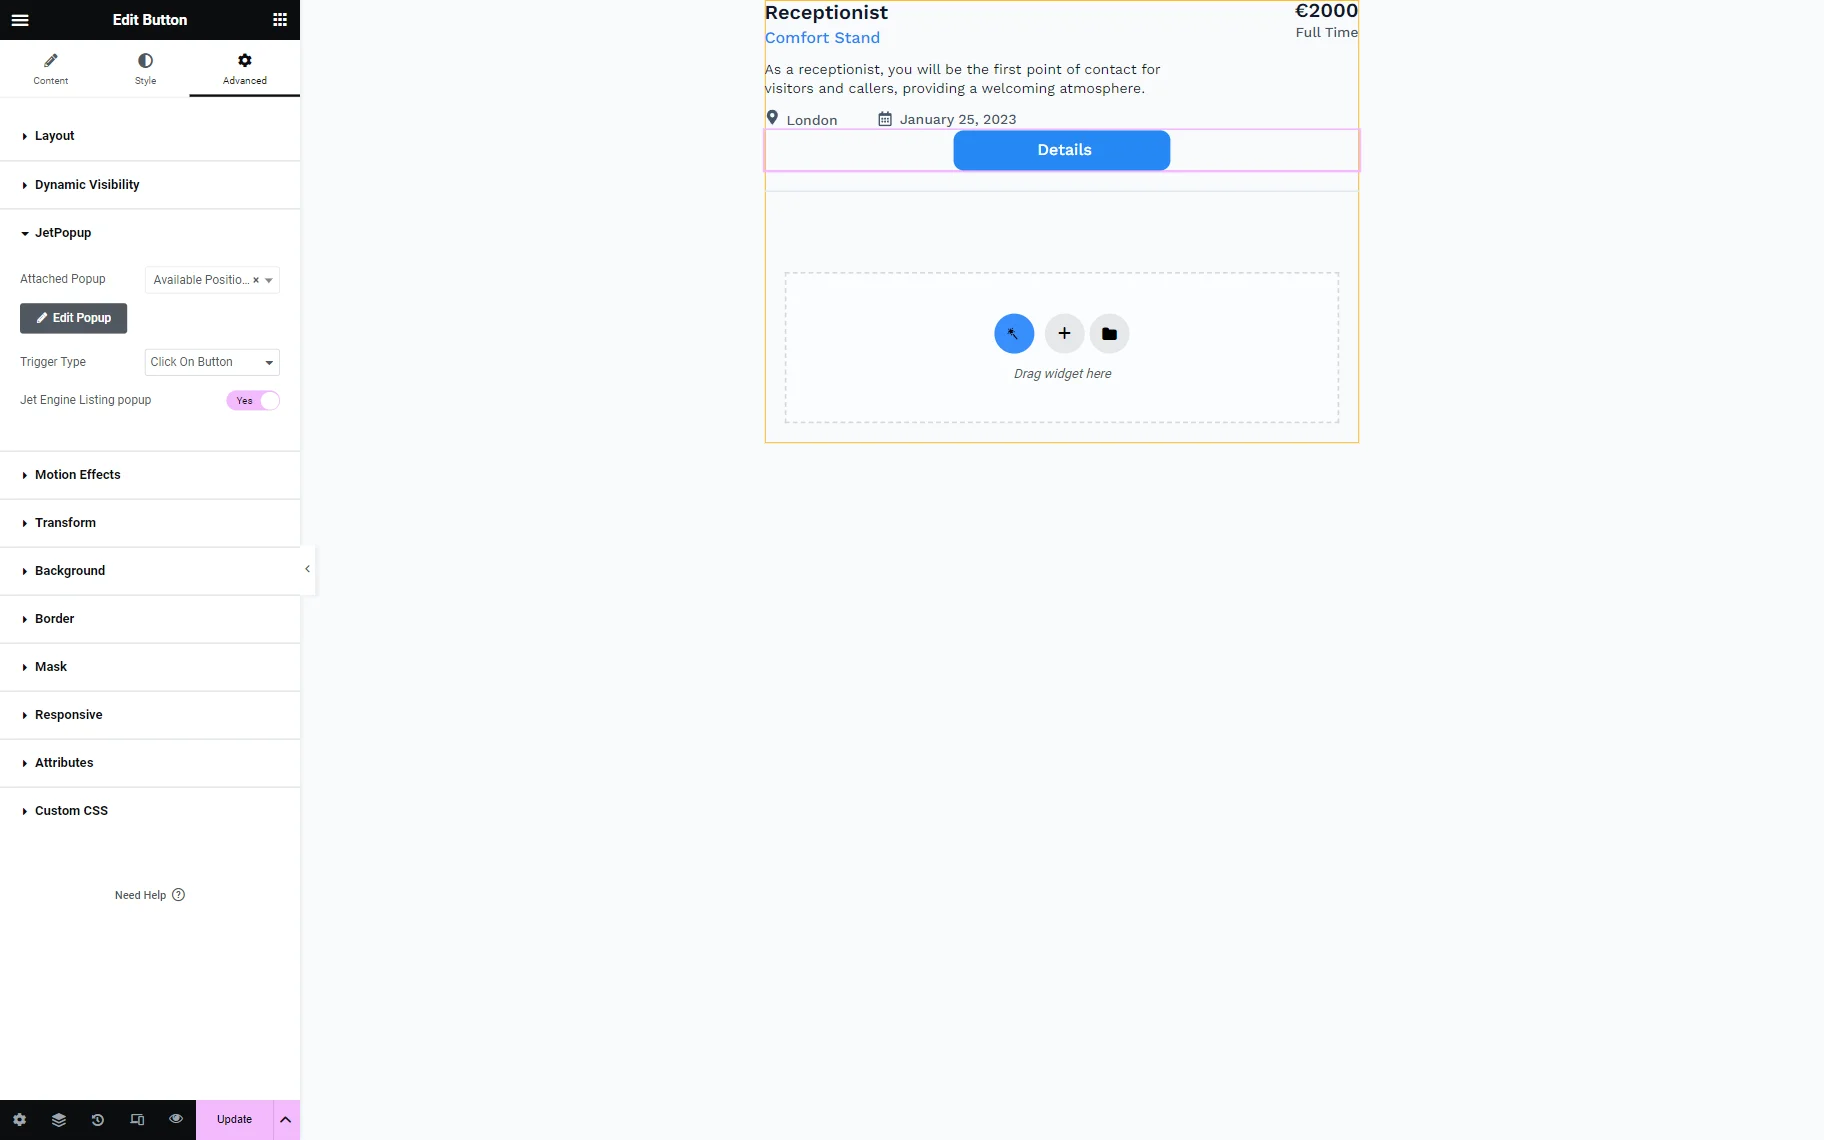
Open the Button settings and go to the Advanced tab. Here, you can find the JetPopup accordion block, where you can specify the Attached Popup and activate the JetEngine Listing popup option. Enable it to attach the pop-up to the Listing Grid.
Next, define the Trigger Type as “Click On Widget,” and your pop-up will open once the button is clicked.
Click the “Publish” button to save the settings.
If you haven’t put the Listing Grid onto the needed page yet, you can do it now. Then, save the page.

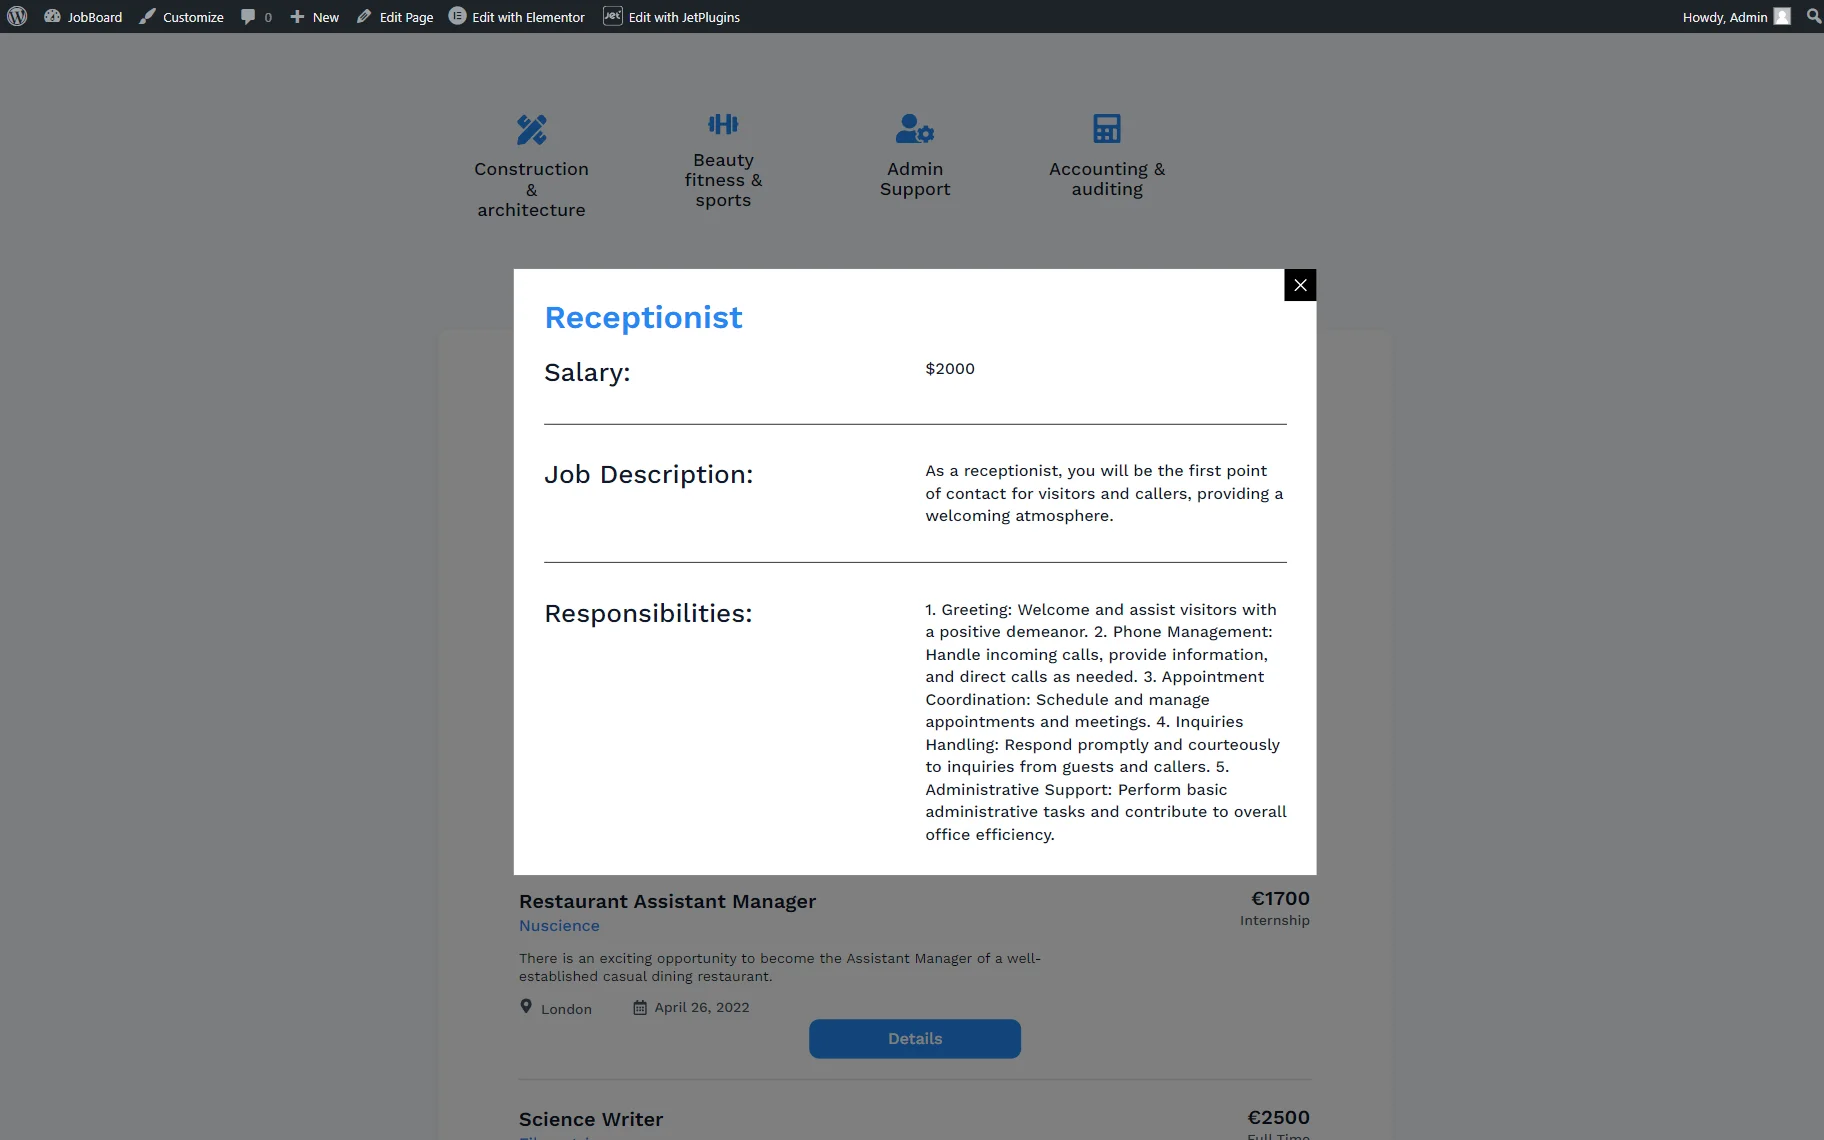
It’s time to have a look at what we have just done. Open the page and click the button to see the pop-up appear.
Now, the pop-up is displayed along with the dynamic widgets added to the pop-up earlier.
Ultimately, now you know how to attach pop-ups to JetEngine listings using JetPopup functionality on your WordPress website.