How to Disconnect Related Items from the Front End via Form
This tutorial will teach you how to disconnect WordPress relation items via the JetFormBuilder forms. This JetEngine feature allows you to disconnect related items from the front end.
Before you start, check the tutorial requirements:
- Elementor (Free version) or WordPress Block editor (Gutenberg)
- JetEngine plugin installed and activated
- JetFormBuilder plugin installed and activated
The JetEngine relations feature allows you to connect, create, and edit related items on the editing page of posts, CCT items, users, and taxonomies on the backend.
With the JetFormBuilder forms, you can connect and disconnect related items from the front end. To learn how to connect the related items via form, proceed to this tutorial. Here, we explain how to disconnect all parent or child items with just one click using a form.
Disconnect Child Objects from Parent Ones
Create a form
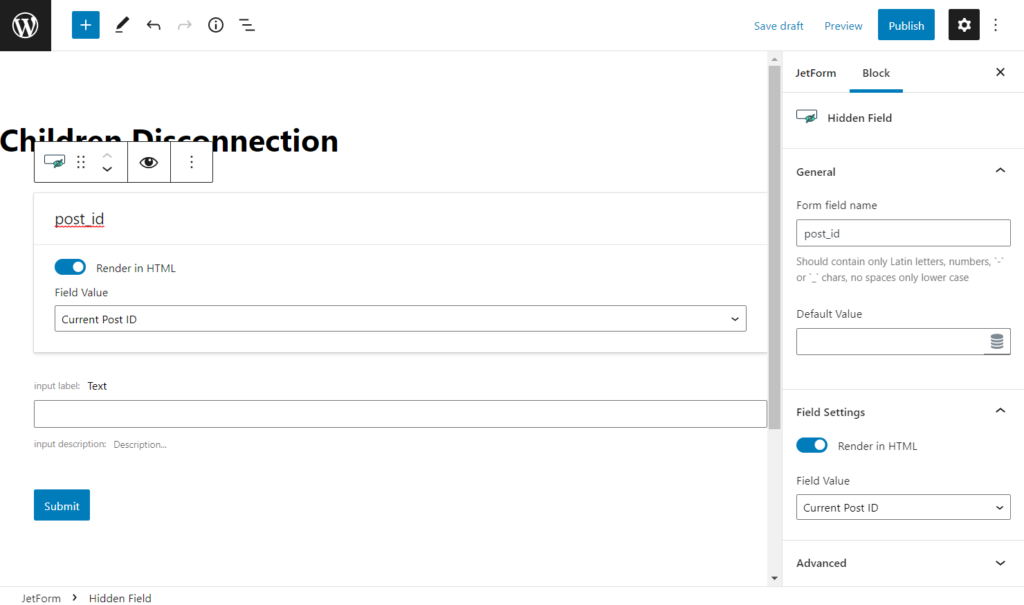
To create a form for disconnecting related items, navigate to the JetFormBuilder > Add New tab on the WordPress Dashboard. Give the new form a title and leave the default settings of the Hidden Field block.
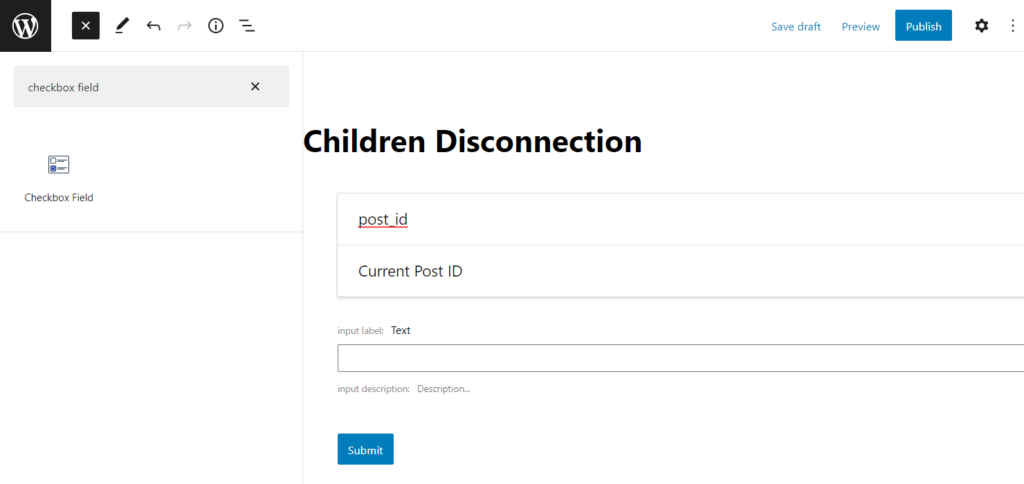
Click on the “Toggle block inserter” button and place the Select, Radio, or Checkbox field to display the child items in the form. Be informed that the Radio and Select show only one related item, and it suits the “One to One” or “One to Many” relation type, and the Checkbox shows one or more items, and it matches the “Many to Many” or “One to Many” relation type. We decided to drag-and-drop such Checkbox Field block to our form to be able to display several child items from the “One to Many” relation.
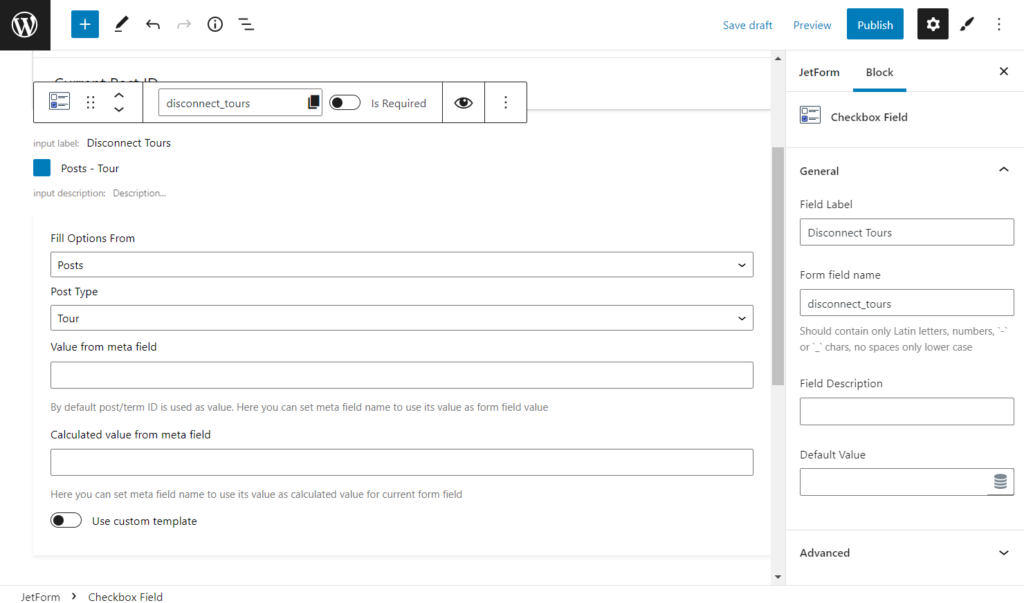
Since we have the connection between posts, we select the “Posts” as the source in the Fill Options From field and define the needed Post Type. As we want to choose the related children for the relationship “Country > Tours,” we select the “Tour” Post Type.
In the Block General settings, type the Field Label and change the Form field name.
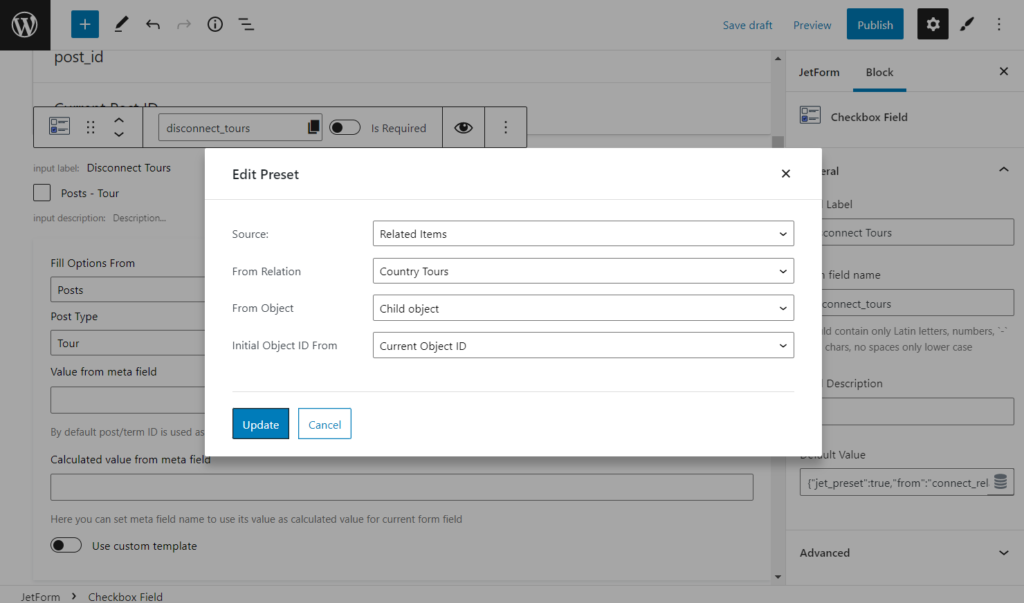
Press the “Dynamic tags” button in the Default Value field to open the pop-up.
Pick the “Related Items” option in the Source field, the name of the needed Relation, the “Child object” option in the From Object field, and “Current Object ID” in the Initial Object ID From field (as we want to place the form to the single page).
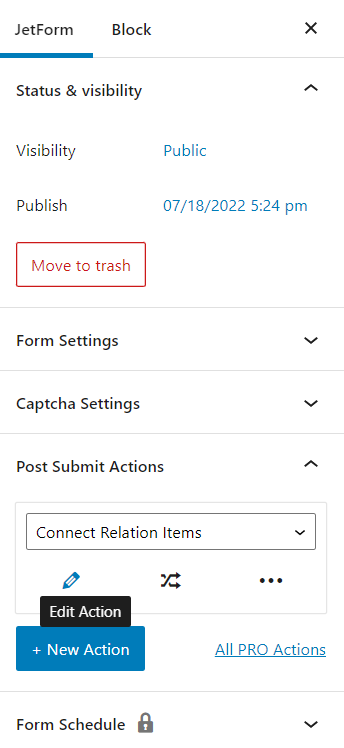
Press the “Update” button and move to the JetForm settings and the Post Submit Actions tab. Select the “Connect Relation Items” option and click on the pencil-shaped icon to edit the action.
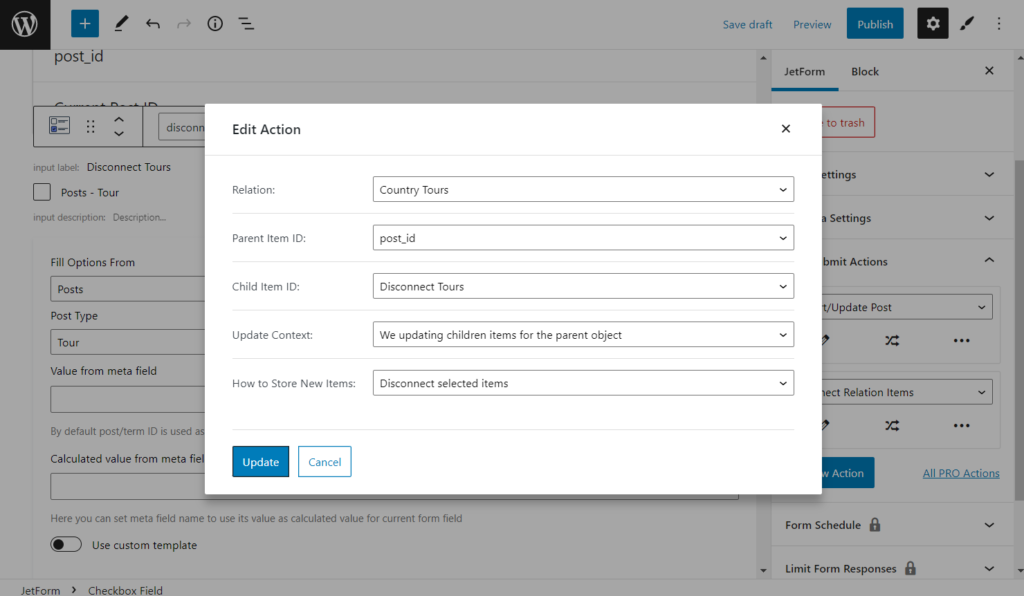
In the new pop-up window, select the needed Relation. Pick the name of the Hidden Field (with the default “Current Post ID” option) as the Parent Item ID. As the Child Item ID, select the label of the created field for the related items (the Checkbox in our case). Since it’s needed to display the child objects in the form, choose the “We updating children items for the parent object” option in the Update Context field. In the How to Store New Items field, pick the “Disconnect selected items” option.
Hit the “Update” button and publish or update the form to save the changes when you finish editing fields and actions.
Place the form on the Single page template
Move to Crocoblock > Theme Builder and choose the single body template of the parent, click on three dots, and hit the “Edit content” button. Also, you can edit the needed header, by following the Crocoblock > Theme Templates path.

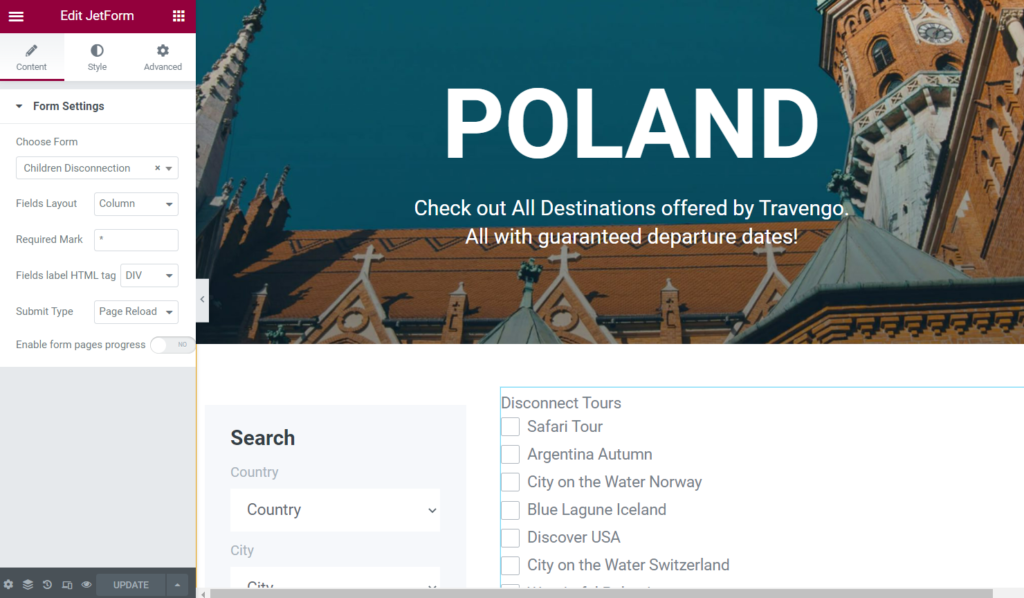
In the Elementor or Gutenberg editor, place the JetForm widget or block to the single template. Choose the needed form in the dropdown menu and customize other settings according to your needs. We recommend picking the “Page Reload” Submit Type to display all changes on the page after the form submitting. After you finish, hit the “Update” button.
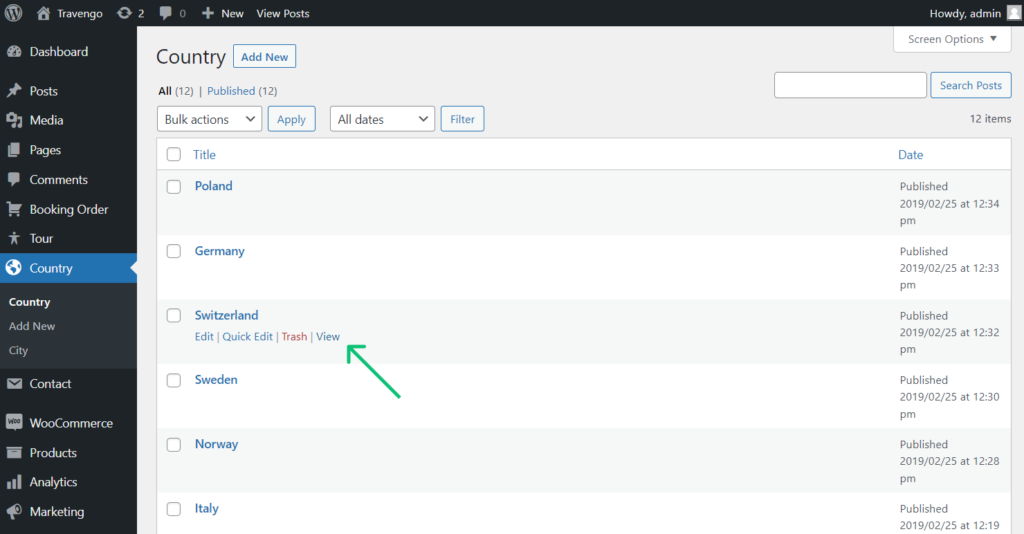
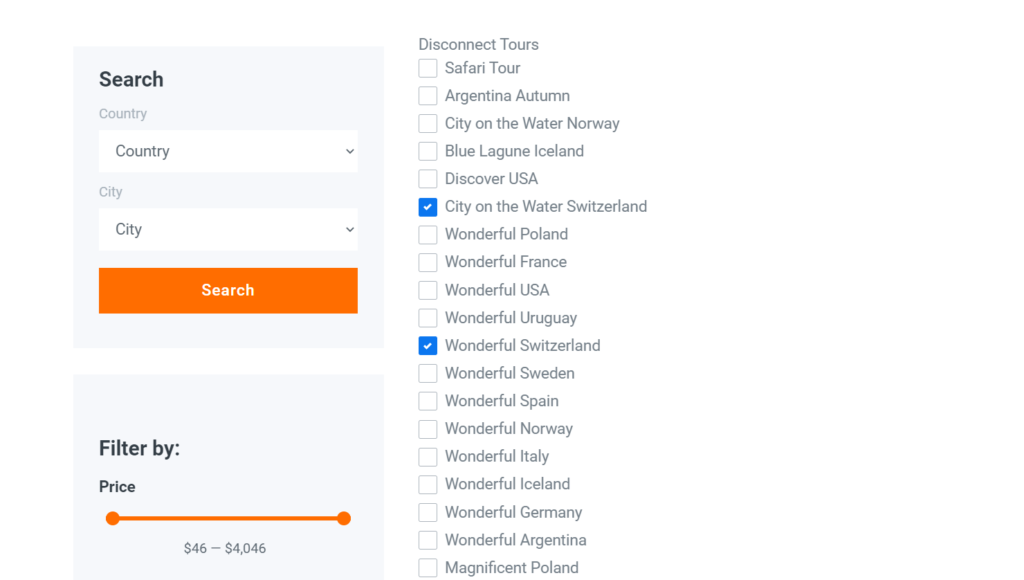
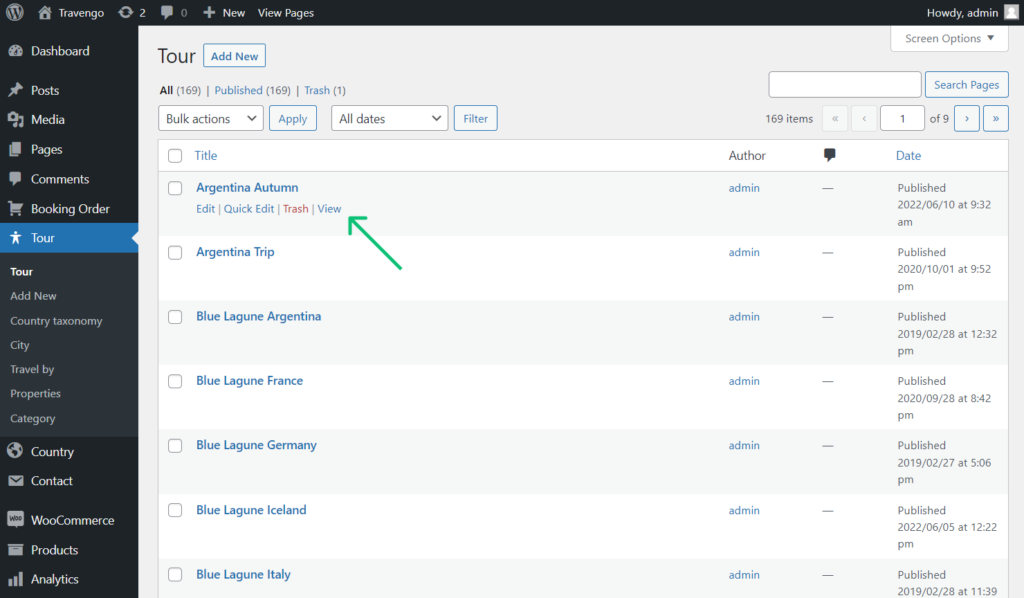
Proceed to the parent object on the front end. For that, you can go to the parent post type and click to view one of the posts.
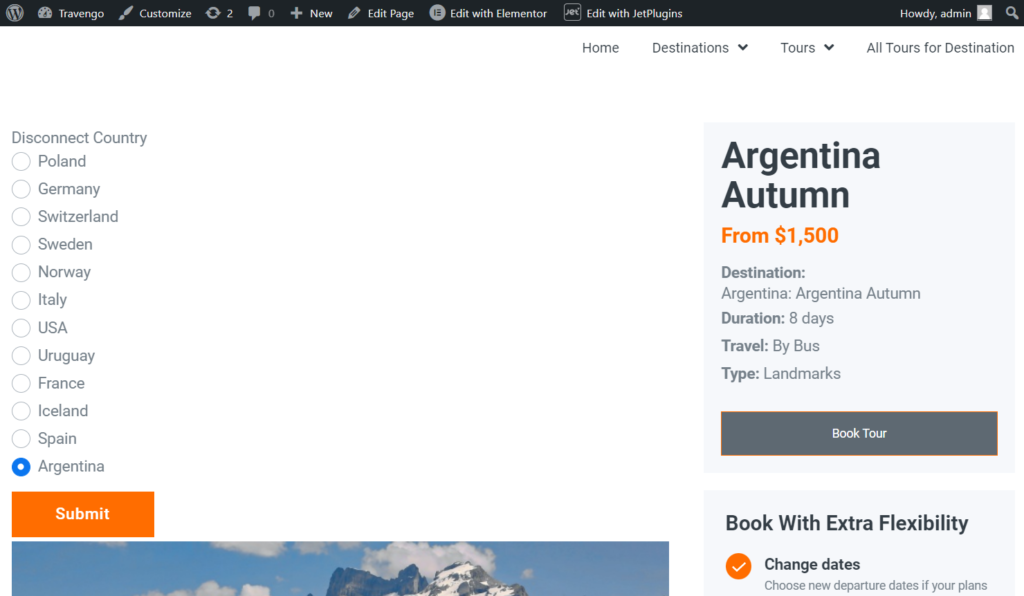
On the front end, just hit the “Submit” button in the form.
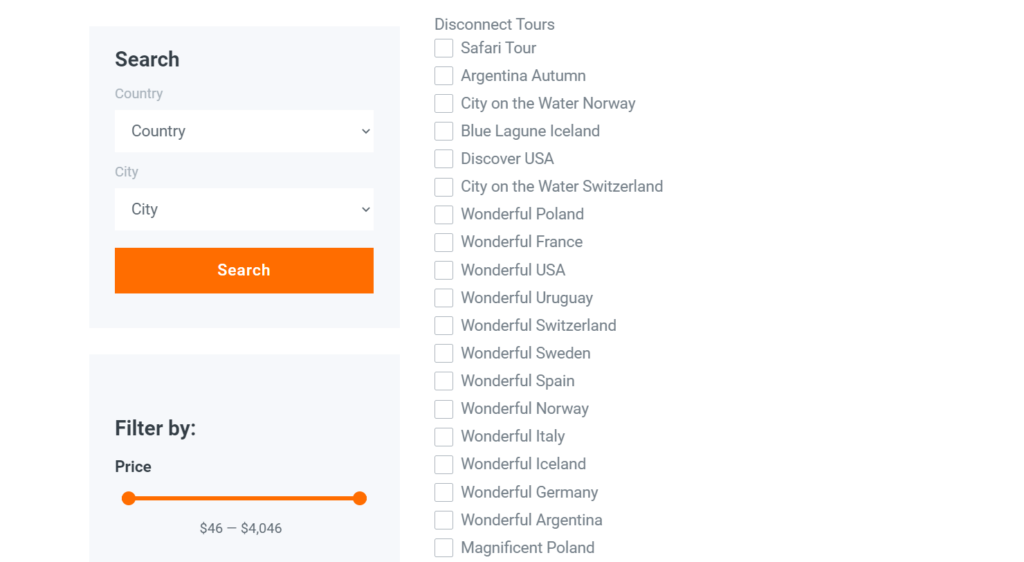
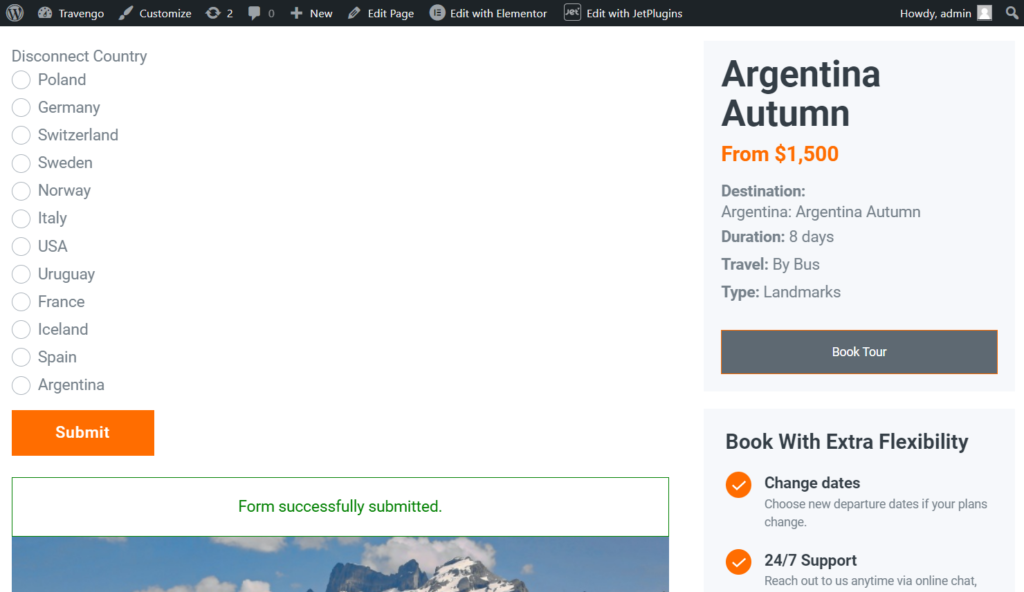
After the page reloading, you can see that all posts have been disconnected automatically.
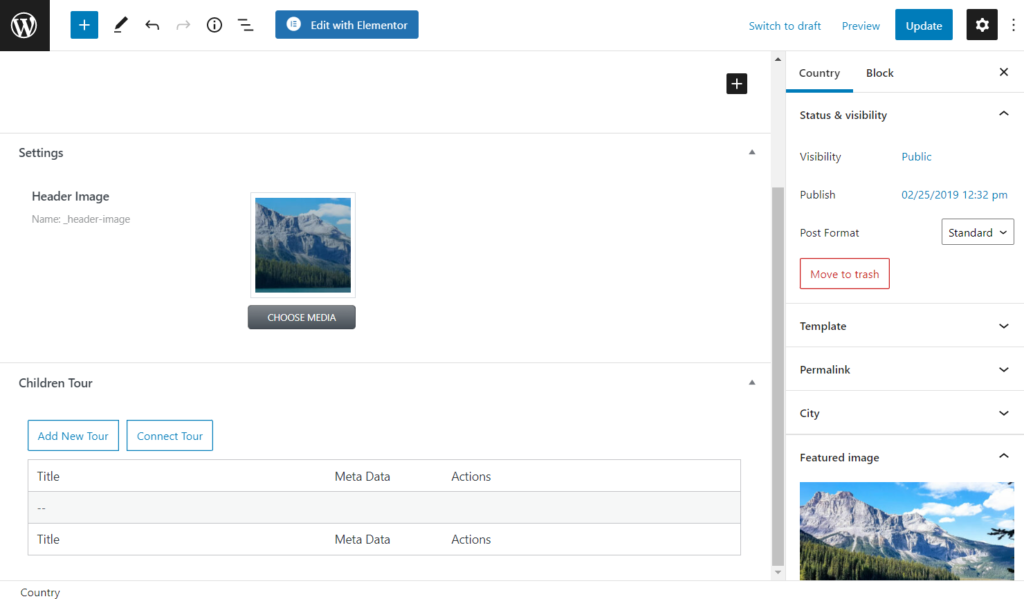
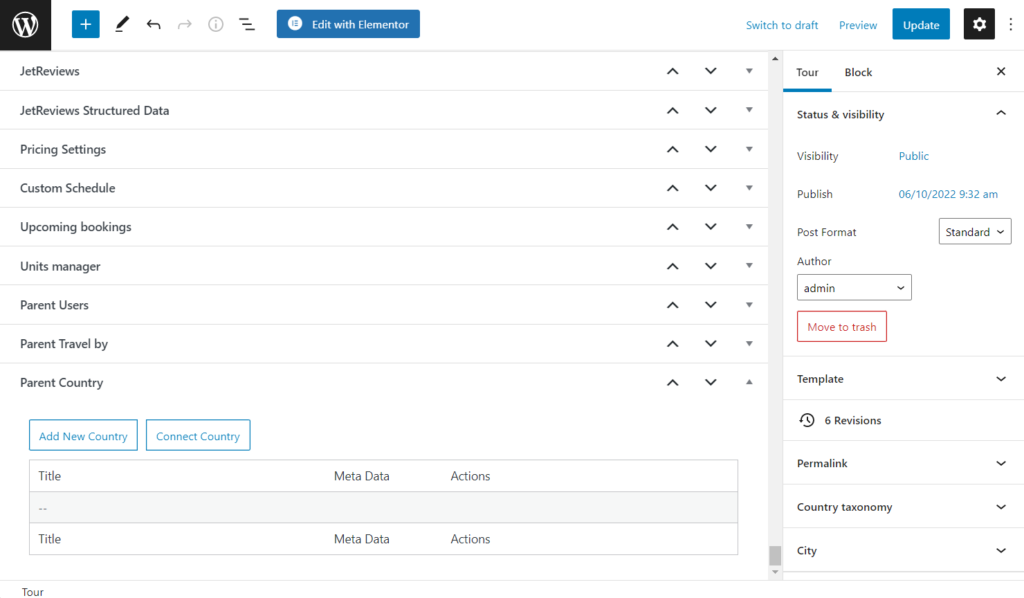
You can also check on the backend by editing the post whether child items have been disconnected.
Disconnect Parent Objects from Child Ones
Create a form
Navigate to WordPress Dashboard > JetFormBuilder > Add New. Give a title to the form and leave the default Hidden Field block settings.
Click on the “Toggle block inserter” button and place the Select, Radio, or Checkbox field to display the parent items in the form. Be aware that the Radio and Select show only one related item, and it suits the “One to One” or “One to Many” relation type, and the Checkbox shows one or more items, and it matches the “Many to Many” or “One to Many” relation type.
For example, we add the Radio Field block because all posts can have only one parent in our “One to Many” relation.
Select the “Posts” as the source in the Fill Options From field and define the needed Post Type. As we want to select the related parent for the relationship “Country > Tours,” we have chosen the “Country” Post Type.
In the Block General settings, type the Field Label and change the Form field name.
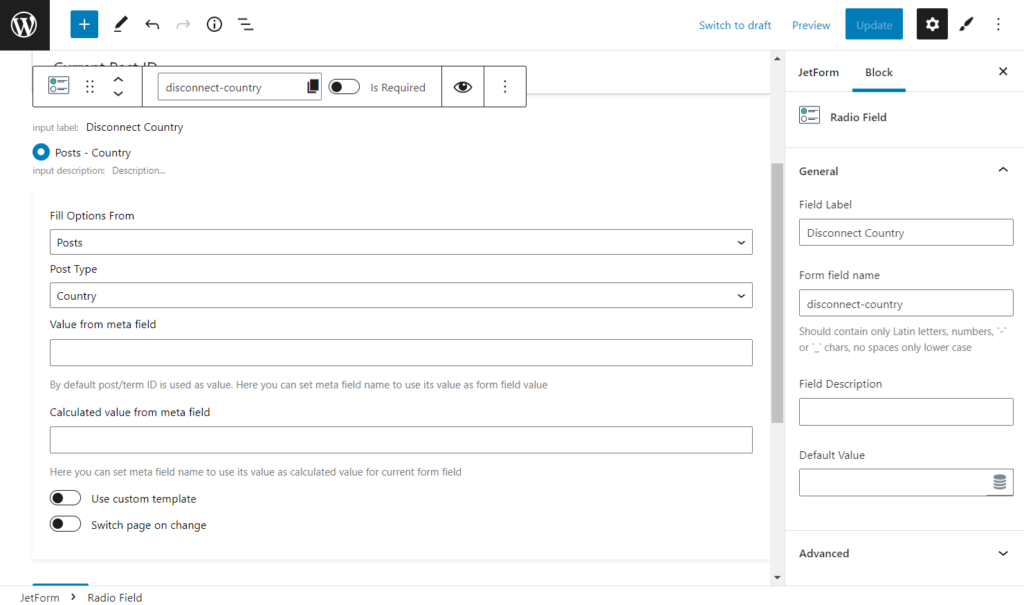
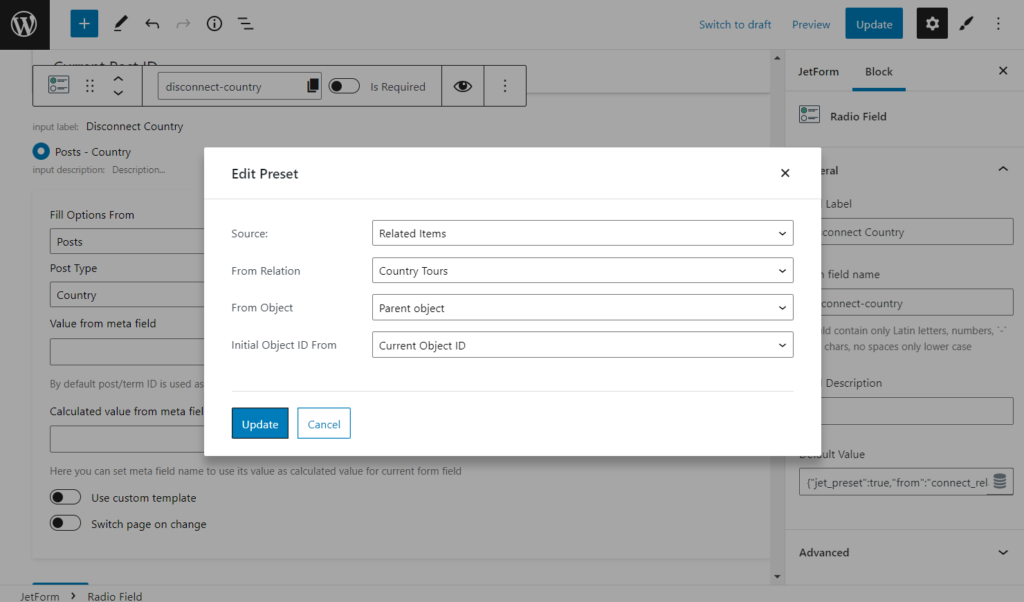
Press the “Dynamic tags” button in the Default Value field to open the pop-up.
Pick the “Related Items” option in the Source field, the name of the needed Relation, the “Parent object” option in the From Object field, and “Current Object ID” in the Initial Object ID From field (as we want to place the form to the single page). Push the “Update” button.
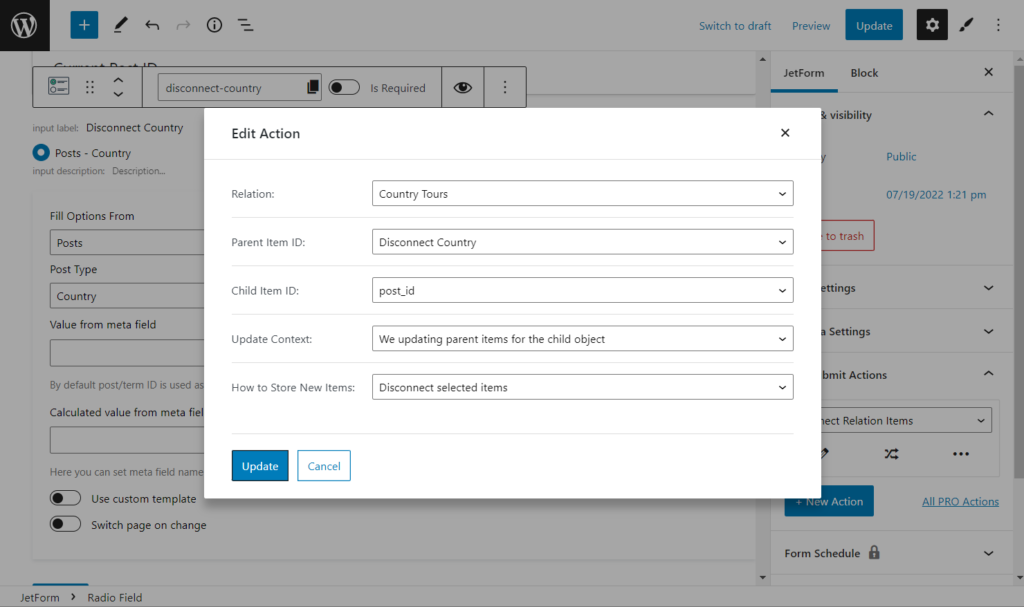
Move to the JetForm settings and the Post Submit Actions tab. Select the “Connect Relation Items” option and click on the pencil-shaped icon to edit the action.
In the new pop-up window, select the needed Relation. As the Parent Item ID, choose the label of the created field for the related items (the Radio Field in our case). Pick the name of the Hidden Field (with the default “Current Post ID” option) as the Child Item ID. Since it’s needed to display the parent object in the form, choose the “We updating parent items for the child object” option in the Update Context field. In the How to Store New Items field, pick the “Disconnect selected items” option.
Hit the “Update” button and publish or update the form to save the changes when you finish editing fields and actions.
Place the form on the Single page template
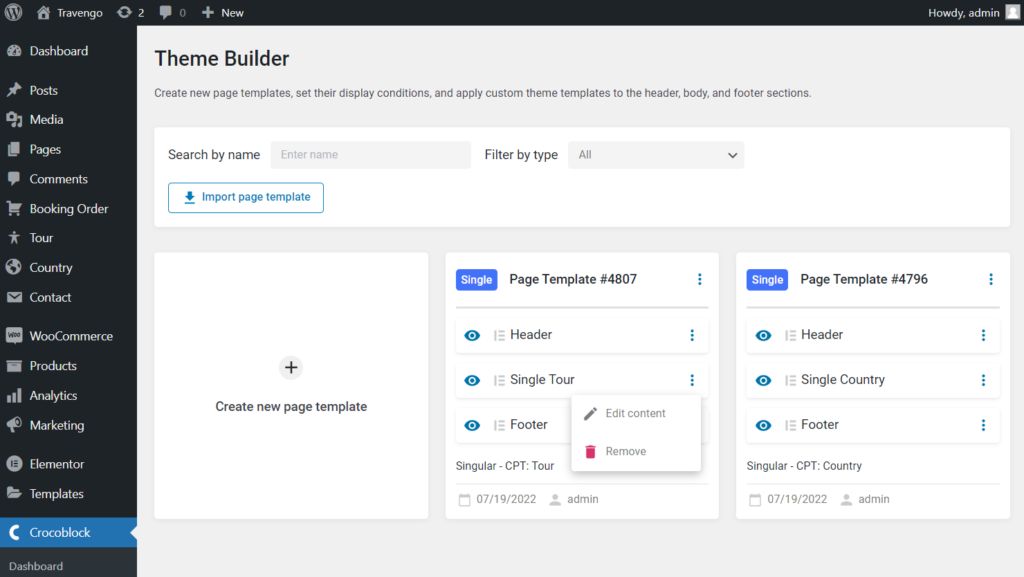
Move to Crocoblock > Theme Builder and choose the single body template of the children, click on three dots, and hit the “Edit content” button. Also, you can edit the needed header, by following the Crocoblock > Theme Templates path.
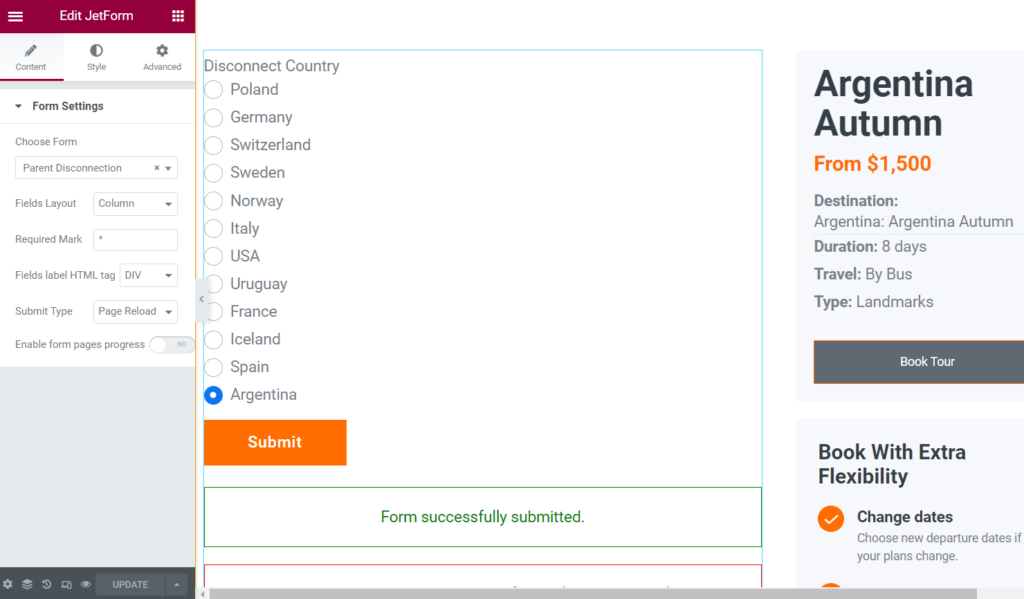
In the Elementor or Gutenberg editor, place the JetForm widget or block to the single template. Choose the needed form in the drop-down menu and customize other settings according to your needs. We recommend picking the “Page Reload” Submit Type to display all changes on the page after the form submission. After you finish, hit the “Update” button.
Proceed to the child object on the front end. For that, you can go to the child post type and click to view one of the posts.
On the front end, just hit the “Submit” button in the form.
After the page reloading, you can see that all related items have been disconnected automatically.
You can also check on the backend by editing the post whether child items have been disconnected.
That’s all. Now you know how to disconnect related items via the JetFormBuilder form from the front end.