How to Display Related Posts Using the Dynamic Field Widget
Discover how to display the related posts using the Dynamic Field widget from the WordPress JetEngine plugin.
Before you start, check the tutorial requirements:
- Elementor (Free version)
- JetEngine plugin installed and activated
- JetThemeCore plugin installed and activated, with a Single page template created.
This tutorial explains how to showcase related posts using the JetEngine WordPress plugin’s functionality within the Elementor editor.
Set Up the Relation
Following the How to Create Relations Between Posts guide, we set up a one-to-many relation between two Custom Post Types: “Departments” and “Doctors”.
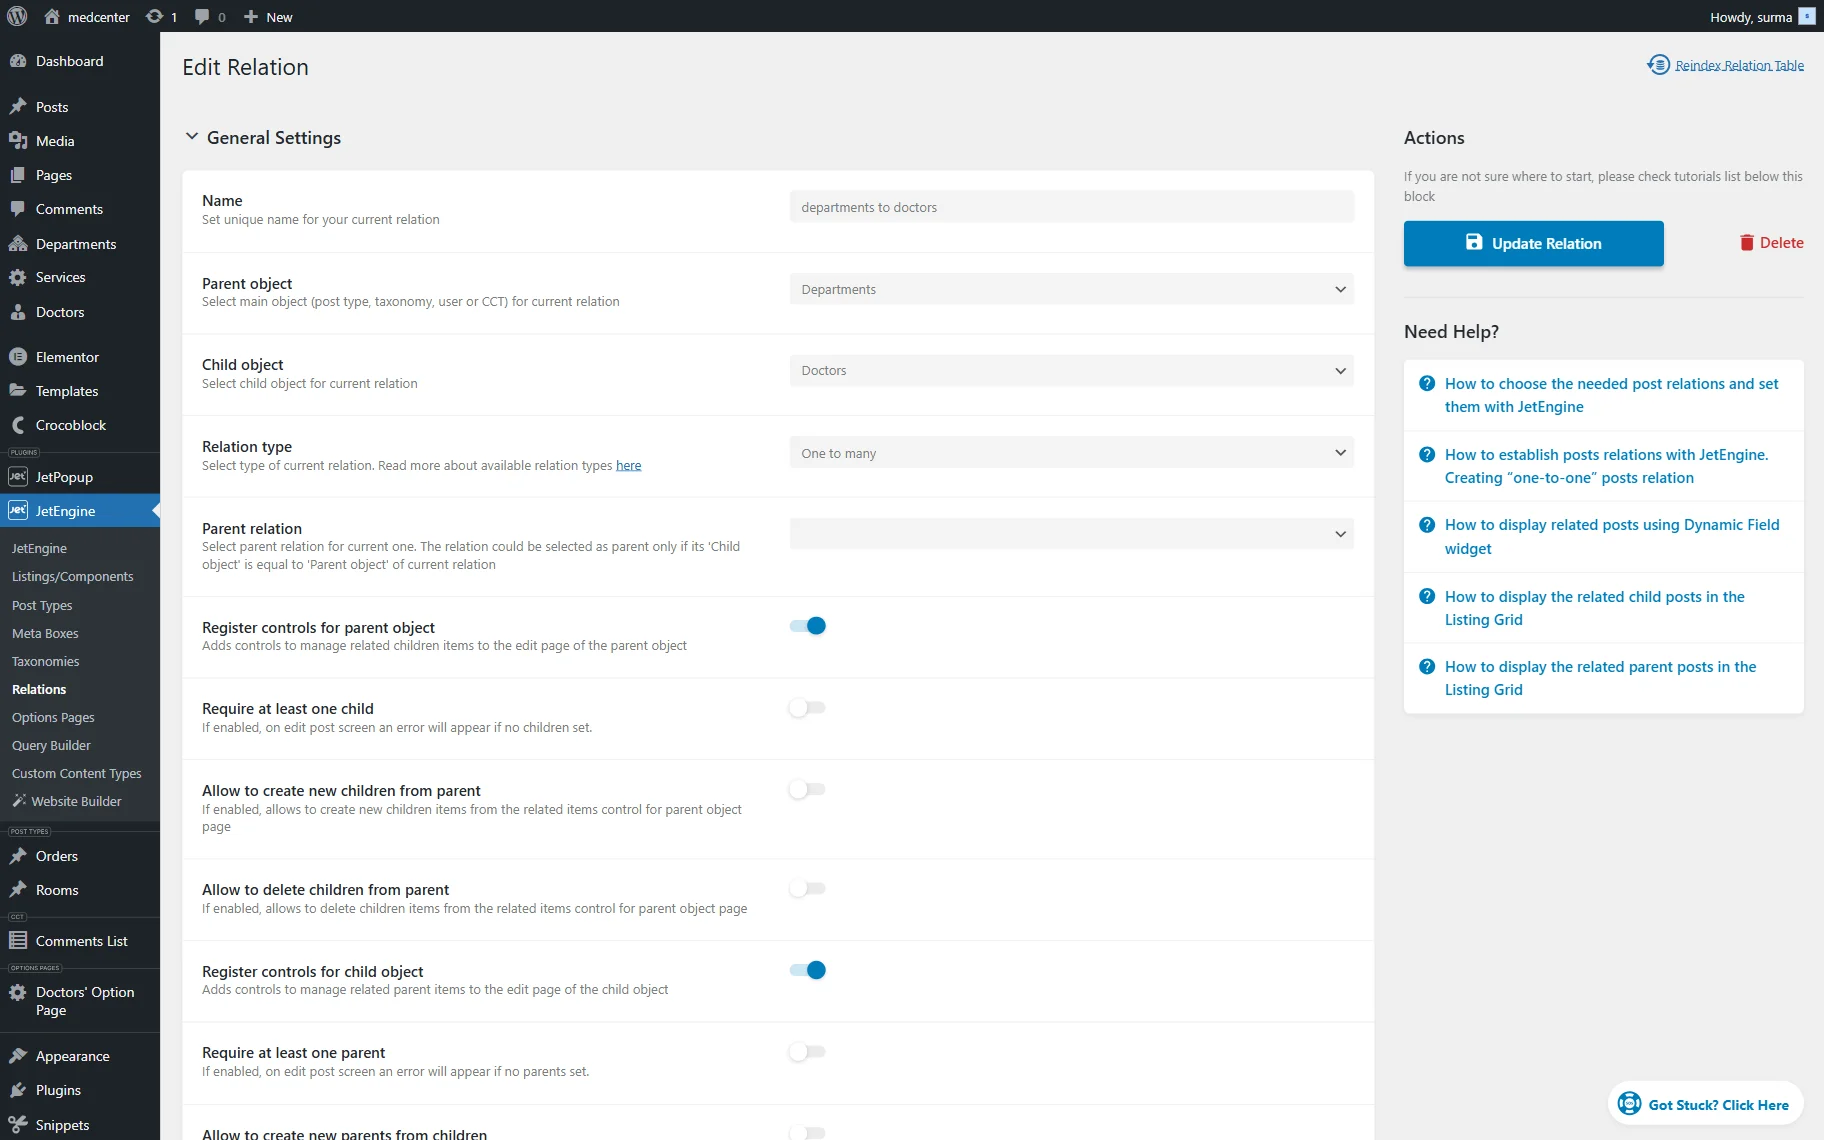
You can use the relations you already have, or create a new one. Click the “Add/Update Relation” button once you are ready.
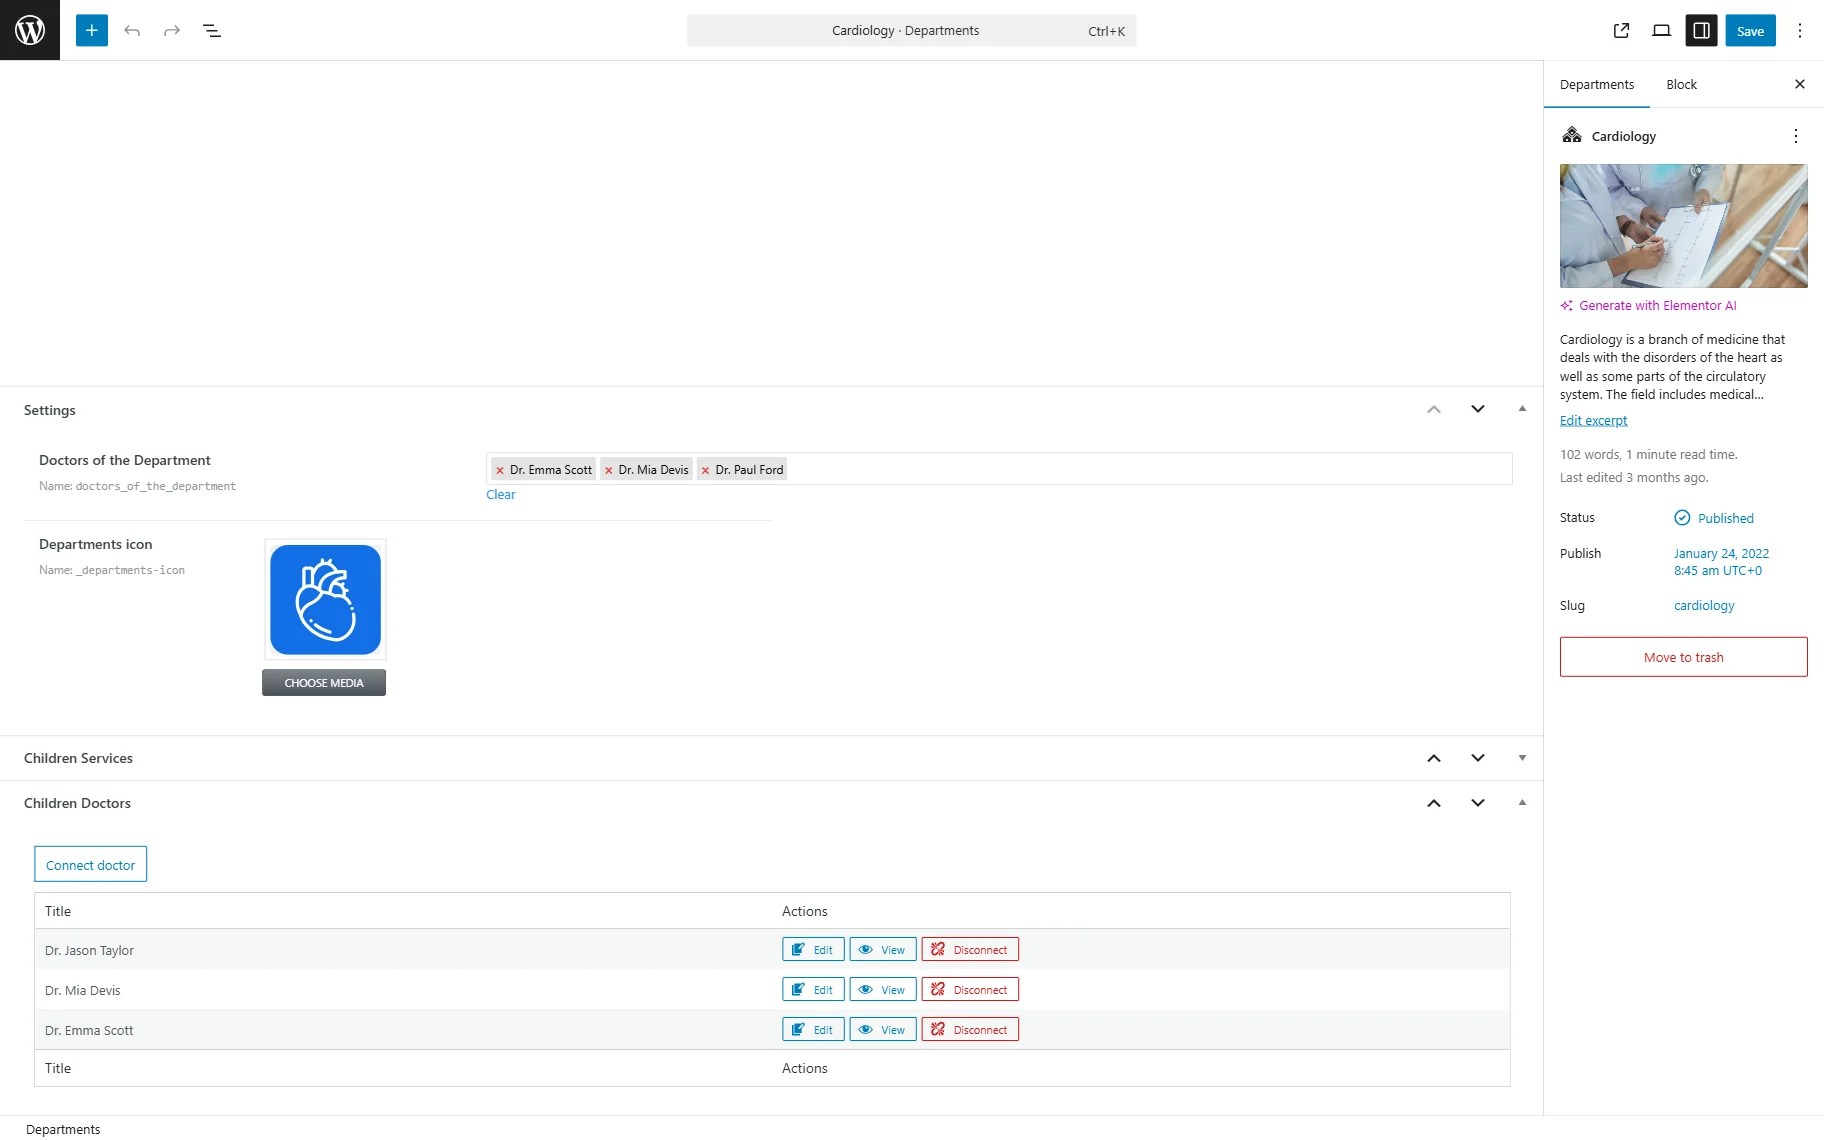
Then, proceed to each parent post and connect the children’s posts.

Click the “Save” button.
Display the Relations on the Front End
Now, proceed to the Single page template of the CPT (in this case, we use the “Department” Single page).
Add the Dynamic Field widget.
Keep the “Post/Term/User/Object Data” option for the Source. In the Object Field, we select the “Children from relation”. Ensure you select the correct relation item — children or parents, depending on the single page where you need to display the posts. Additionally, mind selecting the correct relation, as there is a list of all the children from all the relations on your site, as well as a list of all the parents from all the relations.
Then, turn the Filter field output toggle on and select the “Related posts list” Callback. In this case, we also keep the Add links to related posts toggle on.
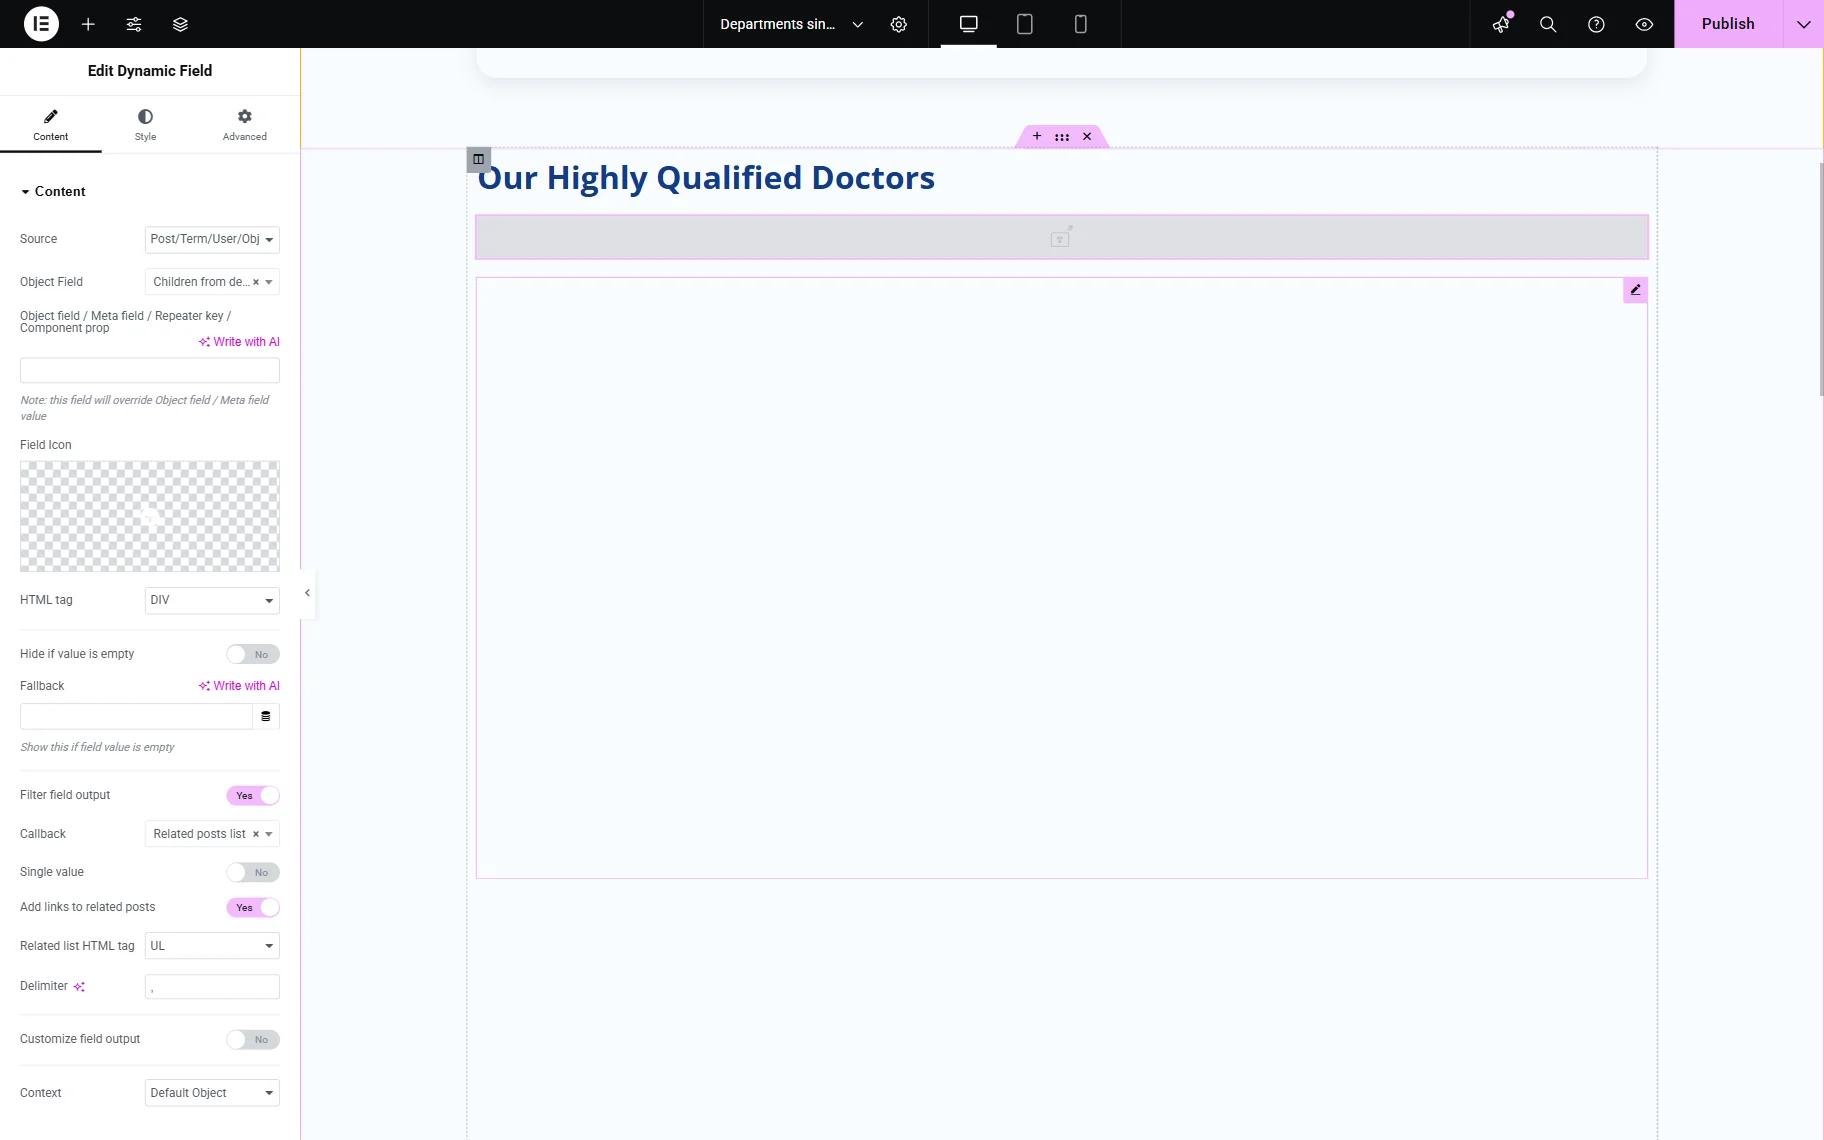
It is acceptable that the gray tab is displayed on the editing page instead of the values; the proper values will be shown on the front end.
Click the “Publish” button once you are ready with the settings.
Check the Result
As a sample, we connected three “Doctors” posts to one “Department”.
When we proceed to the front end of this post, the same three posts are displayed.

That’s it. Now you know how to display the related posts using the JetEngine WordPress plugin functionality.