How to Use Stackable WordPress Plugin with JetEngine
This tutorial will teach you how to integrate JetEngine dynamic data with the Stackable plugin on your WordPress website.
Before you start, check the tutorial requirements:
- Stackable Premium version installed and activated.
- JetEngine plugin installed and activated
There is an excellent opportunity to display the WordPress dynamic data you add with the JetEngine plugin in the Stackable design templates. Let’s find out how to do it in several steps.
Add JetEngine Meta Box
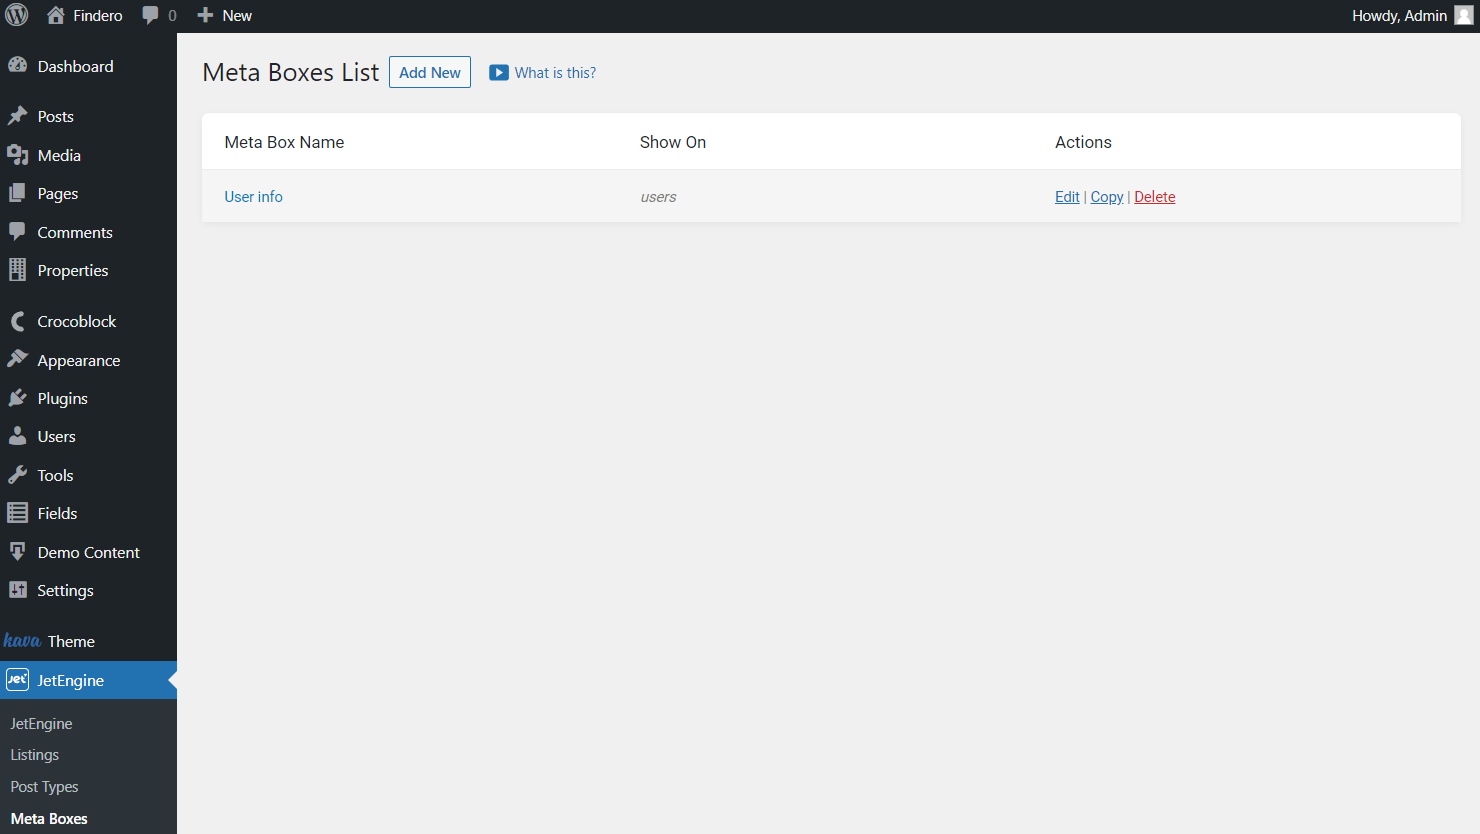
Head to WordPress Dashboard > JetEngine > Meta Boxes and hit the “Add New” button to build a new meta box.
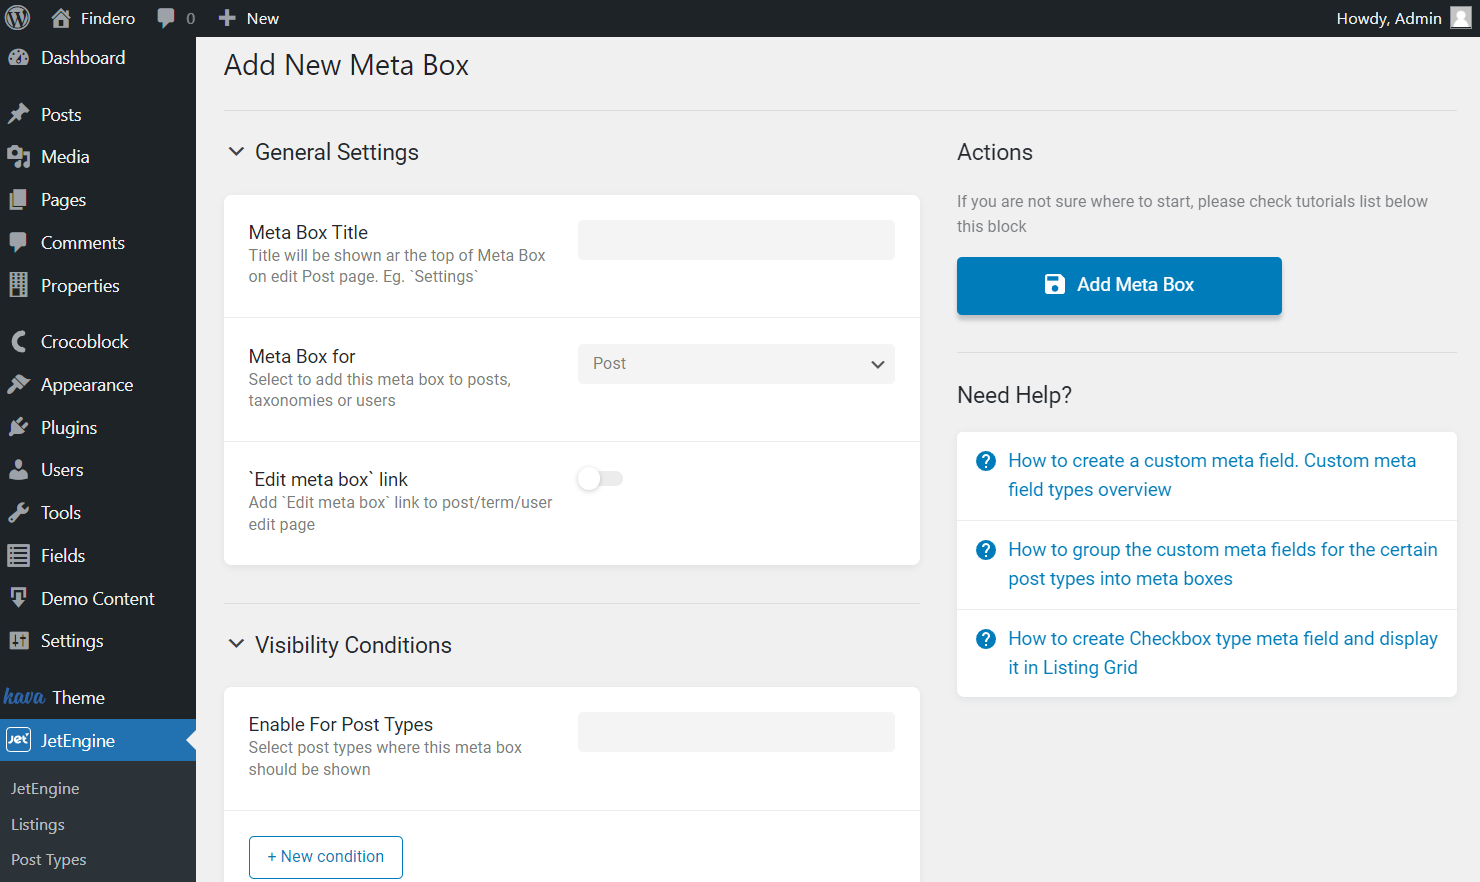
Complete the General Settings tab paying attention to the Meta Box for the field where you can specify the meta box source.
Also, set the Visibility Conditions if needed.
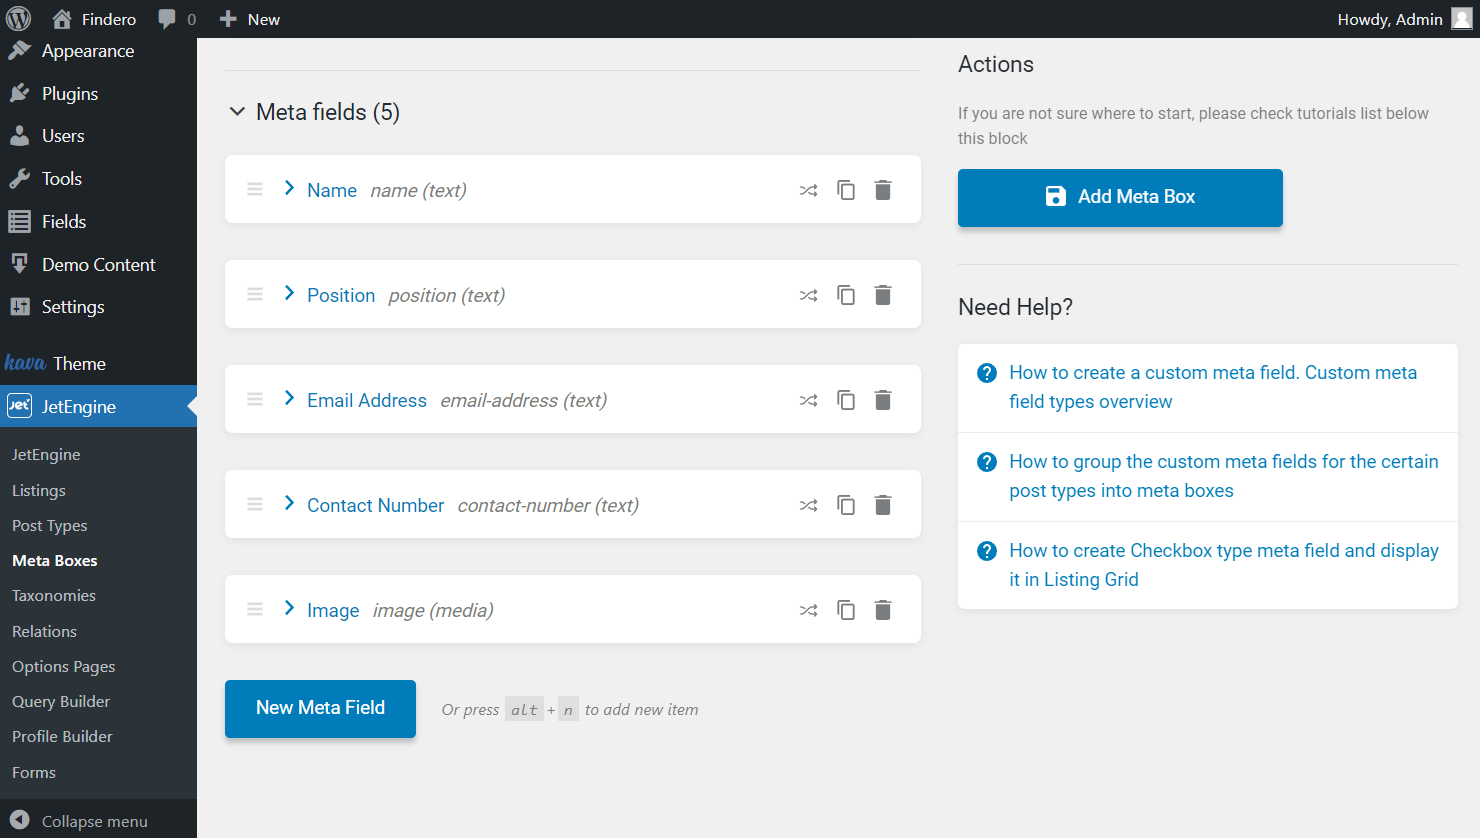
Scroll down to the Meta Fields tab and add new fields by pressing the “New Meta Field” button.
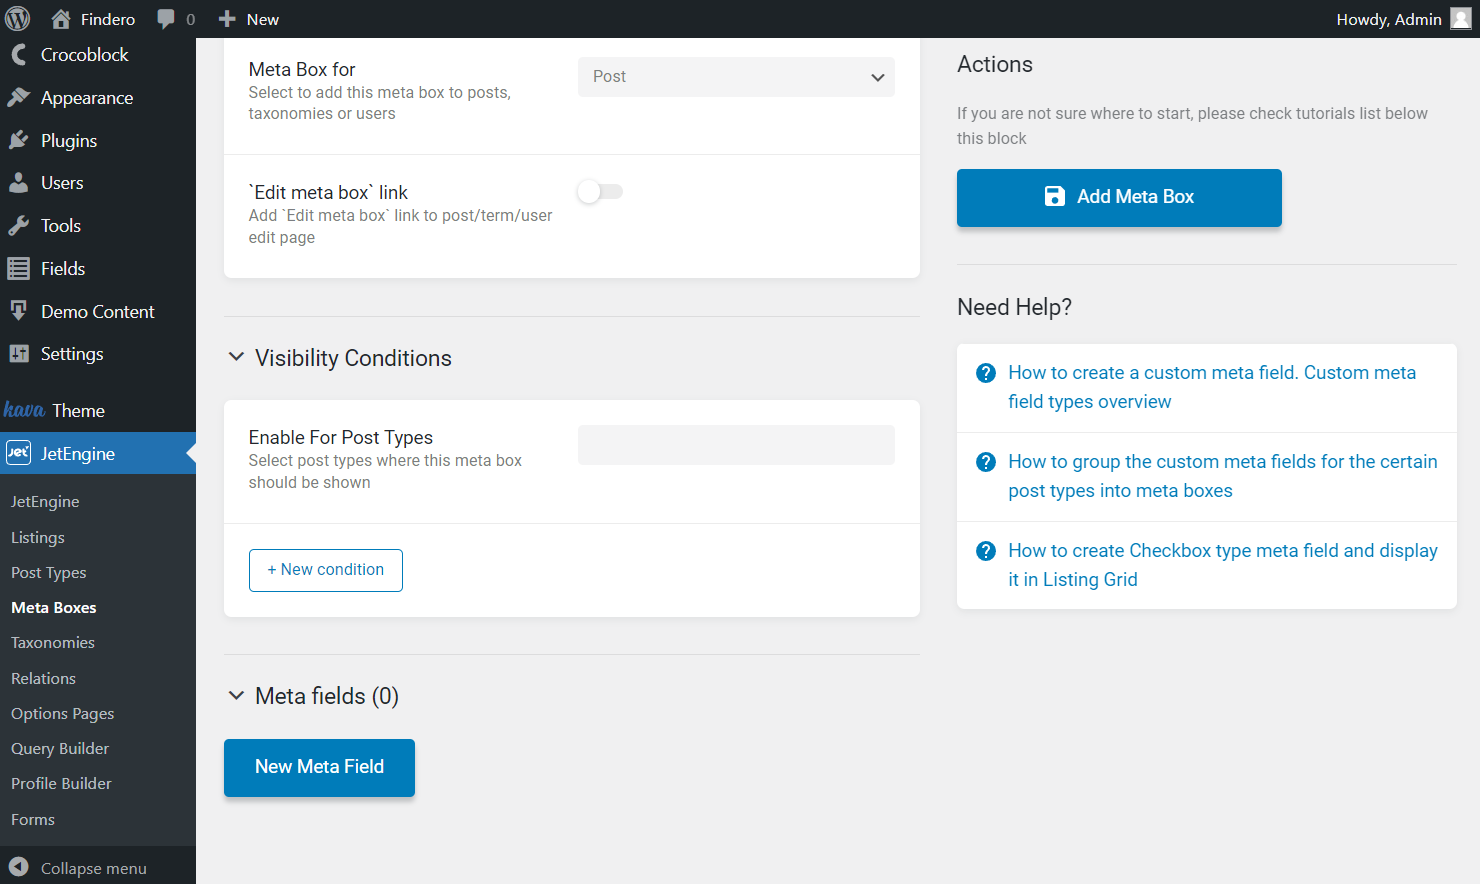
Adjust as many fields as you need and click the “Add Meta Box” button to save the result.
Display Meta Fields with Stackable Blocks
Open the source items in your WordPress Dashboard. Now, for instance, we selected usual WordPress Posts as the source. So, we go to WordPress Dashboard > Posts and open one of the posts created earlier or press the “Add New” button to create a new post.
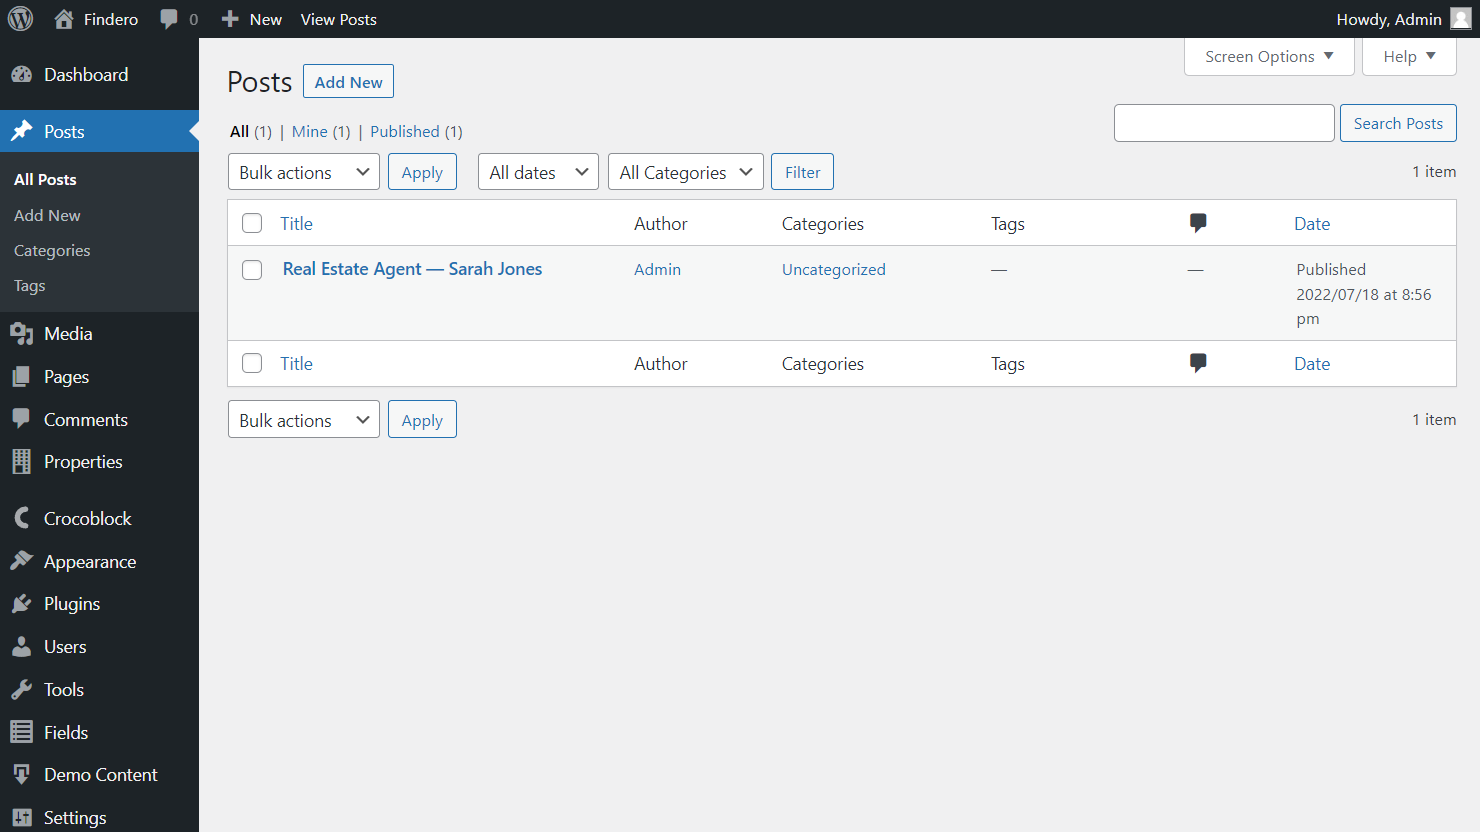
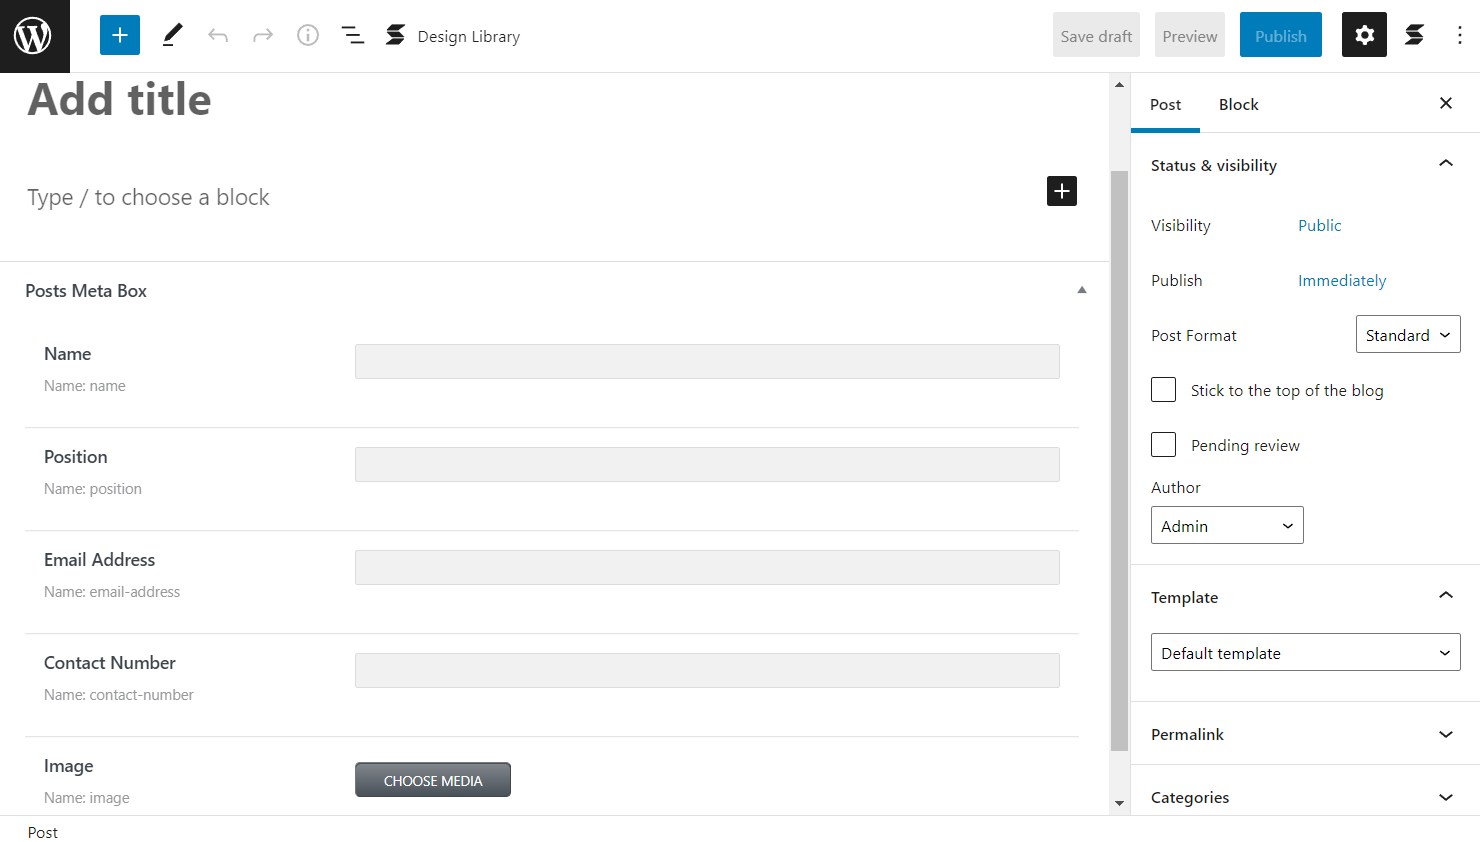
Here you will spot the tab with the created meta box and its meta fields. Complete them with the desired values and press the “Publish/Update” button.
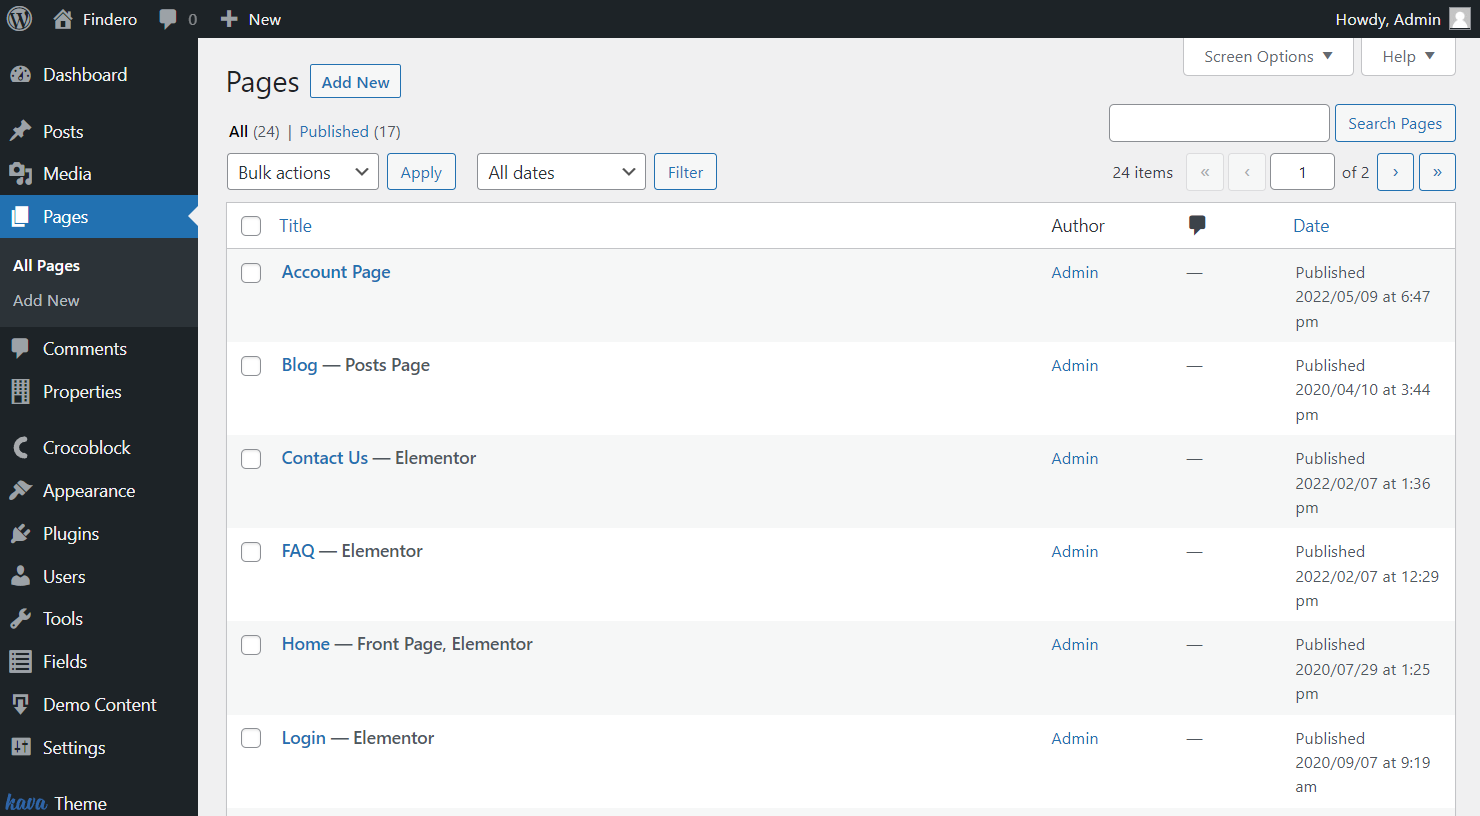
Navigate to the WordPress Dashboard > Pages directory and click the “Add New” button.
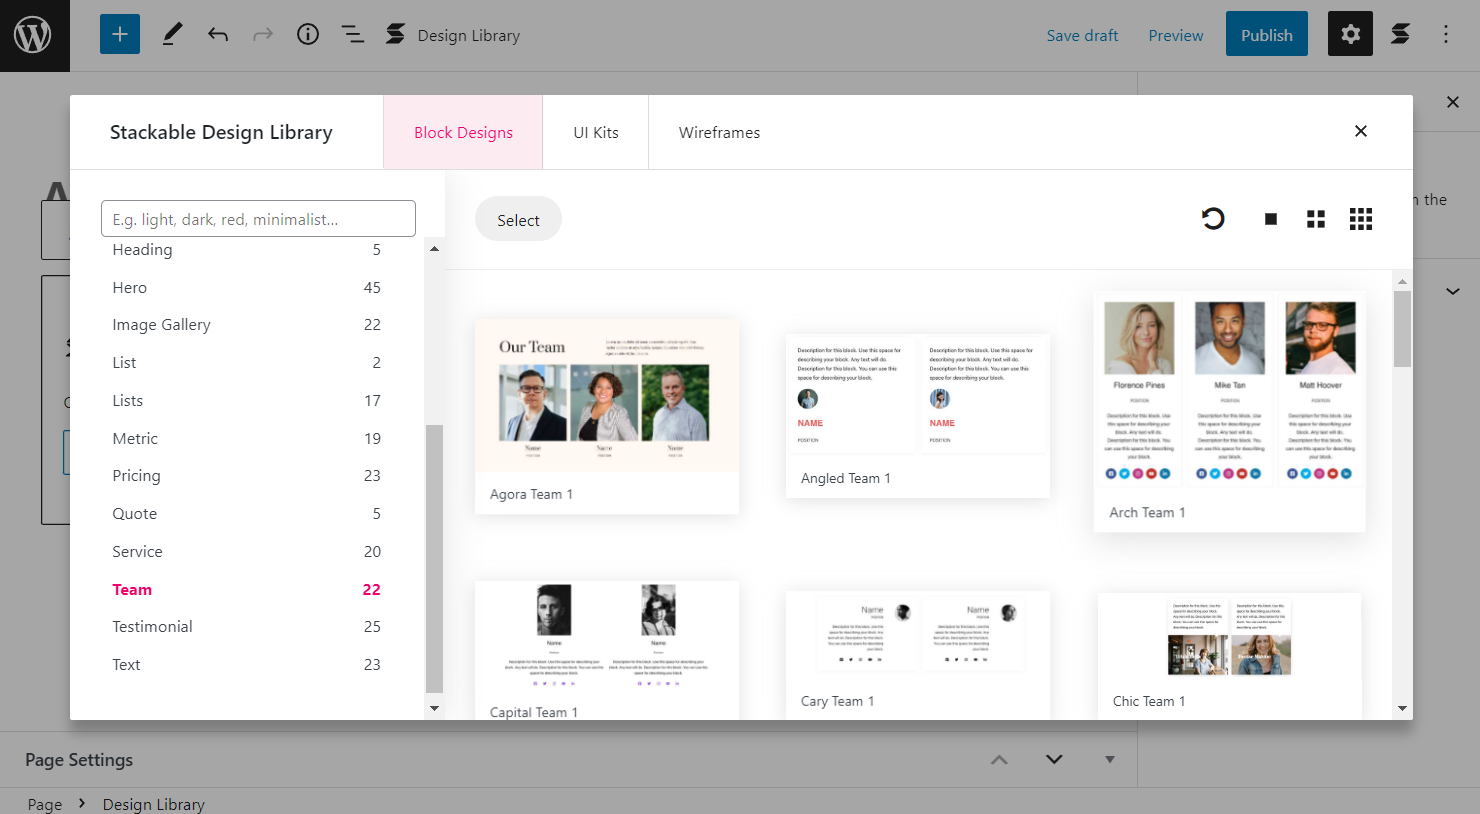
Place the Stackable Design Library on the page and hit the “Open Design Library” button to find the desired blocks option.
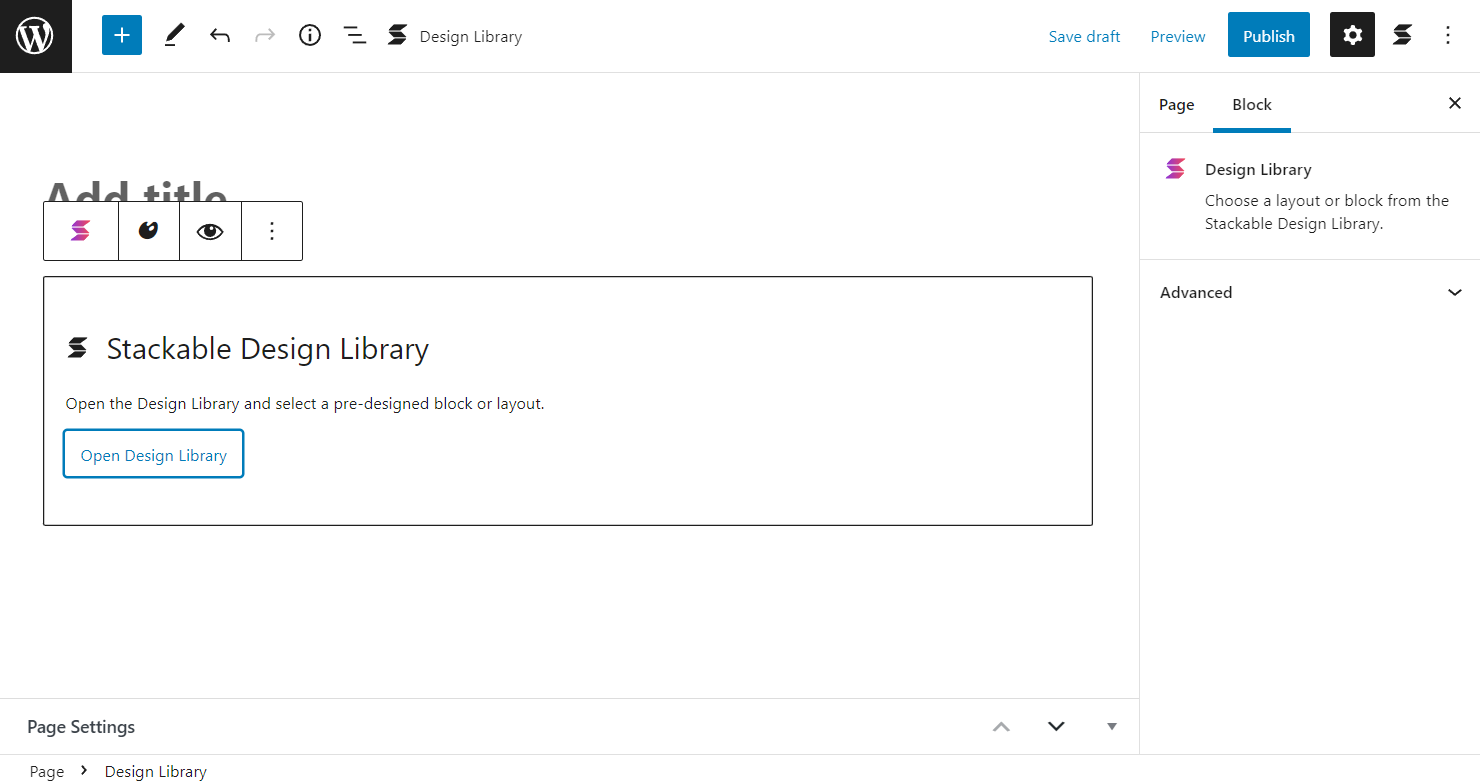
Add any Stackable block you think is suitable for the page.
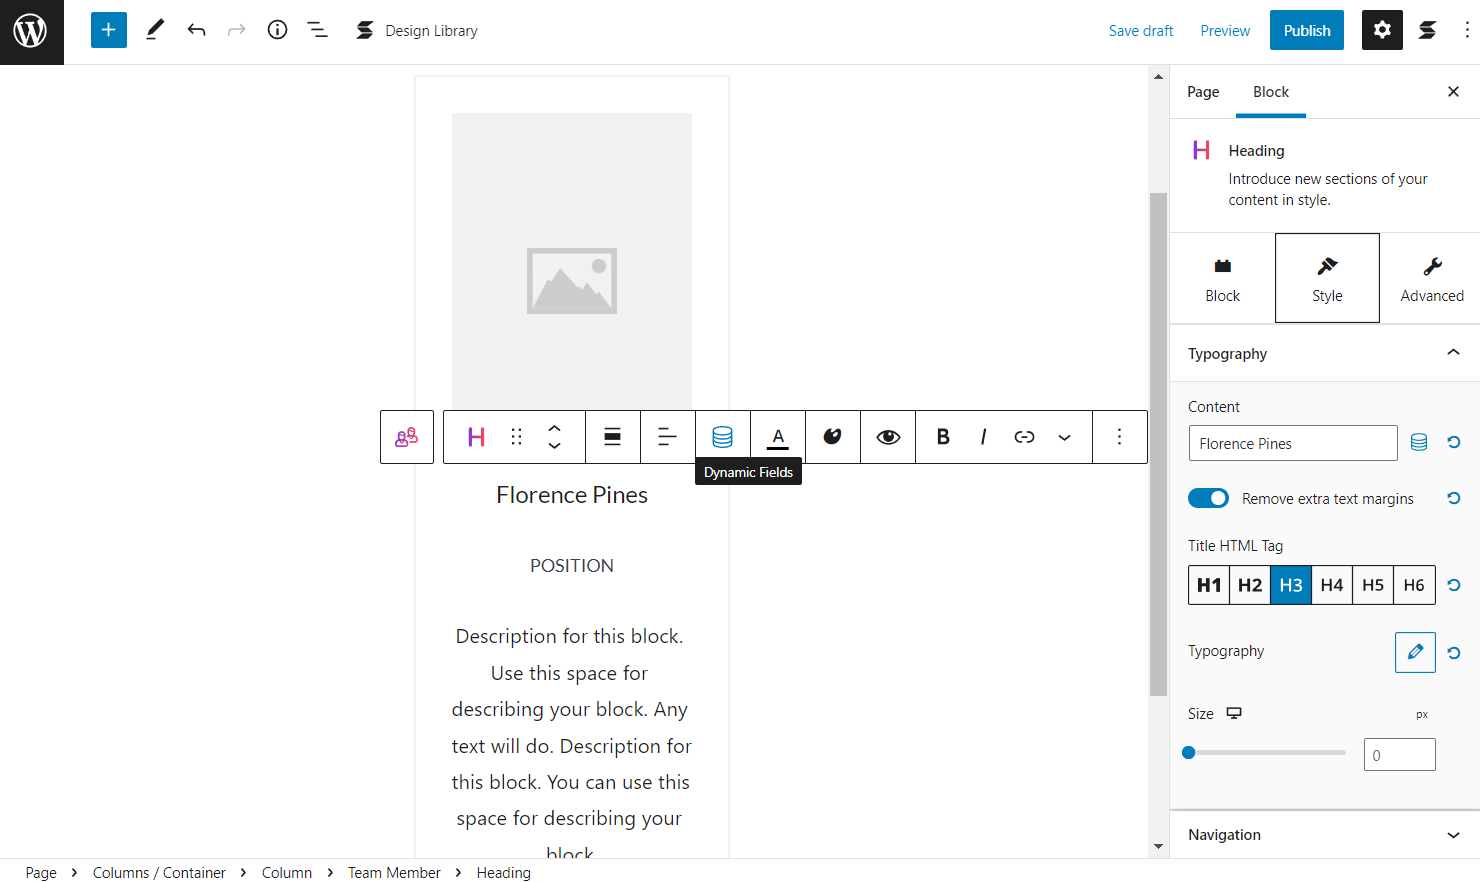
Select the text you want to change into the meta fields data and click on the “Dynamic Fields” button.
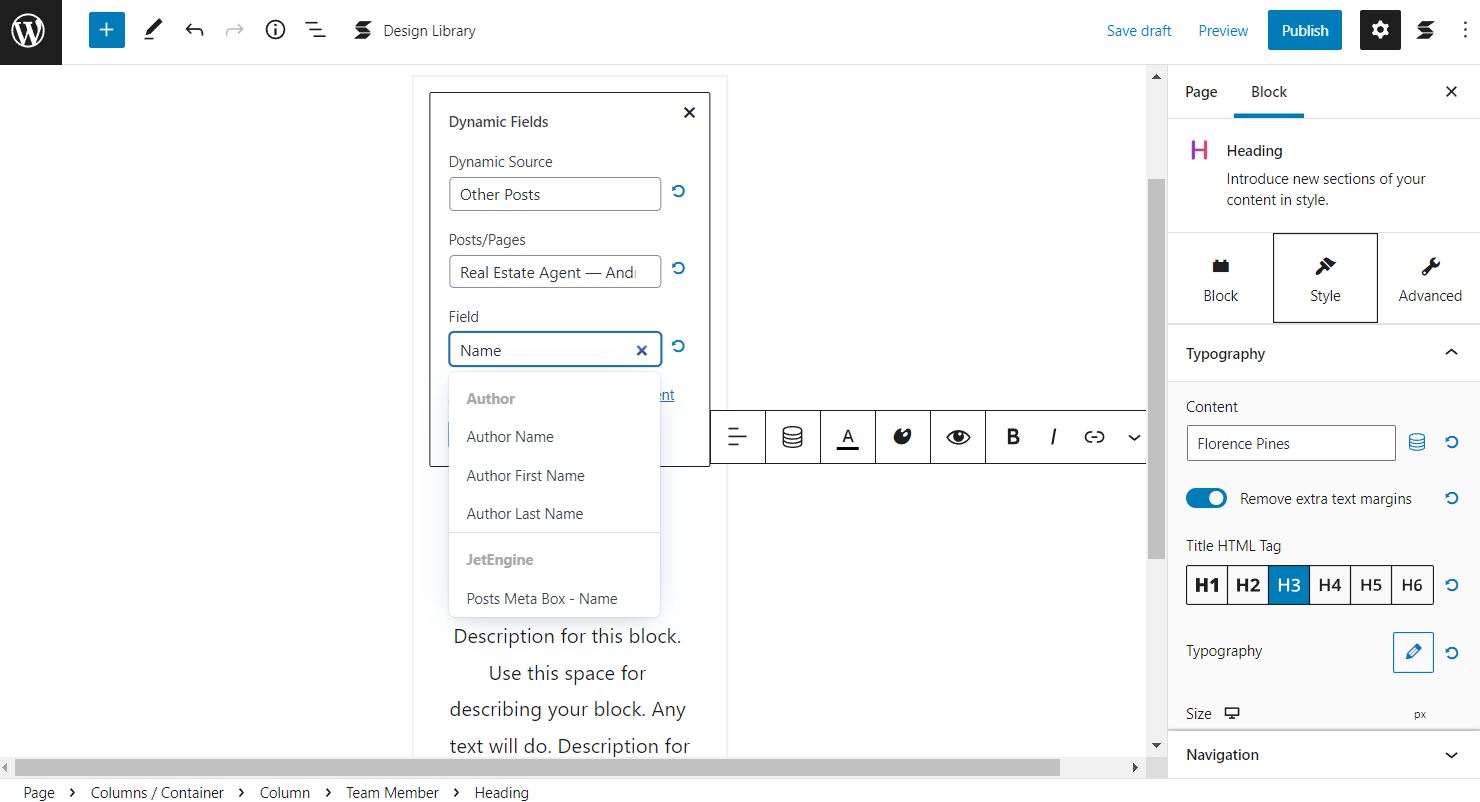
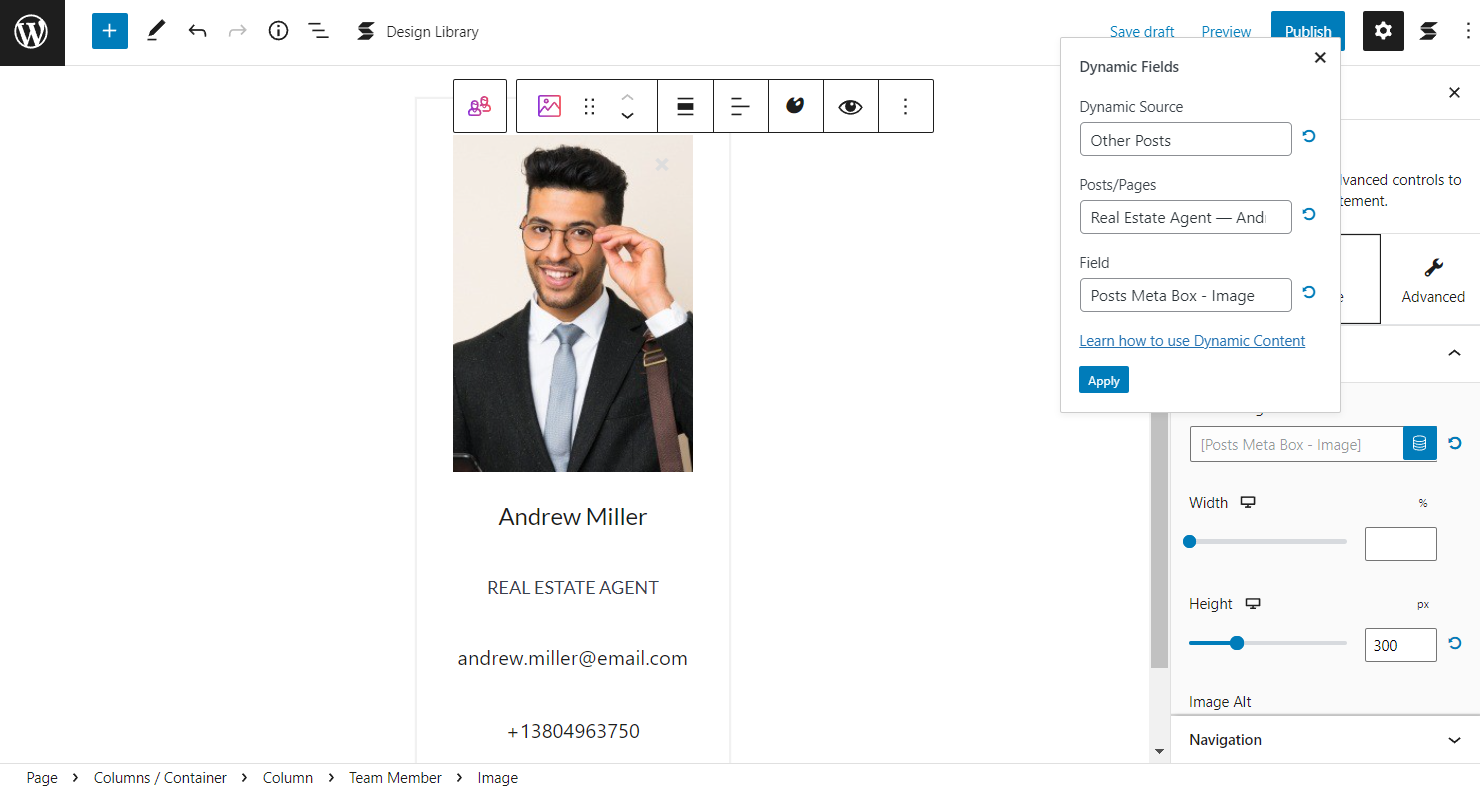
Pick the needed option as the Dynamic Source.
As we have selected “Other Posts,” the Posts/Pages field appears. Here we choose the same post we need.
Select the needed Field by scrolling down to the JetEngine section and pressing the “Apply” button.
Adjust all the other fields you need accordingly.
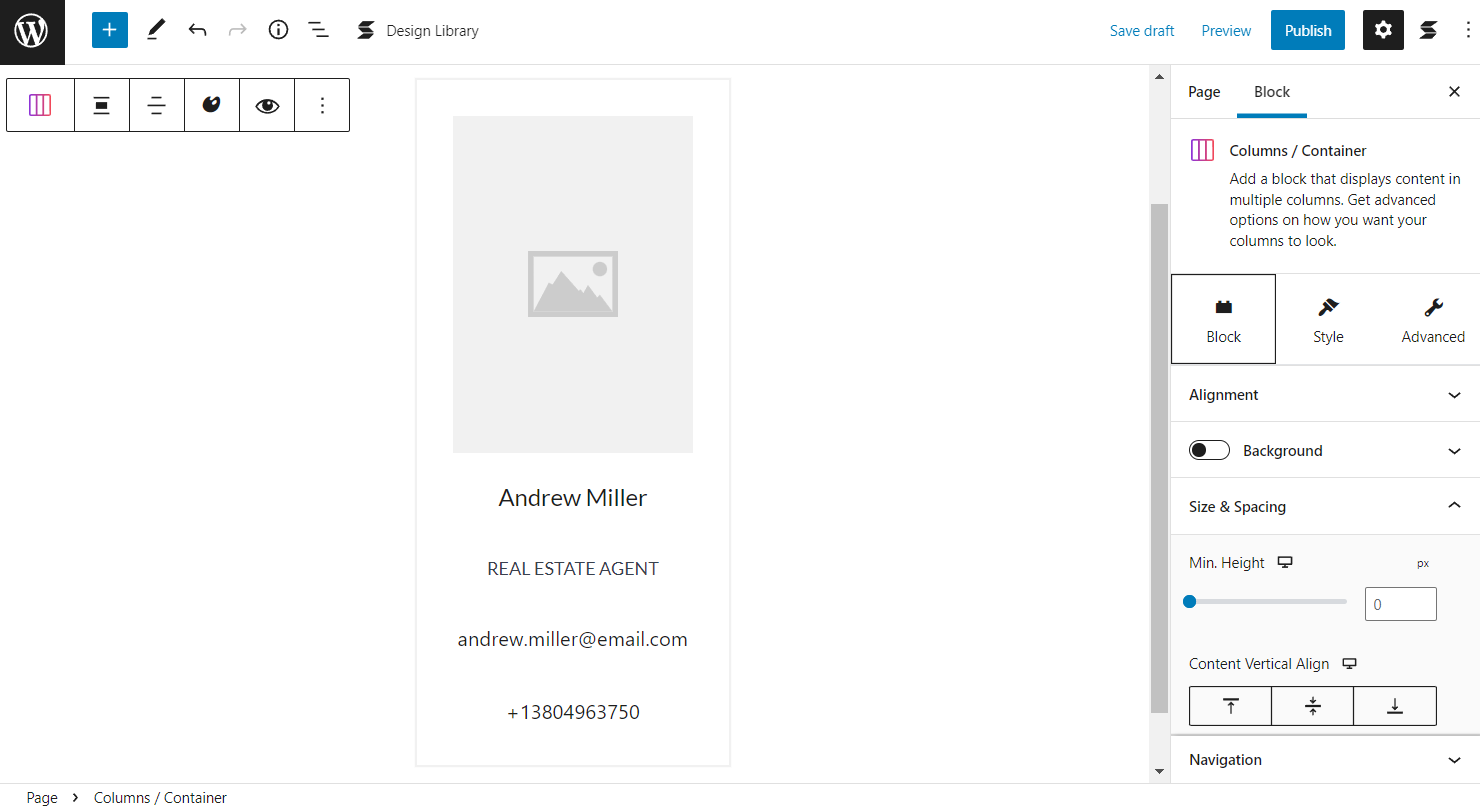
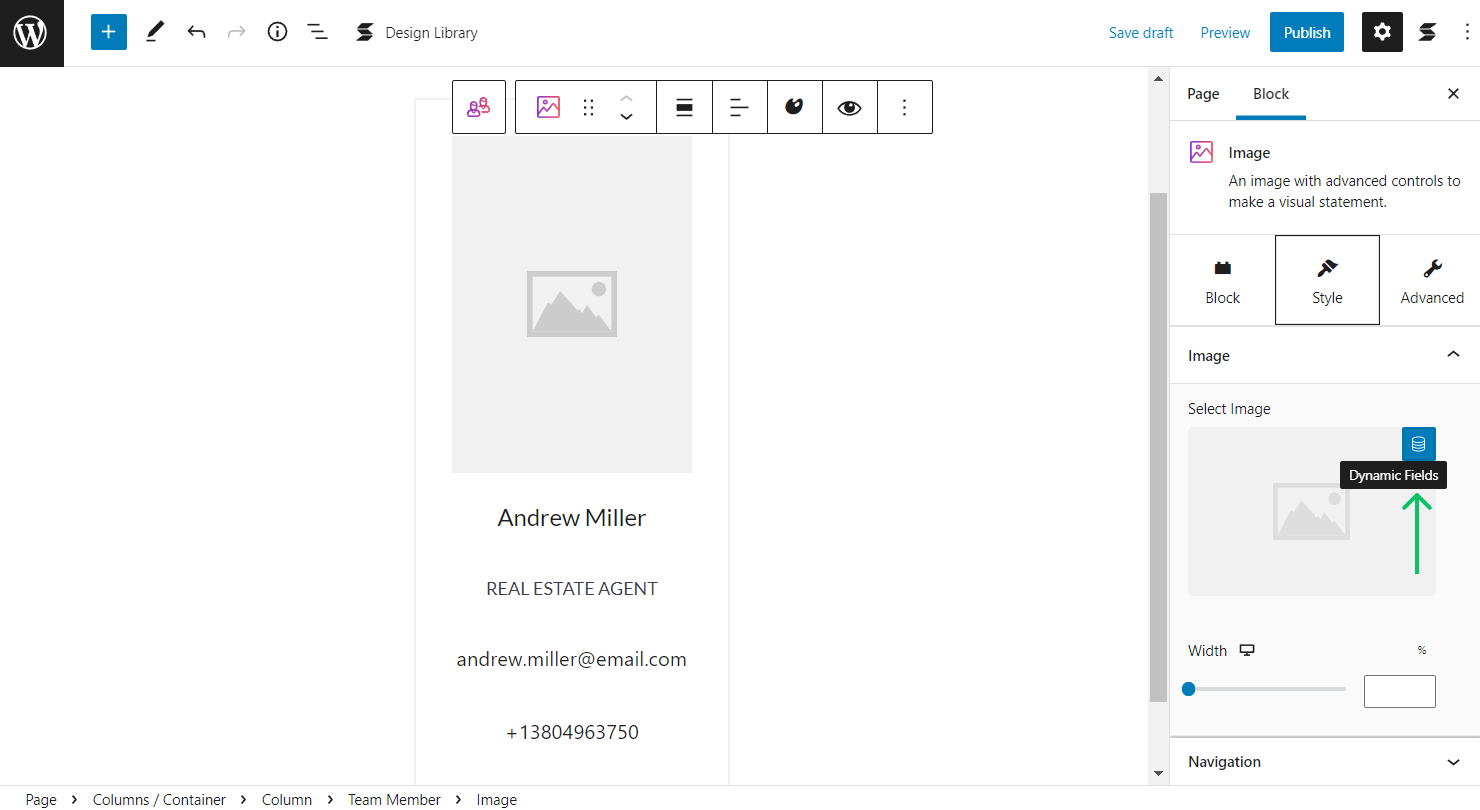
Image block
Settings location differs a little for the Image block. You can find the Dynamic Content icon in the Image panel of the block Style tab. Click it to set the dynamic image.
Set the needed values in the customization fields to get the result.
Press the “Publish” button to make the page live.
Show JetEngine Meta Fields in Query Loop
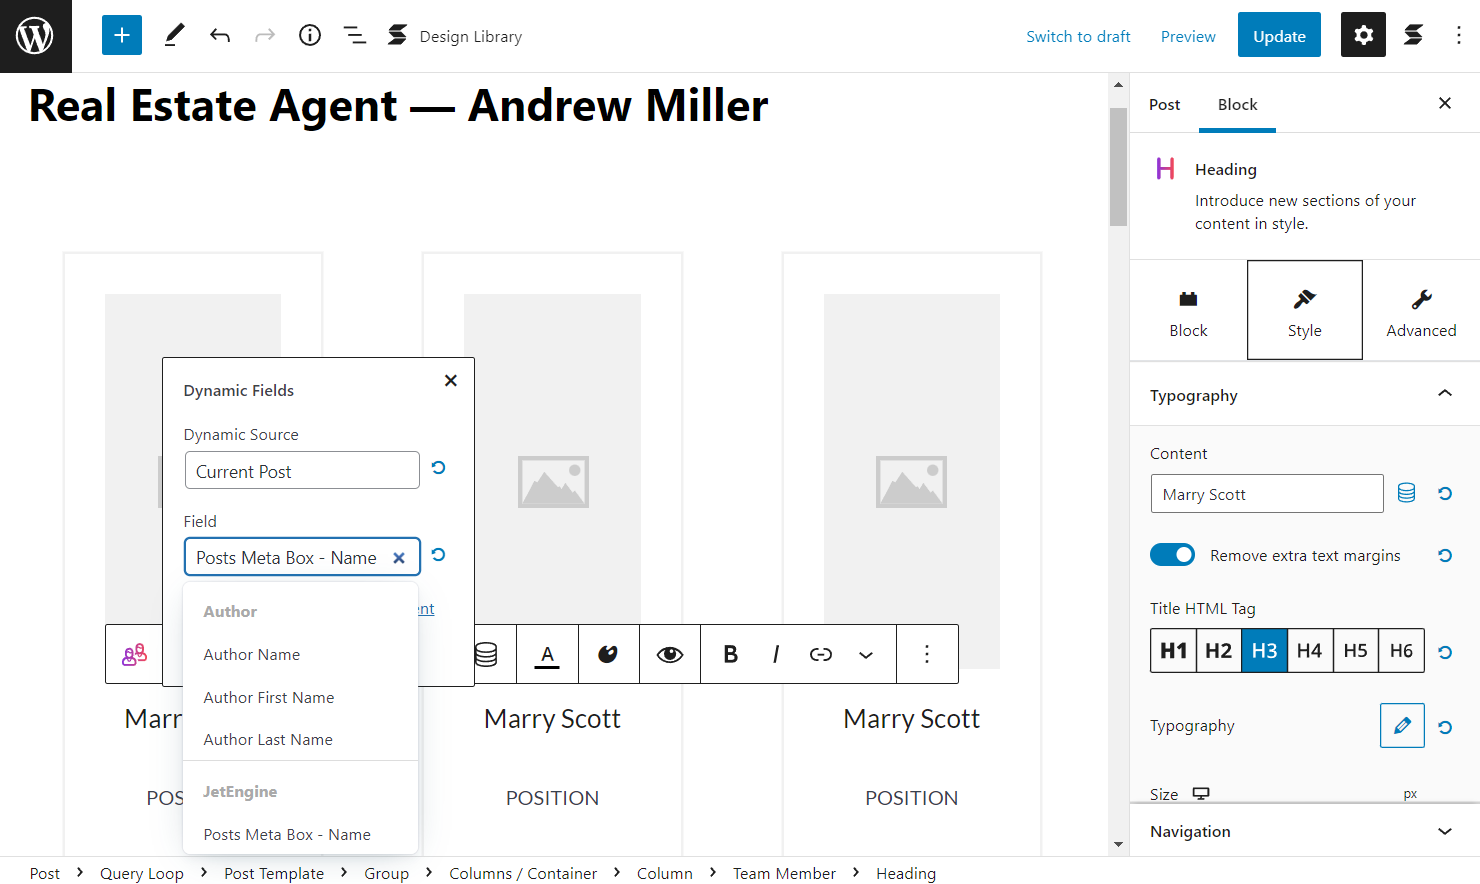
Another way to use the meta fields with Stackable is dynamic data in the Query Loop block. Go to the post you have created, place the Query Loop on the page, and the desired design with the Design Library inside it.
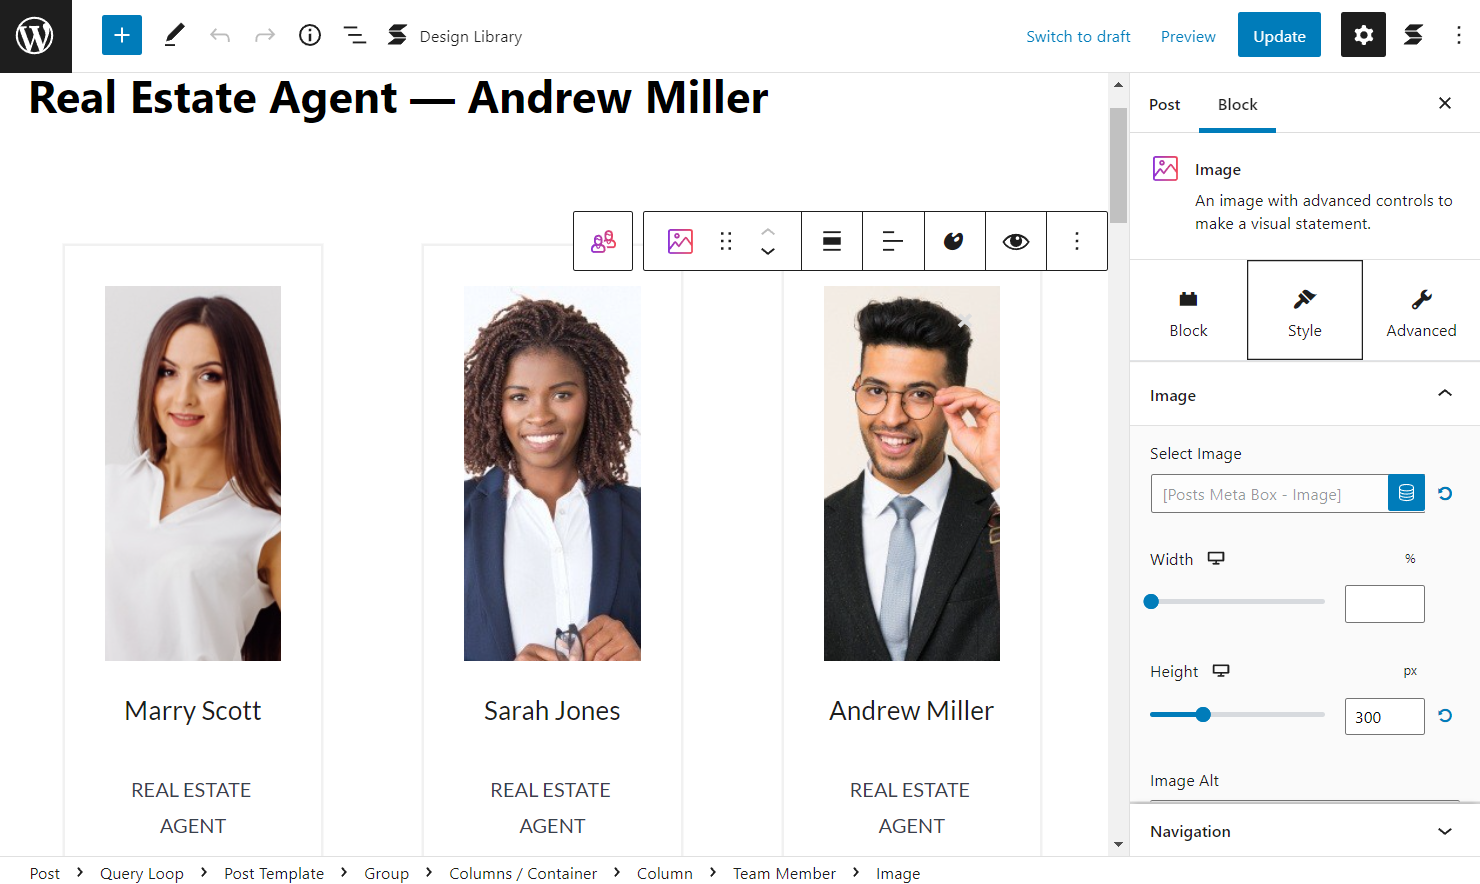
Then follow the steps we have taken before — press the “Dynamic Fields” button and find the needed meta field in the Field list. Don’t forget to click the “Apply” button.
Then work on other fields if needed and update the post.
Build Meta Fields for Taxonomies
Also, you can display the Taxonomy of the post. Firstly, make sure you have created a taxonomy.
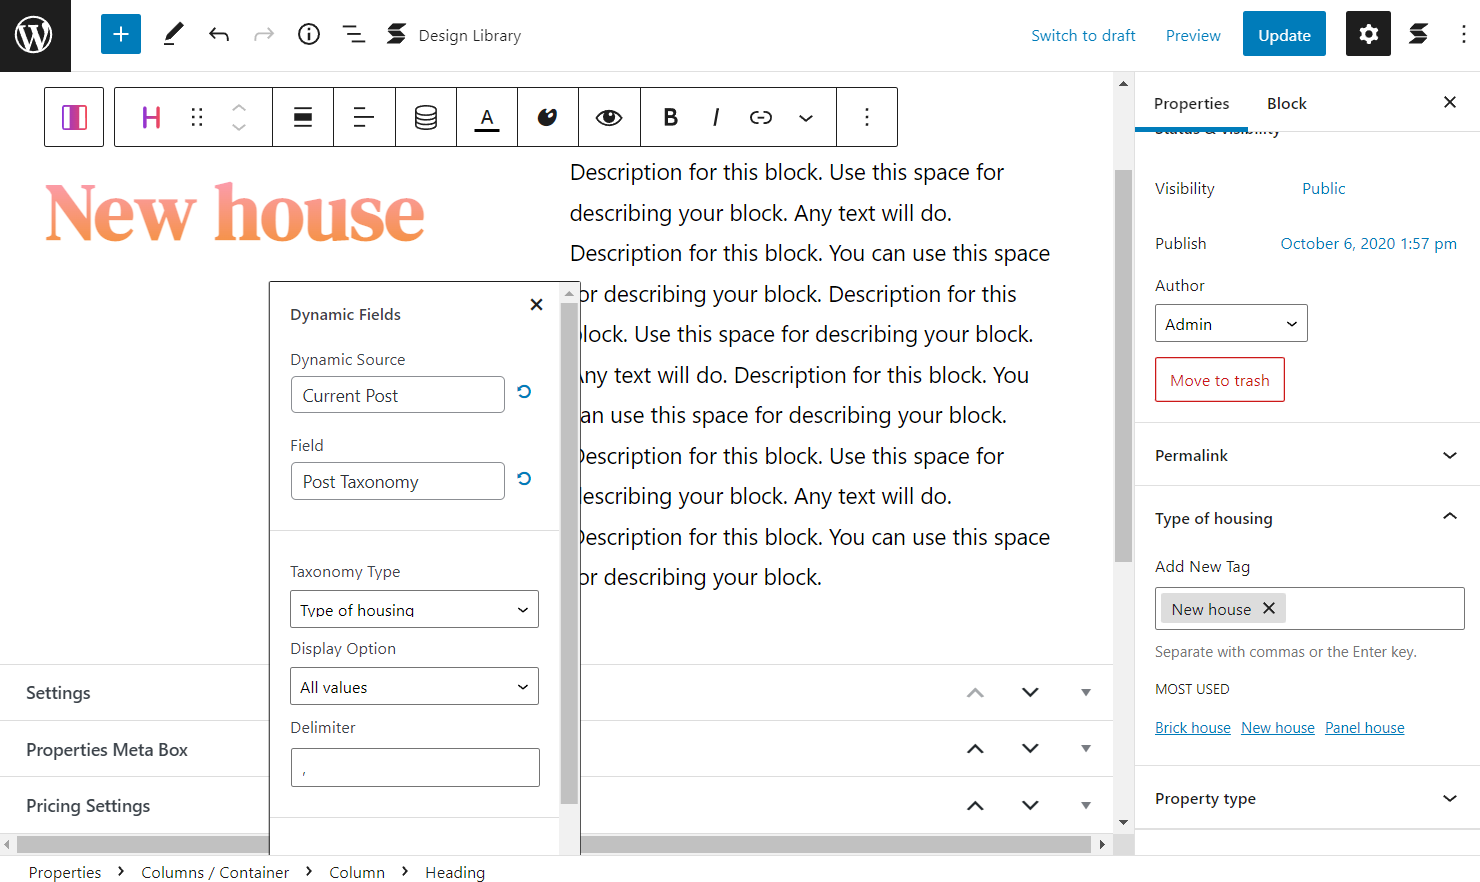
Then head to the needed post and add any Stackable block. Find the “Dynamic Fields” button and adjust the following settings.
Select “Current Post” as a Dynamic Source and pick the “Post Taxonomy” Field. As well, choose the needed Taxonomy Type and Display Option.
That’s it; now you know all the integration features available with JetEngine and Stackable for your WordPress website customization.