How to Use Custom Callback to Display Image in the Admin Columns
This tutorial will teach you to use a custom callback to display image from the meta fields in admin columns within custom post type lists created with the JetEngine WordPress plugin.
Before you start, check the tutorial requirements:
- Elementor (Free version) or Block editor (Gutenberg)
- JetEngine plugin installed and activated
with Custom Post Type created and several posts added. If you have not done this yet, please follow this tutorial
It is possible to display the content from the meta fields in admin columns with the help of a Custom Callback function provided by the JetEngine plugin.
Let’s assume you want to display the picture from the Media meta field in the Custom type posts list. This tutorial will show you how to do it.
Add Meta Field
This step should be recreated if you haven’t added the “Media” Meta Field yet.
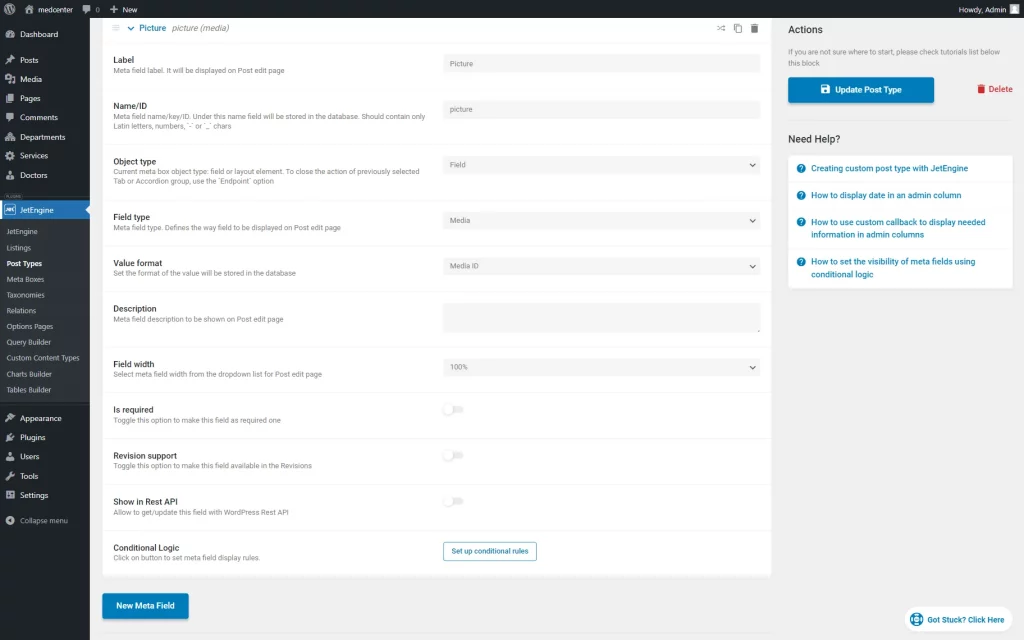
Go to the Custom Post Type you have created beforehand by following the WordPress Dashboard > JetEngine > Post Types path and opening the needed CPT.
Scroll down to the Meta Fields section and press the “New Meta Field” button to add a “Media” Meta Field.
Save the changes by hitting the “Update Post Type” button.
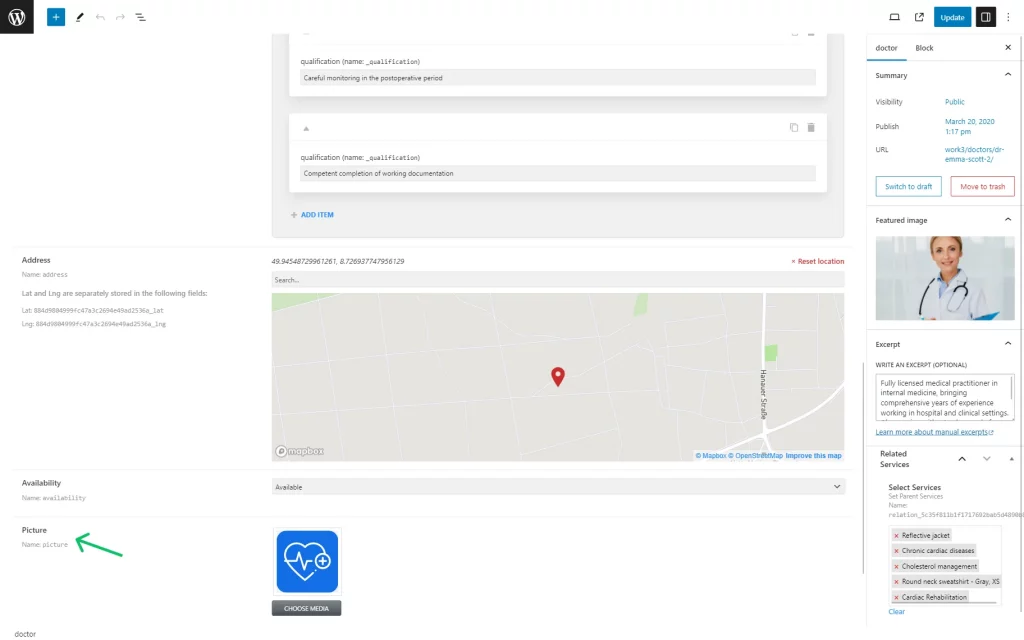
Complete Meta Fields in Posts
Create Admin Column
Go back to WordPress Dashboard > JetEngine > Post Types and reopen the same CPT.
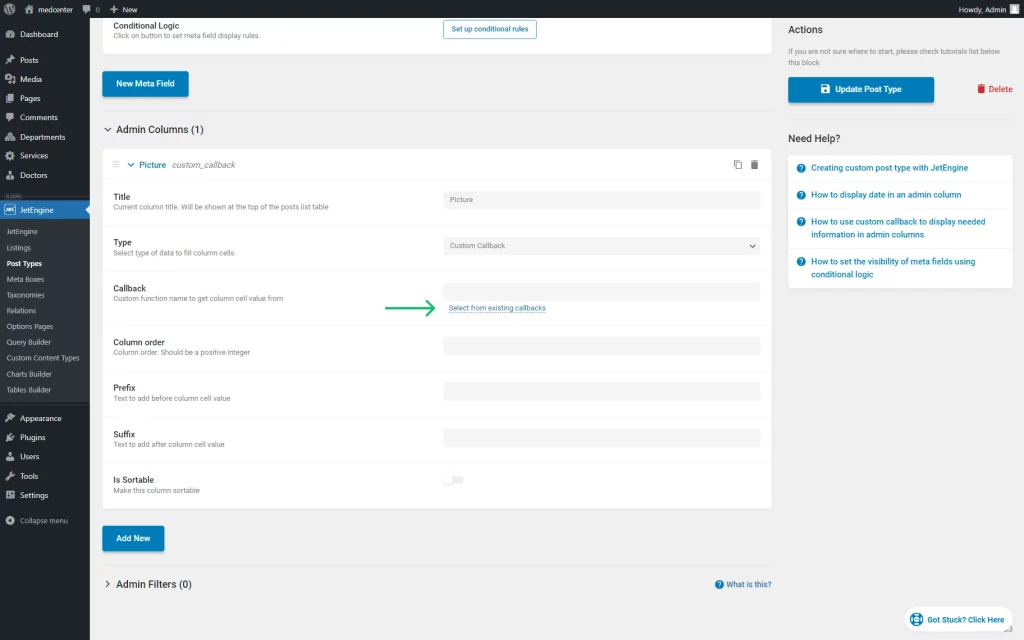
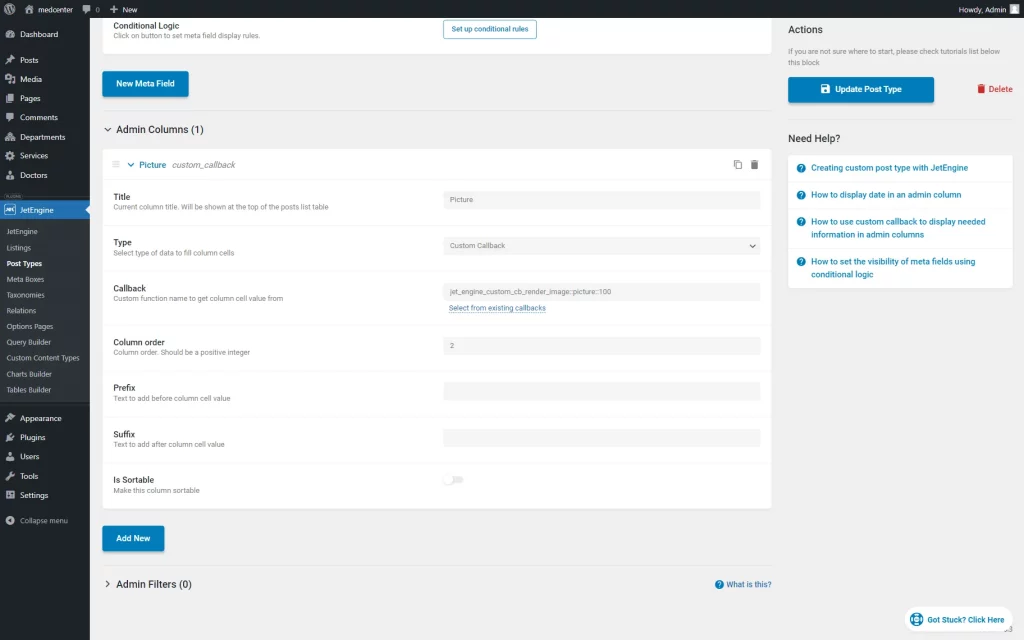
Head to the Admin Columns section and click “Add New” to adjust a column.
Fill in the Title and select the “Custom Callback” option as a Type.
Then, press the “Select from existing callbacks” button next to the Callback field.
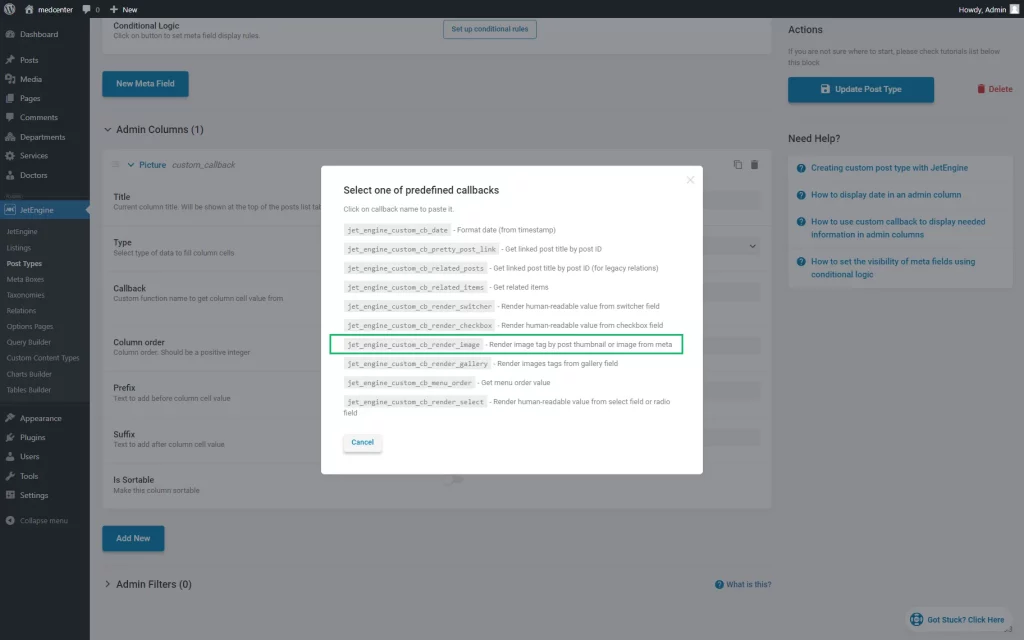
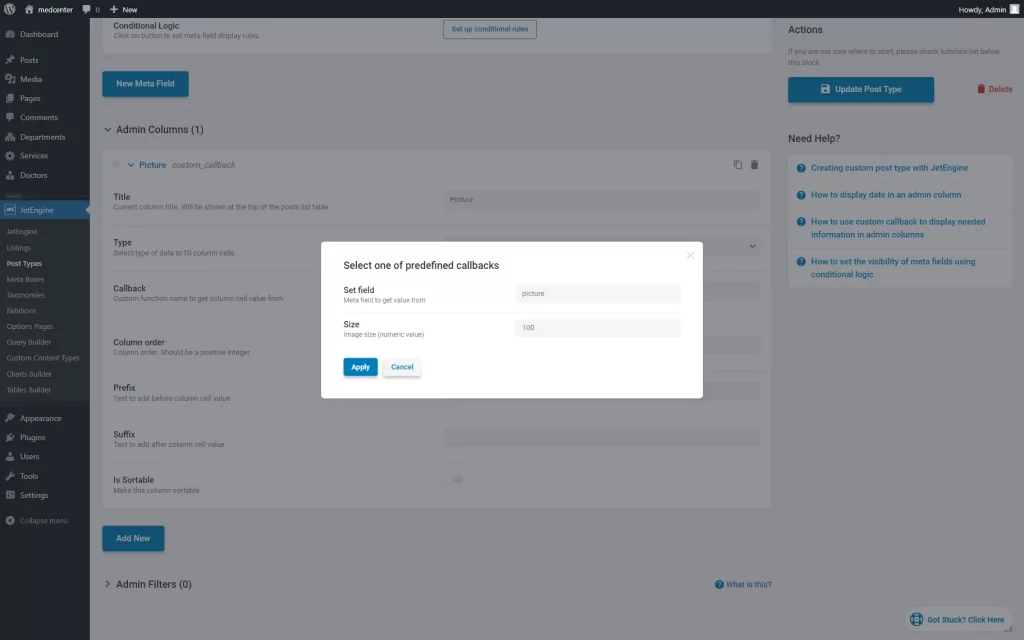
In the appeared pop-up, find and click on the “jet_engine_custom_cb_render_image” option.
This callback allows displaying post thumbnails or images from the specific meta field, which suits the described case.
As the option is selected, the Set field is completed with a “thumbnail” value that shows the thumbnail image by default. However, here a needed meta field value can be put instead. So, paste the value stored in the Name/ID field of the created meta field.
Also, you can change the Size of the displayed image.
Push the “Apply” button to save the changes.
Now the Callback field is filled in with the needed value automatically.
Complete the following fields if needed. For instance, we have set the Column order with a “2” value so the admin column will be displayed second in the options list.
Don’t forget to press the “Update Post Type” button.
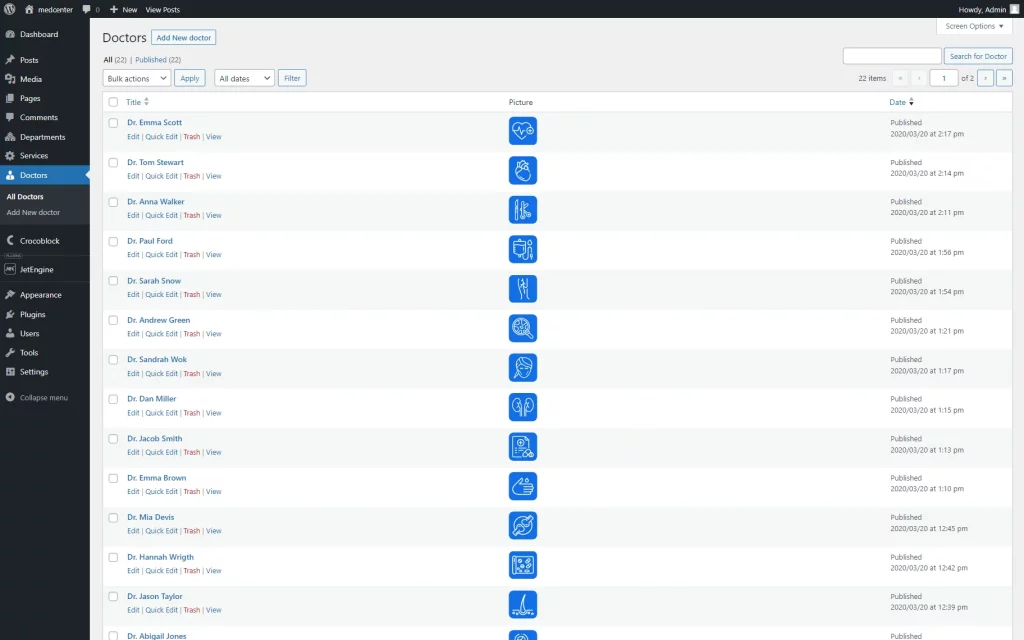
Check Result
Now you know how to display the data from the meta fields, media files, in particular, using the JetEngine callback option.
