Custom Visibility Conditions Add-on
Get to know about the Custom visibility conditions add-on and two new conditions that it adds to the Dynamic Visibility Module for the Elementor JetEngine plugin.
Custom visibility conditions is a part of the Dynamic Visibility that adds two extra conditions to the module:
- “Post Status is” allows you to show/hide the sections/columns/widgets depending on the status of the post;
- “Is post by current user” makes sections/columns/widgets visible/invisible to the author of the post.
How to Install the Add-on
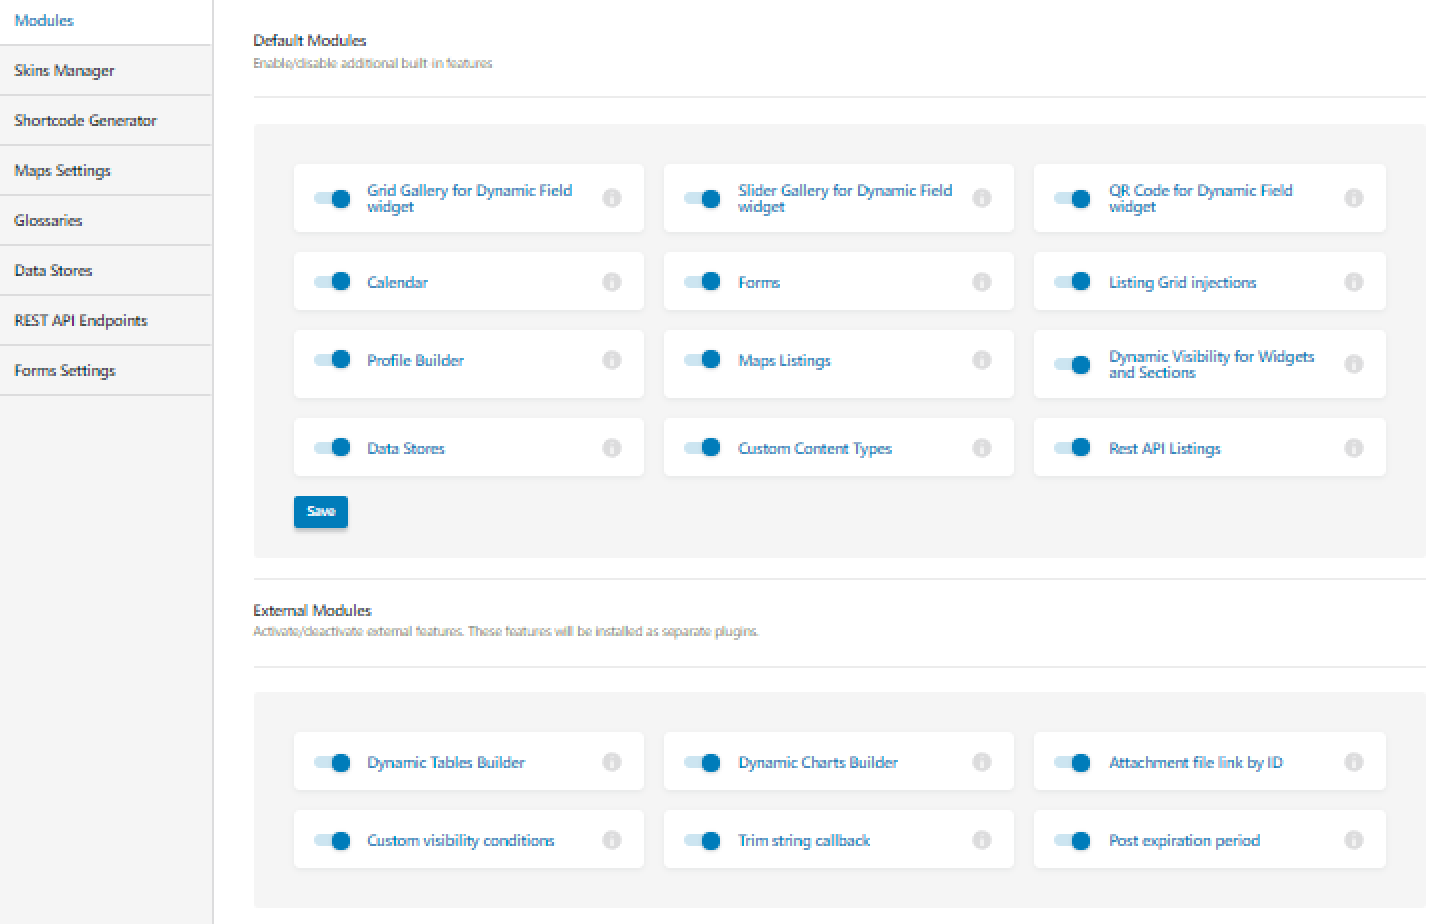
The first way to install the сustom visibility conditions is to get it via the latest update of the JetEngine plugin. Proceed to the JetEngine tab in WordPress Dashboard, and there you can find Custom visibility conditions among external modules. Enable the toggle to activate the feature.
Another way to install the сustom visibility conditions is to download the add-on from the Crocoblock DevTools page, where this and other features are free. After that, navigate to Plugins on the Dashboard, click on the “Add New” button, then “Upload plugin.” After installing the сustom visibility conditions plugin, activate it in the JetEngine dashboard by enabling the toggle.
Then proceed to any post or page and click “Edit with Elementor.” Select any of the elements on the page and go to Advanced > Dynamic Visibility. Enable the toggle.
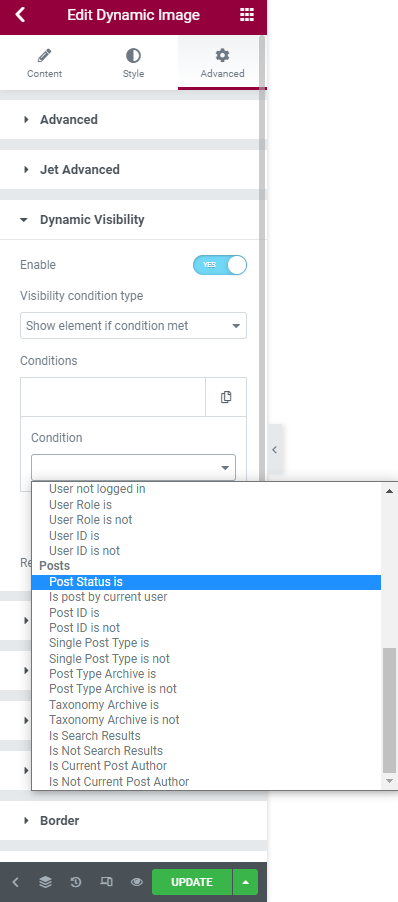
With the сustom visibility conditions feature, we can notice two additional options in the section Posts.
Post Status Is
If this condition is chosen, the element will be shown or hidden on the post’s page with certain status. For instance, when a user creates a post, they will see a banner with a notification that an administrator hasn’t approved it yet, and the post has the status “Draft.” When the post is published, the banner disappears.
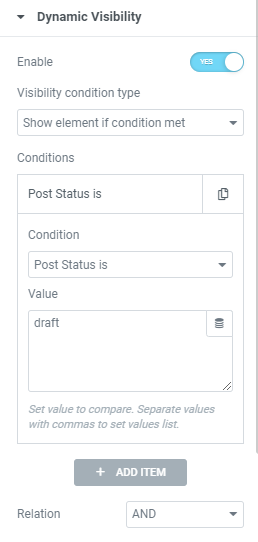
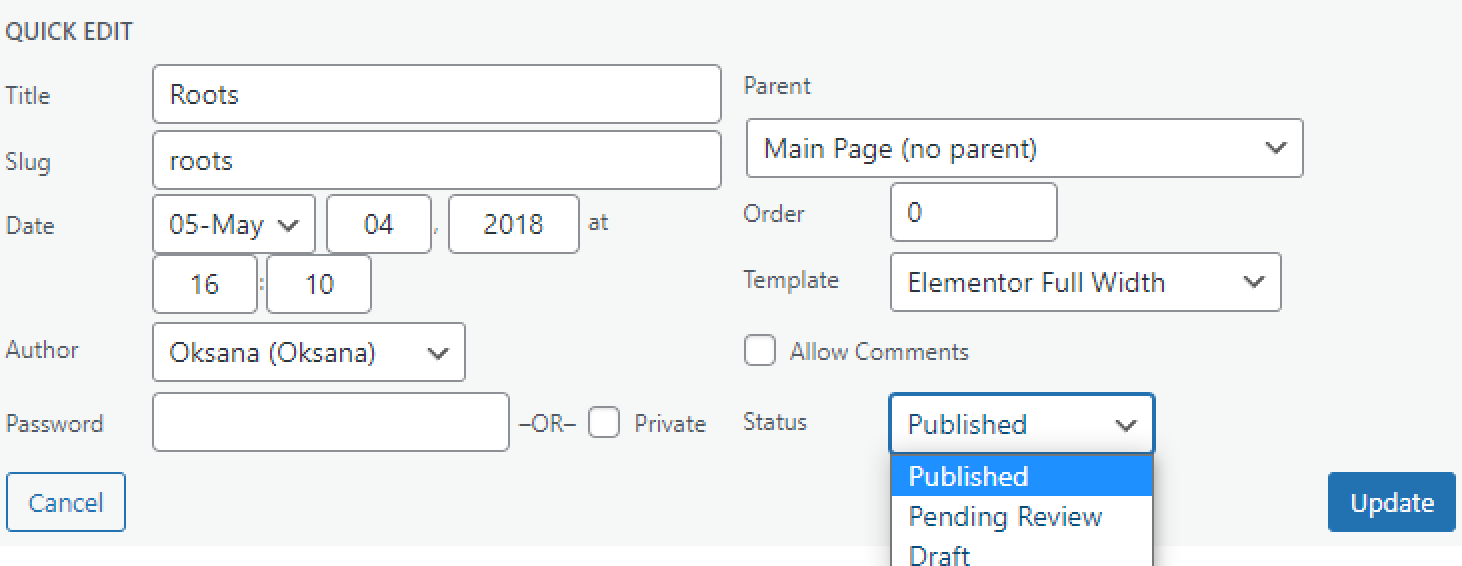
To set the dynamic visibility like that, select the needed Visibility condition type in the Dynamic visibility settings and choose the “Post Status is” condition. In the Value text area, type one or several status names. It could be default WordPress statuses (published, draft, or pending review) or any other that you have installed.
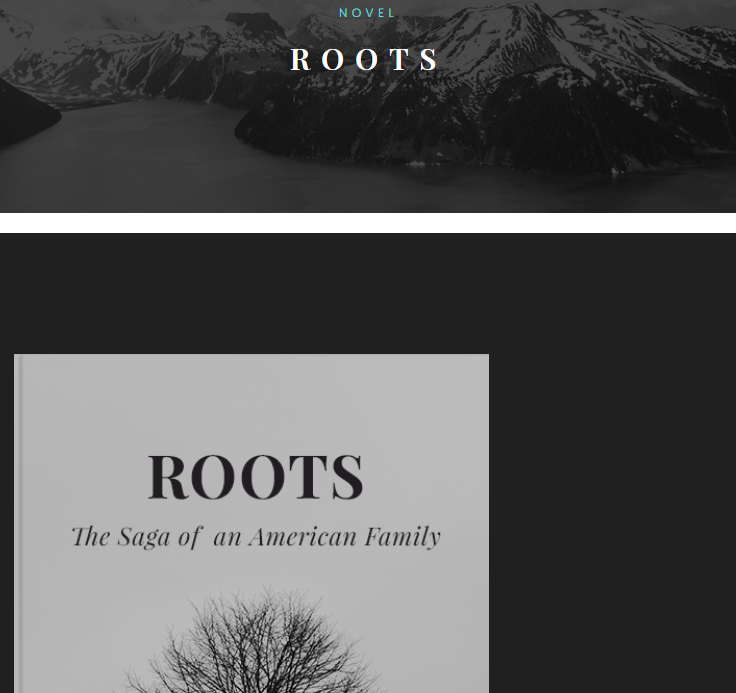
Let’s check this feature. We have settled the banner on the Single Page template and created a new post with the status “Draft.”
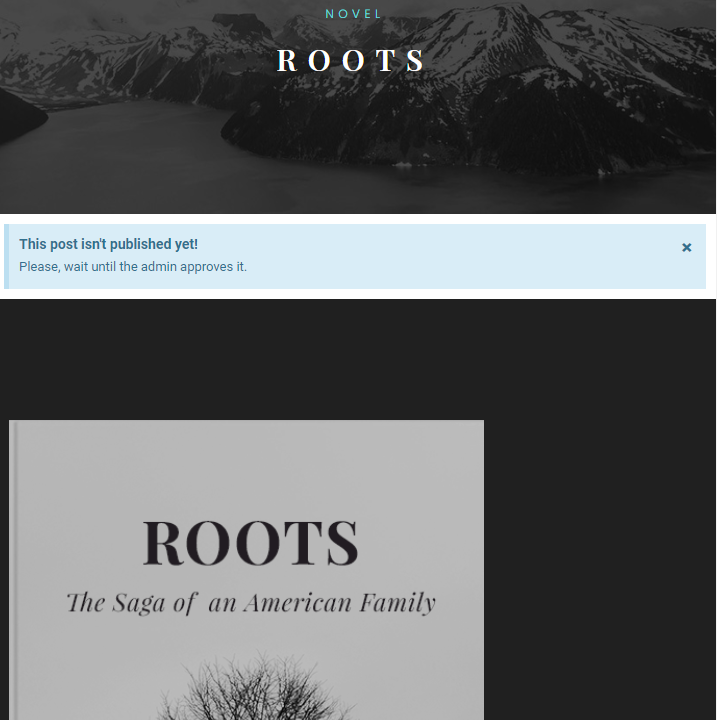
Now we can see the banner is here. Let’s change the post status to “Published.”
And now the banner isn’t shown according to the condition.
Is Post by Current User
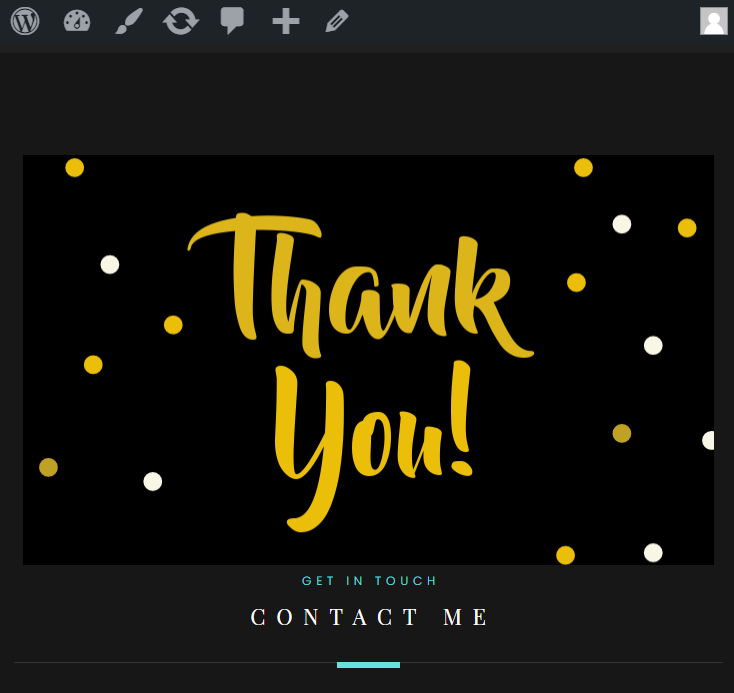
With this condition, you can hide or show the elements to the post author. E.g., you could add a “thank you” picture or other notes for the user who created the particular post.
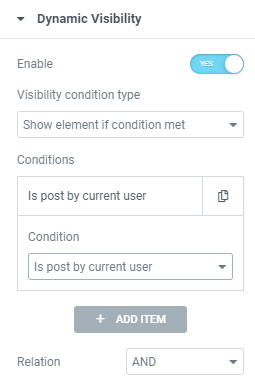
You just need to select the Visibility condition type in the Dynamic visibility settings of the necessary element and choose the “Is post by current user” condition.
Let’s see if our condition works. As the post author, we can see the gratitude picture we have uploaded previously on the Single Page template.
If we log out from our site and look at the post as an unsubscribed user or log in as another person, the picture is hidden according to the condition.
That’s it. Now you know how to install the Custom visibility conditions add-on, how to set up two new conditions, and how it could be used on your website.