How to Create a Dynamic Calendar in Gutenberg
From this tutorial, you will learn how to create a calendar that will dynamically display events from the separate Custom Post Type and add it to the page in Gutenberg Editor afterward.
JetEngine plugin allows you to create a Custom Post Type and then display the items of that post type in the calendar. This will be really useful if you want to add different events and show them in several different places on your website. Showing events in the calendar will also be convenient for the user. So, go through the following steps to create a calendar with dynamically shown events.
Dynamic Calendar Creation
Enable calendar module
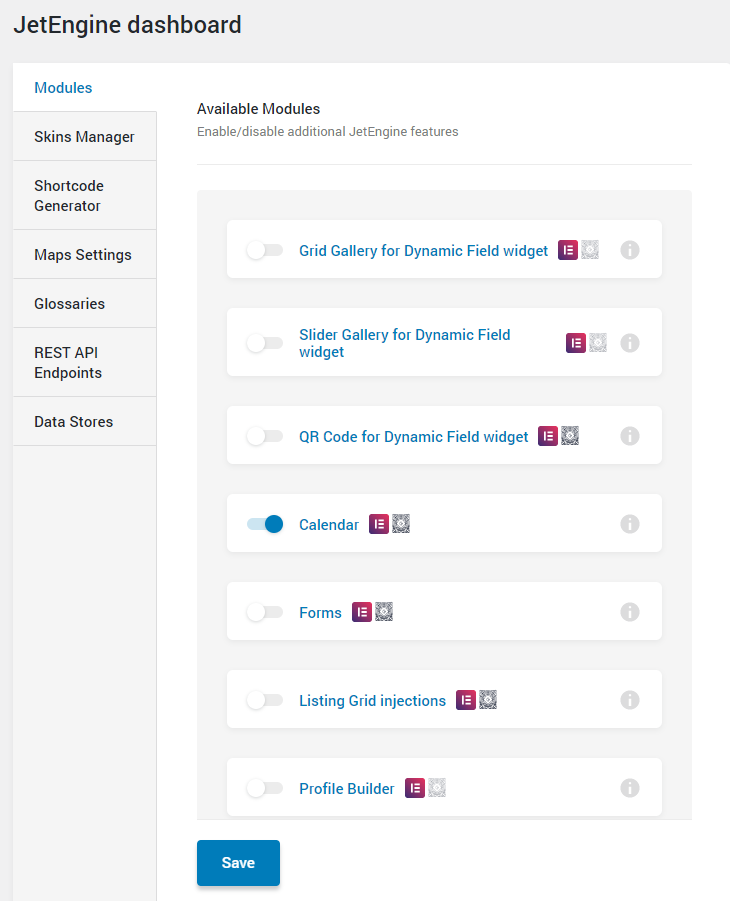
Open your website’s WP dashboard and go to JetEngine > JetEngine Dashboard > Modules. Find the Calendar module and enable the corresponding toggle.
Create custom post type for events
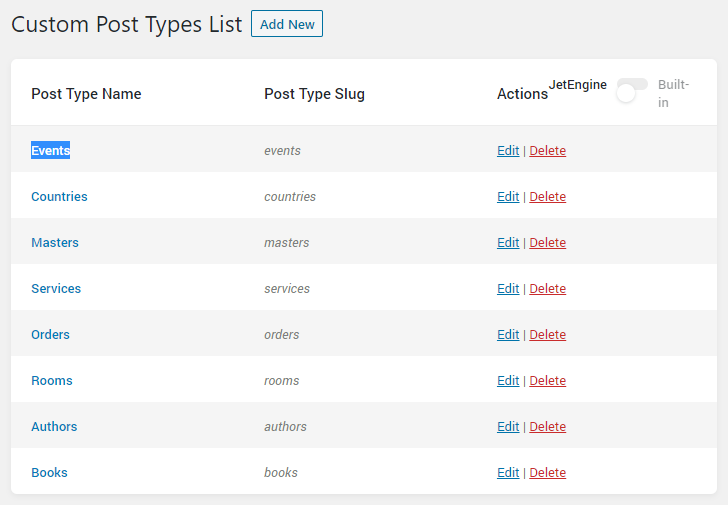
Go to the JetEngine > Post Types tab, hit the “Add New” button and create a CPT. The detailed guide on Custom Post Type creation can be found here. You can name the CPT as you like, add various labels and admin columns.
You can also add as many meta fields as you need, however, make sure you added a Date field. The calendar cell where the event will be placed depends on the value of this field.
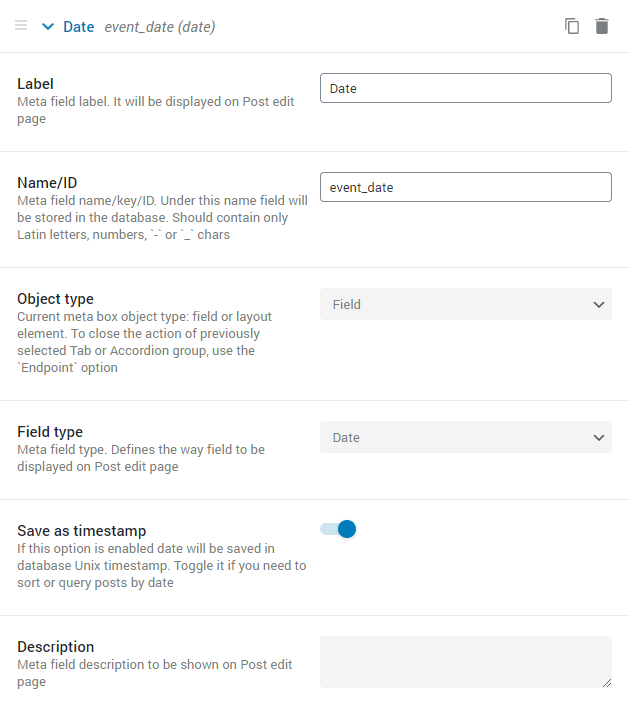
When you are done, click on the “Publish” button to save the changes.
Create listing template for events
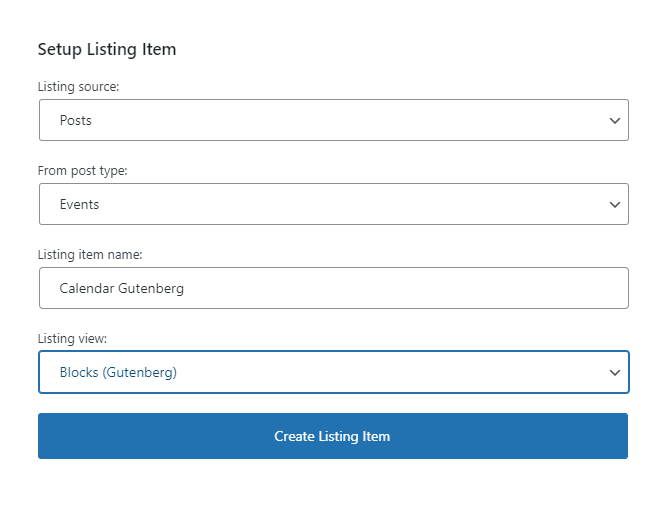
The calendar has cells for every day where the events can be placed – just like in the Listing Grid. So, to define how the event will look like in the cell, you have to create a special Listing template for it. Go to JetEngine > Listings and hit the “Add New” button. Choose the post type, name the Listing, and select the “Blocks” option in the Listing view drop-down.
You can add as many blocks as you want. If you installed the JetStyleManager plugin, you can also customize the appearance of the listing. In case you need some help, check out our Listing template creation tutorial.
Add calendar to page
Now, proceed to the page where you would like to place a calendar. Open the editing window, click on the “Add Block” button and search for the Listing Calendar block.
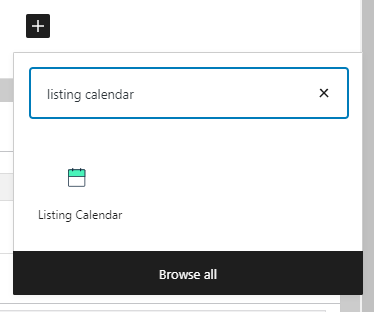
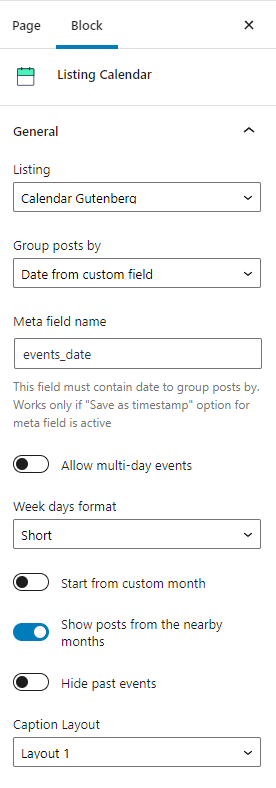
Click on the block to add it to the page. In the Listing drop-down menu of the General settings menu section, choose the template you created for events. In the Group posts by drop-down list, select the “Date from custom field” option and type the Date meta field name in the Meta field name bar.
That’s all, the Custom Post Type items will be shown in the calendar cells.
And now, let’s go through the Listing Calendar block settings more thoroughly.
Listing Calendar Block Settings
General settings
- Listing. All the listing templates that you have created with the help of the JetEngine plugin will be gathered here, including the ones created in the Elementor Page Builder. Choose the listing you created for the calendar;
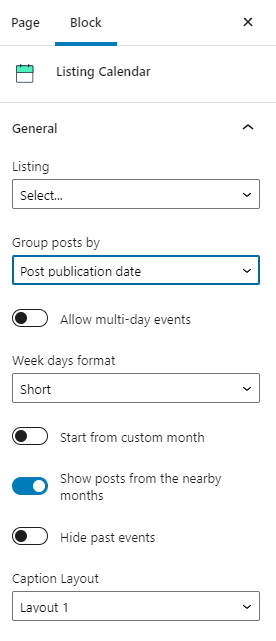
- Group posts by. The CPT item is placed in the cell that corresponds to a certain date. Here you can decide where to take that date from. Post publication date means that the date the post was published will be used. If you choose the Post modification date option, the item will be placed in the cell that matches the day the post was modified. And when you choose the Date from custom field option, you will be offered to specify the Date field in Meta field name bar;
- Allow multi-day events. With the help of this toggle, you can allow showing the events that last for more than one day. If it is enabled, the item of the multi-day event will be placed in several cells according to the period when it is held;
- Week days format. On the top of the calendar table, you can see the names of the days. In this drop-down menu, you can choose how they will be displayed:
- Full – full names (Monday, Tuesday, etc.);
- Short – three first letters (Mon, Tue, etc.);
- Initial letter – the first letter only (M, T, etc.);
- Start from custom month. By default, the calendar opens at the current month. However, if you turn this toggle on, you will be able to set which month to show first by choosing it in the Start from month and Start from year drop-down menus;
- Show posts from the nearby month. If you turn this toggle on, the events that will happen in the nearest month will be shown;
- Hide past events. By default, the events that have already passed remain in the calendar. However, you can hide them by enabling this toggle;
- Caption Layout. Above the calendar table, there are the “Back” and “Forward” buttons, as well as the name of the month and year. In this drop-down menu, you can choose one of the four layouts for them.
Post Query settings
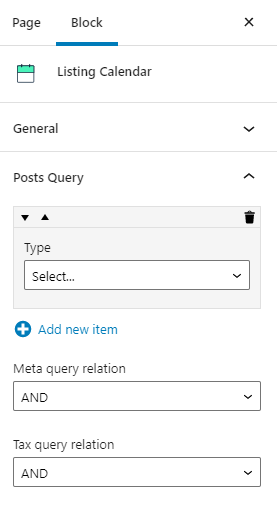
By default, all the posts of a chosen Post Type are shown in the calendar. However, if you want to display only part of them, you can set which of them will be displayed in this very calendar.
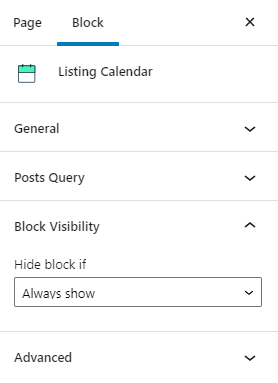
Block Visibility
By default, the Listing Calendar block is always visible. However, you can change that and set the “Query is empty” option in the Hide block if drop-down menu. In that case, if the Post Query section is empty, the Listing Calendar won’t be shown to the users. This means that if after querying, there will be no posts, the block is hidden.
Nice job! You now know how to create and add a dynamic calendar to your website’s page using JetEngine and Gutenberg Editor.