How to Create a Listing Template in Gutenberg
From this tutorial, you will learn how to build a Listing template for your Custom Post Type with the help of Gutenberg blocks.
Before you start, check the tutorial requirements:
- Block editor (Gutenberg)
- JetEngine plugin installed and activated
If you want to display the Custom Post Type or Custom Taxonomy items you’ve created via the JetEngine functionality in the Listing Grid, you will first have to make the Listing Template for that CPT. The Listing Template defines the layout and appearance of the item in the grid. You have to set what elements will be shown, their order, and styling options. When you finish that task, you can use the Listing Template in the Listing Grid, and it will be applied to all the items in the grid. So, let’s get started.
Choosing the Listing Source
You can create several objects via the JetEngine plugin or default WordPress tools that can be shown in the Listing Grid afterward. These are Posts, Terms, Users, Repeater Fields, REST API Endpoints, and Custom Content Types.
Login to your website’s WordPress dashboard, go to JetEngine > Listings, and click the “Add New” button on the top of the page.
Listing template for Posts
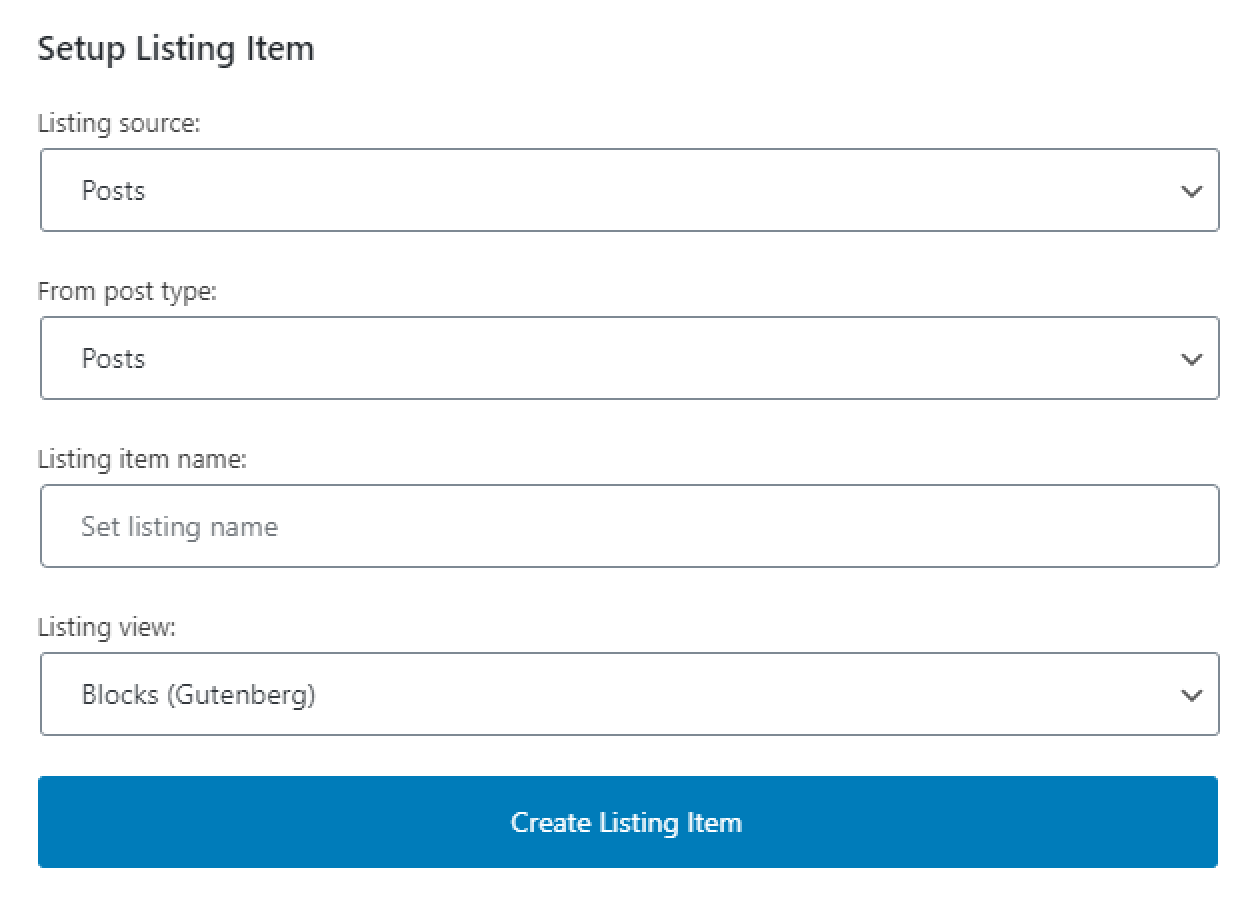
You can create a Listing Template not only for the Custom Post Type made via JetEngine functionalities. Default WordPress posts, pages, or media, and WooCommerce products can also be displayed in a Listing Grid, which means you can create a Listing Template for them too.
After choosing the “Posts” option in the Listing source drop-down menu, choose the type of post in the From post type select field.
Listing Template for Query Builder
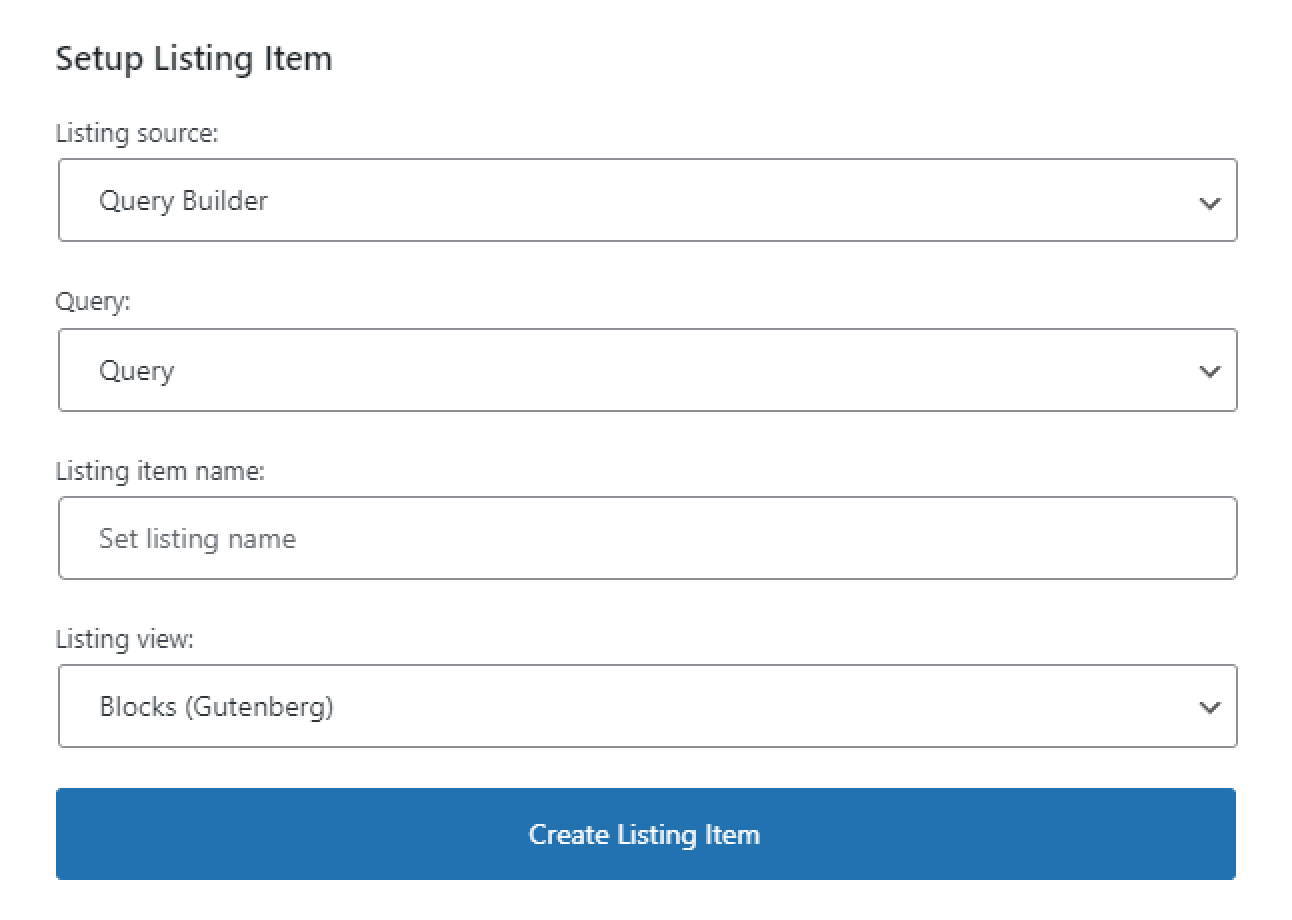
Build a Query to set a request on received posts and choose items to build a list. Items included in the list can be displayed with the help of the JetEngine Listing Template.
Select the Query you have created as the source.
Listing template for Terms
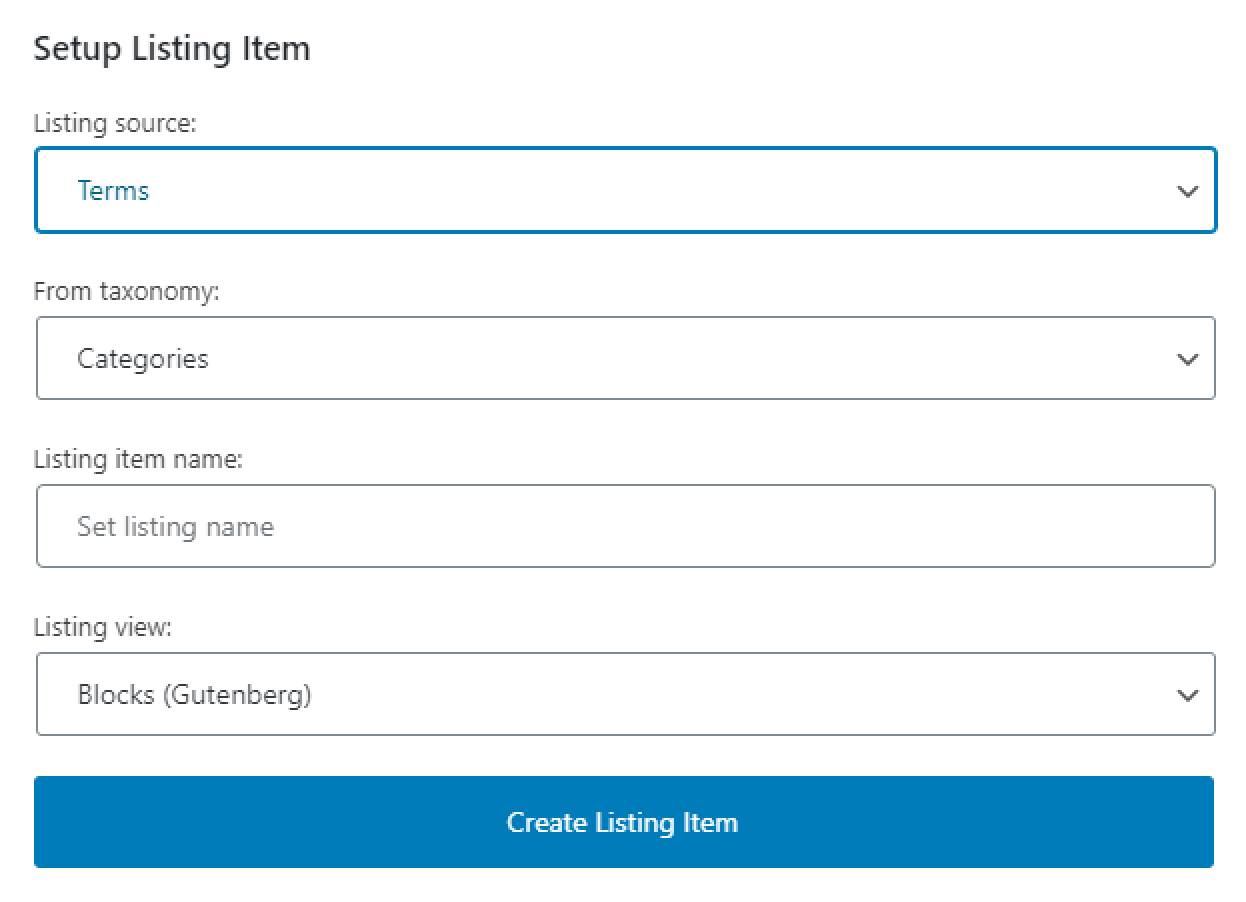
The JetEngine plugin allows you to create Custom Taxonomies and afterward add separately built meta boxes to it. However, you can add a meta box to a default WP Category or WooCommerce product category. For all those categories, along with the created taxonomies, you can build a Listing Template and afterward use it to display them in a Listing Grid.
Choose the “Terms” option in the Listing source menu and specify it in the From taxonomy drop-down list.
Listing template for Users
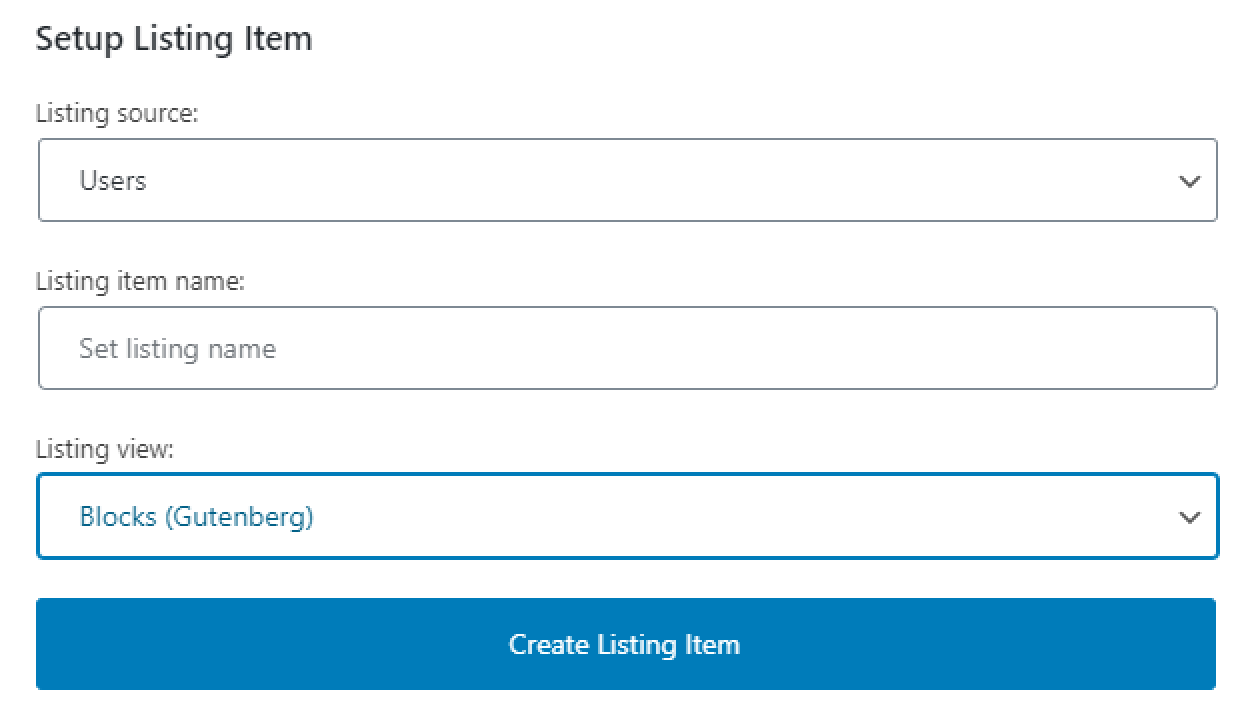
By default, WordPress has the functionality to add new users (you can find it in the Users tab of your website’s dashboard). Every user has a set of default meta fields:
- ID. The numeric value of the user’s id;
- Login. The name you place in the Username bar;
- Nickname. This name you can set after creating the user. If you haven’t put it, it will be the same as the username by default;
- Email. The address you put in the Email field;
- URL. Represents the URL you placed to the Website bar;
- Registration Date. This value is recorded the next moment automatically after you hit the “Add New User” button, and you can’t change it;
- Display Name. After creating the user in its editing window, you can set the name that will be shown publicly on the website in the Display name publicly as drop-down menu.
Besides that default metadata, you can also add a custom meta box to the user. Both the default and custom meta fields can be added to the Listing Template and shown in the Listing Grid afterward.
Listing template for Repeater Field
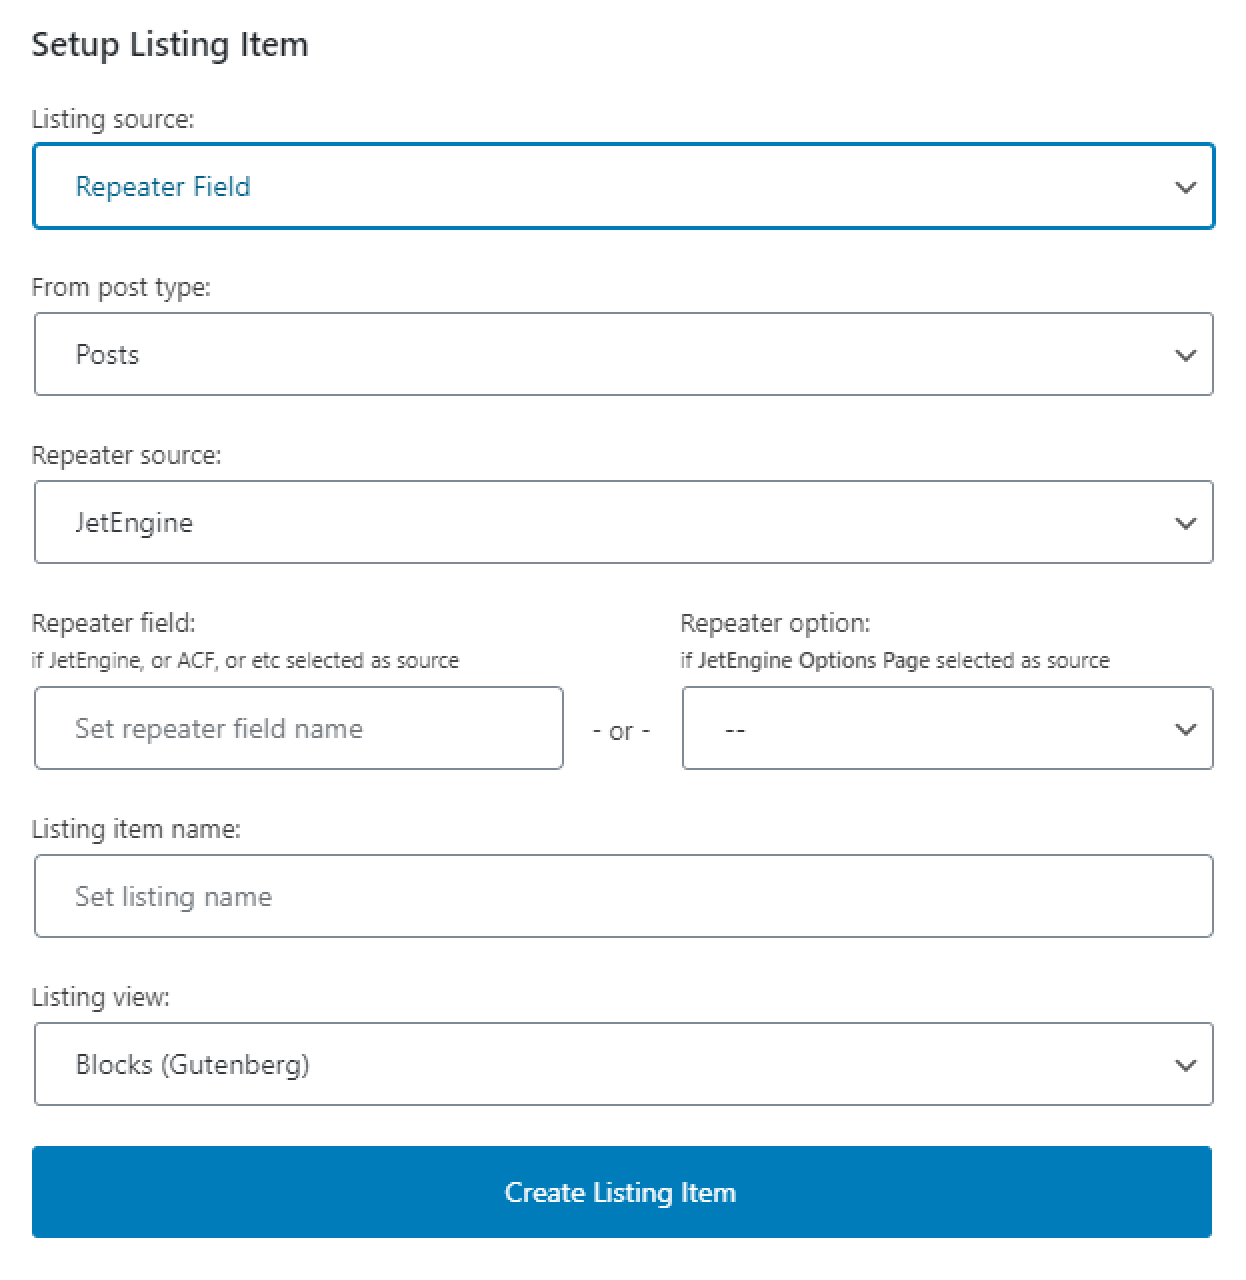
Repeater meta field is, actually, a set of subfields that can be repeated as many times as you or users need. That is why you will need a separate Listing Template for it. You can read more about it in this Repeater meta field overview.
Choose the post type to which you have applied the repeater meta field in the From post type drop-down menu. As a Repeater source, you can choose the JetEngine or ACF plugin. JetEngine Options Pages go separately because they make a meta box that contains a single meta field, which can be used all over the website. If you need a hint, go through this Options Page overview. Type the Repeater field’s name into the Repeater field bar or choose the Options Page from the Repeater option drop-down list.
Listing template for REST API Endpoint
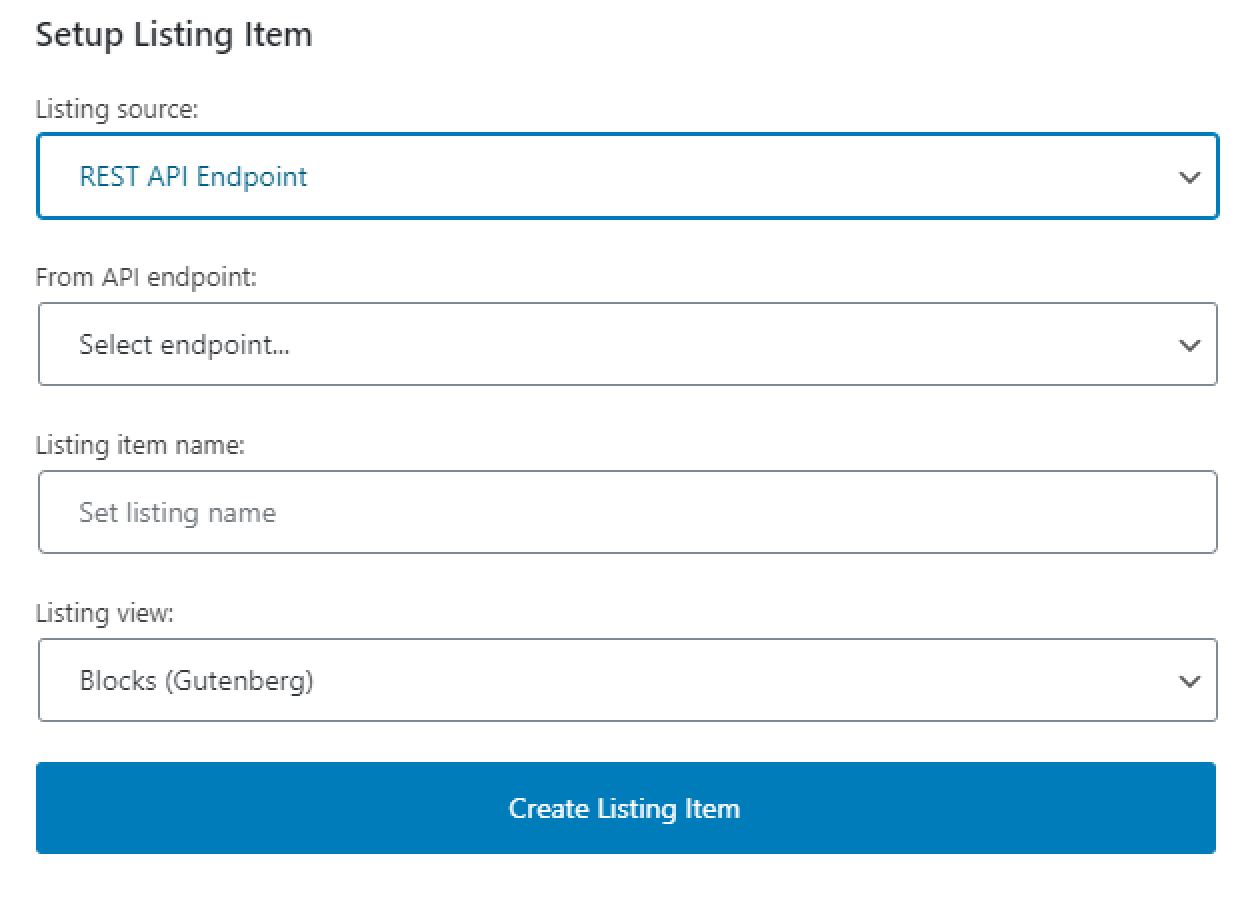
With the help of REST API, you can display in the Listing Grid on your page the items of the Custom Content Type located on another website. For more details, check this REST API usage tutorial.
Select the necessary endpoint in the From API endpoint drop-down menu.
Listing template for Custom Content Type
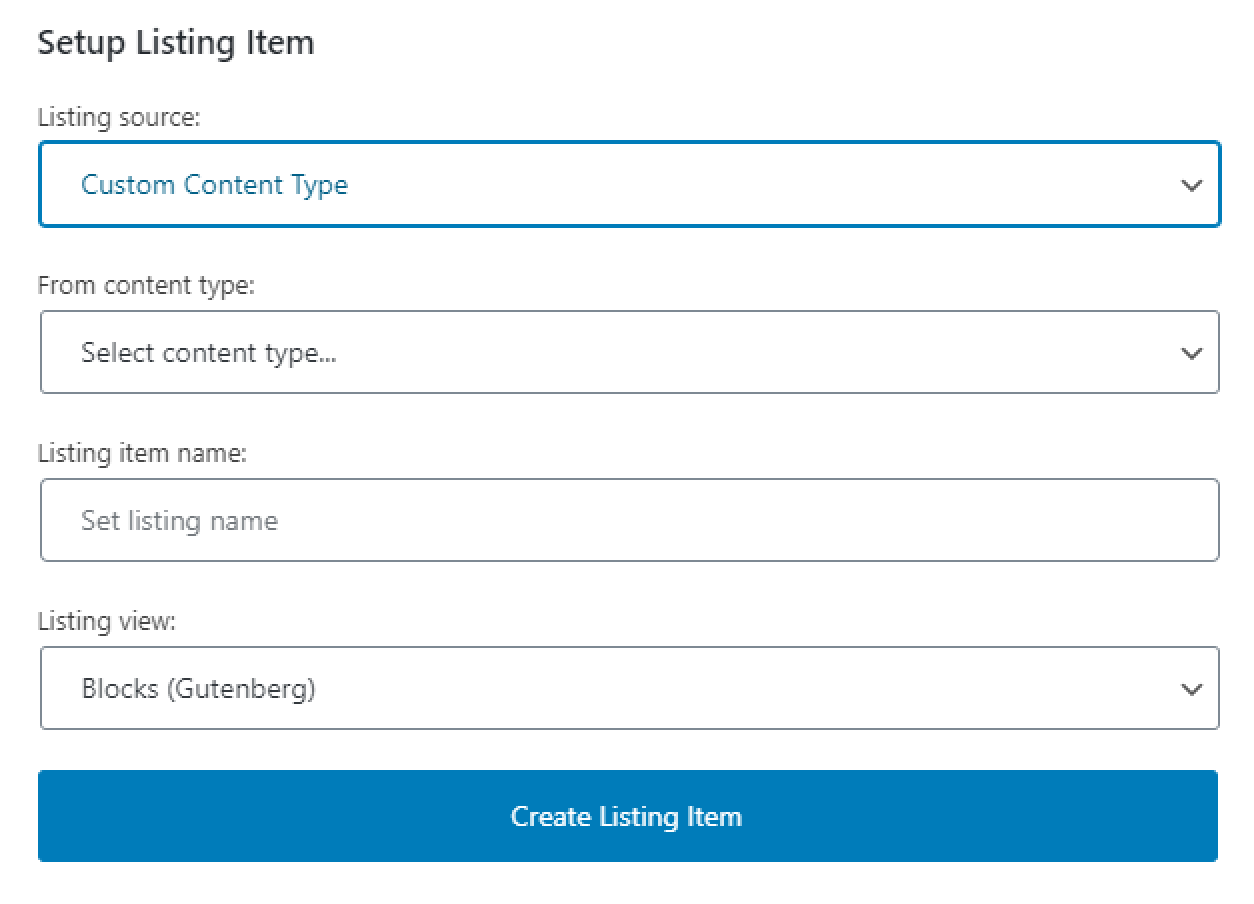
It is almost the same here as in the creation of the Listing template for the Posts. Just choose the necessary CCT in the From content type drop-down. And if you have any questions, go through this Custom Content Type guide.
Building the Listing Template
When you choose the Listing source and specify it, you have to name the listing template and set the Listing view to “Blocks (Gutenberg)”. Afterward, click the “Create Listing Item” button, and you will be redirected to the Gutenberg editing window, where you will be able to create the Listing template.
What blocks can you use for the Listing template?
Any of them. You can take any block that is available for you and add it to the listing template. However, there is a difference between standard blocks and the dynamic ones that go with the JetEngine plugin.
The common block will add a static element to the Listing template. For example, you added an Image block with your website’s logo to the template. Afterward, when you use that Listing template in the Listing Grid, all the grid items will have that same logo image.
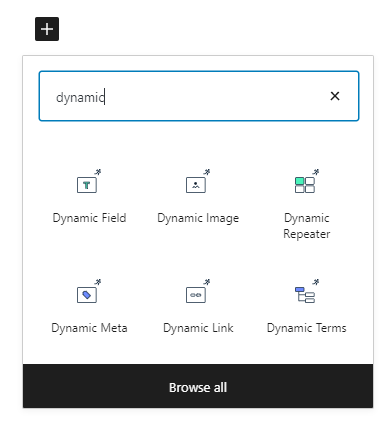
On the contrary, dynamic blocks (Dynamic Field, Dynamic Image, Dynamic Meta, Dynamic Repeater, Dynamic Terms, and Dynamic Link) add information that depends on the value of the item’s meta field. So, if that value varies for different items, it will also be different in the Listing Grid.
To learn how to use dynamic blocks, check out these tutorials:
How to add blocks and build the layout of the Listing template?
Everything is simple here – you just add the blocks to the page, as you do it for any other WordPress page.
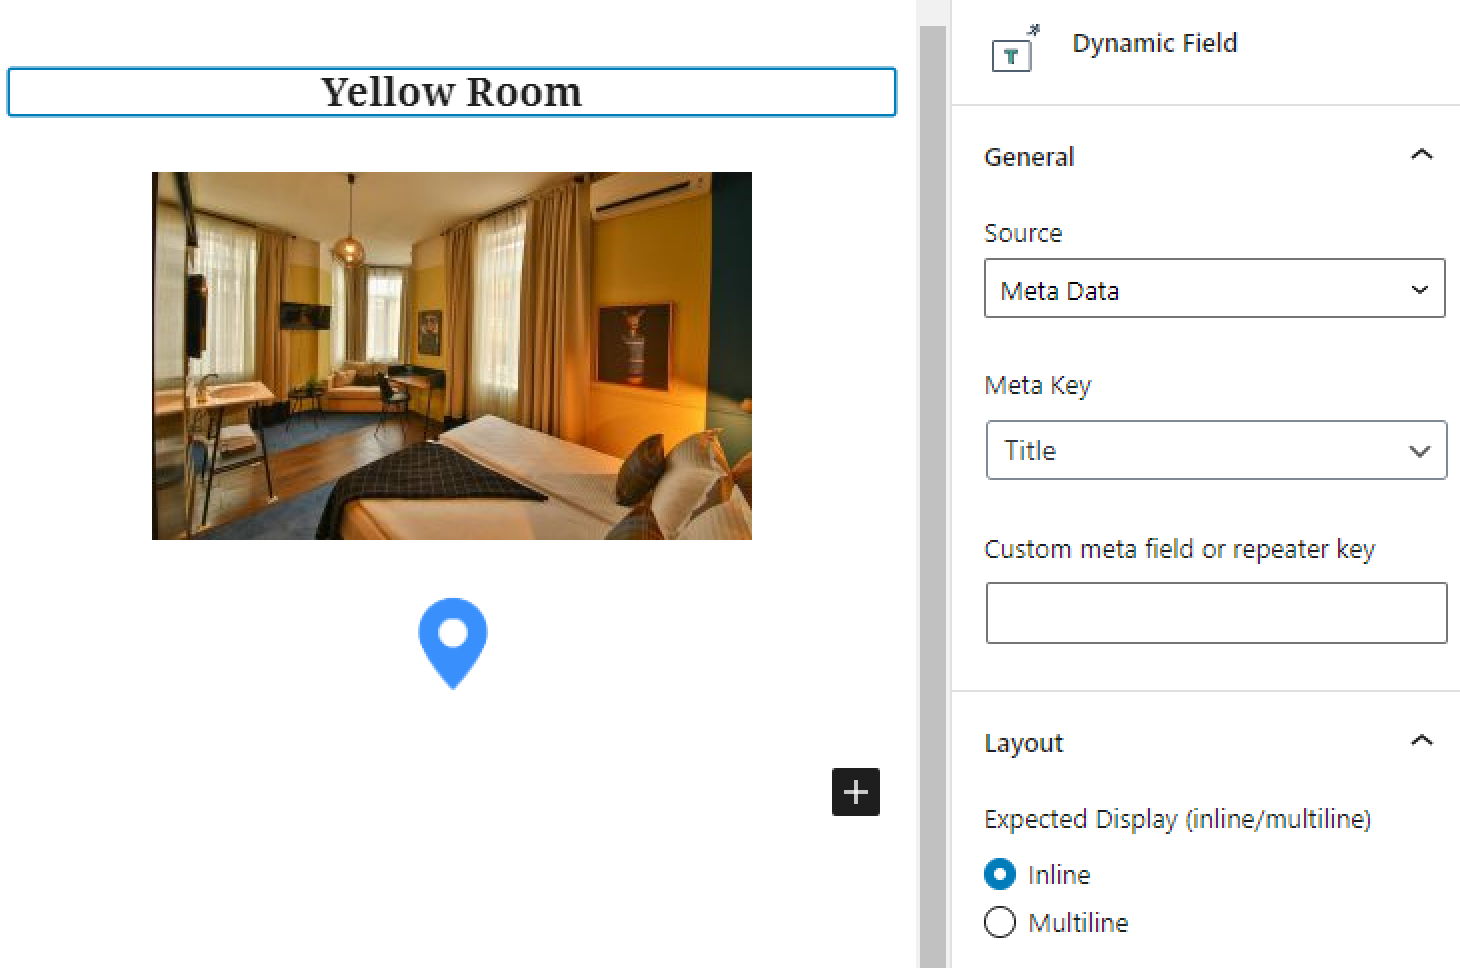
Add the blocks by hitting the “Add Block” button. For this tutorial, let’s add a Dynamic Field and Dynamic Image, as well as a simple Image block.
In the Dynamic Field settings menu, set the Source to “Meta Data” and choose the meta field with the item’s title in the Meta Key field.
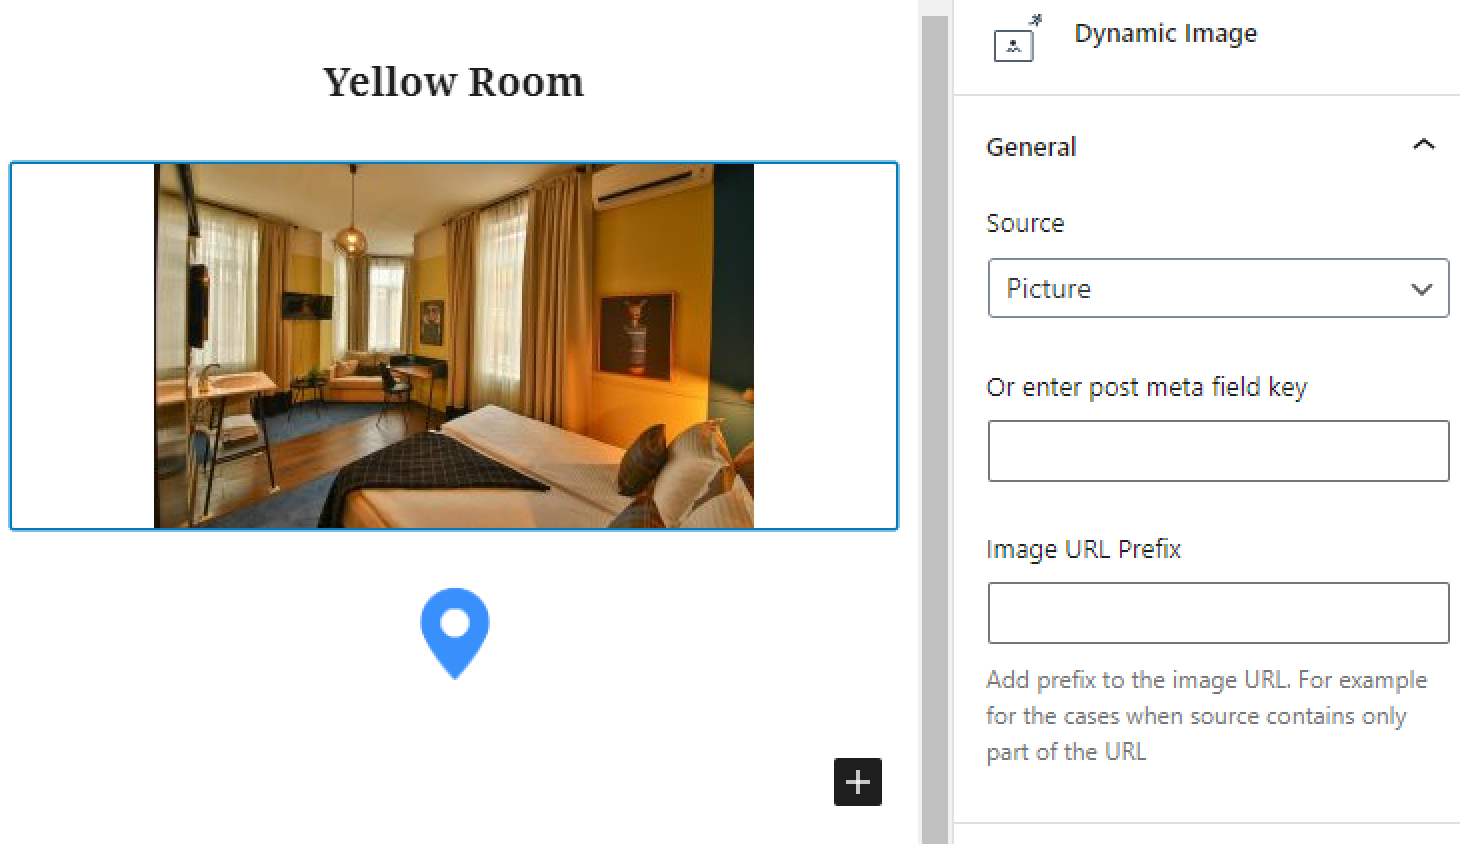
For the Dynamic Image block, choose the meta field with a picture in the Source drop-down menu and define the Image Size.
Let’s also add a static picture to see the difference between dynamic and static blocks. When you are done, click the “Publish” button on the top of the screen.
Displaying the Listing template in a Listing Grid
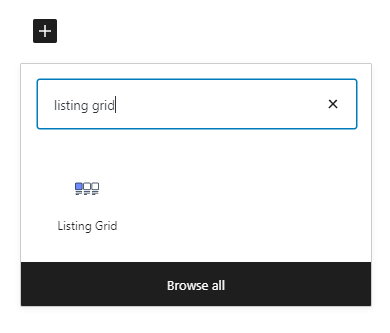
Now, go to the Pages > All Pages menu tab of your dashboard and find the page where you would like to place the Listing Grid. Find the Listing Grid block in the menu and add it to the page.
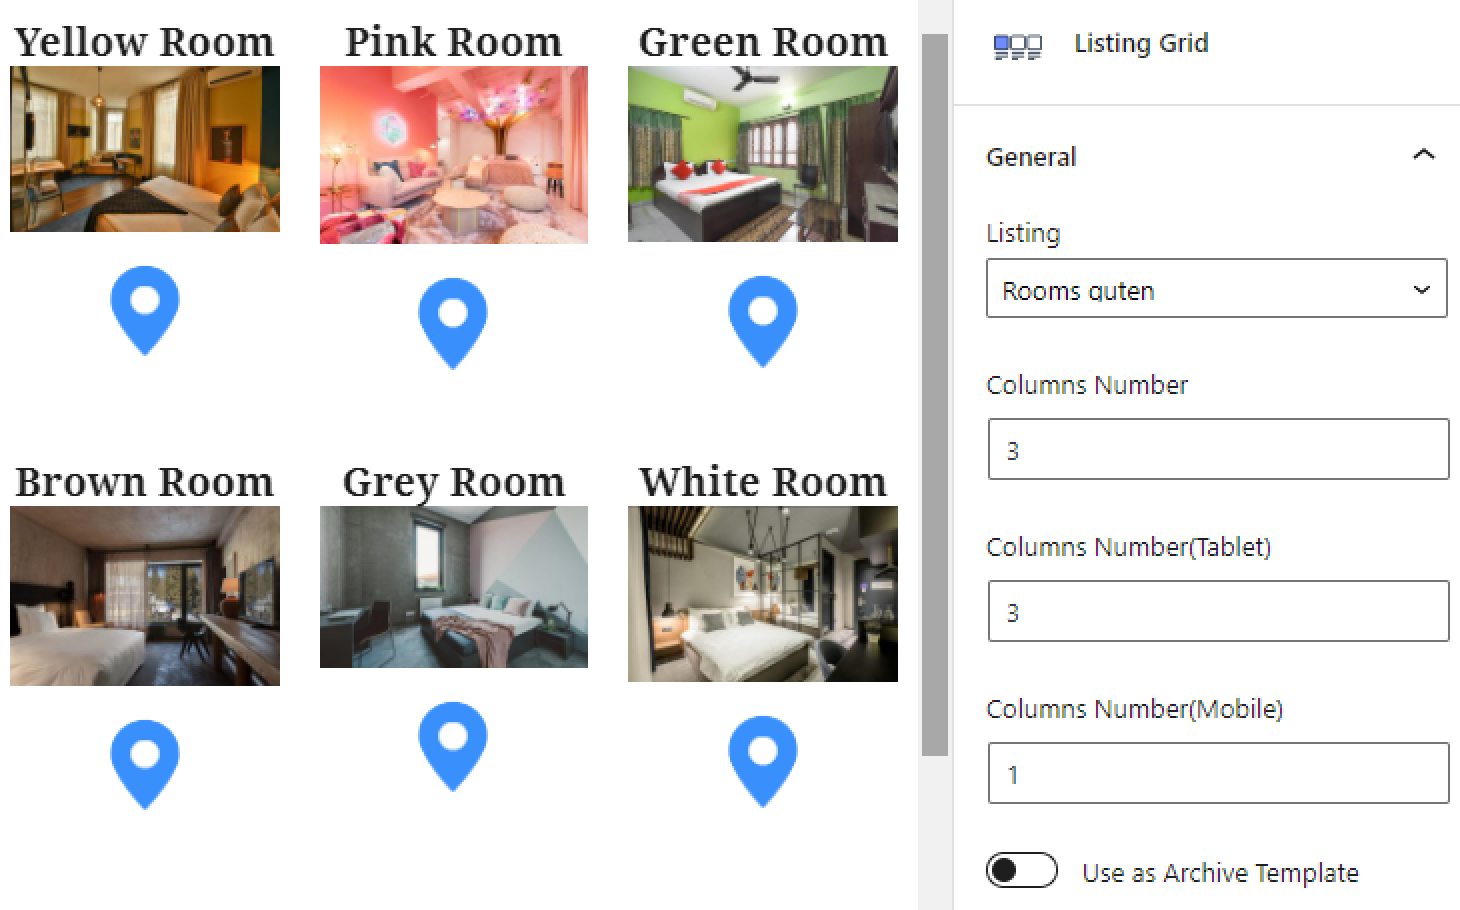
In the Listing drop-down menu of the General settings section, find the template you’ve just created. As you can see, all the items have the same layout and style. The Dynamic Image block pulled out different pictures for every item, and the Image block remained the same throughout the whole grid.
That’s all for the Listing template creation. You now know how to build and display them in the Listing Grid.