How to Create Checkbox Meta Field Type and Display it in Listing Grid
In this tutorial, you will find out how to create a Checkbox type meta field and display it in Listing Grid with the JetEngine plugin.
The JetEngine plugin for Elementor comes with rich opportunities, and it totally meets the needs in dynamic functionality. Let’s continue reading the tutorial to know how to work with the plugin.
Firstly, in order to add a Checkbox type meta field to the Post Types, you need to create Post Types (follow this tutorial). After it’s done you will be able to display custom posts in the Listing Grid widget.
How to Add Checkbox Meta Field Type
First of all, proceed in WordPress Dashboard to JetEngine > Meta Boxes and add a new one (or if you have already created a Meta Box for a Custom Post Type, just open it and proceed).
Scroll the editing page to the Meta fields section and click on the “New Meta Field” button. Fill out the Label and Name/ID fields with the appropriate text value. In the Field type menu, you should choose the “Checkbox” option.
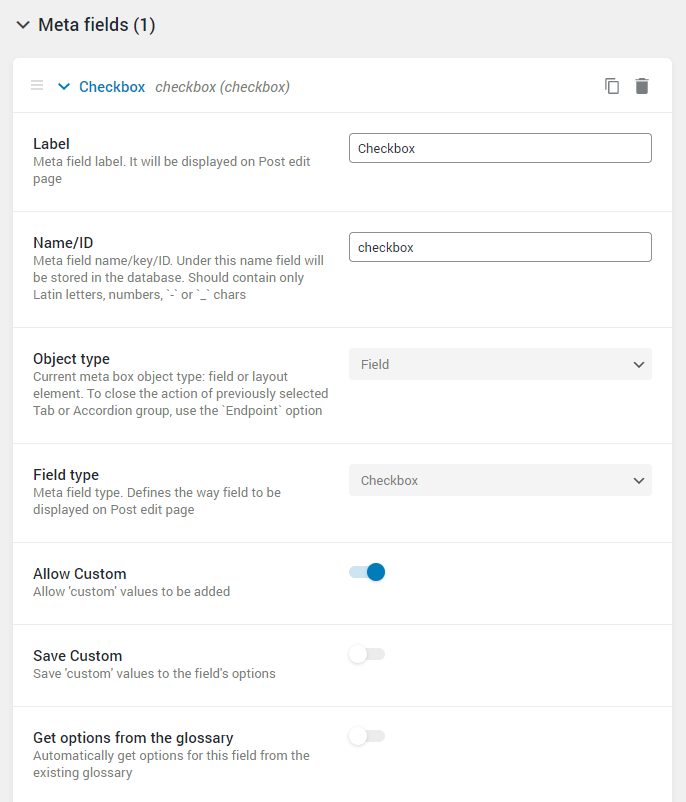
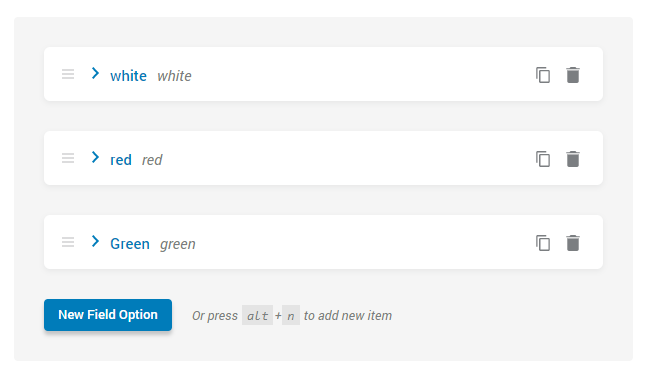
Enter the text into the Description textarea, if you need to. In the Options Lists click the “New Field Option” button.
Fill in the Value and Label fields with the necessary values (the ones that will allow the website user to choose the options they want). The meaning in the Value field is what systems read as the name of a field. The meaning in the Label field the users will see as the name for the field.
After the settings are done, click on the “Add meta box” button or “Update meta box” button.
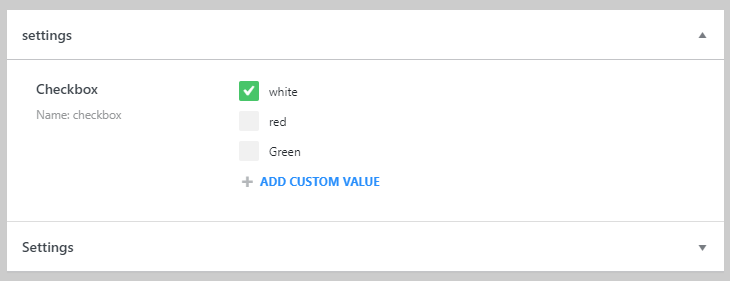
Now you need to go to each post in the Post Type and check the needed options that are required for a certain post.
How to Display Checkbox Type Meta Field in Listing Grid
The first step you should do is to create a Listing template with the necessary content. Follow this link for the detailed tutorial which describes how to do it.
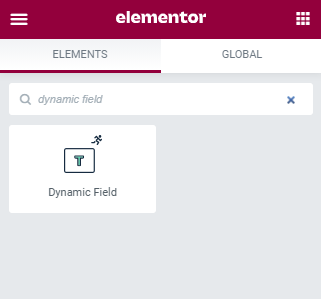
In the Elementor page builder editing window search for the Dynamic Field widget, drag-n-drop it to the free section on the page where you want it to be placed.
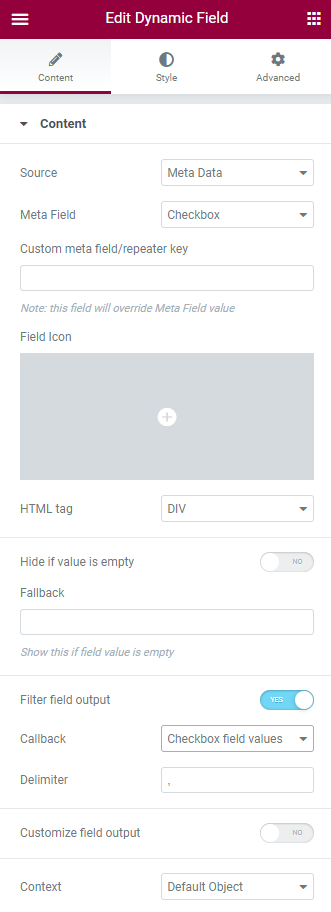
In the Content tab choose the “Meta Data” source type. Select the necessary Meta Field from the dropdown menu. Alternatively, you can fill out the Or enter meta field key bar with the necessary slug (Name/ID field value). Set the other options as you like.
Toggle on Filter field output option. In the Callback dropdown, you should choose the “Checkbox field values” option. In the Delimiter field, you can enter the sign that will separate several options.
Now you can easily display the Checkbox type meta field in Listing Grid with the help of the JetEngine plugin.