How to Make a JetEngine-Built Website Multilingual
In this tutorial, you will learn how to prepare your site for multilingual functionality and translate the core JetEngine features into any language using WPML.
In this JetEngine WPML guide, you will learn how to translate dynamic website content.
JetEngine has become WPML-compatible, enabling the translation of the website into multiple languages. Let’s start by prepping the website and then going through the translation process for each content type.
Prepare the Website to Run Multilingual
Start by purchasing the Multilingual CMS WPML package. It contains WPML String Translation, WPML Media Translation, and the core WPML Multilingual CMS plugin needed to translate the Crocoblock-built website. After you upload it to WordPress, complete the basic language setup.
WPML setup
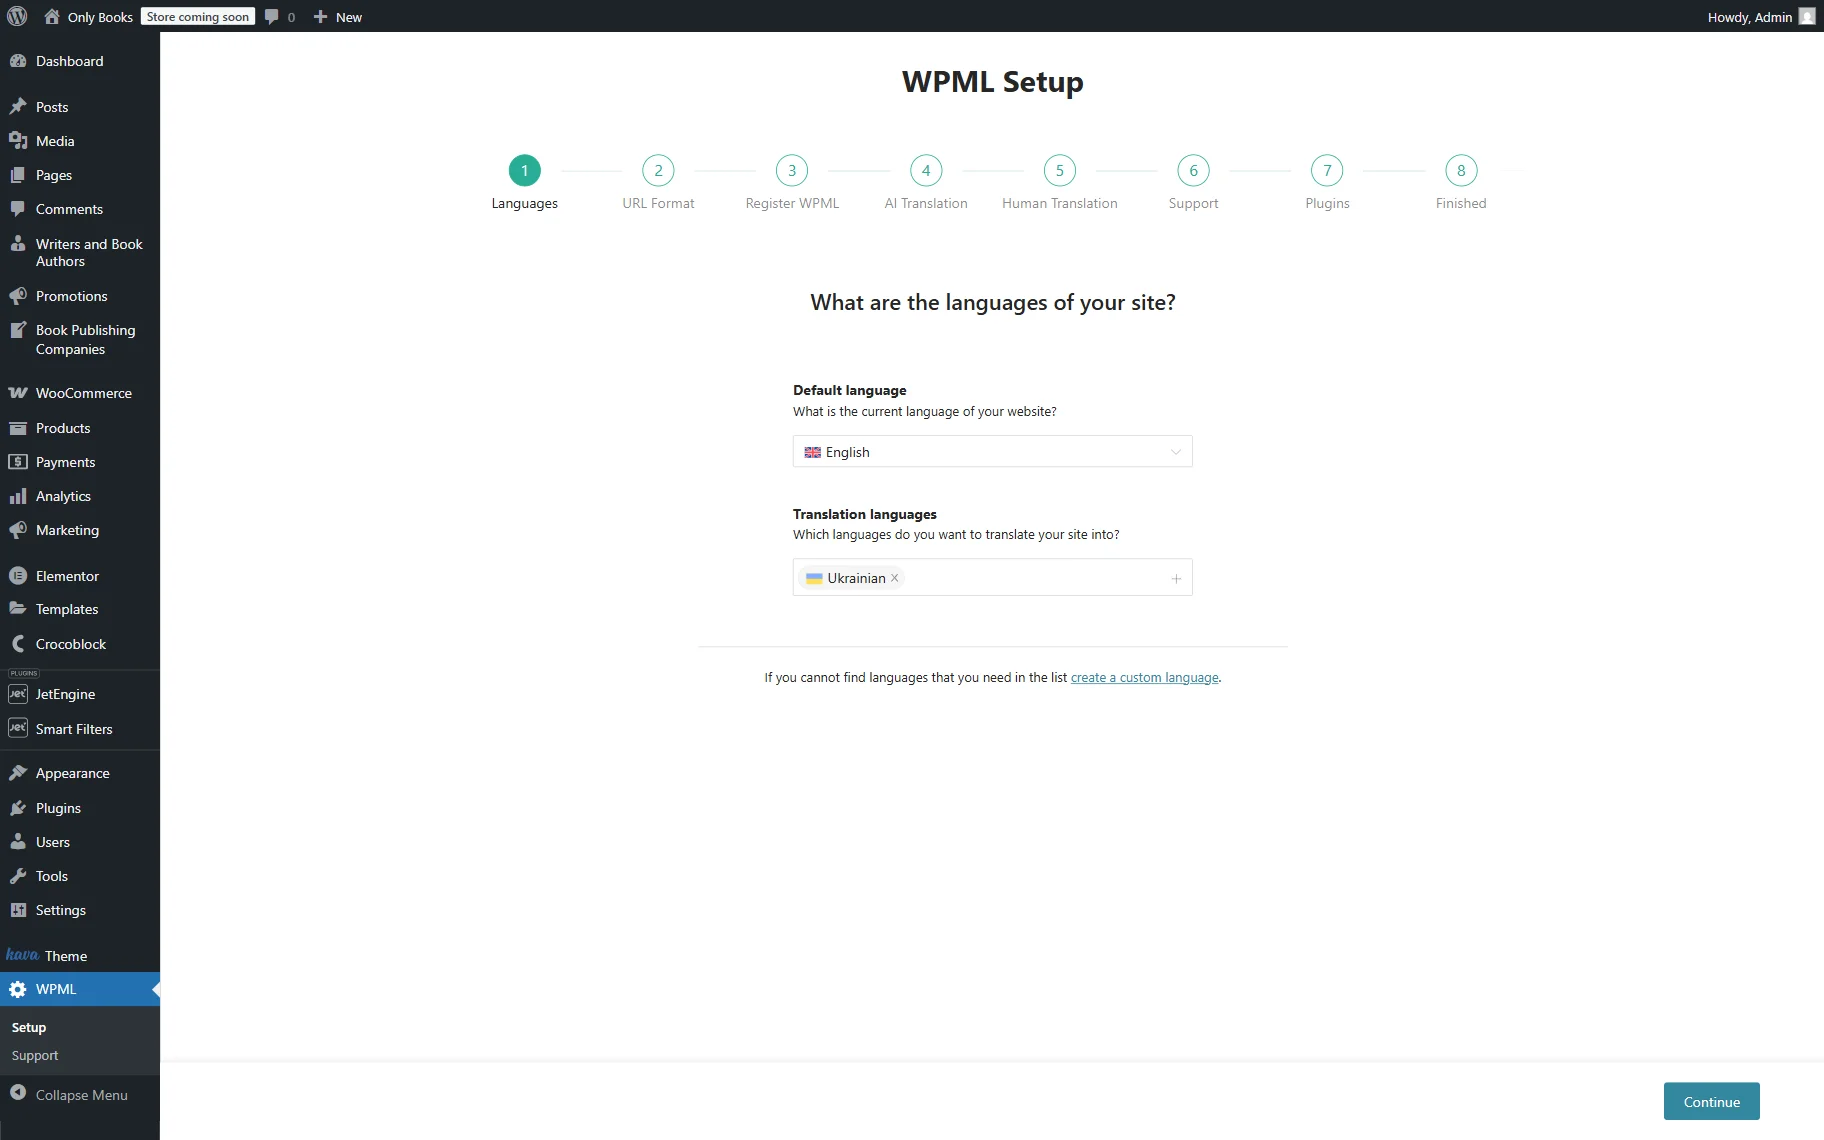
Run the WPML Setup wizard. In the first step, pick the default and translation languages of the website. Besides that, you can create a custom language if needed.
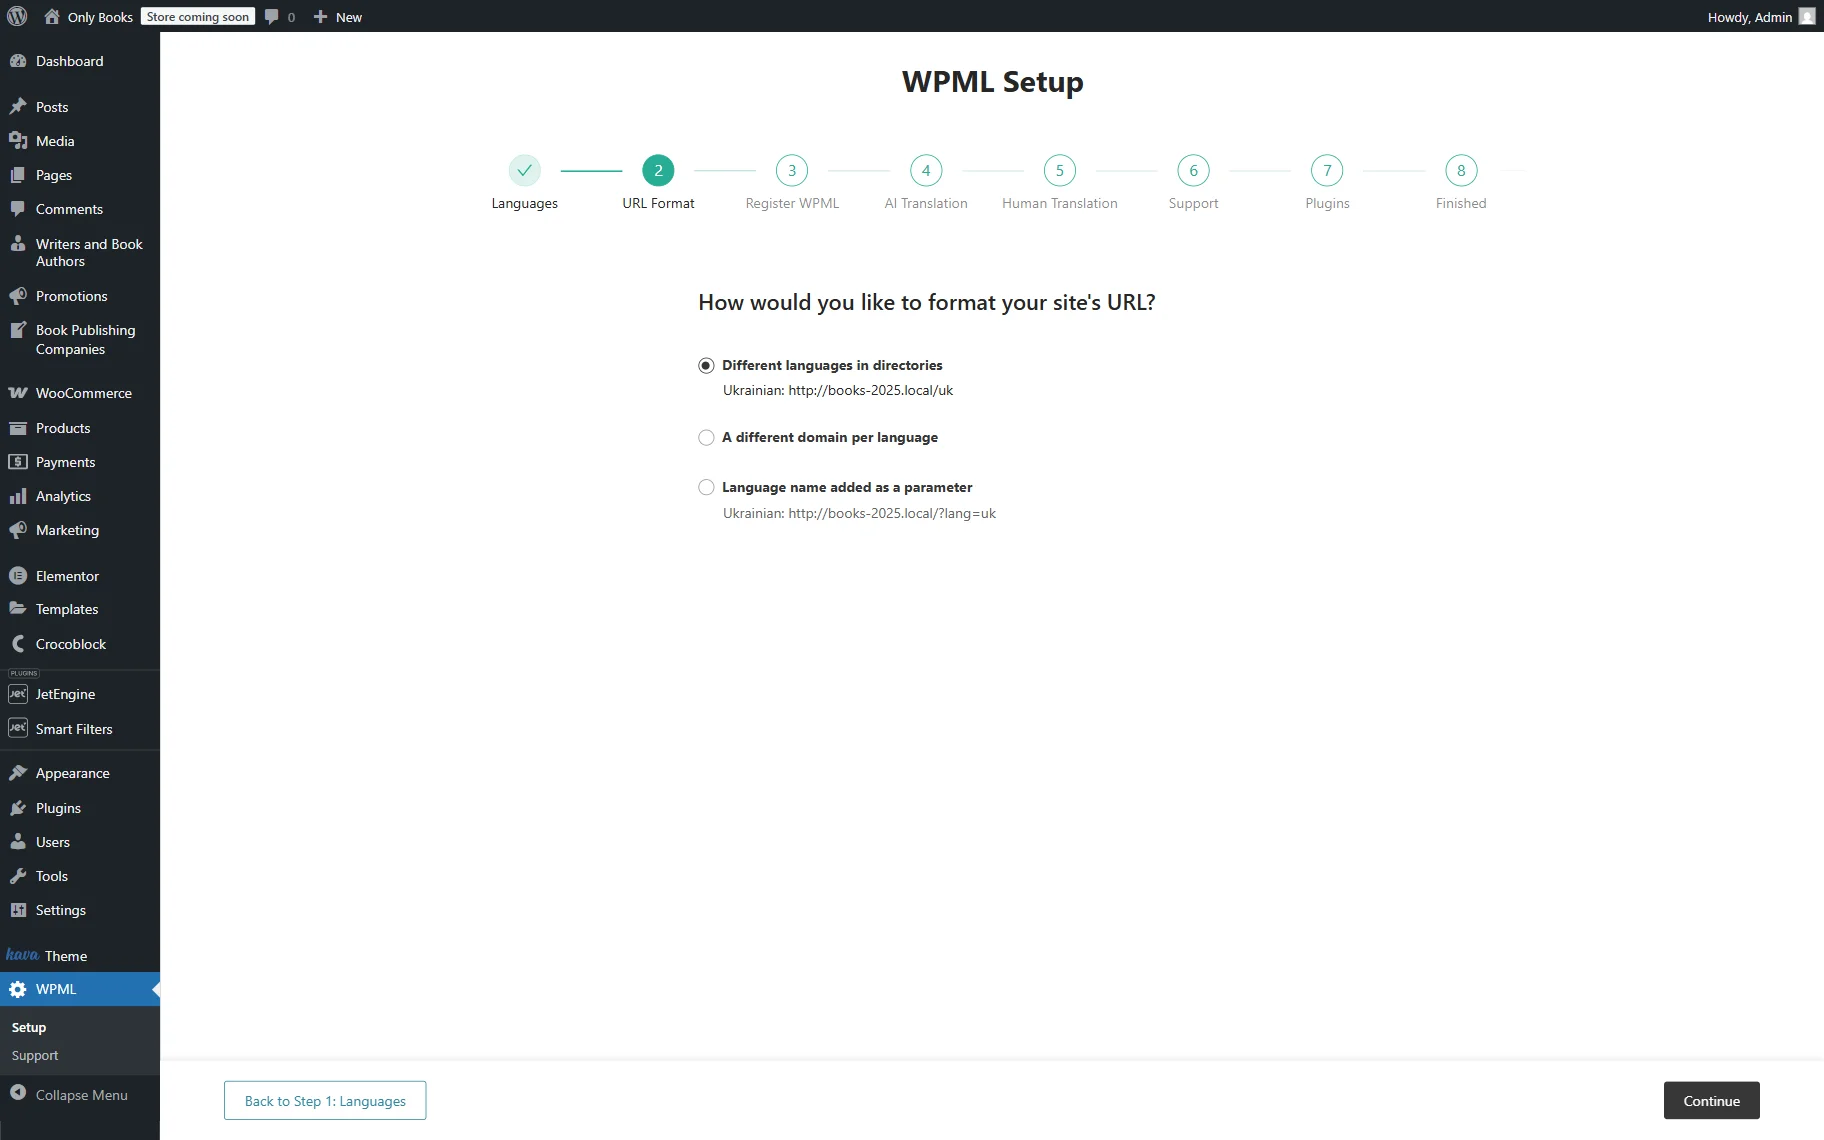
The second step allows you to format the URL of the translated website and offers three options to choose from:
- “Different languages in directories”;
- “A different domain per language”;
- “Language name added as a parameter.”
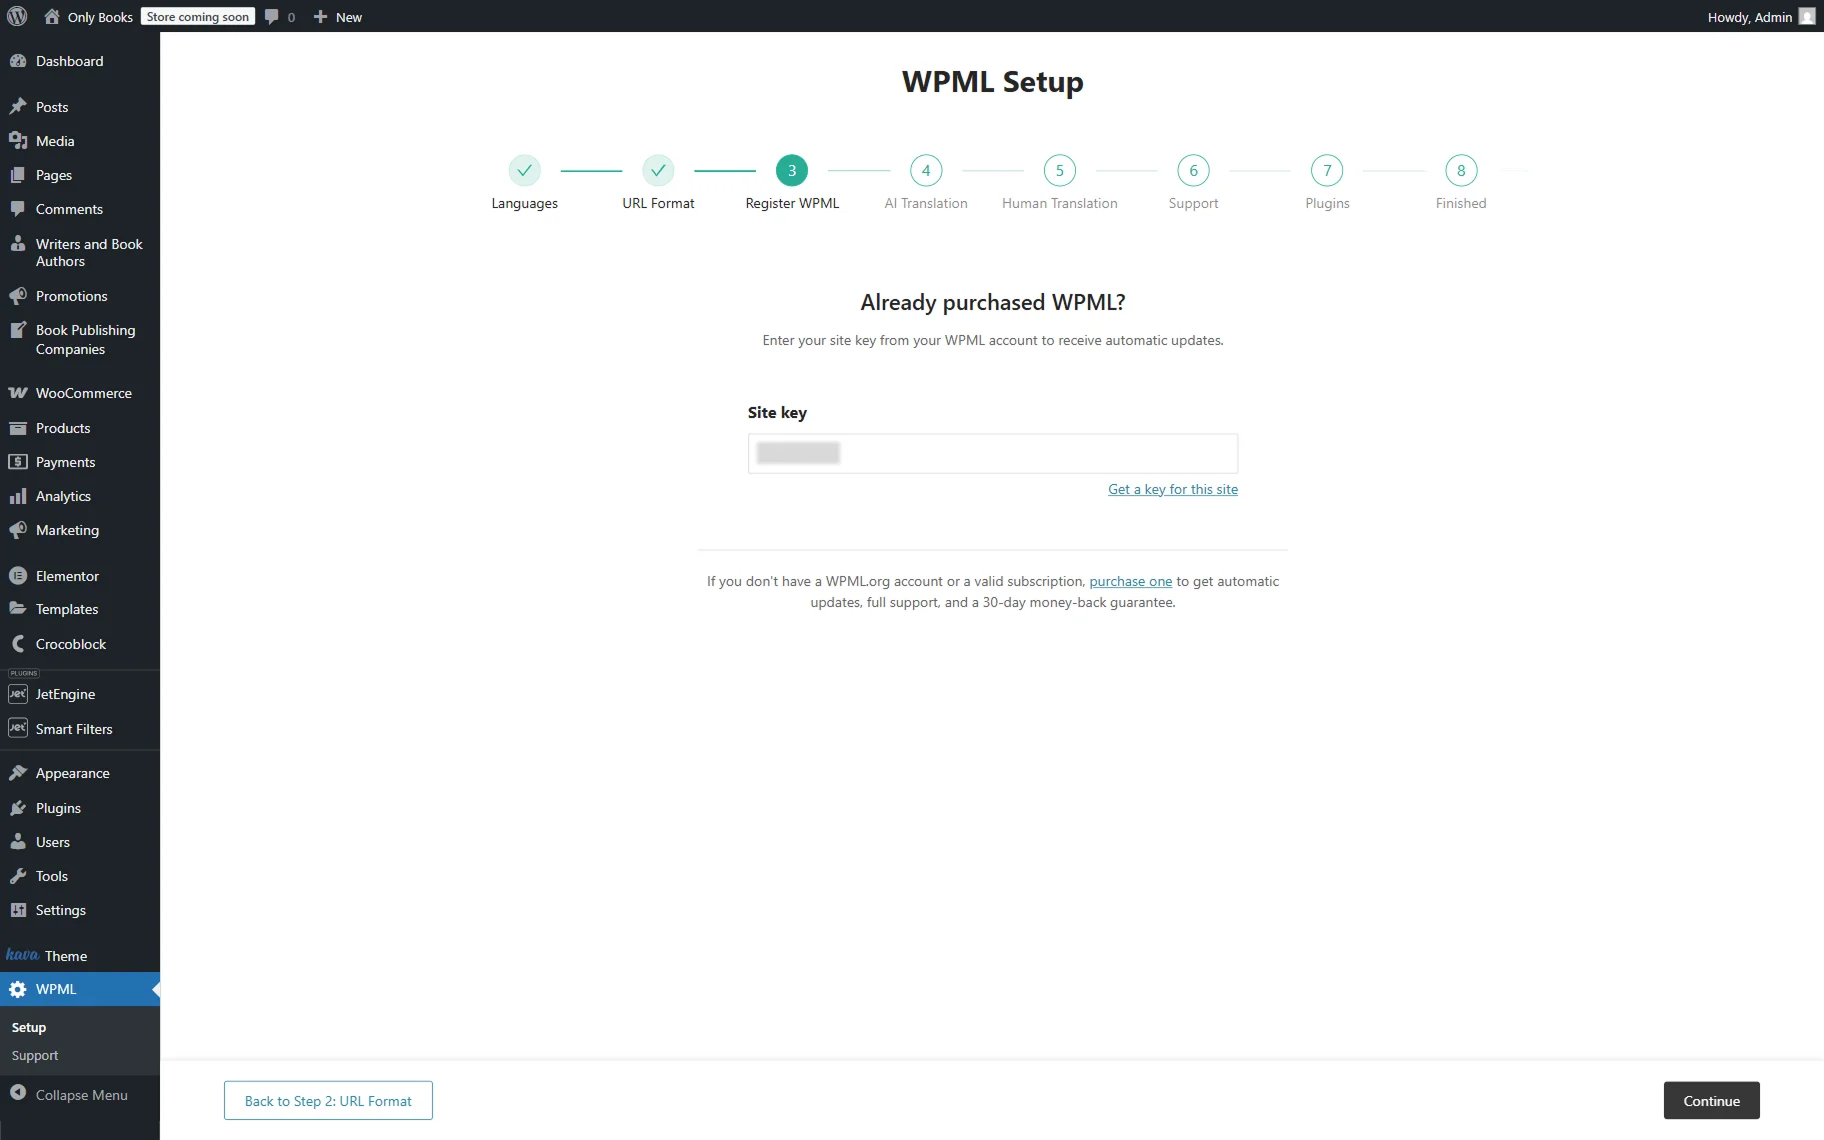
In the third step, you should register WPML. Сlick on the “Get a key for this site” link if you haven’t done it yet. It will lead you to the WPML account, where you can register WPML on the website you need and generate a site key.
After doing so, paste the received key into the Site key field in the WPML Setup window.
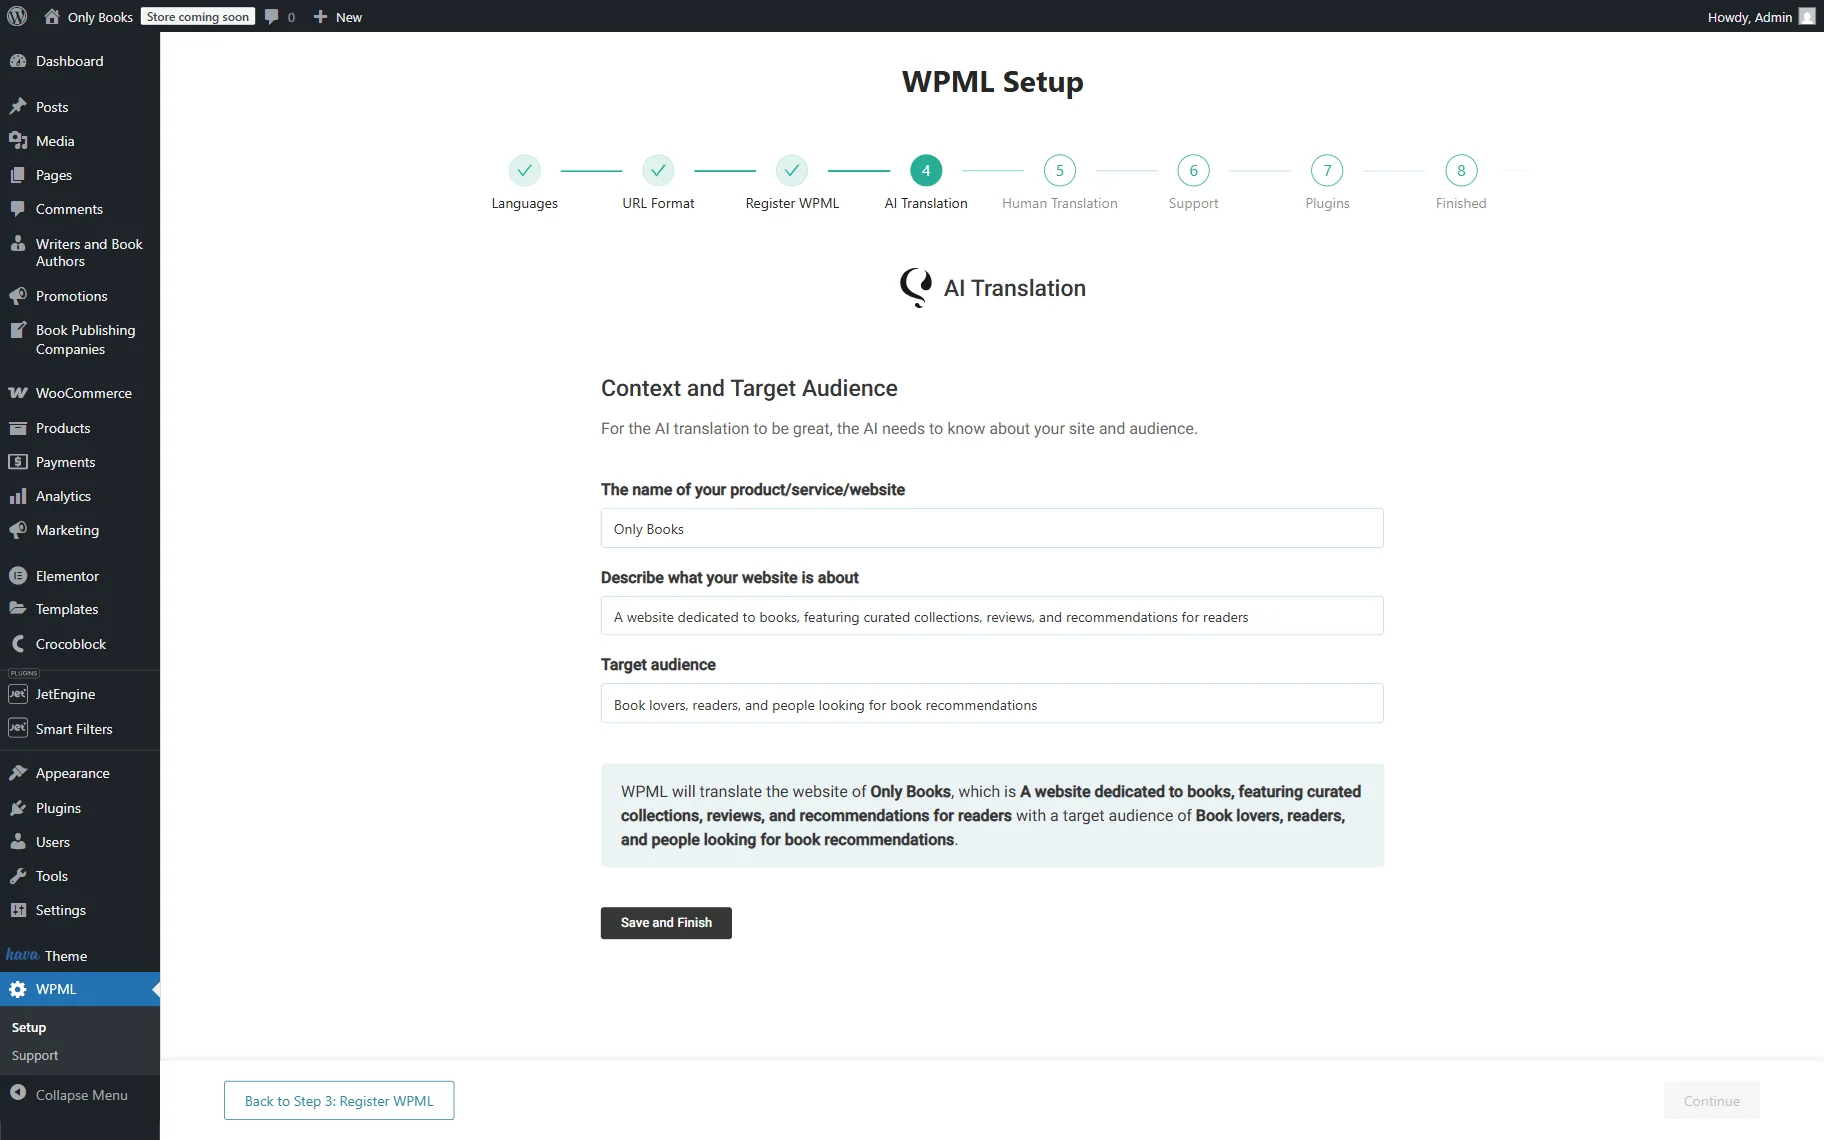
In the AI Translation step, specify the Context and Target Audience of your website.
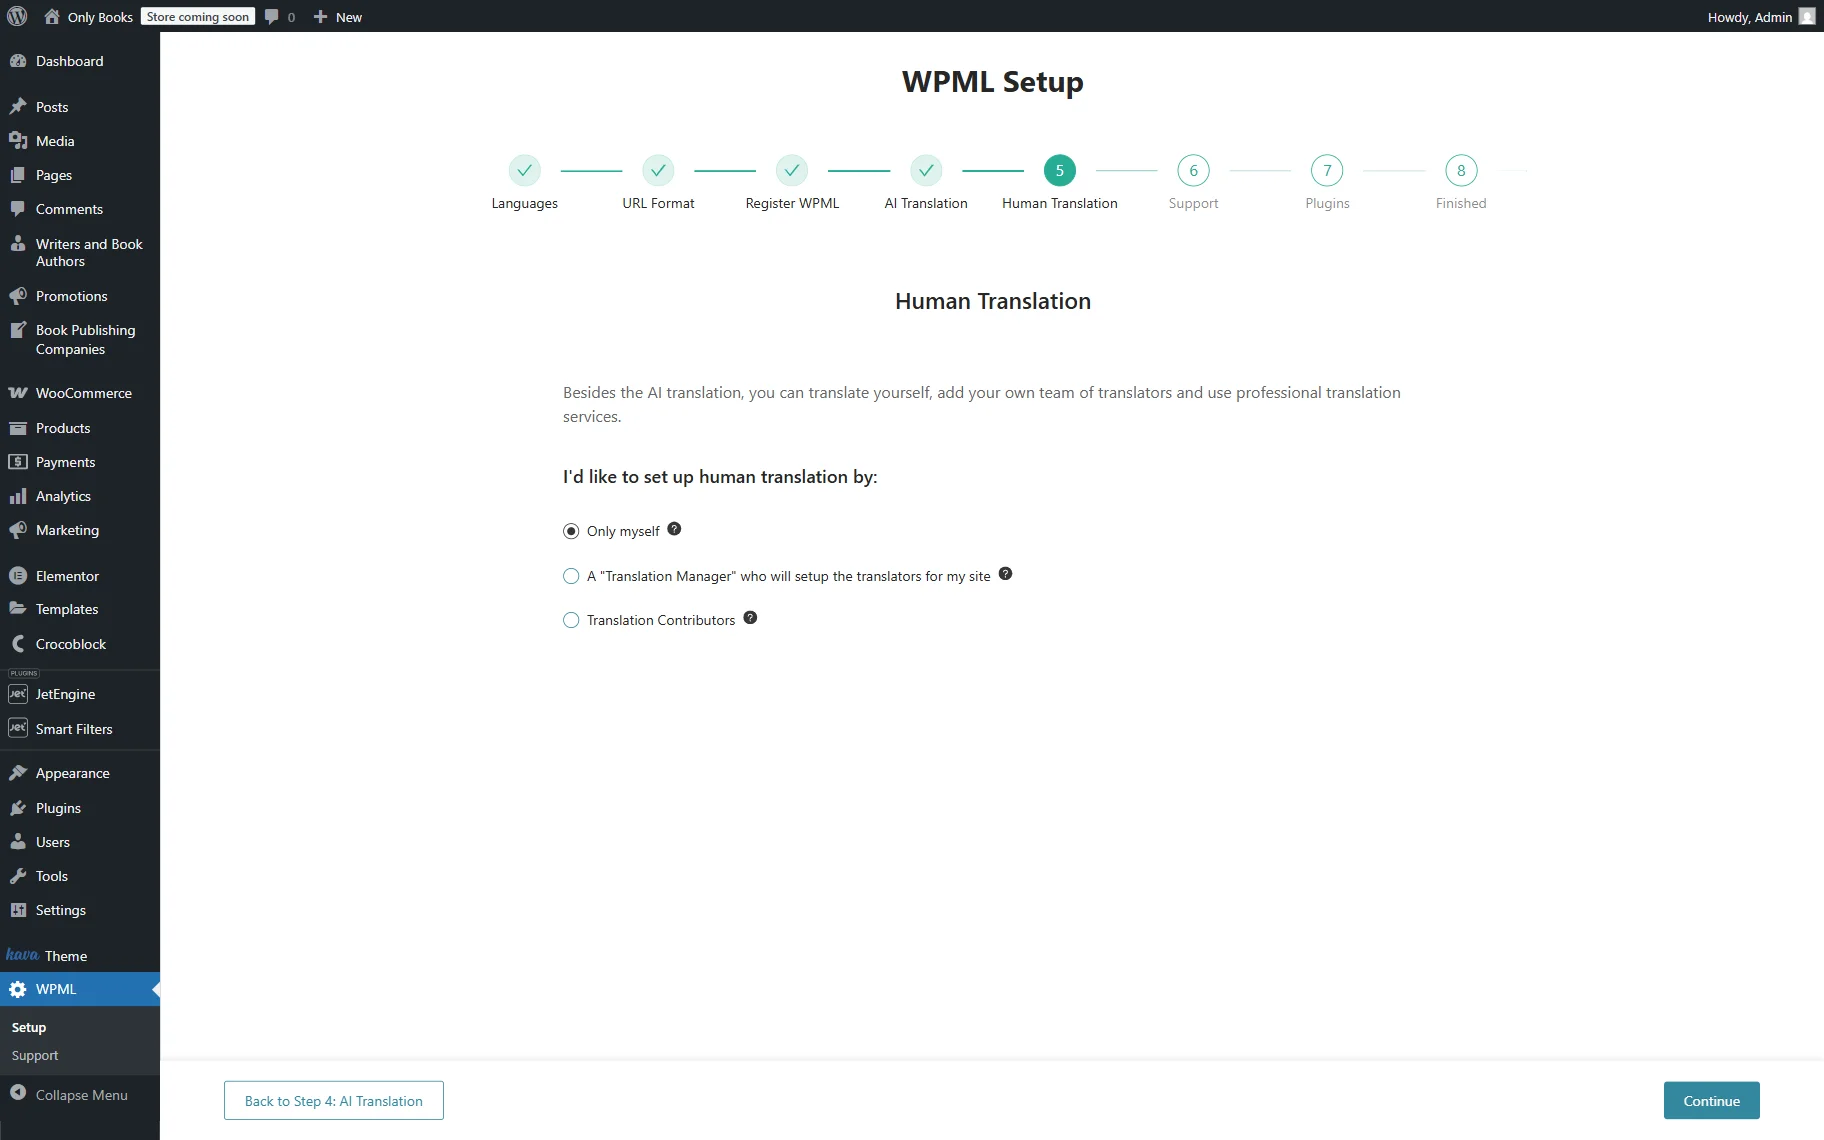
Next, define who will translate the content.
Note that you can switch between modes later by going to WordPress Dashboard > WPML > Settings.
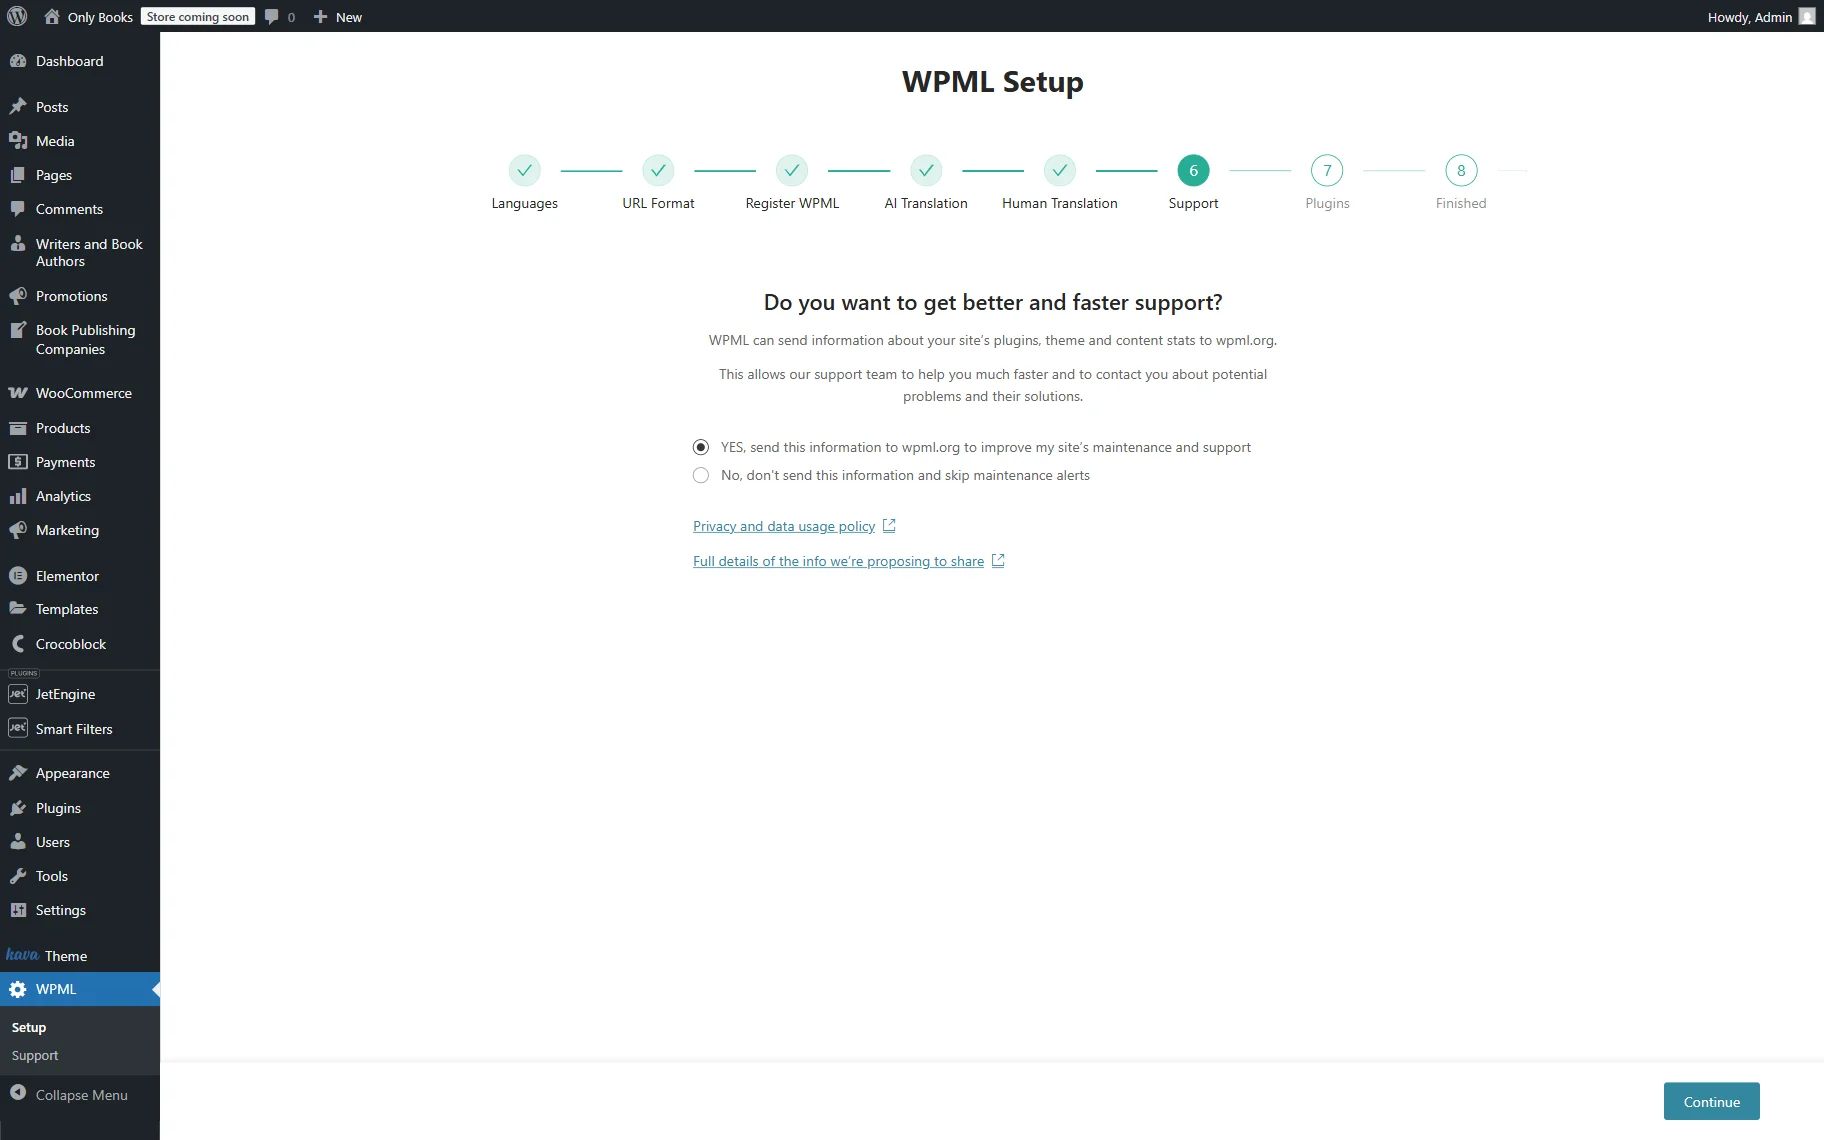
The fifth step, called Support, lets you send theme and plugin data to WPML support. This way, you will get compatibility alerts that will decrease the possible problems with website translation.
At the sixth Plugins step, install recommended plugins based on the website themes or skip if not needed.

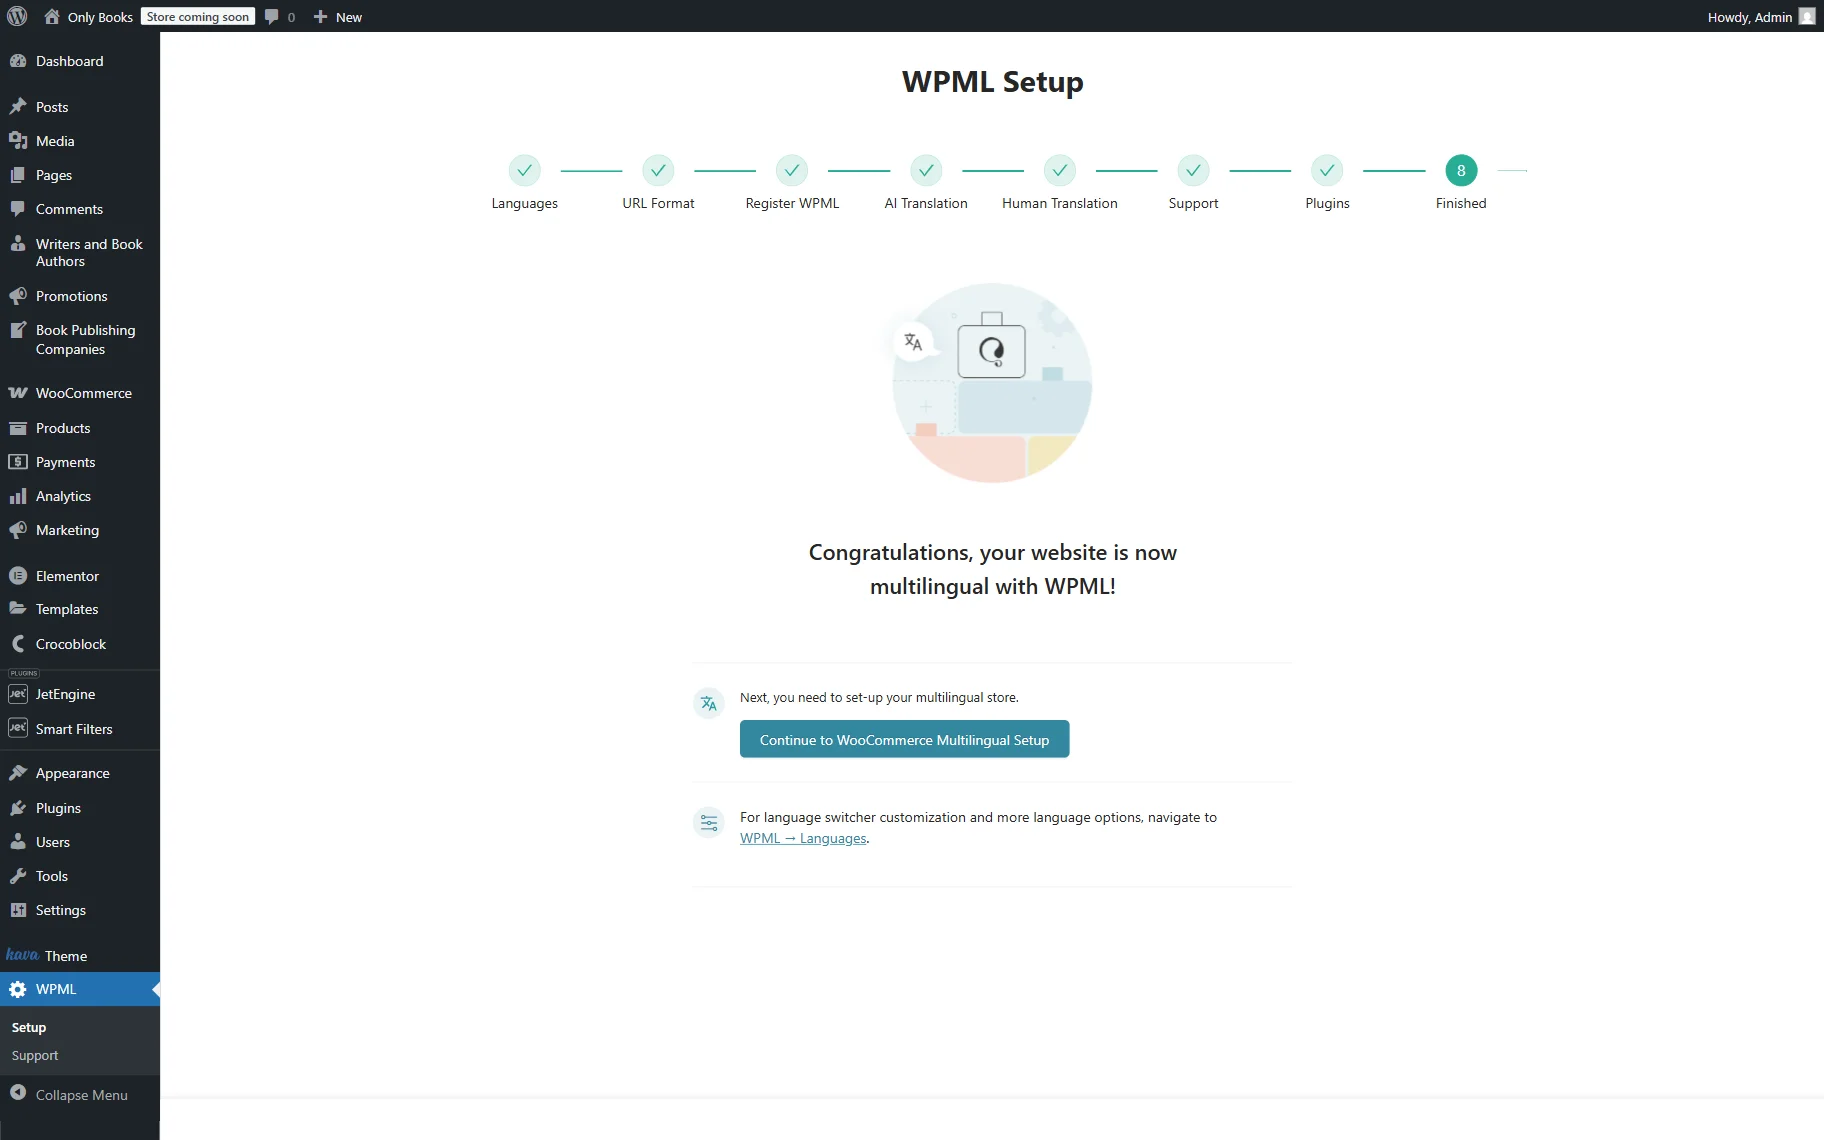
The final step displays additional information that can help you customize the translation process even more. Click on the “Finish” button to complete the setup.
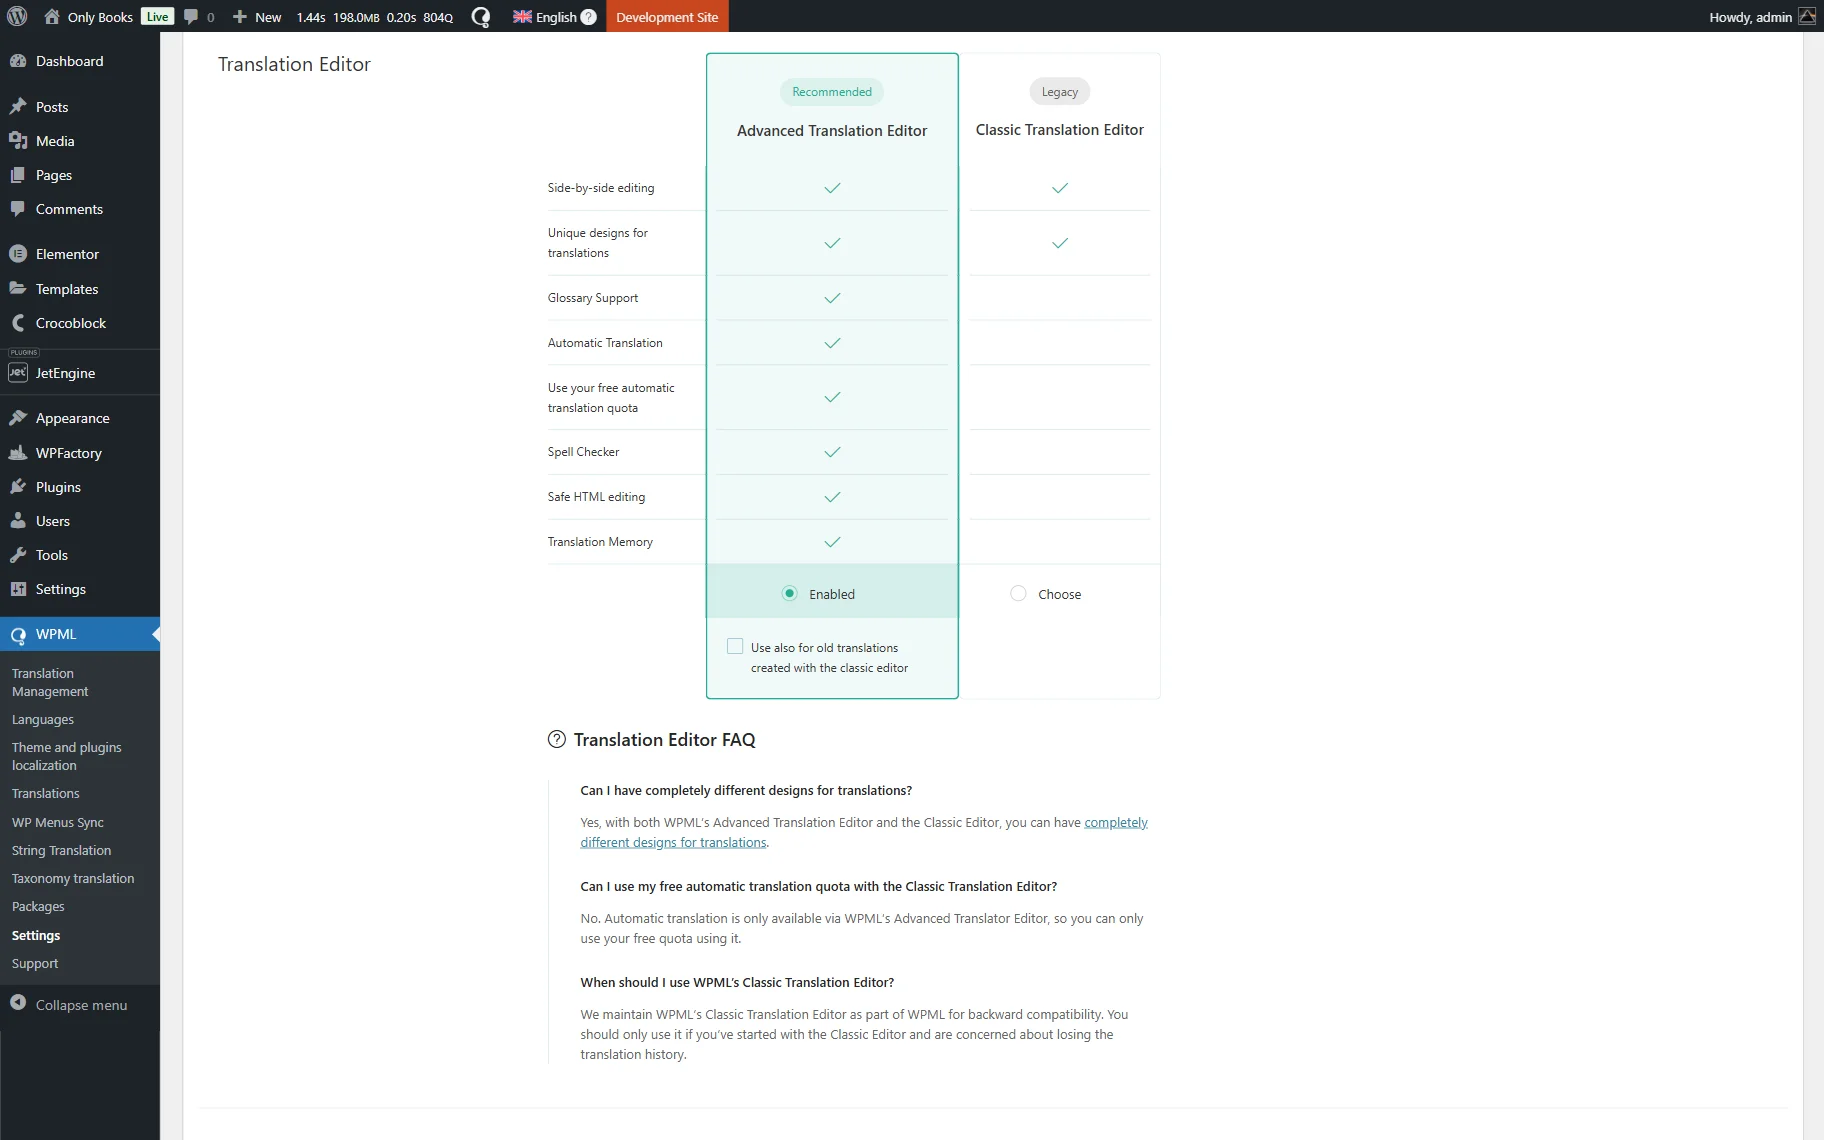
Afterward, go to the WordPress Dashboard > WPML > Settings tab and define the translation method for new content and the previously created translations in the Translation Editor section. Choose either “Advanced Translation Editor” or “Classic Translation Editor.”
Please note that we suggest using the “Advanced Translation Editor” for new content and the “Classic Translation Editor” for old content. In this way, it won’t affect old translations.
After everything is done, let’s proceed to translate dynamic website content.
Translate Custom Post Types & Listing Items/Components
With WPML, you can translate JetEngine’s Custom Post Types and Listing Items/Components. Check how to do it in our How to Translate Custom Post Types, Listing Items, and Components Using WPML tutorial.
Translate Meta Boxes & Meta Fields
Next, you can make the Meta Boxes and Meta Fields translatable. To do so, check our How to Translate Custom Fields and Meta Boxes Using WPML guide.
Translate Glossary and Multi-Optional Fields
To translate a website fully, find out how to translate JetEngine’s glossaries and multi-optional fields, check the How to Translate Glossary and Multi-Optional Fields Using WPML guide.
Translate the JetSmartFilters Filter Based on the JetEngine’s Glossary
You can also translate the JetSmartFilters filter with the “Glossary” source. To learn how, read through the How to Translate the JetSmartFilters Filter Based on the Glossary Built with JetEngine tutorial.
Translate Taxonomies
Check the How to Translate Custom Taxonomy Using WPML tutorial to be able to translate the JetEngine’s taxonomies in a few steps.
Manage Translations in One Dashboard
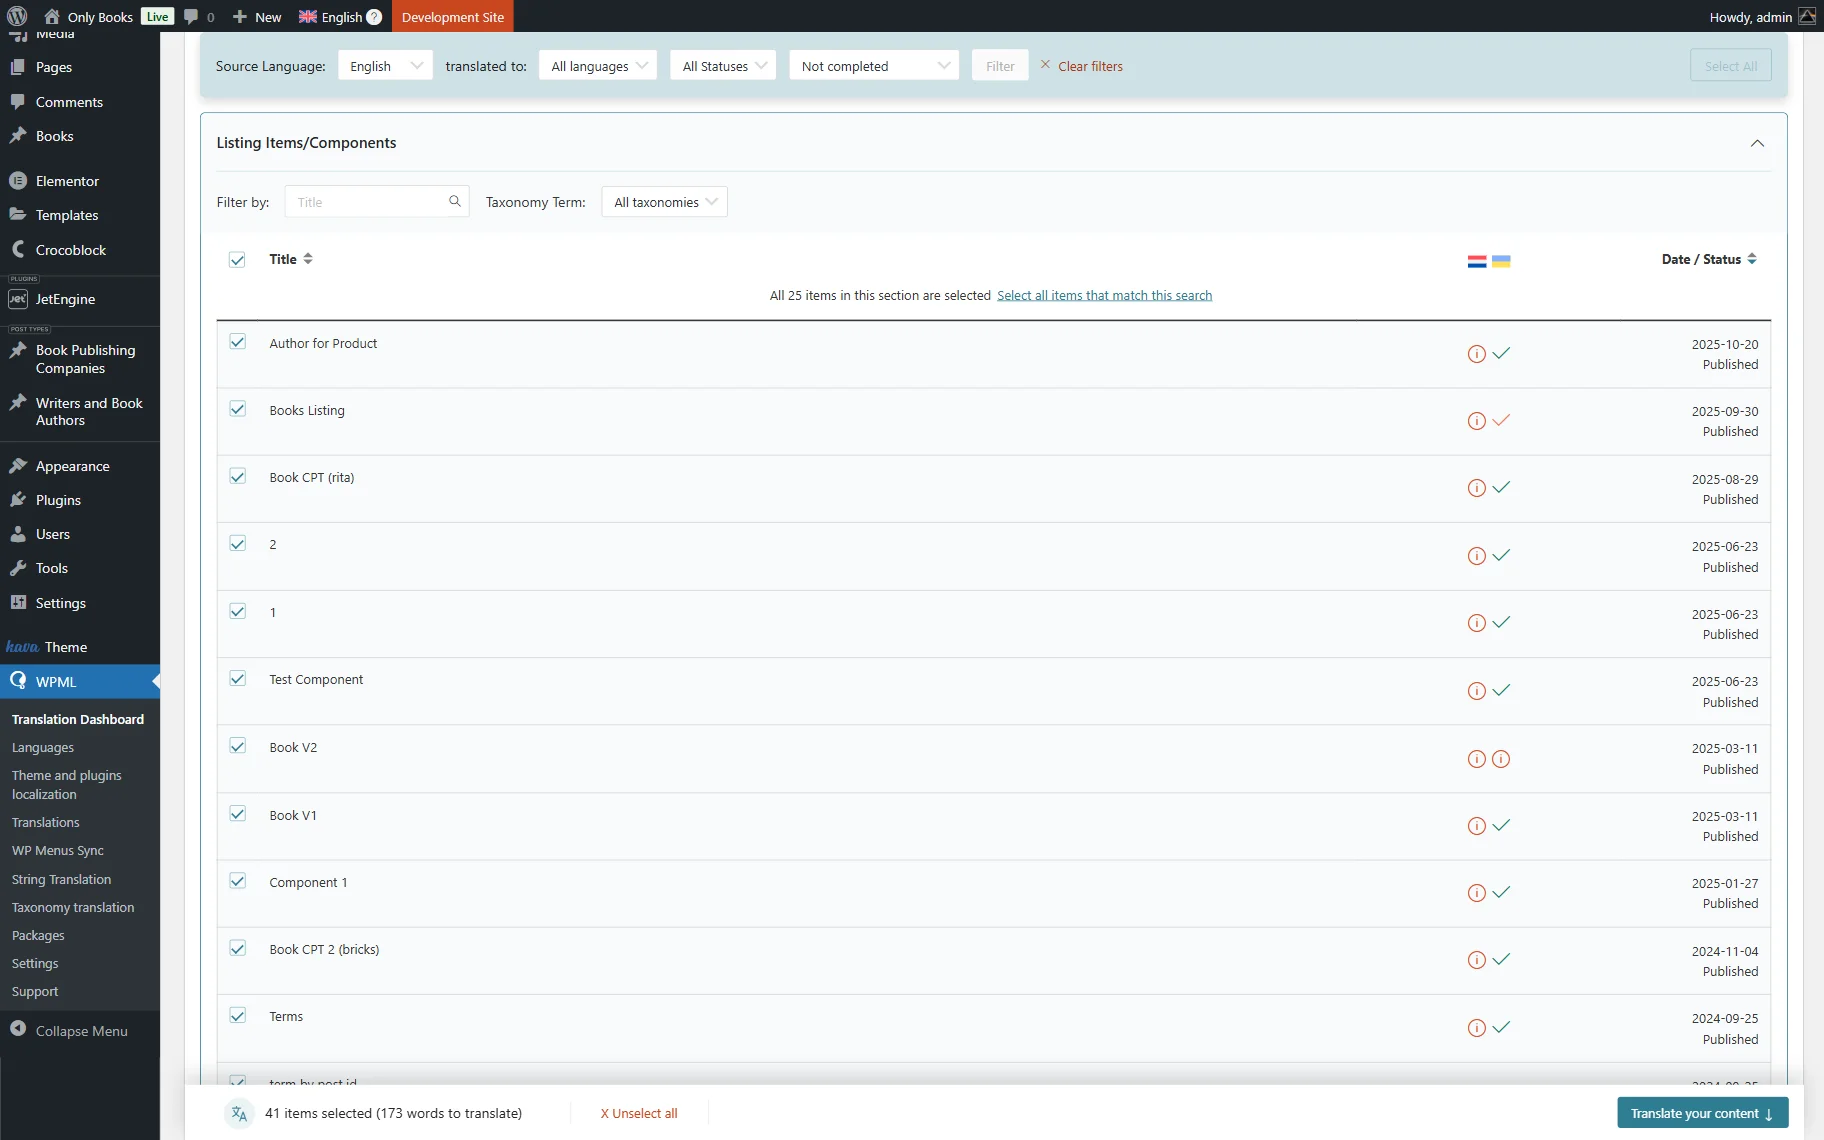
An alternative way to translate items like CPT posts, listing items, and meta fields is to navigate to the WordPress Dashboard > WPML > Translation Dashboard tab.
The Listing Items/Components tab is located here. Select all items that need translation, then click the “Translate your content” button to proceed.
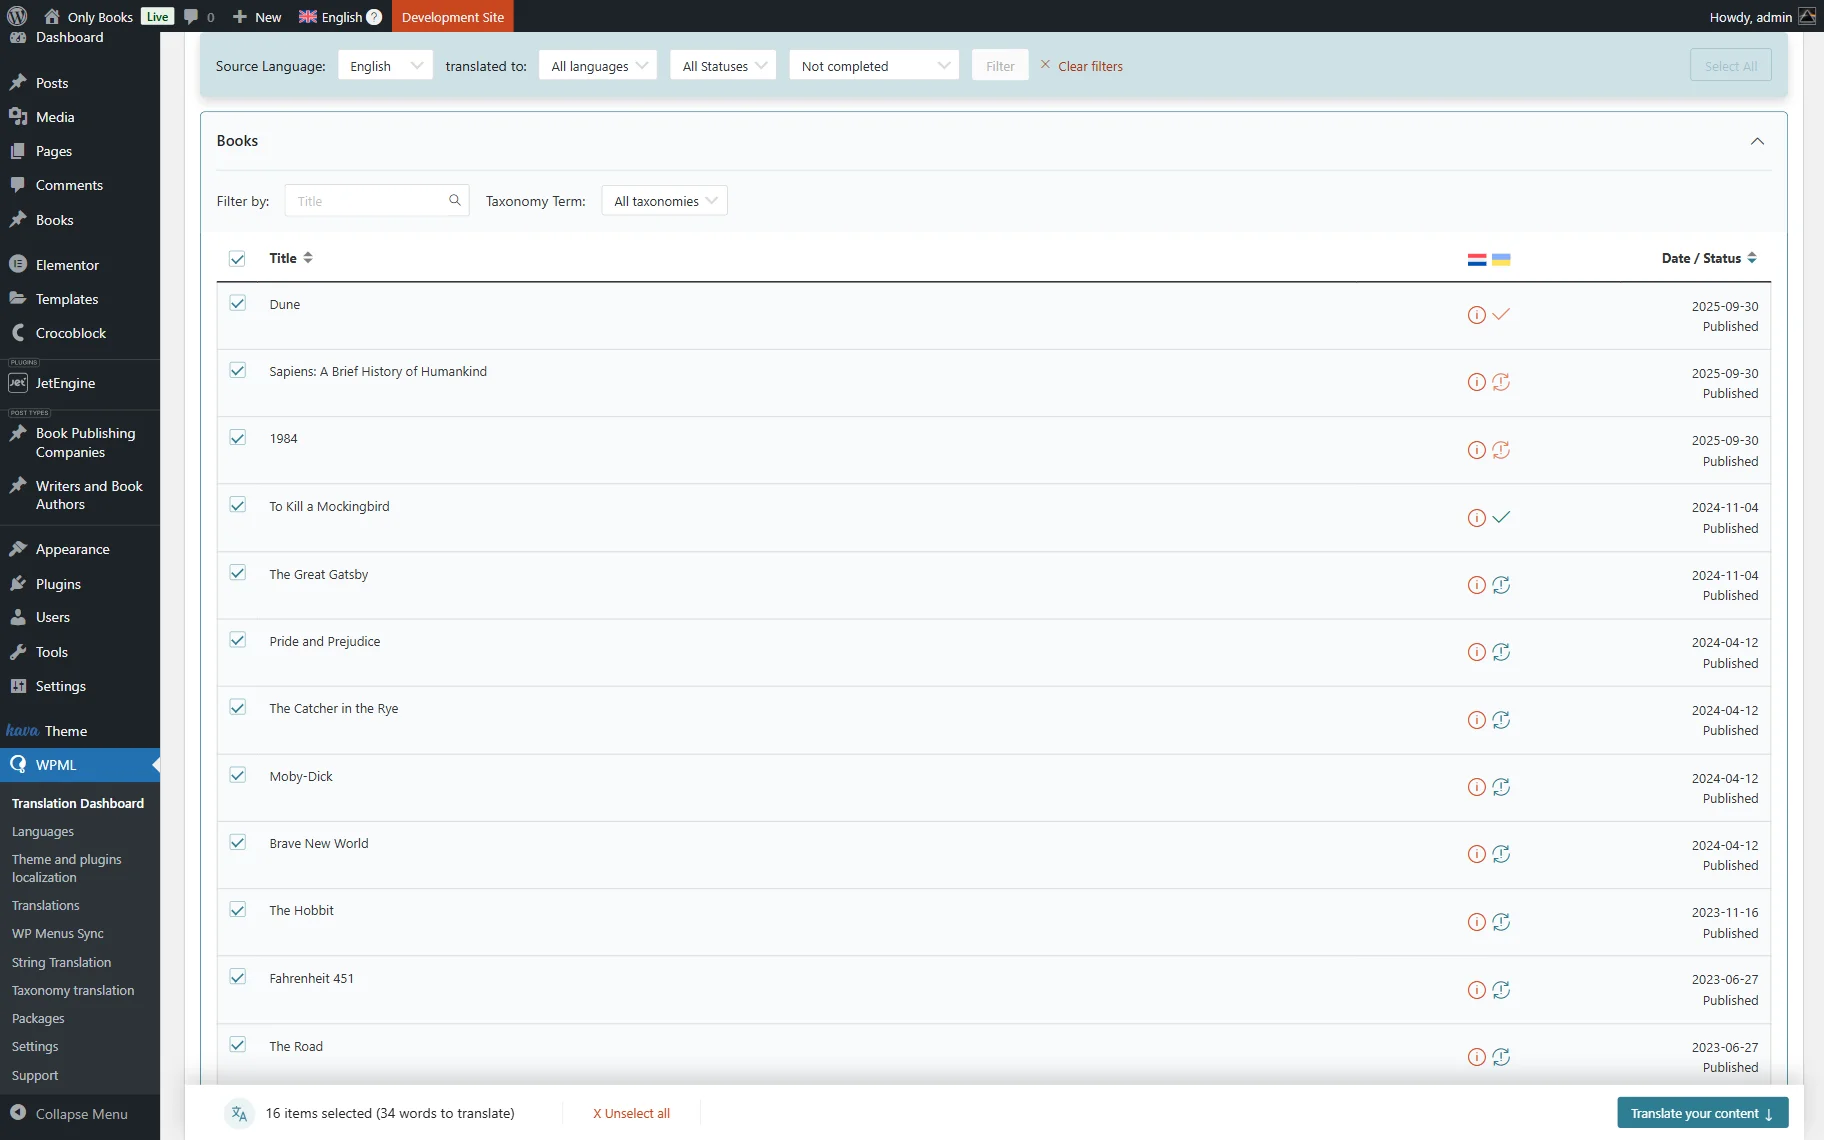
Alternatively, you can move to other sections and select the content you want to translate.
For instance, to translate the CPT items, you can find the needed post type by its name and select the needed items in the section list.
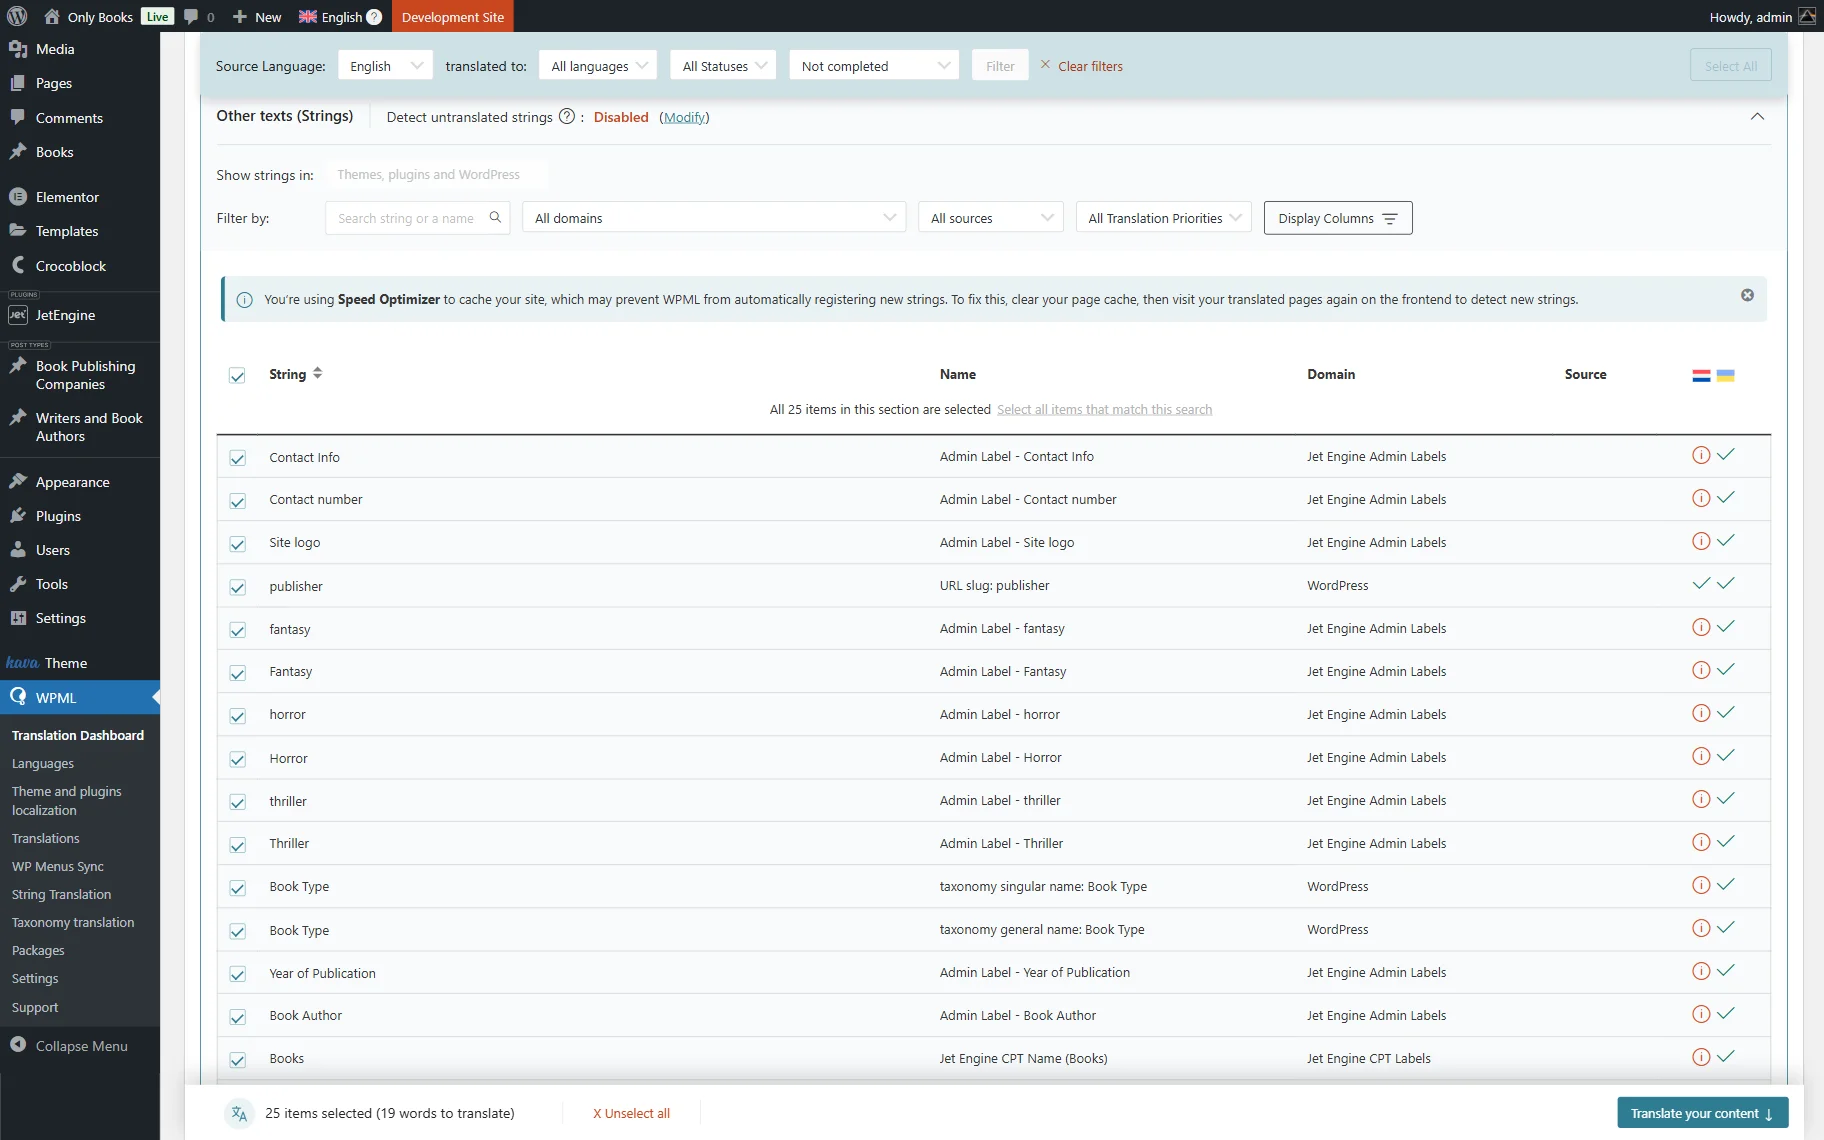
To translate meta fields, go to Other texts (Strings) and pick the needed items in the list.
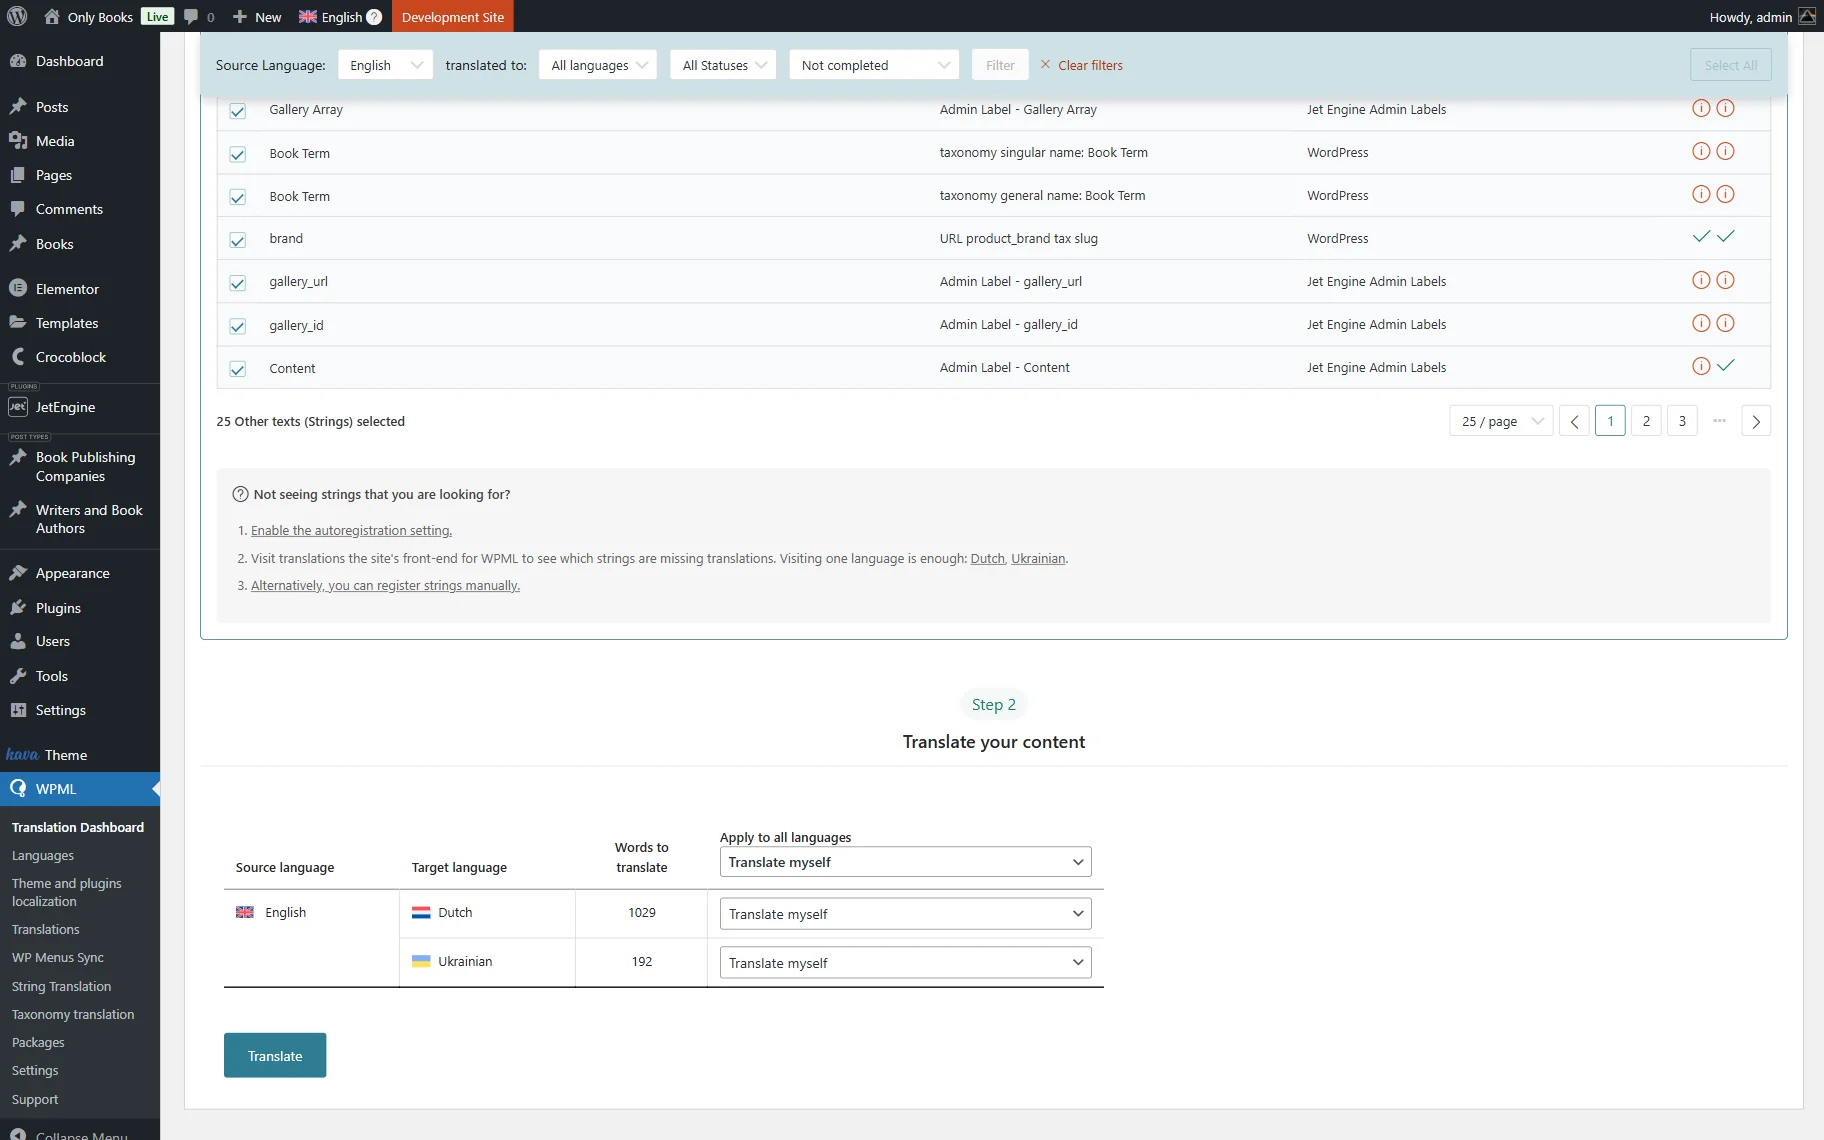
When you click the “Translate your content” button, your screen will scroll down to the Translate your content section.
Here, you can review the items selected for translation, choose how to translate the content, and adjust the following settings, which are shown depending on the selected Translation Method. In our case, we picked the “Translate myself” method, so there are no additional settings.
Once done, press the “Translate” button.
Once clicked, you can proceed to the WordPress Dashboard > WPML > Translations directory, where the items can be translated by clicking on the “Translate” button next to the needed item.
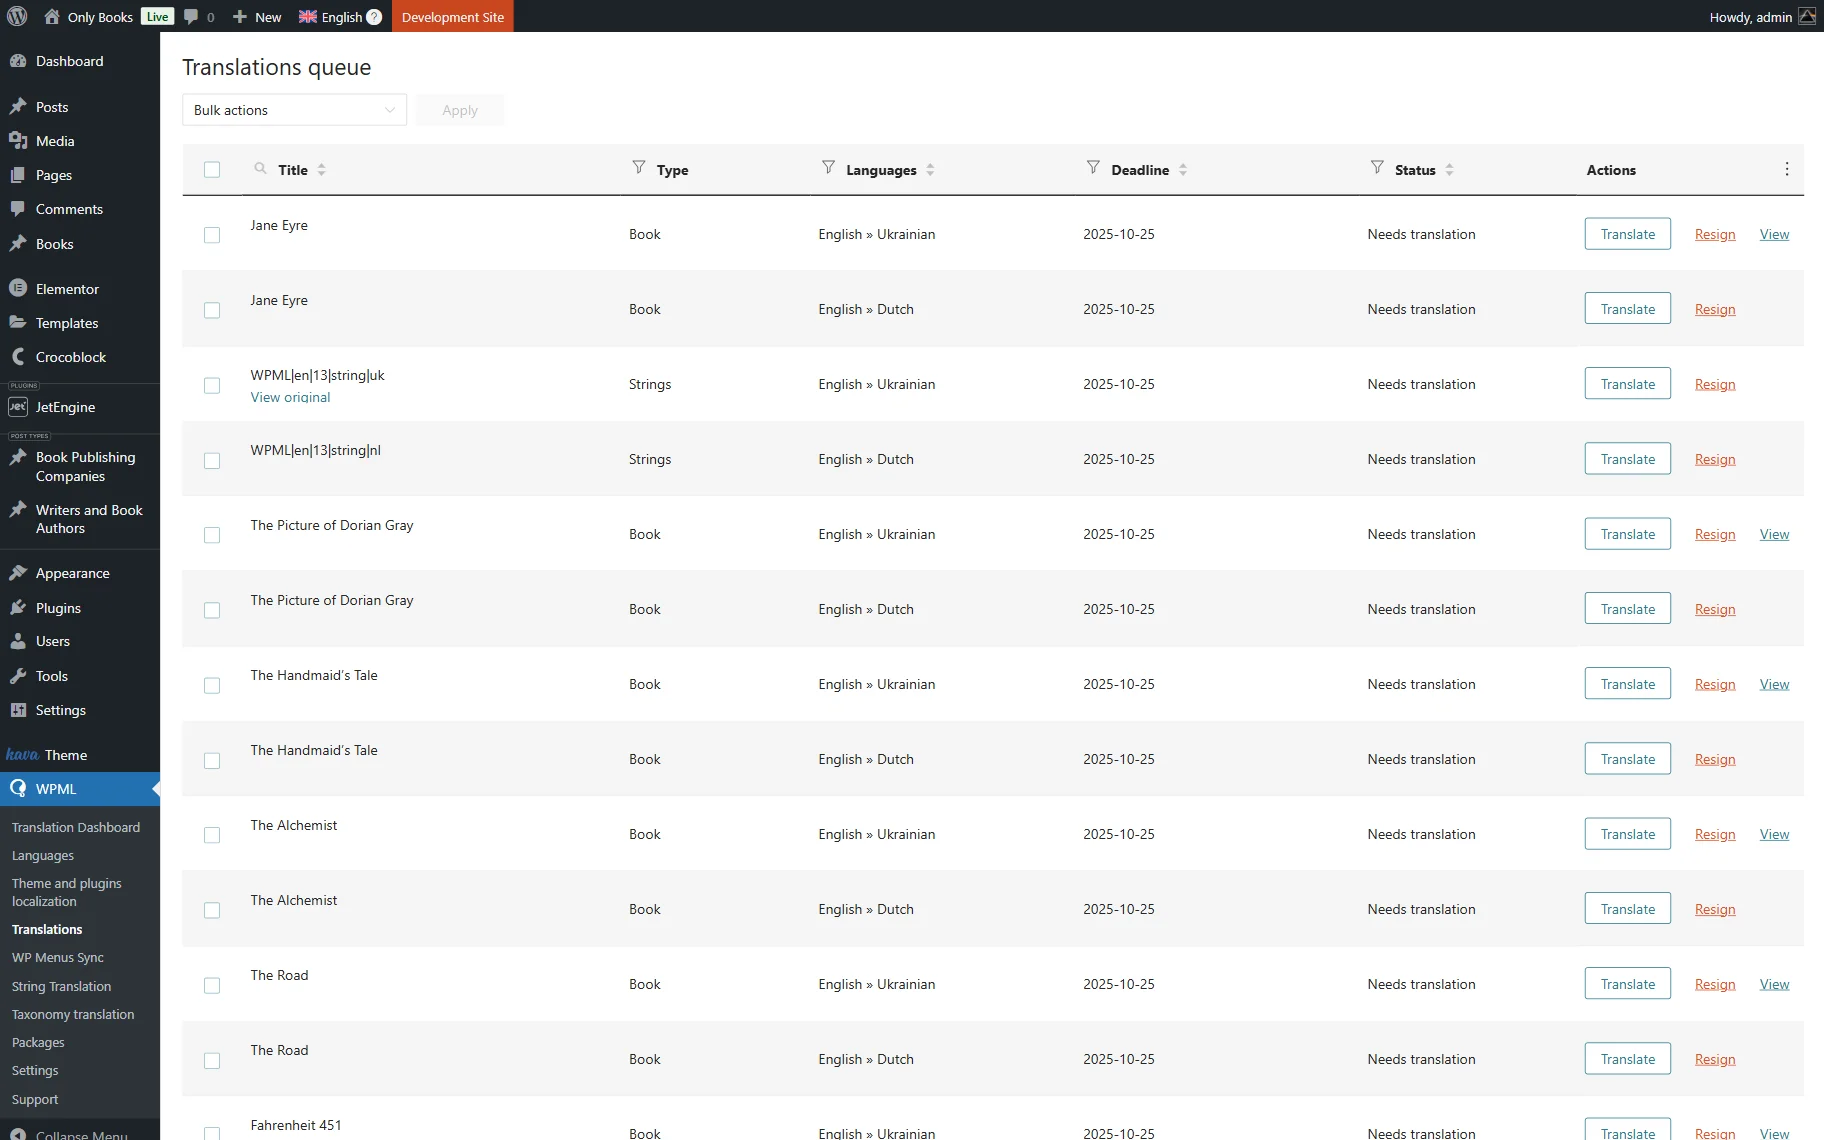
After that, you will be redirected to the translator editor, where the translation can be made and saved.
Translate CPT Slugs
You can also translate CPT slugs; check more information about it in the How to Translate Custom Post Type Slugs Using WPML tutorial.
Translate JetEngine Forms (Legacy)
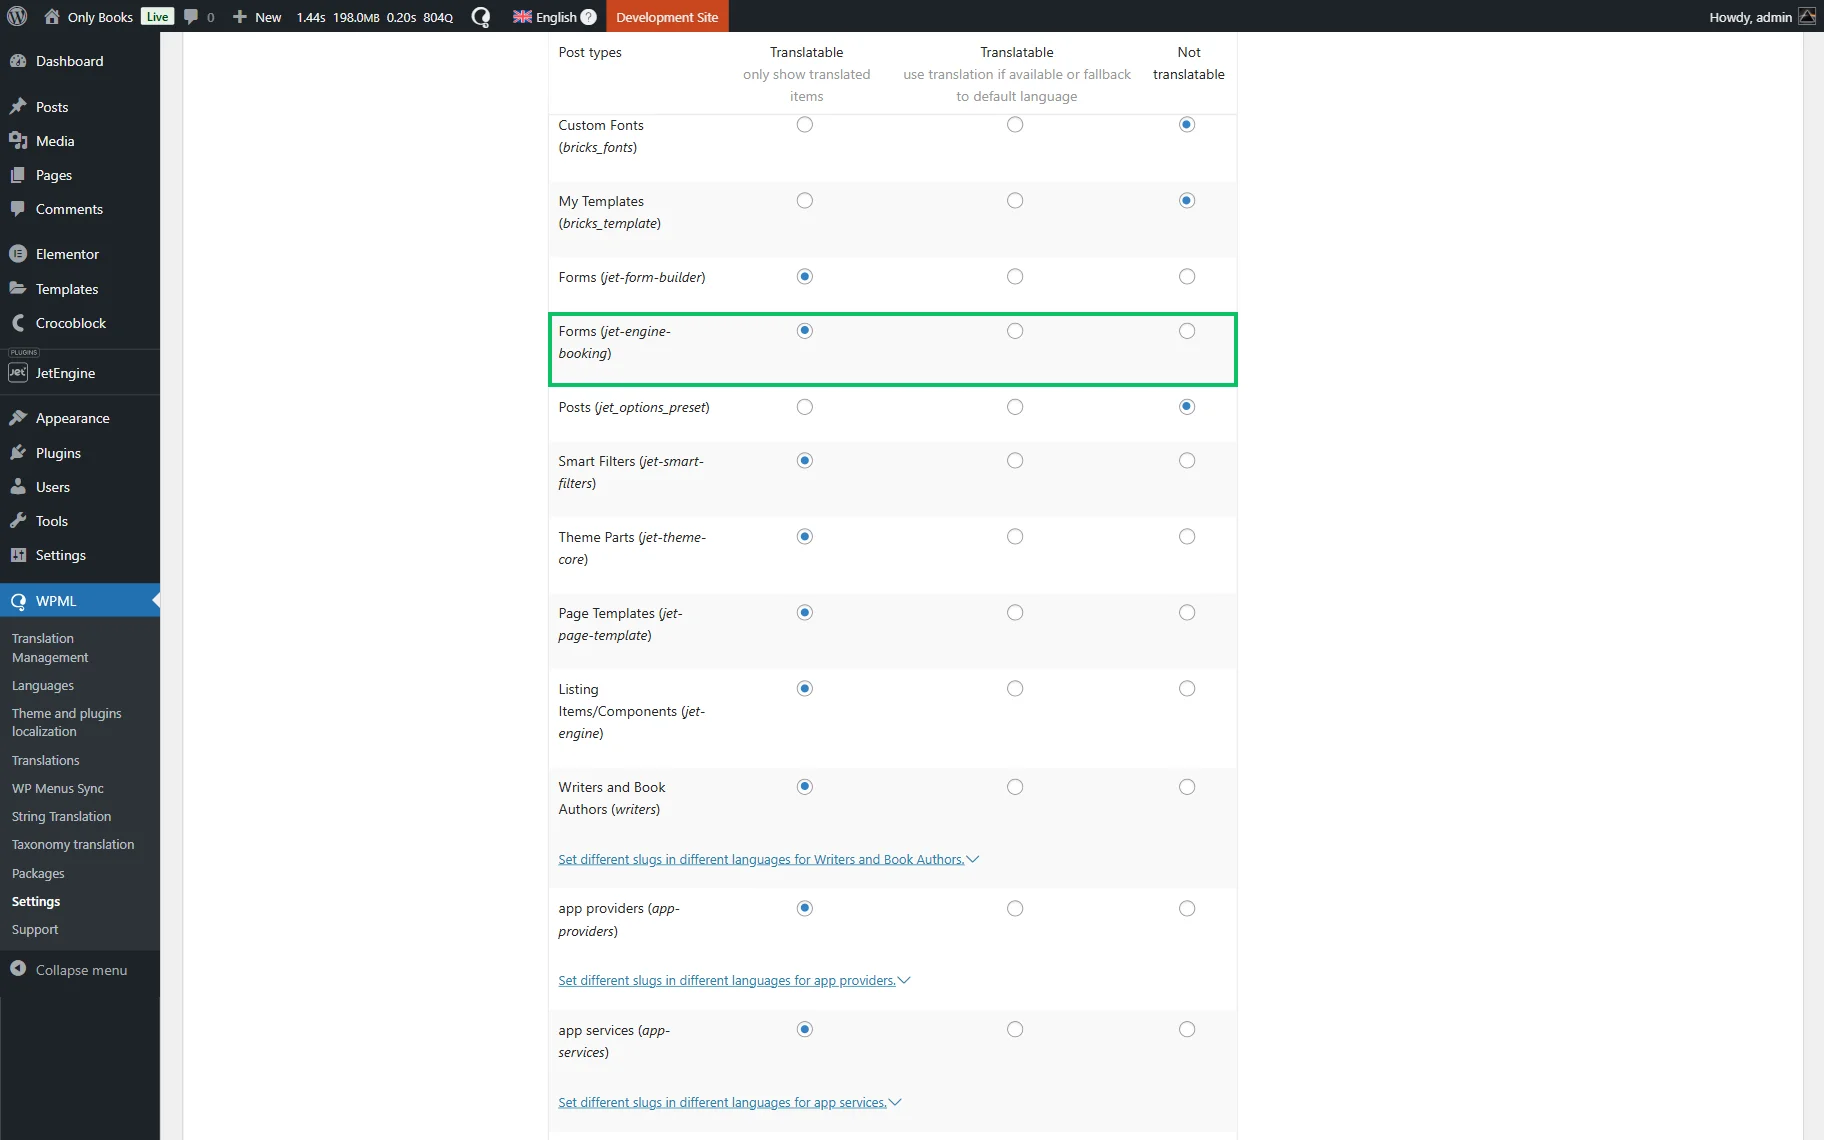
The JetEngine Forms can be made translatable. To do so, go to WordPress Dashboard > WPML > Settings, scroll down to Post Types Translation, and activate the “Translatable” radio button in the Forms row.
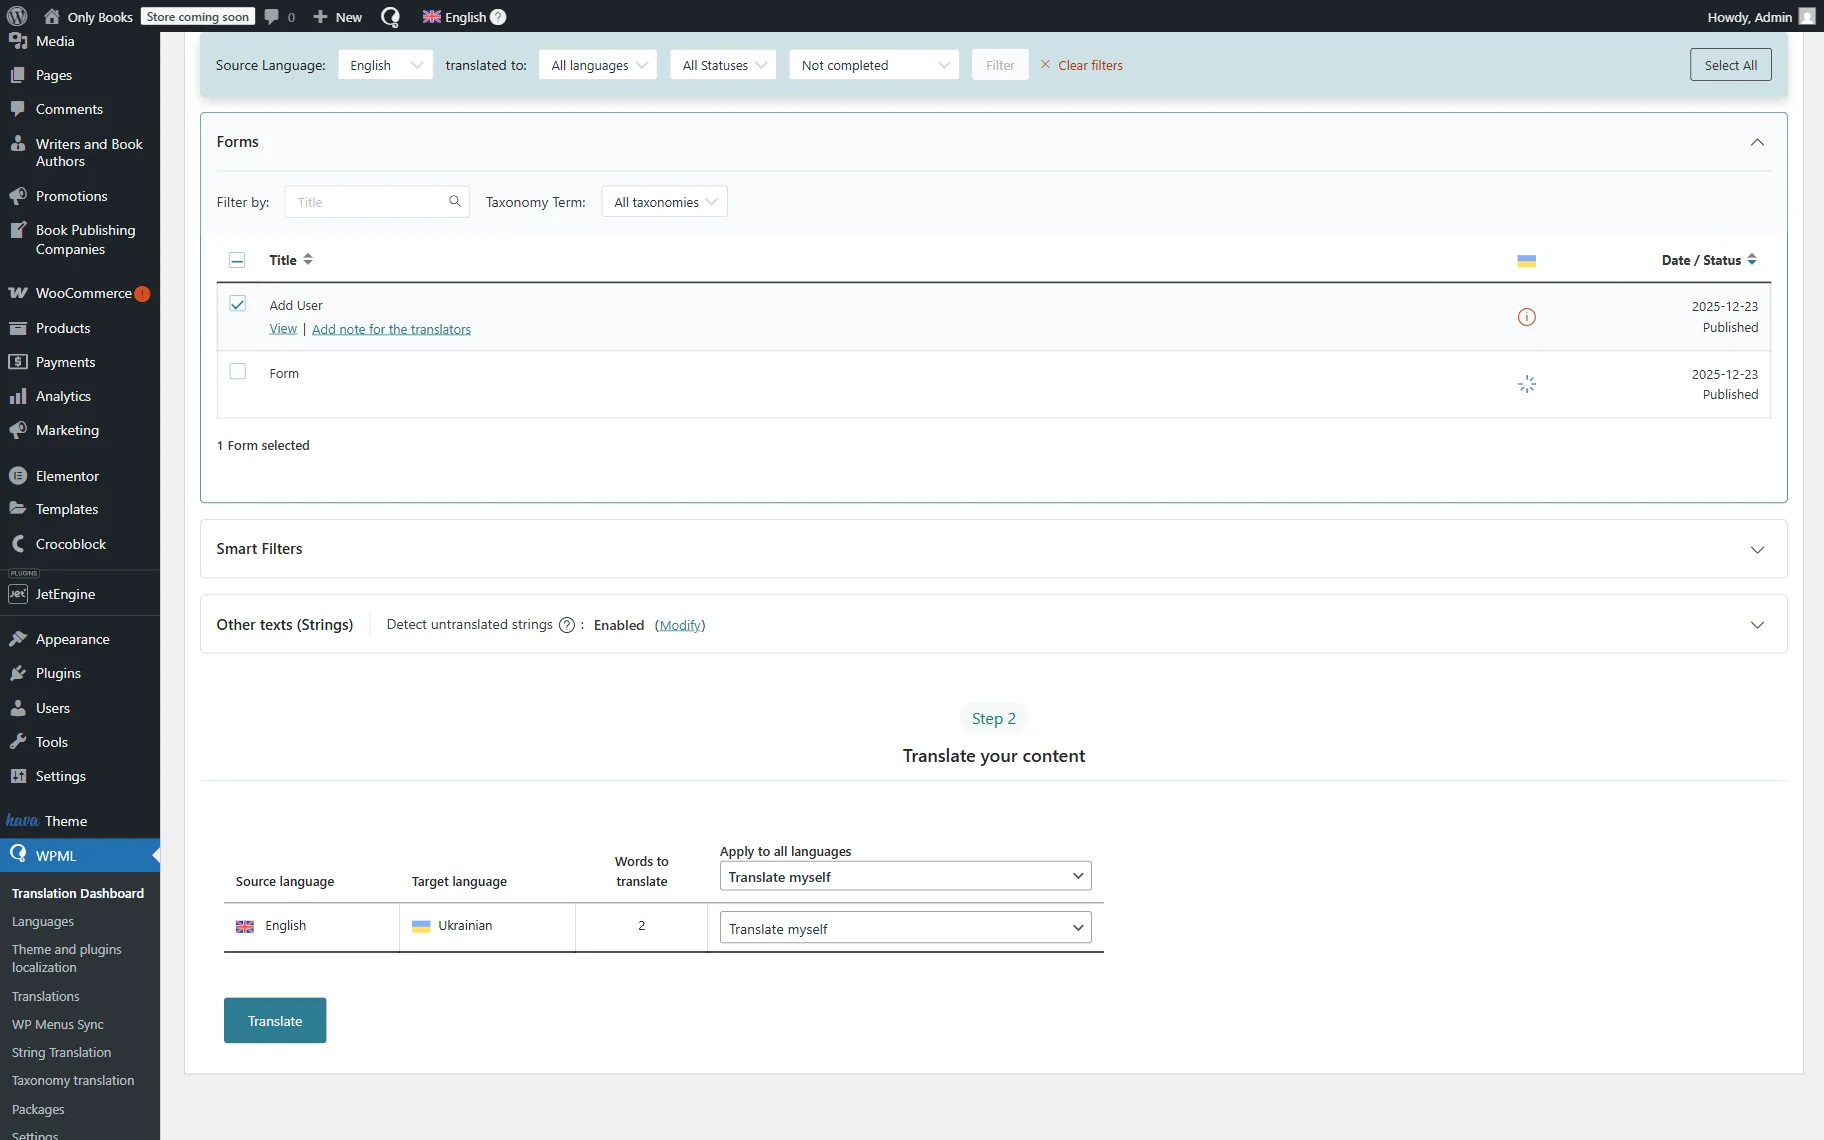
To translate WordPress forms into the language of your choice, go to WordPress Dashboard > WPML > Translation Dashboard, then find and click the Forms tab to open it. Tick the checkbox next to the required form, then press the “Translate your content” button.
Select the translation method and press the “Translate” button.
If you selected the “Translate myself” option, go to WordPress Dashboard > WPML > Translations and press the “Translate” button.
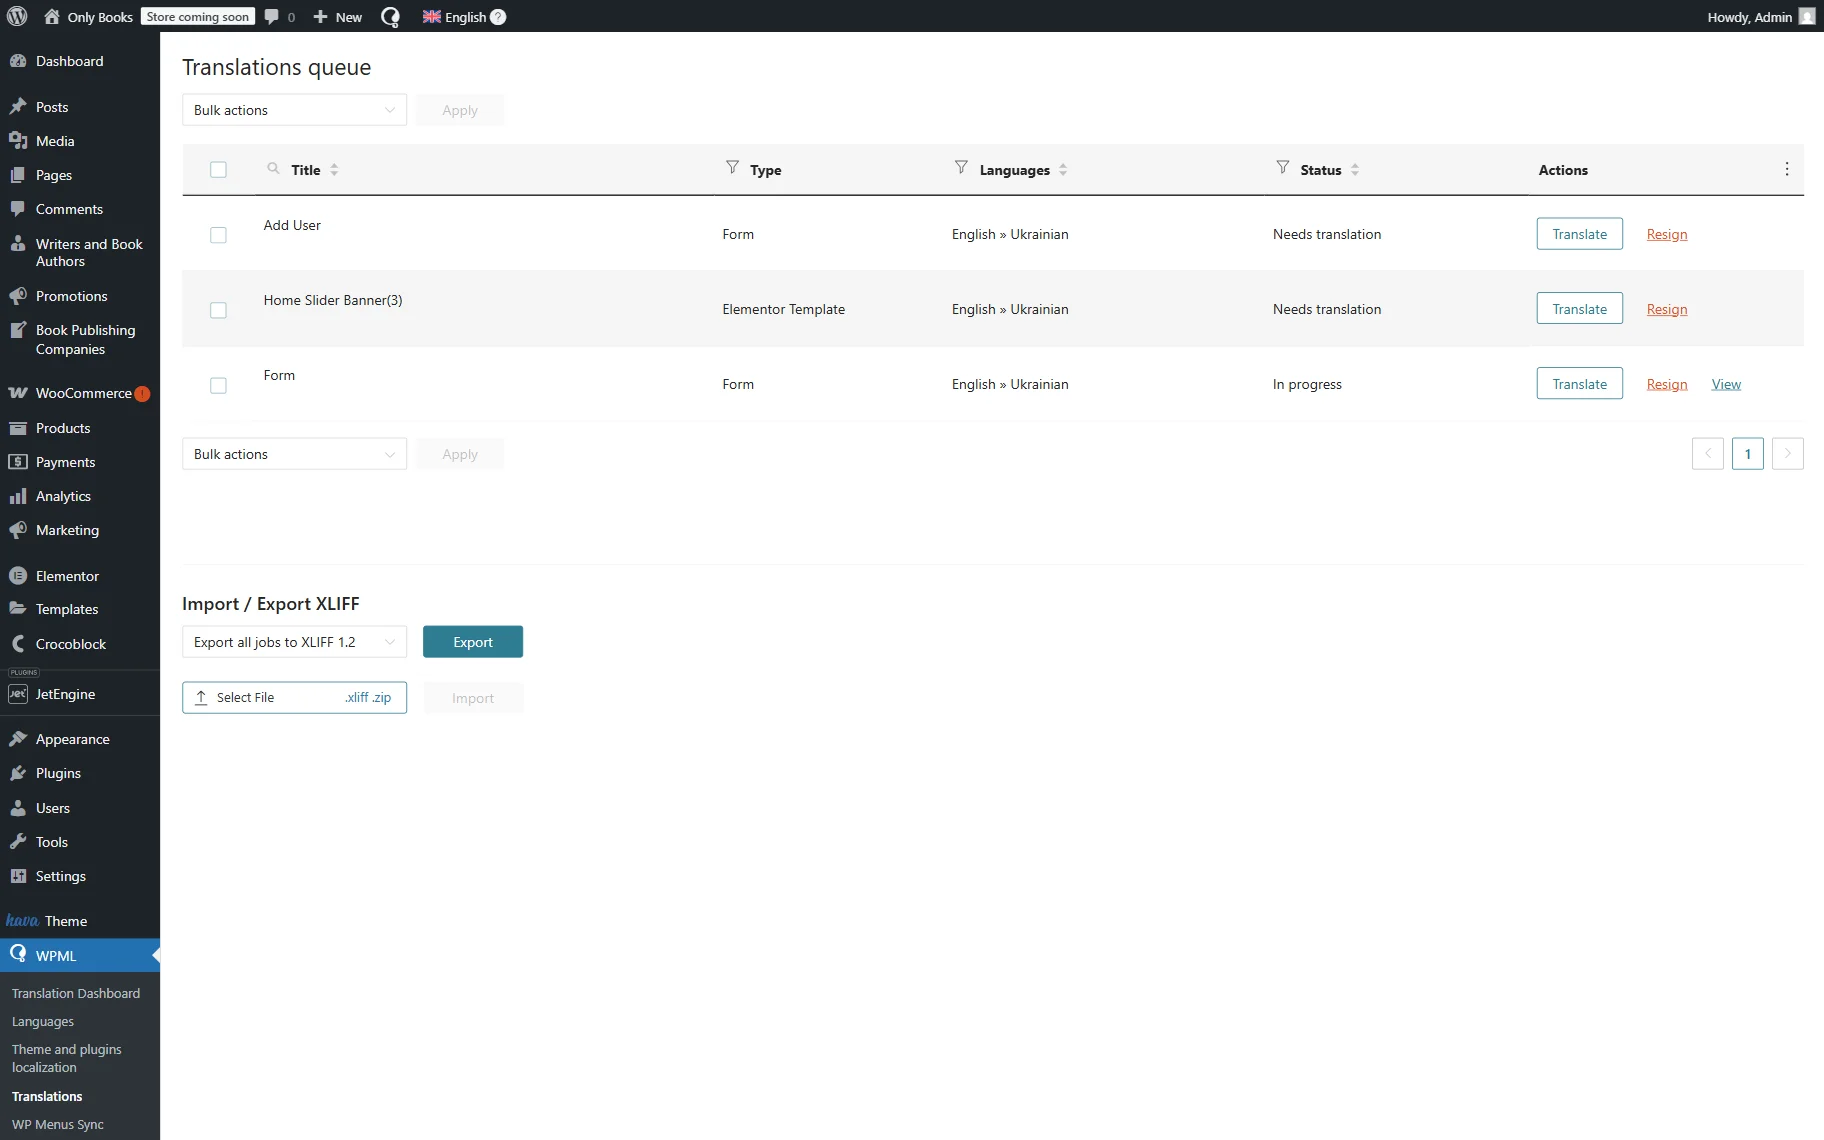
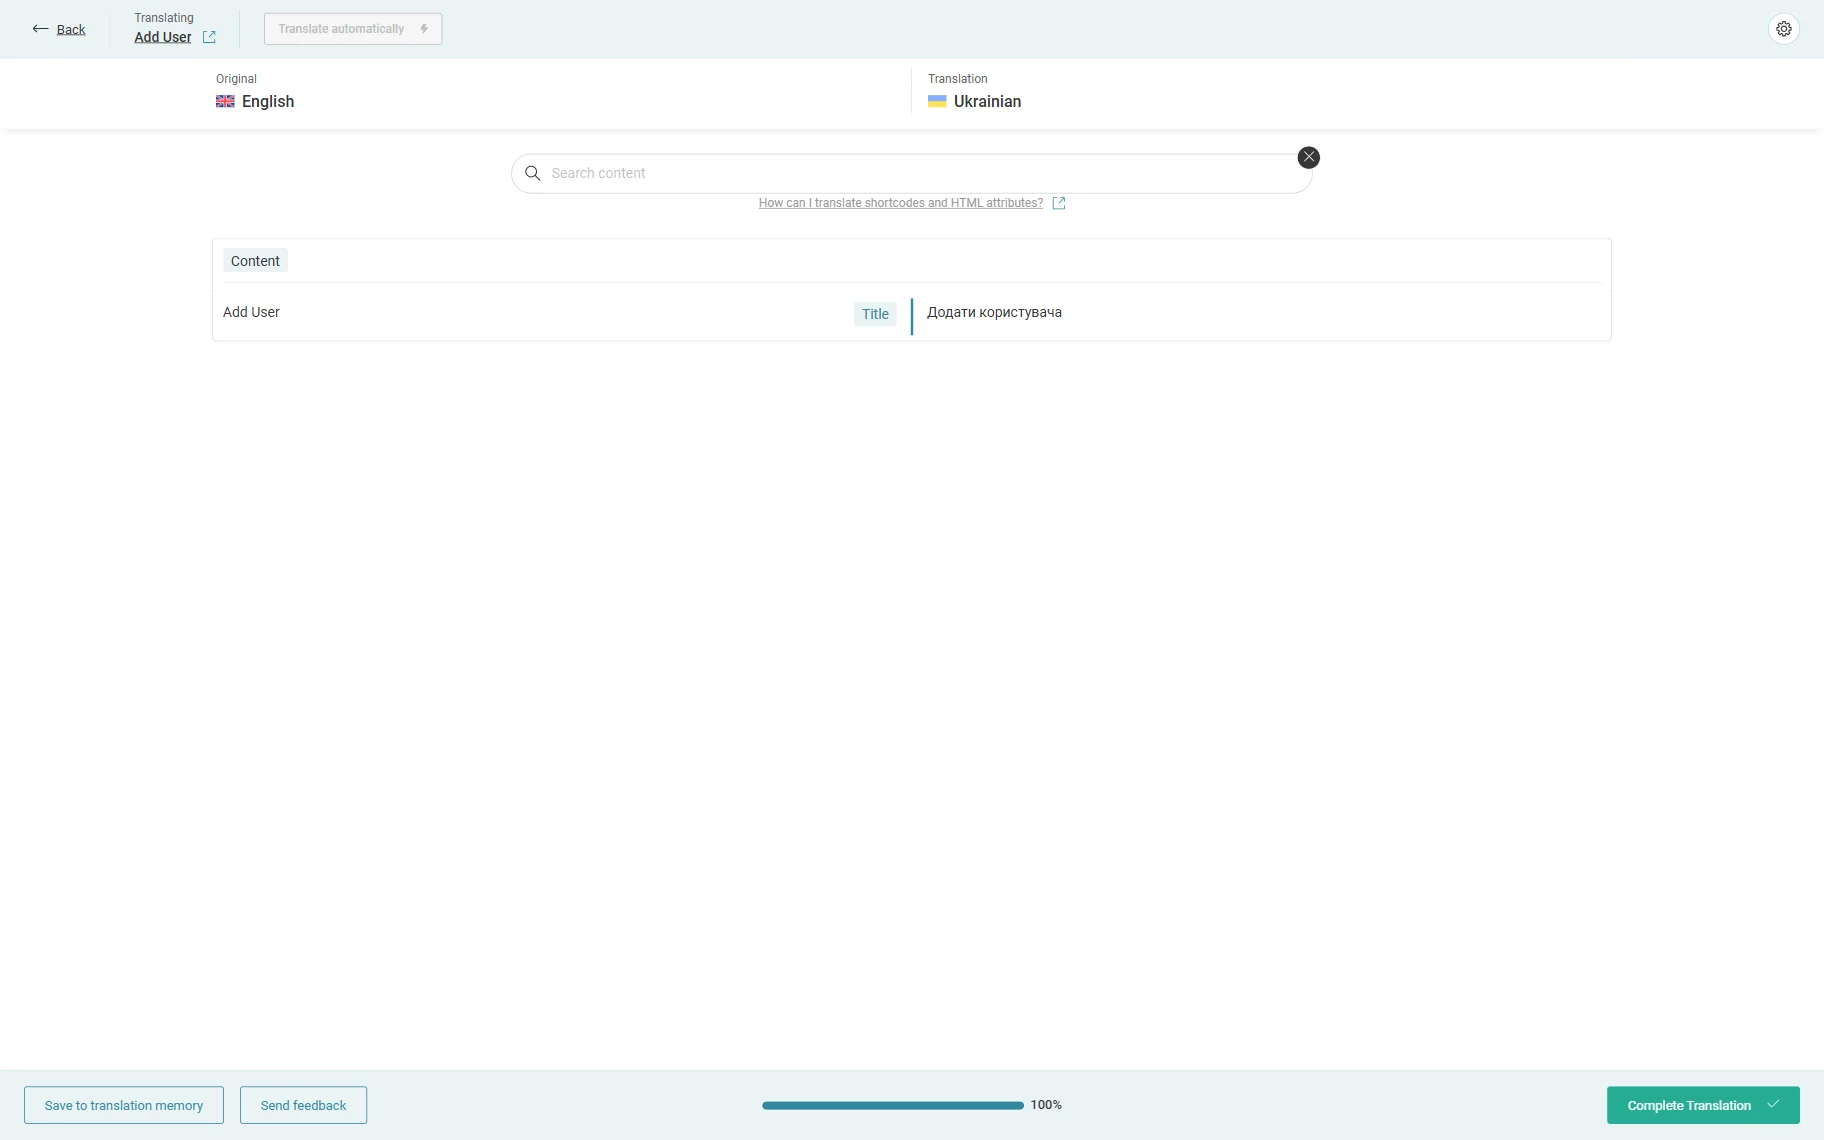
Fill in the translation of the form name and press the “Complete” button to save the result.
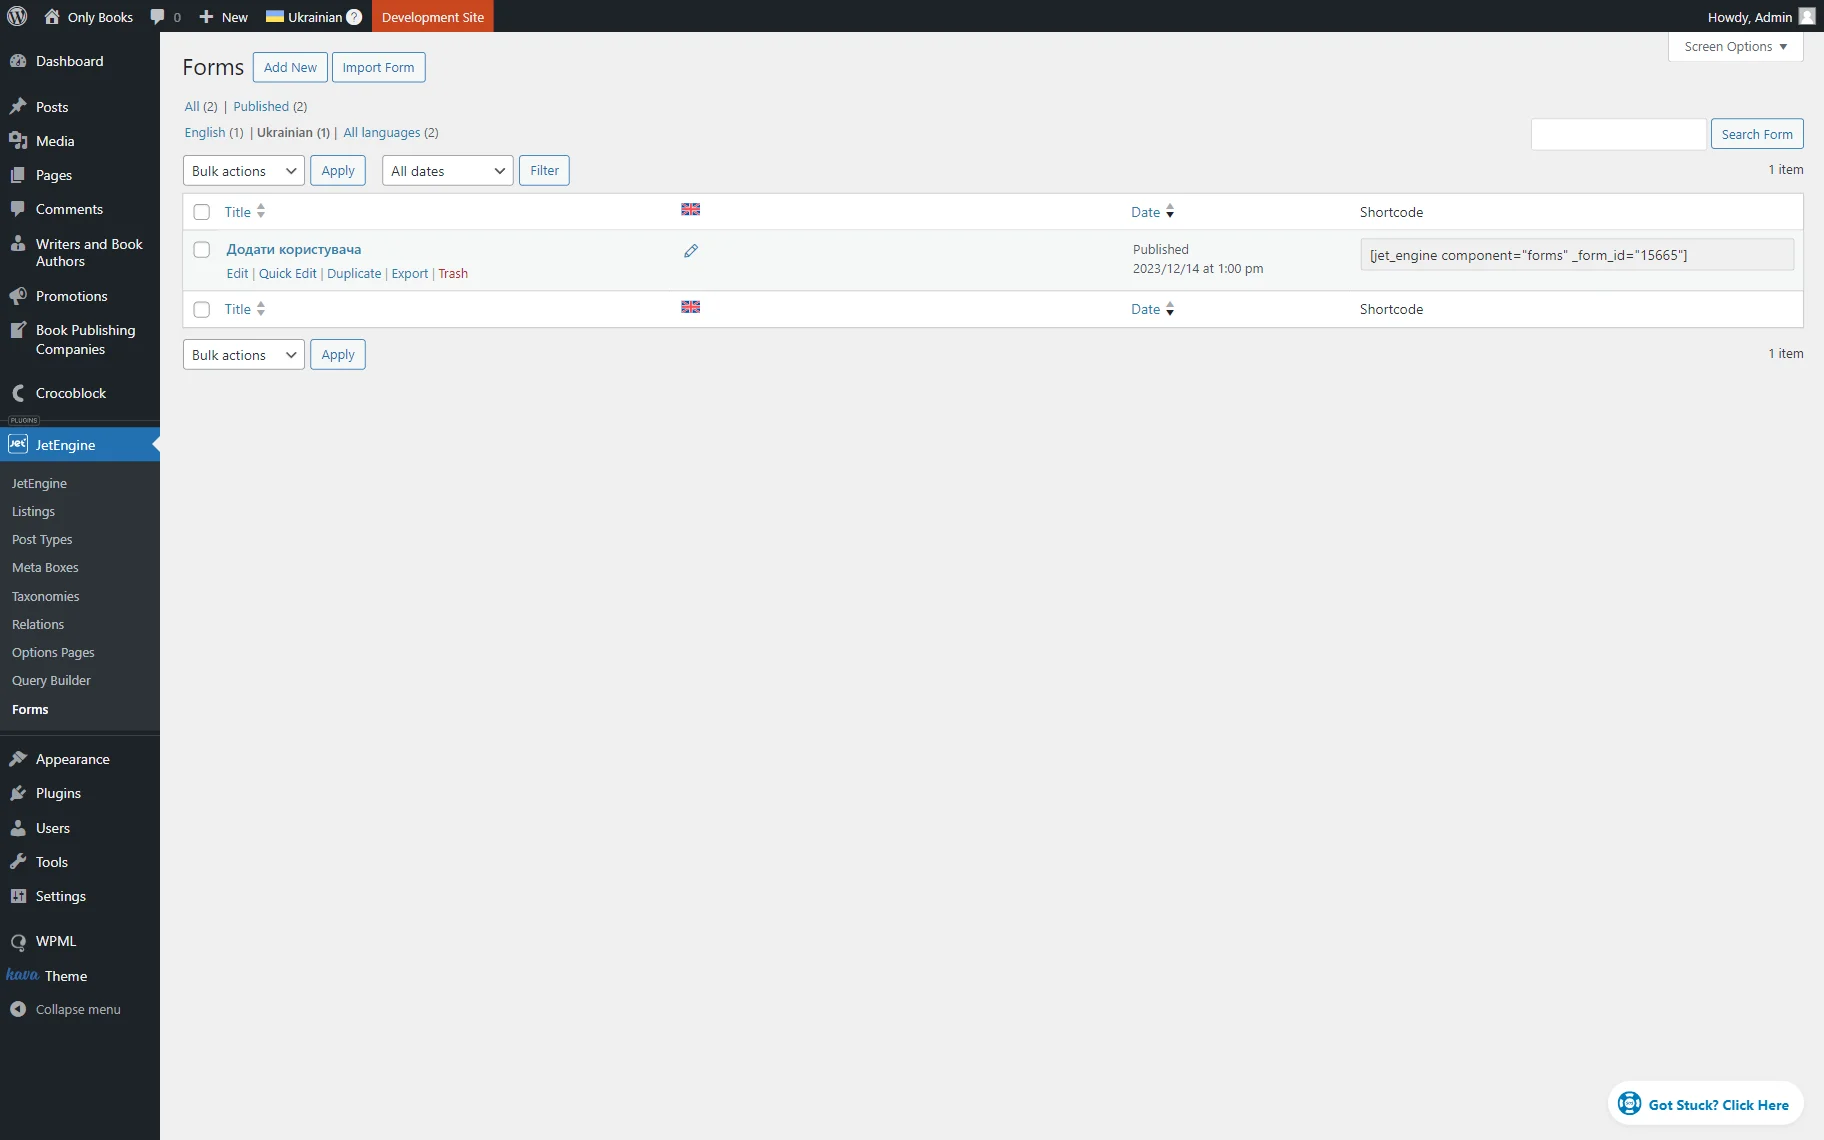
Now, go back to the Forms and click the “Edit” button to open the editor of the translated version of the form.
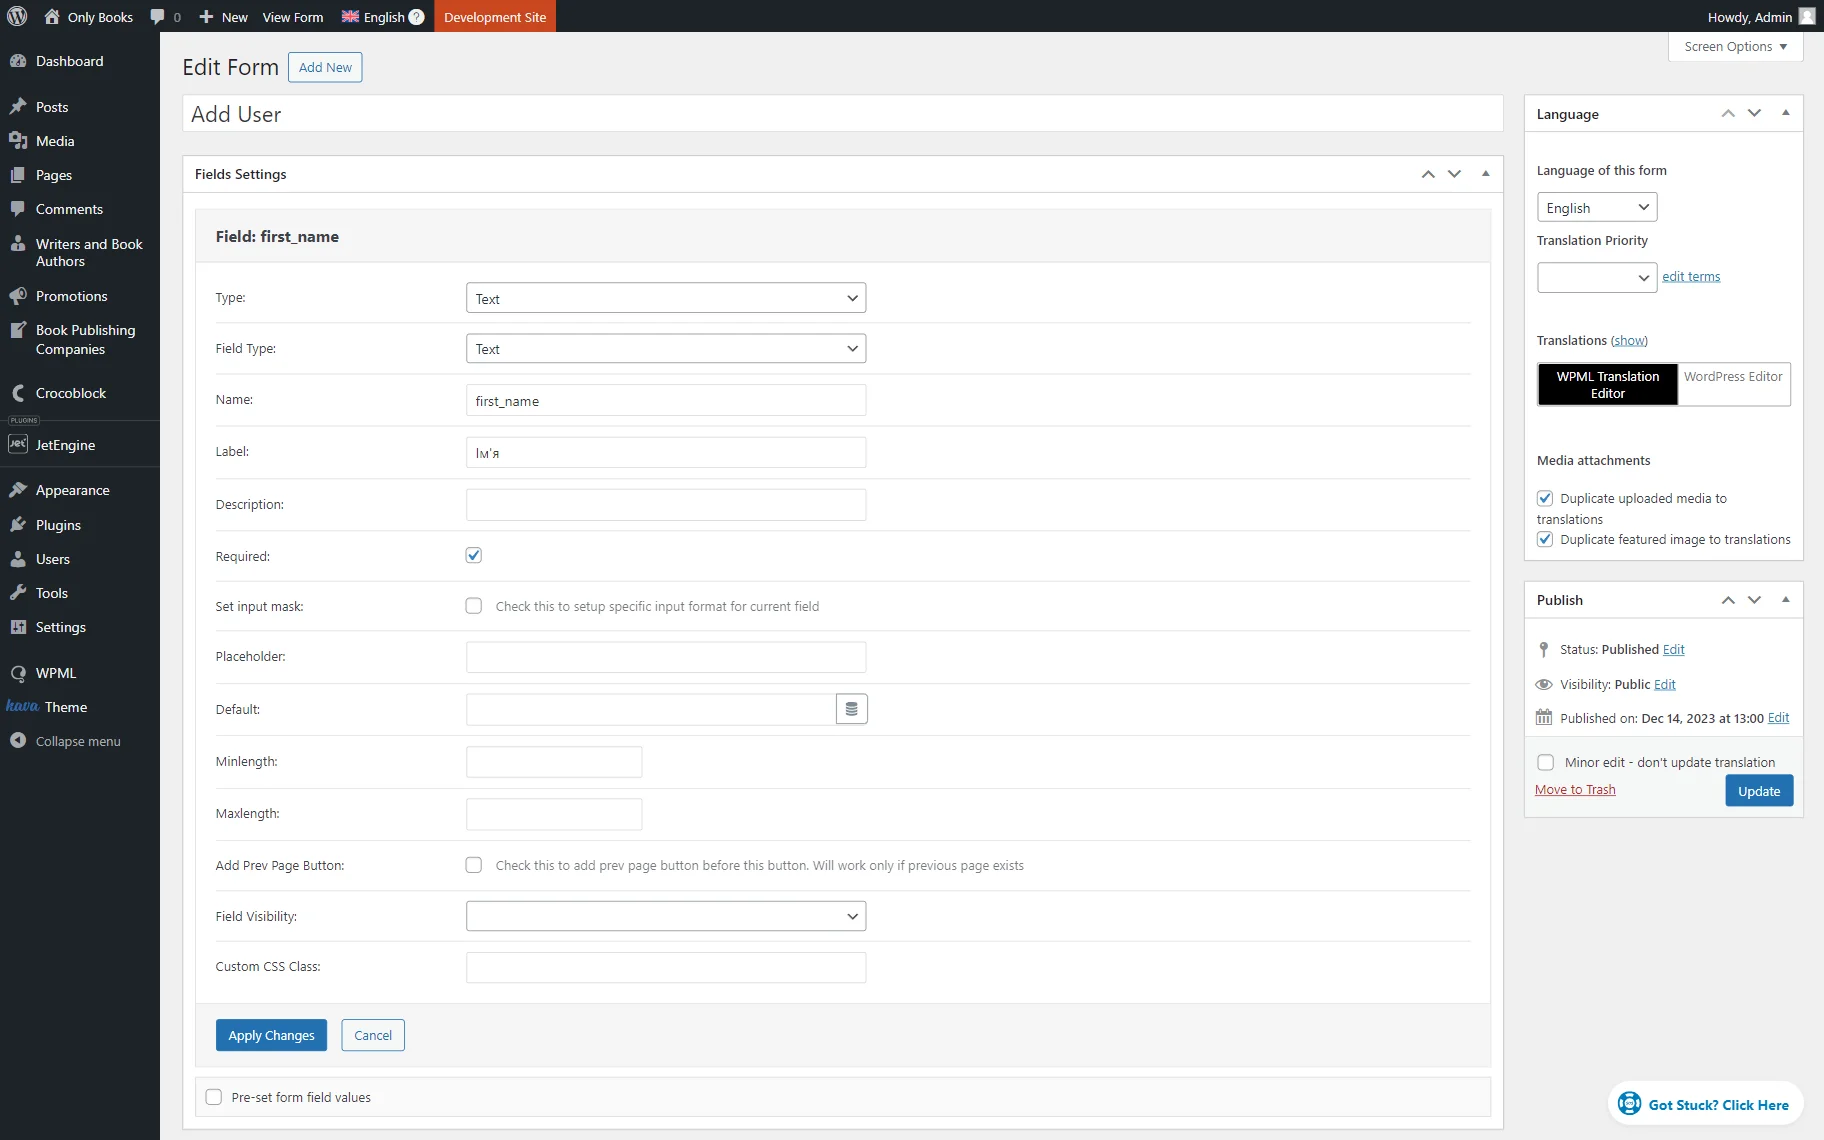
As the translated form lacks original fields, create them once again. This time, complete their Labels with translated versions and save them by clicking the “Apply Changes” button.
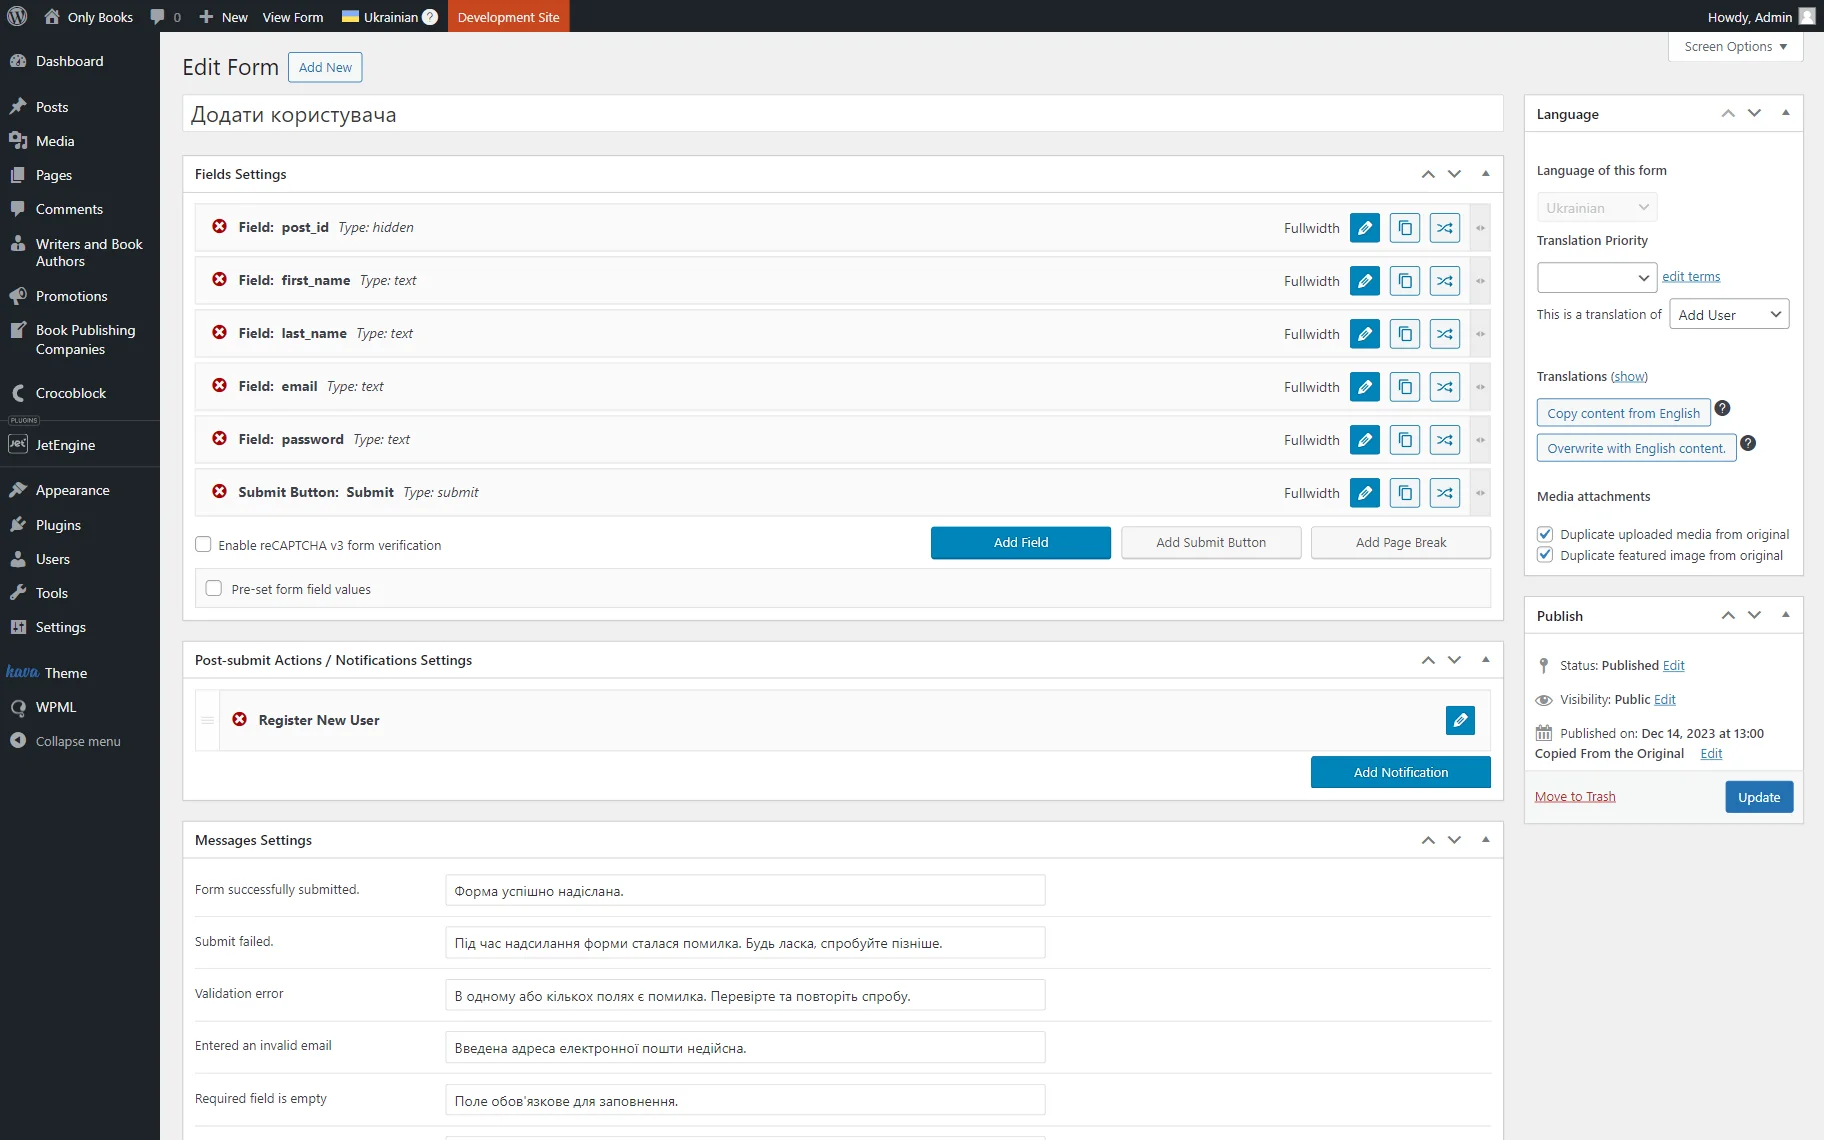
Once fields are done, navigate to the Messages Settings section and translate notifications.
Then, push the “Update” button to save the form.
Head to WordPress Dashboard > Pages and open the translated version editor of the page where the form was originally added.
Add a Form to the page, and in the Select form field, pick the translated version of the form.
Once the page is ready, you can update it.

Set Up Language-Based Header & Footer for Dynamically Generated Pages
JetEngine can also be integrated with the JetThemeCore plugin. In case you want to find out more, check our How to Set Up Language-Based Header & Footer for Dynamically Generated Pages guide.
Translate Options Page Meta Fields
If you work with the Options Pages functionality and want to translate their meta fields, find out how to do it in the How to Translate Options Pages Meta Fields Using WPML tutorial.
Translate Relations
The JetEngine’s relations can also be translated with WPML. To find out more about it, read the How to Translate JetEngine Relations Using WPML guide.
That’s all about the Crocoblock WPML integration; now you know how to make your JetEngine-built WordPress website translatable.