How to Show or Hide the Content by Date Using Dynamic Visibility
Find out how to show special offers or hide limited content on the WordPress website by date with the JetEngine Dynamic Visibility module.
Show/Hide Content in Elementor
The JetEngine plugin allows you to set any specific conditions you need to show or hide the content. One of the main Dynamic Visibility module’s features is showing and hiding content by date. So, let’s find out how to implement this feature on the WordPress website.
Show content
Head to the Elementor-edited page to apply the Dynamic Visibility feature. As an example, we will move to the CPT Single Page.
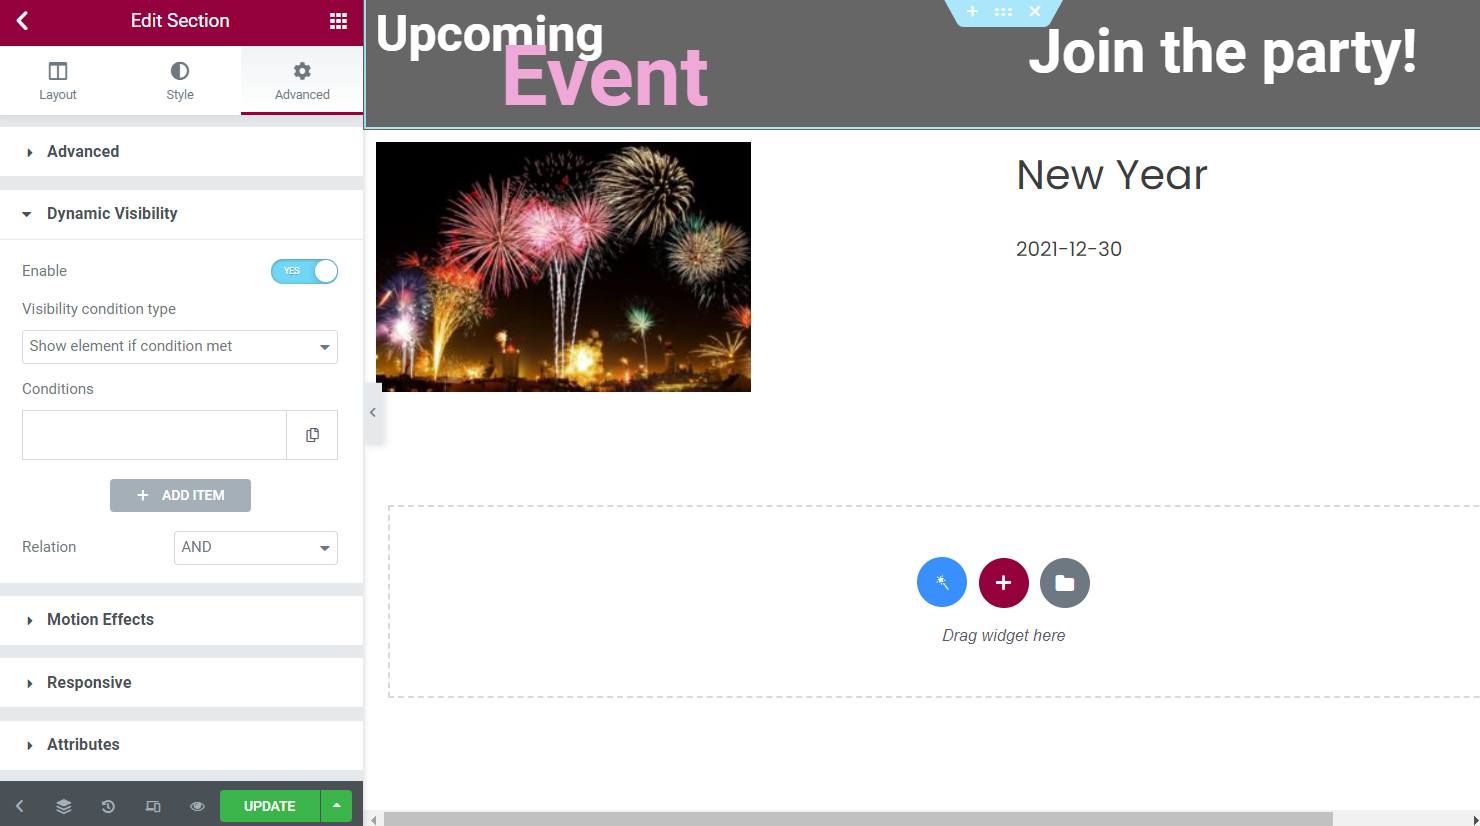
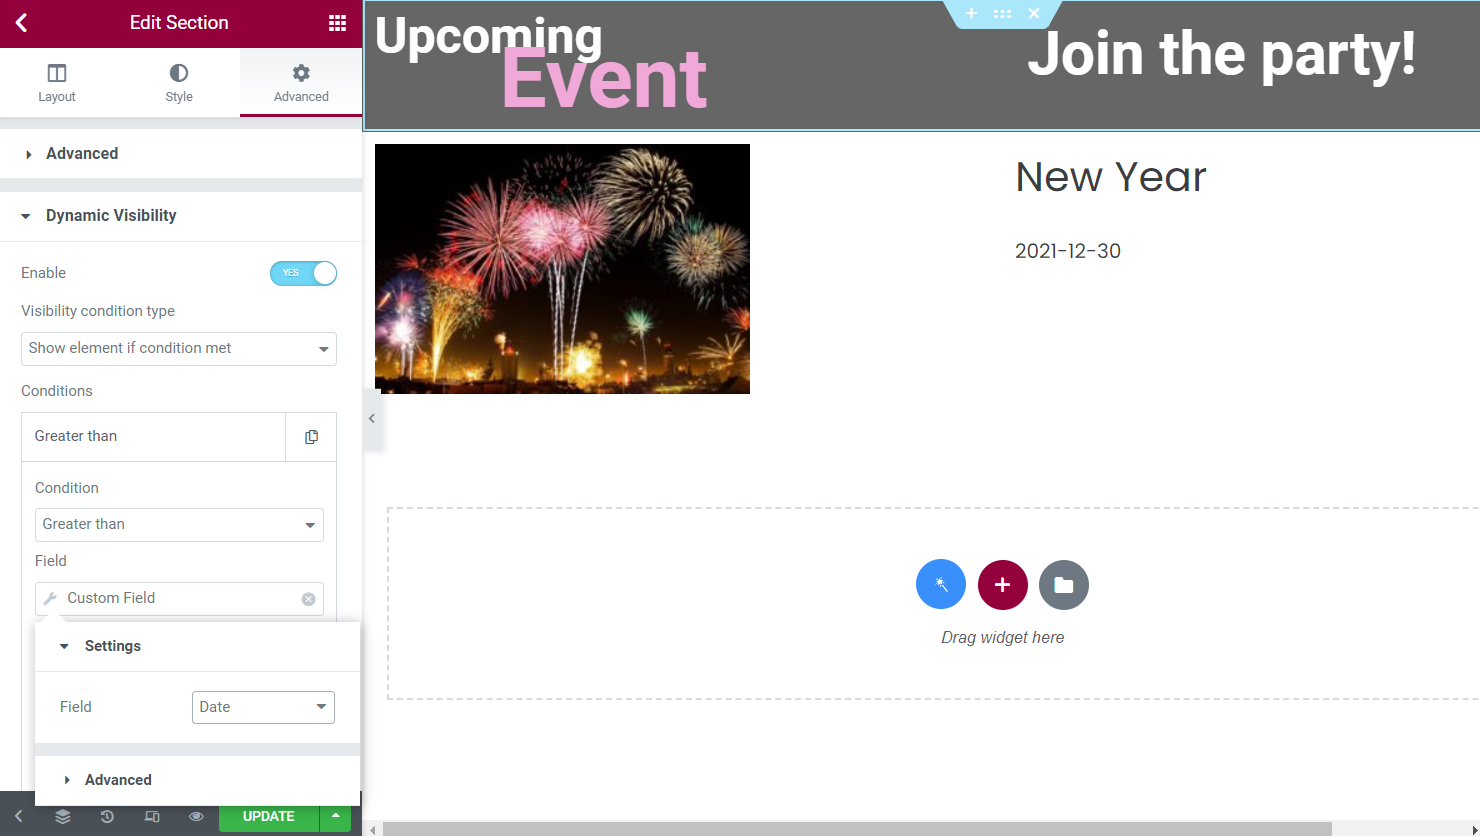
Choose the section, column, or widget to which you want to apply the Dynamic Visibility module. Go to the Advanced tab, find Dynamic Visibility, and toggle the Enable switcher.
Primarily, choose the Visibility condition type in the settings. Now we show the element according to the set conditions.
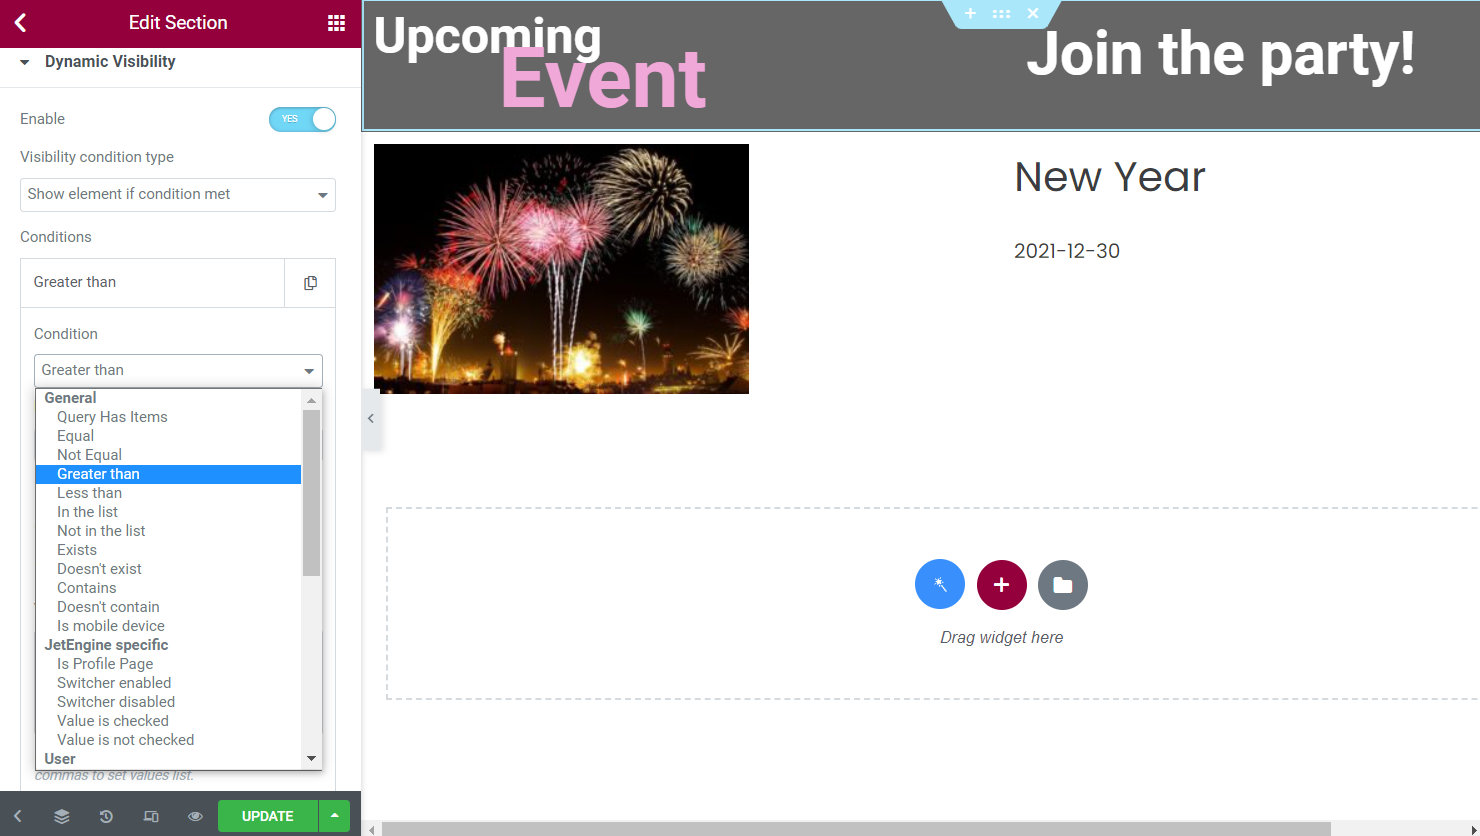
Open the selector and define the Condition. As an example, we select the “Greater than” option.
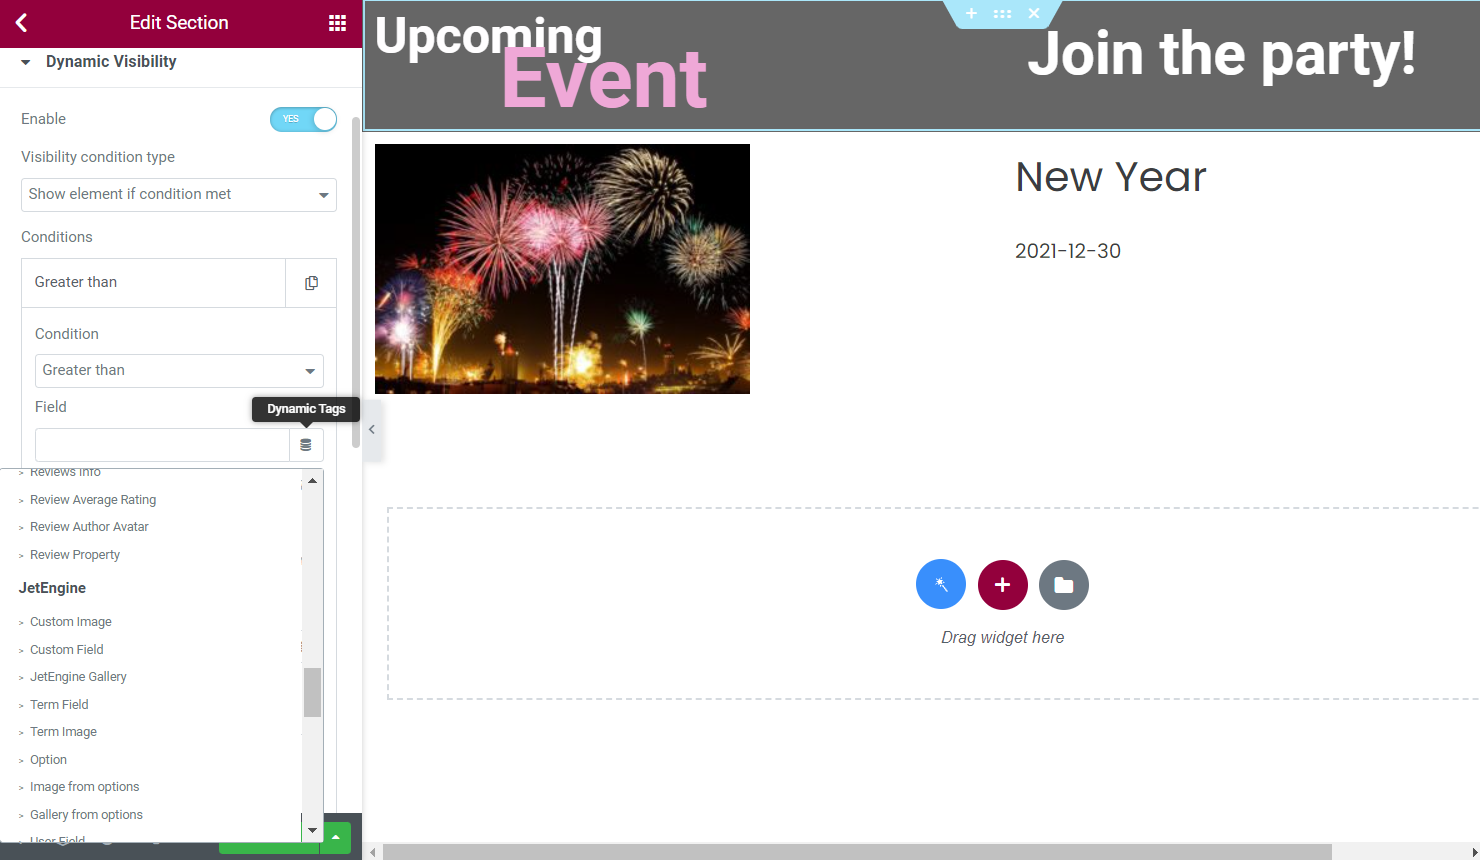
Press the “Dynamic Tags” button in the Field and select between the presented options. This time we will work with the JetEngine “Custom Field.”
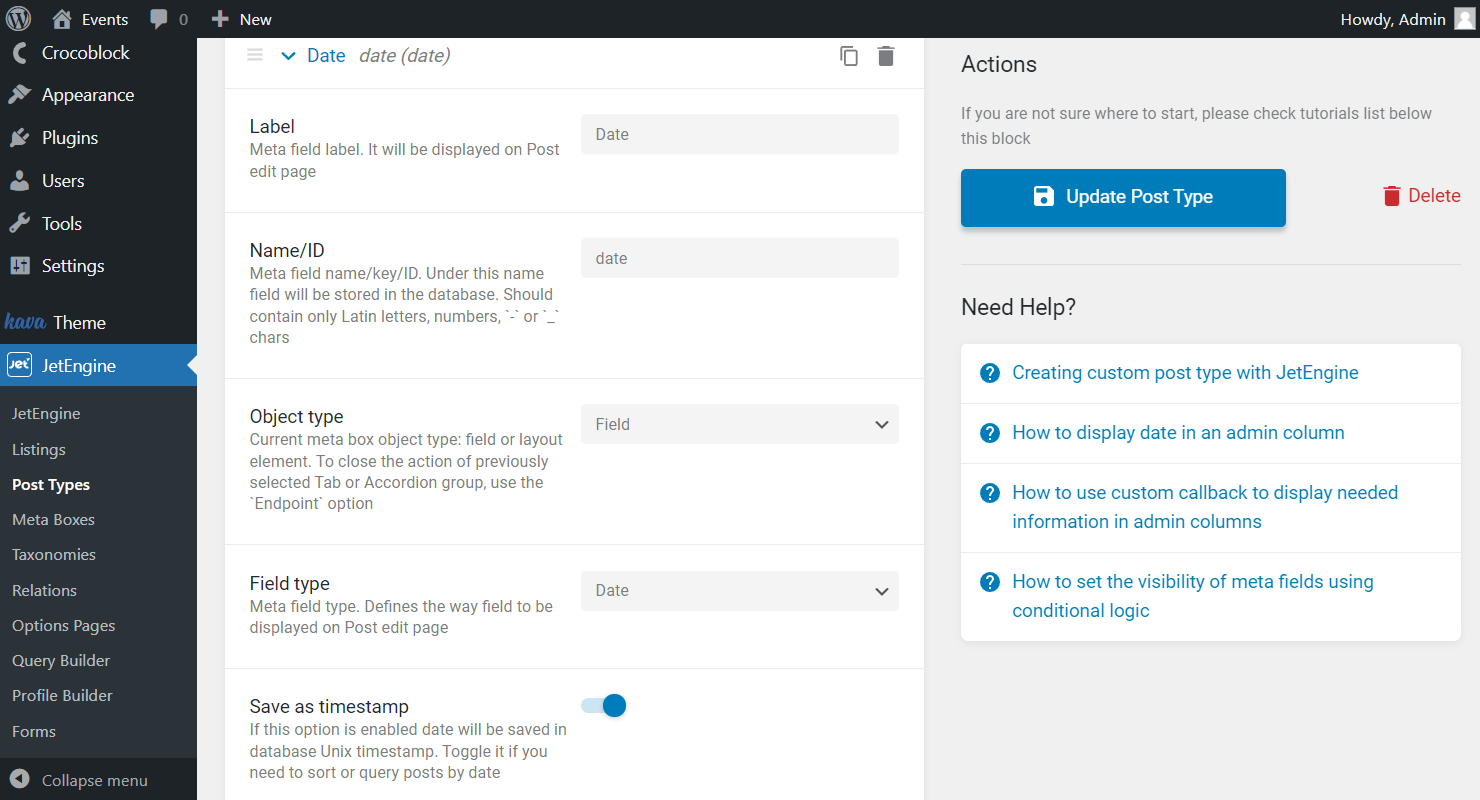
As we are planning to show content based on the custom field, initially create the Date or Datetime meta field.
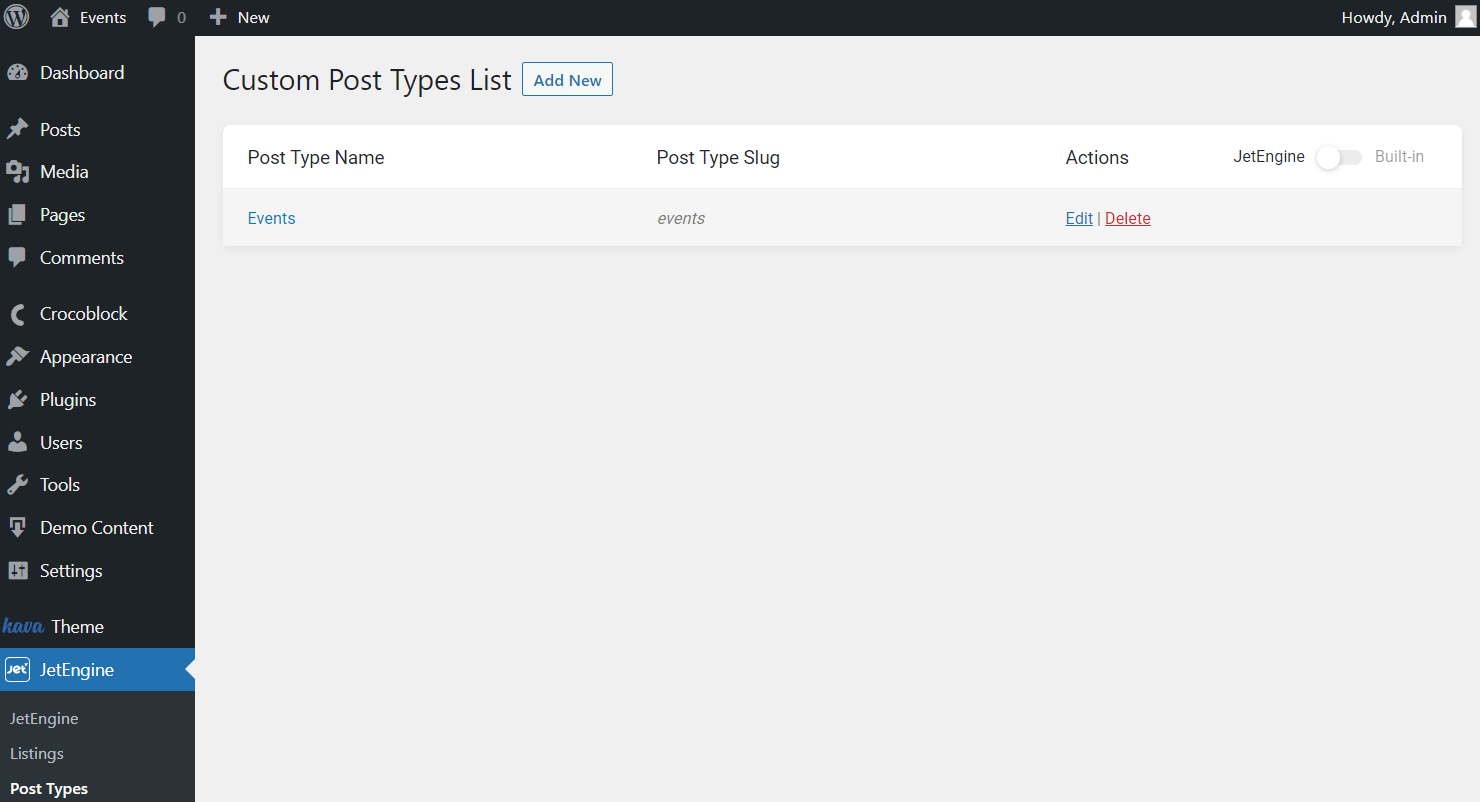
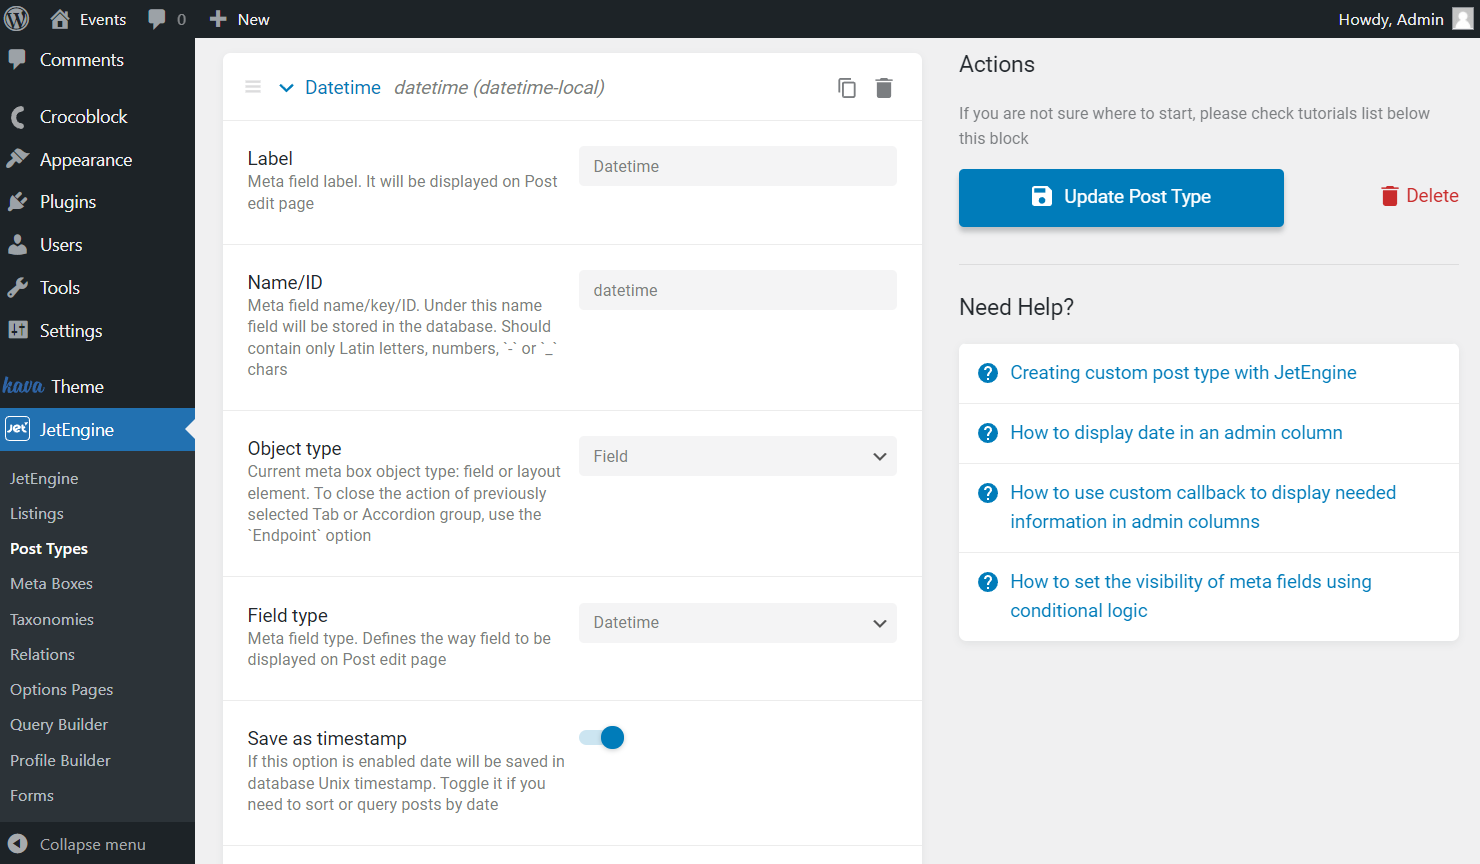
To do so, proceed to the JetEngine > Post Types and click on the “Edit” button that appears next to the post type title.
Once the editor is opened, scroll down to the Meta Fields tab and push the “Add New” button. Fill in all the needed fields accordingly and enable the Save as timestamp option.
Push the “Update Post Type” button.
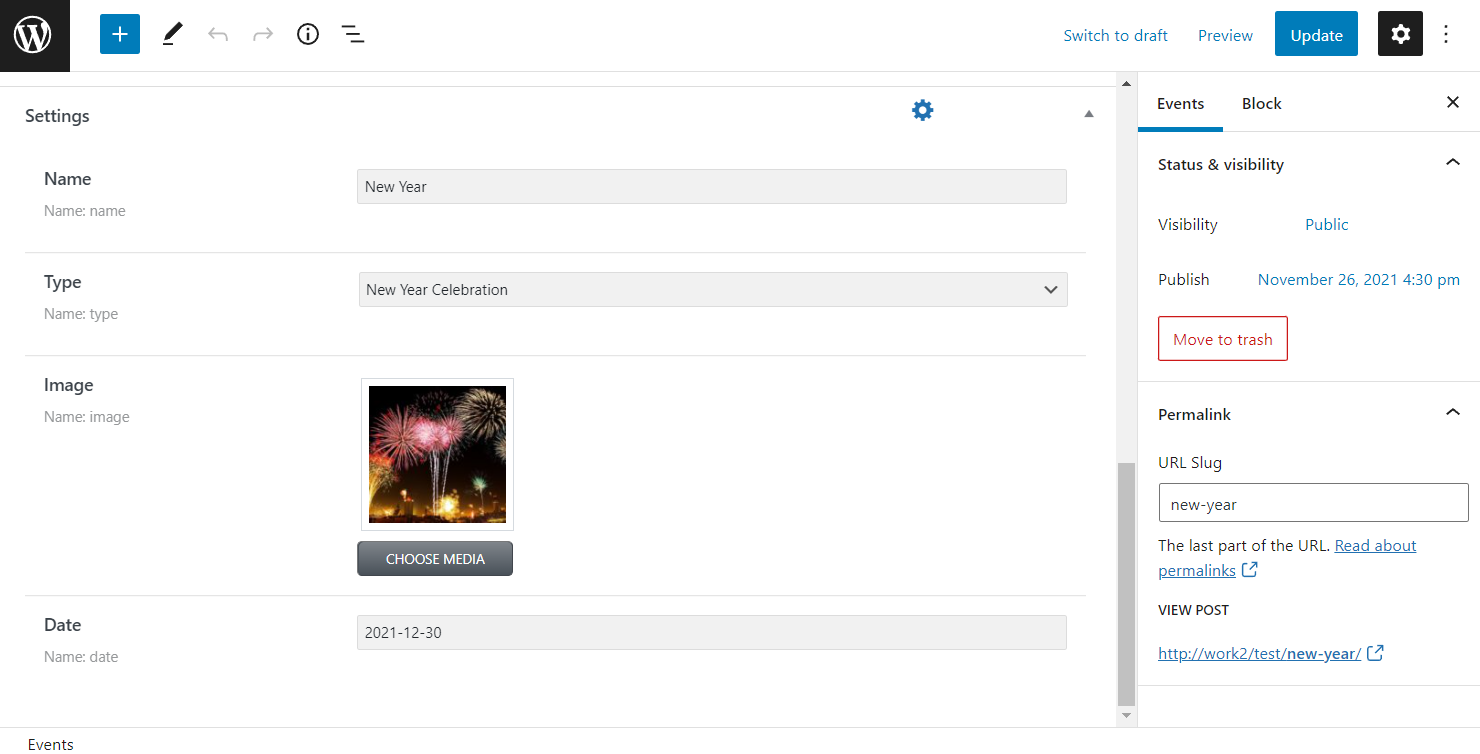
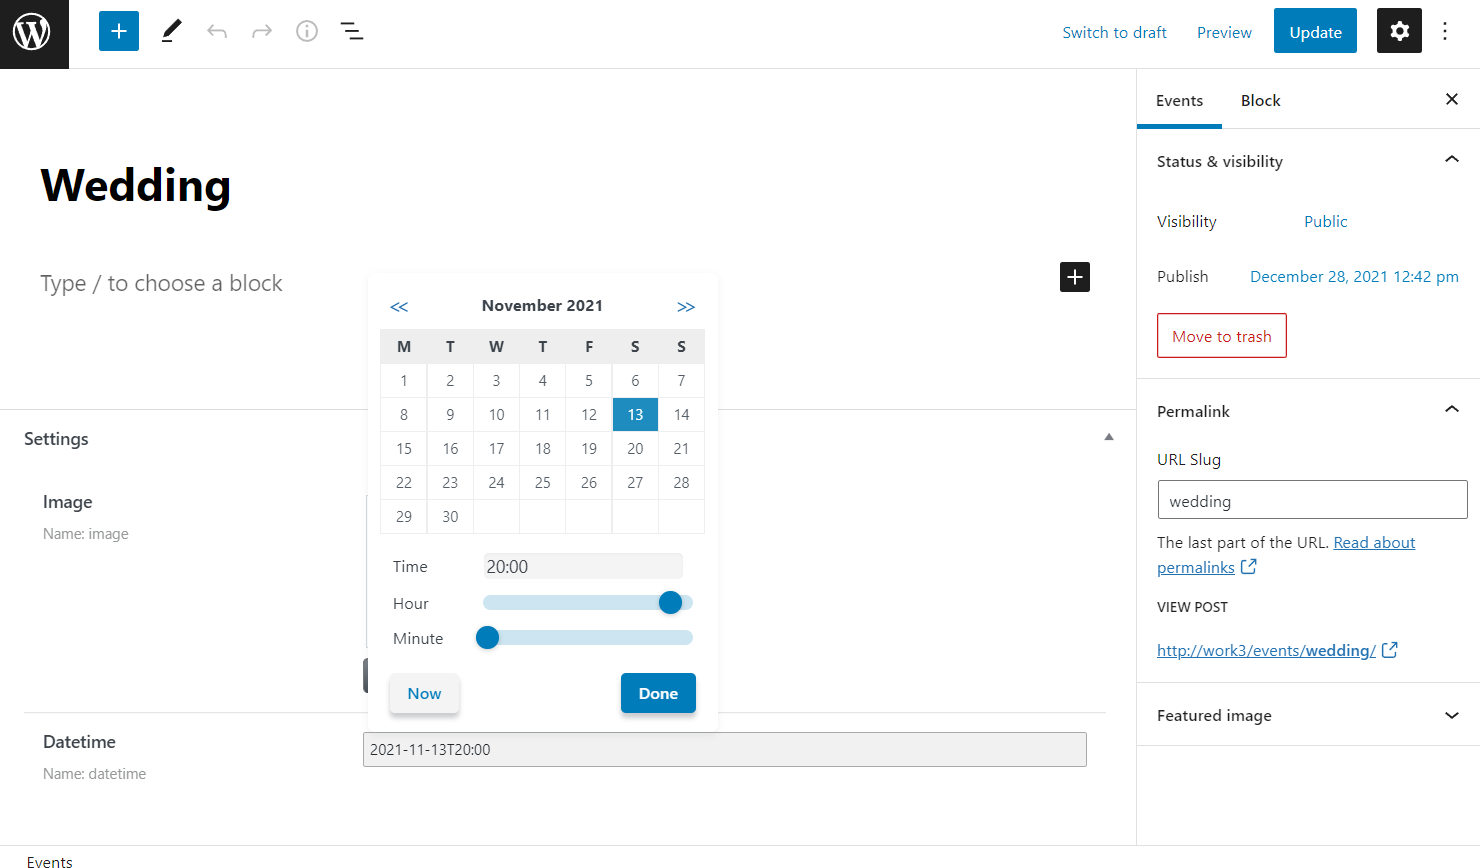
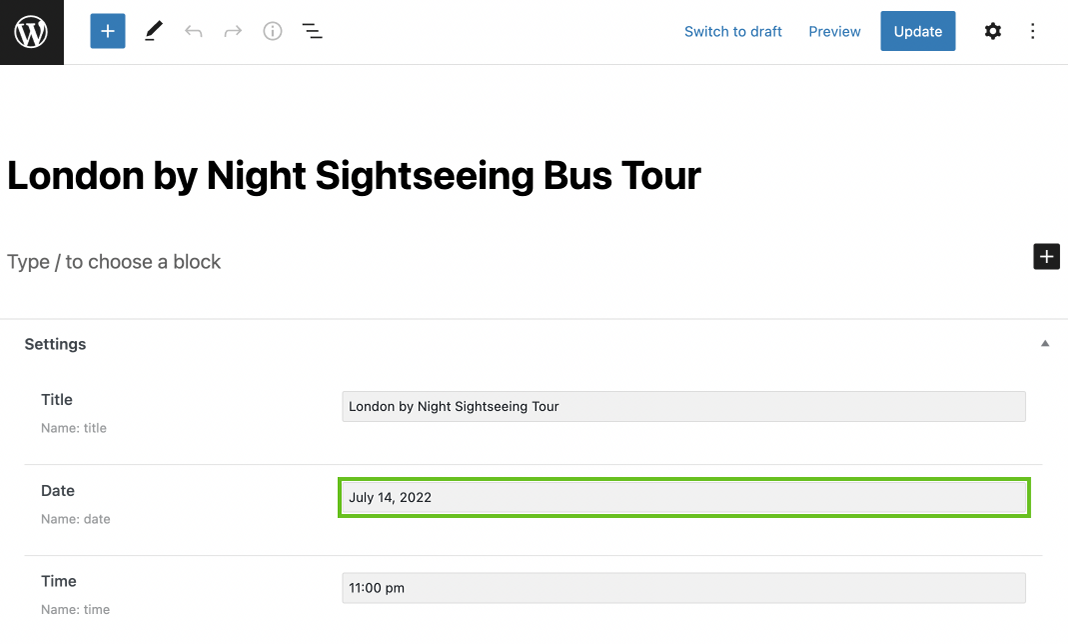
Open the post type, and proceed to the post editing. Fill in the date field and click on the “Update” button. Repeat this process with other posts.
Return to the Single Page editor. Select the Date/Datetime field you have just created.
Click on the “Dynamic Tags” button next to the Value field.
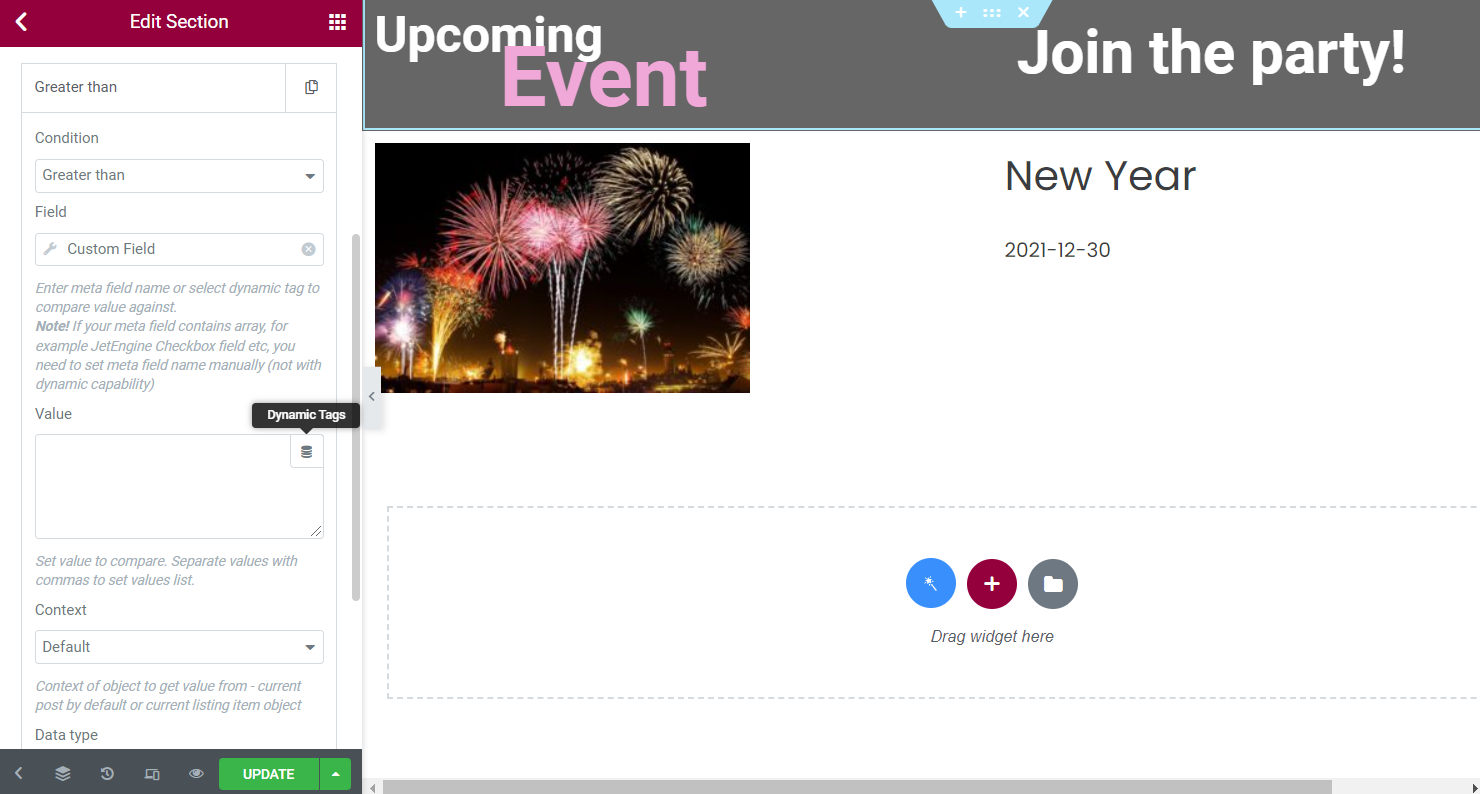
Choose the JetEngine “Macros” dynamic tag and define the “Today” option as a Value.

Leave Context by default and pick the “Numeric” option in the Data Type field.
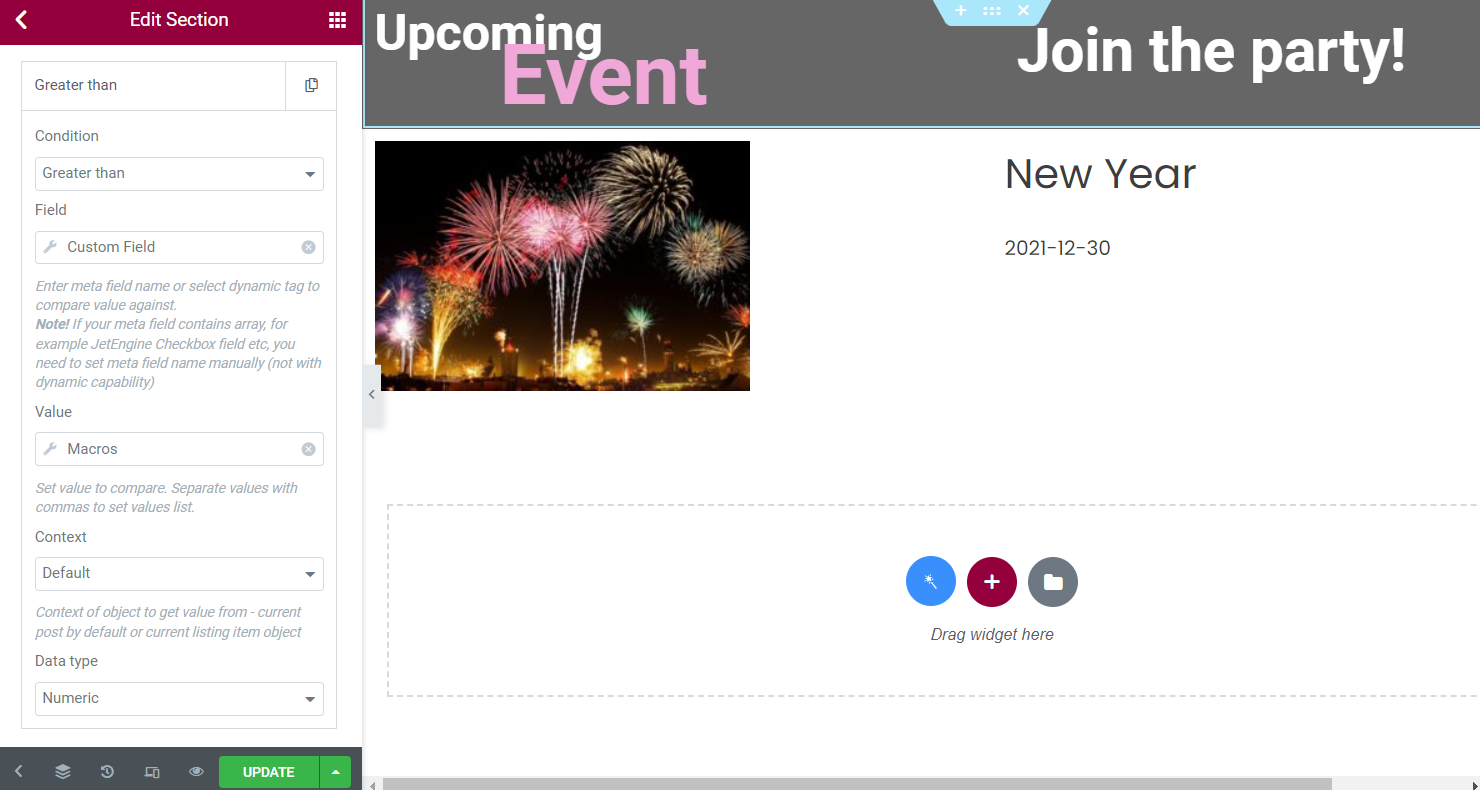
Once the Dynamic Visibility is adjusted, click on the “Update” button and check the custom post type posts.
The first option date is upcoming, so we see the banner.

The second option is the event that has already ended, and the banner isn’t displayed here.

This way, you can also hide some content; let’s check the example.
Hide content
We will create a Datetime meta field this time. However, you can also build a Date meta field if desired.
Go to JetEngine > Post Types and open the post type, which posts you would like to hide.
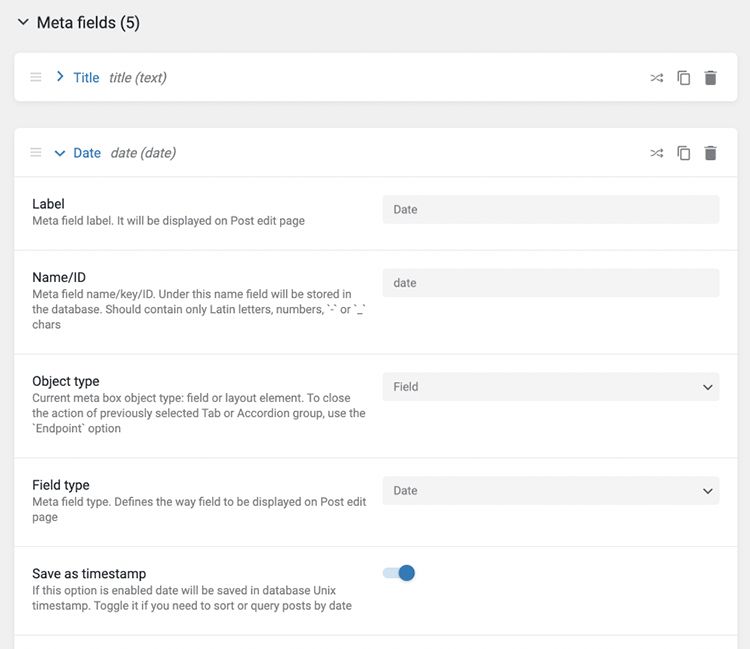
Scroll down to the Meta Fields tab and add a new meta field.
Fill in the Label and move to Name/ID that should contain only Latin letters in lower case, numbers, “-” and “_” characters. Leave a “Field” Object type and select “Datetime” as a Field type. Don’t forget to enable the Save as timestamp option.
Press the “Update Post Type” button.
Then proceed to the custom post type posts and set the Datetime values for every post you need.
Click the “Done” button every time you want to save the Datetime field changes and the “Update” one to save the post.
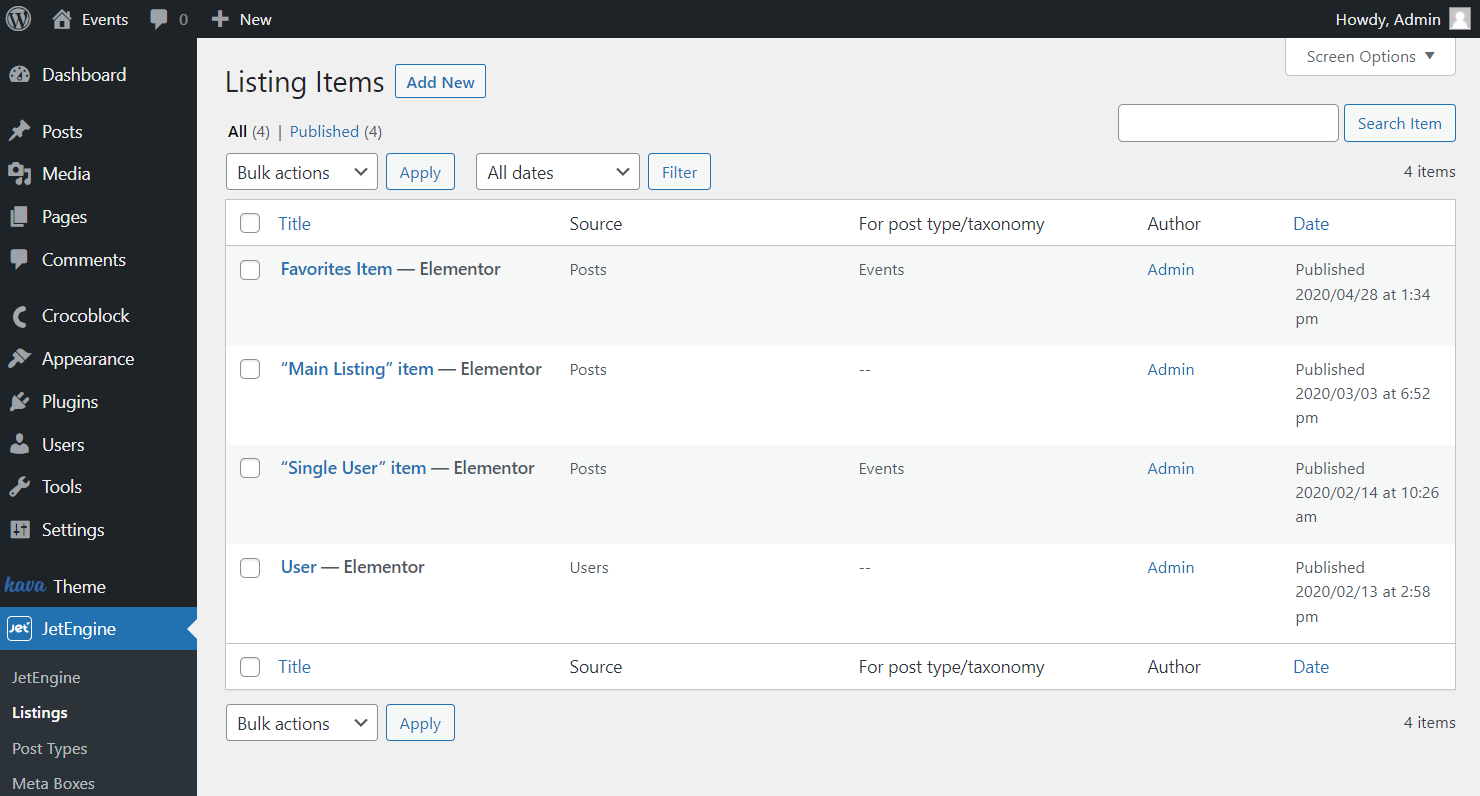
Let’s assume you want to display events in the listing. To do so, proceed to JetEngine > Listings.
Add new or open the already created listing.
Add all the needed widgets. For instance, we have added Dynamic Image and Dynamic Field. As for the hiding element, we use the Heading.
We adjust all the needed Content and Style settings and move to the Advanced section.
Click the Dynamic Visibility tab and toggle Enable Dynamic Visibility to set the conditions.
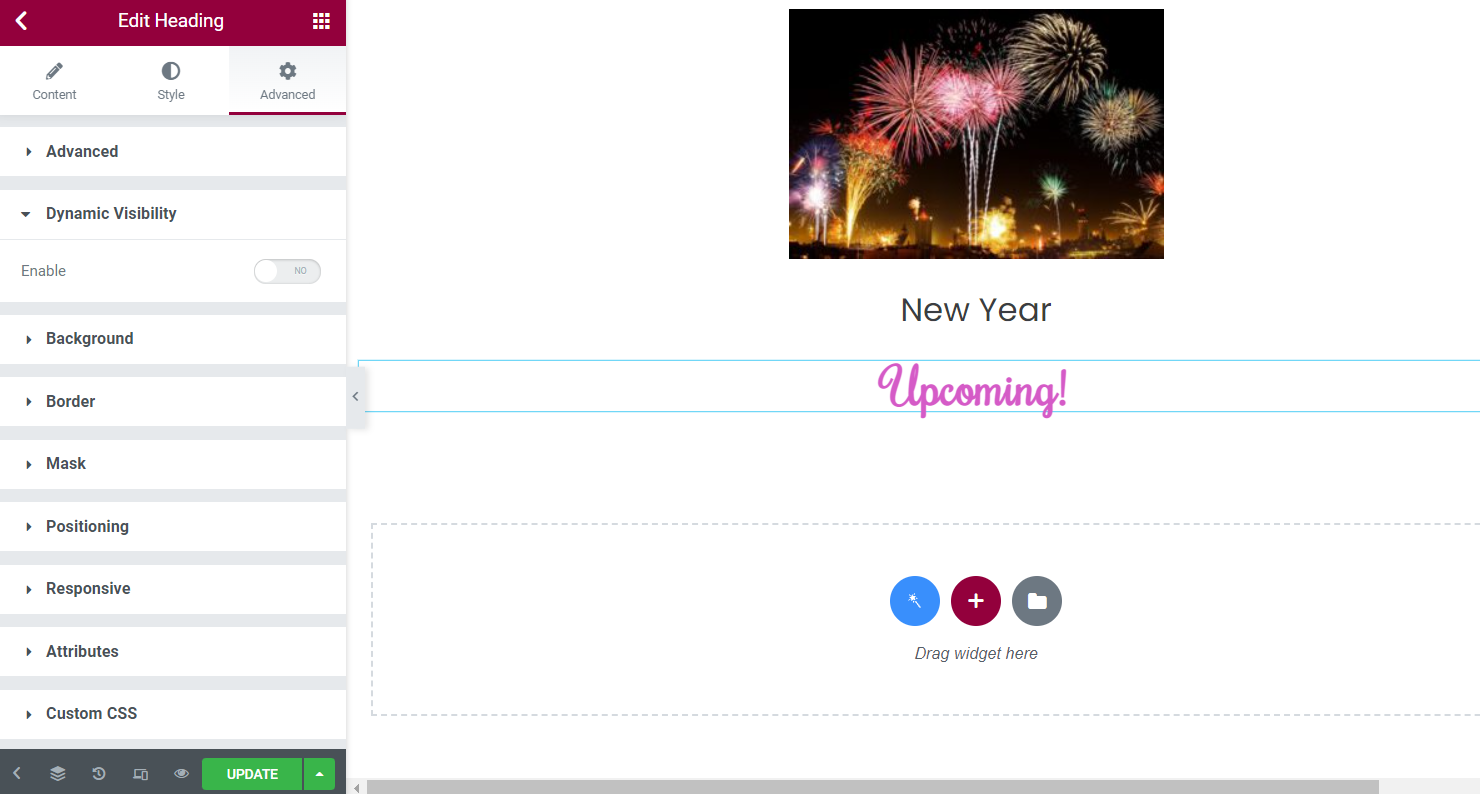
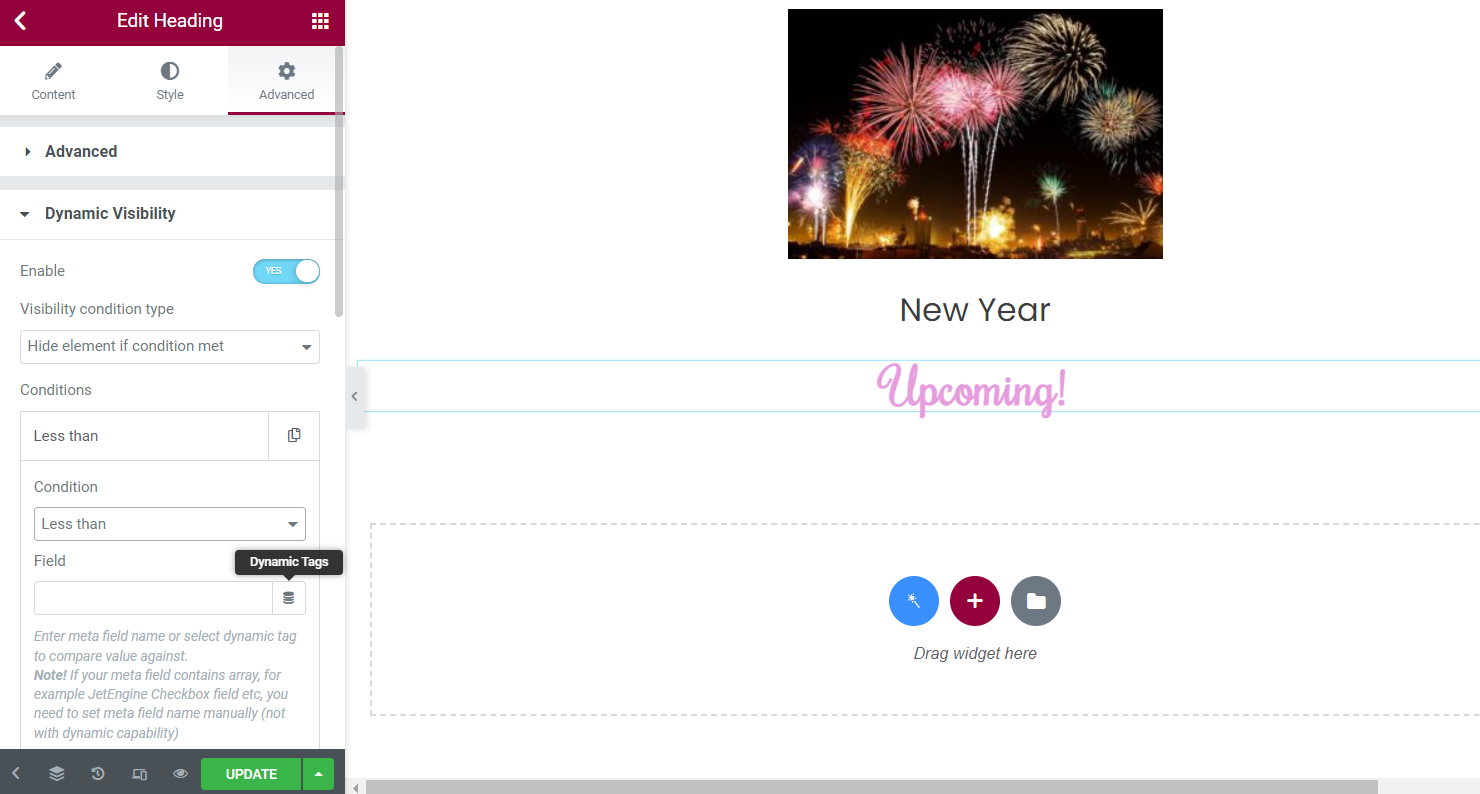
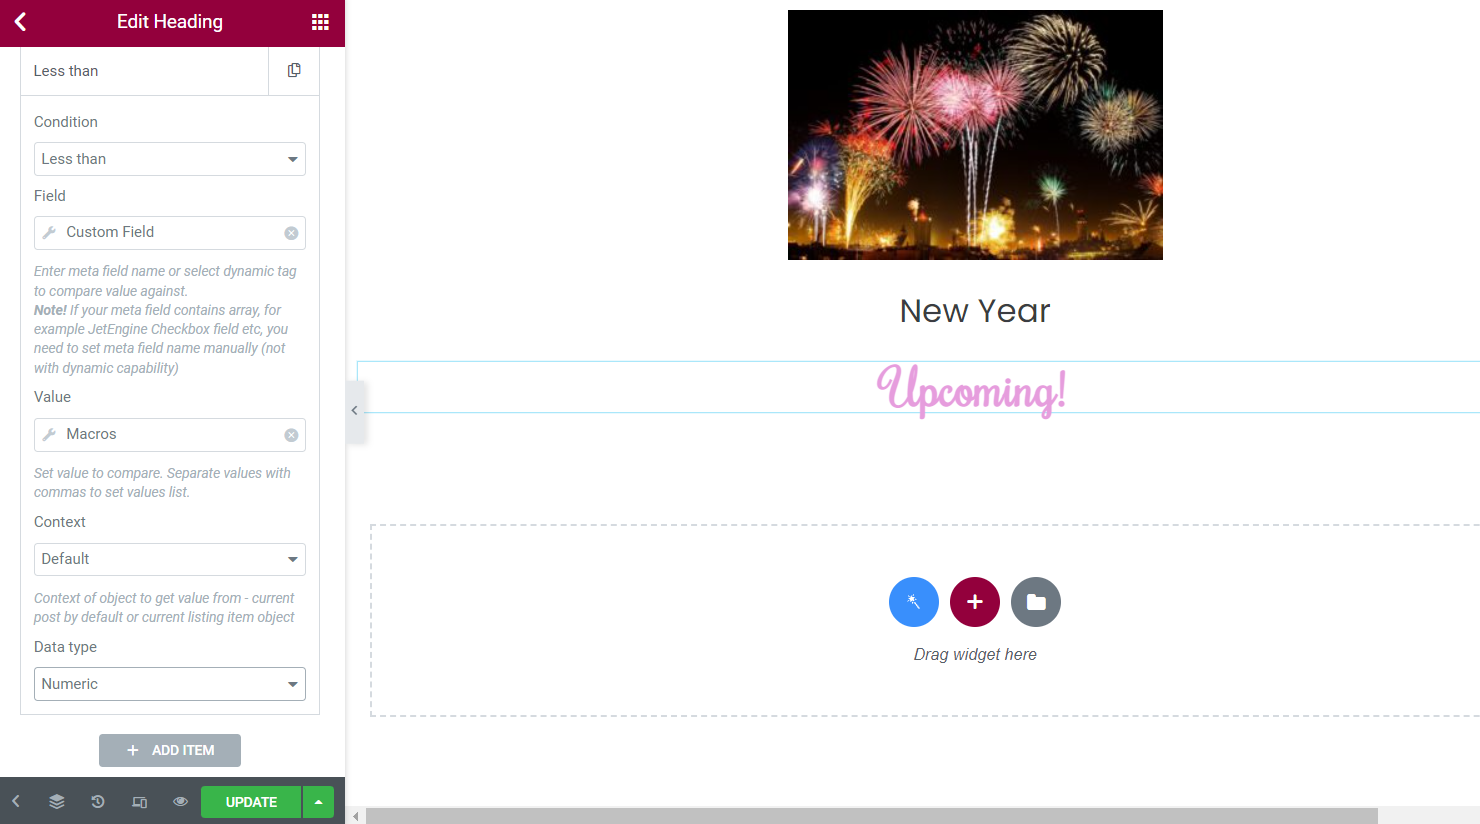
Pick the “Hide element if condition met” option as the Visibility condition type and “Less than” as a Condition.
Push the Dynamic Tags icon to select the “Custom Field” option.
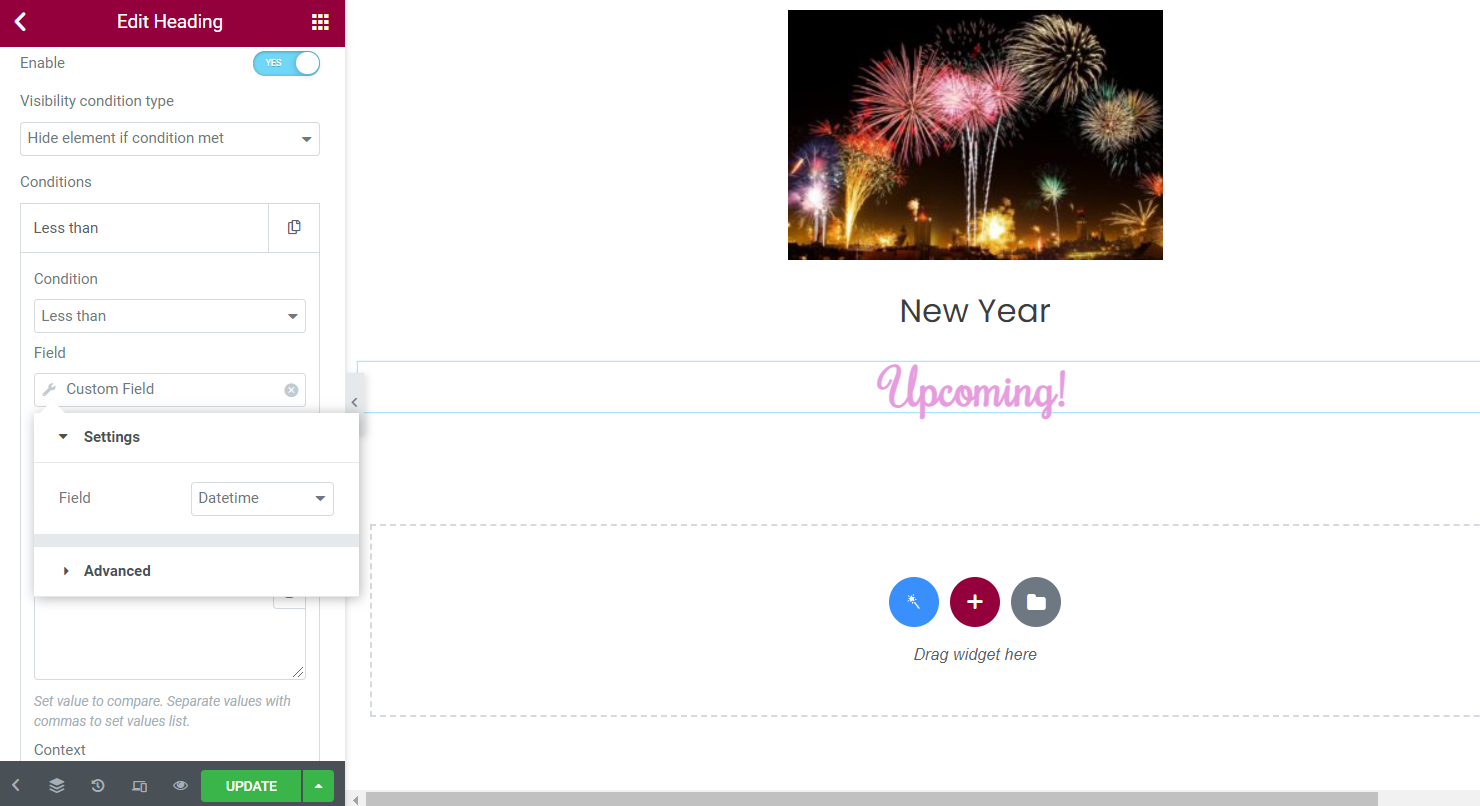
Open the newly appeared Field drop-down and select the Datetime meta field you have created earlier.
Click the Dynamic Tags button in the Value field and choose the “Macros” option. Among all the provided macros, pick “Today.”
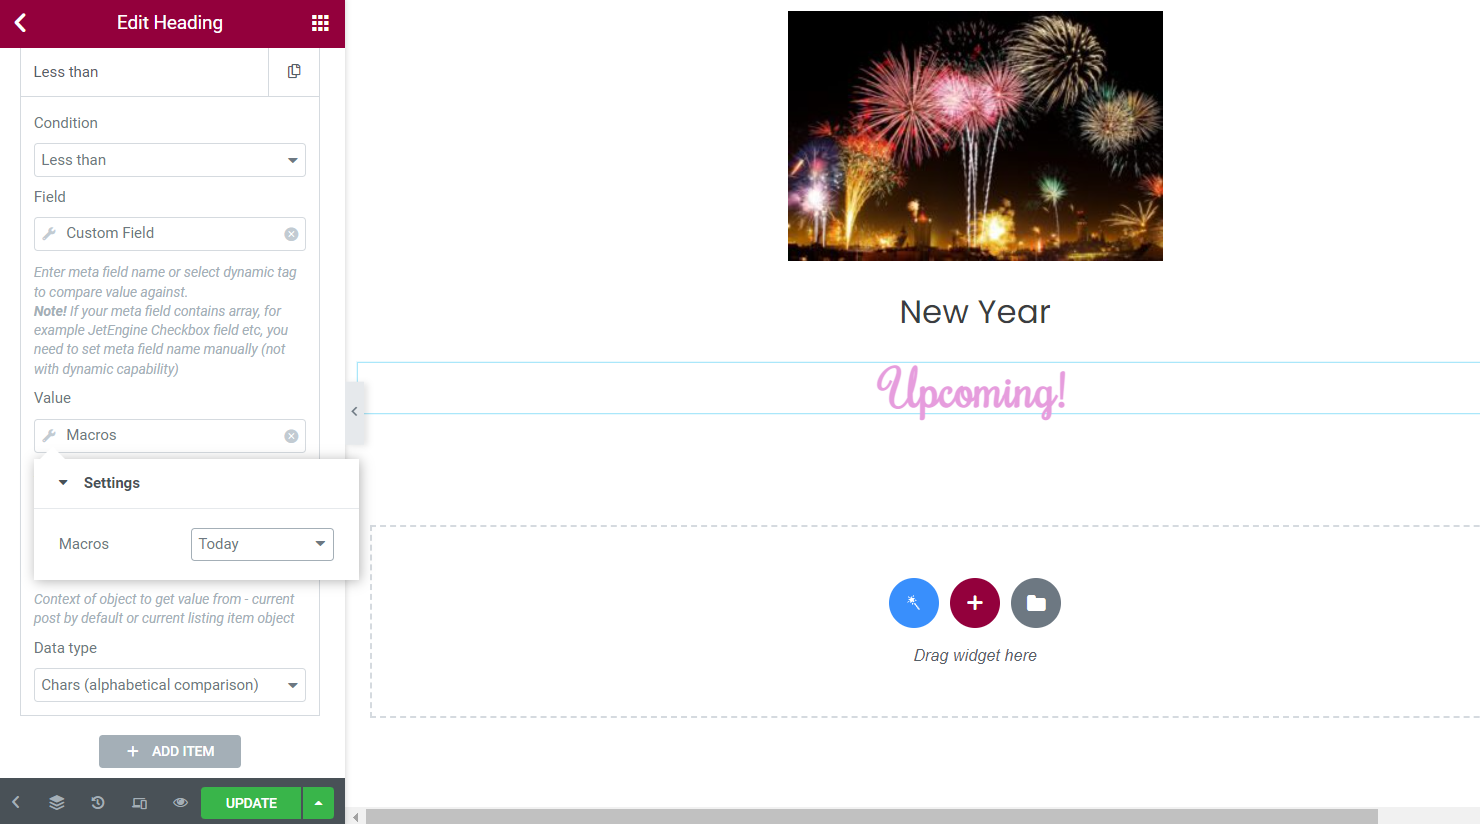
Leave Context as “Default” and choose “Numeric” in the Data type drop-down list.
Push the “Update” button and open the page where you want to place the listing.
To place the listing, use the Listing Grid widget.
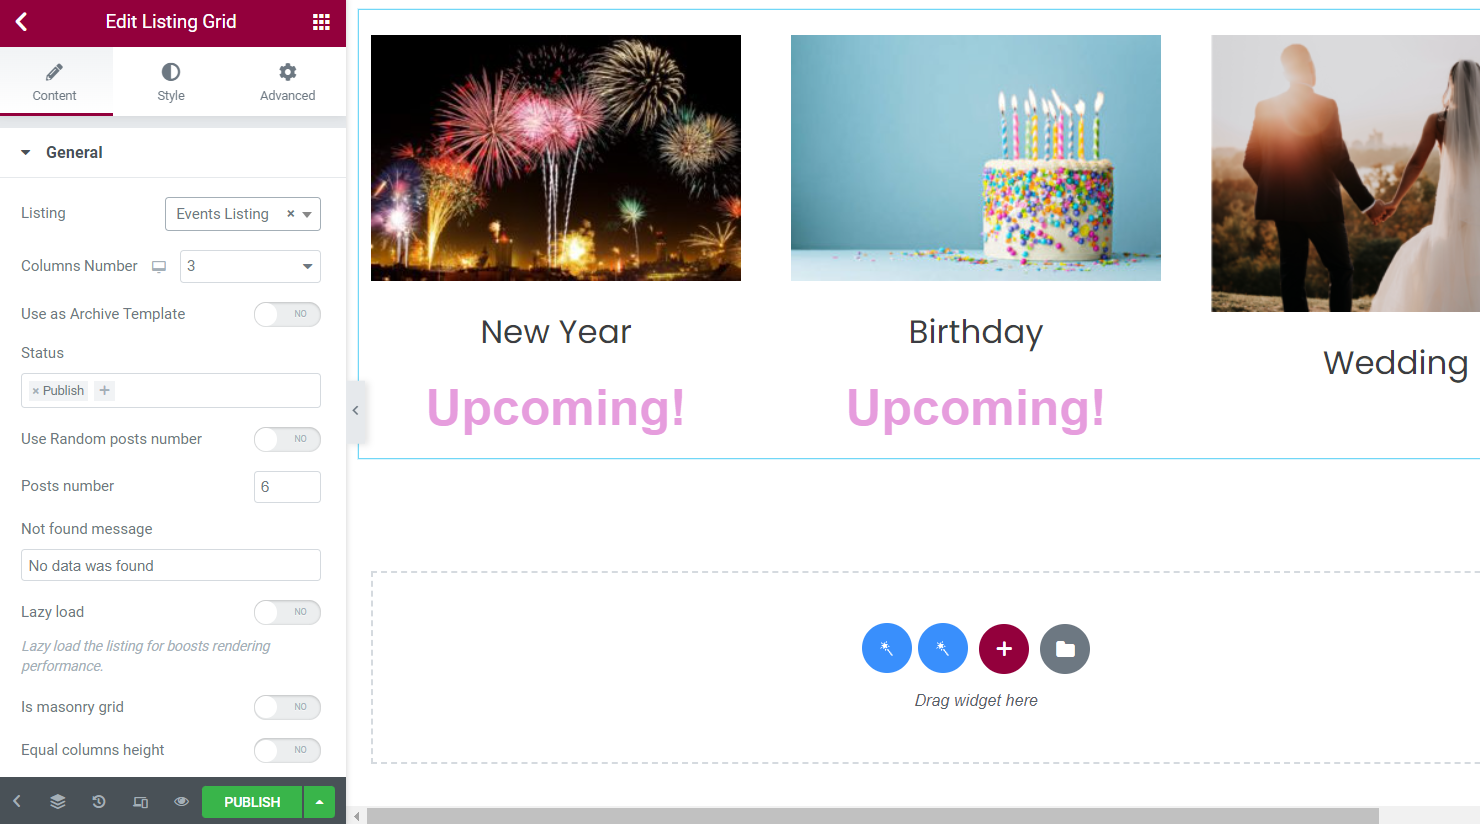
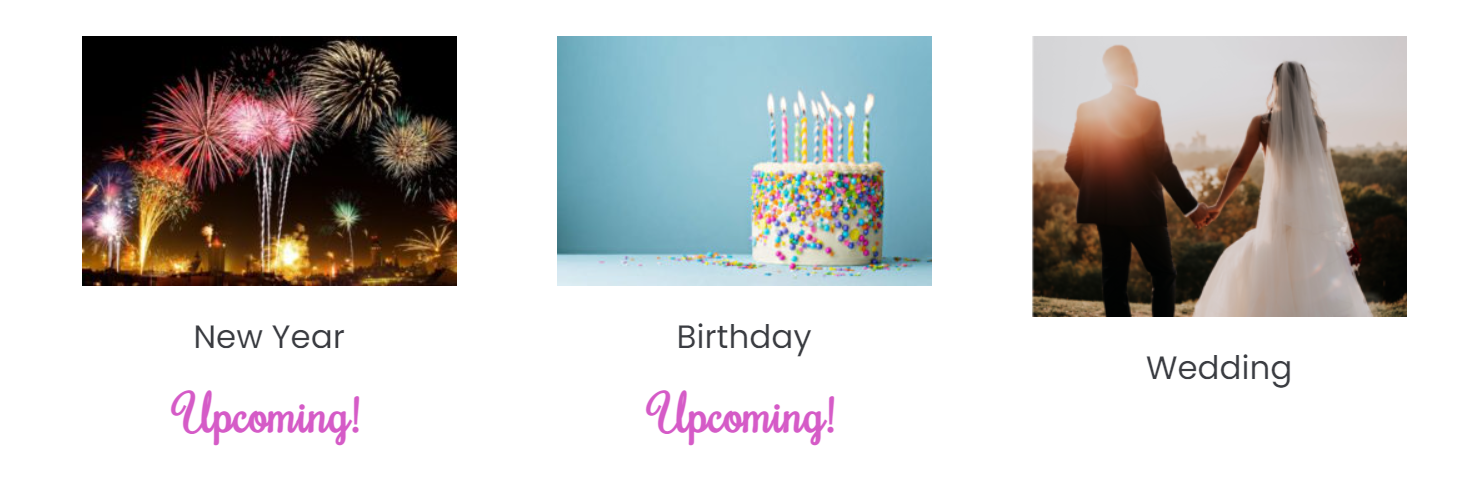
Once ready, you can click on the “Publish/Update” button and check the front-end result.
Adjust Dynamic Visibility in Gutenberg
JetEngine plugin got updated, and now it allows using Dynamic Visibility with the blocks of the WordPress default editor.
To apply Dynamic Visibility, you need to create a CPT and add a Date meta field to it. Don’t forget to enable the Save as timestamp option.
Make sure that the CPT posts have the needed meta field filled in with data.
Show content
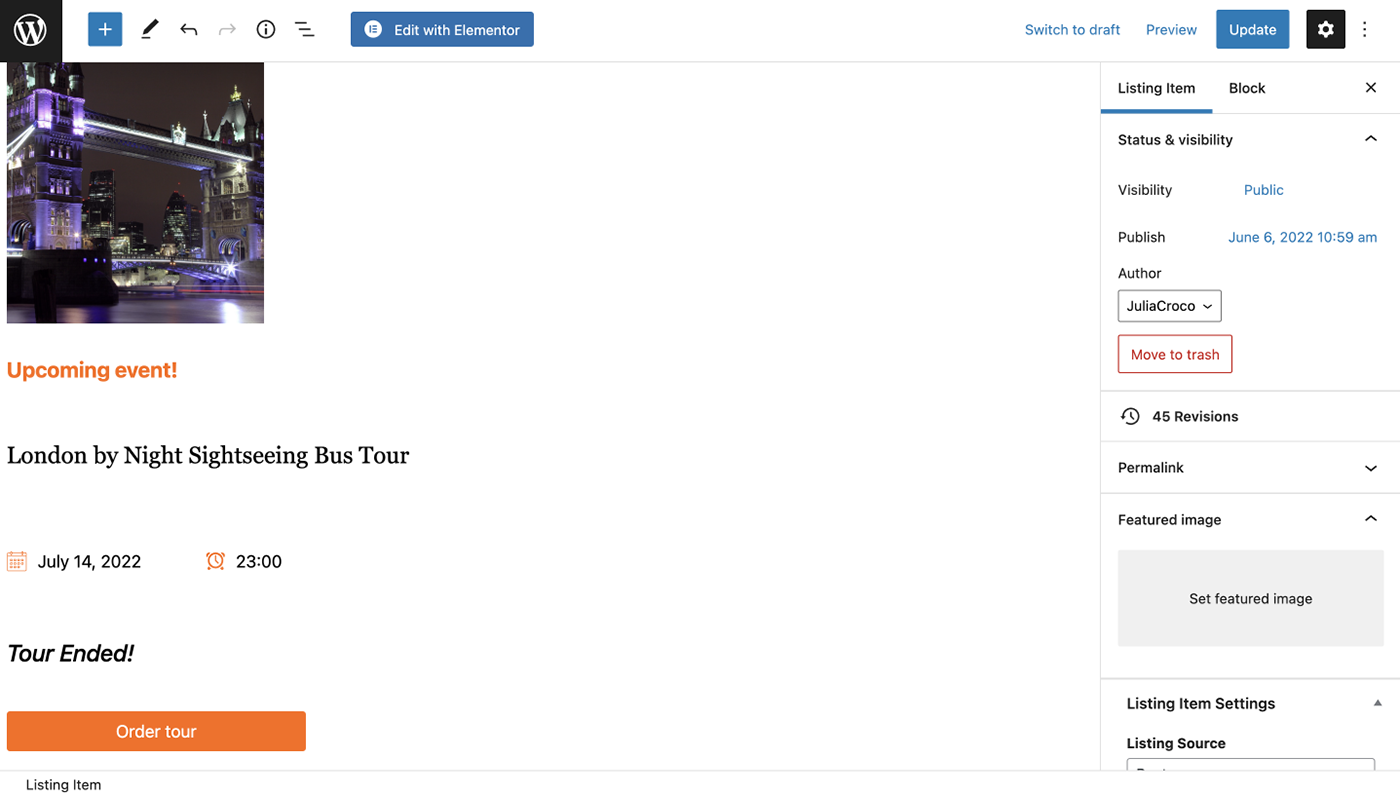
Open a listing template built in Gutenberg. The following item will be displayed in a listing grid.
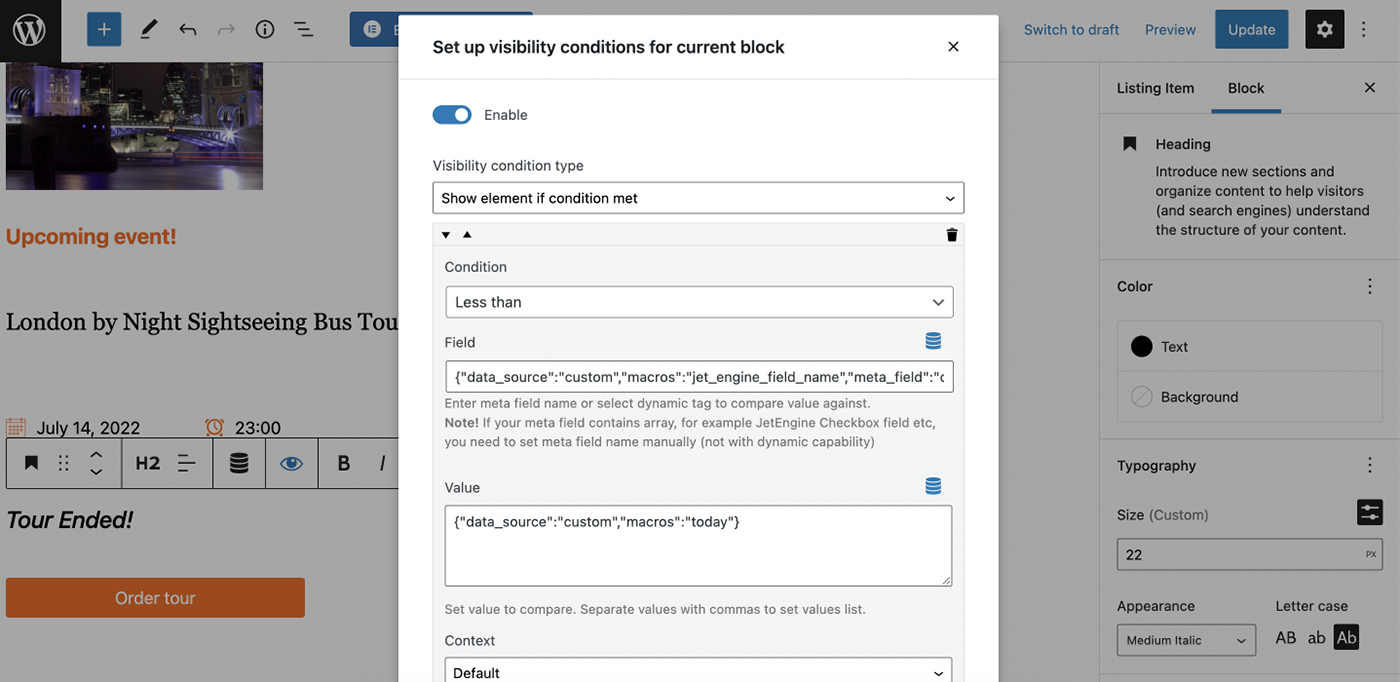
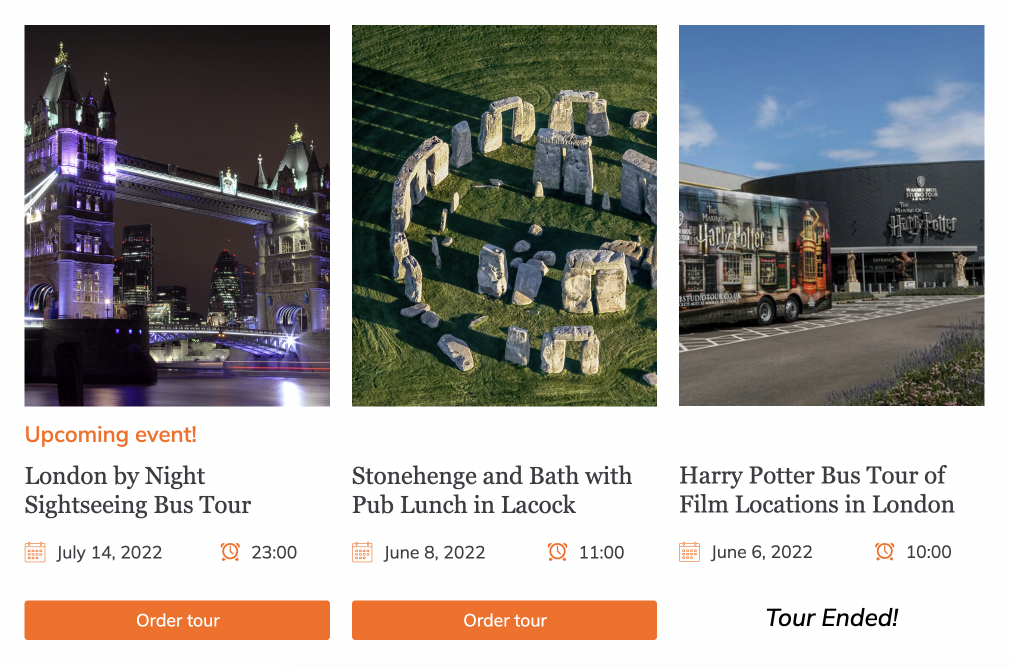
The goal is to show the “Upcoming event!” title only for future events, and when the event has already ended, show the “Tour Ended!” message and hide the button.
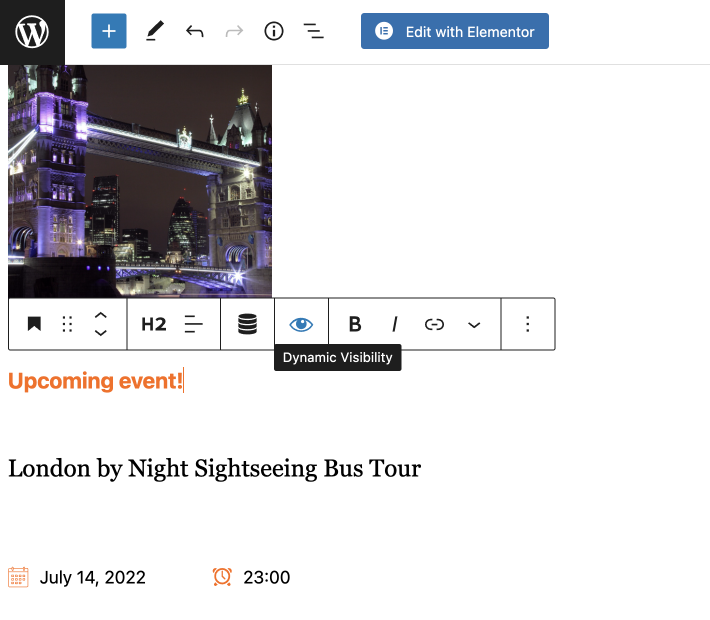
To show a certain element of a listing item, select the needed block and click on the eye-shaped icon on the toolbar.
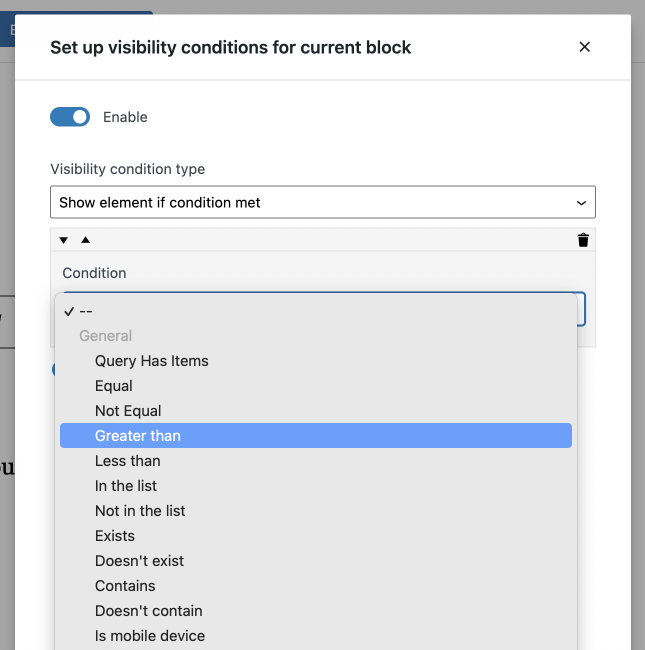
In a pop-up window, turn on the Enable toggle and proceed to set up the visibility conditions.
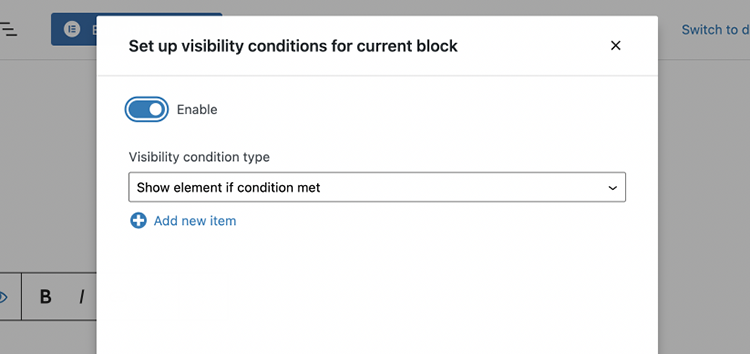
Set the Visibility condition type to “Show element if condition met” and hit the “Add new item” button.
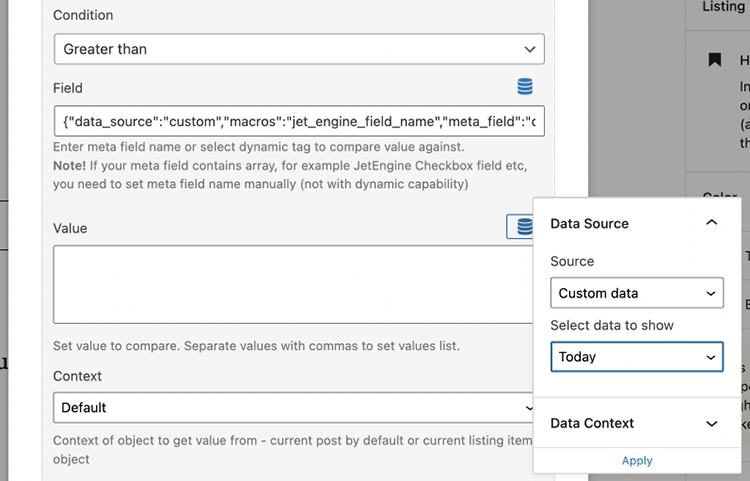
Select “Greater than” in the drop-down list.
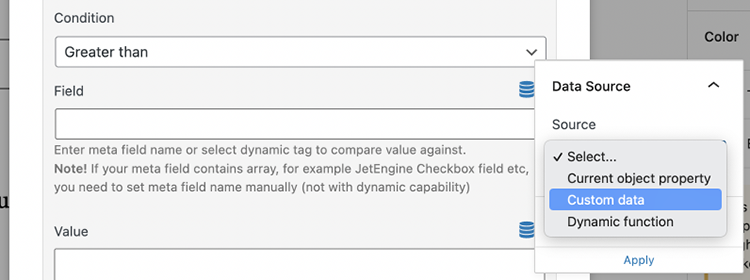
In the Field, hit the Dynamic Tags button and choose “Custom data” as a Source.
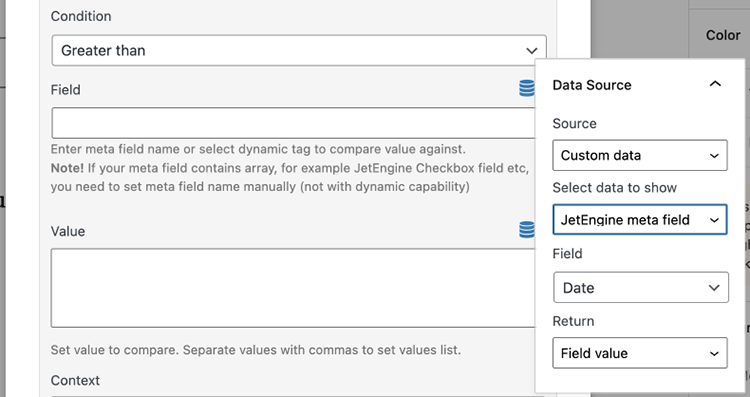
In the Select data to show dropdown, choose the “JetEngine meta field” option and specify the Date meta field you previously created in the CPT below.
Set Return to “Field value.”
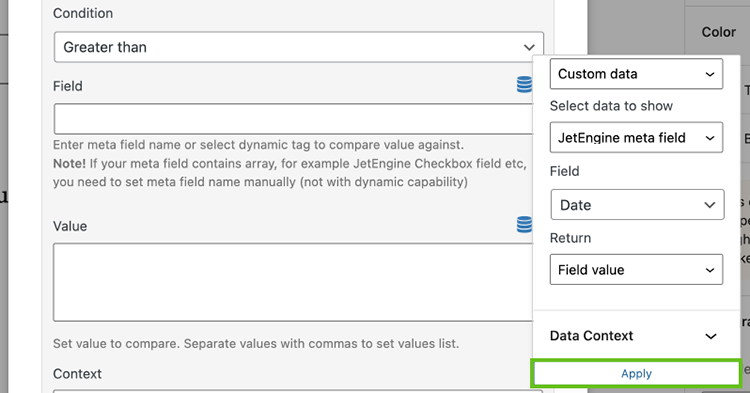
Scroll down the Data Source settings window and hit the “Apply” button.
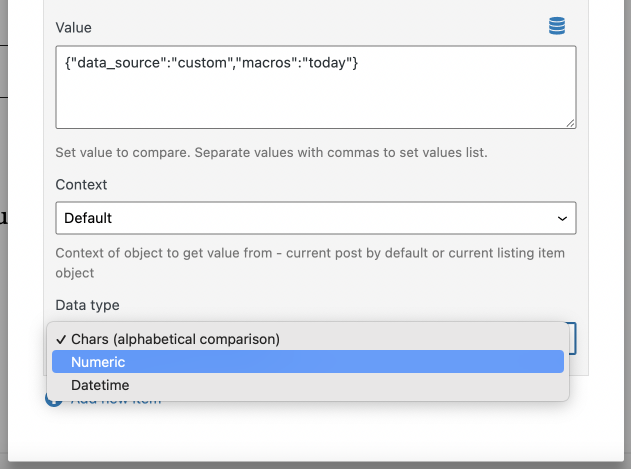
Proceed to the Value field. Click the Dynamic Tags button. Then select “Custom data” as a Source and choose the “Today” macros from the list below.
Don’t forget to apply the settings.
Make sure to select the “Numeric” option in the Data type dropdown.
The same approach is applied to the “Tour ended!” message; however, this time, the Condition is set to “Less than.”
The rest of the settings are the same.
Hide content
To hide the needed element, just set the Visibility condition type to “Hide element if condition met” and set the required condition.
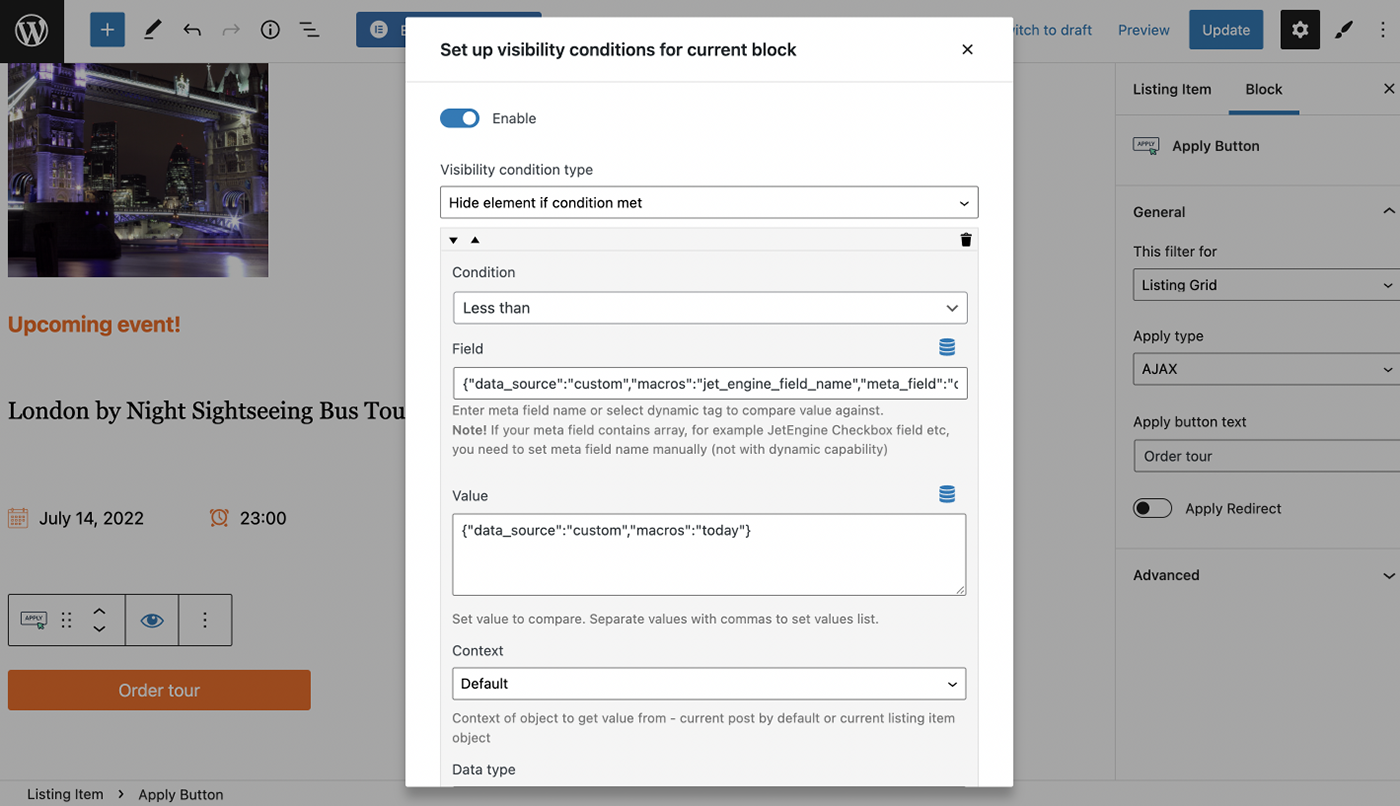
Make sure you apply the settings and update the template once you’re done.
Add a listing grid to the needed page, select the listing template where you applied Dynamic Visibility and proceed to the front end.
According to the set conditions, the future event has an “Upcoming event!” message. The past event that has already ended has a “Tour ended!” message instead of a button.
That’s it. Now you know how to show and hide the needed content by the date on the WordPress website with JetEngine Dynamic Visibility.