How to Show Content Only to Authorized Users
From this tutorial, you will learn how to make certain website content and pages visible only to logged-in users. To do so, you’ll need Elementor Pro and JetEngine’s Dynamic Visibility module.
JetEngine is a WordPress plugin by Crocoblock which allows website developers to output dynamic content through Elementor and Gutenberg page builders. Besides that, it is possible to configure which content will be shown to whom and when. Using the JetEngine Dynamic Visibility module, you can set the visibility parameters according to which element will appear on the page. Let’s go through this case in the Elementor Pro editor.
Hiding Certain Product Prices from Non-Registered Users
Creating a WooCommerce shop, you might want to set content restrictions that will hide certain product prices on the front end and show them only to authorized users. That’s when Dynamic Visibility comes in handy.
Activate dynamic visibility module
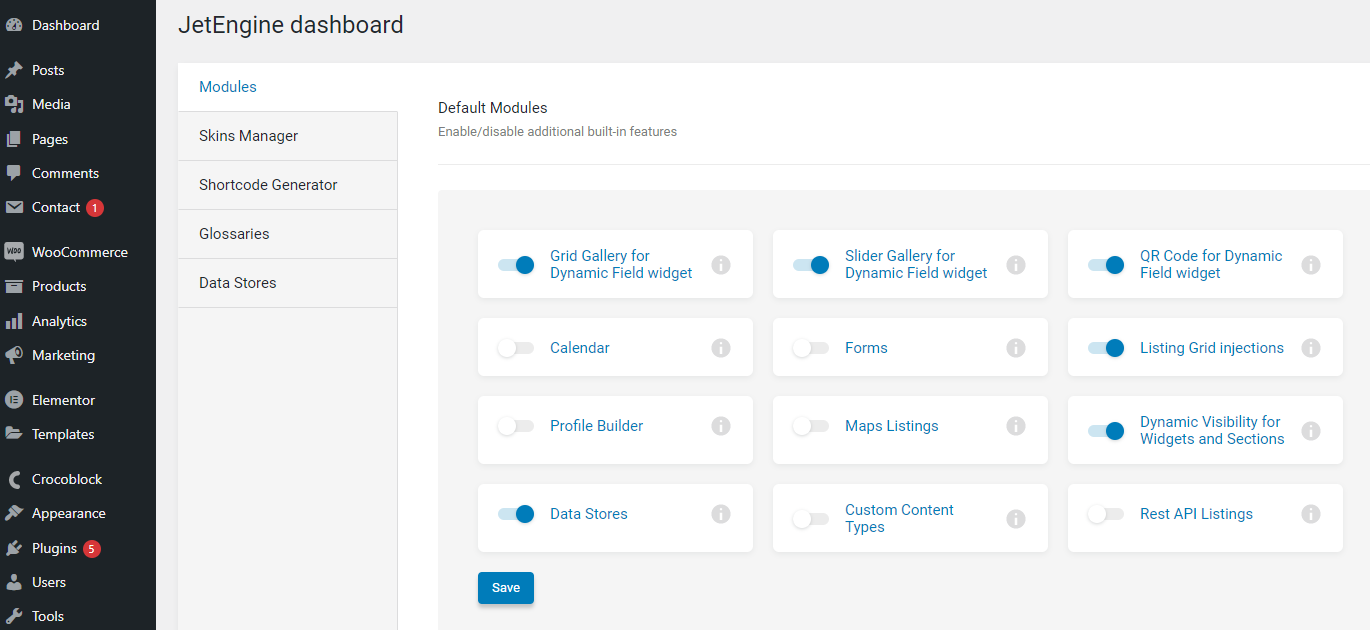
Proceed to JetEngine > JetEngine dashboard and enable the Dynamic Visibility for Widgets and Sections toggle if inactive. Then press the “Save” button.
Configure dynamic visibility settings
Now, it’s time to decide which product prices you are willing to make invisible to non-logged-in users. We decided to hide the discounted prices from non-authorized users so that they need to log in to see the actual product price.
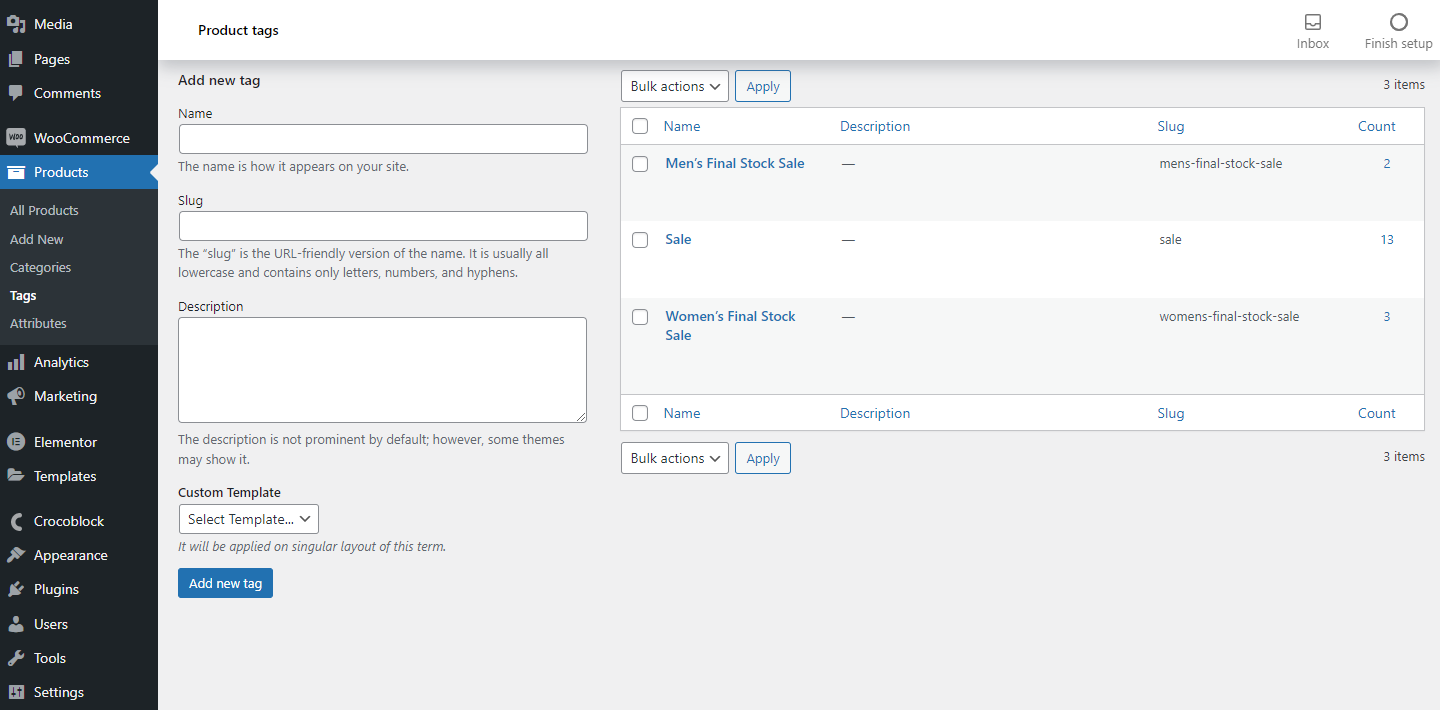
In our case, all the products on sale are assigned a unique product tag called “Sale.” You can double-check the product tags in the Products > Tags directory. If there are no special categories or tags, create them and assign them to certain WooCommerce products.
As to visibility restrictions, we can apply them to both a single product page and all products from the Shop archive page. Let’s start by hiding the single product price.
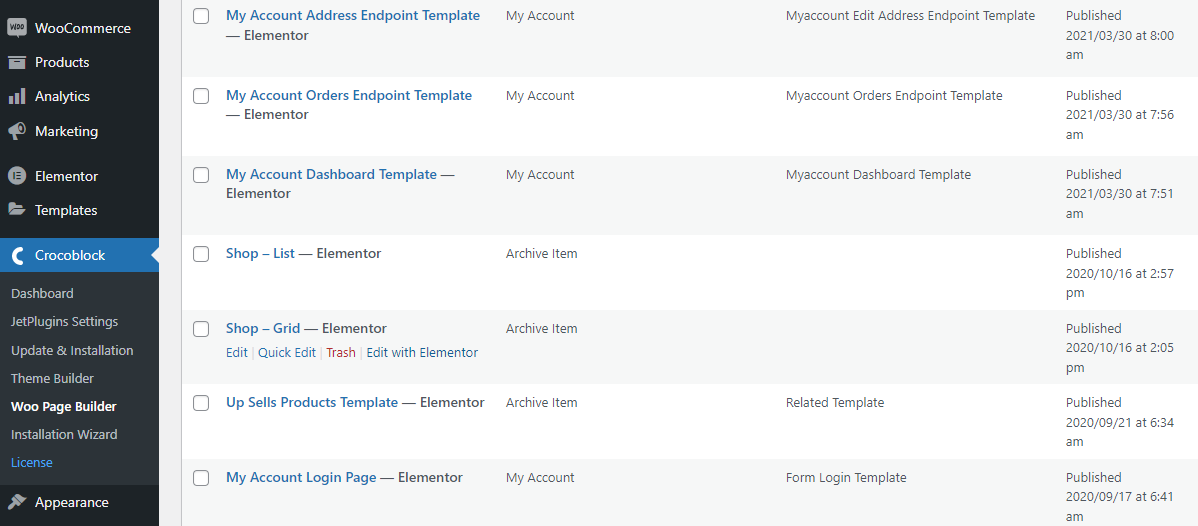
Follow the Crocoblock > Woo Page Builder pathway and locate the single product template. Click on the “Edit with Elementor” button.
In the newly-opened window, you’ll see a single product layout. Right-click on the Single Price widget and press “Duplicate.” It is necessary to have two price fields, as we will apply different visibility conditions to each.
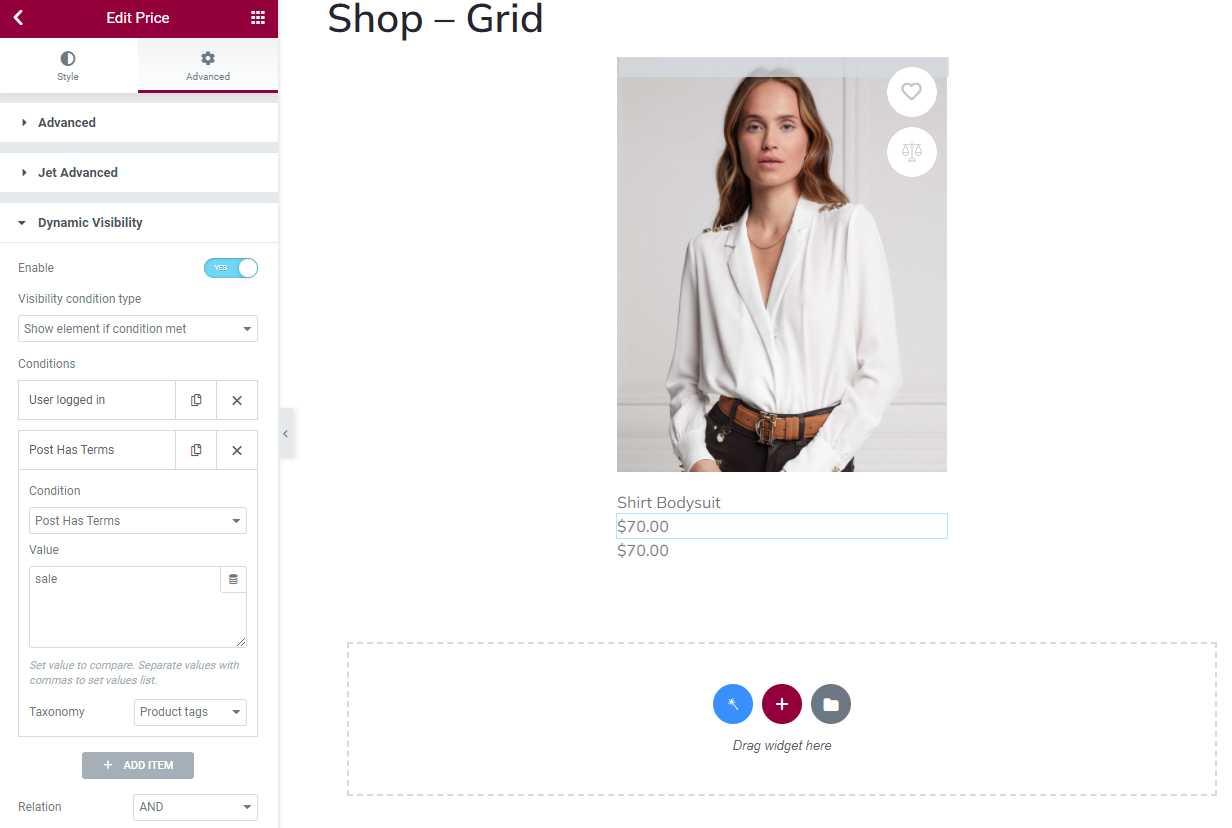
Now, left-click one of the price fields. In the Advanced tab, unfold the Dynamic Visibility drop-down, and Enable the toggle. Set the Visibility condition type to “Show element if condition met” and add two conditions below. The first will be “User logged in,” and the second will be “Post Has Terms.” In the latter condition, select the “Product tags” option in the Taxonomy control and type the tag’s slug from the previous step into the Value field. Set the Relation to “AND.”

Let’s move on to the next price field. Left-click it and repeat the procedure described above. But this time, you set the Visibility condition type to “Hide element if condition met” and add one condition, which is “Post Has Terms.” Once again, pick the “Product tags” option in the Taxonomy control and type the same slug into the Value field.

Once done, press the “Update” button.
Now, you need to apply the same visibility conditions to the products showcased on the Shop page. Go to Crocoblock > Woo Page Builder and open the corresponding archive item in Elementor. In our case, this is the Shop – Grid template.
First, duplicate the Single Price widget and then configure the visibility rules for both fields as you already did previously. Here is what the first price field should look like:
Here are the visibility conditions applied to the second price field:

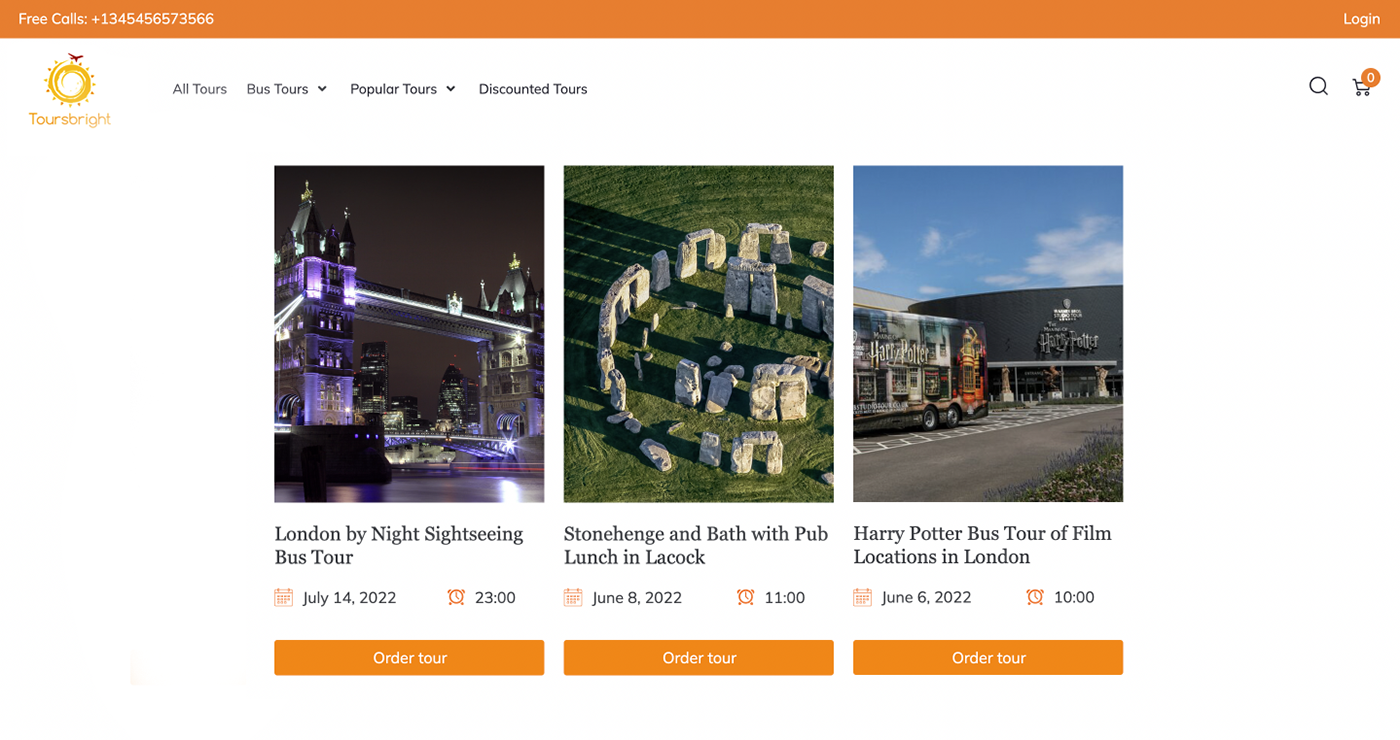
Now, repeat the same procedure for the Shop – List archive template. Don’t forget to update/save all changes. Check out the final result on the front end. As you can see, the prices are hidden from non-logged-in users on the Shop page templates and the single product page.
But how will the user know why there are no prices for certain items? We suggest you indicate that they need to authorize on the website to see these prices. The fastest way to do it is via a pop-up.
Creating a Pop-Up Card with Custom Visibility Conditions
First of all, create a new pop-up. To save time, we picked a desired pop-up layout from the library and edited the text in Elementor – this will do.
Proceed to the Crocoblock > Woo Page Builder directory and “Edit with Elementor” the templates where you have already set Dynamic Visibility rules for prices:
- Shop – List archive item;
- Shop – Grid archive item;
- Single product.
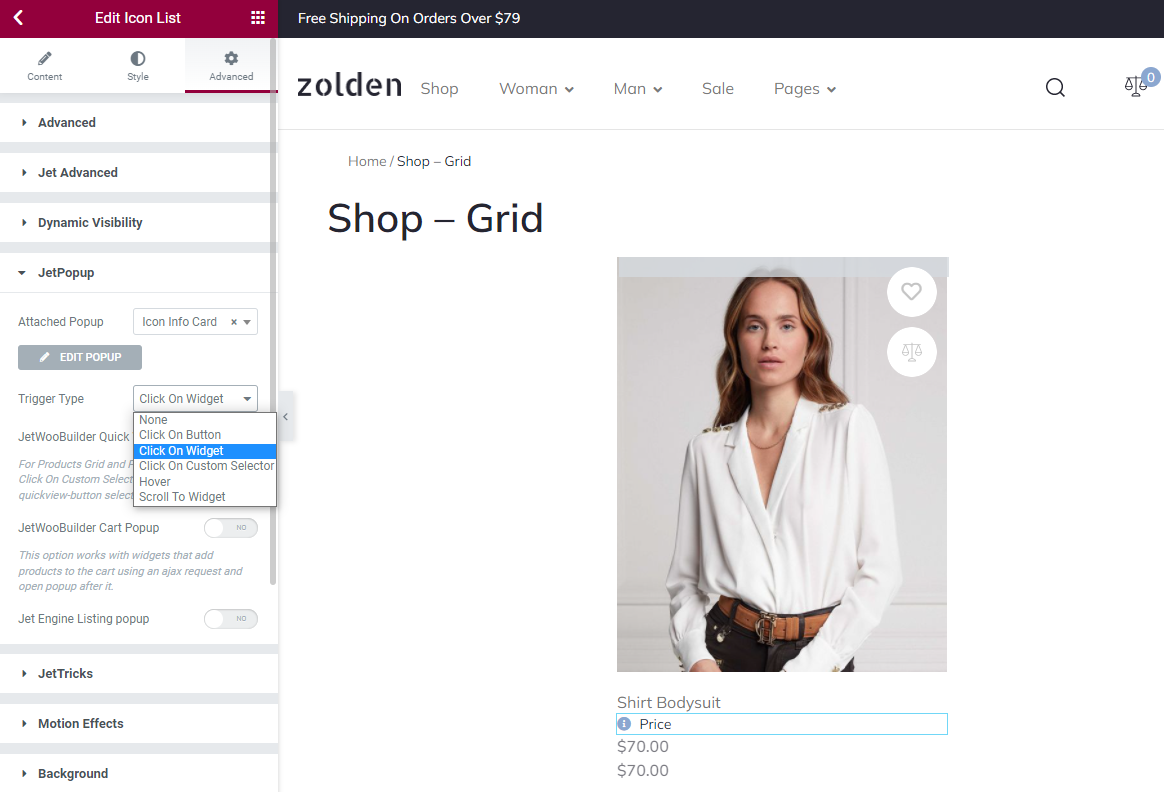
Find the Icon List widget in the Elementor sidebar and drag-and-drop it to the page. In the Content tab, you can add a suitable icon and modify the list item text.
Click on the Advanced tab and unfold the JetPopup drop-down. In the Attached Popup field, select the pop-up you have created recently. Then set the preferred Trigger Type.
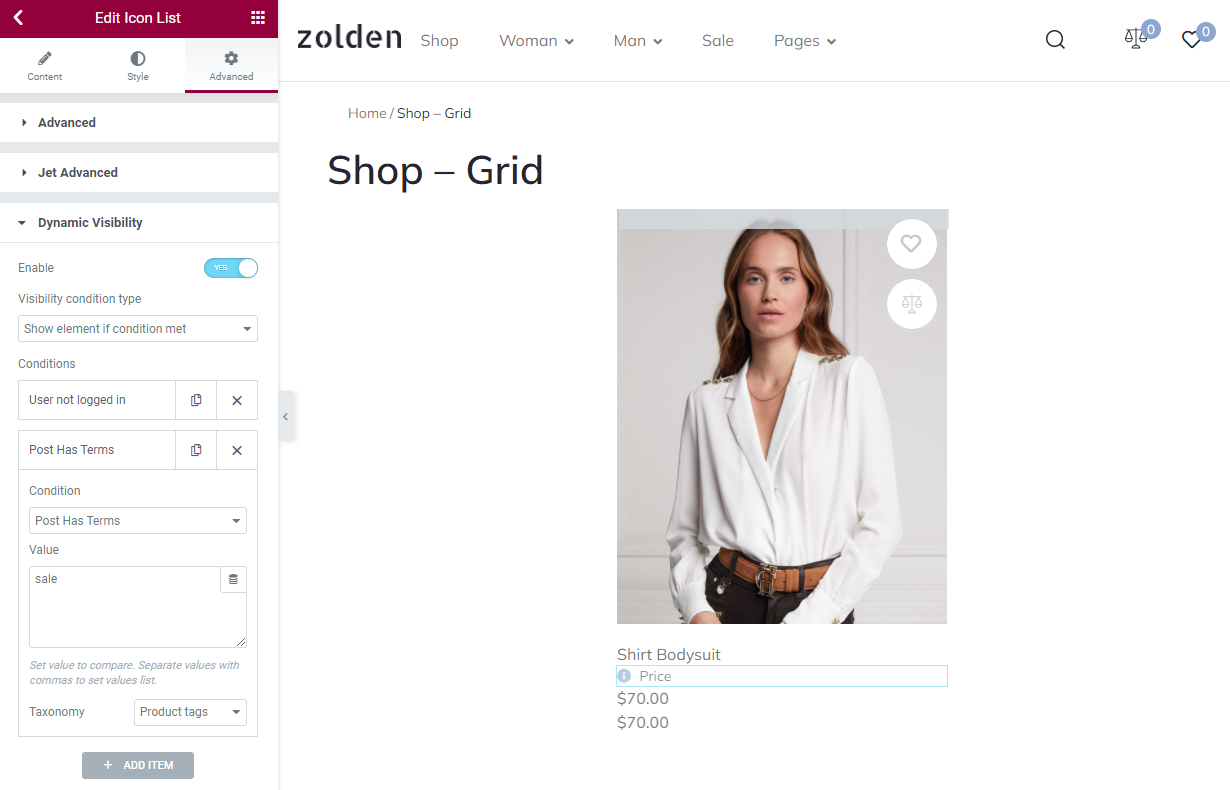
Now, switch over to the Dynamic Visibility drop-down and apply the following visibility conditions:
- Enable the toggle;
- “Show element if condition met” in the Visibility condition type field;
- Add the “User not logged in” condition in the Conditions section;
- Add the “Post Has Terms” condition;
- Set the Value to “sale”;
- Select the “Product tags” option in the Taxonomy drop-down list;
- Set the Relation to “AND.”
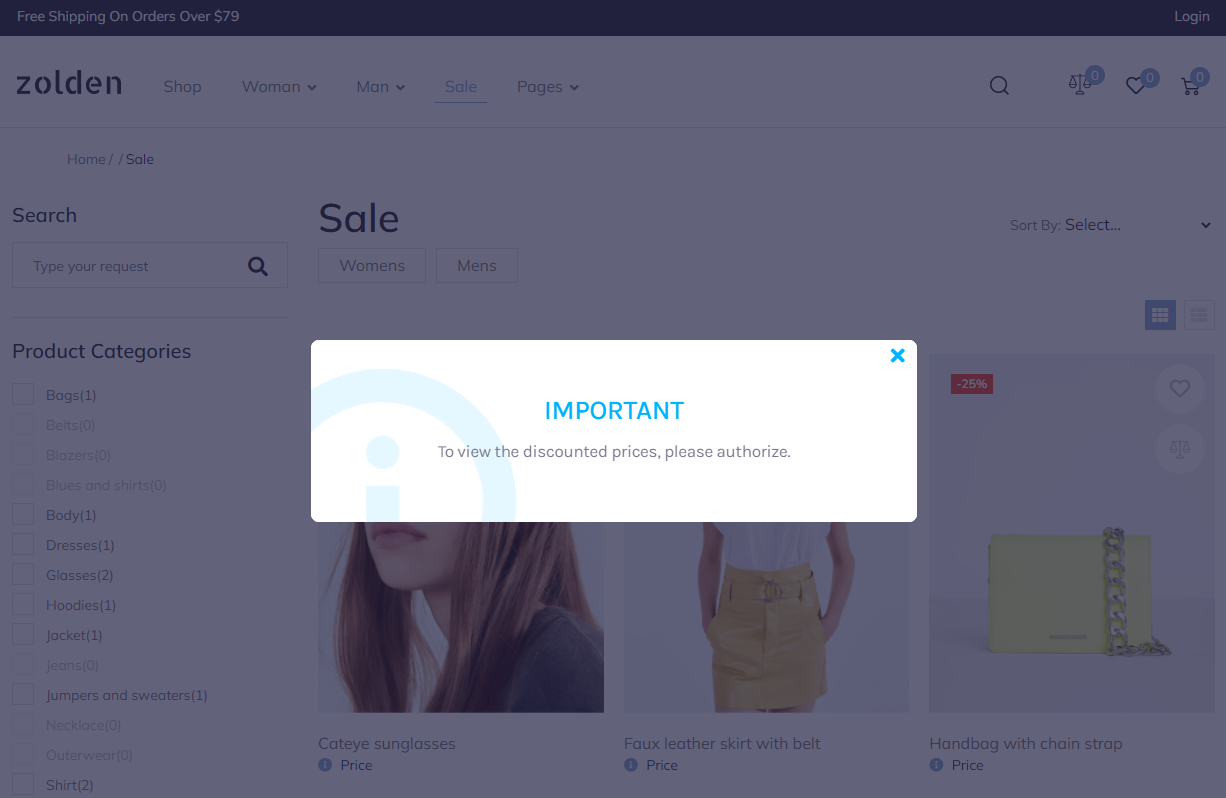
Go to the front end and see how the pop-up works.
Making the Content Visible Only to Authorized Users in Gutenberg
JetEngine plugin got updated, and now it allows using Dynamic Visibility with the blocks of the WordPress default editor.
Select a block in Gutenberg. There will be an eye-shaped icon on the toolbar on top of the block.
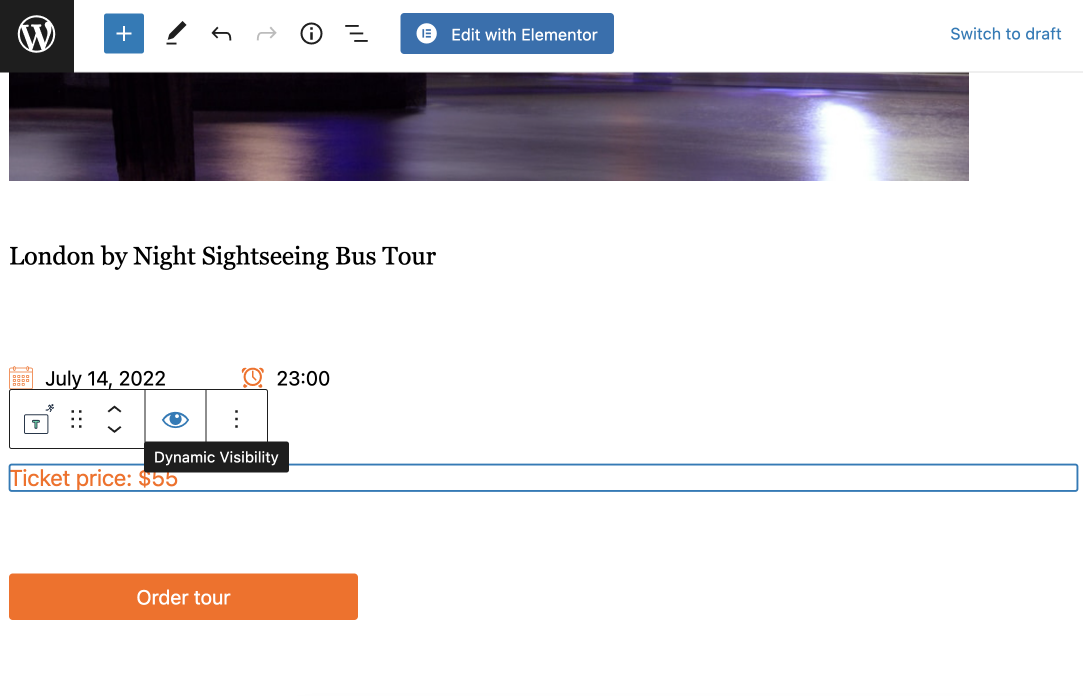
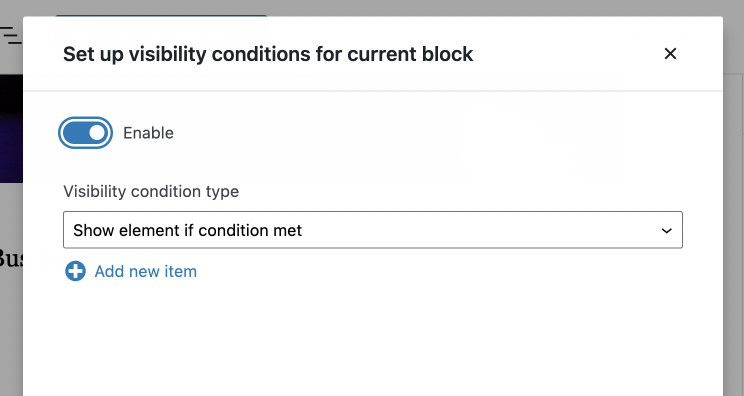
Once you click on it, you will see a pop-up window with the Enable toggle.
Turn it on, but first, make sure that the Visibility condition type is set to “Show element if condition met.”
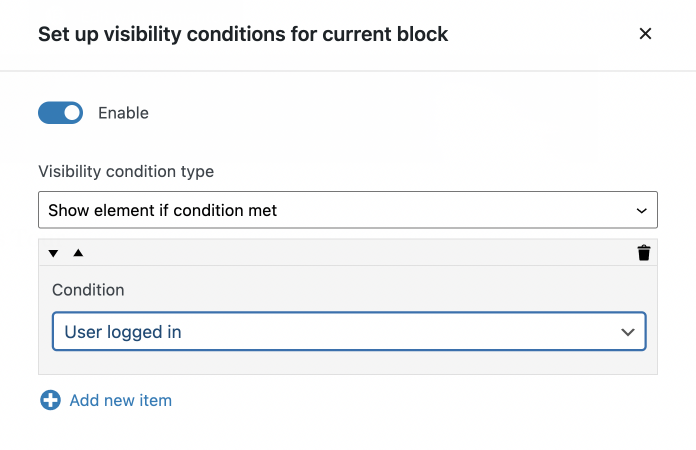
Then hit the “Add new item” button and choose “User logged in” in the Condition drop-down list.
Update the page; the price will be hidden for non-authorized users on the front end.
If you want to add more conditions, just follow the steps described in the first part of this tutorial. The approach will be the same.
That’s it. Now you know how to use the default JetEngine Dynamic Visibility module to hide WooCommerce product prices from non-authorized users.