How to Use ActiveCampaign Form Email Notification Type (Legacy)
This tutorial will guide you through the process of setting up the ActiveCampaign and using it in the corresponding Form notification type.
Before you start, check the tutorial requirements:
- Elementor (Free version) or Block editor (Gutenberg)
- JetEngine plugin installed and activated
Forms functionality comes with an option to connect it with the ActiveCampaign. This powerful service is a helping hand in email marketing and process automatization.
Registration at ActiveCampaign
Creating account
ActiveCampaign is a paid platform that gives an option of a trial period. Which option to select is totally up to you. For this tutorial, we’ll proceed with the trial period.
So, go to the ActiveCampaign official site and enter the email you want to use, and then click on the green button in the top right corner.
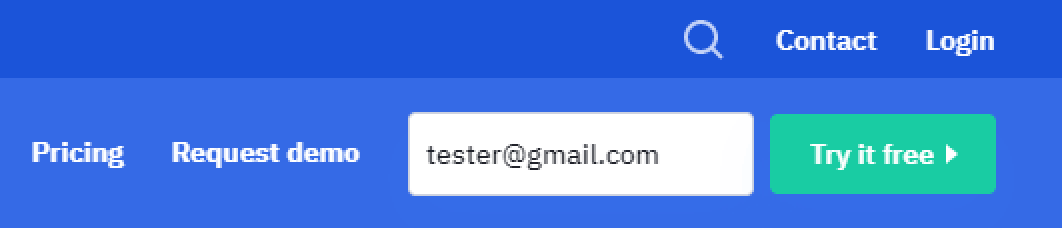
After that, you will get the opportunity to operate with the Account.
Adding contacts and building lists
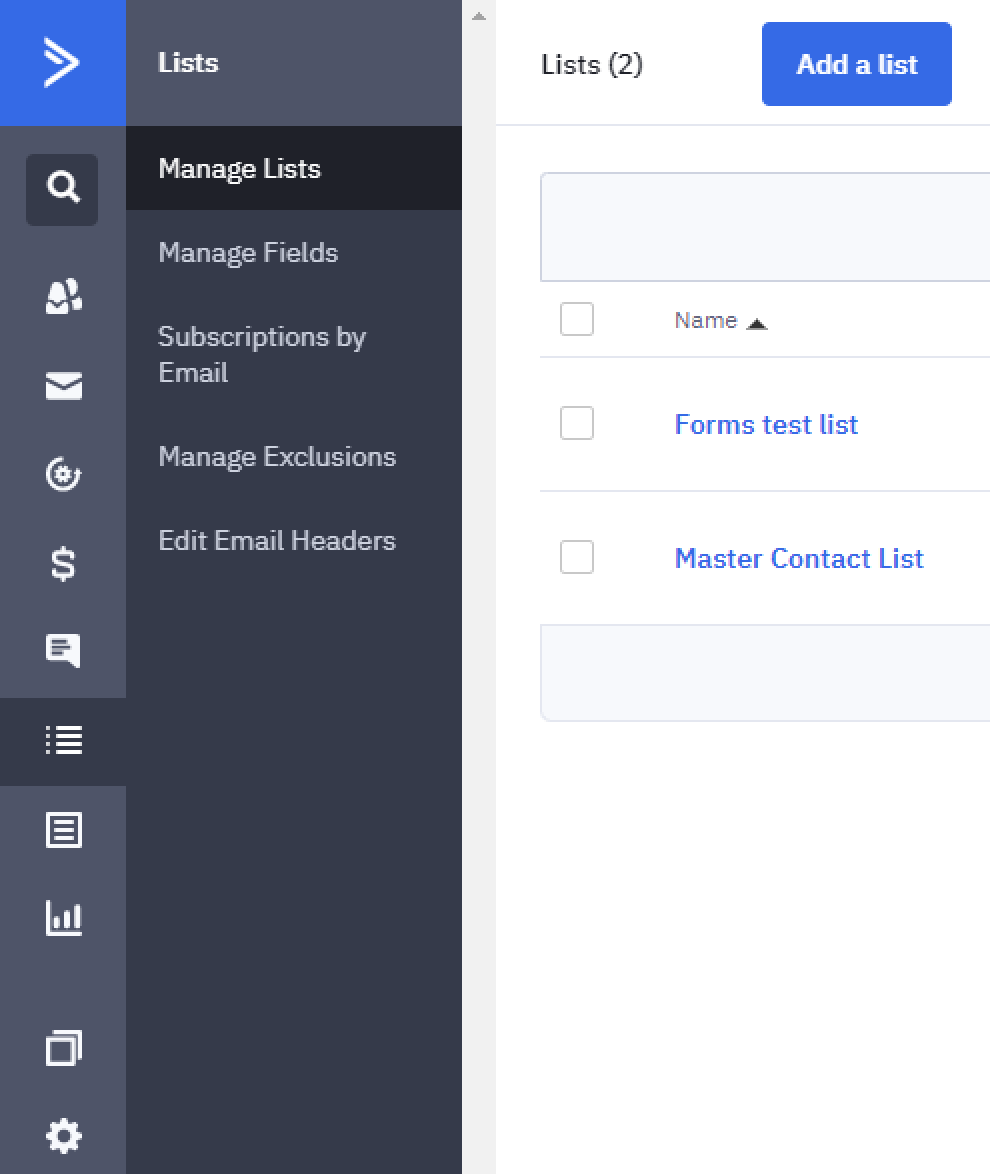
In the ActiveCampaign dashboard, locate the Lists and click on the “Add a list” button in the top right of your screen.
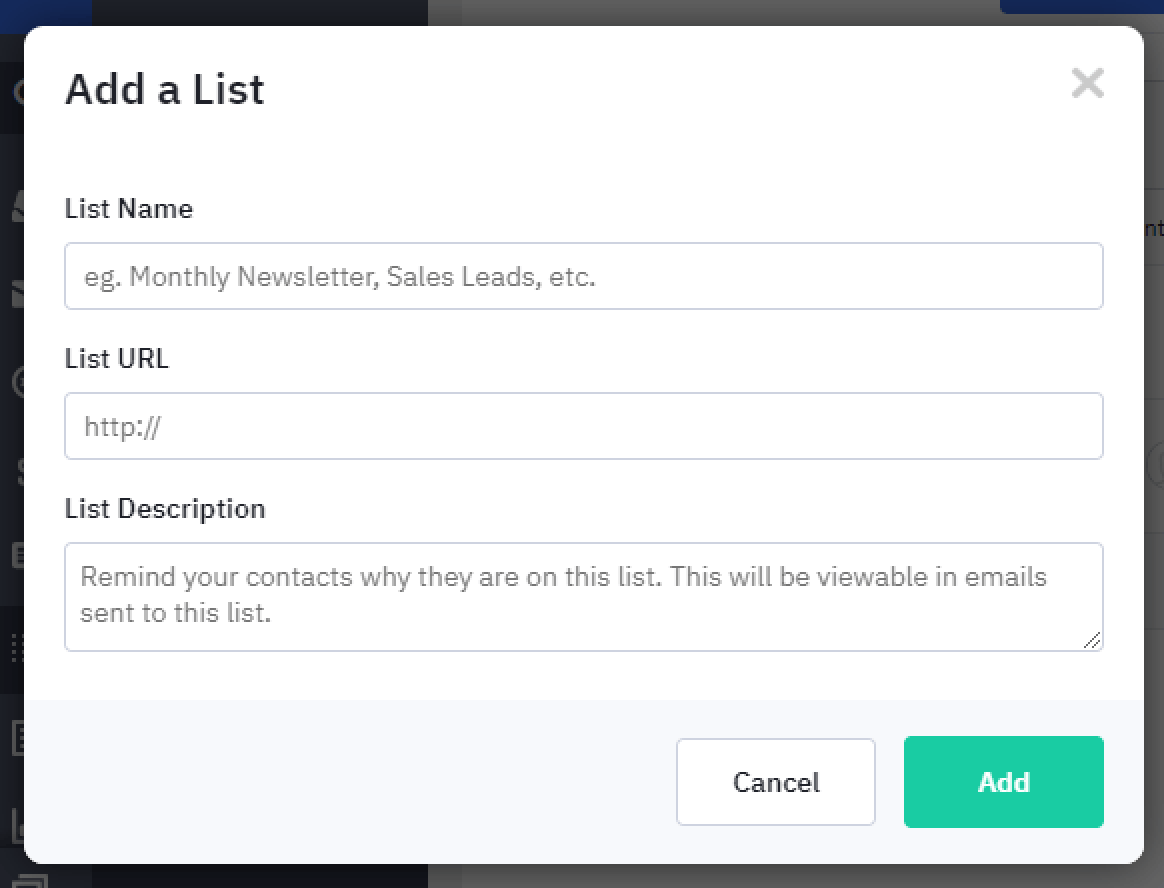
Fill in the fields in the popup window.
Once the list is created, you get the opportunity to fill it in with the contacts. You have the option to import the ones you have or add them manually.

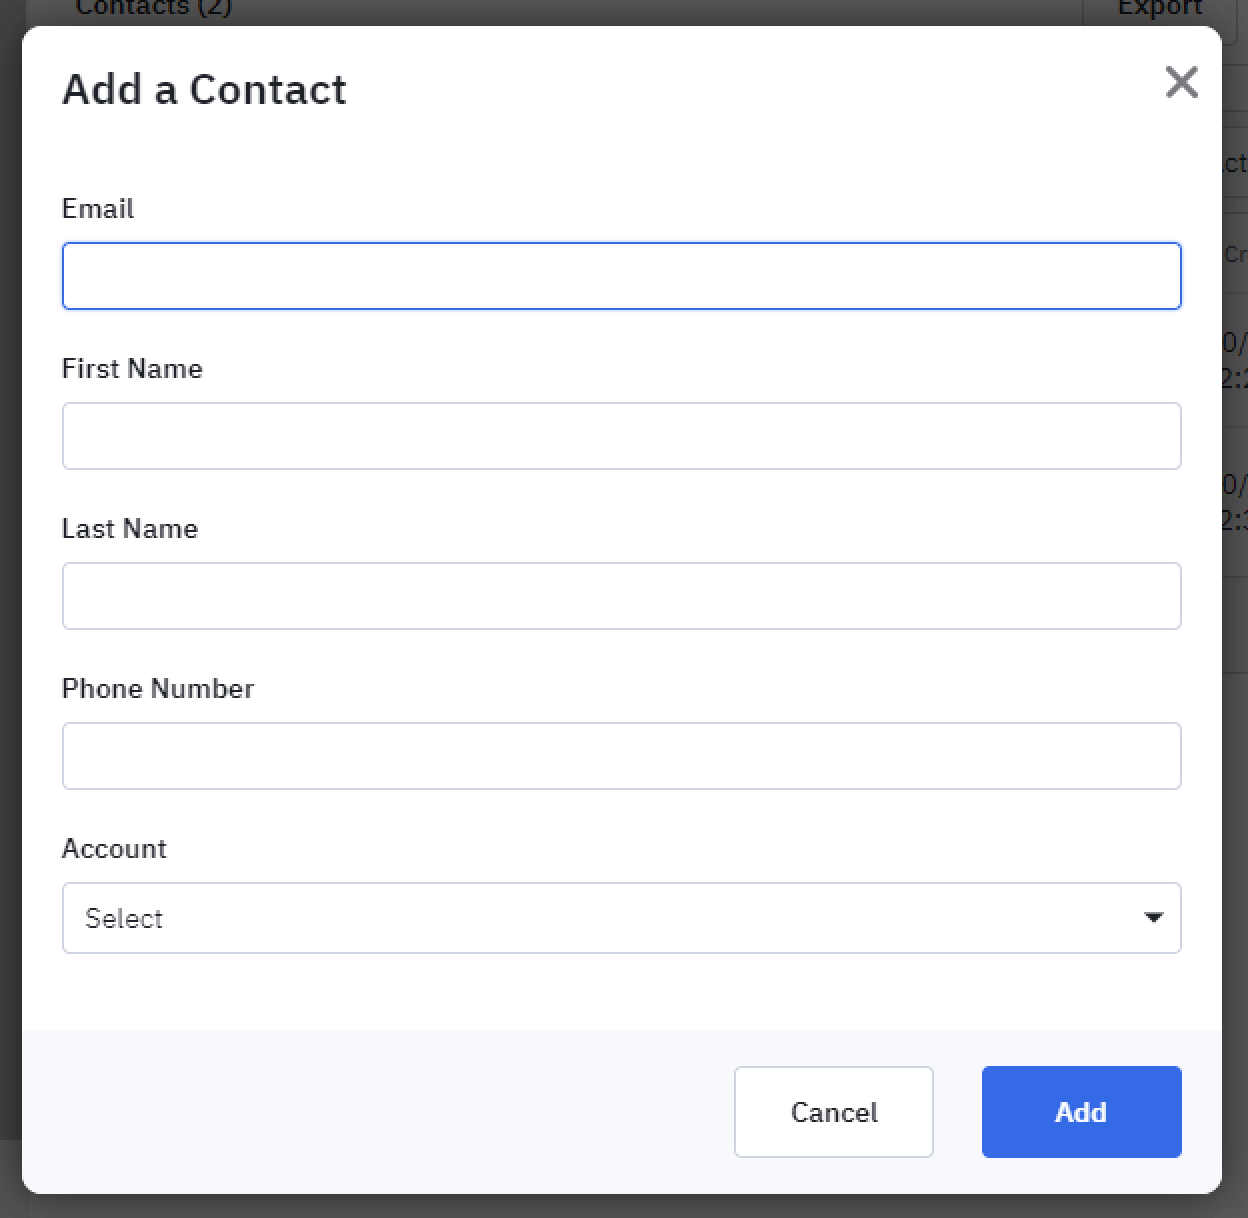
If you’re going to add contacts from scratch after you click on Add a contact button, you need to complete the form in the popup window that appears.
Once your contacts list is completed, you can go ahead to the WordPress dashboard and proceed to JetEngine > Forms > Add New.
Form Notification Type Adjustment
Creating a form
You may build any Form layout you need. For this tutorial, we’re going to use a simple one to show the process as a whole. Please feel free to follow our guide and create your own.
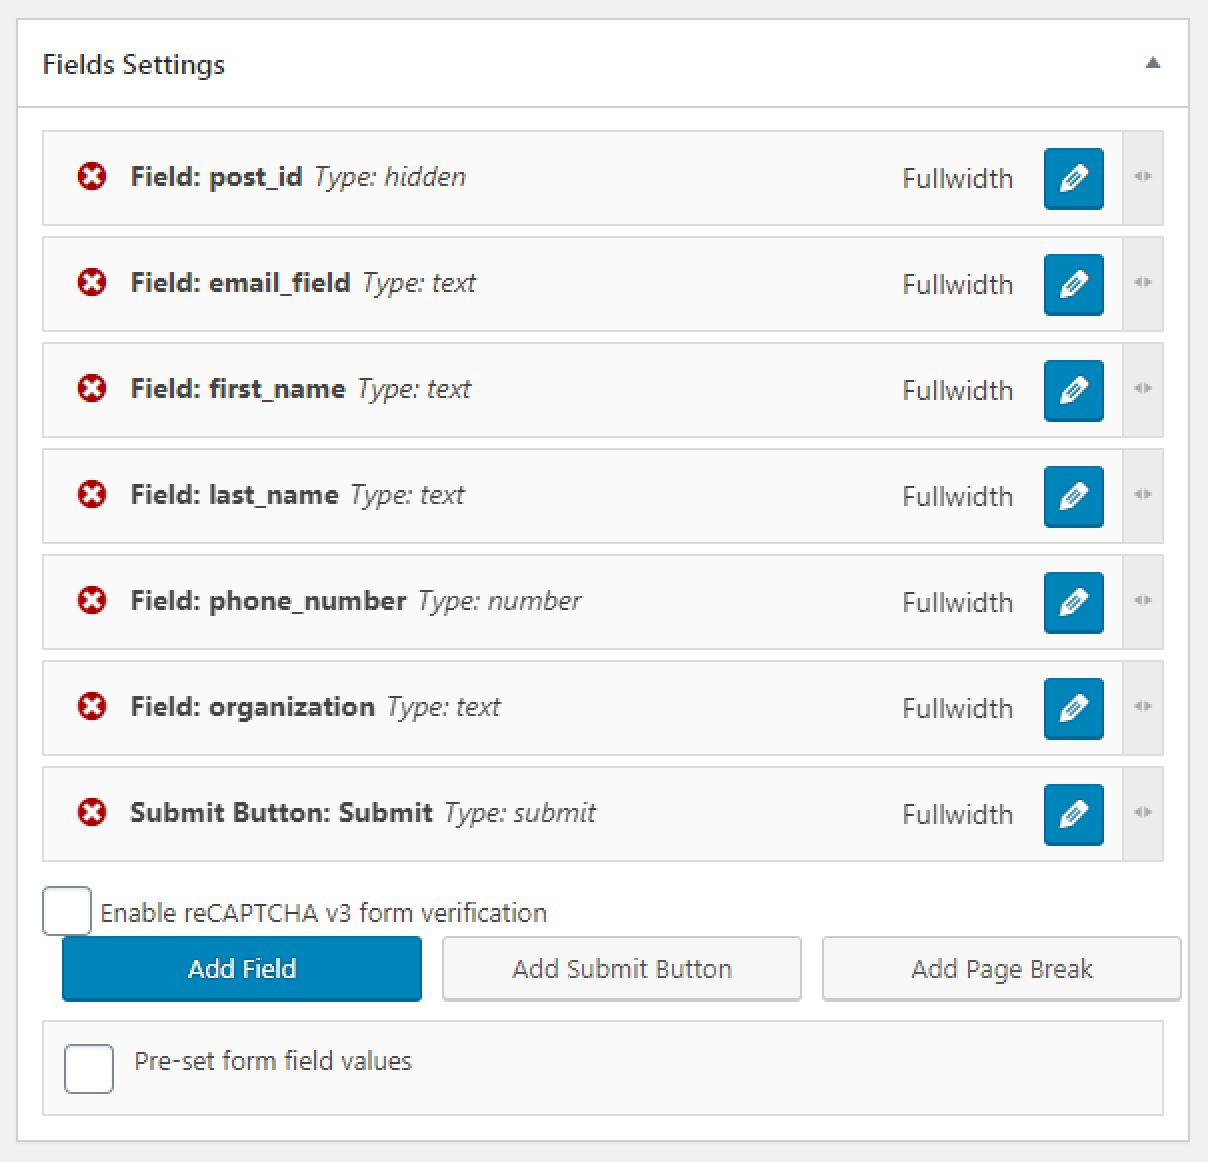
Create notification setting
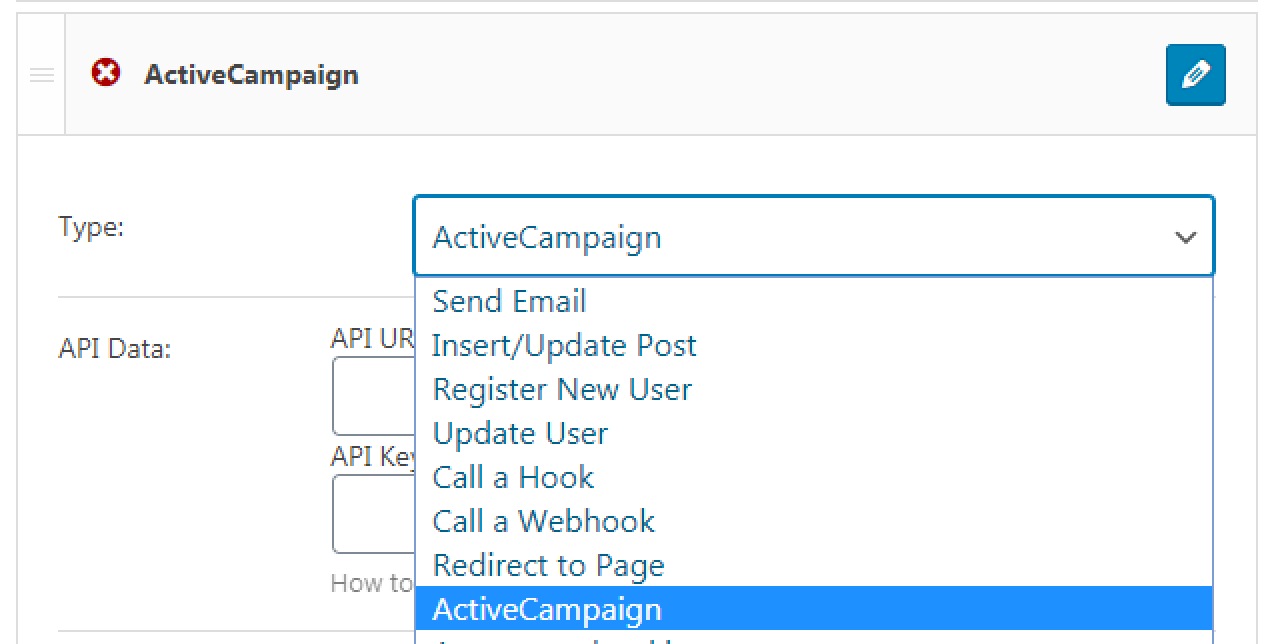
After the fields Settings are done within your Form, it’s time to operate with the Notification Settings. Click on the “Add Notification” button.

and select the ActiveCampaign type.
ActiveCampaign notification setting adjustment
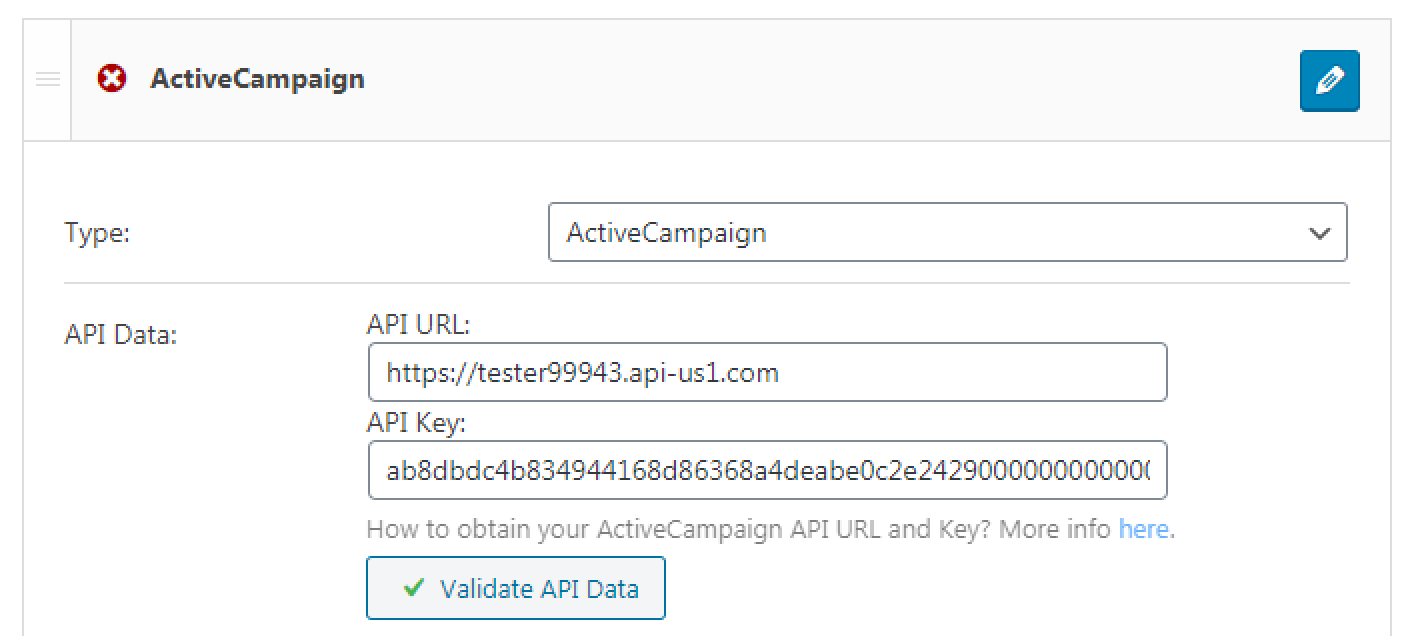
So, here we are with the setting we need to manage. In the API Data block, you need to fulfill the API URL and API Key fields.
After you enter the API Data, click on the Validate API Data button to verify it with the ActiveCampaign.
So, validation went through successfully, and it’s time to proceed to select the List ID created in the ActiveCampaign dashboard. To sync the information, click on the “Update List” button.

Fields map block
Once you selected the List of contacts you want to use in your Form, go ahead to adjust the Fields Map block. Here, you need to select appropriate fields from the Form you’re currently working with. Also, you can add some tags in the field below.
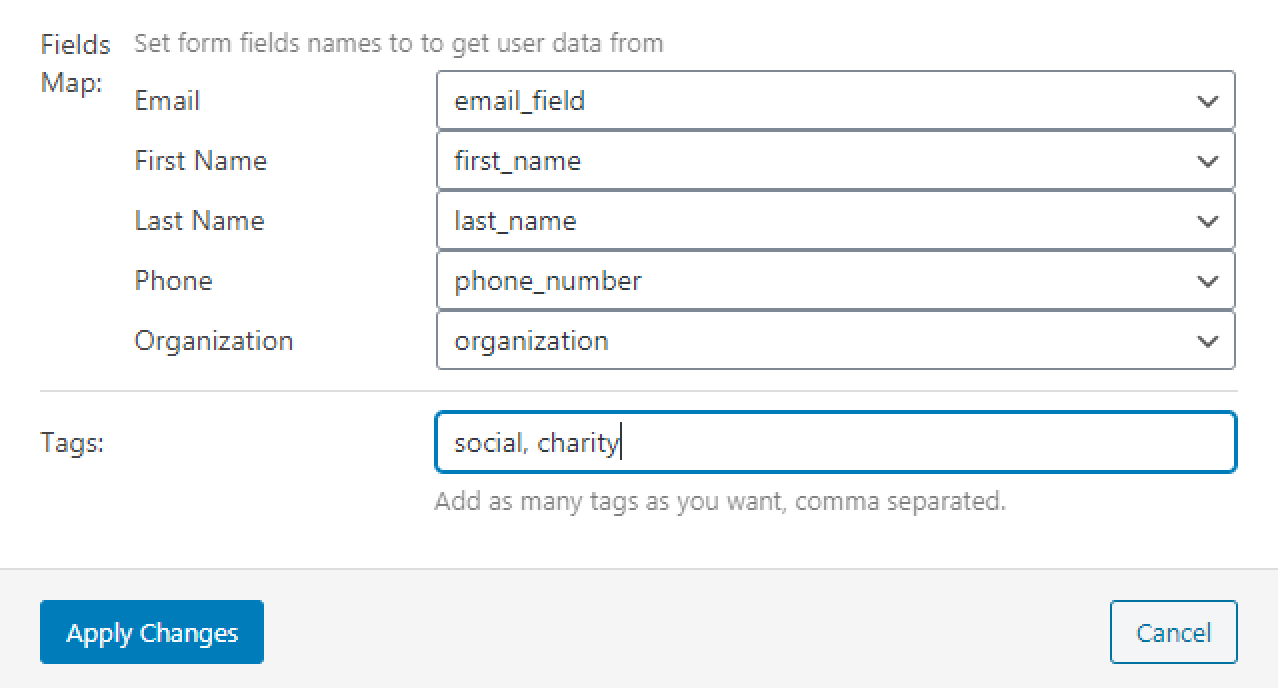
As a result, the tags will be synchronized and displayed in the ActiveCampaign account after the Form completion.

Our Form is ready now. Let’s proceed to the next step.
Add form in Elementor or Gutenberg
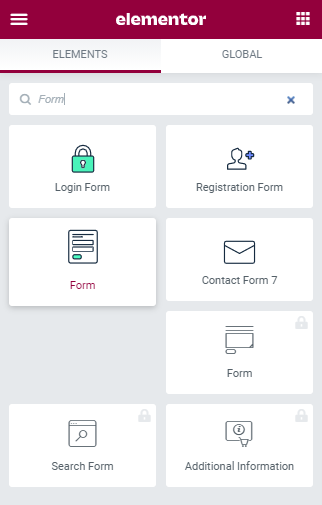
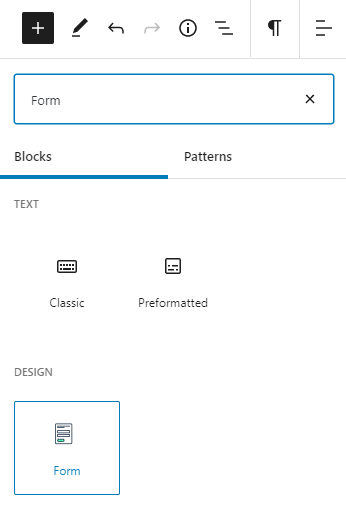
Go to the page you want to add the Form to and open it in Elementor page builder or Gutenberg editor. Locate the Form widget/block and add it to the section.
In Elementor:
In Gutenberg:
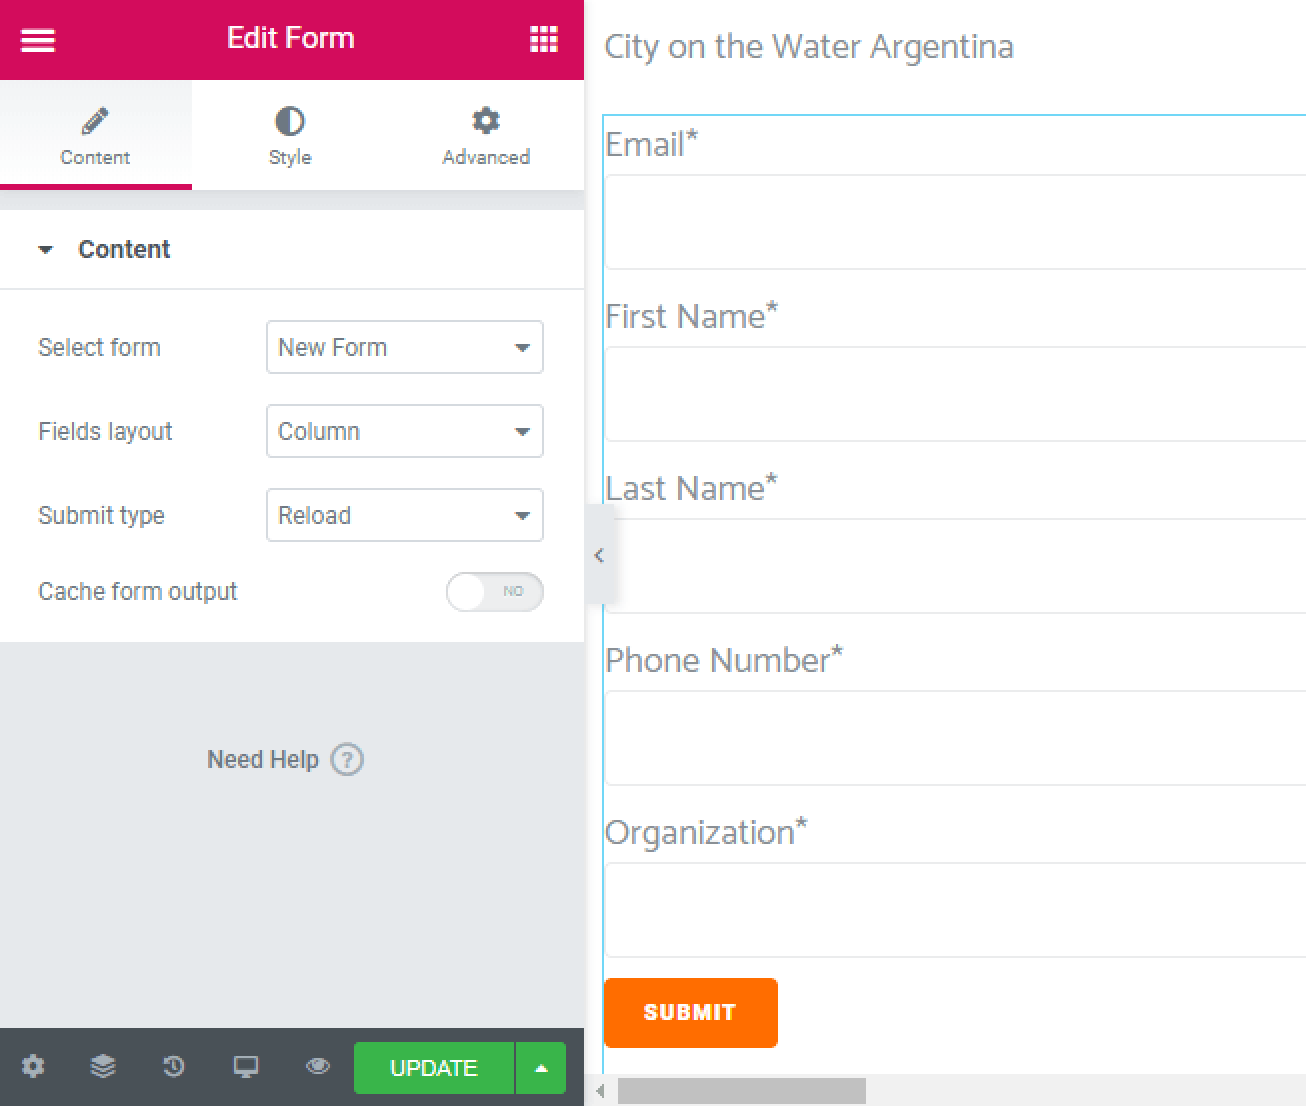
In the Select form drop-down menu, select the form you’ve set up on the backend and then style it up according to your needs.
In Elementor:
In Gutenberg:
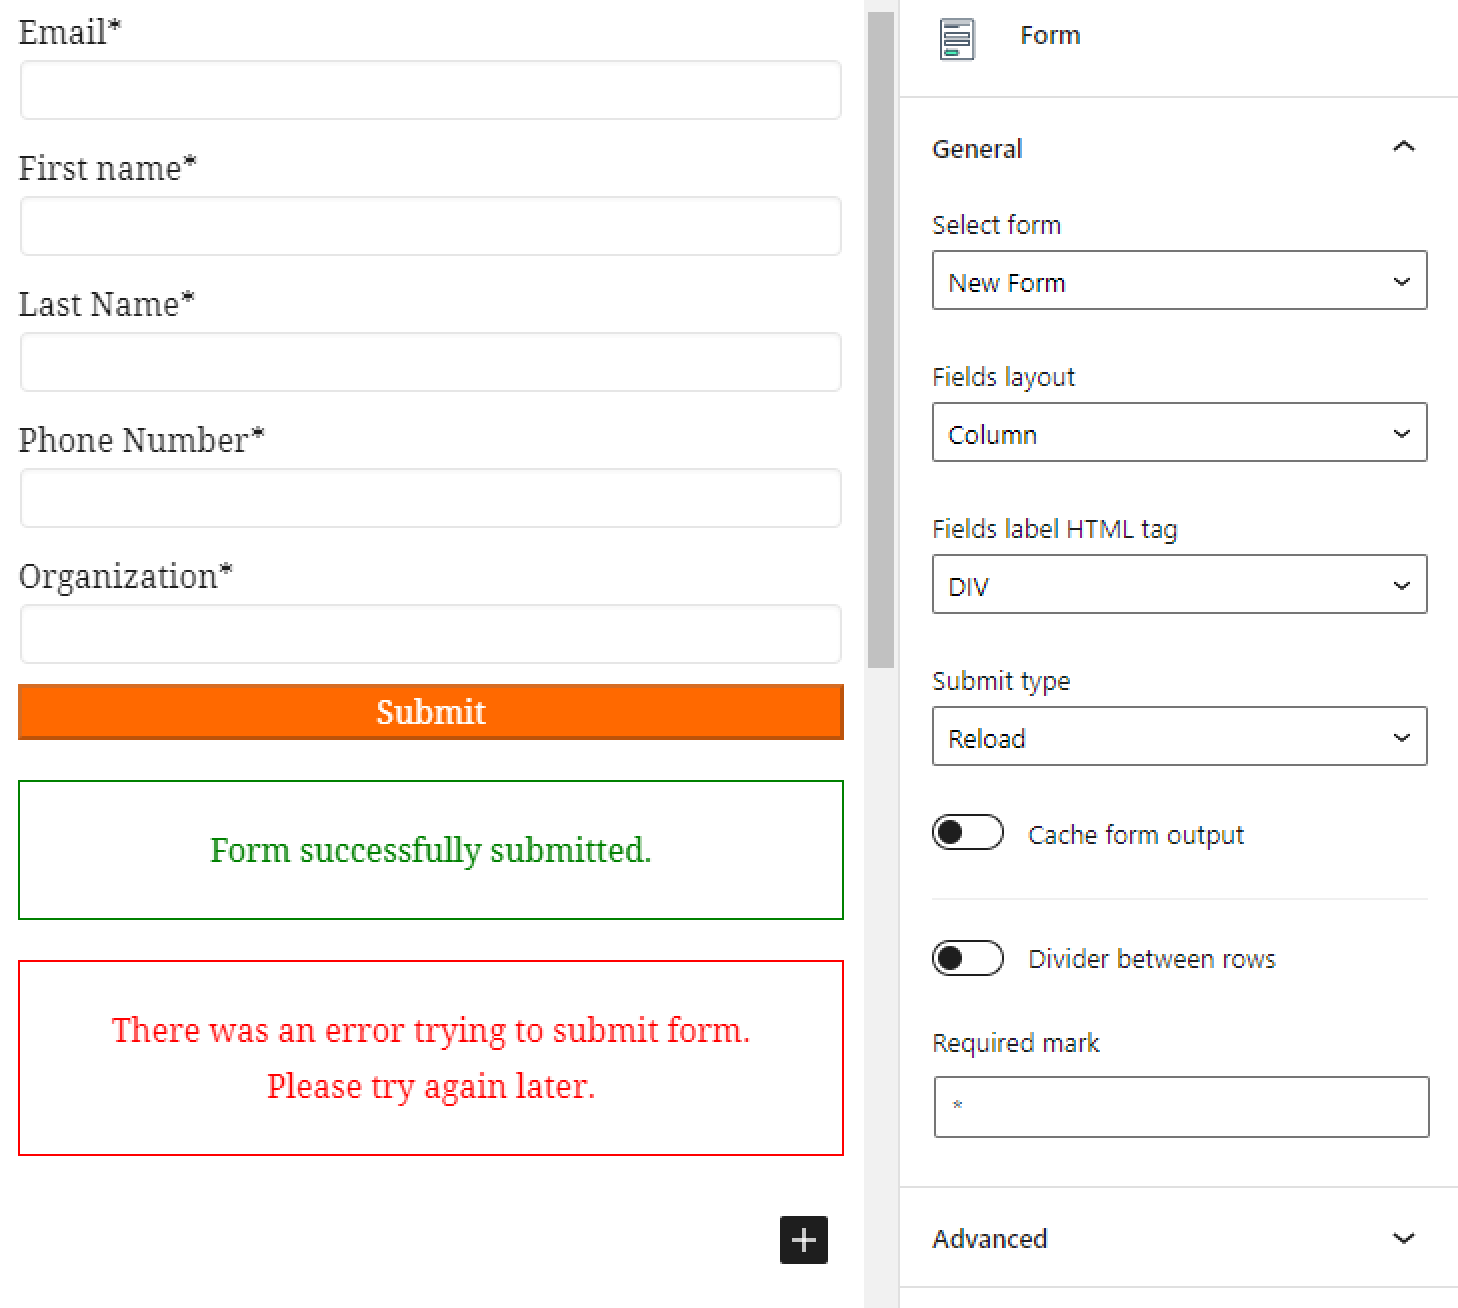
Form’s front-end testing
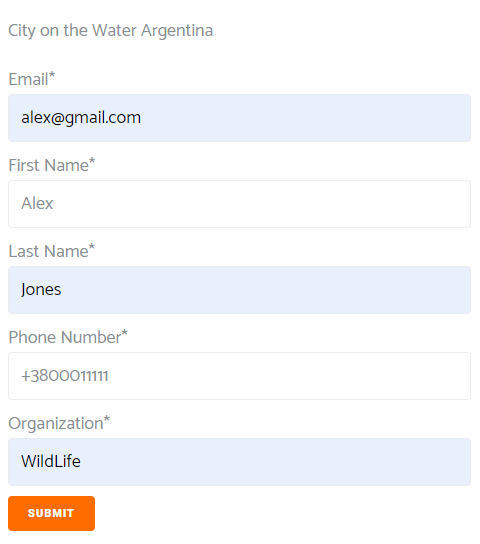
Let’s check how it works on the front end. Fill in all the fields in the form and hit the “Submit” button.
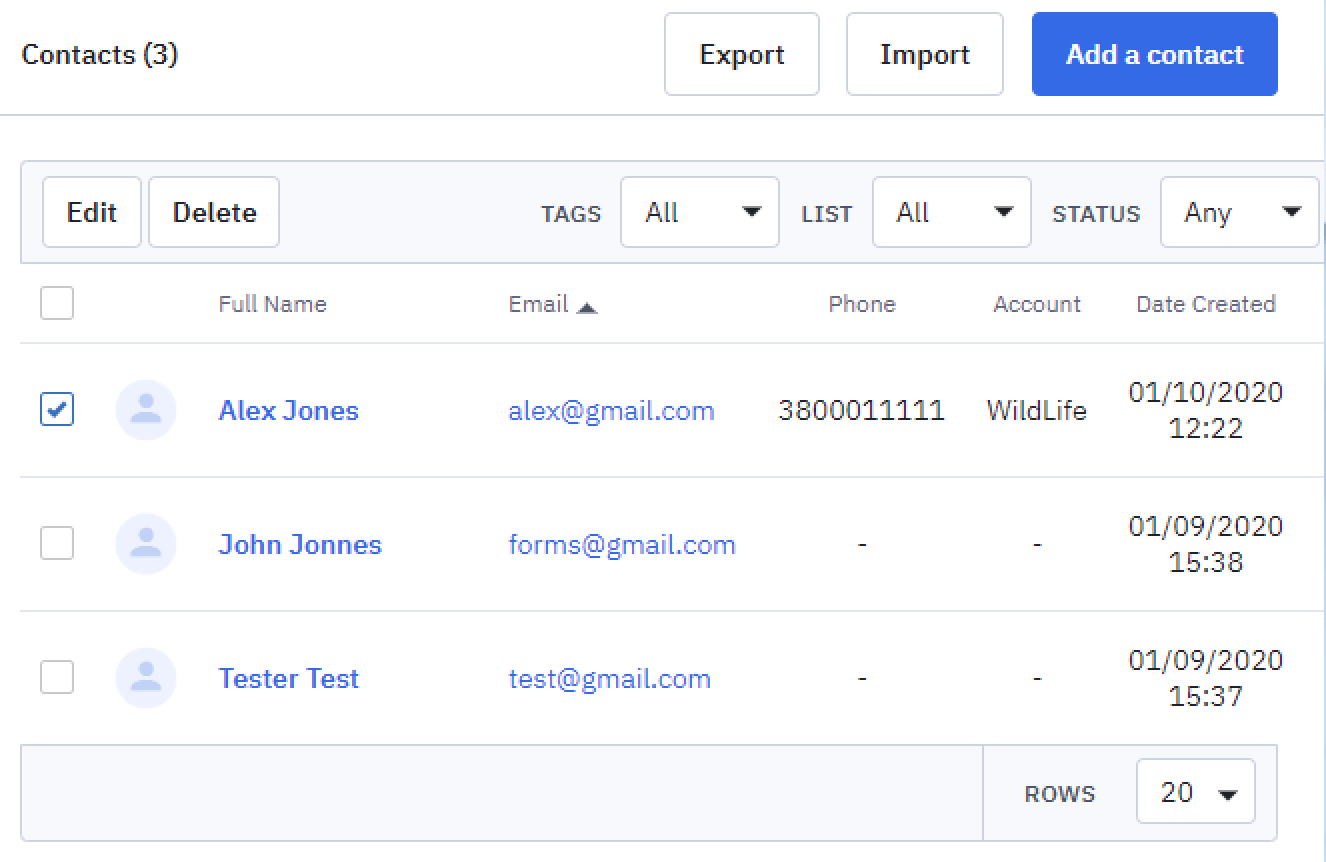
After it is successfully submitted, go ahead to your ActiveCampaign dashboard and open the List you’ve chosen for this form. You will see that new contact with all the data from the Form fields was added to your List.
Now you know how ActiveCampaign Form’s Notification type works. We outlined the basics; however, you are welcome to proceed to complex field combinations and useful actions set up in the ActiveCampaign dashboard.