How to Create a Form (Legacy)
From this tutorial, you will learn how to create and customize a form layout using the JetEngine plugin.
Before you start, check the tutorial requirements:
- Elementor (Free version) or Block editor (Gutenberg)
- JetEngine plugin installed and activated
With the JetEngine plugin, creating a form is simple and easy. You can start your own basic form template and add this form template to your website, customize it, and have guests order your services online. So let’s dive into the process of creating a layout for the form.
Enabling the Forms Functionality
Log in to the WordPress Dashboard and go to the JetEngine > JetEngine Dashboard.
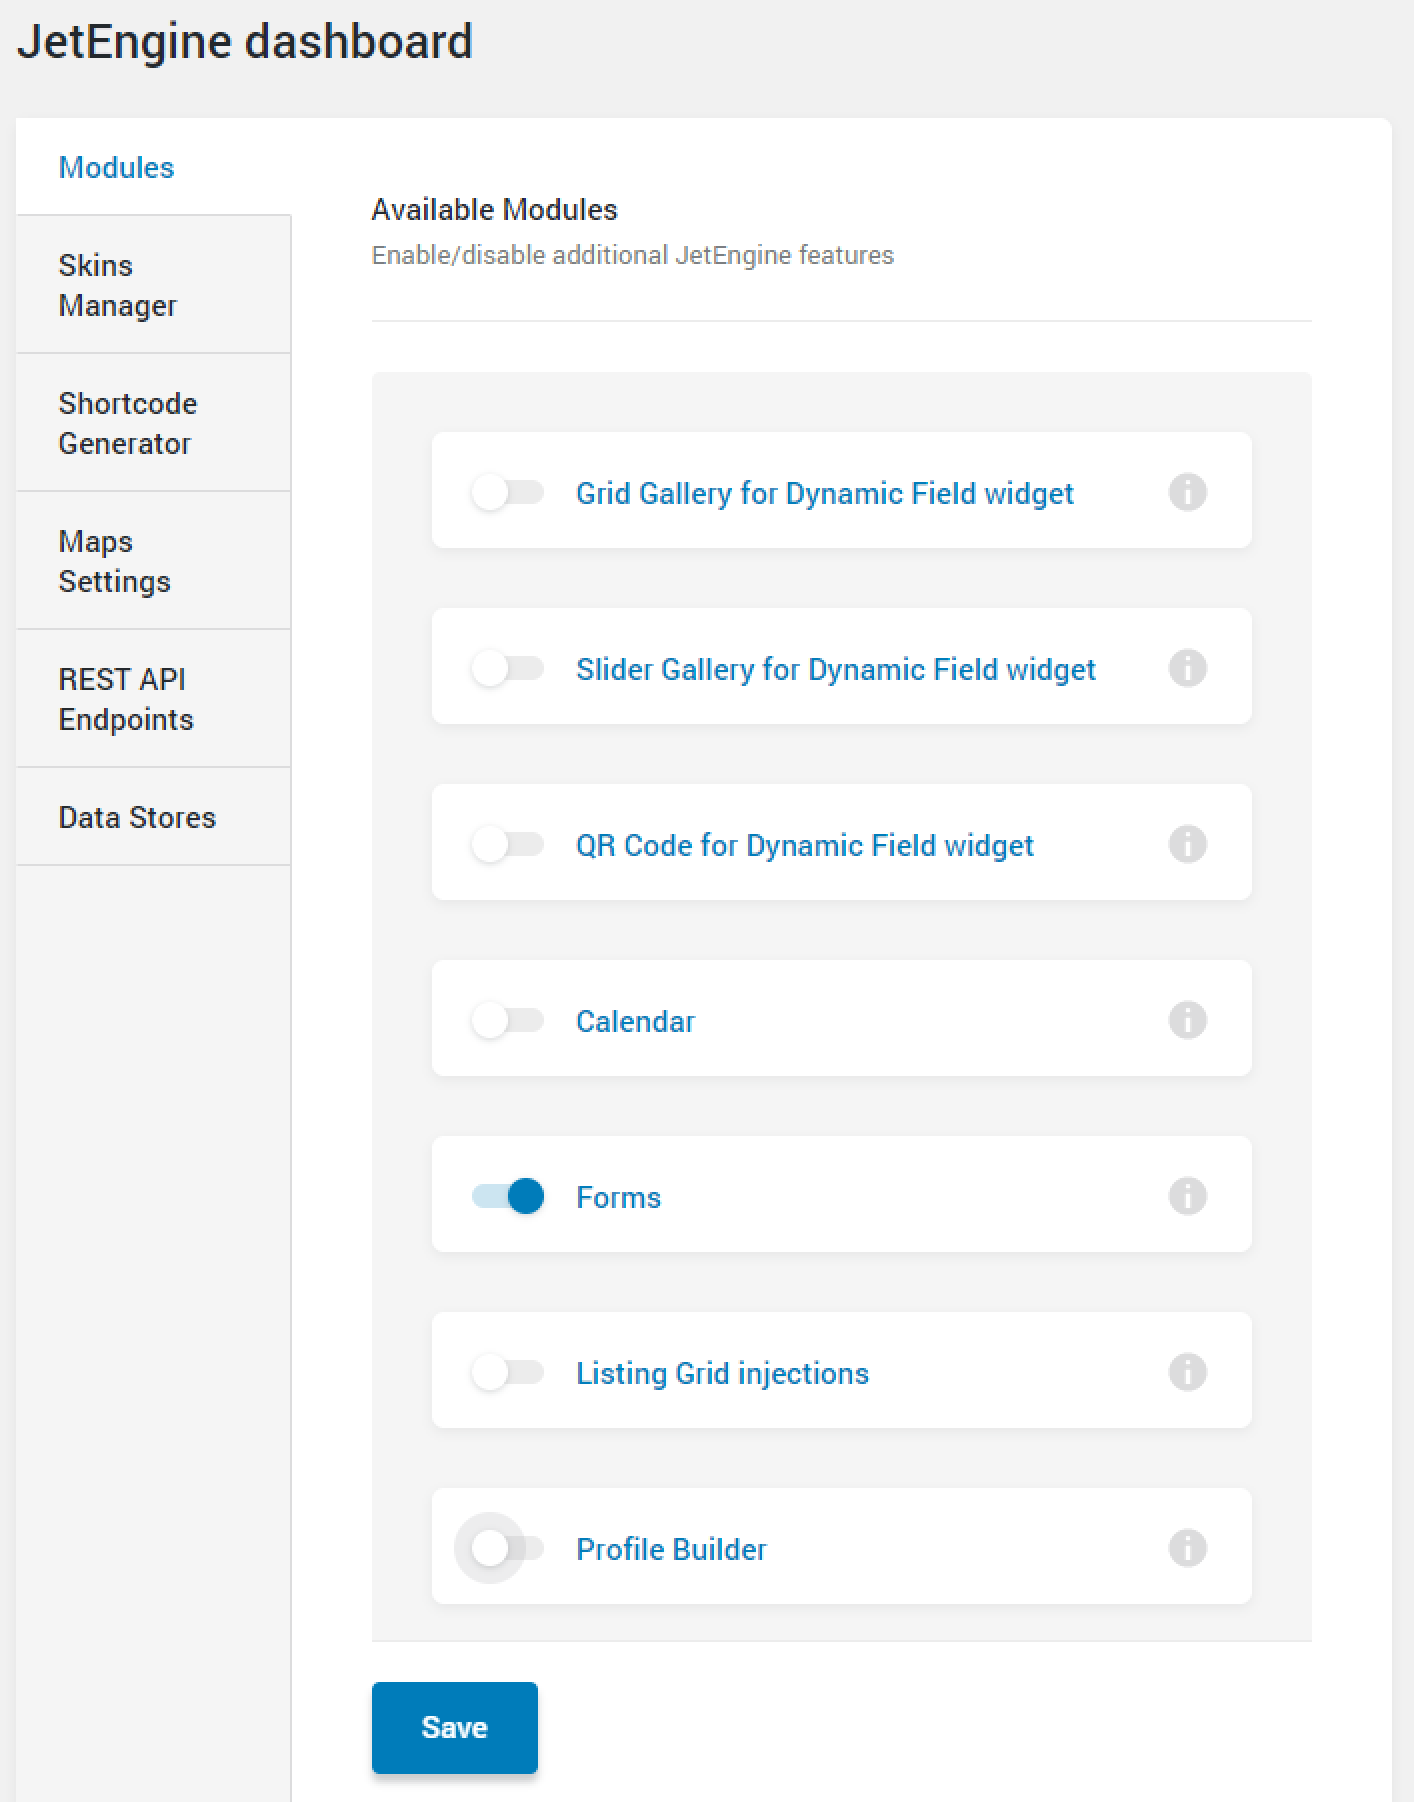
In the Modules tab, enable the Forms toggle. Click the “Save” button in order to save progress.
Creating Form Layout
WordPress settings
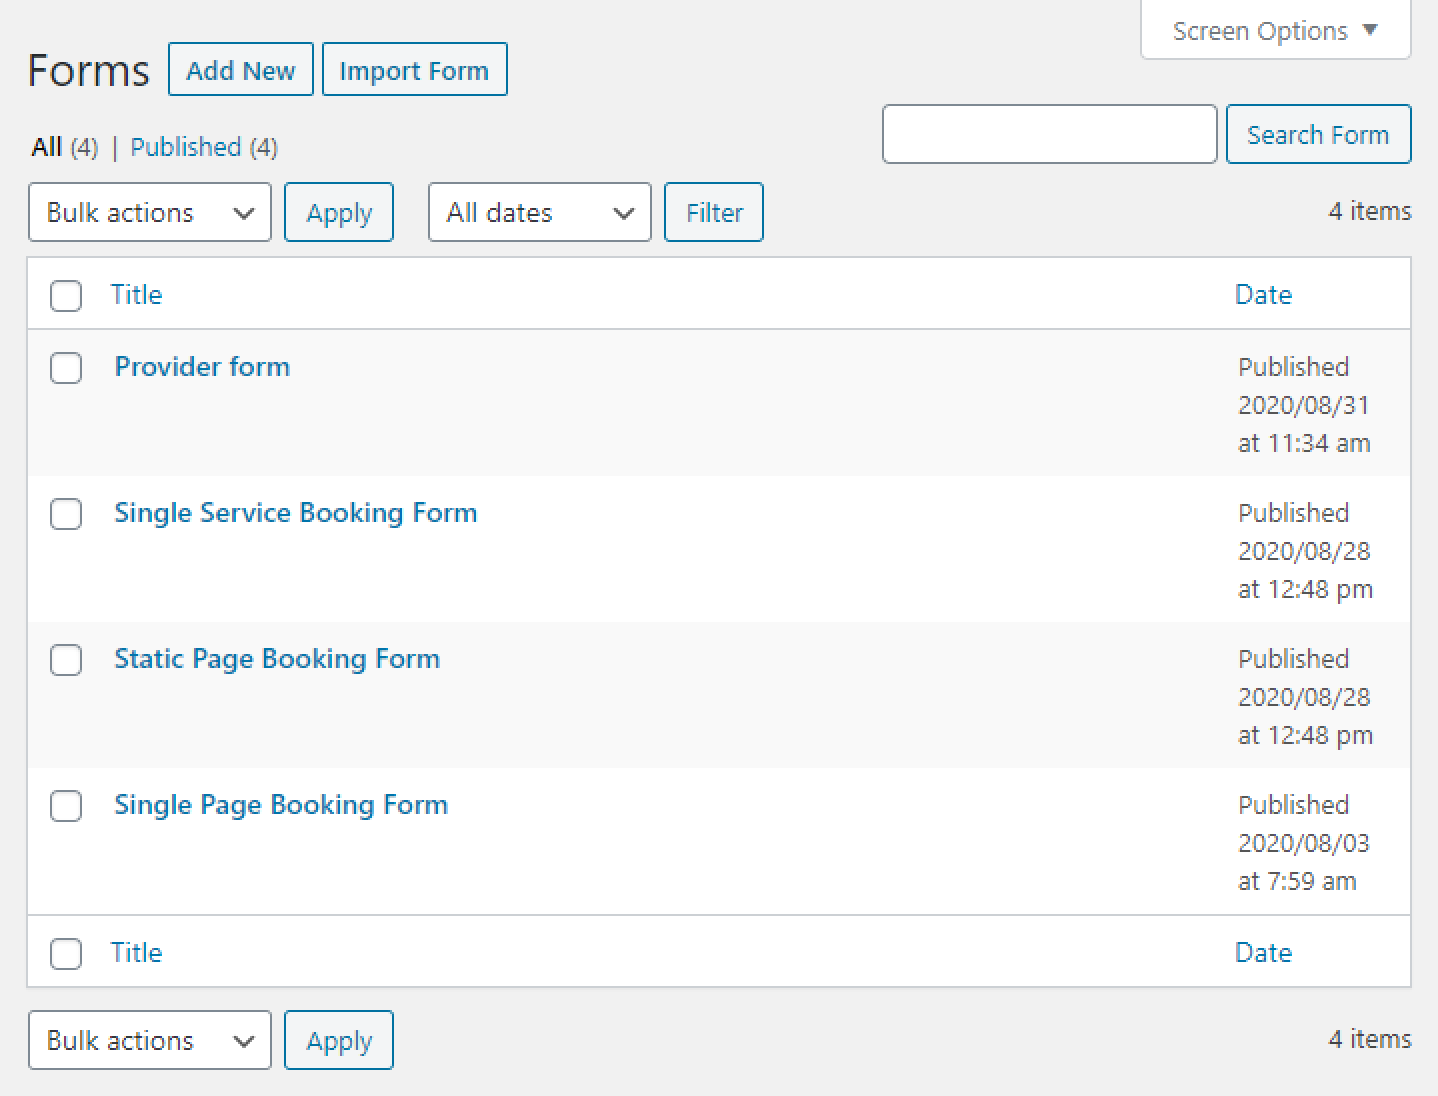
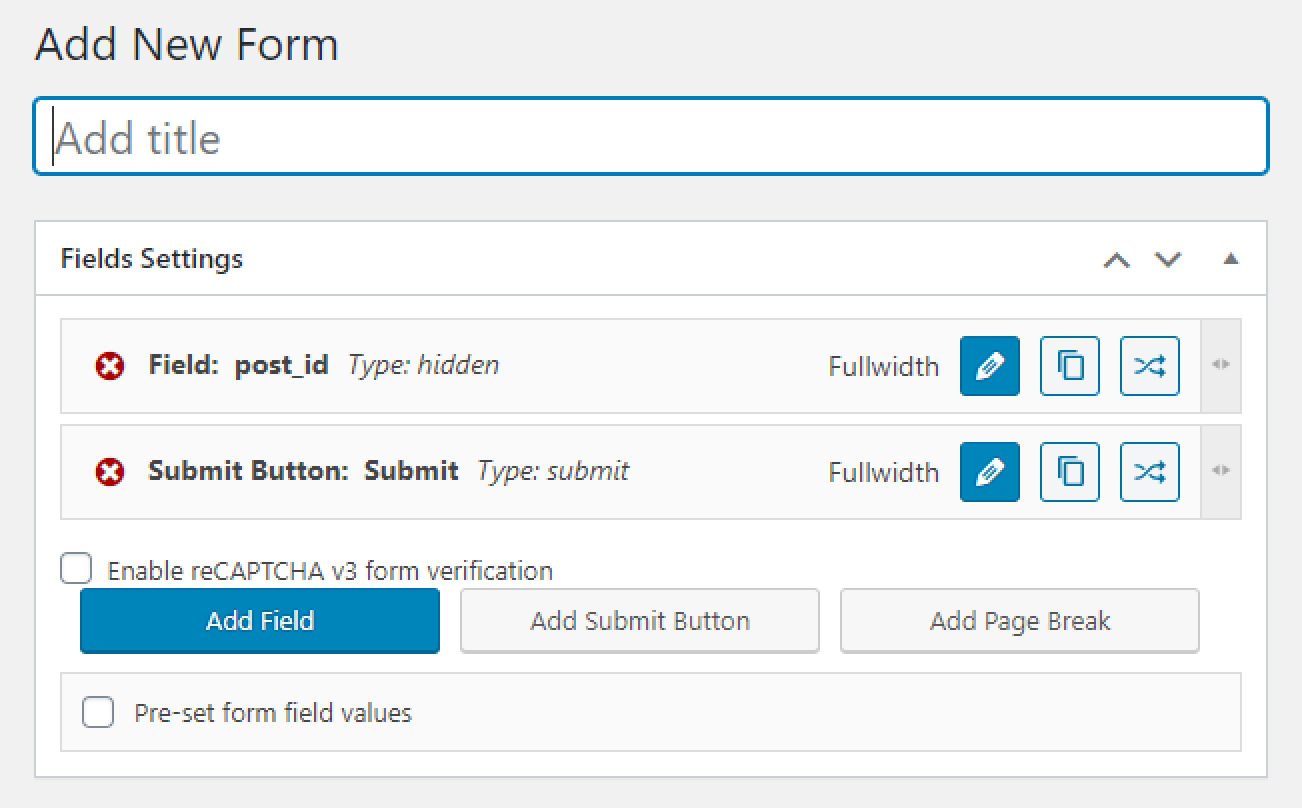
Proceed to the JetEngine > Forms tab and click the “Add New” button.
Form fields
Come up with the title for your form and start adding fields to set the area that should be filled out by your customers.
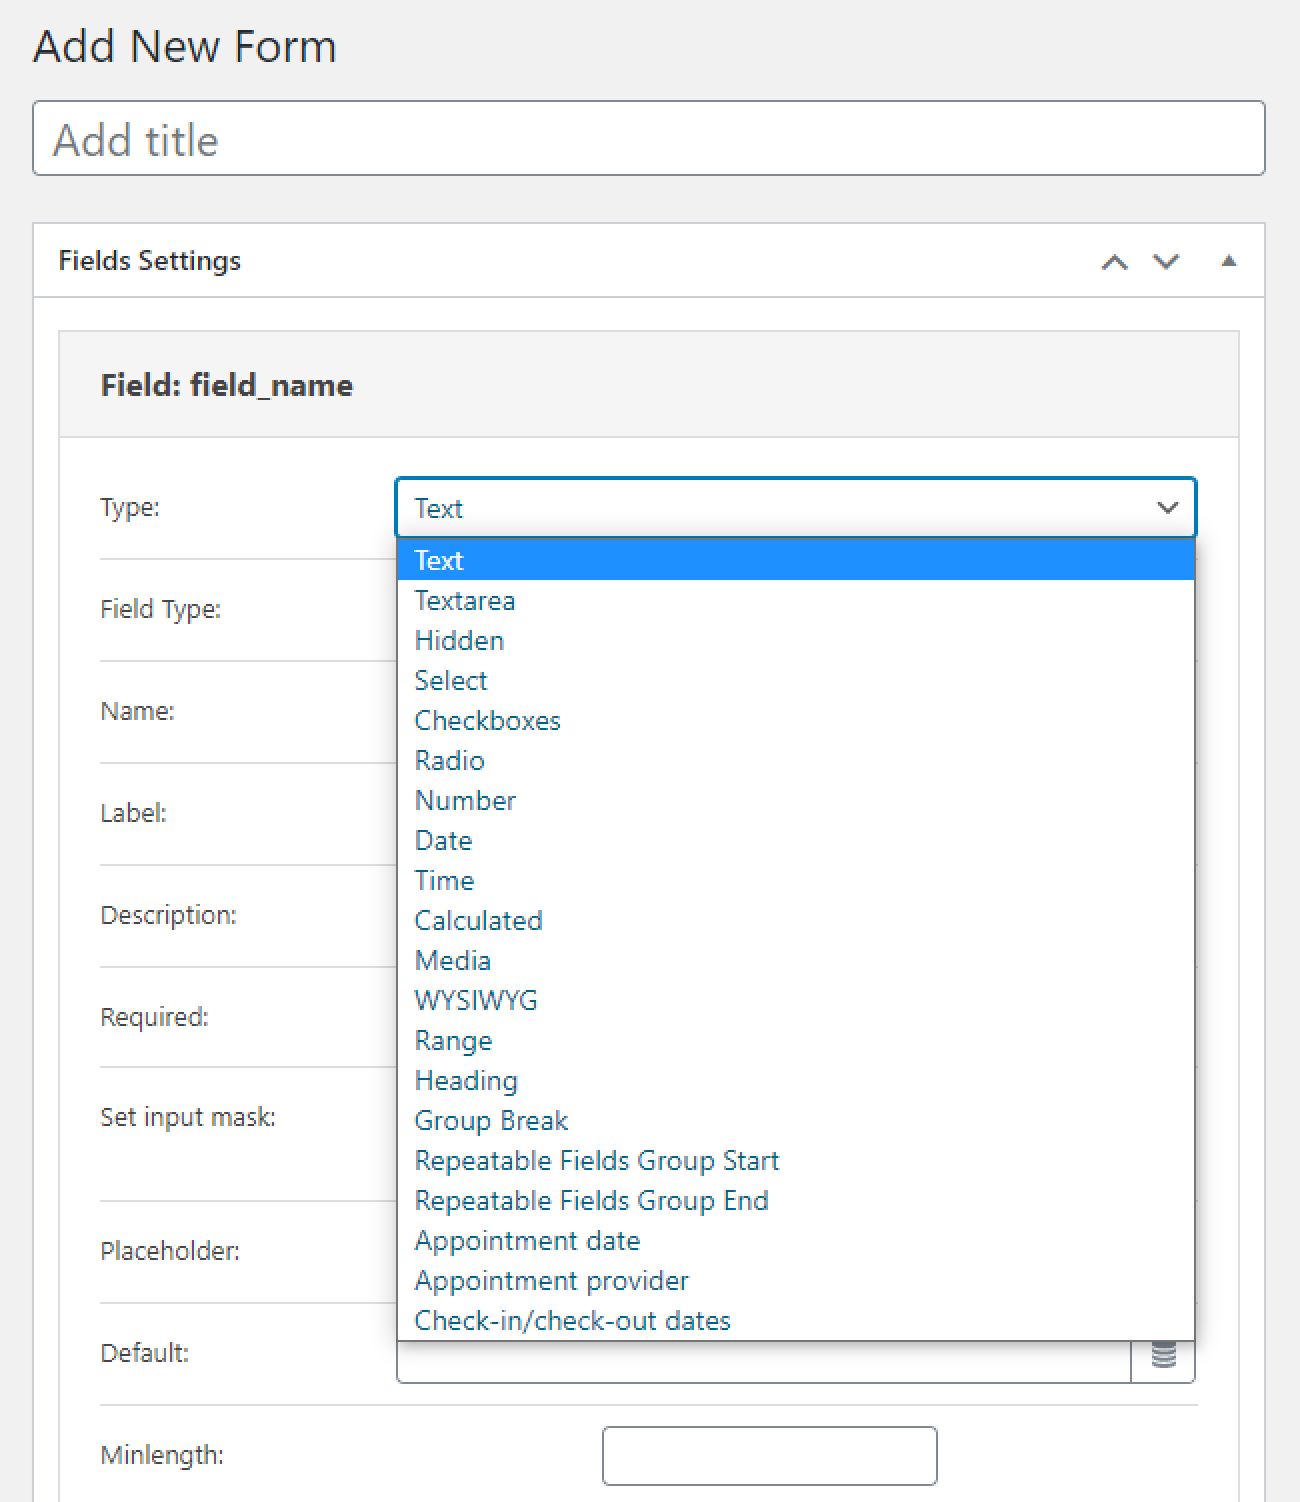
Types of the fields
There are specific field types you can add, let’s figure out some of them:
- Text — Name, Surname, etc.
- Textarea — for users to add some comments within the form.
- Select — Checkbox — Radio — to add the choosing option.
- Number — for example, the number of people.
- Date/Time.
- Media — to let the users add some documents, pictures, etc.
Learn more about the types from our Forms field types overview.
Page Break and pre-set forms fields value
Page break divides your form into several steps. The user can access the next part after filling in the previous one and clicking the “Next” button.
The “Add Page Break” button is placed next to the “Add Field” and “Add Submit Button” buttons.

The Page Break will be added as a separate field. If you would like to edit it, here’s what you can do:
- change the Label if you want the button to have a different name
- type in the Disabled message, that will be shown to the user if the button is disabled (for example, the user didn’t fill all the required fields)
- add some Custom CSS coding to style the button up

The Pre-set form field value is an option to add the autofill according to the settings you apply.
You should select:
- Text — Source (Post, User, URL Query Variables).
- ID — Get post ID from (Current user or post ID, URL Query Variables).
- Property for each field.
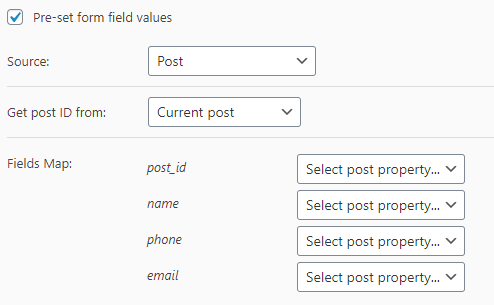
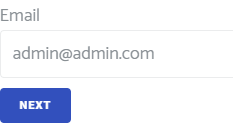
In this example, the Email field is auto-filled:
Fields order
When all your fields are set, you can change the order and length.
Notification settings
Below the Fields Settings block, you will find the Notifications Settings section, where you can specify the type and the number of notifications. Depending on the type, you will get different areas to fill up.
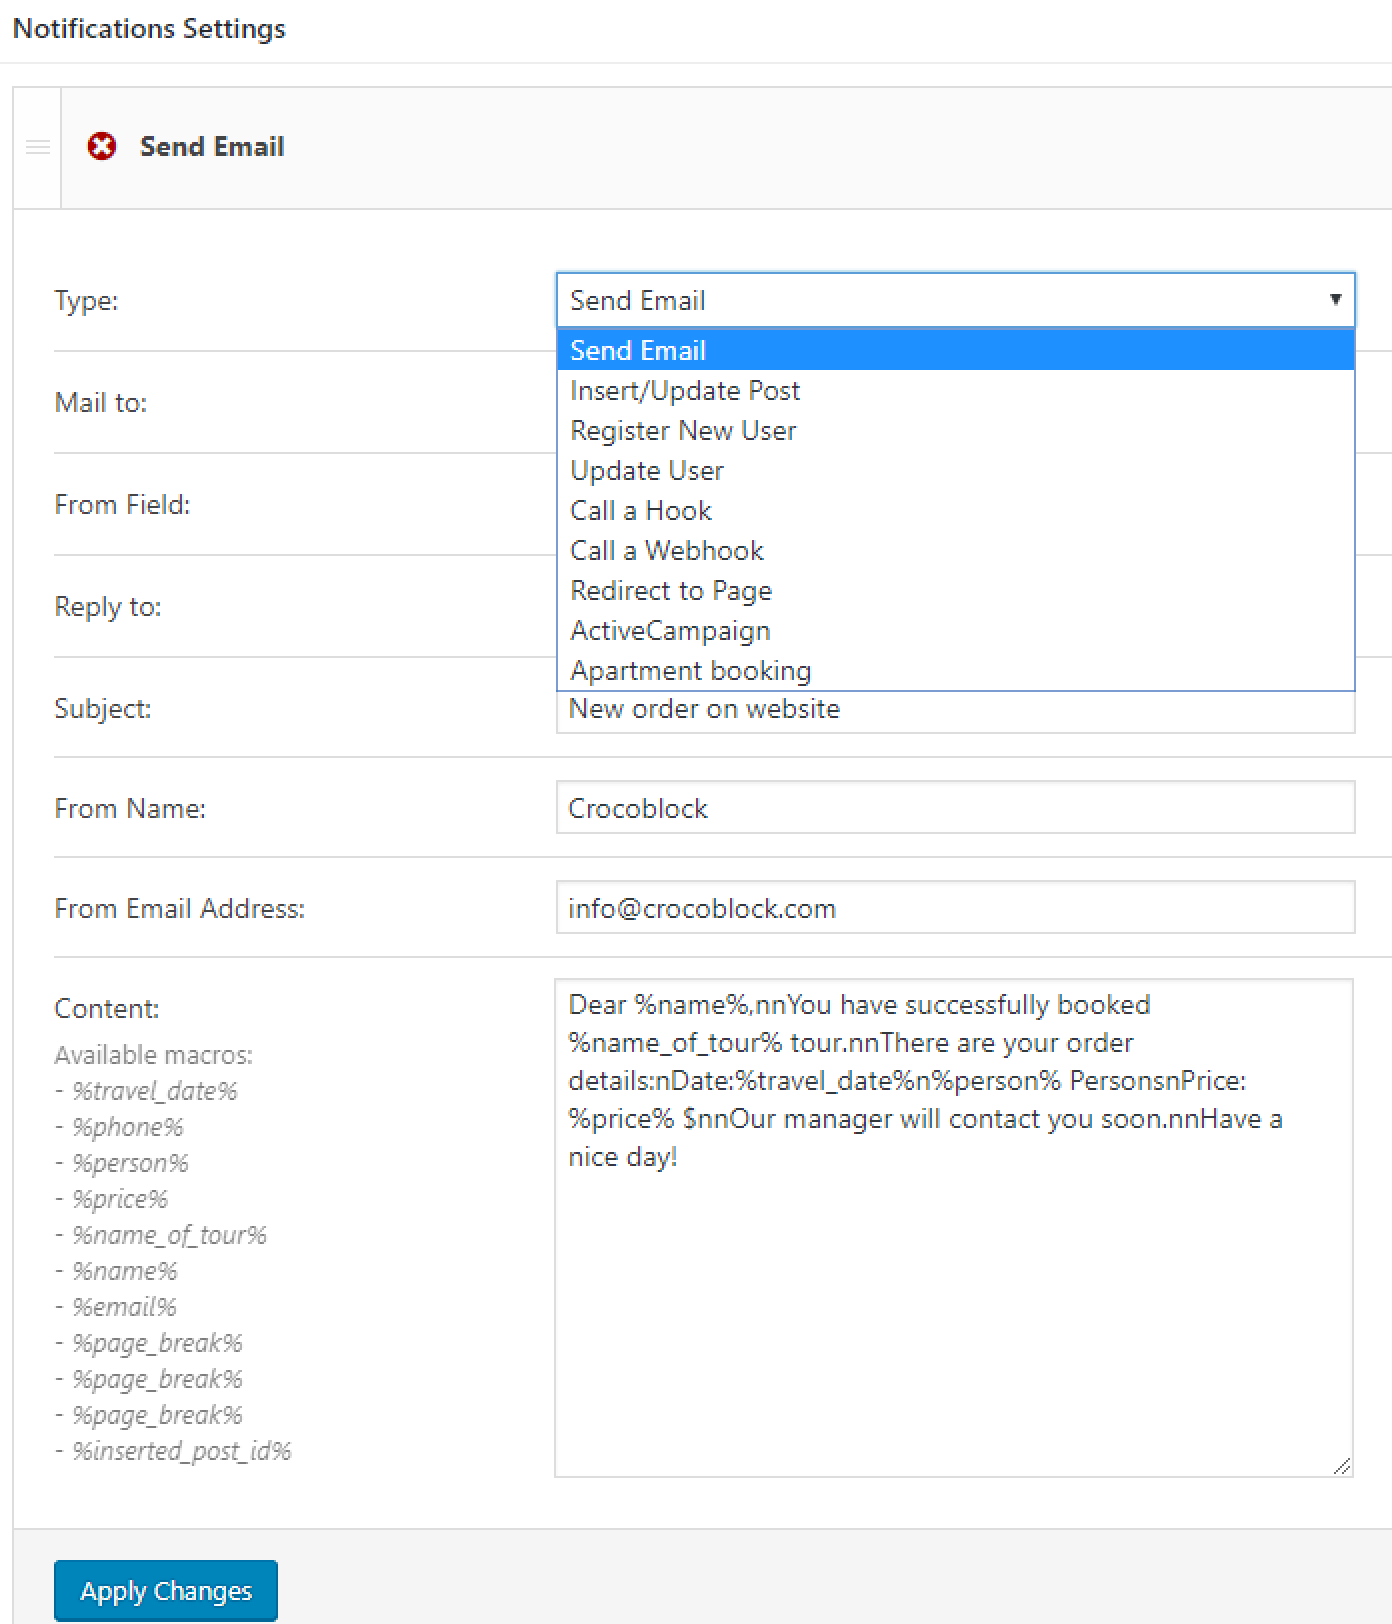
Check out our full Notification Settings overview to learn more about this topic.
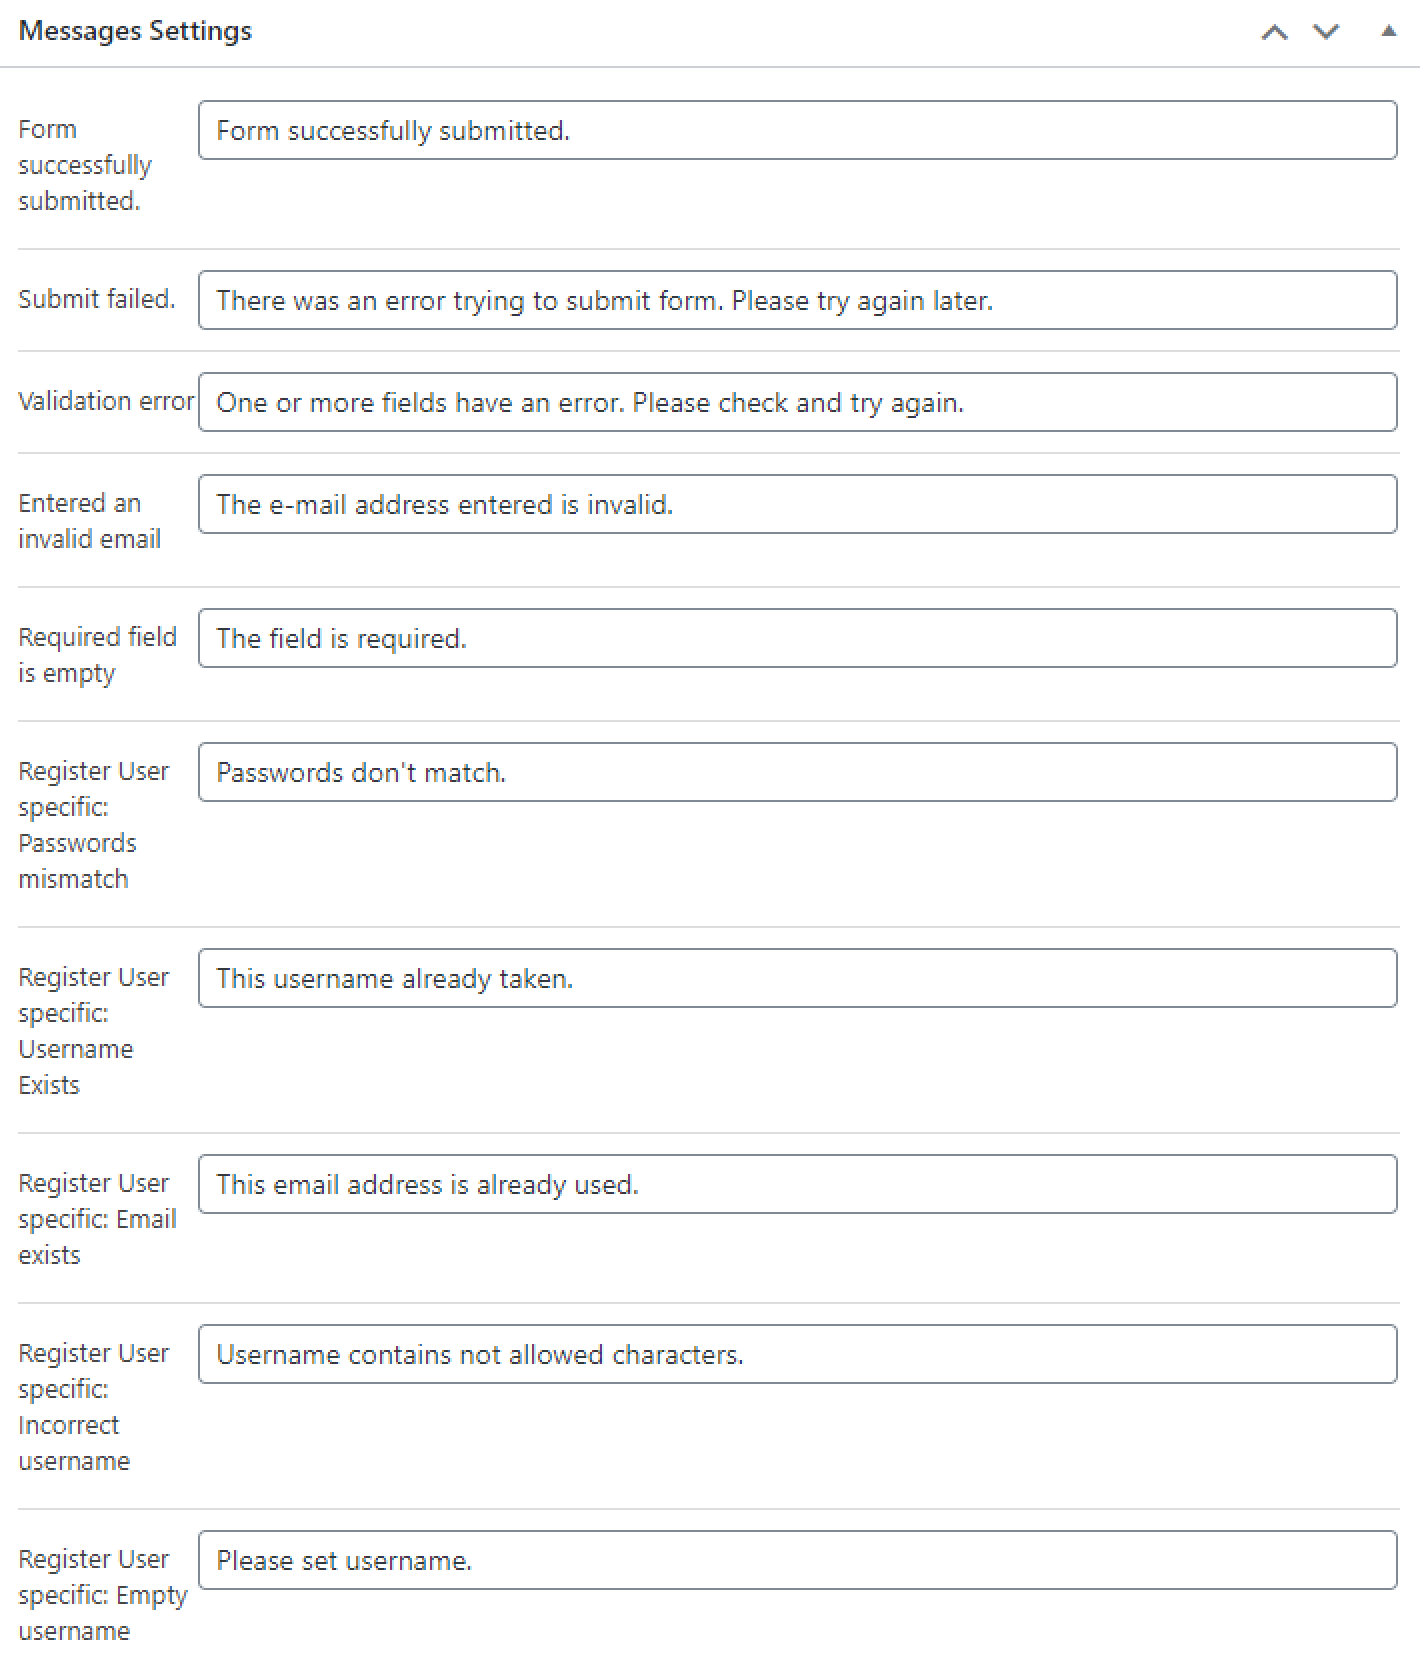
Messages settings
In the Messages Settings block, there are sample messages that the user will receive, whether the form is filled successfully or not.
Don’t forget to click the “Apply Changes” button every time you make changes in order to save progress. After you finish the setting process, click on the “Publish”/”Update” button.
Editing Form in the Elementor Editor
Afterward, you can go to the page where you want to add a newly created form and open the page with the Elementor editor.
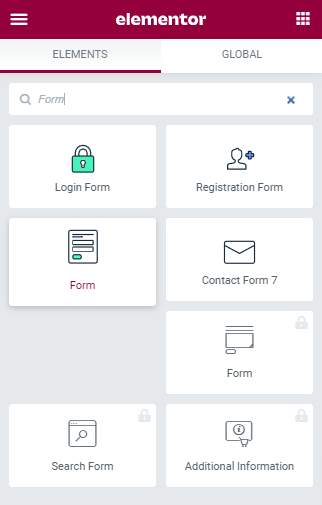
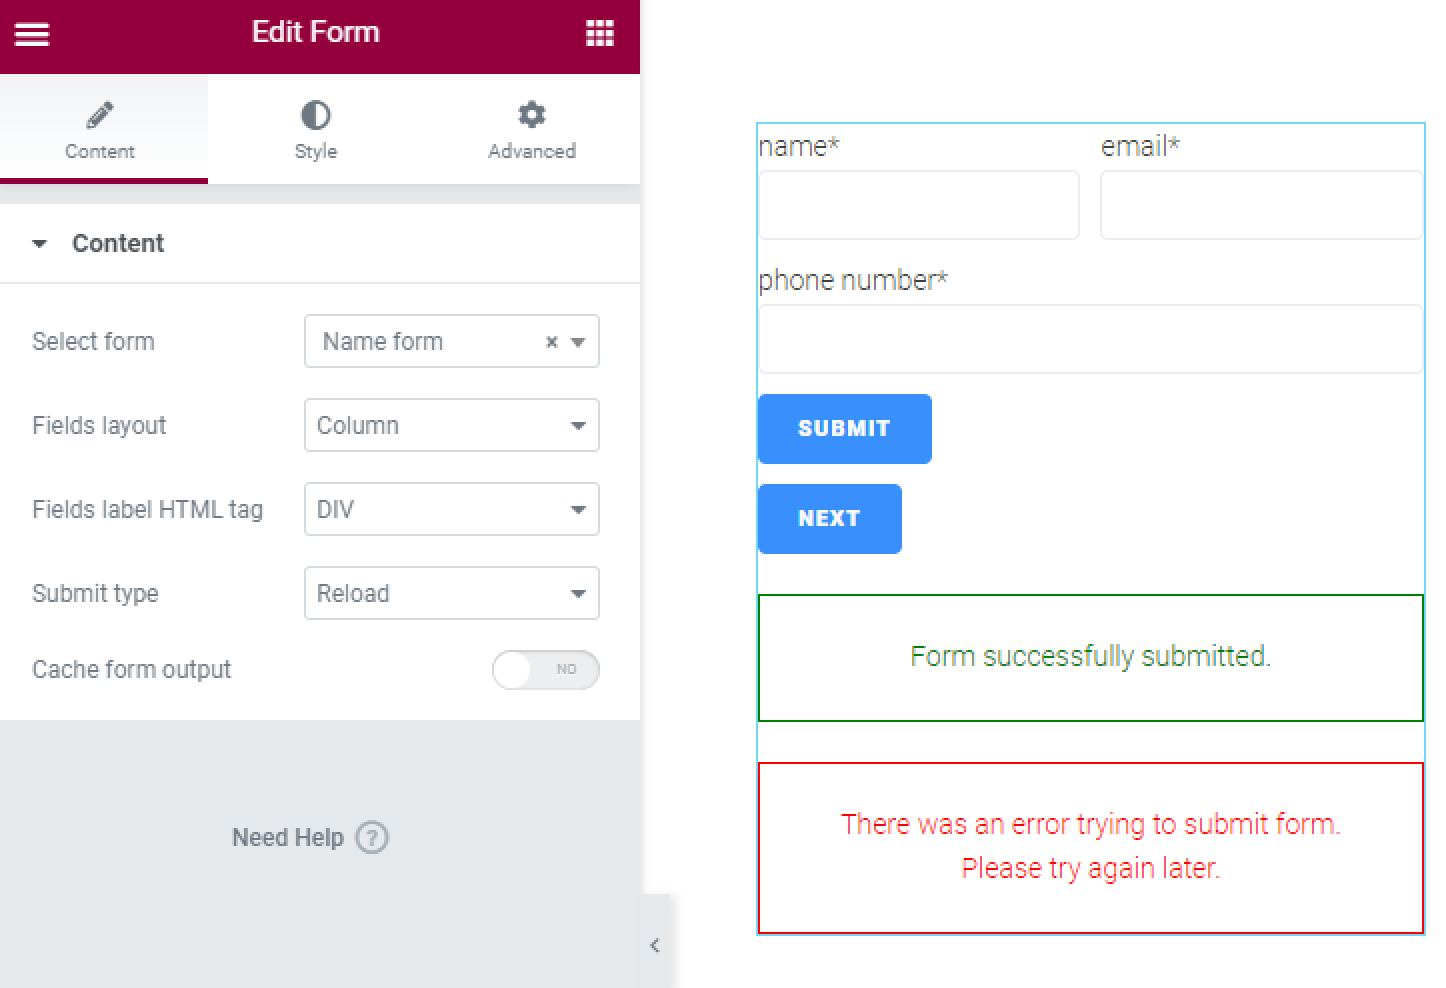
Drag and drop the Form widget to the canvas of the page and select the form you have just created from the Content > Select form directory.
Feel free to use different settings to customize the appearance of the order form according to your needs.
Click the “Update” button.
Editing Form in Gutenberg Editor
The form you created can be also edited in the Gutenberg Editor. Open the editing screen of the necessary page and find the Form block in the block menu.
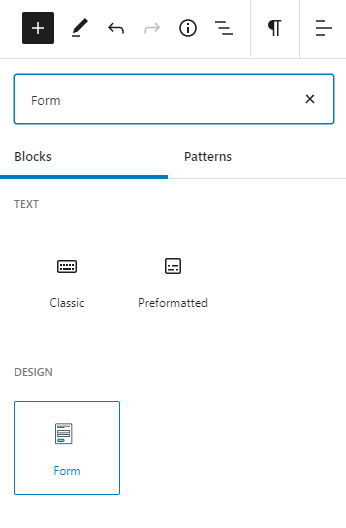
Click on it to drop the Form block to the canvas of the page and select the form you have just created in the Select form drop-down menu.
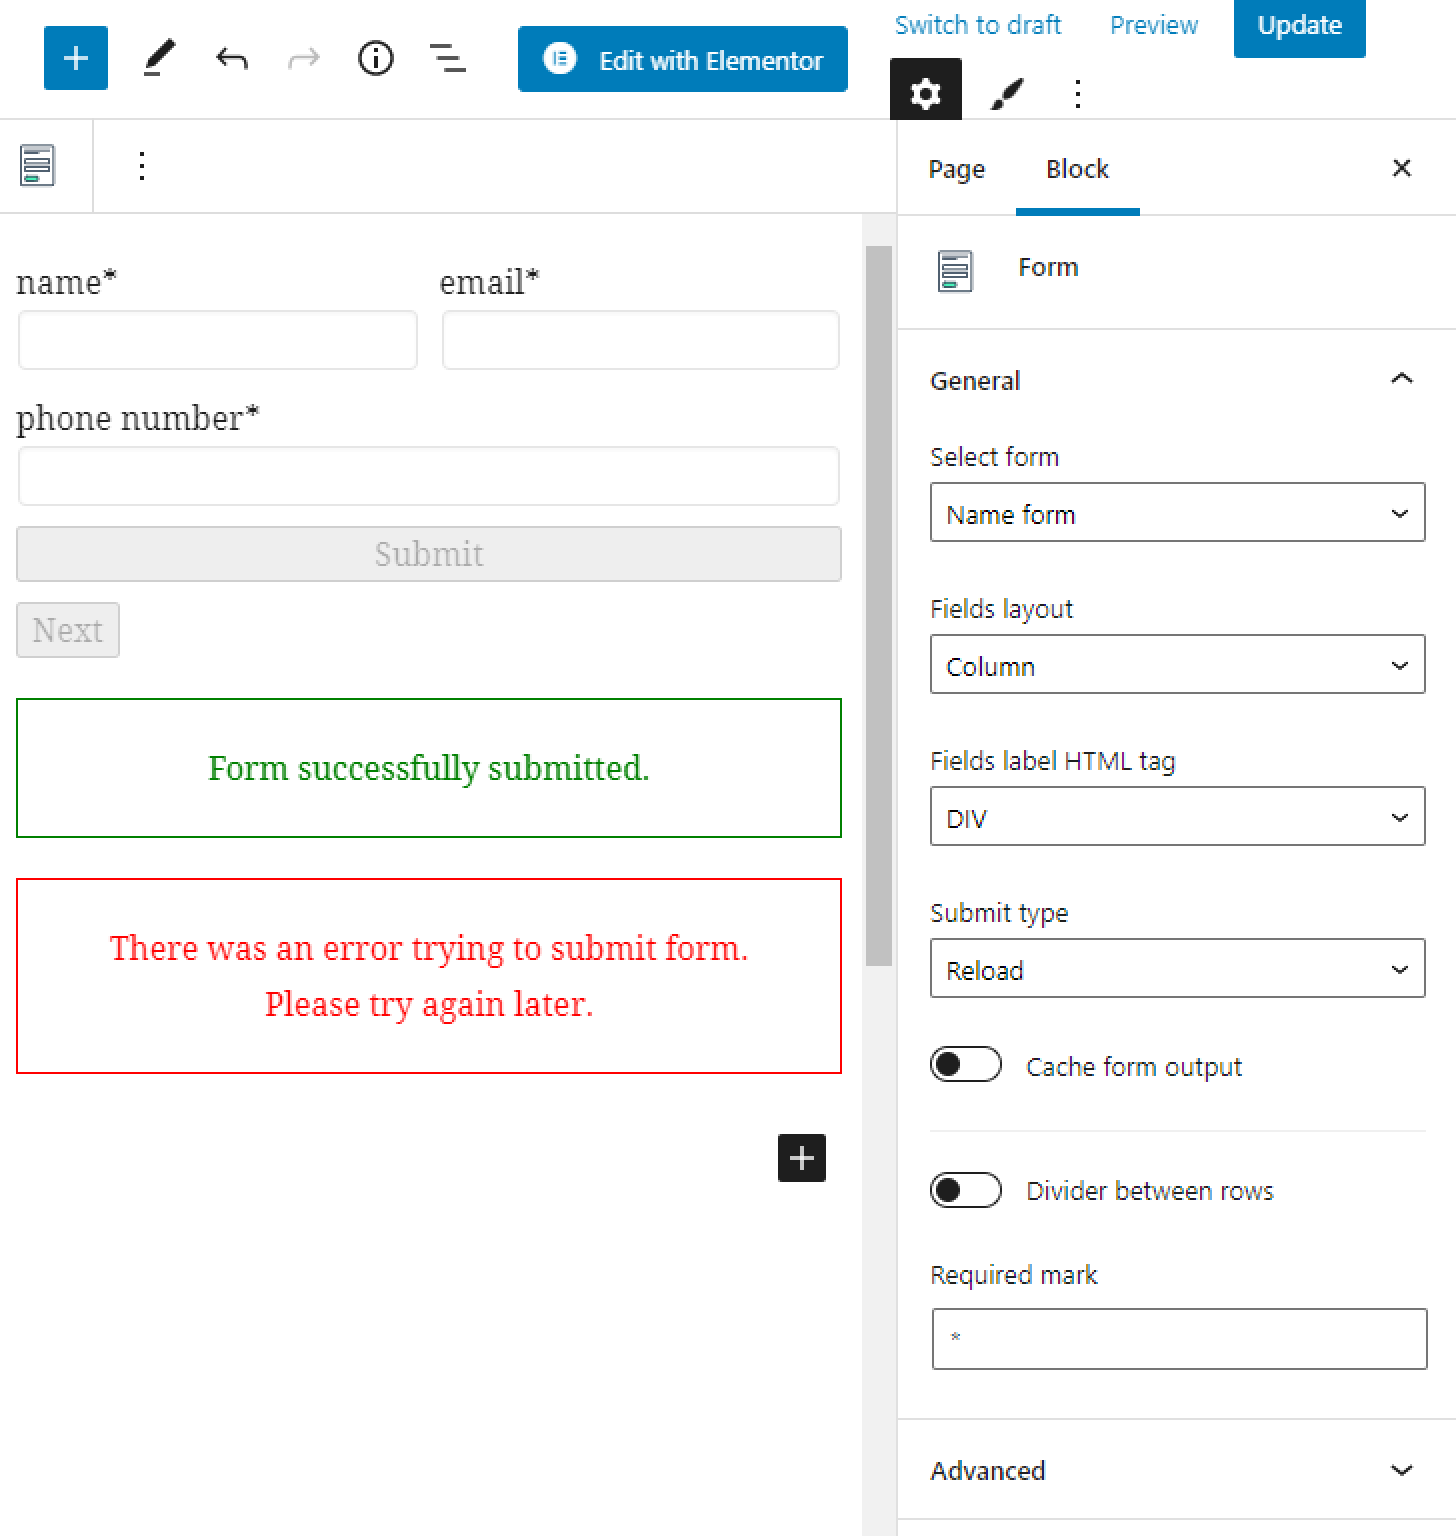
Feel free to use different settings to customize the appearance of the order form according to your needs. more details about design customization you will find in this overview. Don’t forget to press the “Update” button when you are finished.
Now you can allow your customers to register for an appointment right from your site.