Listing Grid Users Query Overview
This overview will give you a description of all the features of the Listing Grid Users Query settings section.
Using the JetEngine plugin, you can display not only the posts of a certain Post Type but also users in the grid. Of course, you will have to create a separate Listing Template for users for that purpose. However, in that case, all the users will be added to the grid. If you want to show only the specific type of users, the Users Query settings can help.
To find these settings, go to the page where you placed the users Listing Grid and open it in the Elementor page builder. Click on the Listing Grid and find the Users Query settings section in the left-side menu.
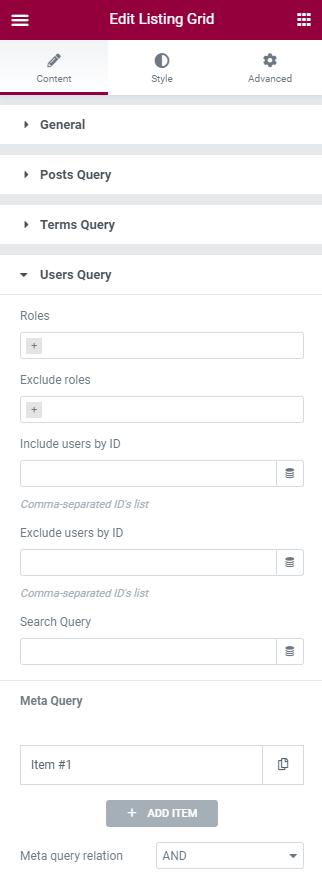
Main Settings
Let’s go through the features in the main part of the section:
- Role. The drop-down menu with a list of user roles will open after clicking on the cross-shaped icon in the left corner. You can choose several options here. Only users with the role you selected will be shown in the Listing Grid;
- Exclude roles. The same story here – you will see the roles list after clicking on the cross icon and be able to choose several options. The roles you select will be excluded from the Listing Grid;
- Include users by ID. If you want to show only a few particular users in the Listing Grid, you can type their IDs separated by commas here;
- Exclude users by ID. You can also exclude some of the users from the Listing Grid by typing their IDs separated by commas here;
- Search Query. If you want to display only users having a certain value in one of their default meta fields (like Login, Email, or URL), you can type that value here. Afterward, choose the default meta field in the Search Columns drop-down menu. The typed-in value will be searched in the fields you have chosen in the Search Columns list. Only those users who have that value in the chosen fields will be shown in the Listing Grid.
Meta Query
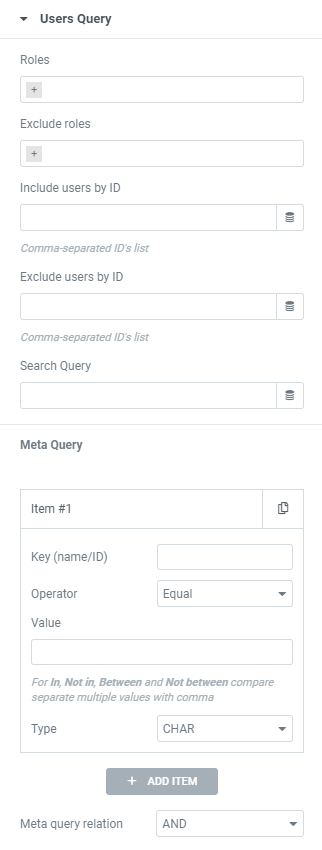
This section can help you choose users to be shown in the Listing Grid by the values in the custom meta fields you attached to them. Every item here allows you to set a condition upon which the user will be shown in the Listing Grid. You can create as many items as you need by clicking on the “Add Item” button.
How does it work? The Meta Query functionality takes the value of the meta field and compares it in some way to the value you have set. If those values match, the user is shown in the Listing Grid.
Key (name). You have to insert the name of the meta field into this bar. The value of that field will be compared to the value in the Value bar;
Operator. In this drop-down menu, you can choose how the value from the meta field and the Value bar will be compared:
- Equal – if the values are equal, the user is shown;
- Not Equal – the user is shown if the values are not equal;
- Greater/Less than – this operator works with numeric data only. If the value in the field is greater/lesser than the value in the Value bar, the user is shown;
- Greater or equal – the user is shown if the value in the field is greater or equal to the one in the Value bar;
- Equal or less – shows the user if the value in the field is lesser or equal to the set value;
- Like – this operator searches through the content of the Key field, and if there is a word or number that you set in the Value bar, the user is shown in the Listing Grid;
- Not like – displays the users if the word or number mentioned in the Value bar can’t be found in the Key field’s content;
- In – you can add several values, separated by commas to the Value field, and if at least one of them is mentioned in the field’s content, the user is added to the grid;
- Not in – displays the user if the Key field contains any values except the ones you typed into the Value field;
- Between – this operator allows you to insert a range into the Value bar. It can be either the numeric or alphabetical range, from smaller to bigger value, separated by a comma. If the Key field has a number that falls in the range or a word that starts from a letter that falls in the alphabetic range, the user is displayed in the grid;
- Not between – shows all the users except the ones that have a value that matches the set interval in their Key field;
- Exist/Not exist – if the user has the Key Field attached to his/her account, he/she will be displayed in the grid.
Type. This drop-down menu allows you to define the type of values that will be compared:
- NUMERIC – whole numbers only;
- BINARY – data that is sensitive to case;
- CHAR – alphabetic data that is not sensitive to case;
- DATE – date values;
- DATETIME – date and time;
- DECIMAL – fraction number data;
- SIGNED – whole numbers, both positive and negative;
- UNSIGNED – whole numbers, only positive.
Meta query relation. This option defines whether the user has to match all the conditions you add, like items to this section (AND) or at least one of them (OR) to be shown in the Listing Grid.
Those are all settings of the Users Query section. You now know how to define which users will be shown in the grid and which will not.