
Repeater Custom Field Overview
This tutorial will explain what a Repeater meta field is and how to create it using the JetEngine plugin functionalities on the WordPress website.
The JetEngine plugin provides tools for displaying dynamic content in Elementor and Gutenberg.
Imagine adding information about the post author to the page: the author’s name, surname, and photo. If there’s only one author, you will be good with a simple meta box and three meta fields of text and media types. But what if you need to add several authors at once, and each post may have a different number of authors?
To do so, you will need to create a meta field of Repeater type, set several subfields, and apply it to the specific post type. Using the JetEngine Dynamic Repeater widget, you can display dynamic repeaters set for custom post types and taxonomies.
Creating a Repeater
Create a Meta Box
Log in to the WordPress Dashboard and navigate to the JetEngine > Meta Boxes tab.
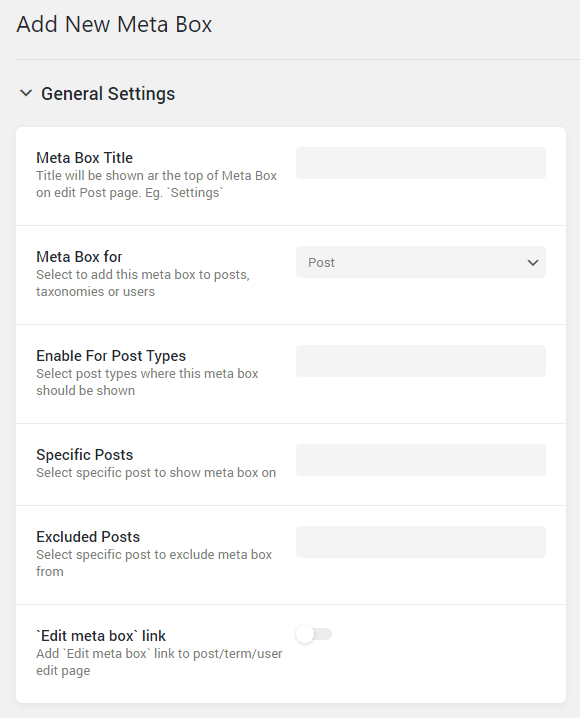
Click the “Add New” button at the very top, and you’ll be redirected to the Add New Meta Box window. Provide a new meta box with the Title, pick the needed option in the Meta Box for field, apply it to the specific post type (e.g., Posts) or taxonomy, and scroll the page down to the Meta Field block.
Add the Repeater meta field
Click the “New Meta Field” button below to create the Repeater meta field.
Fill in the label for a new meta field in the Label field (let it be “Repeater”) and add an ID in the Name/ID empty field, and set the “Repeater” type in the Field Type drop-down list.
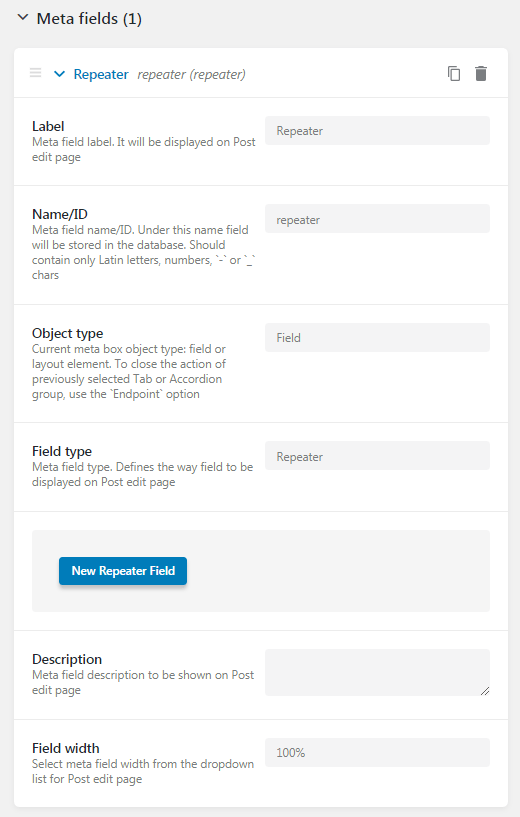
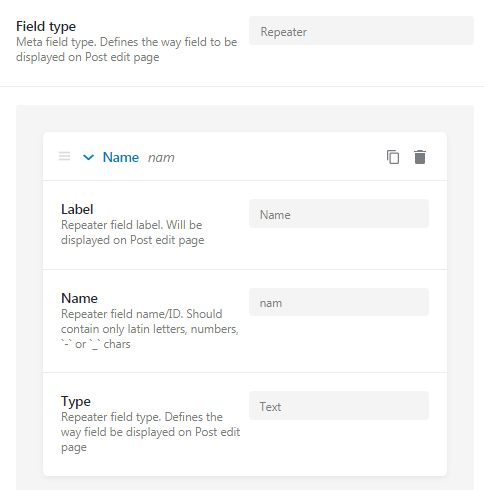
After you have specified the “Repeater” Field Type, you will see the “New Repeater Field” button. Click it to add a new field and provide it with the Label and Name/ID.
Set the specific type in the Type drop-down (e.g., if you want to enable adding images, select the “Media” Type, etc.). Add as many subfields as you need.
Then, click the “Add Meta Box” button to save the meta box with repeater meta fields.
Adding Metadata to the Post
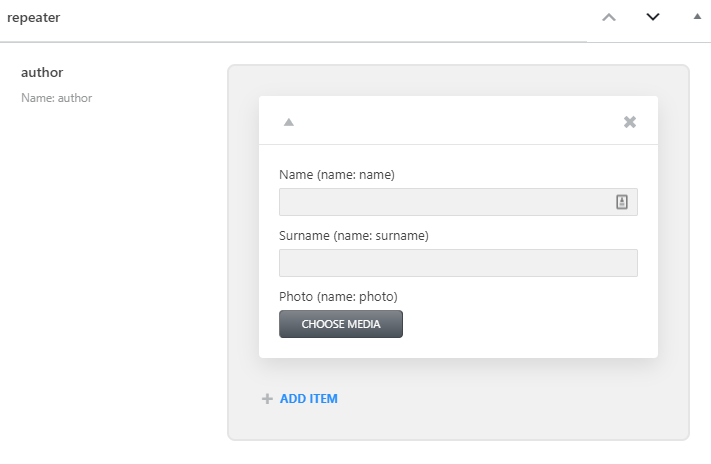
Go back to the WordPress Dashboard and navigate to the Posts tab (or the specific post type for which you’ve set the Repeater meta field). Open the particular post, and there, you will see a custom field below the content. Fill in the fields that are available with the required content. If you need one more meta field with more subfields, click the “Add Item” button. When you’re done with all settings, click the “Update” button.
Displaying the Repeater
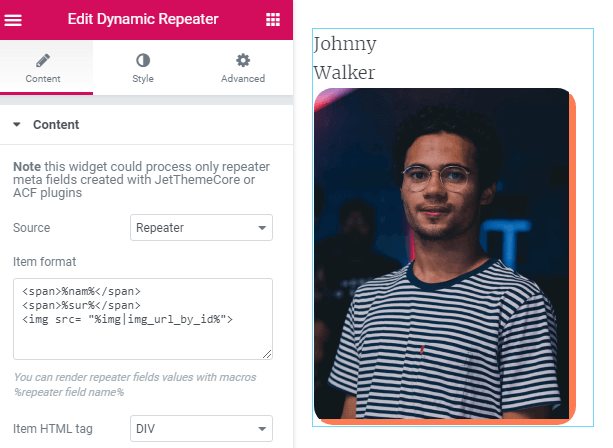
Open the page template with either Elementor or Gutenberg editor. Drag and drop the Dynamic Repeater widget/block to the page canvas.
The settings are the same in Elementor and Gutenberg. Choose the source from the Source drop-down list (find the name of the Repeater meta field you’ve just created) and input the needed macros into the Item format field. The complete macros list you can find in this JetEngine Macros Guide.
In Elementor, it will look like that:
In Gutenberg, it looks like that:
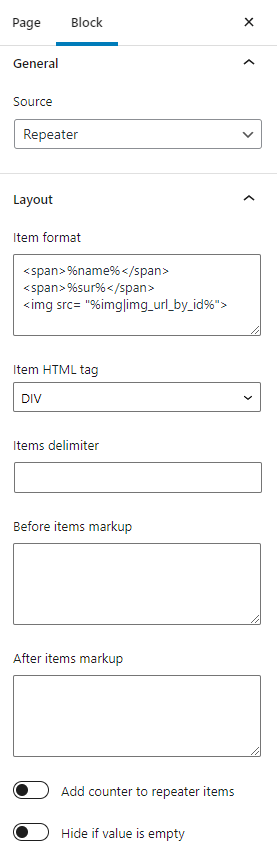
Other features:
- Item HTML tag – allows you to choose the HTML wrapping for your repeater. If you select “tr,” the repeater will have a table layout, and “li” sorts the items as a list;
- Items delimiter – here, you can define what will be placed between the items in the row. It could be, literally, any character or letter;
- Before item markup – type the text into the bar, which will be shown before every item;
- After items markup – type the text into the bar, which will be shown after every item;
- Add counter to repeater items – if you turn this option on, the items will be shown with sequential numbers in front of them;
- Hide if value is empty – this one is obvious; it allows you to hide the field if it is not filled with some value.
The last thing to do is to change the appearance of the Dynamic Repeater items. You can customize them in the Style or Block Style (which appears if you have JetStyleManager free plugin installed) sections.
The General tab contains settings to change the Direction of values in the Dynamic Repeater fields: to show them horizontally or vertically. Next, you can change the Alignment – make them display on the left, center, or right. Also, you can apply some Typography characteristics.
In the Items tab, you can enable the Fixed item size. Also, you can set the color, border characteristics, padding, and margin for Normal and Hover appearance.
The Delimiter tab allows you to change the color and margin for the delimiter.
When the customization is over, click the “Update” button.
That’s all. Now you can add dynamic content to the WordPress website with the help of the JetEngine plugin.