How to Build a Mega Menu in the Default Block WordPress Theme
This article focuses on setting up a Mega Menu element for the FSE themes using the WordPress JetMenu plugin.
Before you start, check the tutorial requirements:
- FSE theme installed and activated
Twenty Twenty-Five FSE theme is used in this case
- JetMenu plugin installed and activated
In the FSE themes, there is no work interface for the menus, as in the classic themes, where the menu settings can be found in the WordPress Dashboard > Appearance > Menus tab. It complicates the usage of the JetMenu functionality, in particular, of the Mega Menu for block themes in WordPress.
Classic themes are built around the customizer, widgets, and PHP template files. So when working with the classic themes, you use editors like Elementor or Gutenberg for setting up the content, not full layouts. The site structure elements, such as header, footer, and archives, are controlled in code by PHP templates.
The FSE (Full Site Editing) themes are built entirely for the Gutenberg block editor — no customizer is needed. You can edit all headers, footers, templates, and global styles visually.
The FSE themes use blocks for full layouts, including navigation and site structure. Thus, the entire site becomes editable like a page with no coding required.
Now, the JetMenu page provides a clear, classic interface for menu control, which makes the usage of the Mega Menu accessible for the FSE themes’ users. In this tutorial, we use the Twenty Twenty-Five FSE theme to build a header with the functioning Mega Menu.
Create a Menu
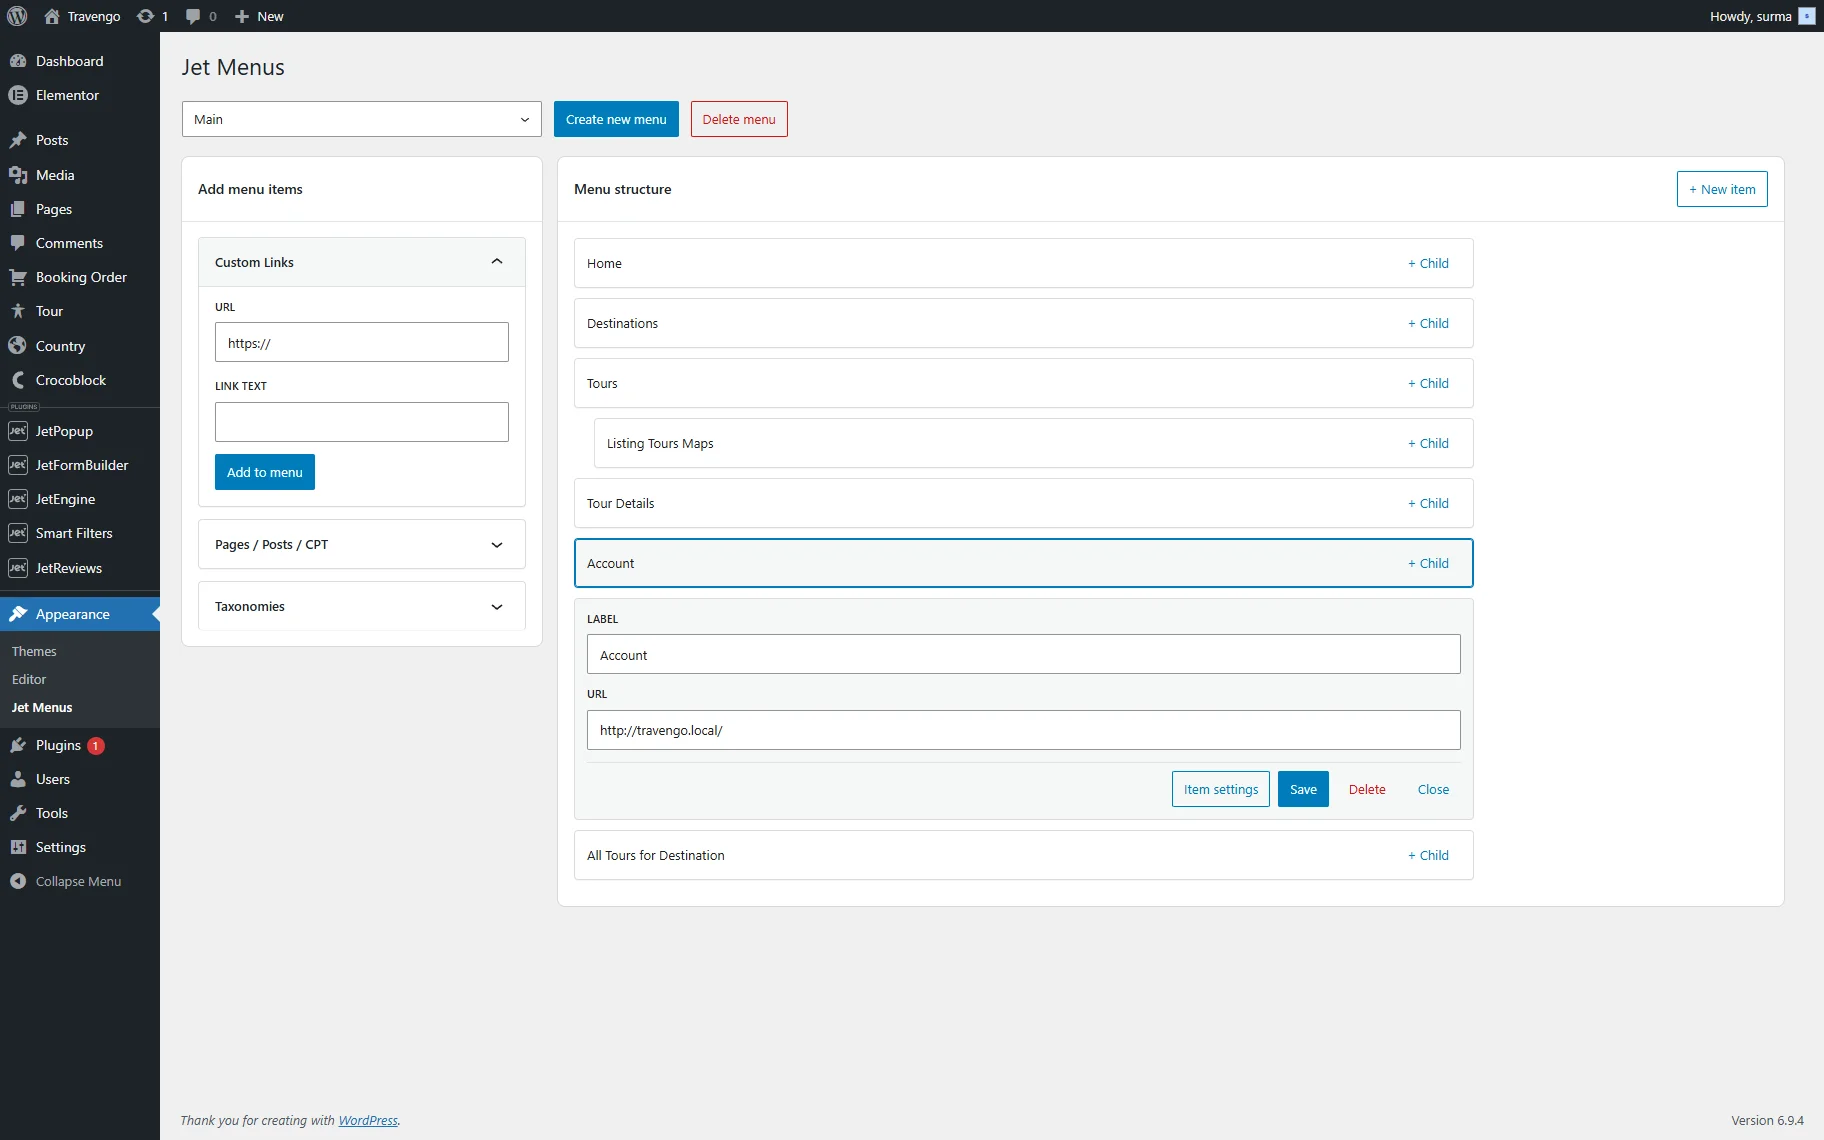
The process of building a menu is very similar to the classic one. Proceed to WordPress Dashboard > Appearance > JetMenus tab. Here, you can select one of the existing menus for editing or create a new one. Refer to our How to Create a Mega Menu in Elementor guide to learn how to create a Mega Menu in the menus’ dashboard.
Once you have added the desired number of menu items, you can set the Mega Menu. For that, click the “Item settings” button.

In the newly opened pop-up, enable the Use Mega content toggle. Then, you will be able to choose the MEGA CONTENT TYPE (“Elementor” in this case) and click the “Open editor” button to set the mega content.

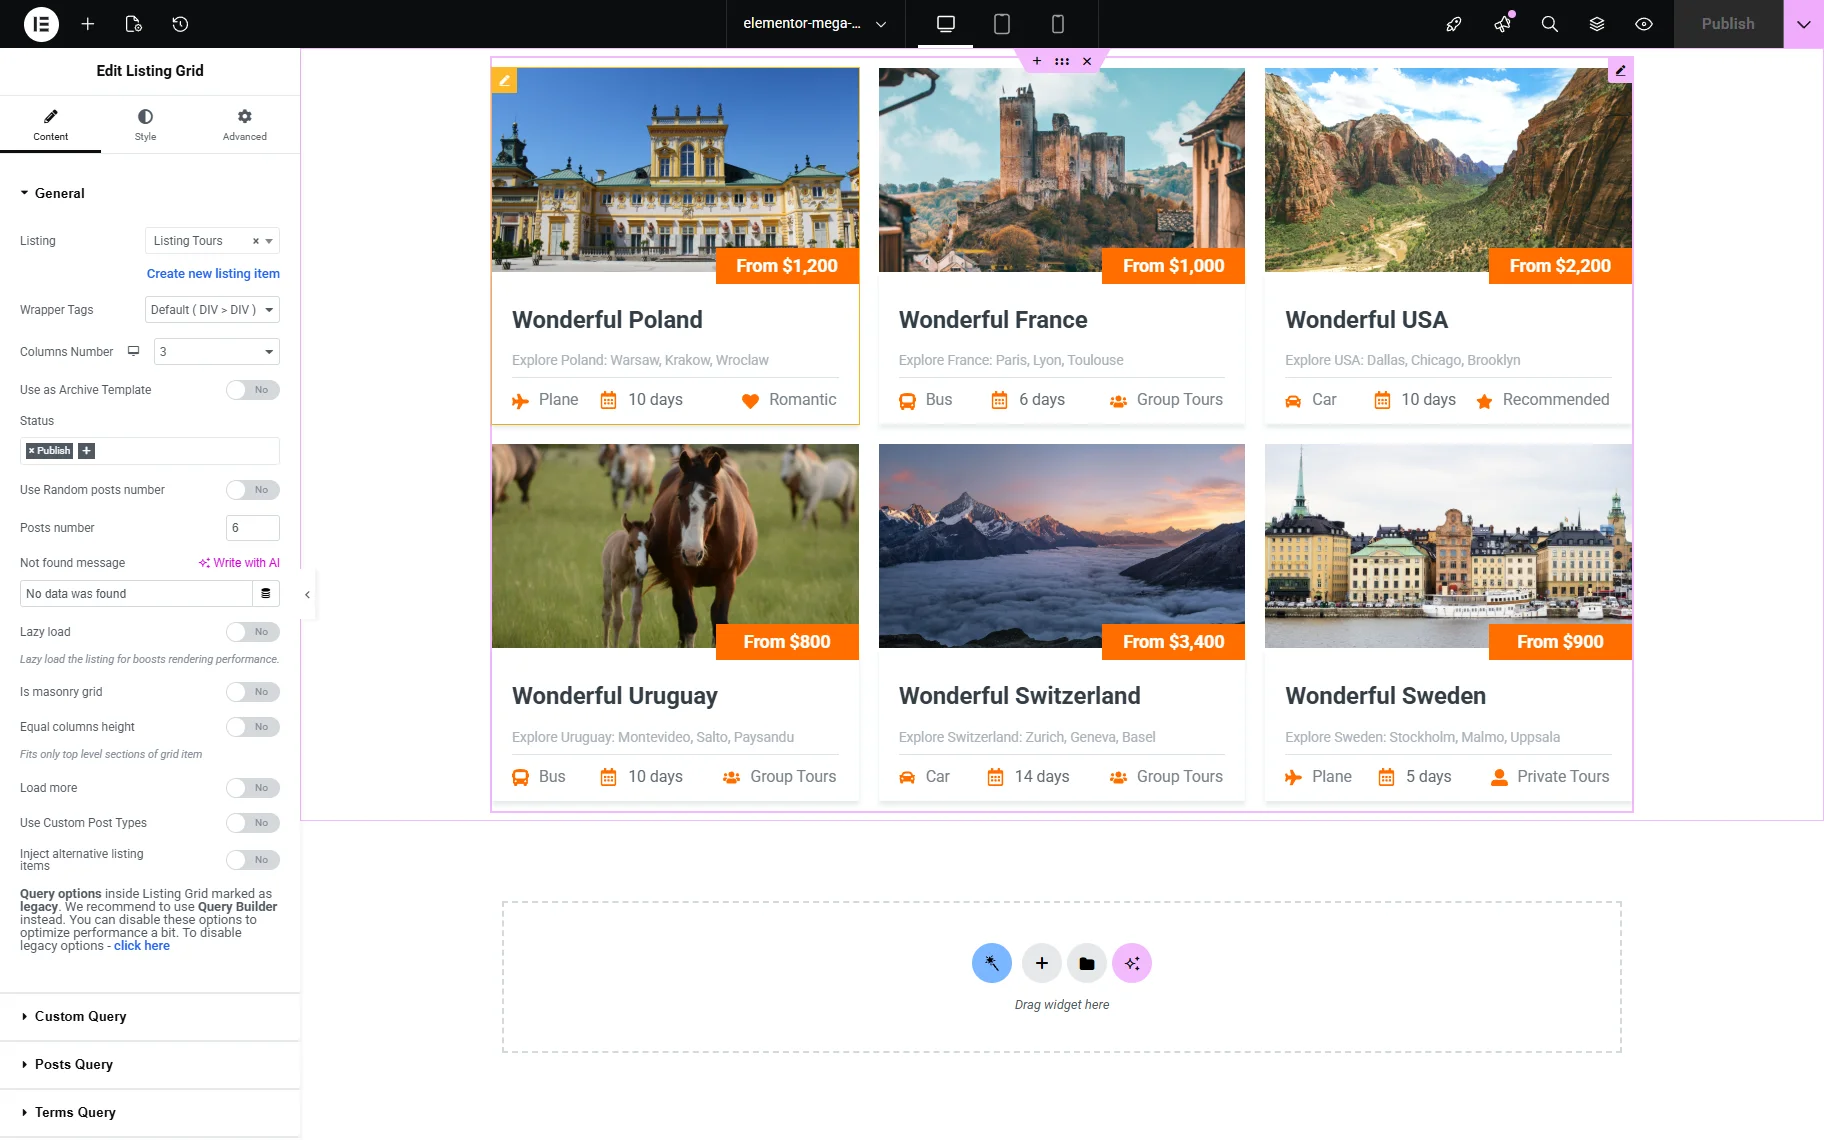
In the newly opened window, you can set what content will be shown in the Mega Menu. In this case, we add the Listing Grid widget.
Click the “Publish” button once you are ready and return to the menu settings page. In the Item settings pop-up, you can also set up the following aspects:
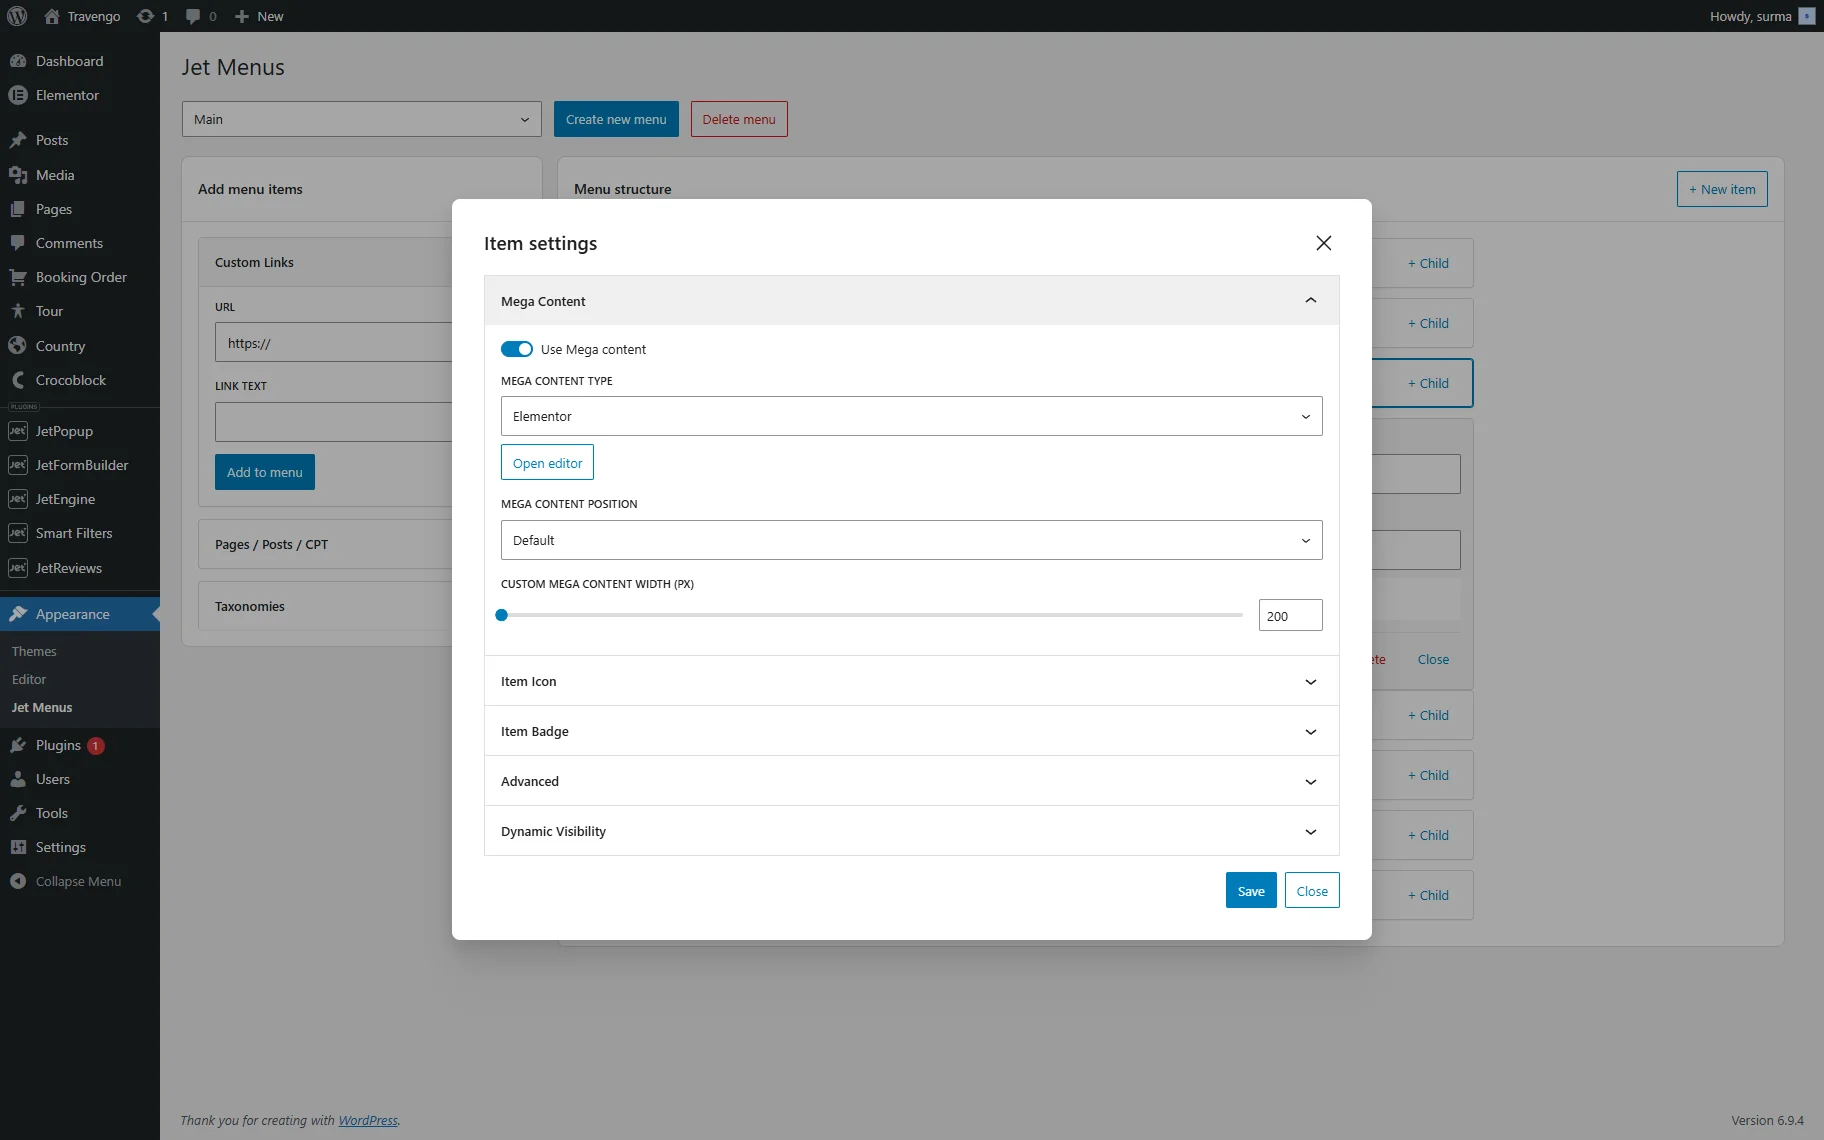
- Mega content position — a select field where one can choose among “Default” or “Relative Item” positions;
- Custom mega content width — a field where one can input the mega content width for a container in px.
In the Item Icon tab, you can customize the icon settings with options for icon type, icon picker, color selection, and size adjustment. The following settings are presented:
- SVG icon — an icon picker field where one can select an icon;
- Icon color — a color picker field where one can select the color of an icon;
- ICON SIZE — set icon size for this item (px).
In the Item Badge tab, you can configure badge settings, including text, text color, and background color for the badge:
- TYPE — a dropdown where one can select the type of an Item Badge, choose between “Text” or “SVG”;
- ITEM BADGE — a field where one can specify the text for the badge;
- Badge color — a field where one can set the color of the badge text;
- Badge background color — a field where one can choose the background color for the badge;
- Badge offset X — a field where one can set the horizontal badge offset for this item(px);
- Badge offset Y — a field where one can set a vertical badge offset for this item(px).
The Advanced tab allows you to hide the navigation label and fields or set custom padding for the item:
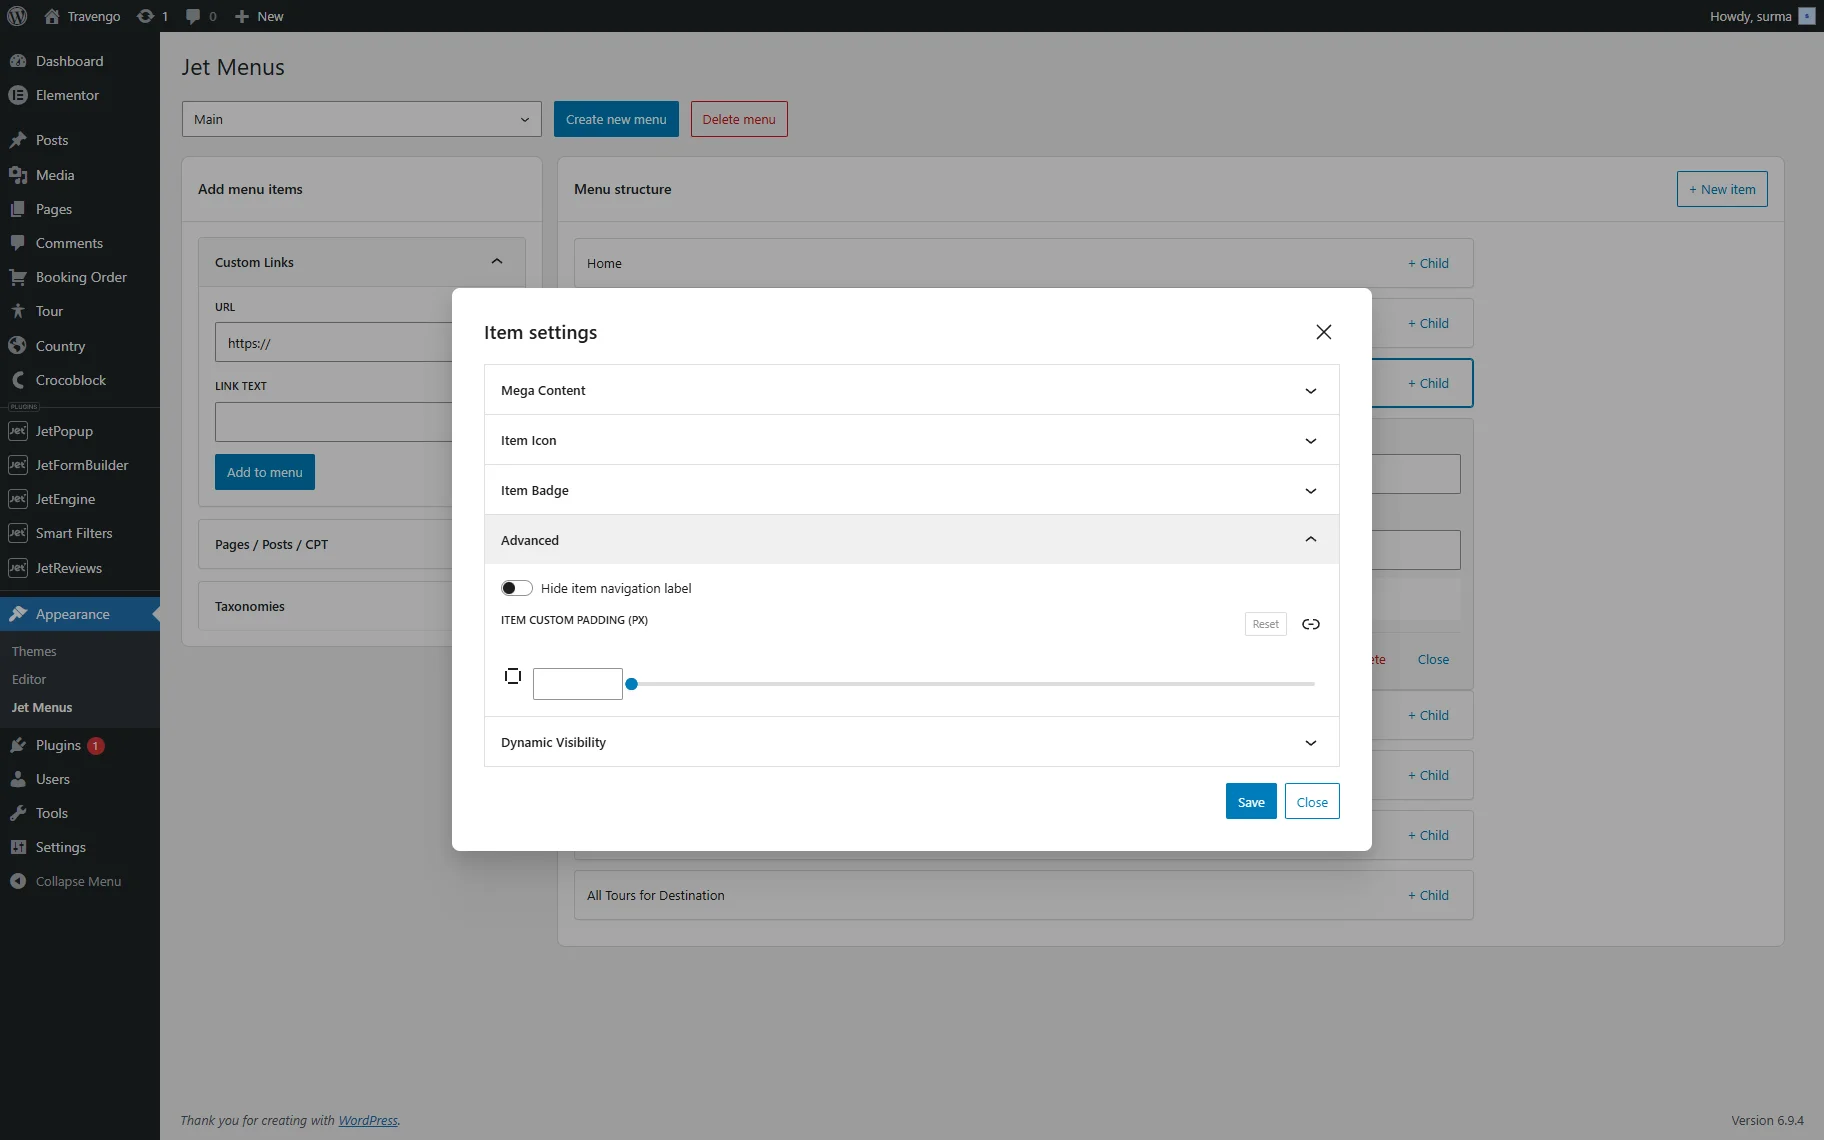
- Hide item navigation label — a toggle that is deactivated by default and, when activated, hides the navigation menu;
- ITEM CUSTOM PADDING — a set of fields to set the item’s padding in px.
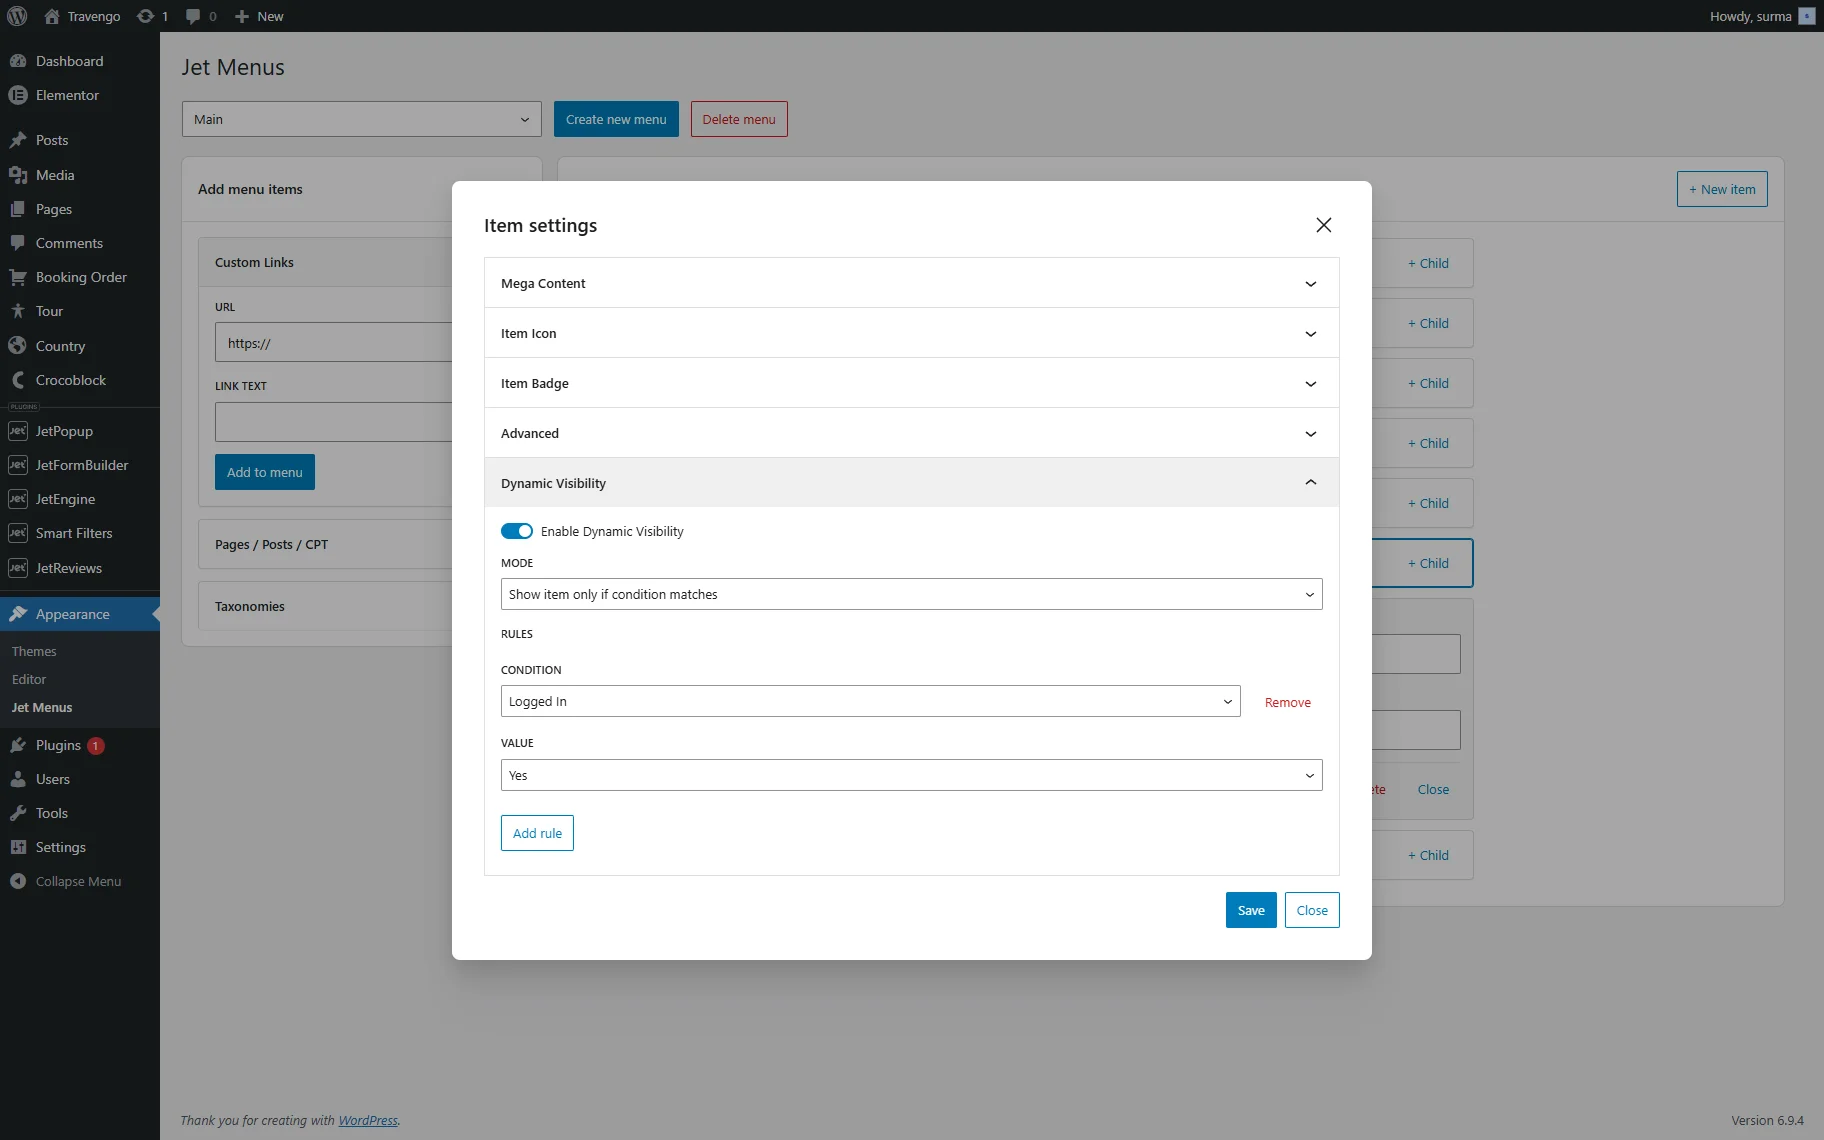
In the Dynamic Visibility tab, you can set up the conditional rules for the item to be shown or hidden.
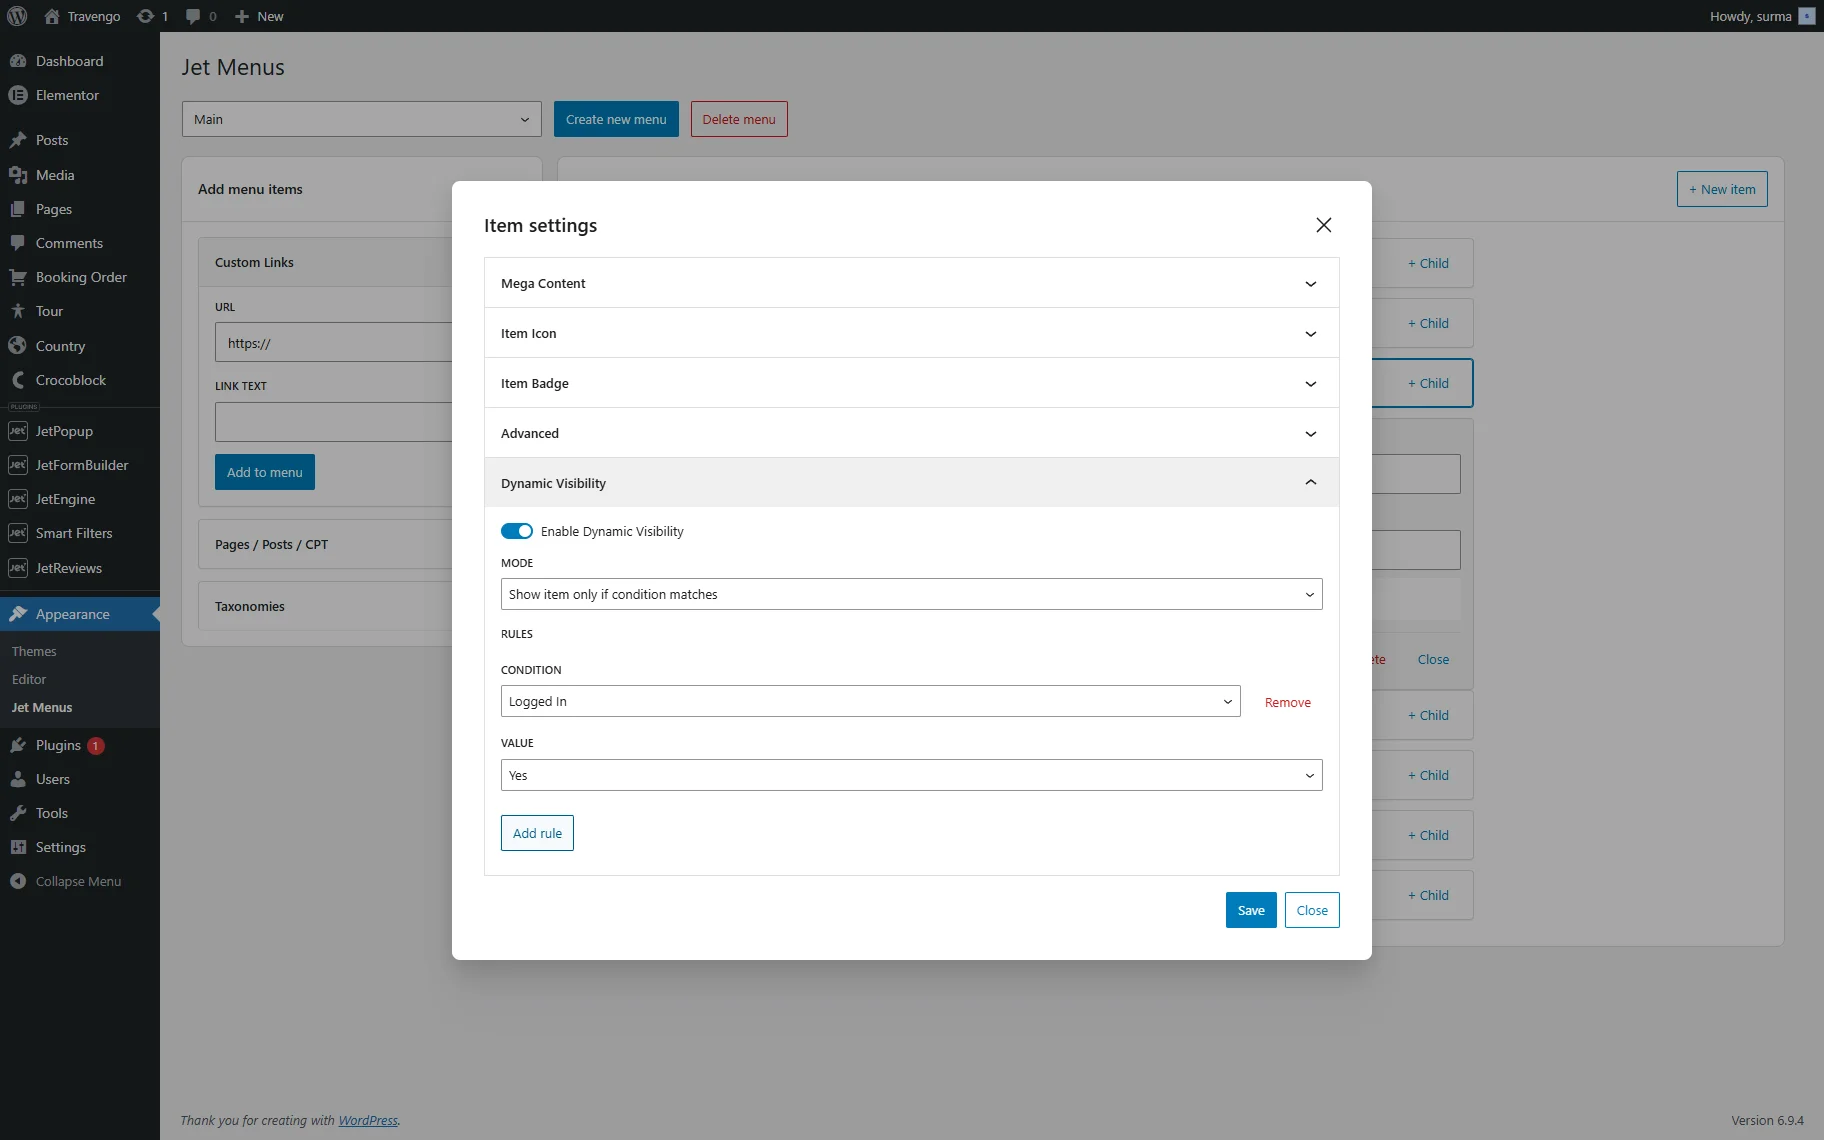
- Enable Dynamic Visibility — disabled by default, this toggle turns on the settings for the dynamic rules;
- MODE — from this dropdown, you can select whether the menu will be shown or hidden according to the following rules. There are two dedicated options presented: “Show item only if condition matches” and “Hide item only if condition matches”;
- CONDITION — the dropdown presents the list of available rules according to which the menu items can be shown/hidden;
- VALUE — is a dropdown with “Yes” and “No” options to select.
As an example, we set the Dynamic Visibility rule for the “Account” menu item, so it is shown for the logged-in users only.
Once you are ready with the menu item’s settings, click the “Save” button and close the pop-up.
Add the Menu to the Header
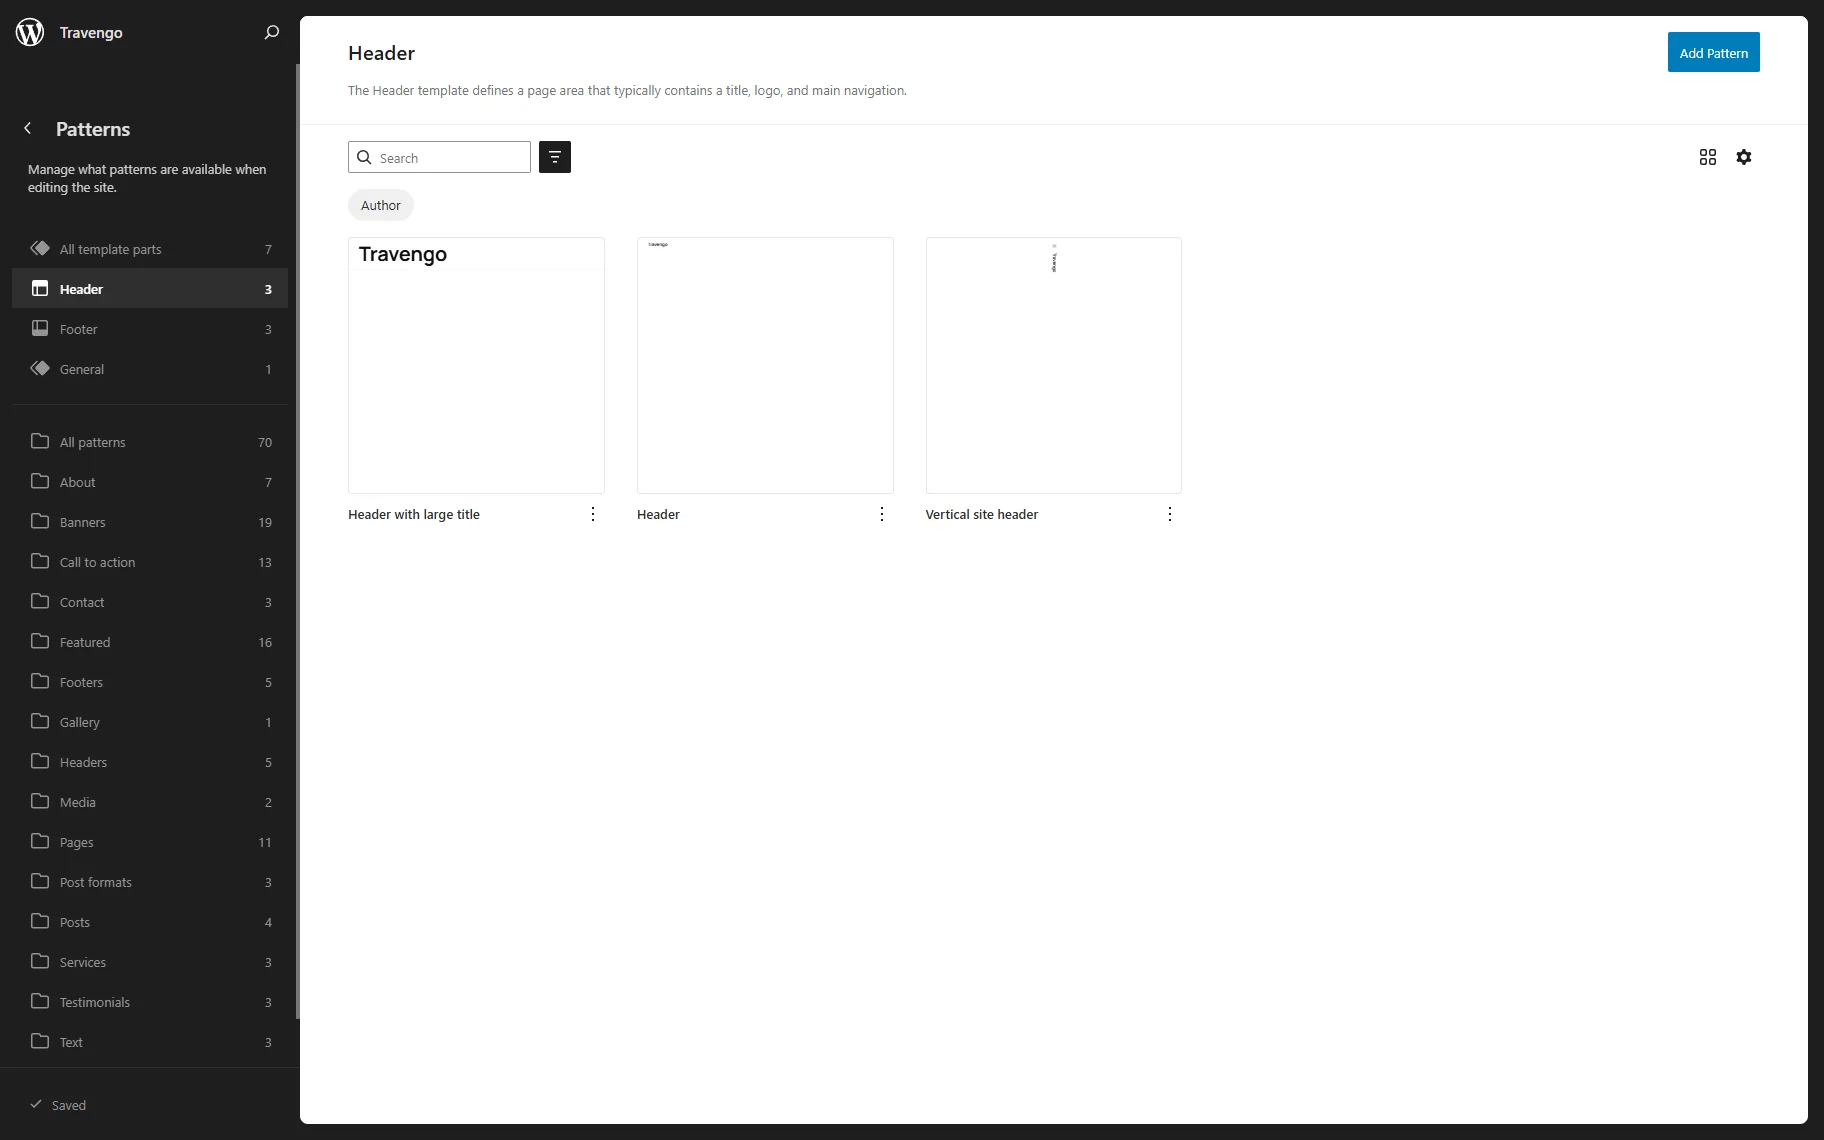
Move to WordPress Dashboard > Appearance > Editor > Patterns > Header and select the header you want to add the menu to, or add a new one by pressing the “Add Pattern” button.
In this case, we add the menu to the already existing header. For that, click the “three-dots” icon and select the “Edit” option.
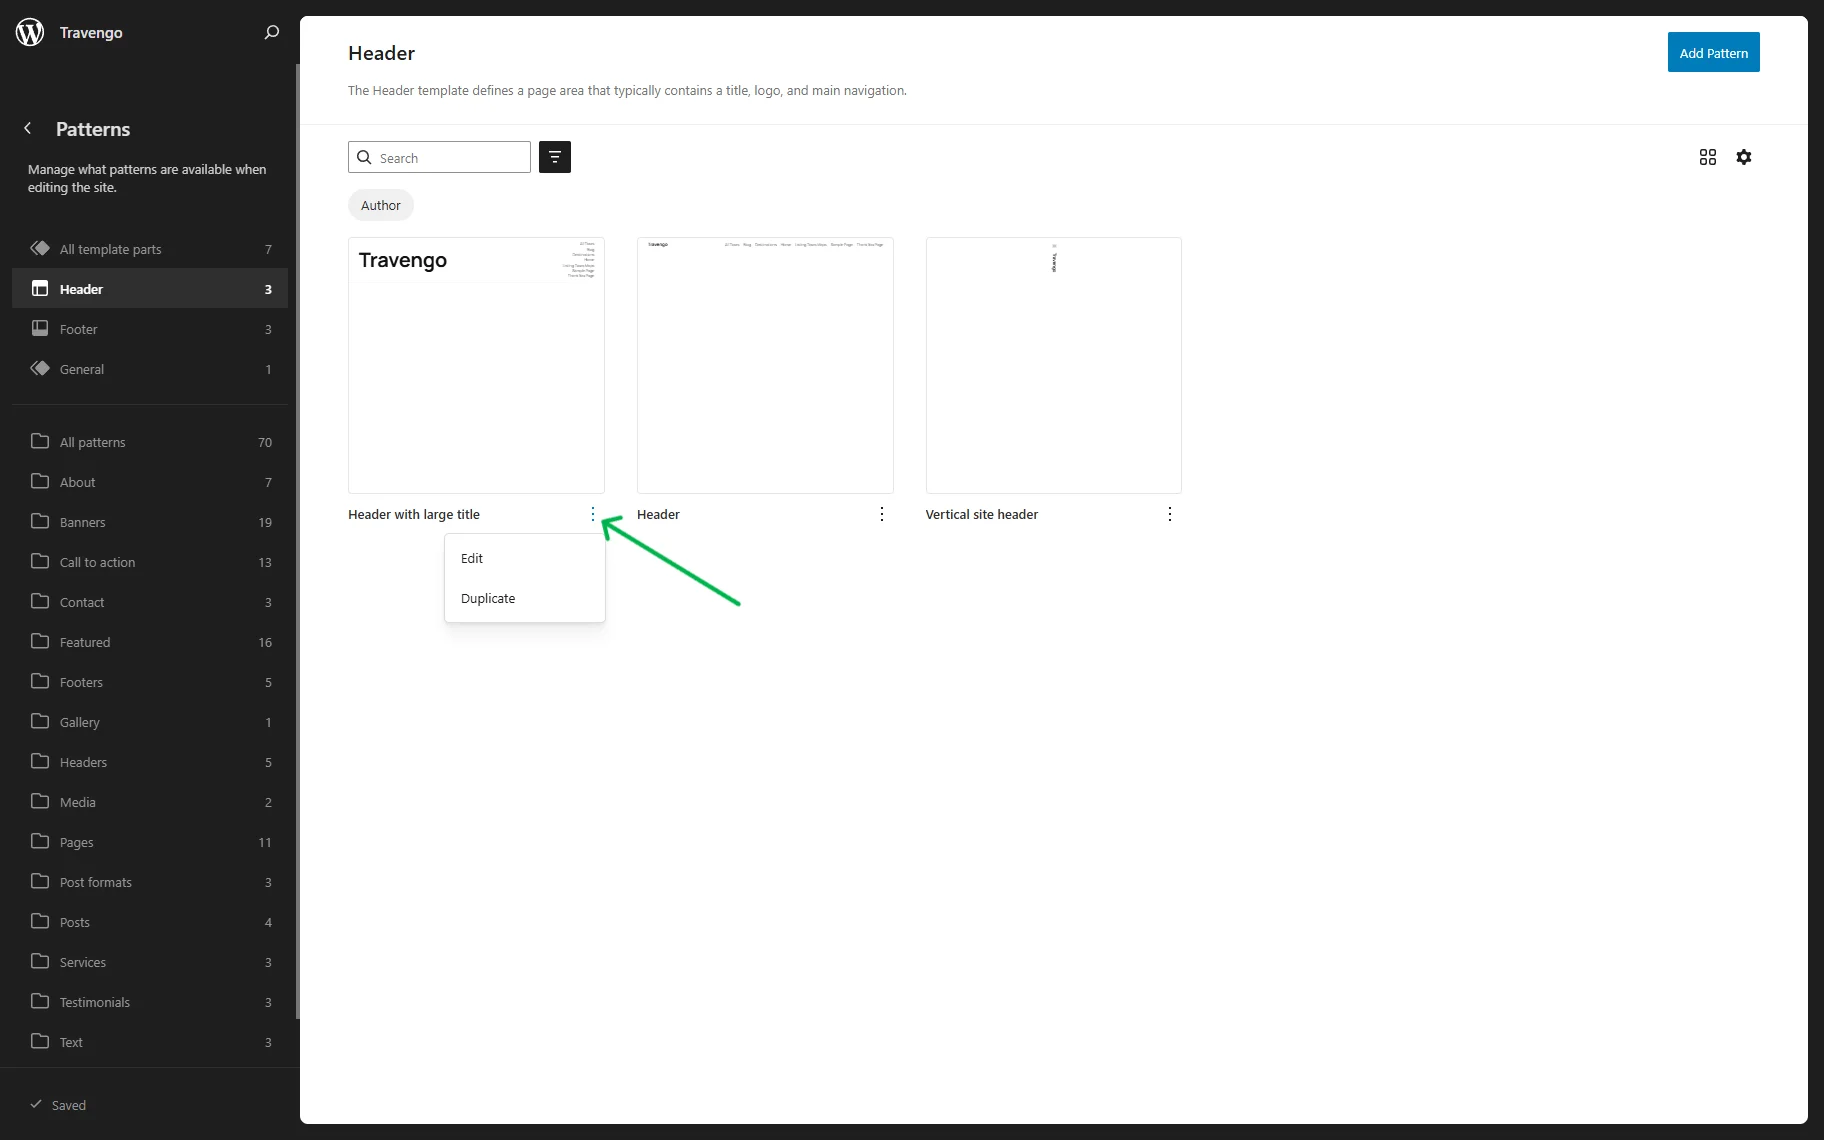
When the Block Editor is opened, you can add the Mega Menu block.
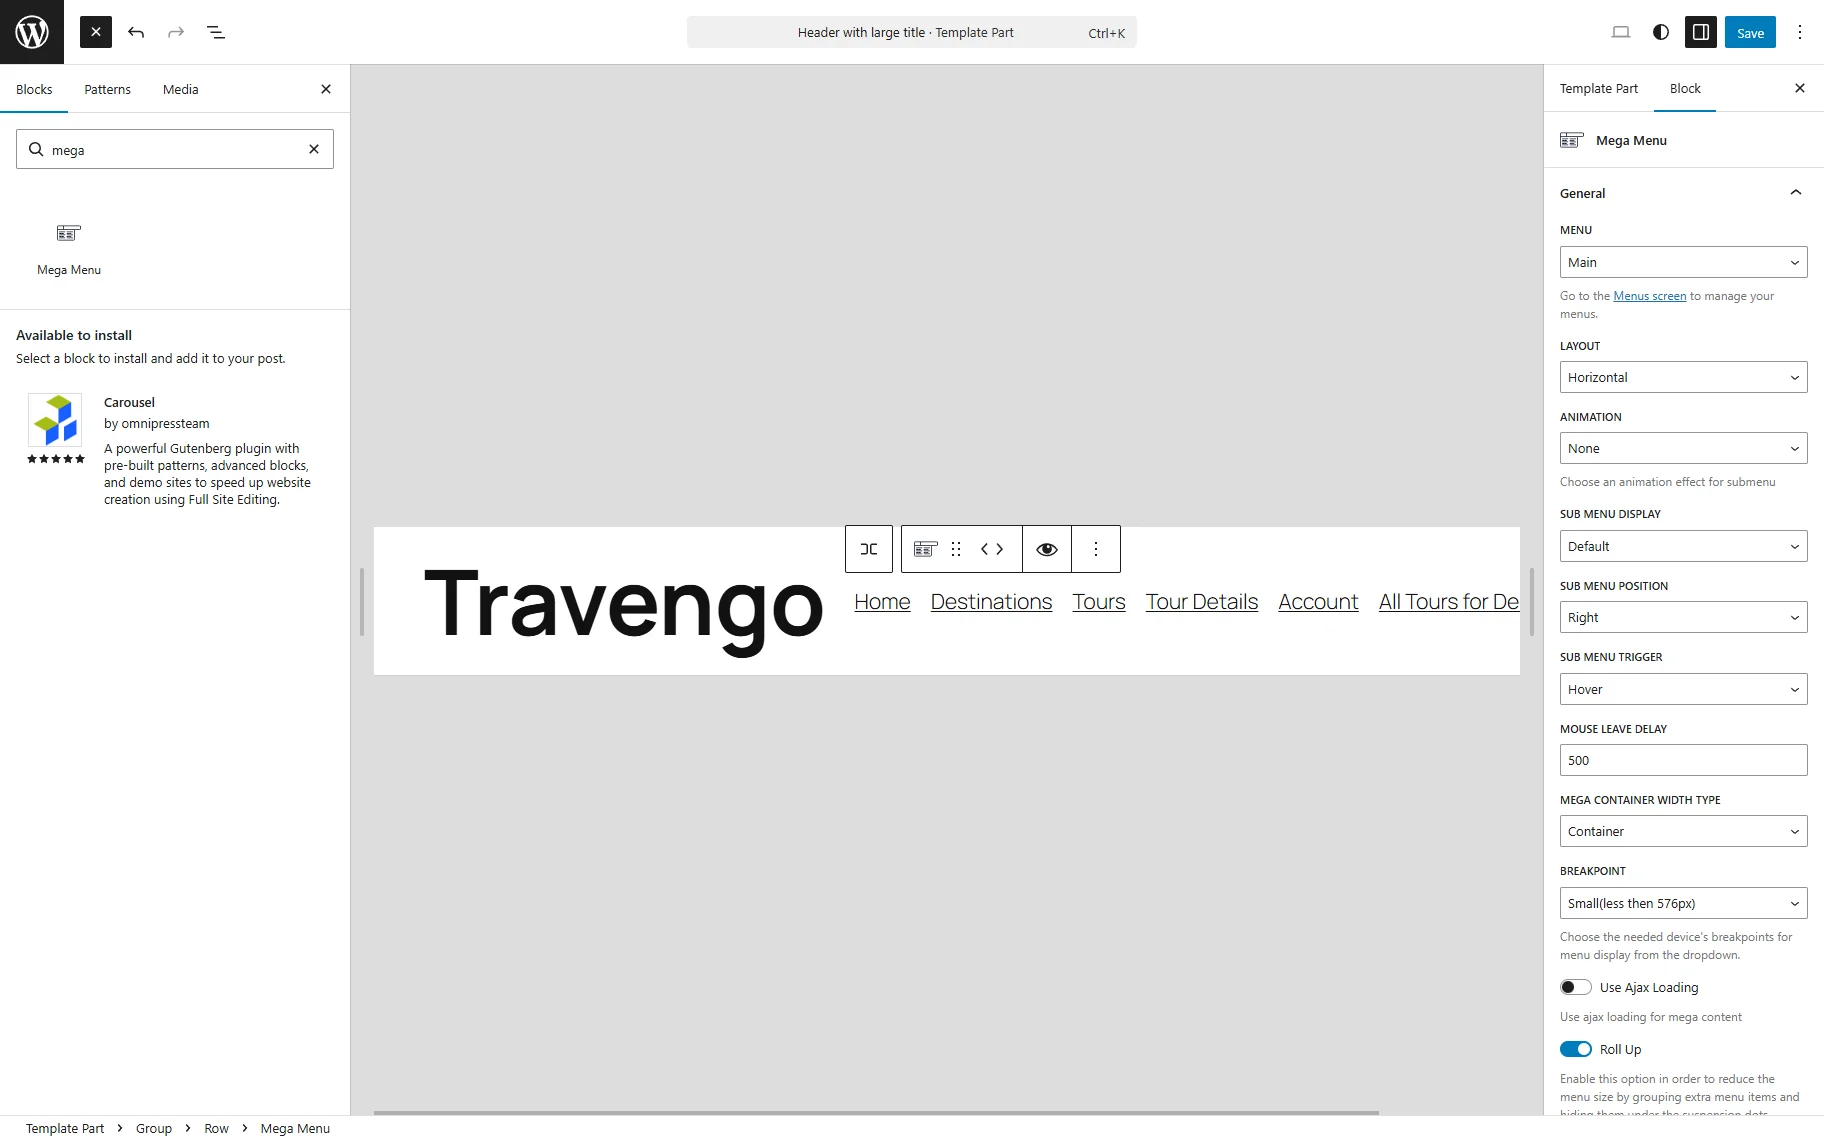
Refer to our Mega Menu Widget/Block Overview guide to learn how to set up the widget. Click the “Save” button once you are ready.
Check the Result
Proceed to the frontend and check the result. Here we can see the Mega Menu working properly in the header.
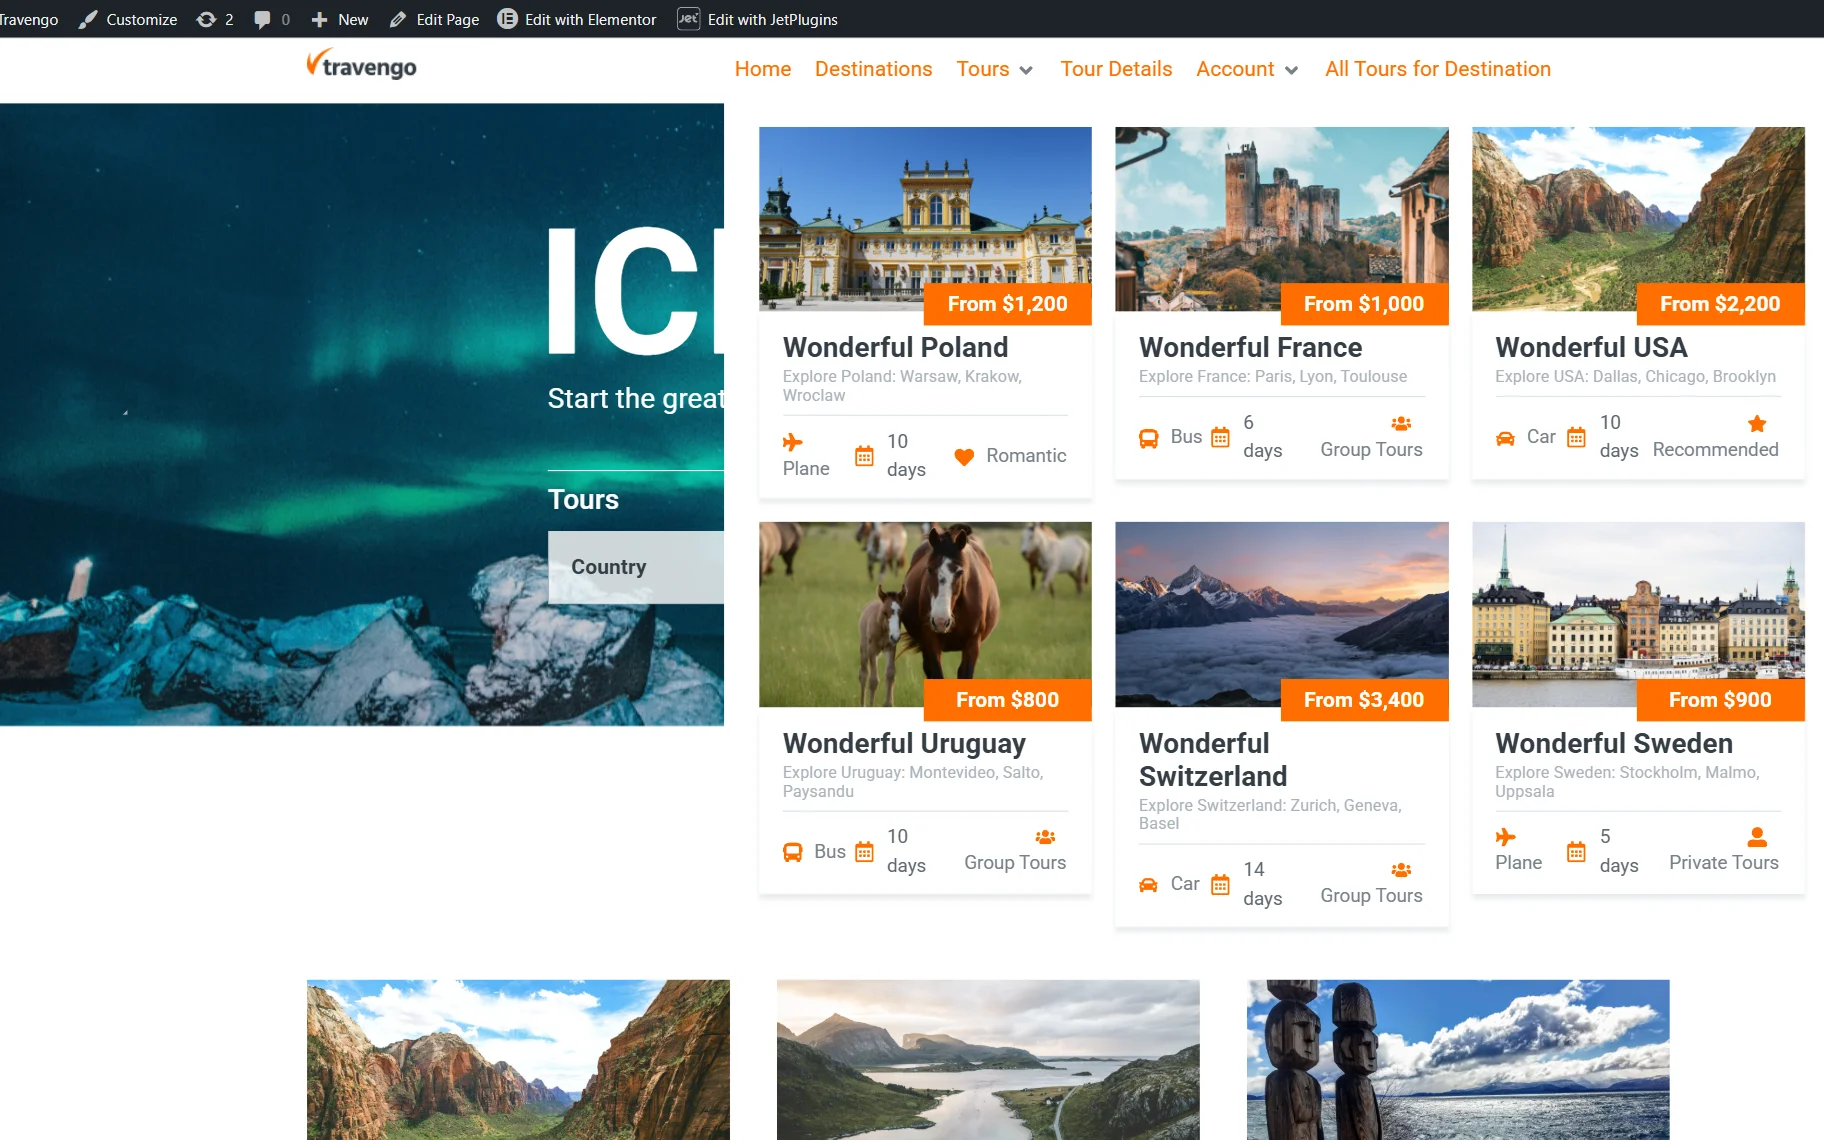
Additionally, the “Account” item is available while we are logged in to the site. However, if we check the page from the Incognito mode, the “Account” menu item disappears according to the Dynamic Visibility condition we set up earlier.

That’s it. Now you know how to set the Mega Menu for the Twenty Twenty-Five FSE theme using the WordPress JetMenu plugin.