How to Create Hamburger Menu to Full-Screen Menu
From this guide, you will learn how to create a full-width mega menu item with a hamburger menu icon using the JetMenu plugin for your WordPress website.
Before you start, check the tutorial requirements:
- Elementor (Free version)
- JetMenu plugin installed and activated
Create Menu
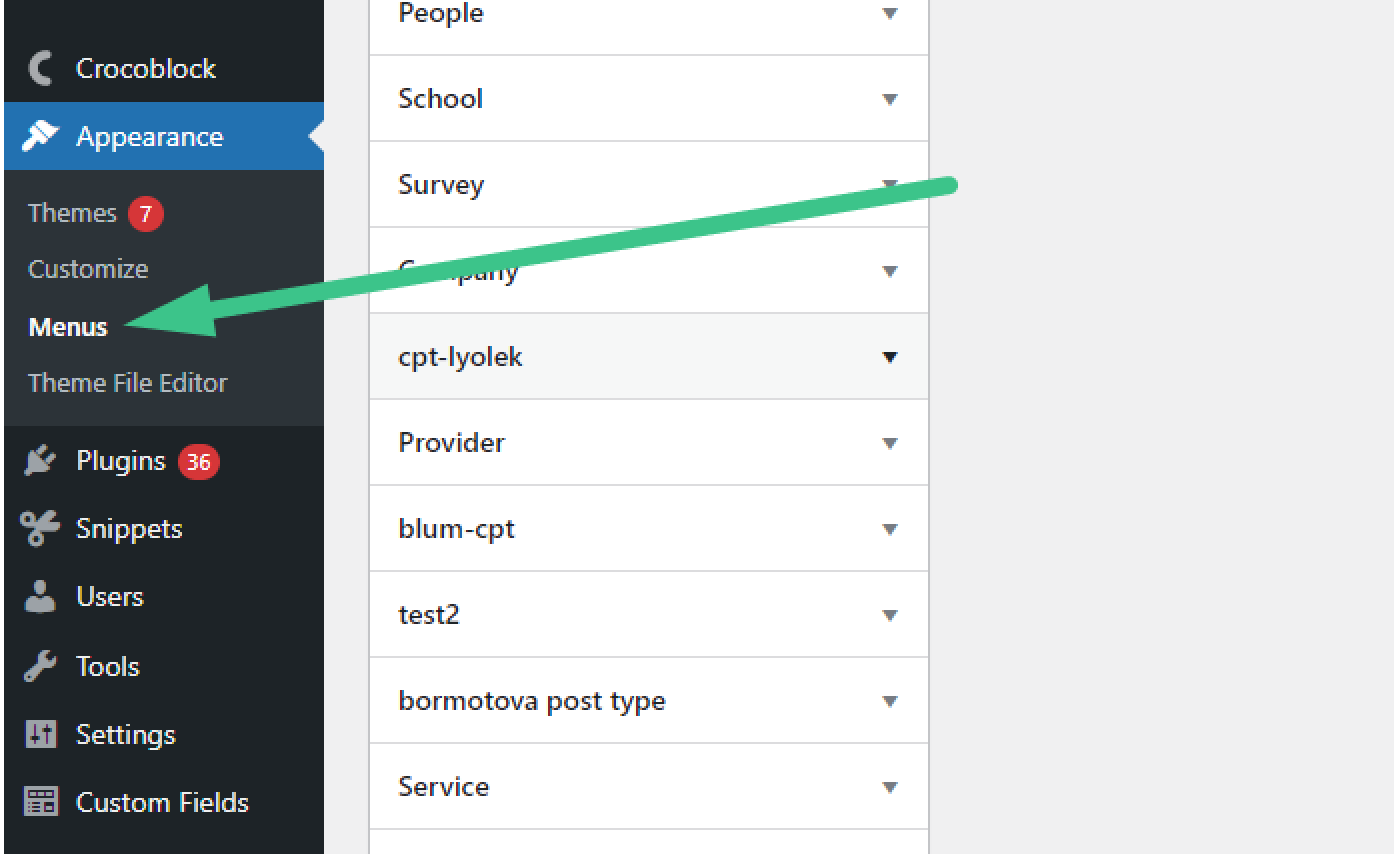
First of all, a menu needs to be created. It can be done in the WordPress Dashboard > Appearance > Menus.
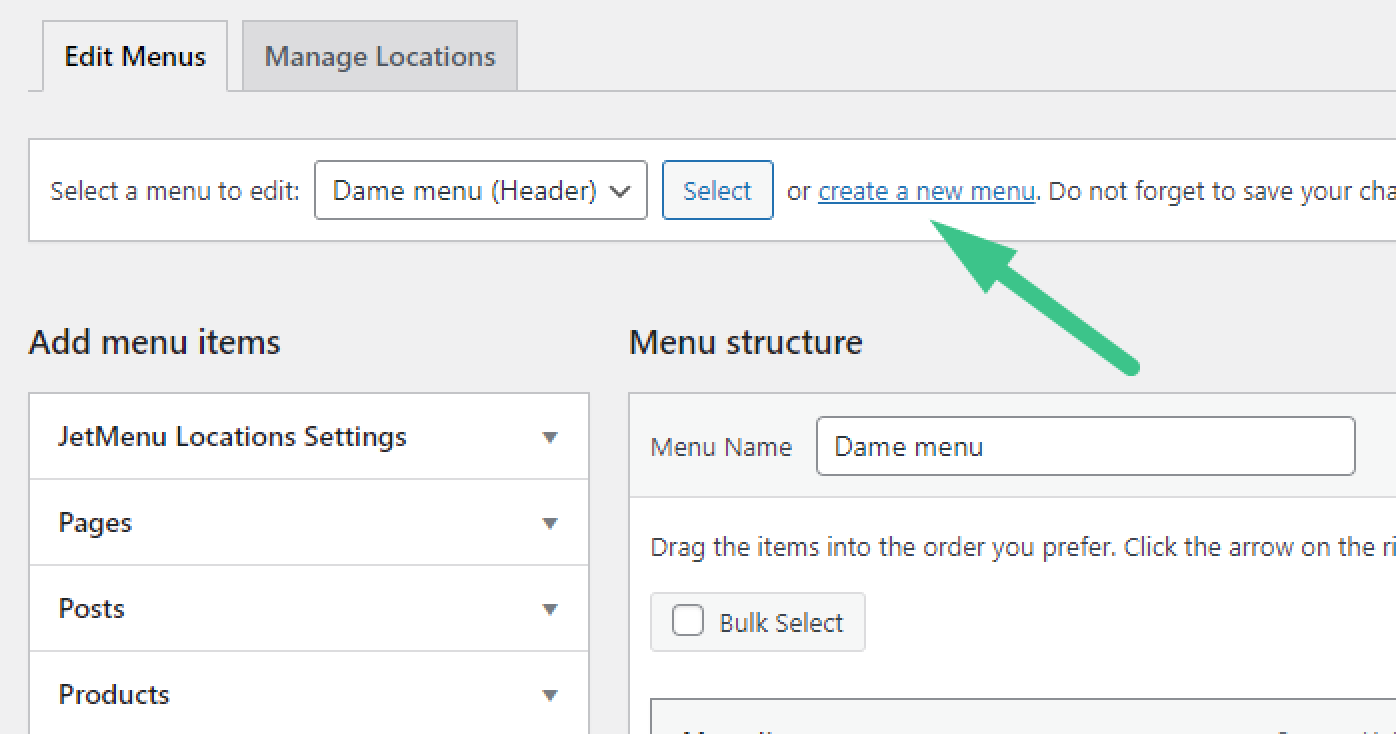
You can create a new menu by clicking a relevant link in the Edit Menus tab.
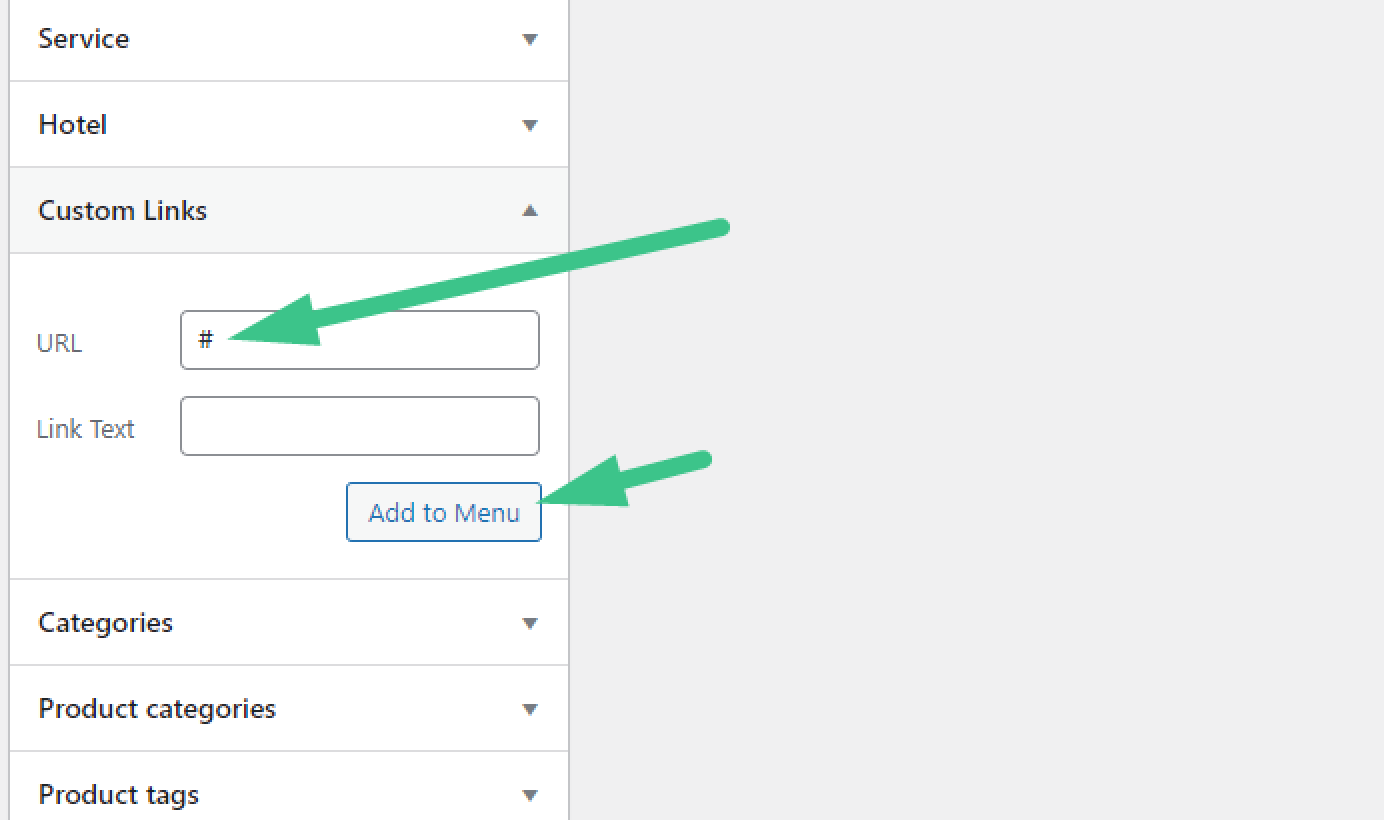
Open the Custom Link tab. In the URL field, use a custom link with a hashtag instead of any actual link because this menu item does not need to redirect but only opens a mega menu.
Press the “Add to Menu” button.
At this point, you can click on “Save Menu” or save it after creating and adding a mega Menu item.

Create Mega Menu Item
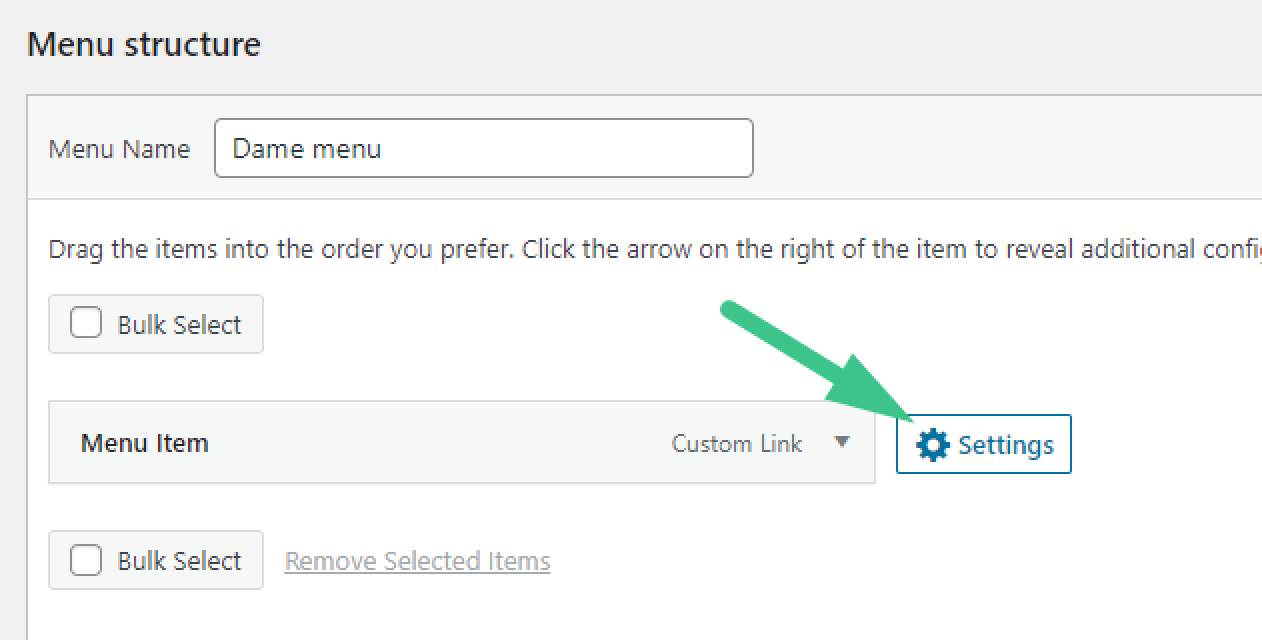
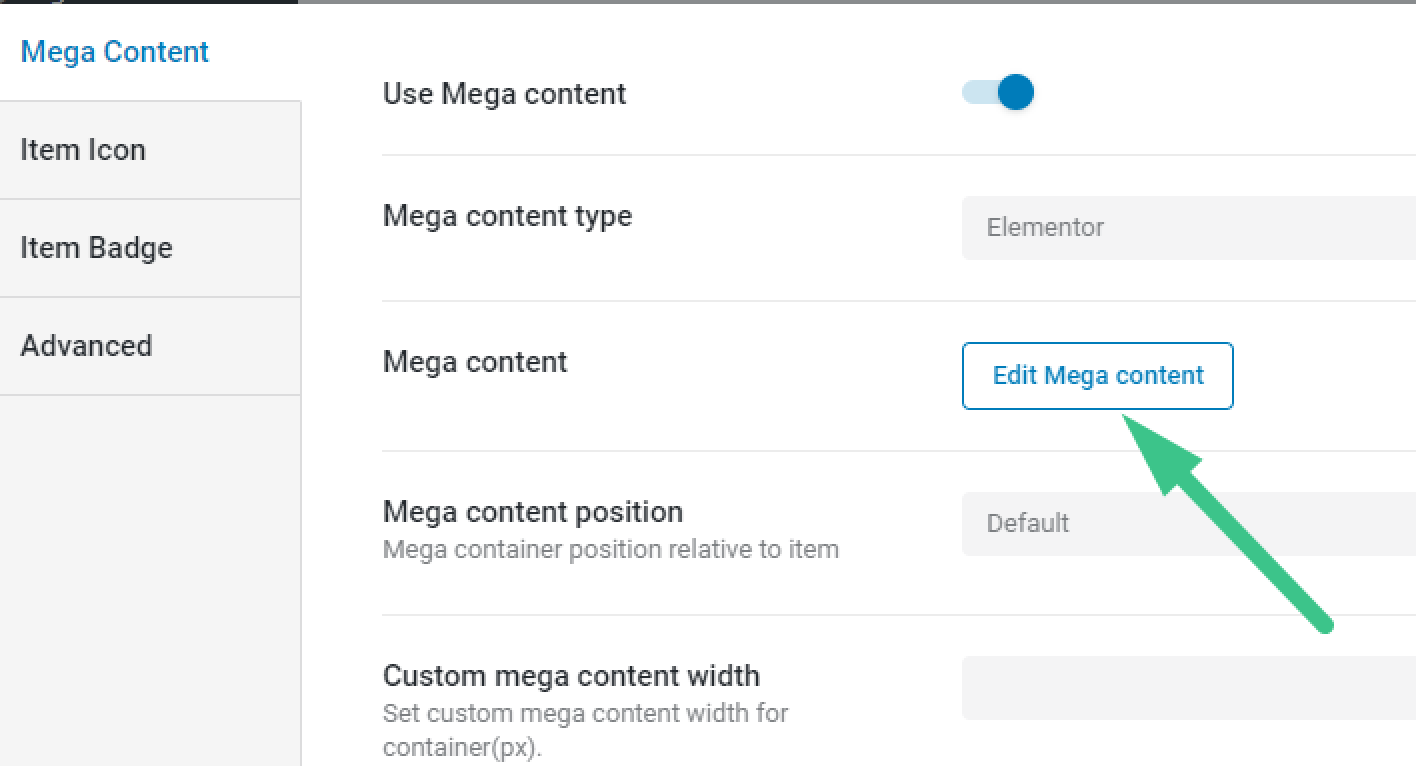
Once the menu itself is created, you can add a Mega Menu item to the menu item with a custom link. To do so, press the “Settings” button to trigger a popup with the Mega Menu settings.
Then enable the Use Mega content toggle to ensure the mega content is shown on the front end.

After it, you can add the needed content by pressing the “Edit Mega content” button.
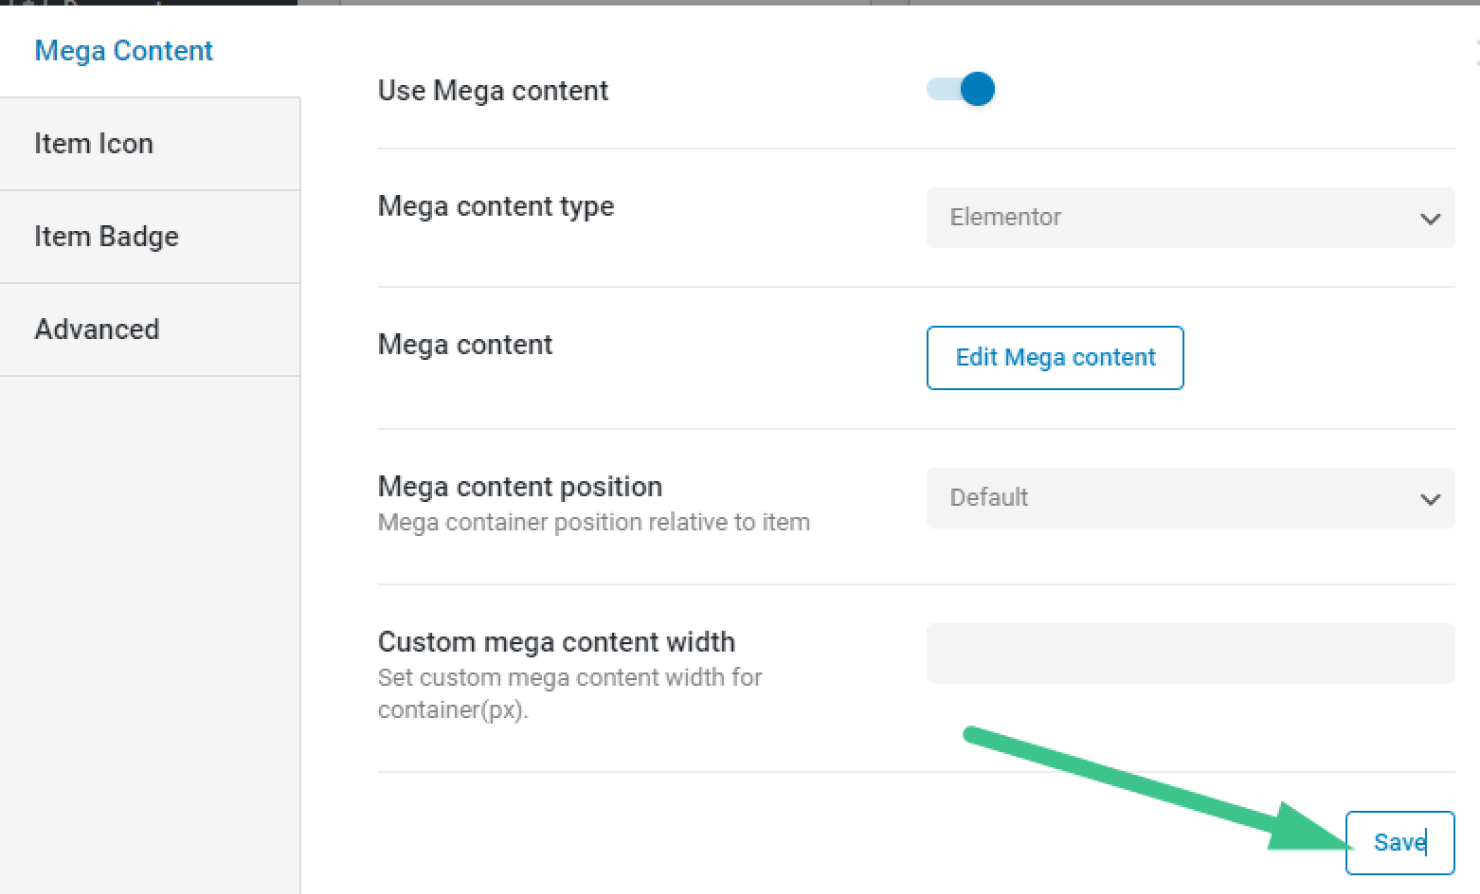
To save the content of the Mega Menu item, push “Save.”
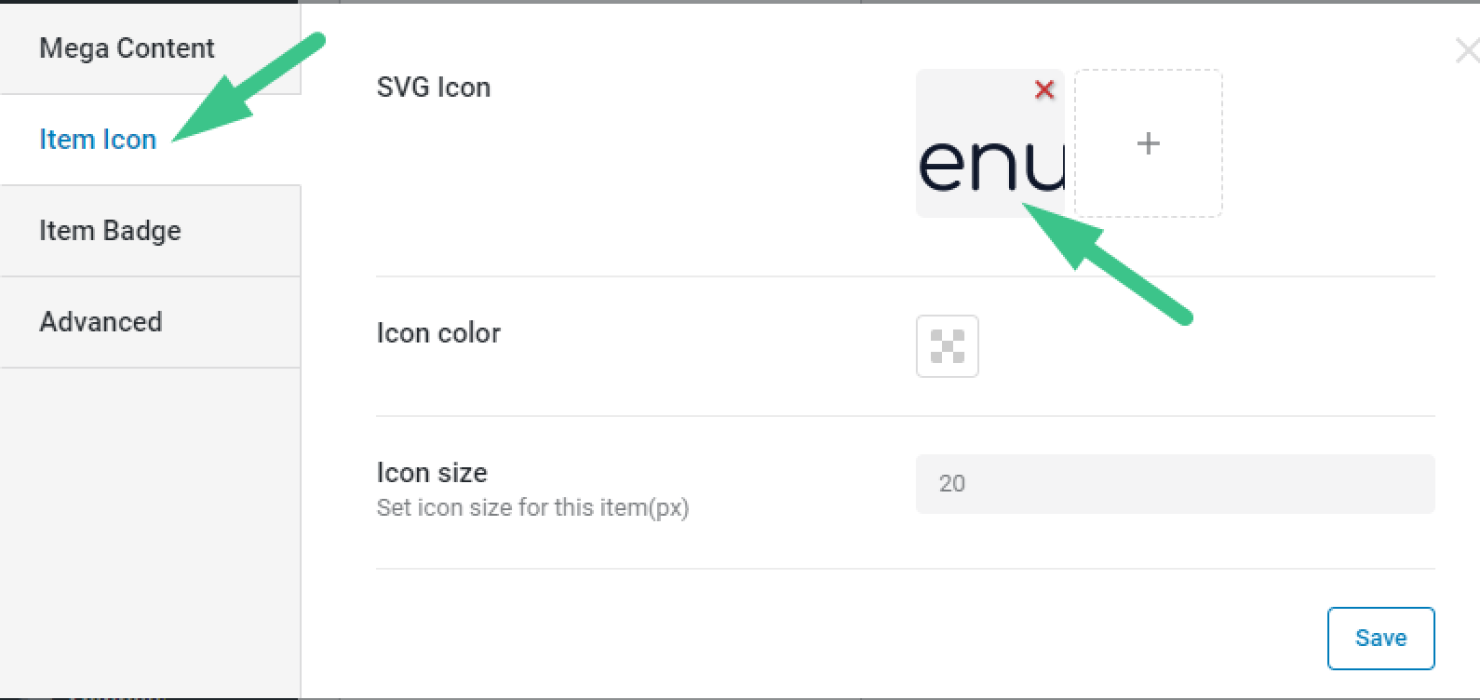
Add Icon to Mega Menu Item
It is time to add the icon representing the Menu item on the front end. It can be done in the SVG Icon field of the Item Icon tab.
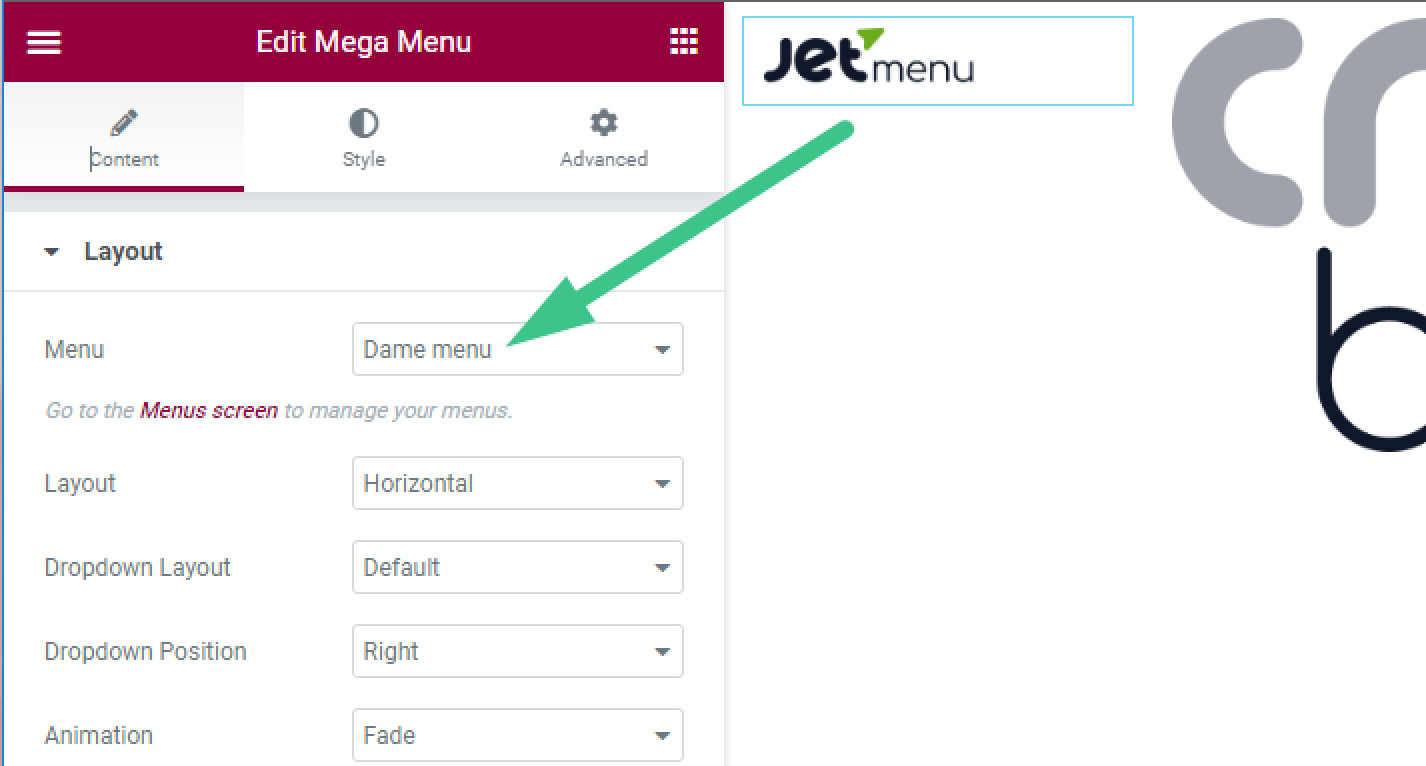
Output Menu Using Mega Menu Widget
It is time to add the built menu to a template. For example, it can be a Header template.
Drag and drop the Mega Menu widget to the template’s content area, and select a Menu you have just created.
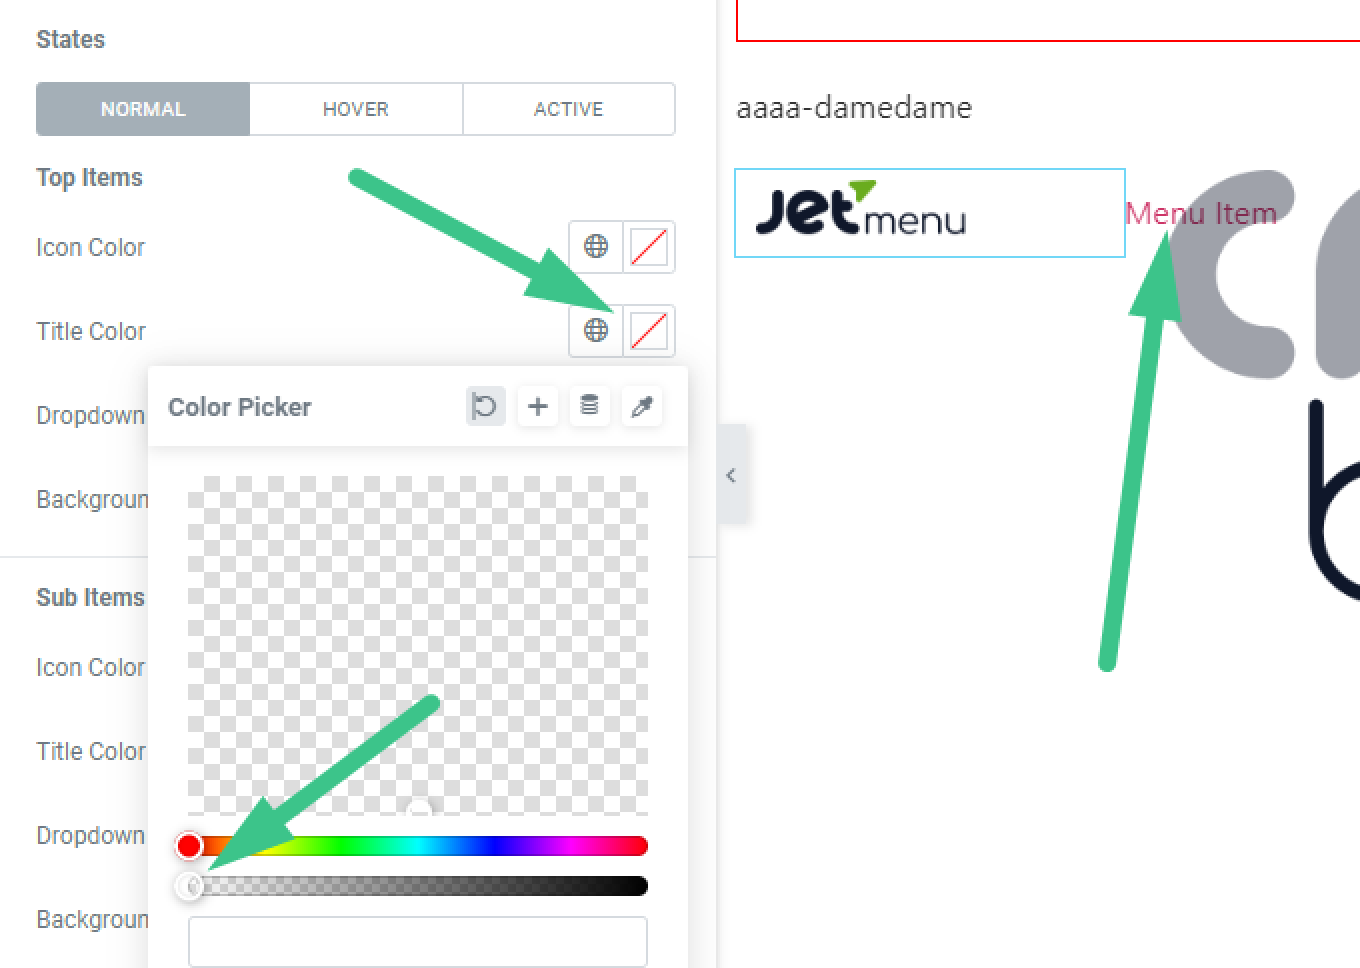
You may also need to add transparency to the default menu title in the Style tab. Open the Main Menu tab, and find the States section. Set the Title Color as transparent, so only an icon is displayed on the front end.
Make sure to add the same style to the title in Hover and Active tabs.
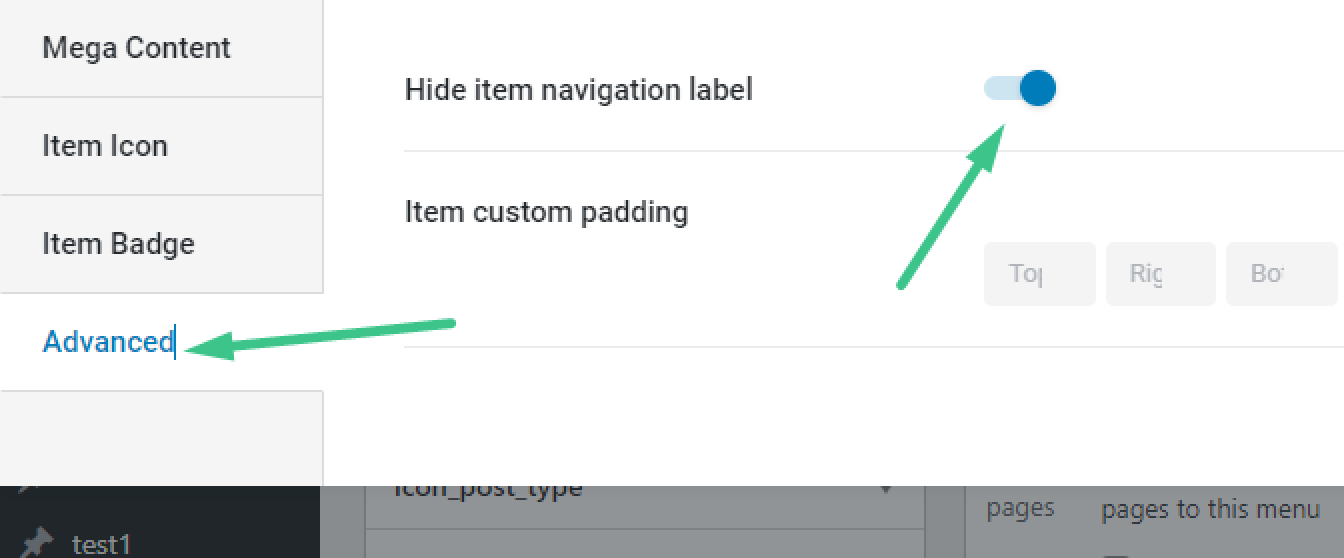
Alternatively, you can enable the Hide item navigation label option by returning to WordPress Dashboard > Appearance > Menus and opening the Advanced tab of the Mega menu settings.
Add Custom Selector to Mega Menu Width
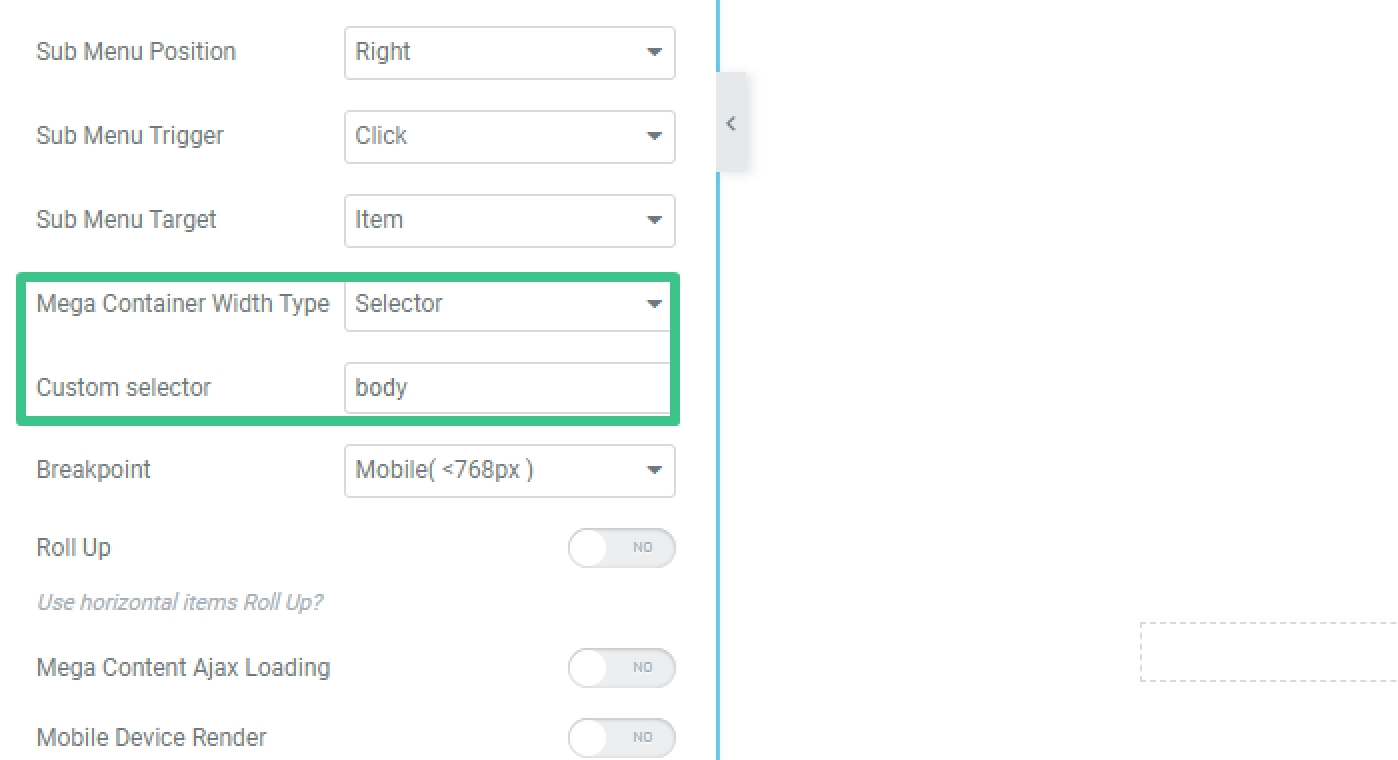
The last step is to make the mega menu item full-width. It can be done by selecting a respective option in the Layout tab of the Content settings.
Here, pick “Selector” as Mega Container Width Type. Also, note that the custom selector should be ‘body’.
Let’s check the result. The full-width mega menu is now ready and looks like this:

That’s it; now you know more about creating a full-width Mega Menu triggered by clicking on an Icon.