How to Enable Reviews for Any Custom Post Type
This tutorial presents a detailed guide about enabling reviews for any custom post type directly in the WordPress Dashboard.
Before you start, check the tutorial requirements:
- Elementor (Free version) or Block editor (Gutenberg)
- JetReviews plugin installed and activated
- JetThemeCore plugin installed and activated
With JetReviews, it is possible to specify default posts, pages, and custom post types, which you would like to add reviews to.
Create Review Type
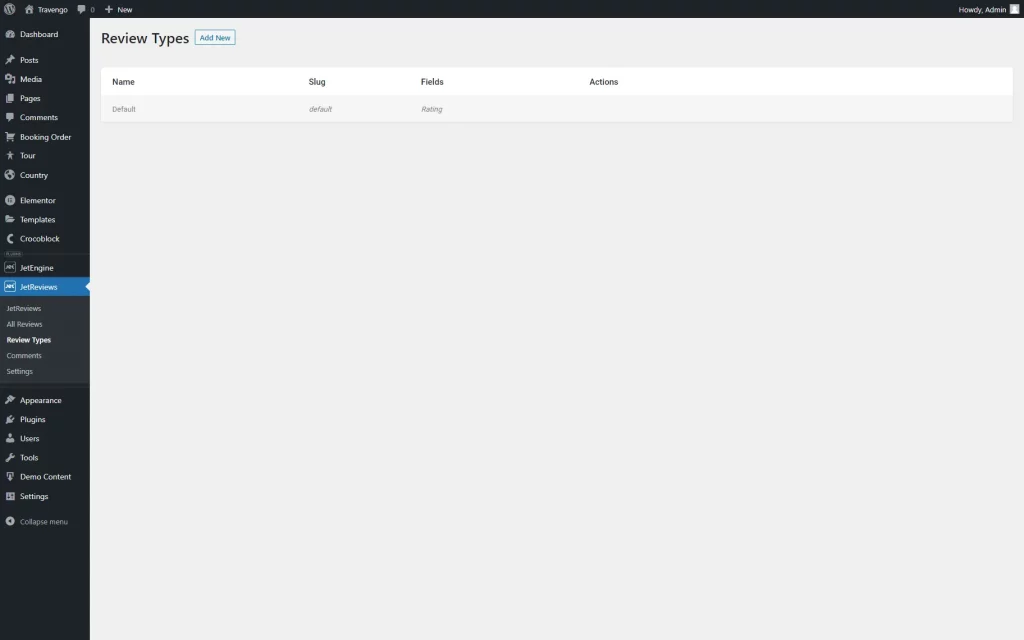
Go to WordPress Dashboard > JetReviews > Review Types. Primarily, only one Review Type is available, called “Default.”
This Review Type can’t be edited or deleted; it only includes one “Rating” field.
However, you can build a custom option by pressing the “Add New” button.
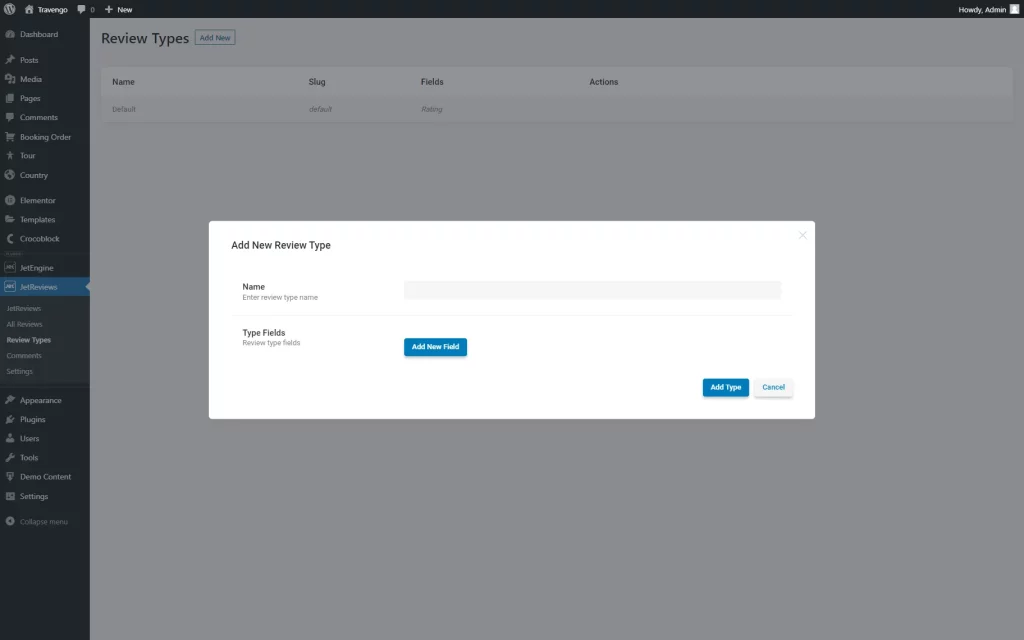
In the opened pop-up, complete the Name of the current Review Type and create Type Fields by pressing the “Add New Field” button in this section.
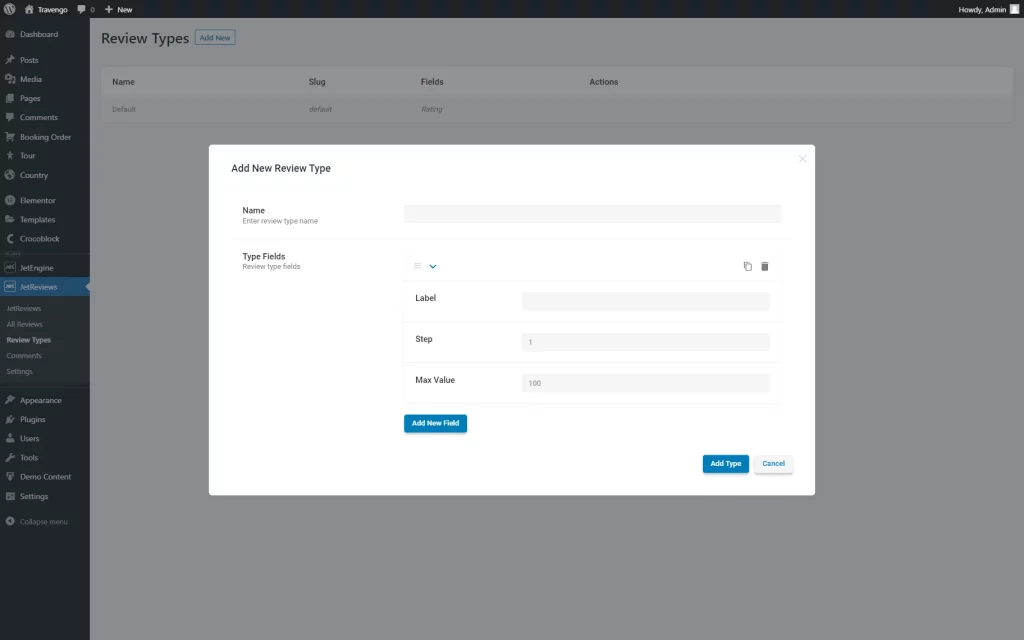
Open the field by clicking on it.
Complete the Label field, and set the Step and Max Value.
For instance, setting “10” as a Step and “100” as Max Value enables users to evaluate posts with “0,” “10,” “20,” “30,” etc.
Or, leave the default “1” Step with the Max Value of “5” to make the user rate post by the classic “1-5” system.
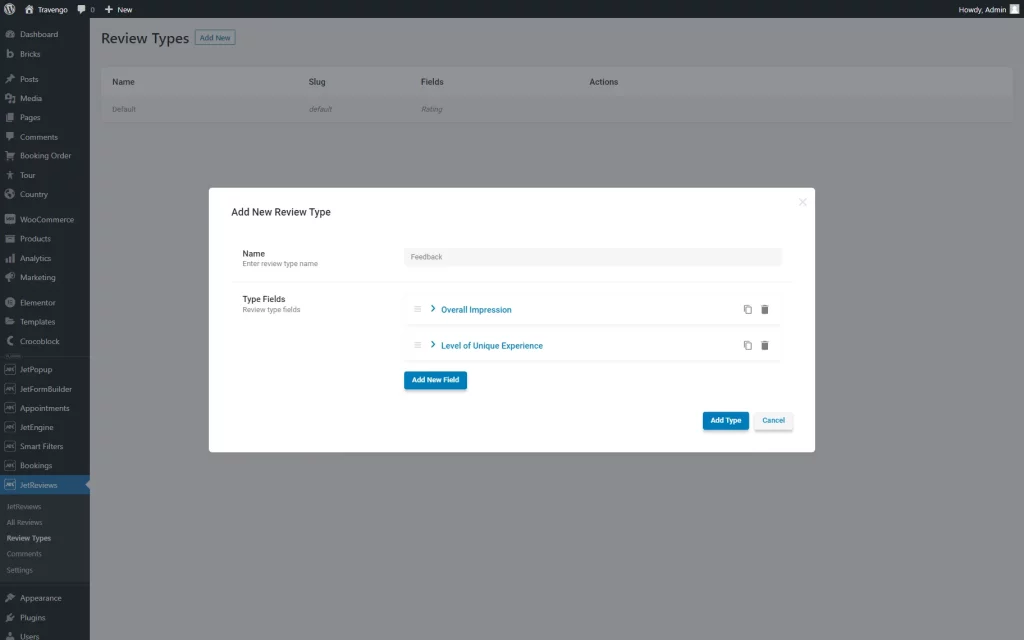
Customize the items by pressing the “Add New Field” button as many times as needed. This button should be pushed if you need more than one evaluation criterion.
Once everything is adjusted, hit the “Add Type” button.
Activate Reviews for Specific Post Types
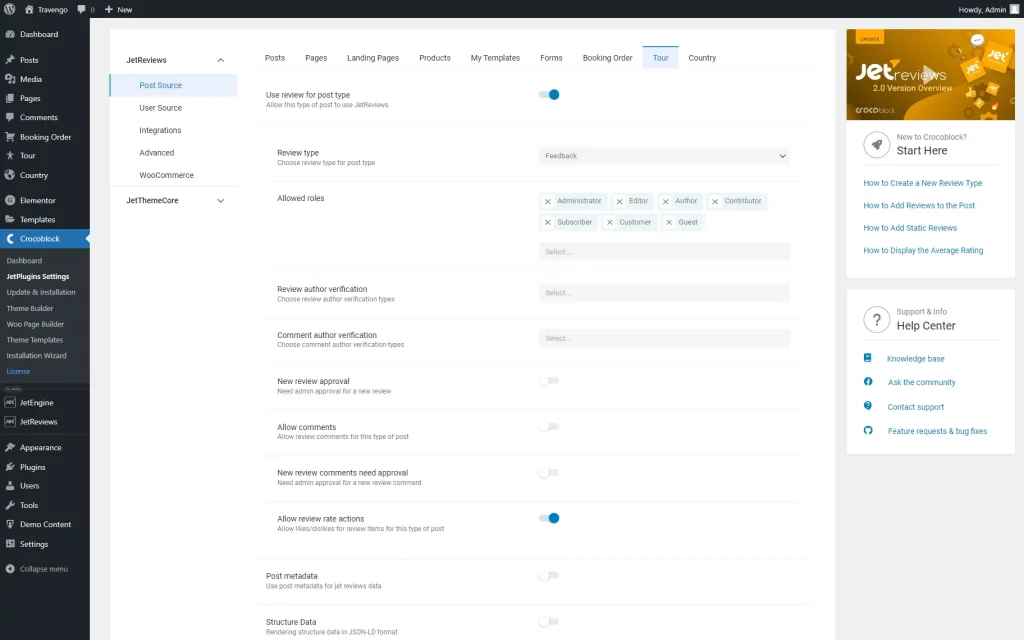
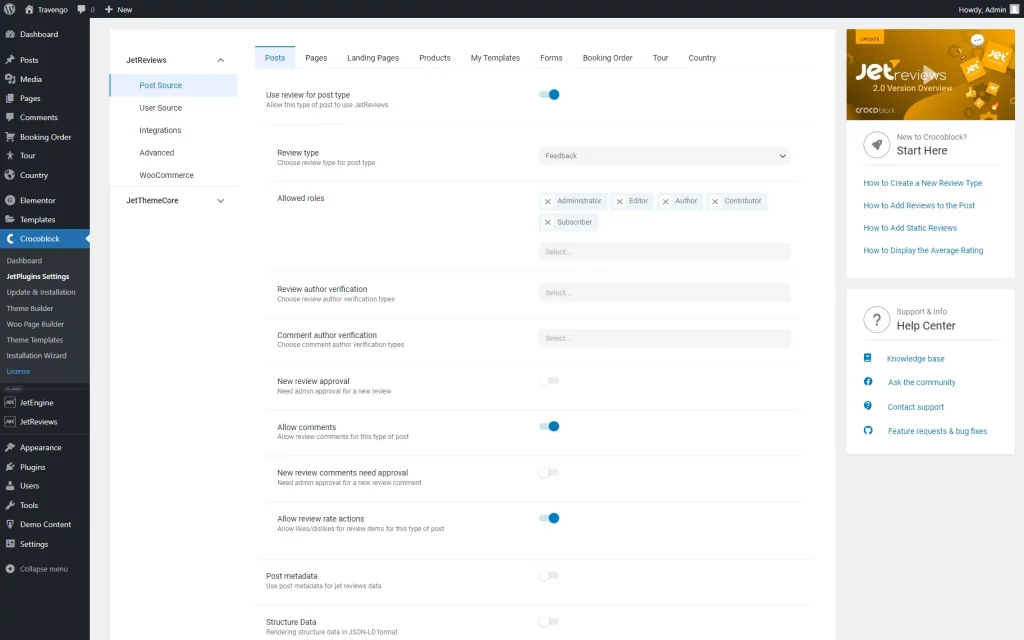
Navigate to WordPress Dashboard > JetReviews > Settings block to see the list of available post types.
Proceed to the needed post type; it can be any desired one. The option selected in the present use case is JetEngine’s Custom Post Type.
Enable the Use review for post type toggle and select the newly built Review type.
You can also adjust further fields if needed.
Let’s set the same Review type for another available post type.
Mind that the settings will be saved automatically.
Add Reviews to Single Page
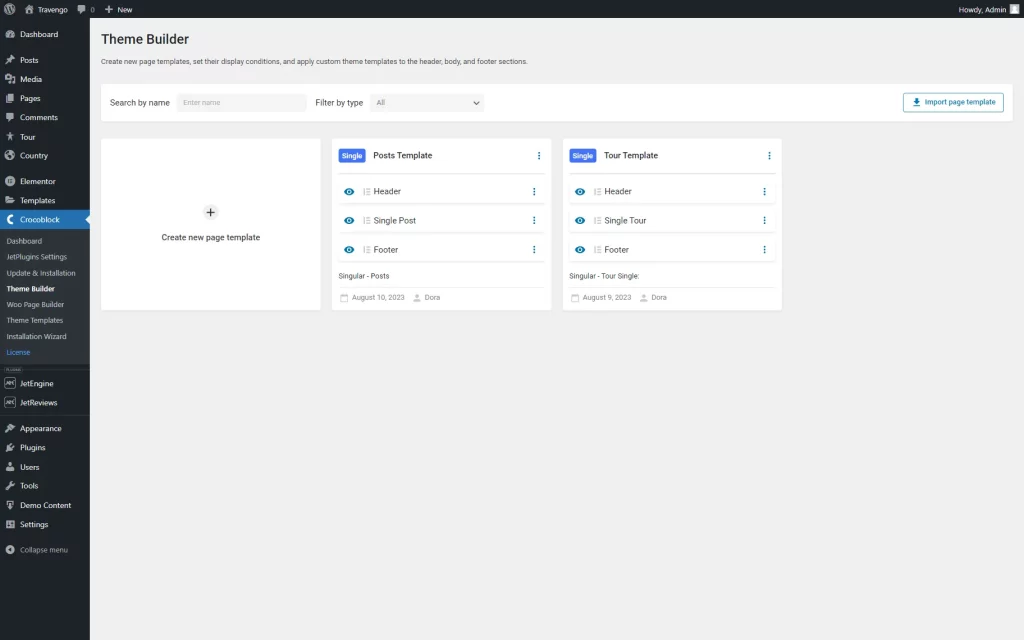
Head to WordPress Dashboard > Crocoblock > Theme Builder. Find the single template of the first post type where reviews were activated.
You can also create one by clicking the “Create new page template” button if you haven’t built one before. Ensure the condition is set accordingly, and press the “Add Body” button.
Set the already created Single page or build a new option by pushing the “Add from library” button.
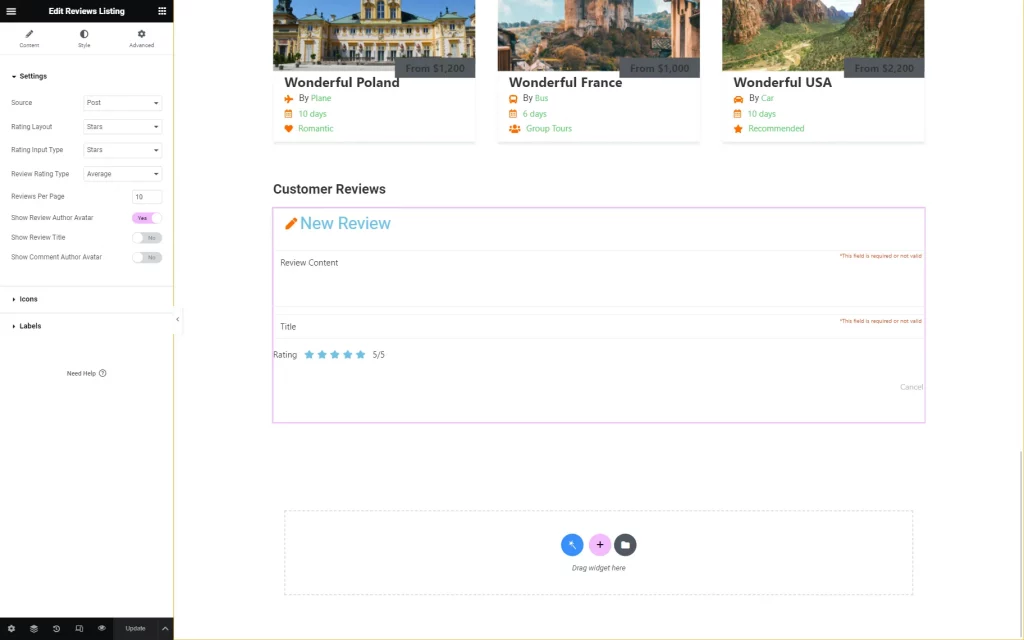
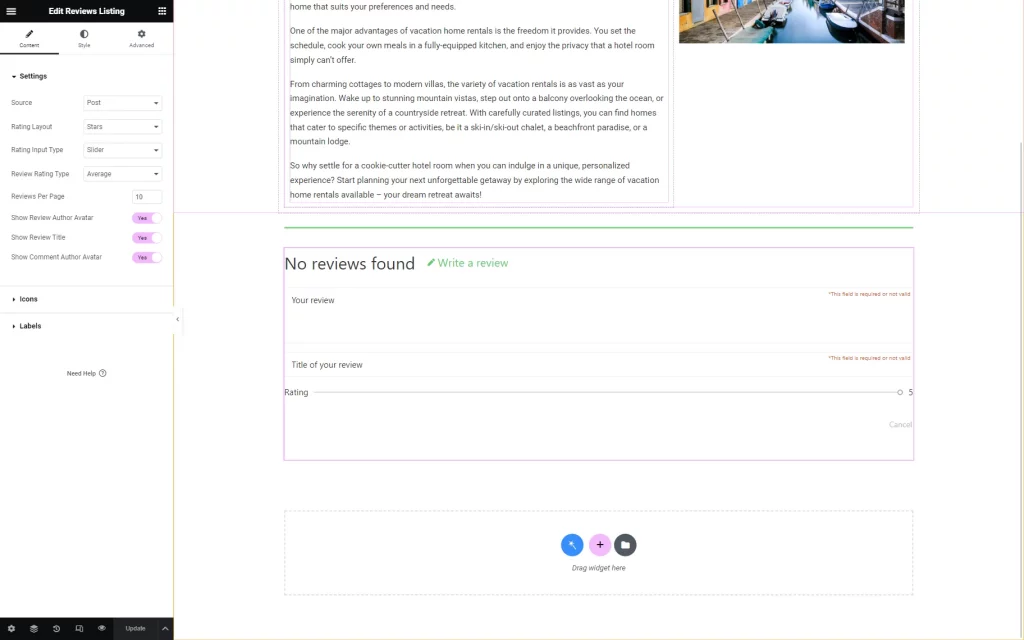
Proceed to the editing. Once the editor (Block Editor or Elementor) is opened, place the Review Listing block/widget on the page.
This widget/block displays reviews added to the post/page/form and a form to add a new review. If there are any reviews added to the post, they will be later shown on the front end.
Adjust the settings available for customization.
Save the changes by hitting the “Update” button.
Repeat the same procedure with the second post type.
You can adjust settings as desired, using different options for customization. Or, repeat the same customization steps as you did for the first post type.
Check the Result
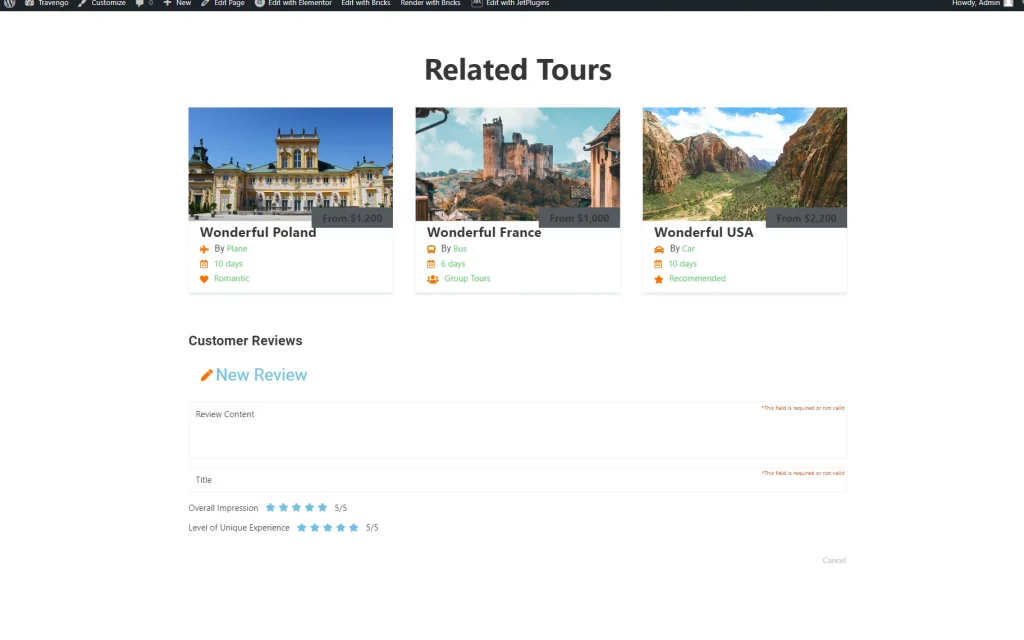
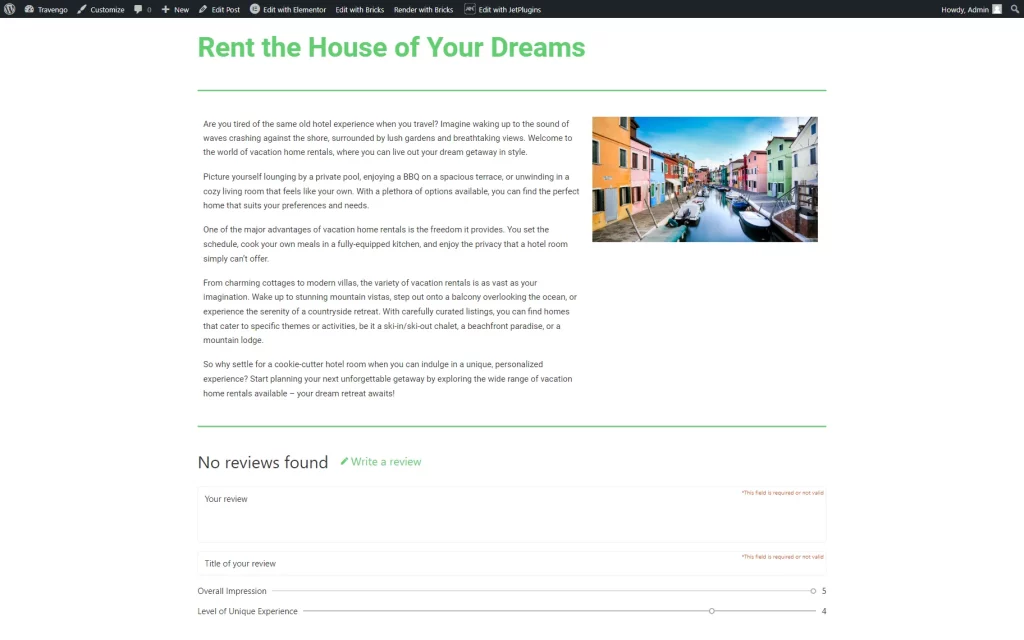
Now open any post of the first post type to check the reviews section. This page will include a review created with the first set of customization settings.
If you open any random post of the second post type, the comments section will include the same fields due to the same Review Type attached. However, it looks different as we put a different design to it.
That’s all about enabling reviews for any Сustom Post Type with the help of the JetReviews plugin on your WordPress website.
