How to Create a Price Range Filter for WooCommerce Products
This tutorial explains the steps required to create a Price Range filter for WooCommerce products using the JetSmartFilters plugin.
Before you start, check the tutorial requirements:
- WooCommerce plugin installed and activated
with some products added to the website
- Elementor (Free version), Block editor (Gutenberg), or Bricks
- JetSmartFilters plugin installed and activated
The “Range” Filter Type allows setting a specific range within which users can choose numeric values by moving the slider. One of the most frequent usages is the price filter for WooCommerce store pages.
With a Price Range filter, your visitors can select the price range within which to search for products or posts. You’ll be able to set the minimum and maximum values for product prices, allowing visitors to choose only products within a suitable price range.
From this tutorial, you’ll learn how to create a Price Range Filter with the JetSmartFilters plugin. So, let’s have a closer look at it.
Create the Range Filter
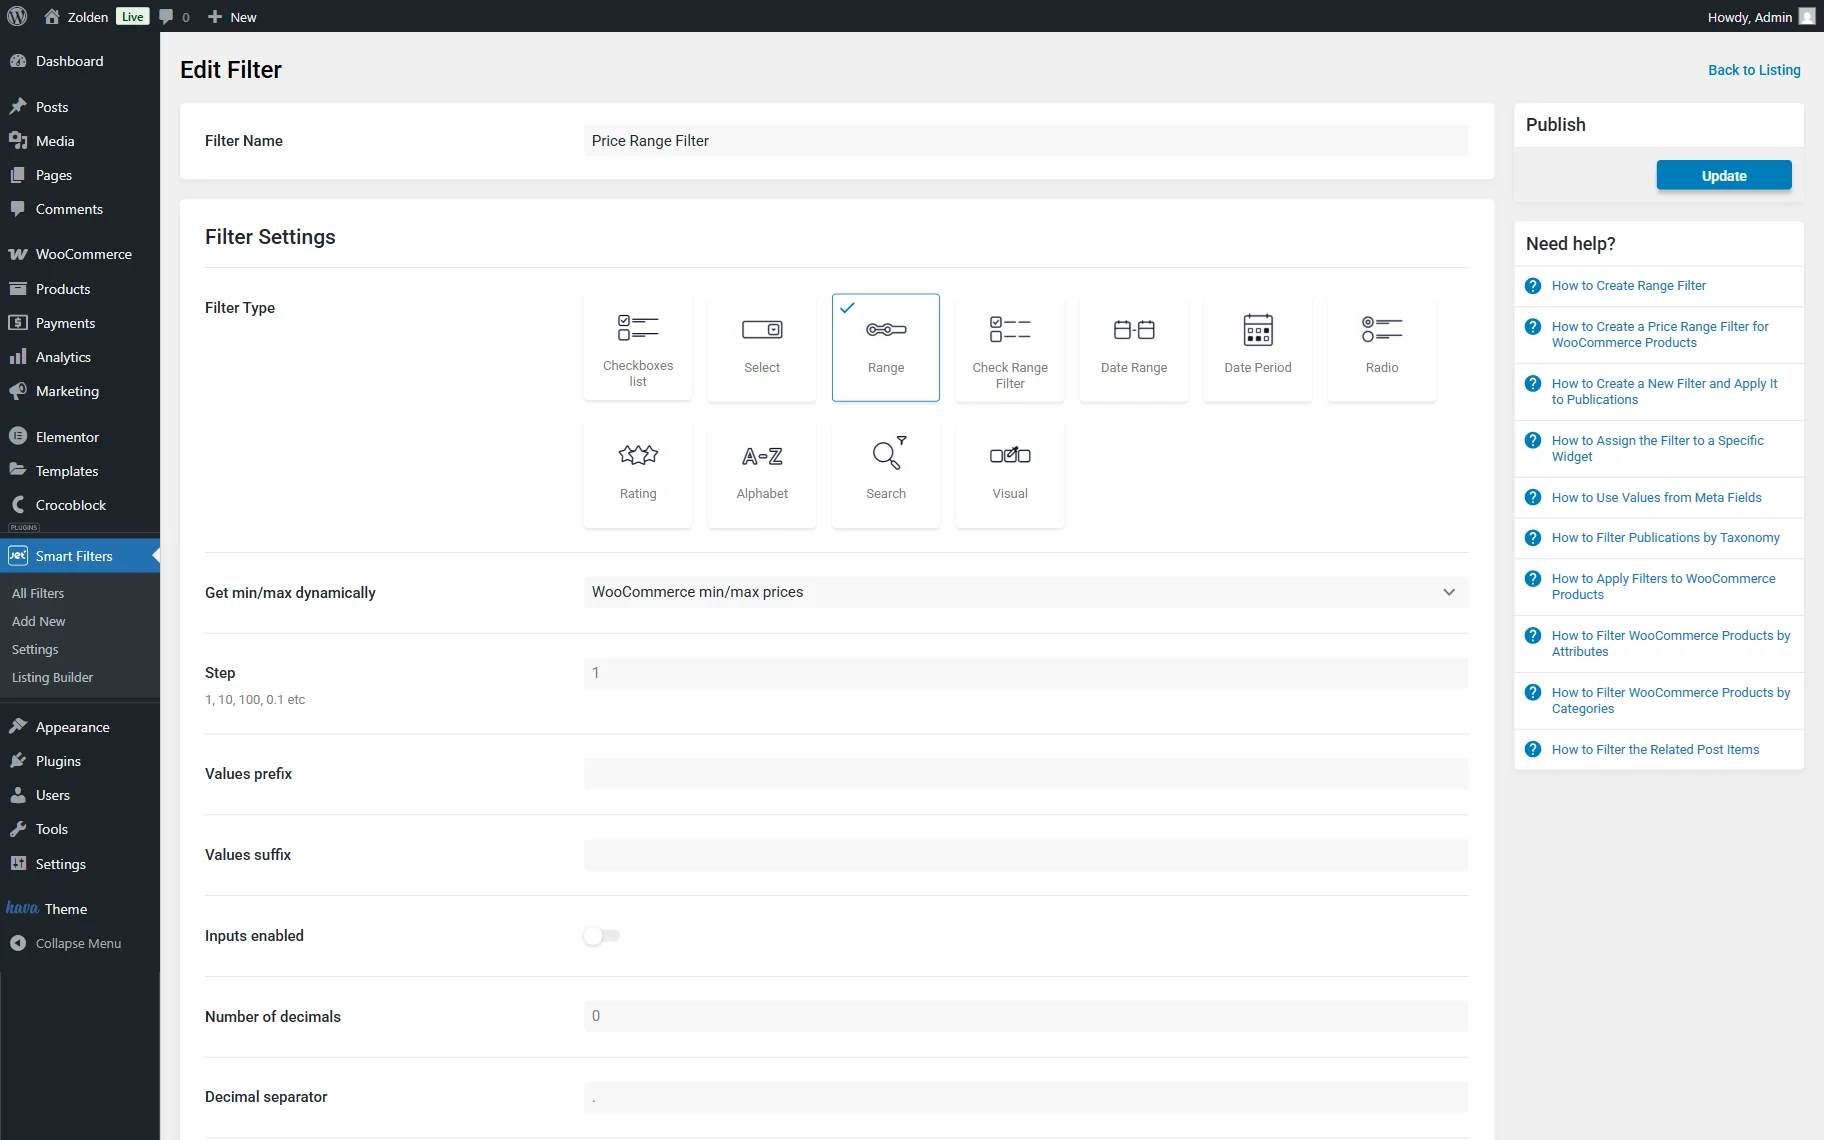
Go to WordPress Dashboard > JetSmartFilters > Add New to create a new “Range” filter. To find out how to do it, go through our Range Filter Overview.
Set the Filter Name; for example, we complete this field with the “Price Range Filter” value.
To create a price range filter, you should choose the “WooCommerce min/max prices” option from the Get min/max dynamically field.
Then, add the “_price” meta field name to the Query Variable field. This field stores the product’s price.
Adjust other fields if needed and move to the Filter Labels section. Here, complete the Filter Label and the Active Filter Label.
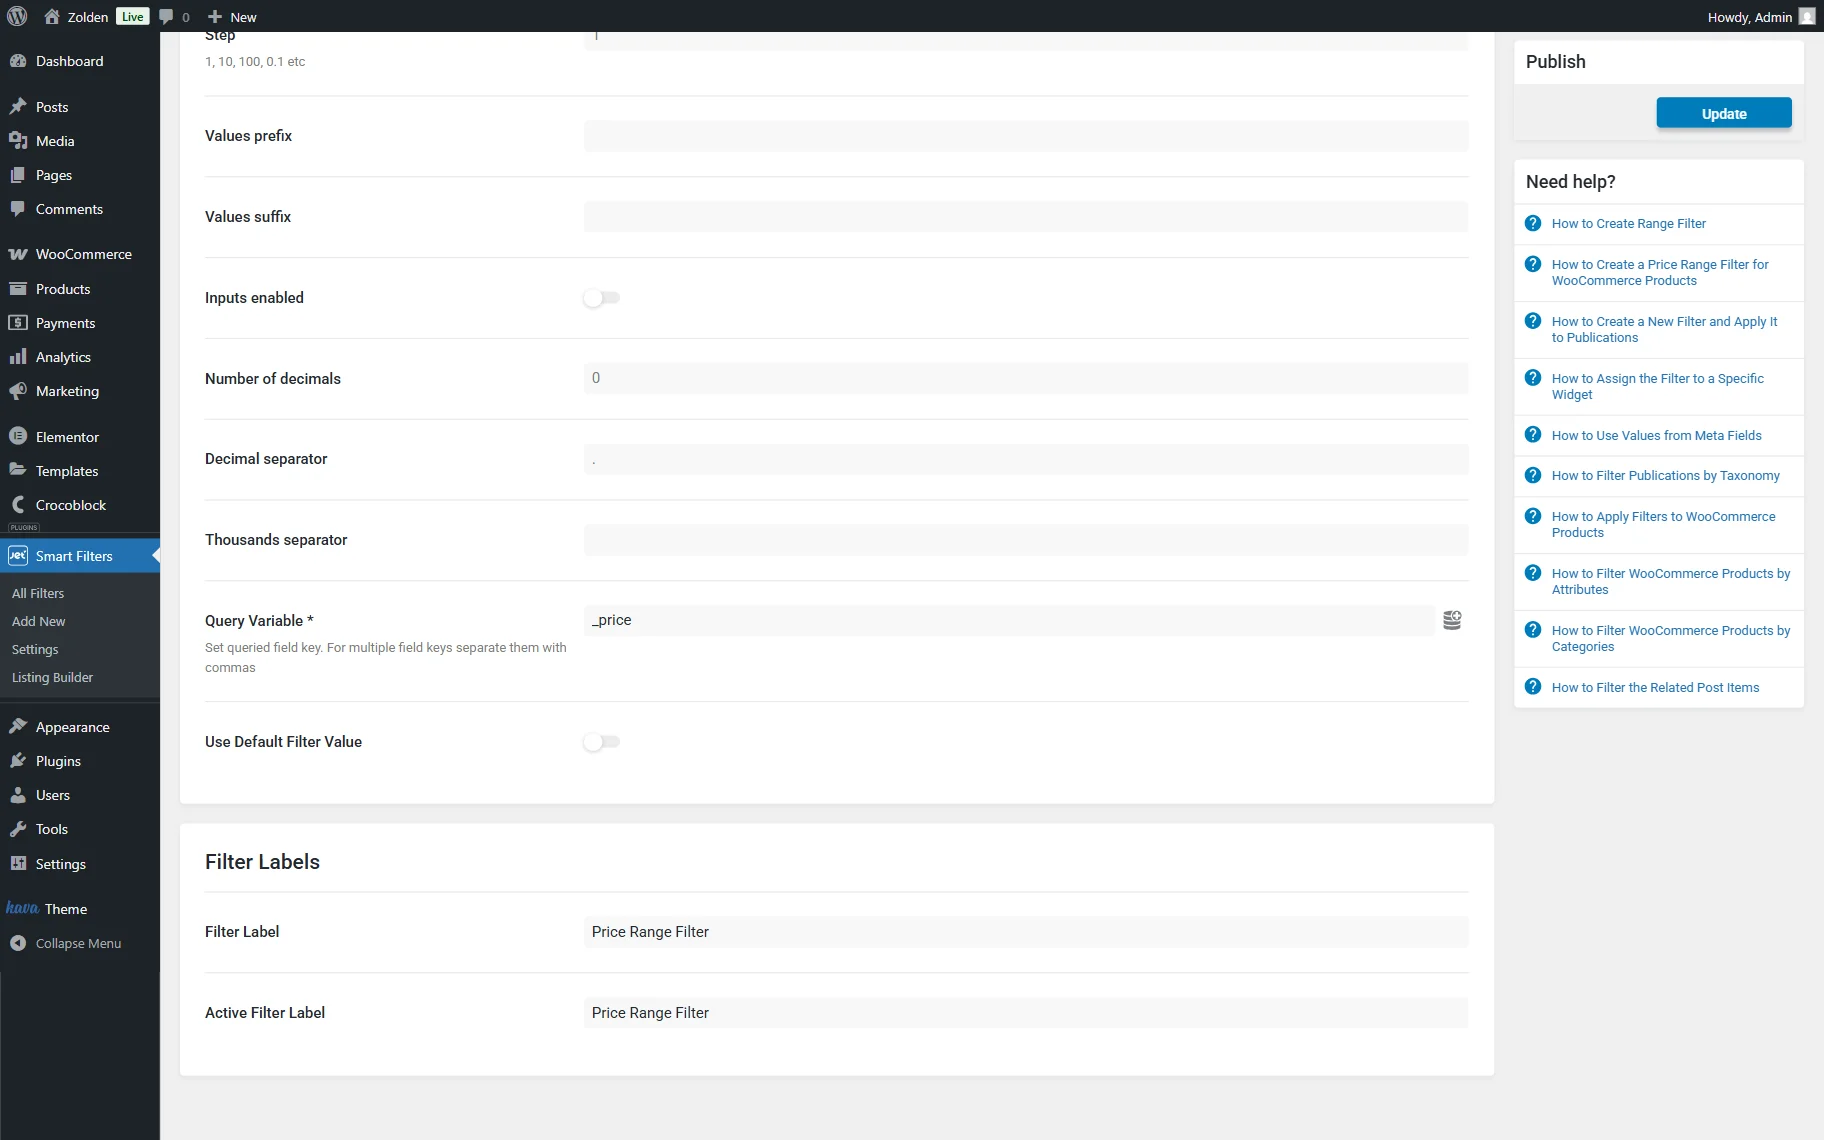
Press the “Update” button to save the filter.
Assign Filter to Products Grid
It’s time to place the price range filter on the needed page and connect it to the WooCommerce products. Go to the needed page/template editor and ensure it has the provider added and the list of products you want to filter. We will work with a new page built with Elementor, but you can select any preferred editor.
In our case, the Products Grid will become a provider. Check more information about how to adjust this widget in the Products Grid Widget Overview guide.
In the Products Grid settings, we change the Products Number to “8” and style the widget.
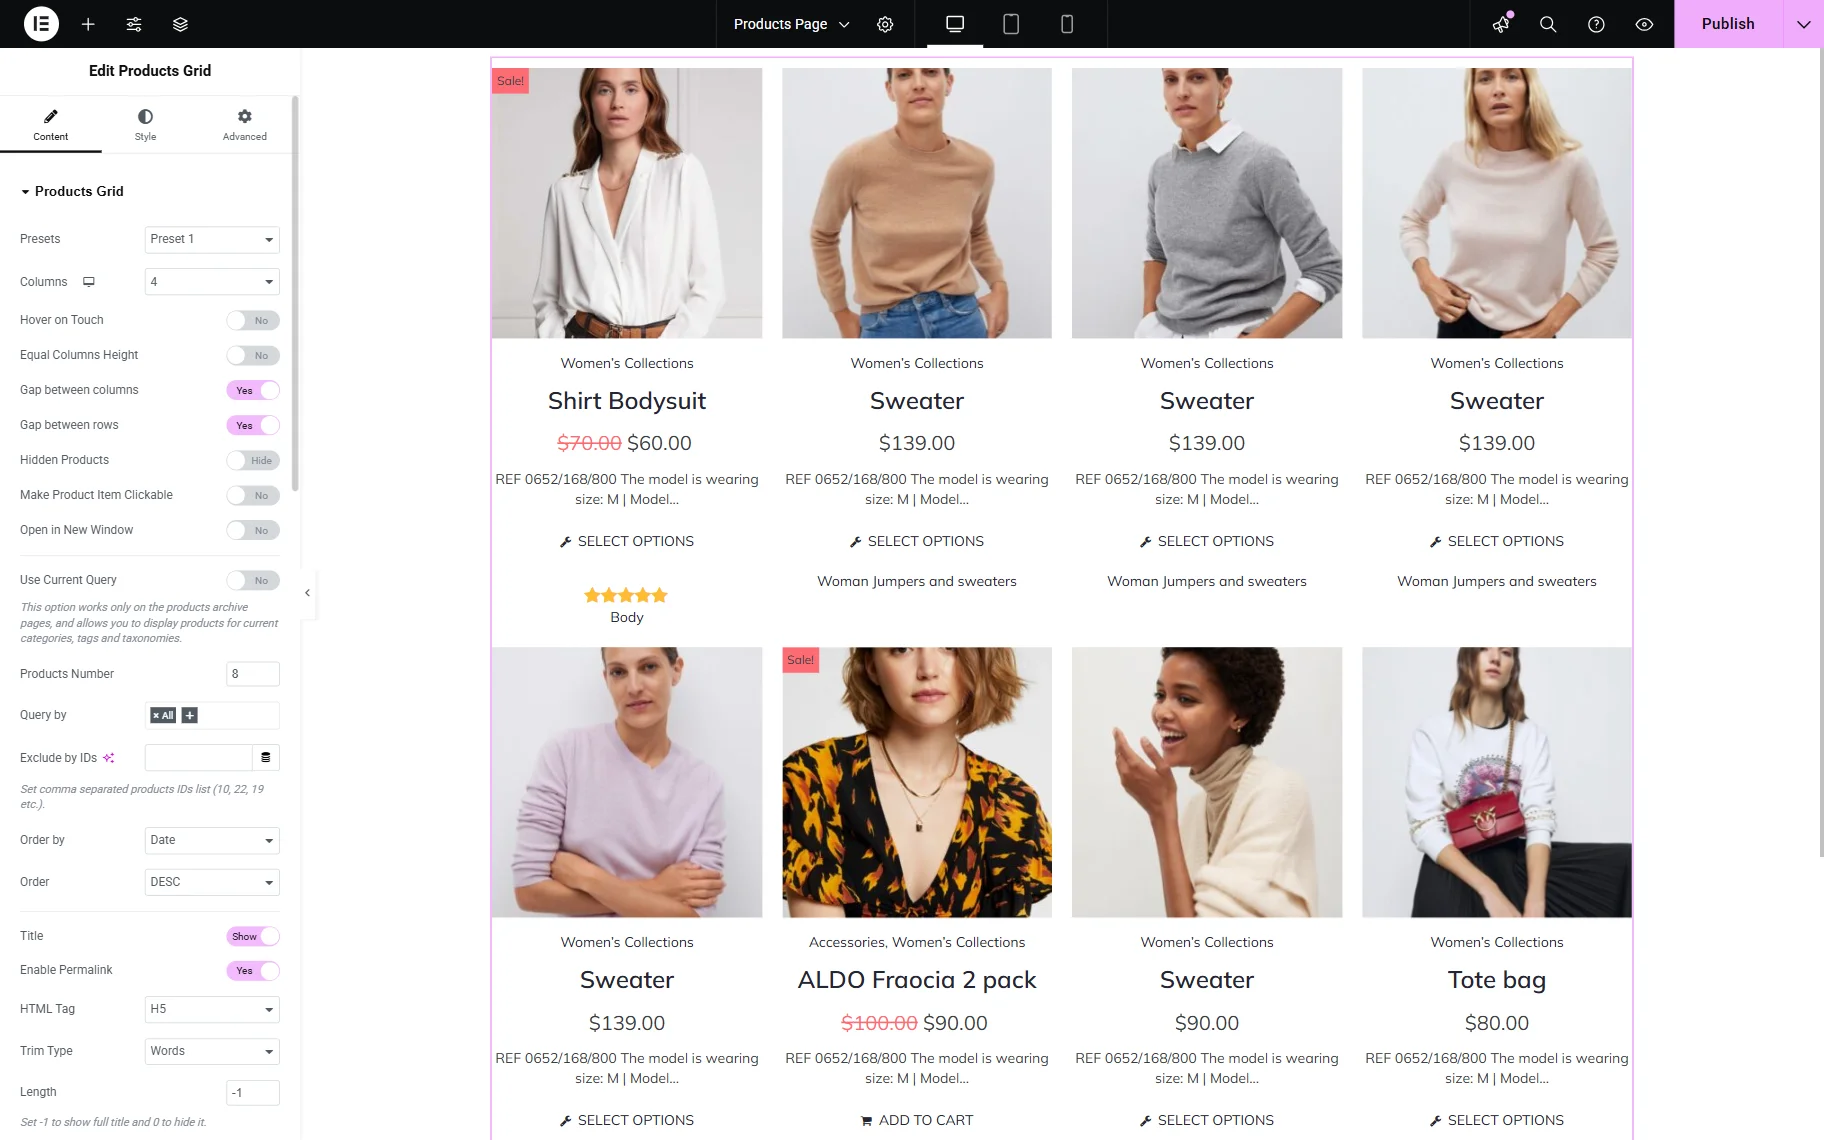
Then, add the Range Filter widget to the selected section.
In the Content settings block, choose the filter you created and set the This filter for feature to “JetWooBuilder Products Grid” or any other suitable WooCommerce-related option.
You can also choose the Apply type between “AJAX,” “Mixed,” and “Page reload” options, as well as set the Apply on option to the “Value change” or “Click on apply button”.
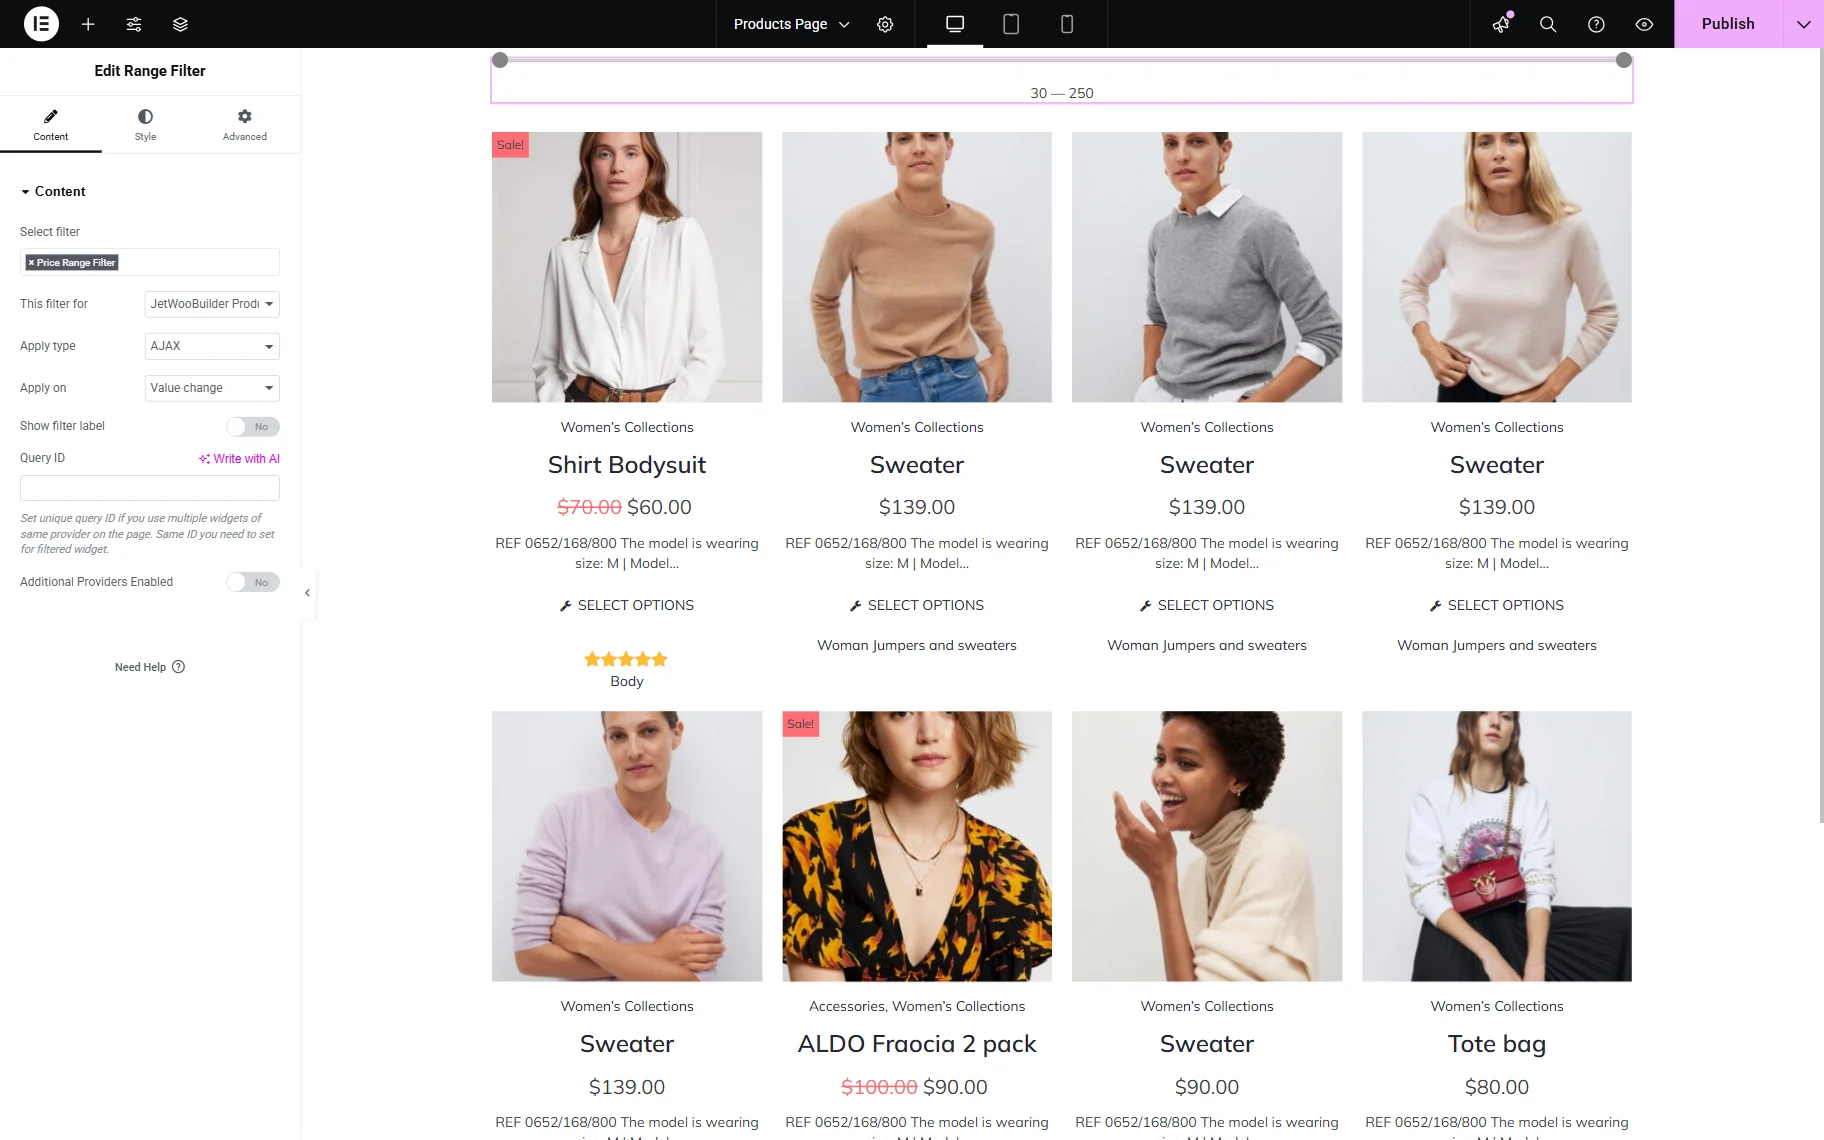
Afterward, you can change the appearance of your filter in the Style settings section.
When you’re done with the settings, click the “Publish” button.
Check the Result
Open the edited page on the front end. The Price Range filter and Products Grid are now shown on the front-end page.

Drag the slider to select the desired price range. Once done, the Products Grid will be filtered by the selected price.

That’s all; now, you know how to create a Price Range filter for WooCommerce products on your WordPress website.