Range Filter Overview
This overview describes how to create a Range filter and apply it to different publication types using the JetSmartFilters plugin.
The JetSmartFilters plugin has several types of filters that allow the visitor to specify the search for some definite parameters.
The “Range” filter lets users define a specific range using a slider. Users can adjust the slider to select their preferred value. Subsequently, items will be arranged to fall within the range, from the smallest to the highest value, according to the user’s selection. For example, these values can be prices for WooCommerce store pages.
Alternatively, one can filter JetEngine posts of some Custom Post Type with numeric values in the meta fields, like price (e-commerce websites), age (dating websites), score (gaming websites), clothing size (e-commerce websites), salary (job search websites), etc.
Filter Settings
A new filter can be created in the WordPress Dashboard > Smart Filters > Add New tab. The creation should start with the Filter Name typed in.
In the Filter Settings section, one should choose the “Range” as the Filter Type.
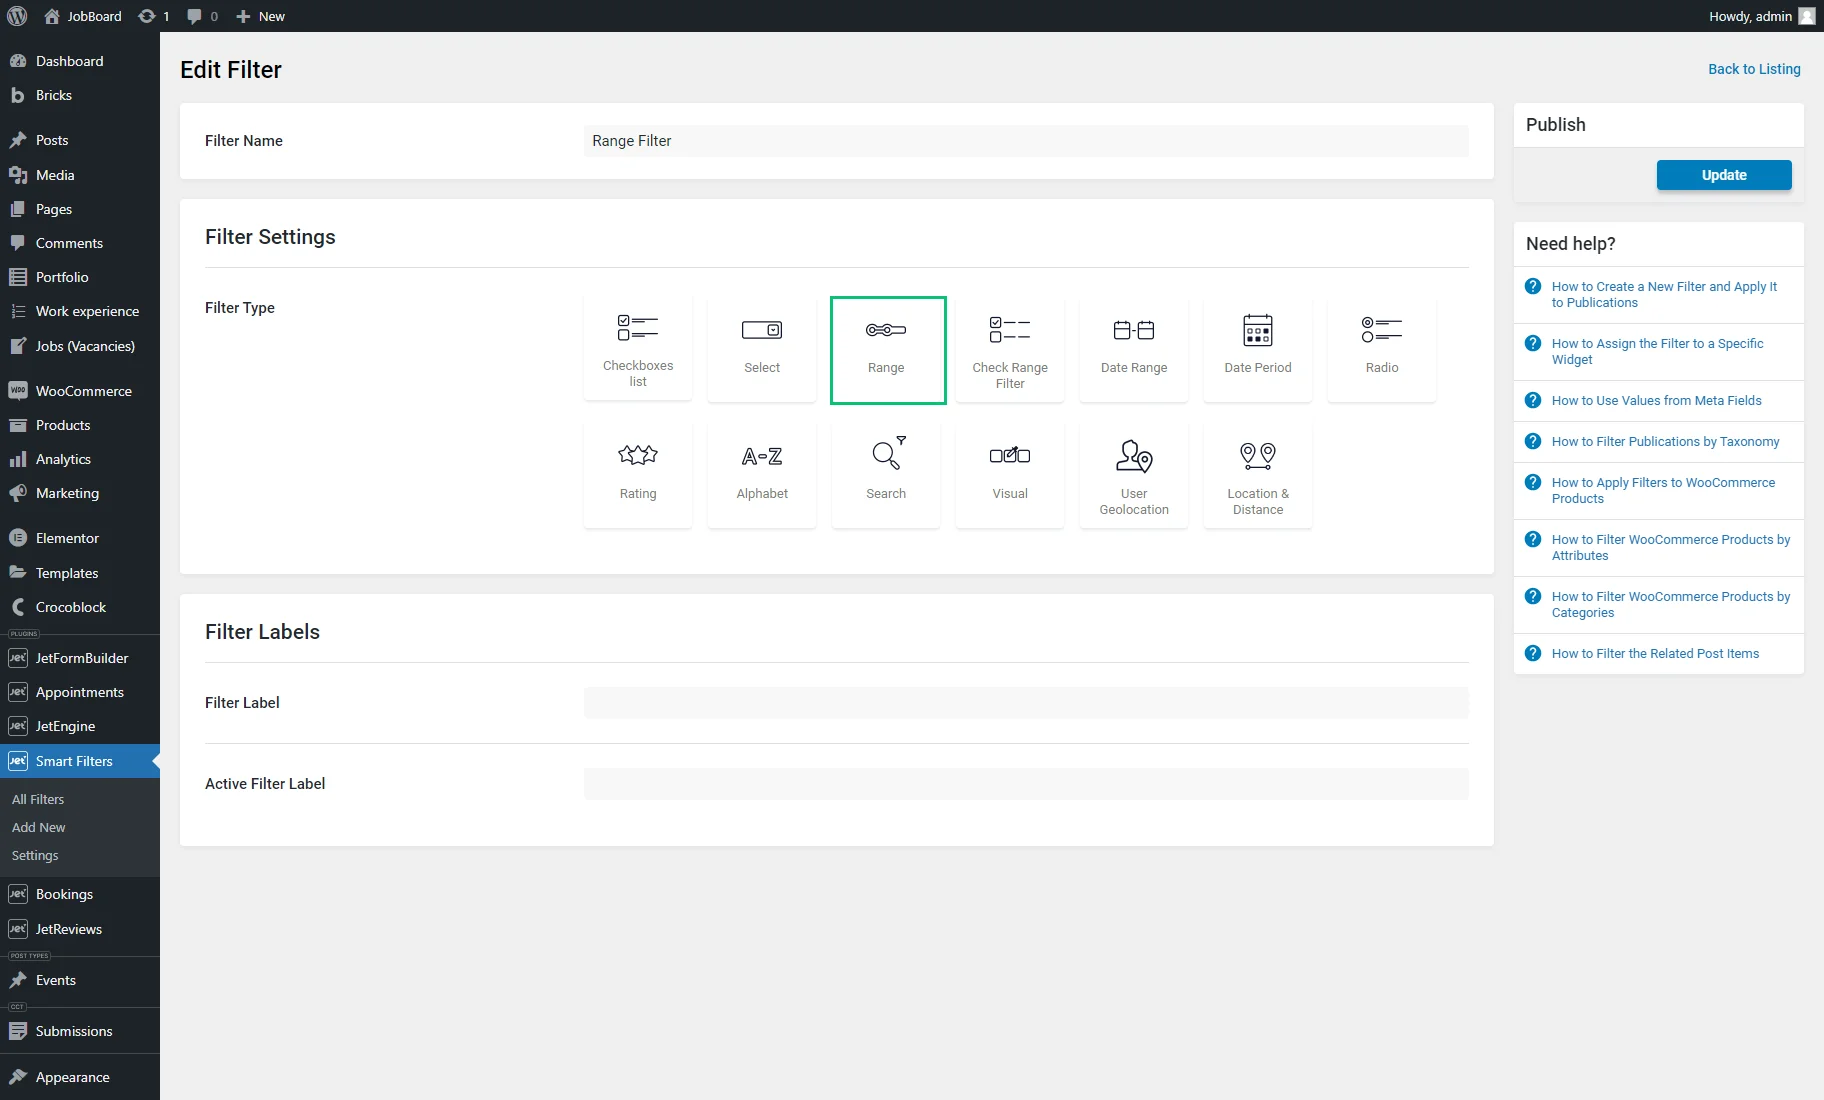
After that, such settings will appear:
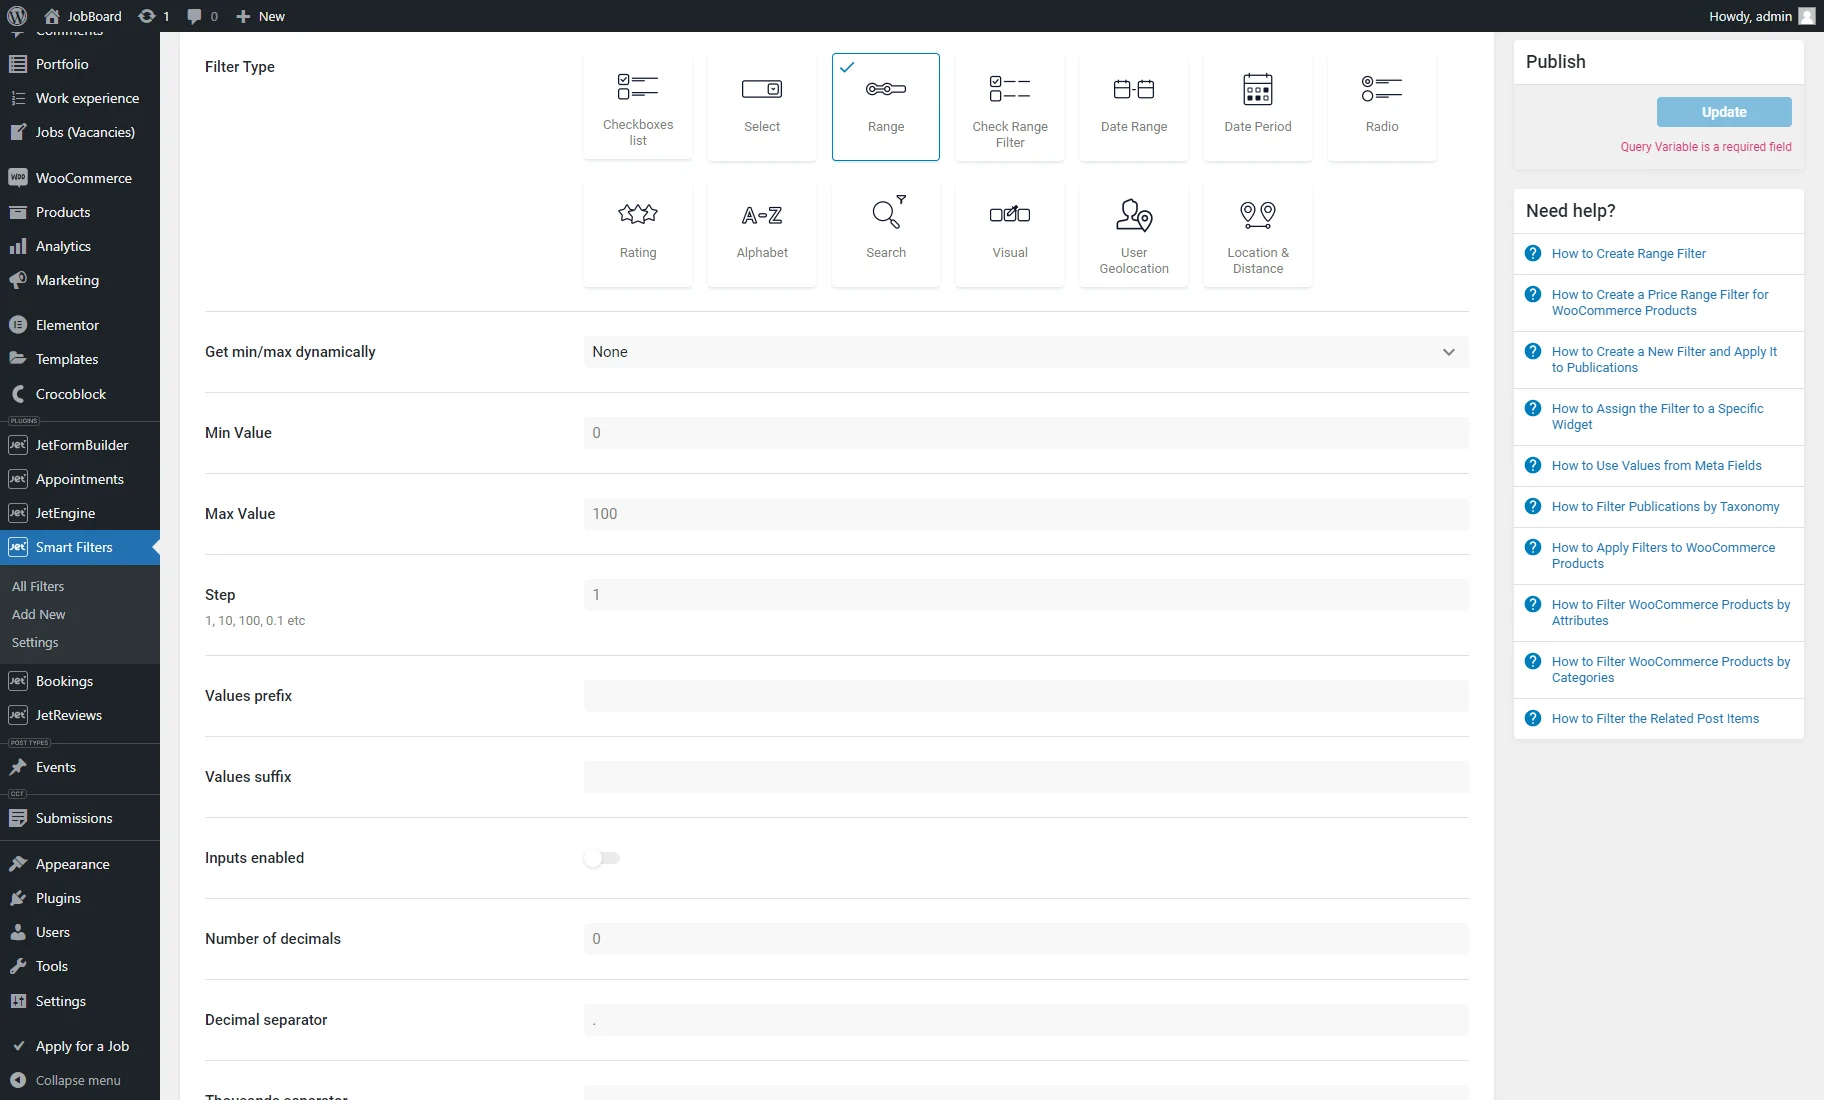
- Get min/max dynamically — a drop-down menu with such options:
- None — a default option, with which the range will not be set dynamically but taken from the Min Value and Max Value fields;
- WooCommerce min/max prices — an option available with the WooCommerce plugin installed and activated. With this option chosen, the range will be set automatically according to the product minimum and maximum prices;
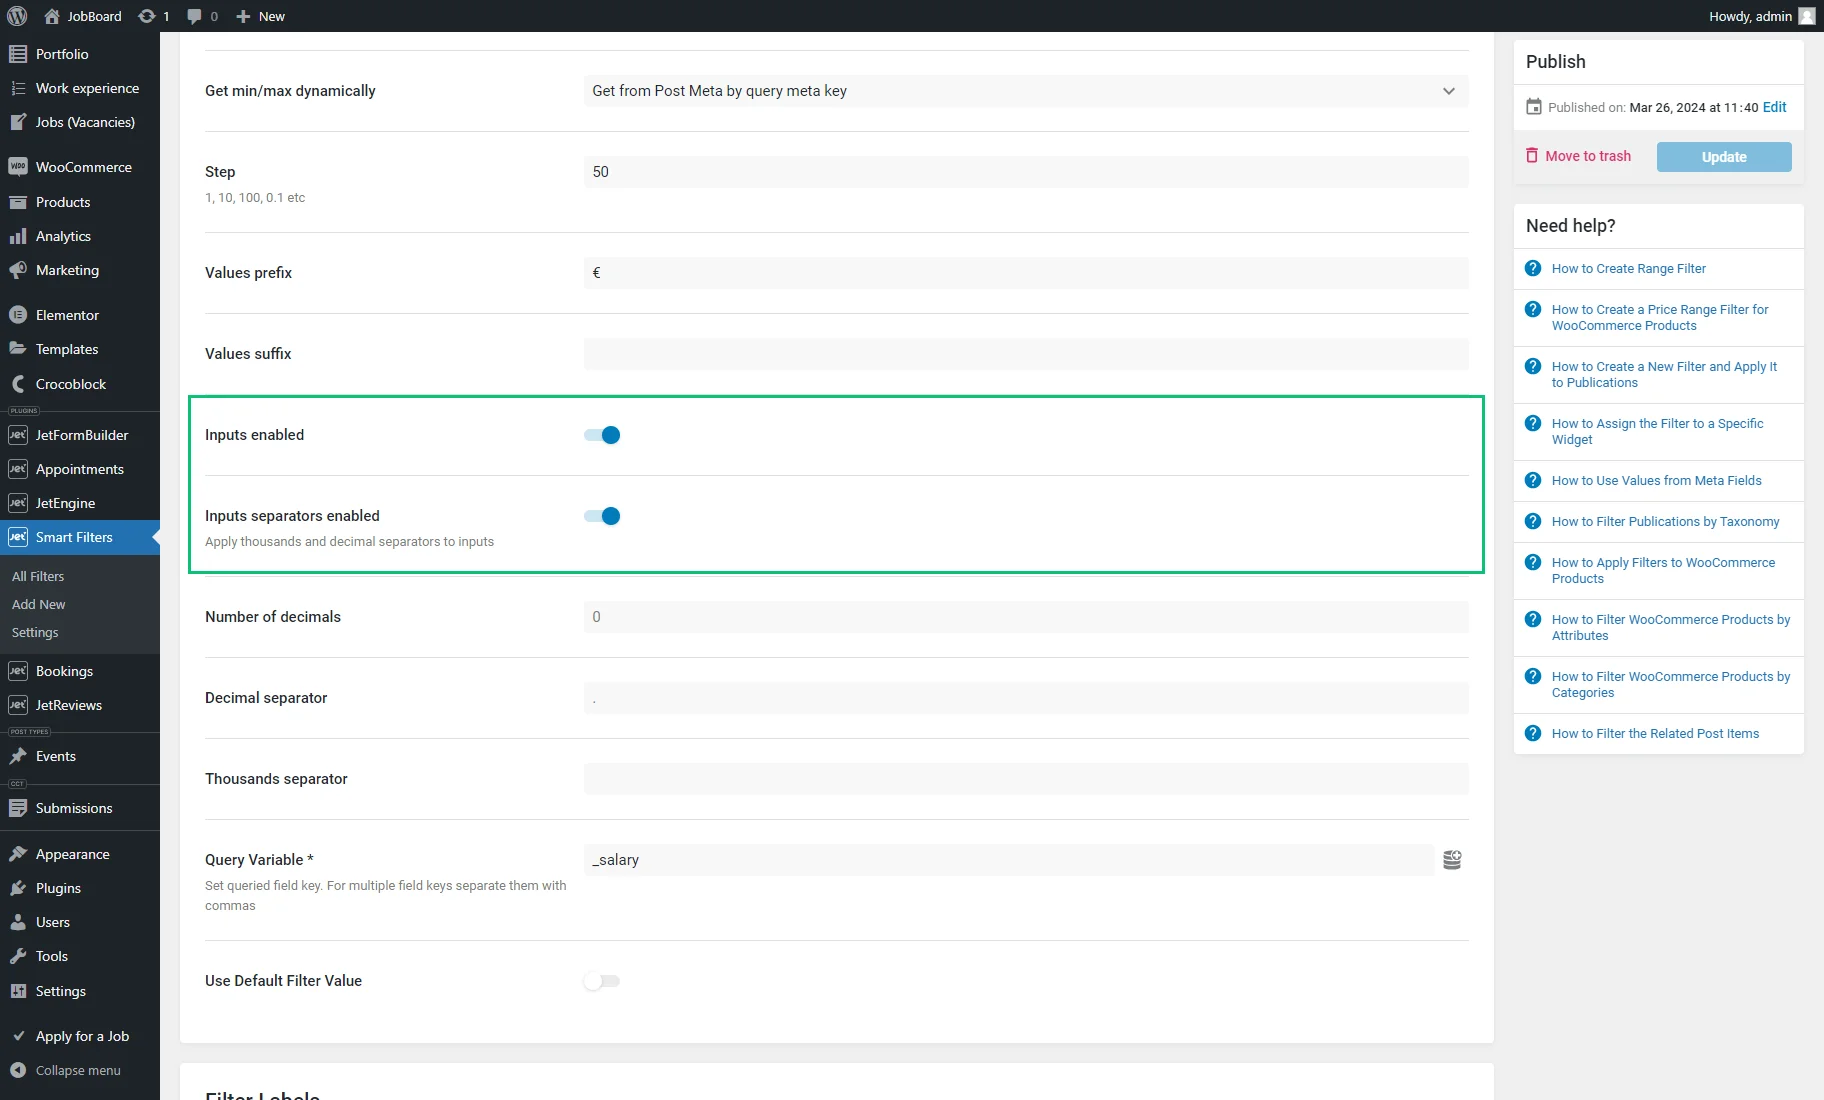
- Get from Post Meta by query meta key — an option that gets min/max values from meta fields (e.g., “Number” or “Text”) added to custom post types or WordPress posts via Meta Boxes;
- Get from Term Meta by query meta key — an option that gets min/max values from meta fields added to custom taxonomies or WordPress taxonomies via Meta Boxes;
- Get from User Meta by query meta key — an option that gets min/max values from meta fields added to users via Meta Boxes;
- Step — an option that sets how the value will change when the user moves the slider indicators to the desired positions. The lower the Step value, the more precisely the visitor can tune the range;
- Values prefix — a field that allows specifying a fixed text or value before the min and max value. For example, if “€” is entered here, a range in the filter will look like this: “€1 – €100”;
- Values suffix — a setting that allows specifying a fixed text or value after the min and max value. For example, if “cm” is entered here, a range in the filter will look like this: “1cm – 100cm”;
- Inputs enabled — a toggle; if enabled, the input bars will appear under the range, and the users will be able to set the max and min values manually by typing the numbers into the bars;
- Inputs separators enabled — a toggle available with the Inputs enabled toggle activated; applies thousands and decimal separators to inputs;
- Number of decimals — a field that defines how many numbers will be shown after the decimal point. For example, if “2” is set, any number in the range will be limited to two decimal places (e.g., “3.14”);
- Decimal separator — a field that sets a symbol to mark the boundary between the whole number and the fraction part of a decimal number (e.g., 3.14). For instance, it can be a period (.), comma (,), space ( ), or apostrophe (‘);
- Thousands separator — a field that sets a symbol to separate groups of three digits in large numbers, typically to improve readability (e.g., 1,000,000). For instance, it can be a period (.), comma (,), space ( ), or apostrophe (‘);
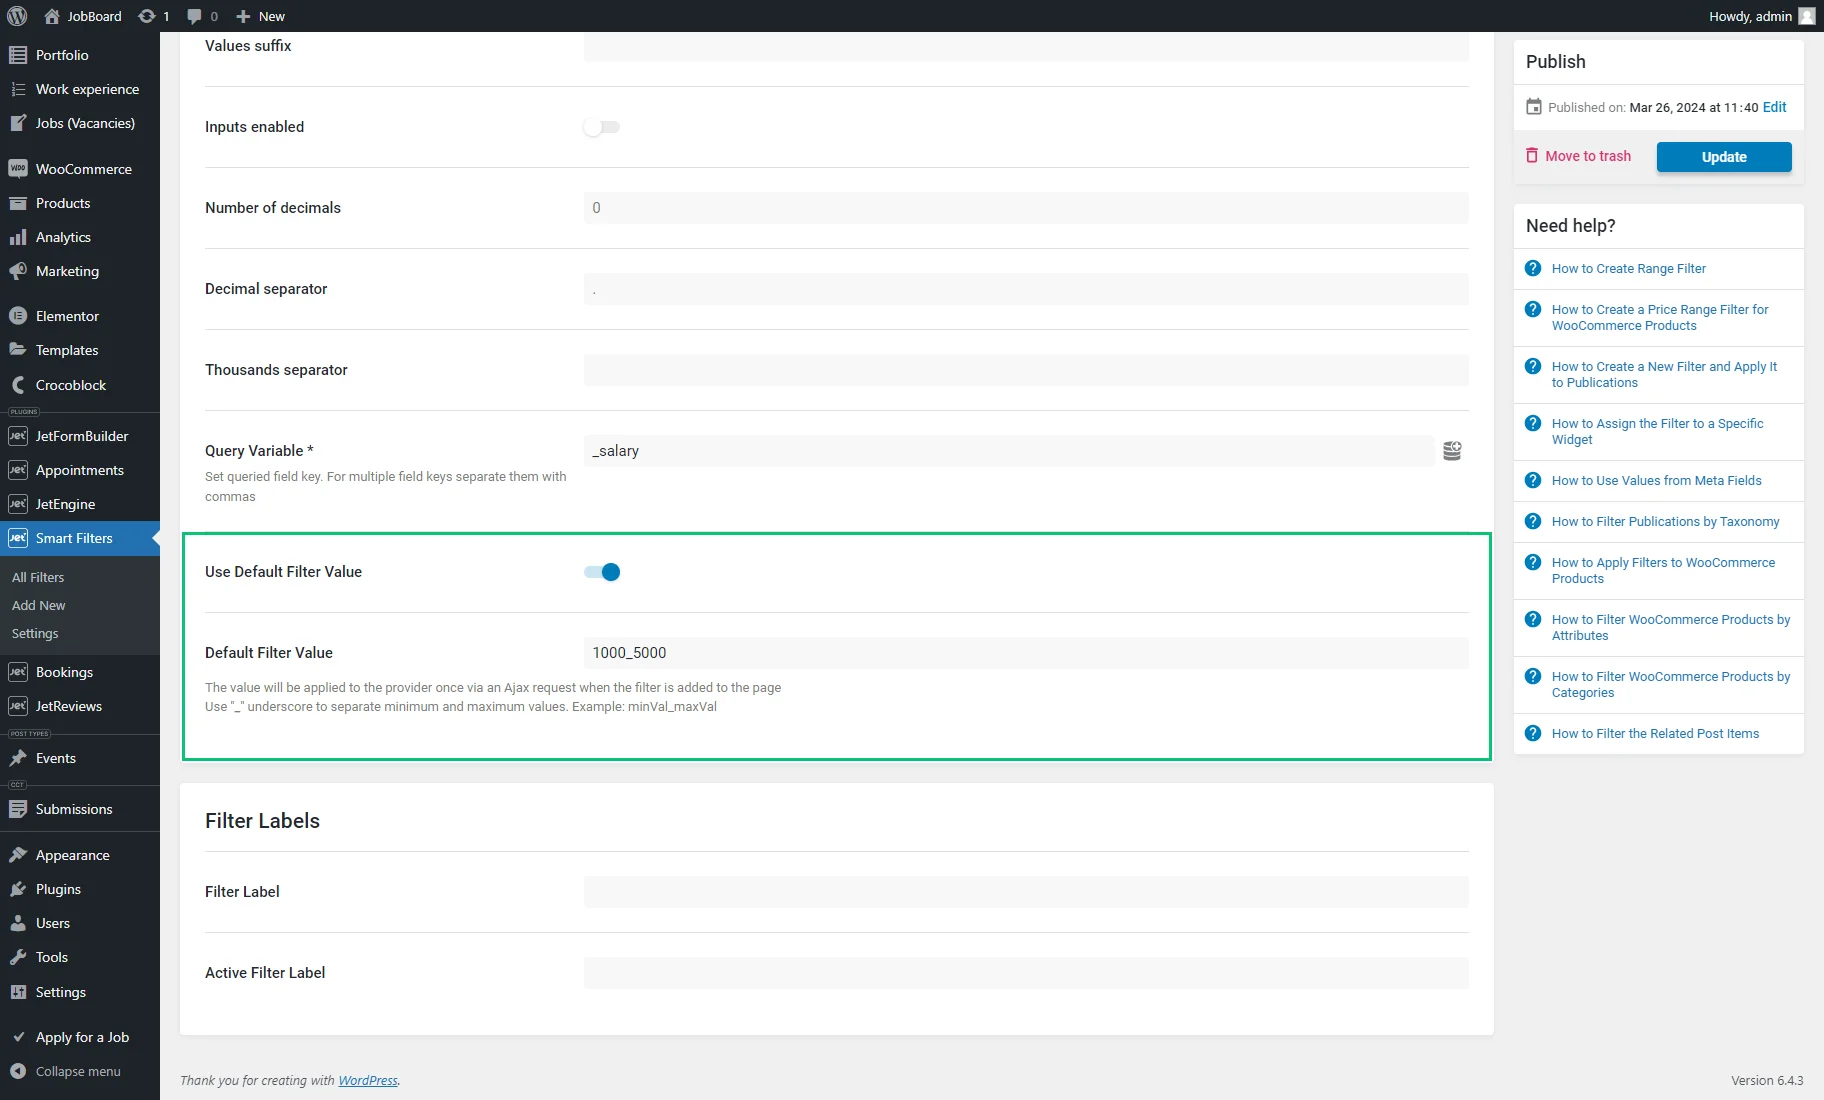
- Query Variable – an obligatory field where the query variable key should be put. When filtering by a meta field, one should copy and paste the Name/ID of the meta field into the Query Variable field. Multiple field keys should be separated with commas. Also, when the “coin stack” button is hit, the dynamic value can be pulled. For example, one can specify the “_price” meta field name to allow working with the Price range;
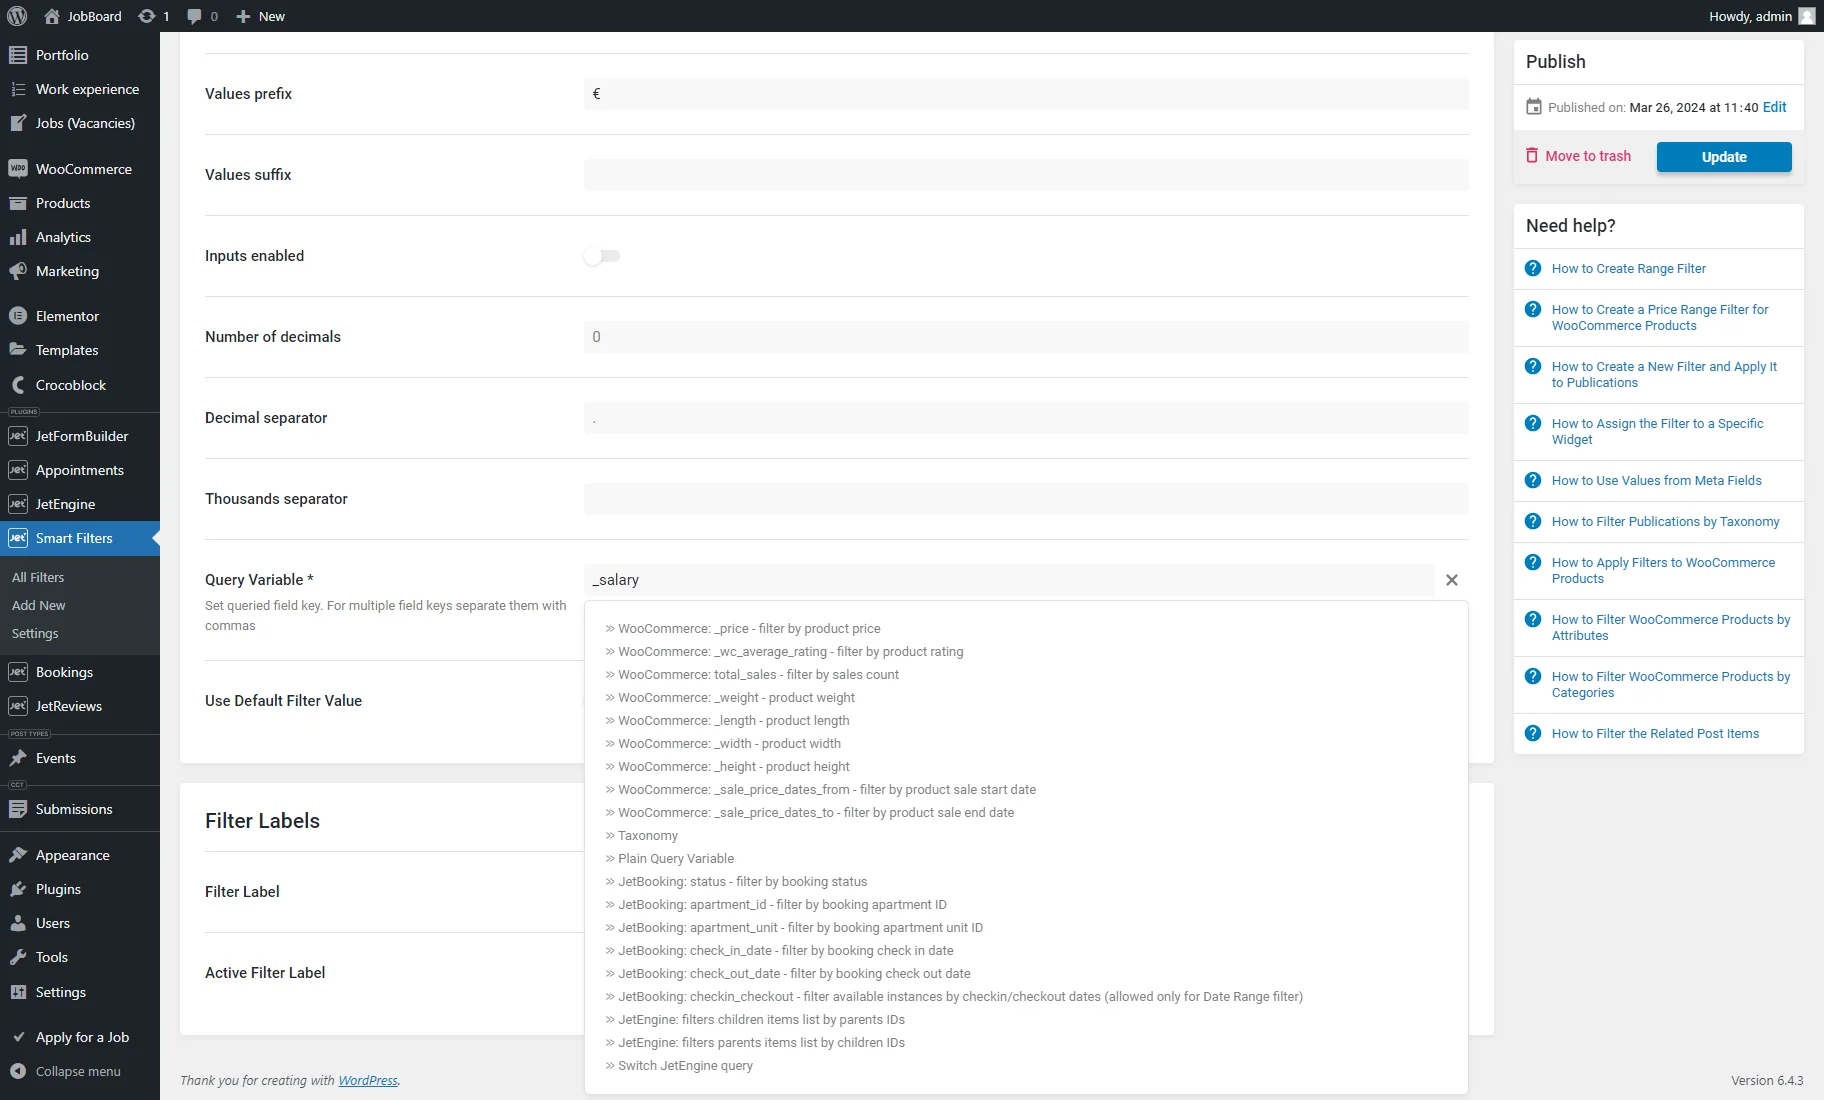
- Use Default Filter Value — if enabled, it activates the Default Filter Value field where a value or several values separated by commas can be typed that will be applied to the provider once through an Ajax request upon adding the filter to the page. The “_” underscore should be used to separate minimum and maximum values (e.g., “1000_5000”).
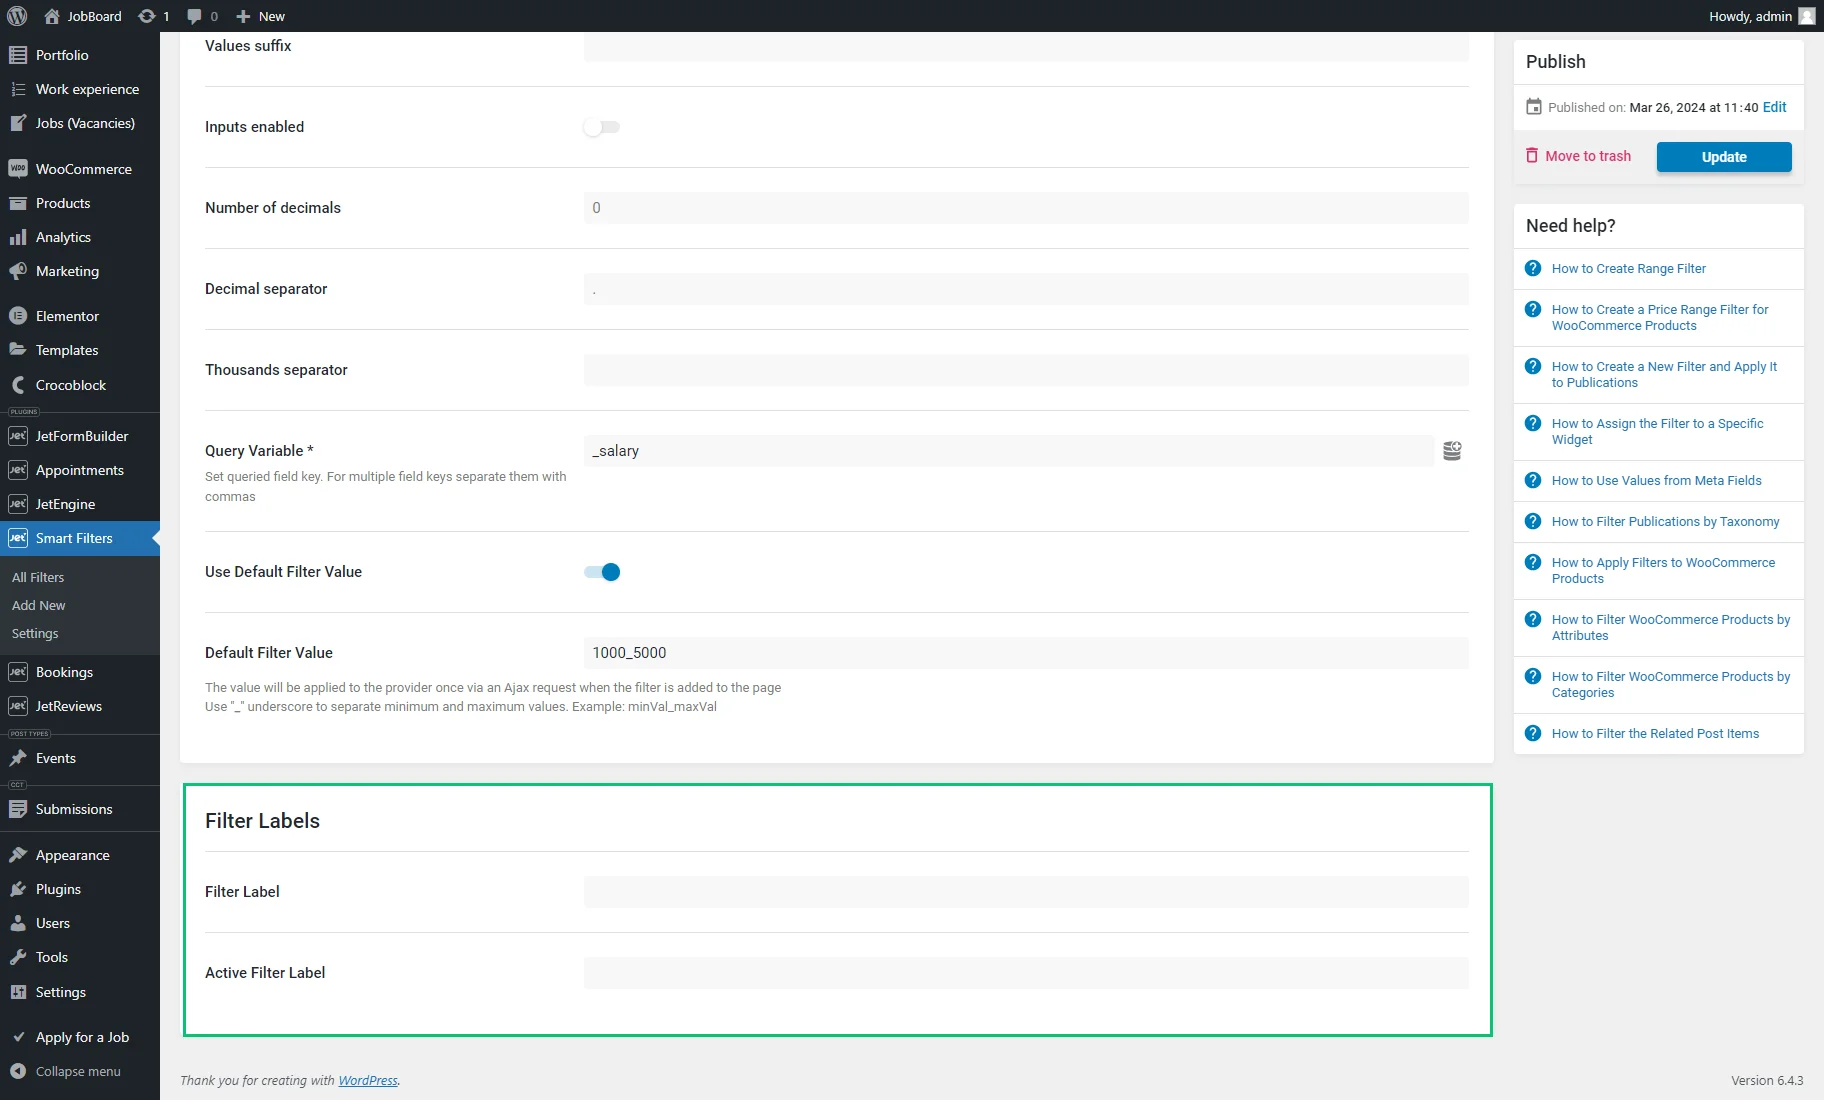
Filter Labels
In the Filter Labels section, one can enter the Filter Label that will be visible when the filter isn’t currently applied and the Active Filter Label that is shown after users filter the content and that may help users understand what criteria are currently being used to filter or refine the results they are viewing.
Assigning Range Filter to Content
The “Range” filter is deployable on the front end via various editors, such as Elementor, WordPress editor, or Bricks. It should be placed with the content that needs to be filtered.
To learn what widgets, blocks, and elements can be filtered, head to the Filter Providers Overview.
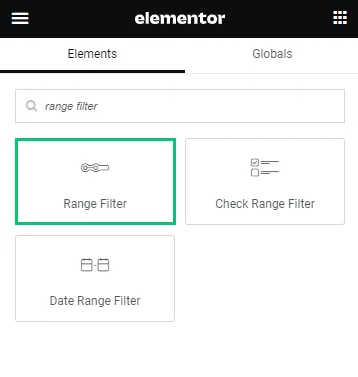
Range Filter widget in Elementor
The Range Filter widget is available in the Elementor Page Builder.
The widget contains the following settings:
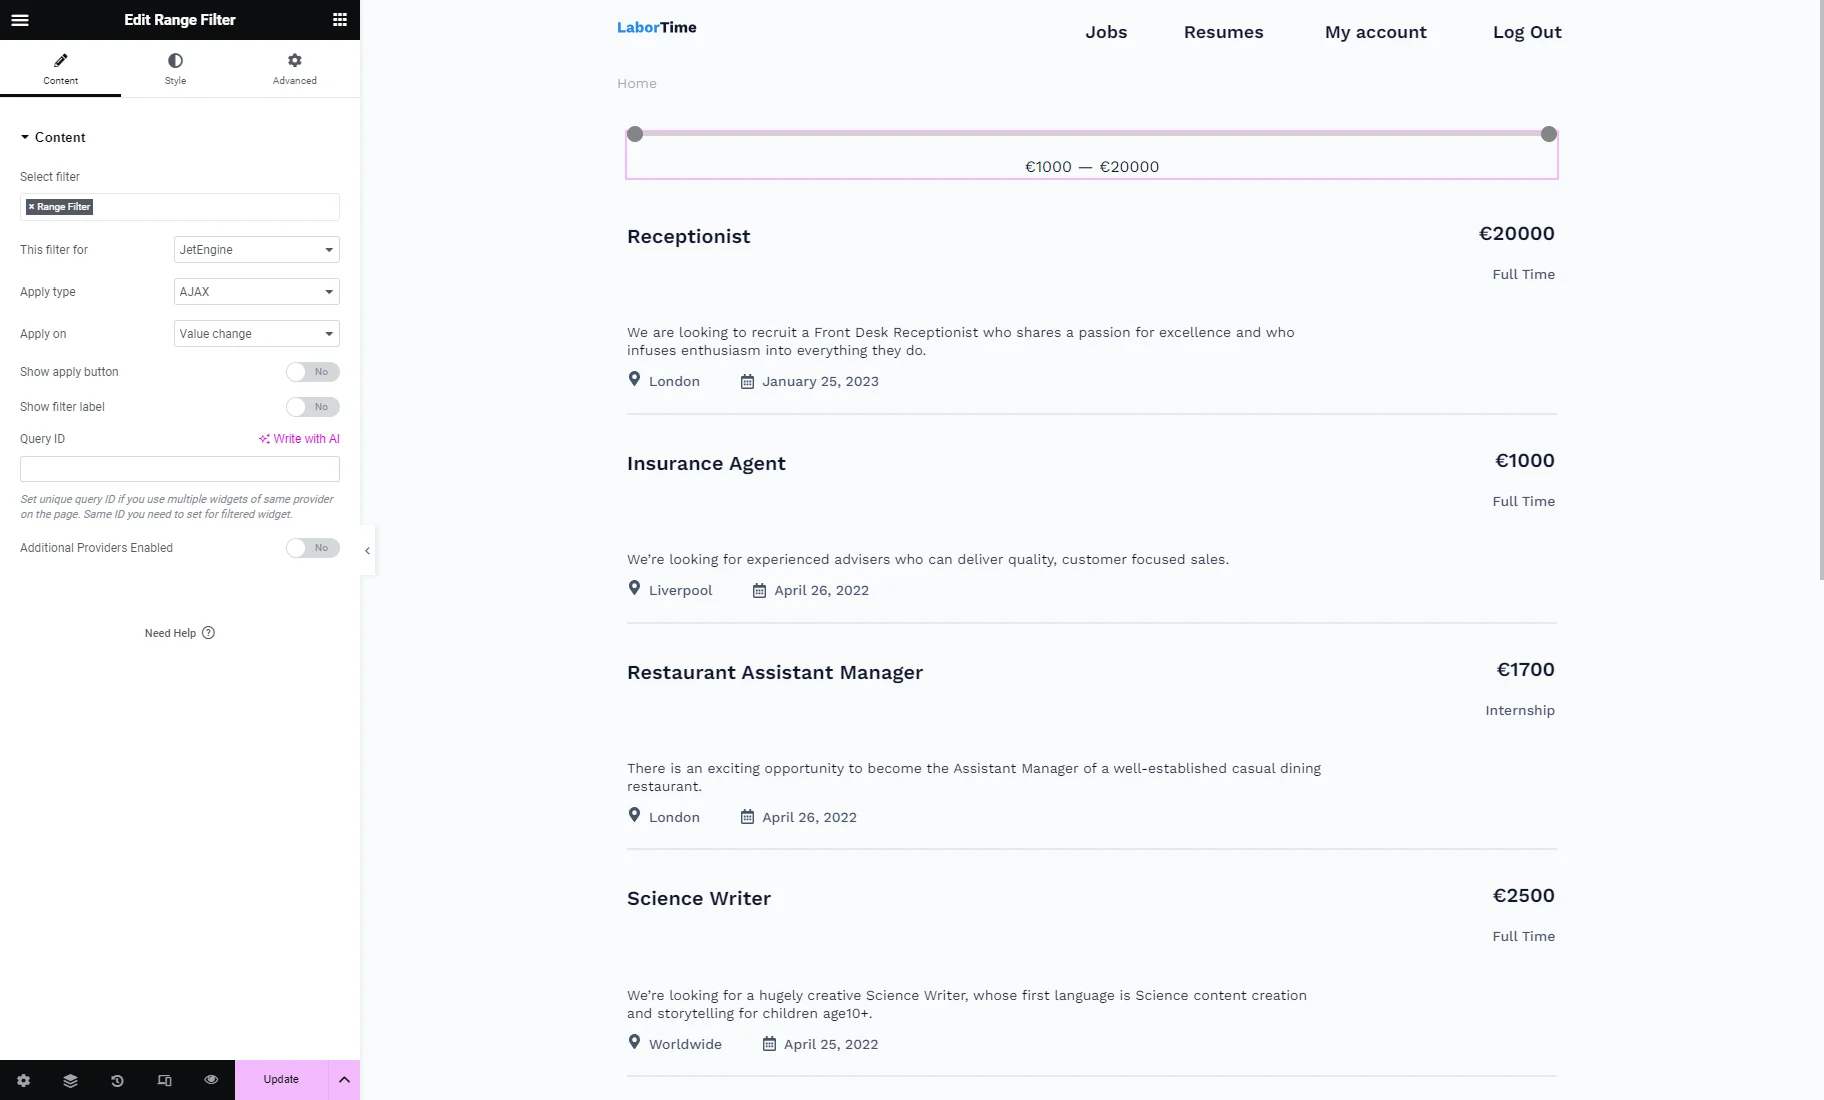
- Select filter — a bar where the filter’s name should be put so it appears on the page. Filter providers can be enabled or disabled in the General Settings tab of the JetSmartFilters dashboard;
- This filter for — a provider list to pick the widget to which the filter will be attached;
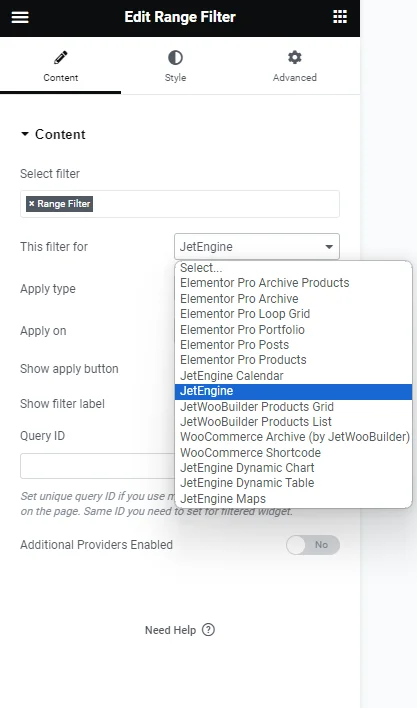
- Apply type — a field to choose a way the filter will work. Presented options: “AJAX,” “Page Reload,” and “Mixed.” “AJAX” displays results without reloading the page, “Page Reload” reloads a page, and “Mixed” doesn’t reload a page but transforms the page URL;
- Apply on — a field to pick when the filter is applied: once the value changes or by clicking the “Apply” button;
- Show apply button — a switcher that activates the “Apply” button;
- Show filter label — a toggle that shows a filter label above the filter;
- Query ID — a field that can be used if there are several widgets of the same type on the same page, and one is supposed to be used as a provider. For instance, if there are two Listing Grids on the page and only one should be filtered, the Listing Grid settings (Advanced tab) should be opened, and its unique name should be set in the CSS ID field and then put here, in the Query ID field of the filter;
- Additional Providers Enabled — a toggle to be enabled if several widgets should be filtered. Read more about this option in the Additional Providers List Option Overview. You can also check the How to Apply Filters to Several Widgets on a Page tutorial.
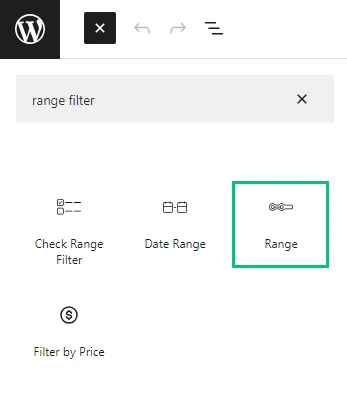
Range block in Gutenberg
The Range block is available in the WordPress (Block) editor.
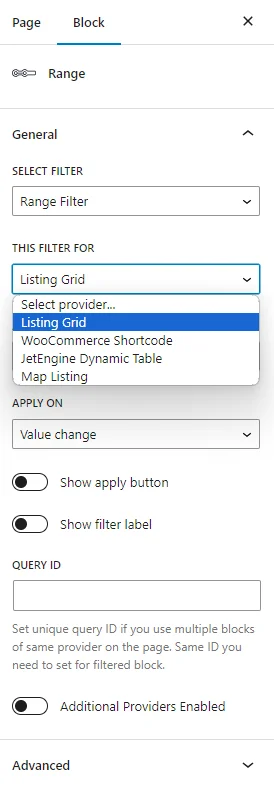
In the Block Editor, the same settings as in Elementor are presented.
The only difference is the options in the THIS FILTER FOR drop-down list: options for Elementor and JetWooBuilder are not available, but you can pick the “WooCommerce Shortcode” variant and options for JetEngine.
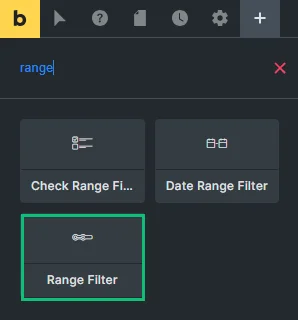
Range Filter element in Bricks
The Range Filter element is available in Bricks.
This element also repeats the settings used in Elementor.
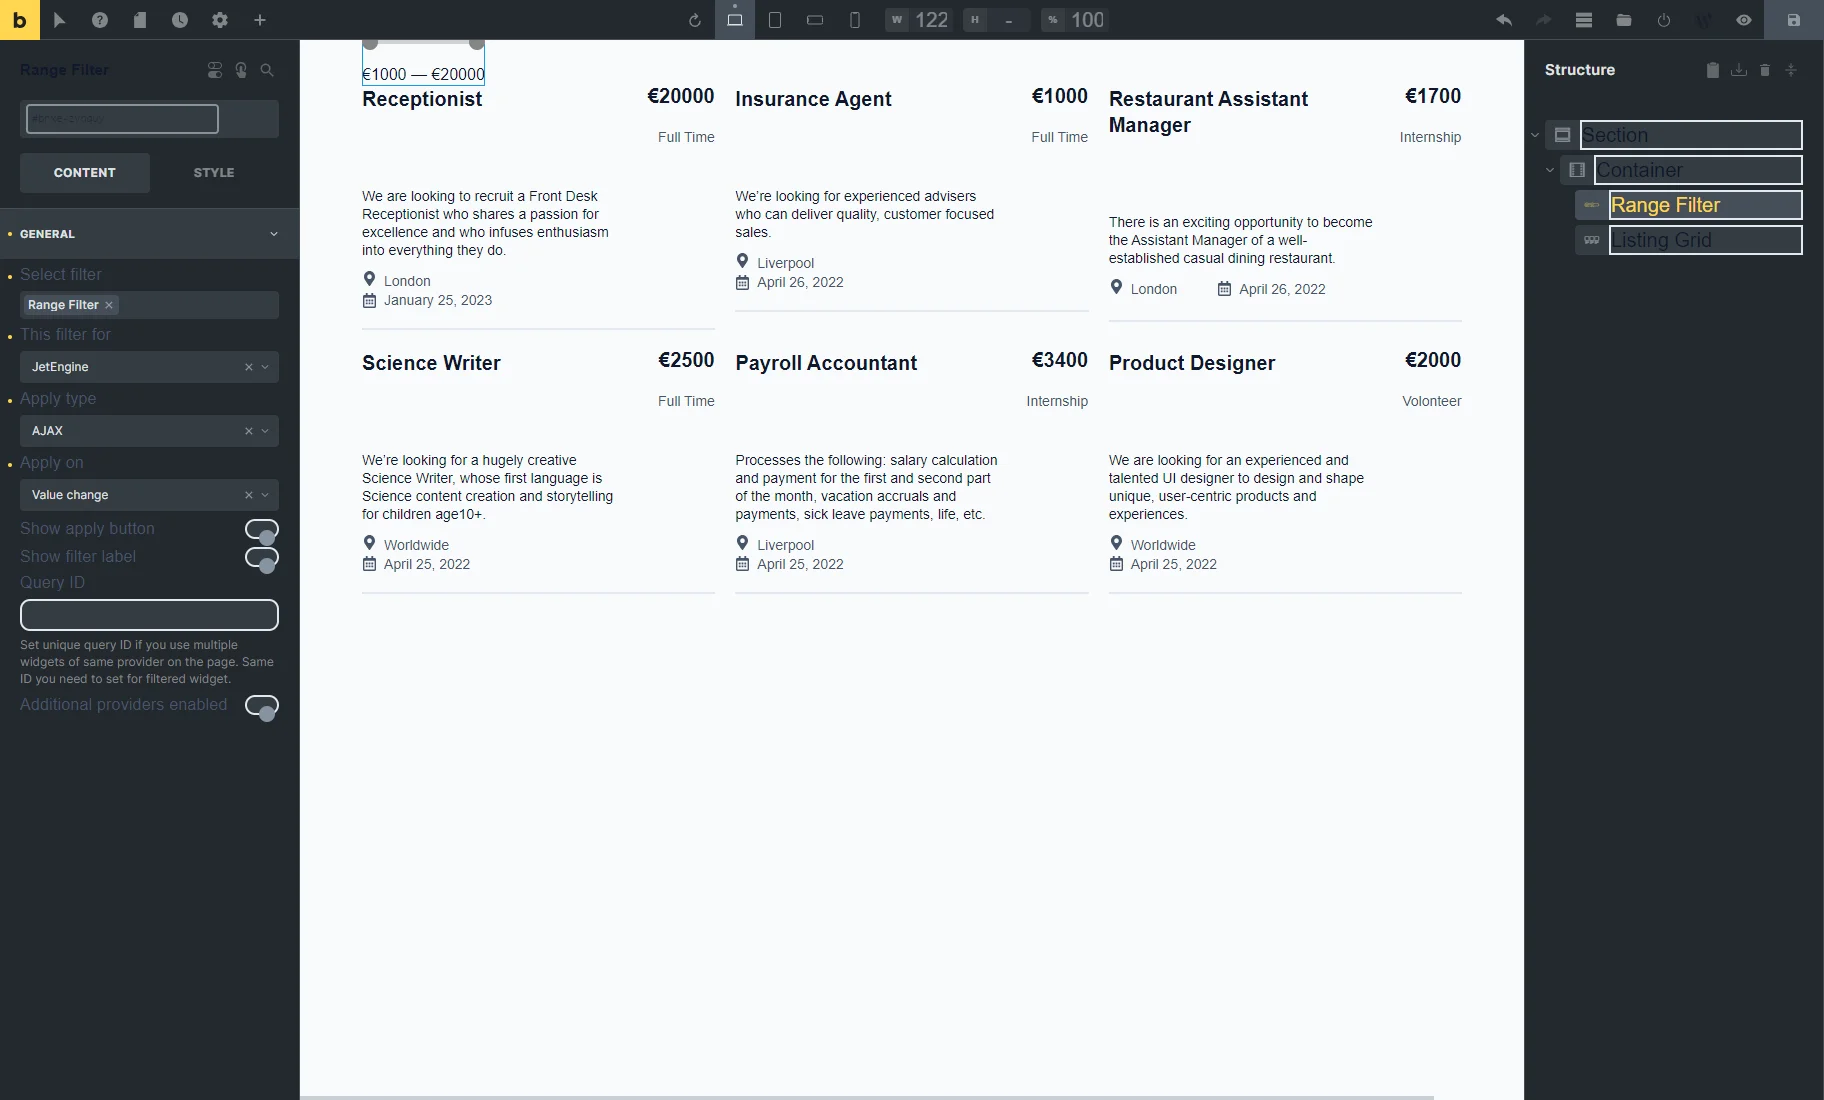
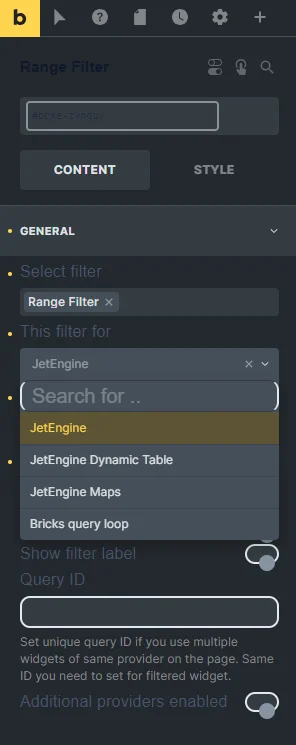
The only difference is the options in the THIS FILTER FOR drop-down list: options for Elementor and JetWooBuilder are not available, but you can pick variants for JetEngine and the “Bricks query loop” variant. Learn more from the How to Apply Filters to Bricks Query Loop tutorial.
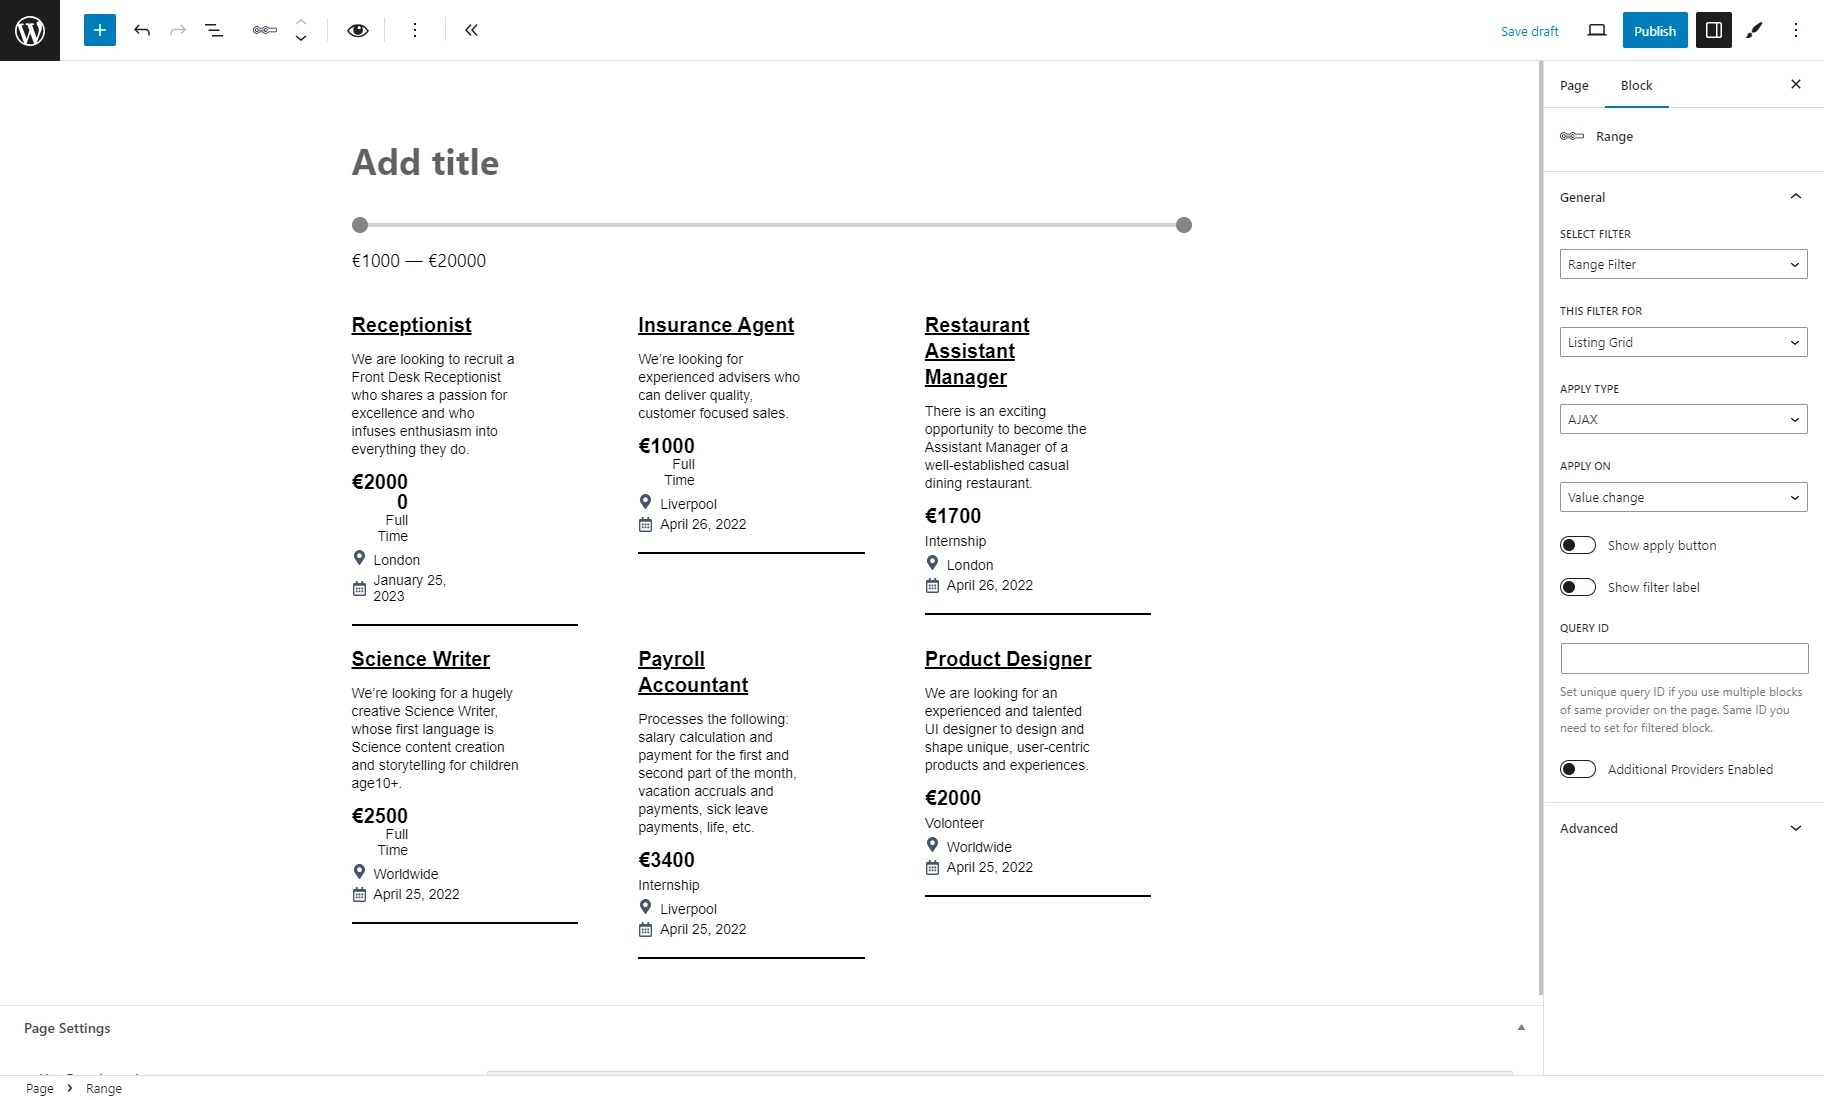
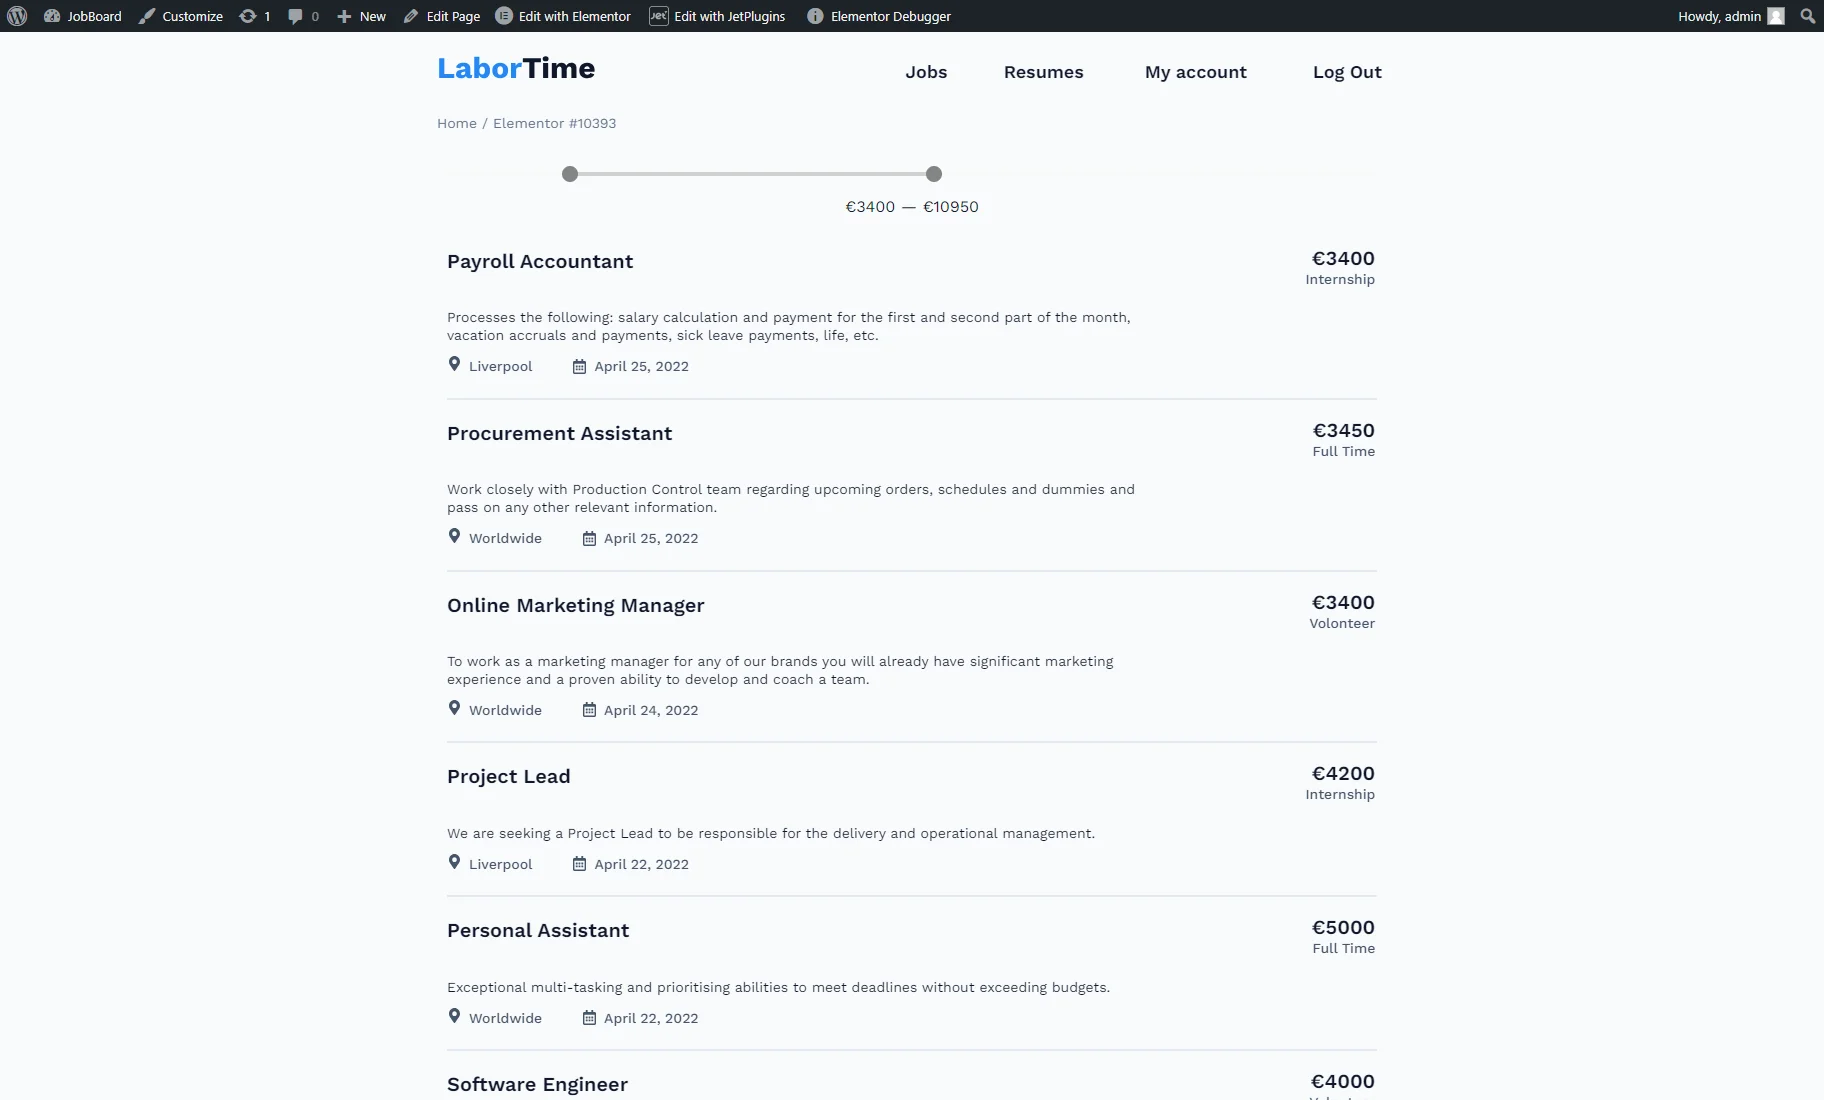
Result
The result can be seen on the front end after one of the pages built with the preferred editor is published. The Default Filter Value settings, adjusted during filter creation, are applied on the front end via an Ajax request.
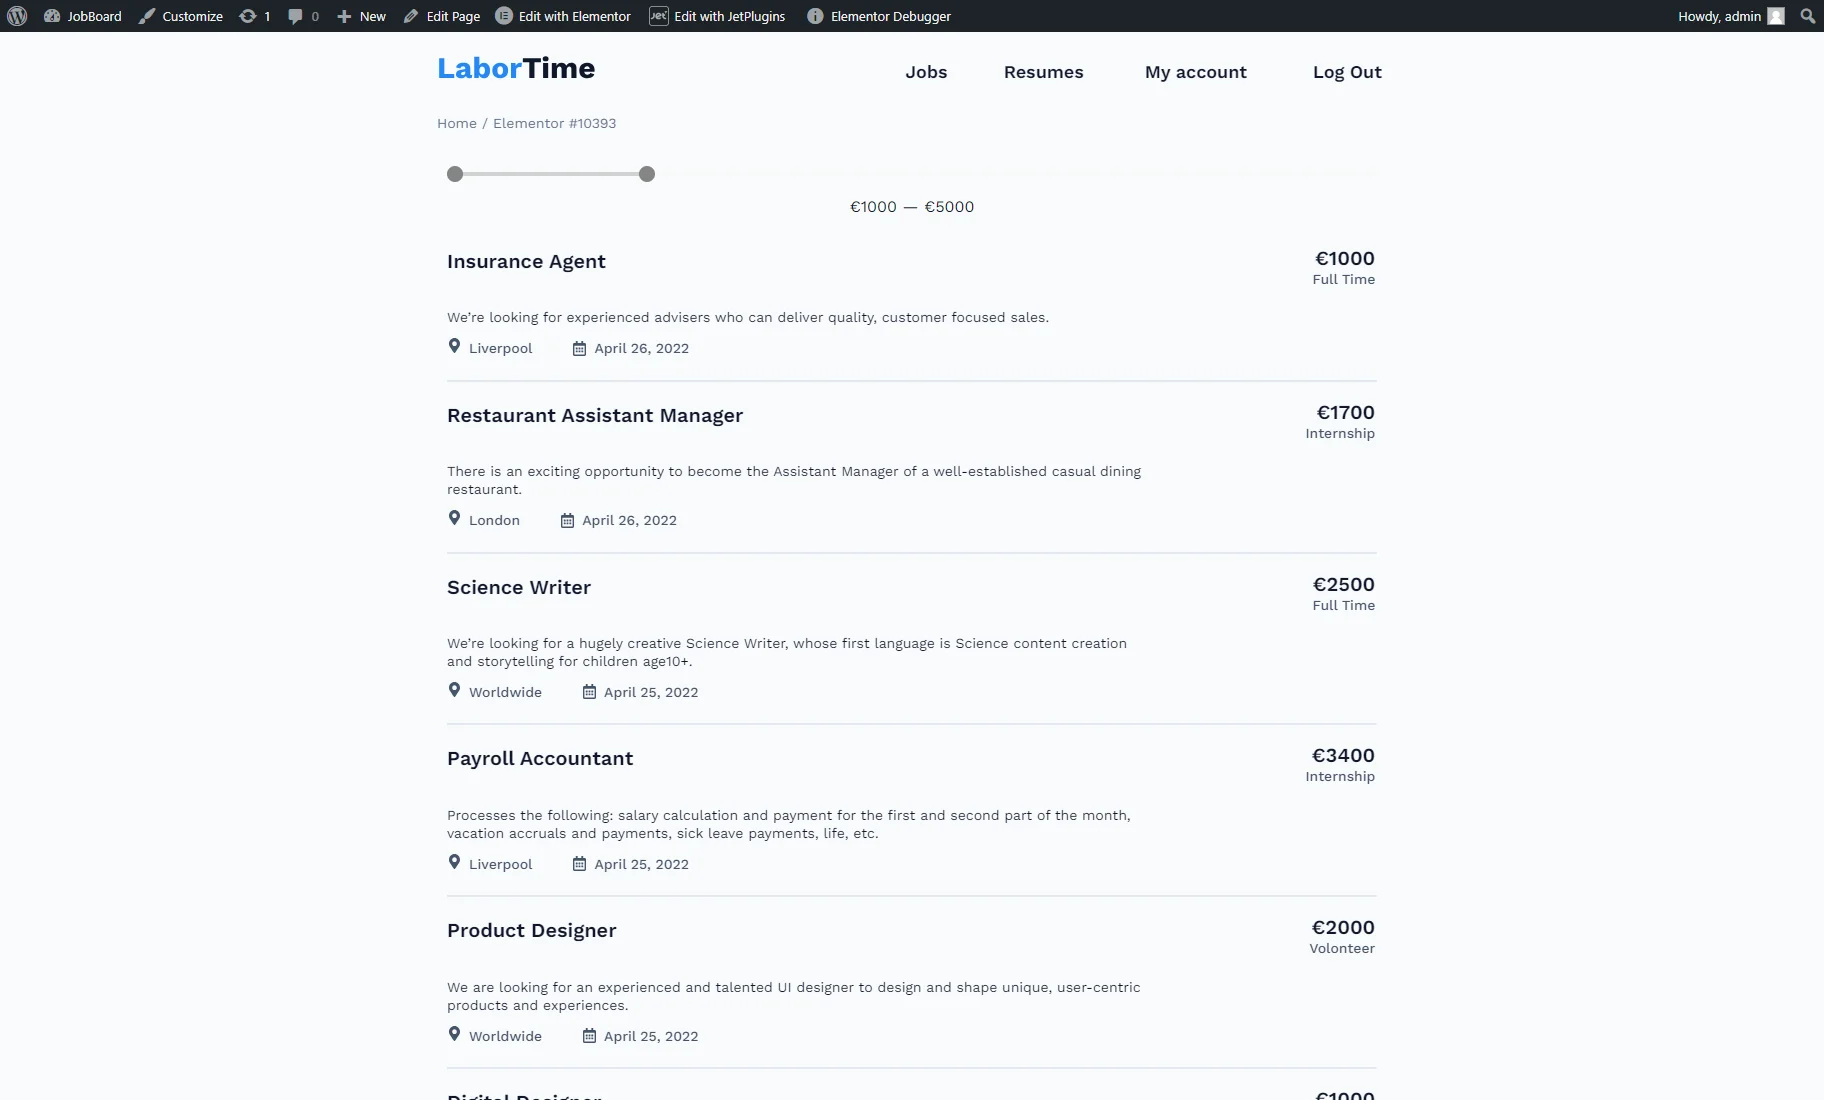
The range can be changed manually as well by moving the slider indicators.
That’s it; now you know how to use the “Range” filter, available with the JetSmartFilters plugin, on your WordPress website.