How to Create a Cart Page Template
Through this tutorial, you will learn how to create a custom cart template and assign it to your WooCommerce shop’s cart page using the JetWooBuilder plugin.
Before you start, check the tutorial requirements:
- Elementor (Free version) installed and activated
- WooCommerce plugin (Free version) installed and activated
- JetWooBuilder plugin installed and activated
- JetThemeCore plugin installed and activated
First, make sure all essential WooCommerce pages, including the cart, are available on your website.
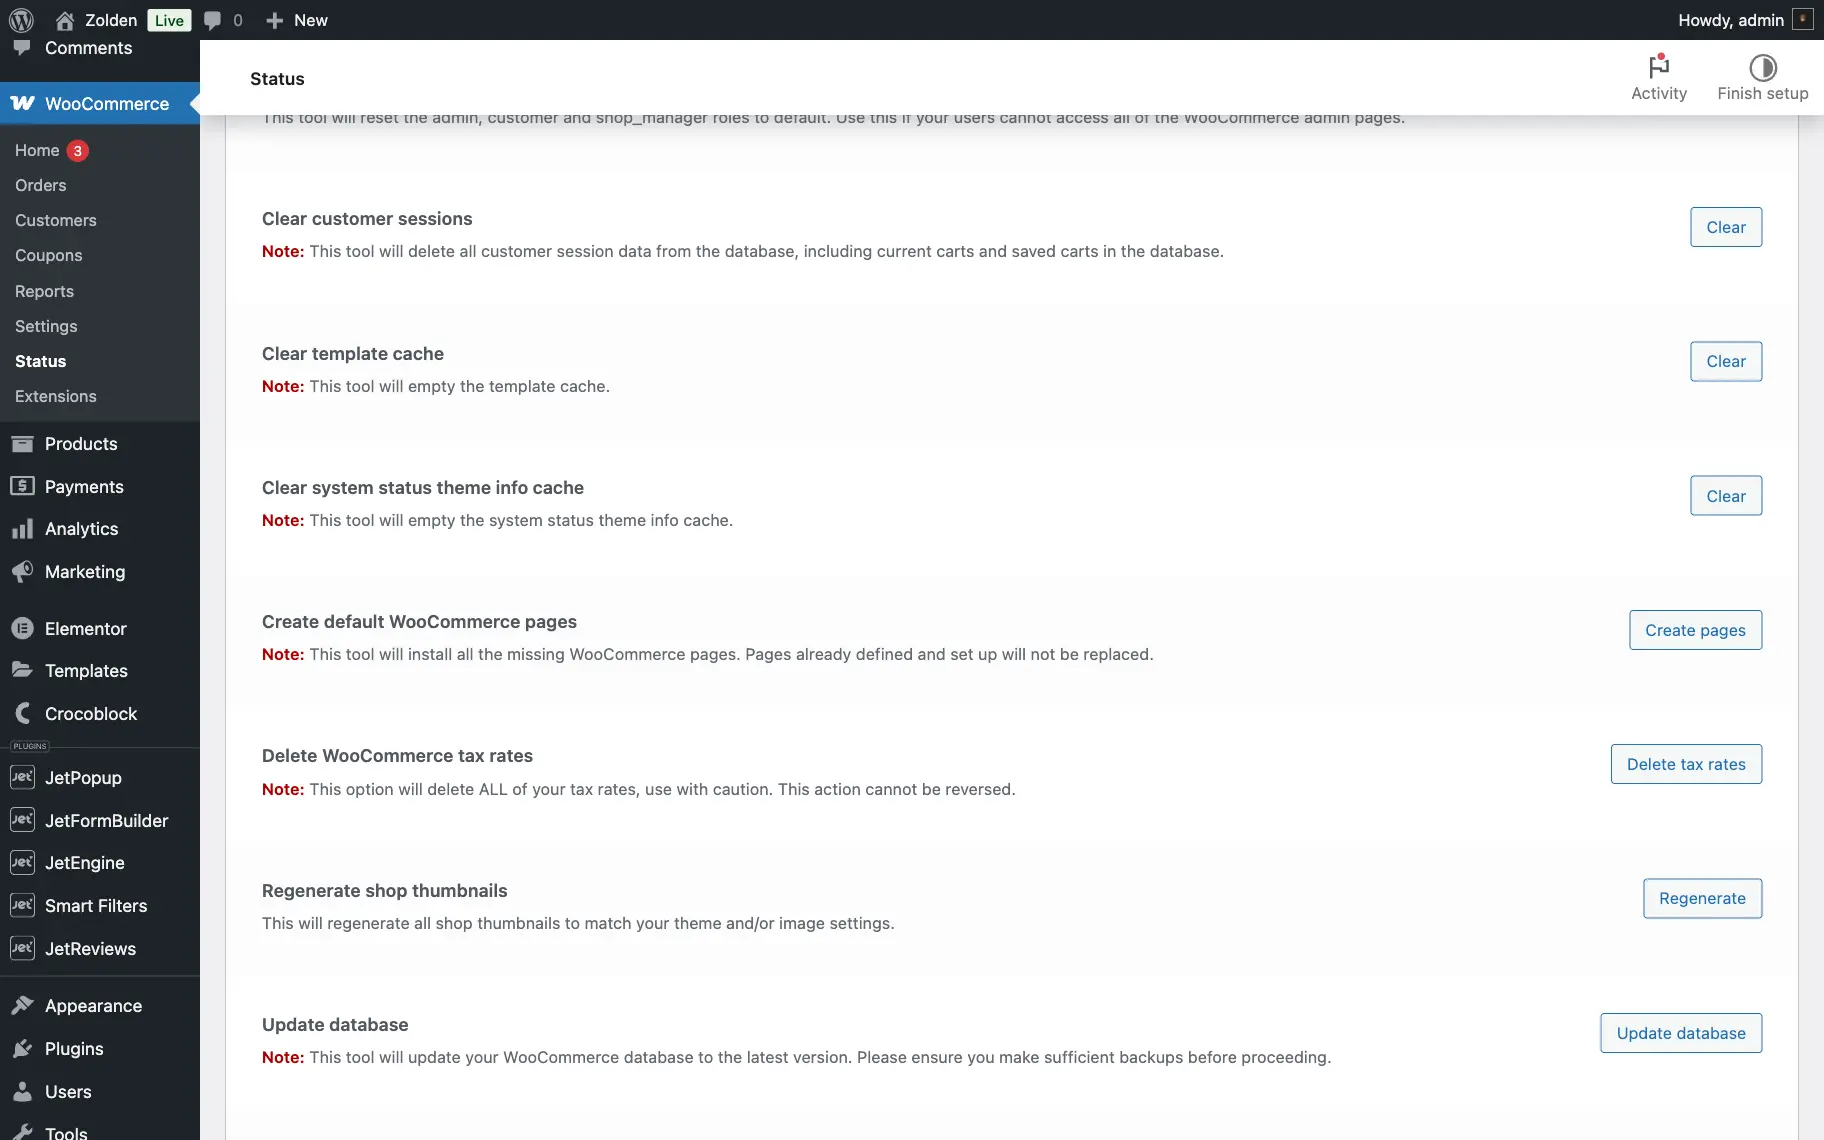
Navigate to WordPress Dashboard > WooCommerce > Status > Tools tab, then scroll down to the Create default WooCommerce pages section and click the “Create pages” button. This will not affect existing pages, but will affect those that are missing.
When all the necessary pages are created, make sure they contain the appropriate shortcodes. The Cart page should only contain the [woocommerce_cart] shortcode. In this guide, you can learn more about WooCommerce shortcodes.
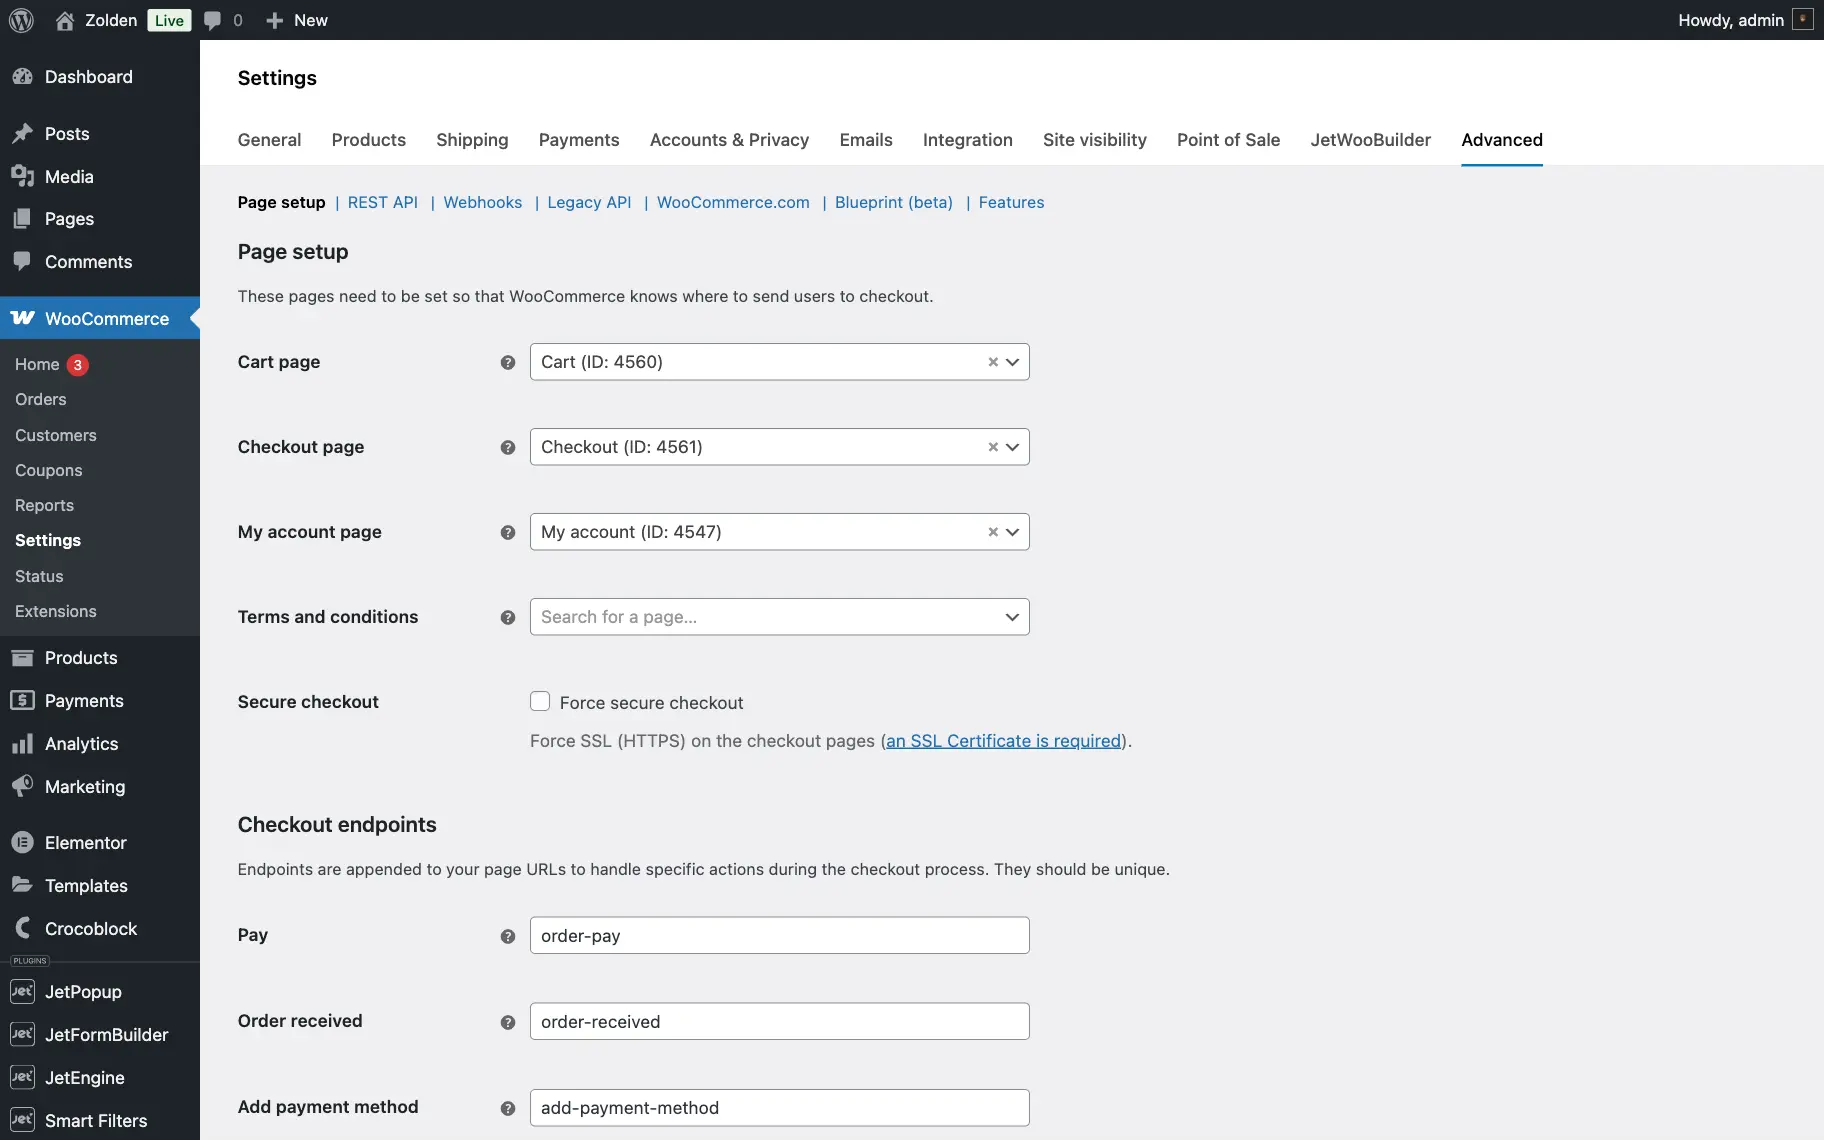
Then, go to WordPress Dashboard > WooCommerce > Advanced tab, and ensure that a relevant page is assigned in the Cart page field.
Creating a Cart Page Template with the JetWooBuilder
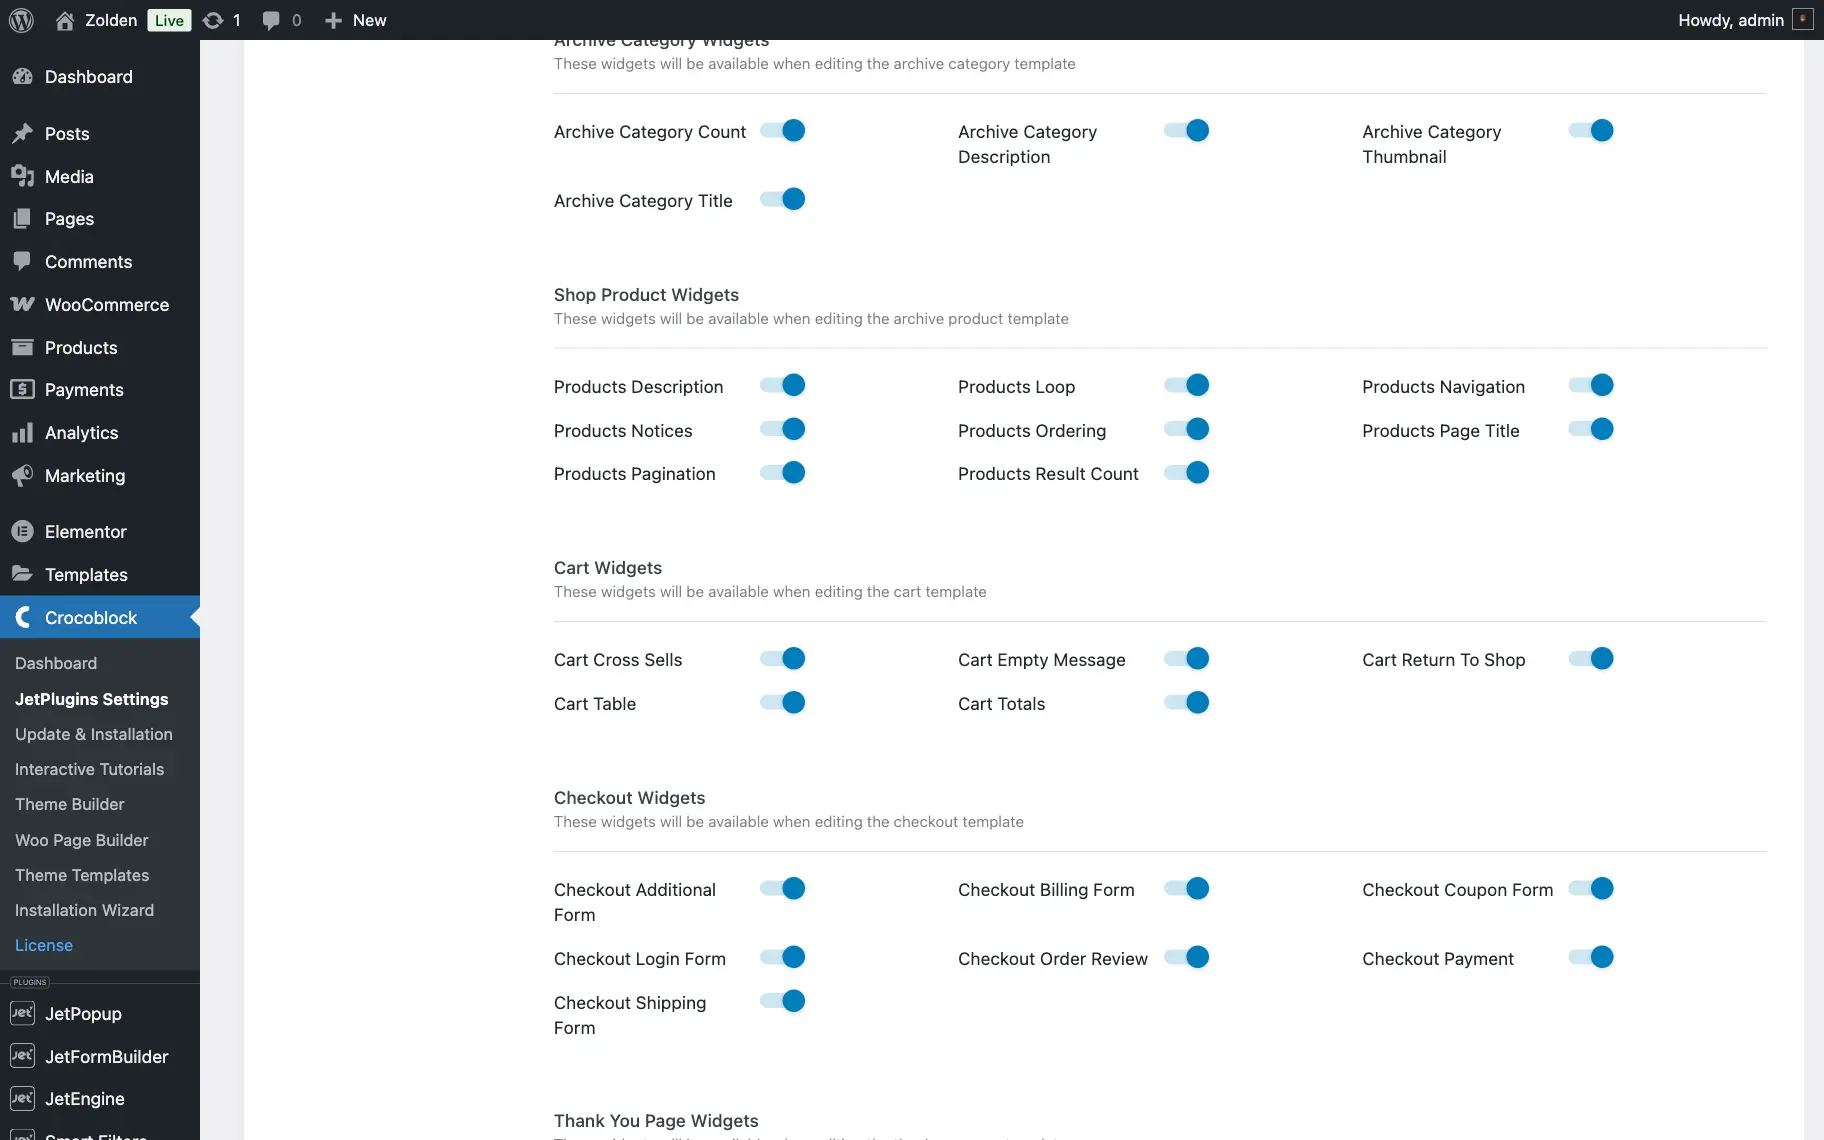
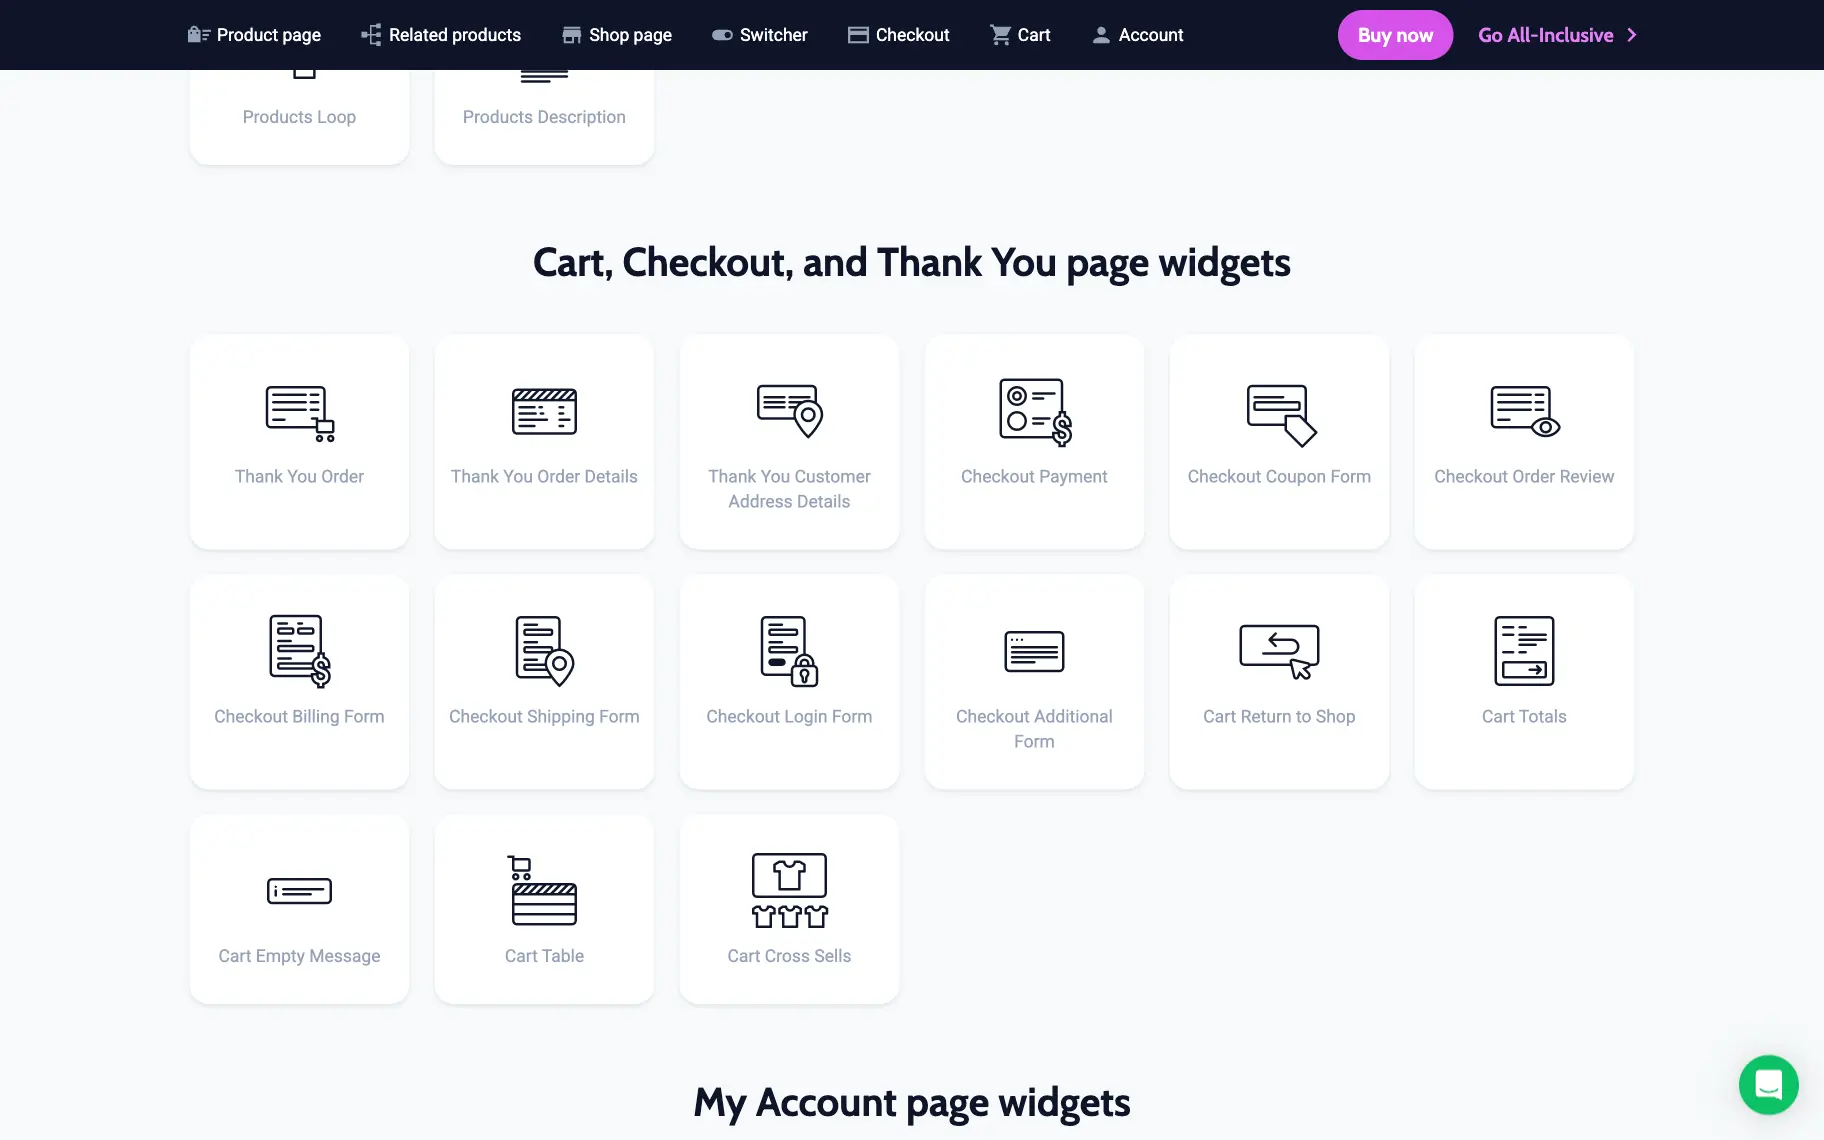
To create a cart page template with JetWooBuilder, we need to enable all the necessary widgets. To do this, navigate to WordPress Dashboard > Crocoblock > JetPlugins Settings and expand the JetWooBuilder tab.
Then, scroll down to the Cart Widgets section and enable all cart widget toggles.
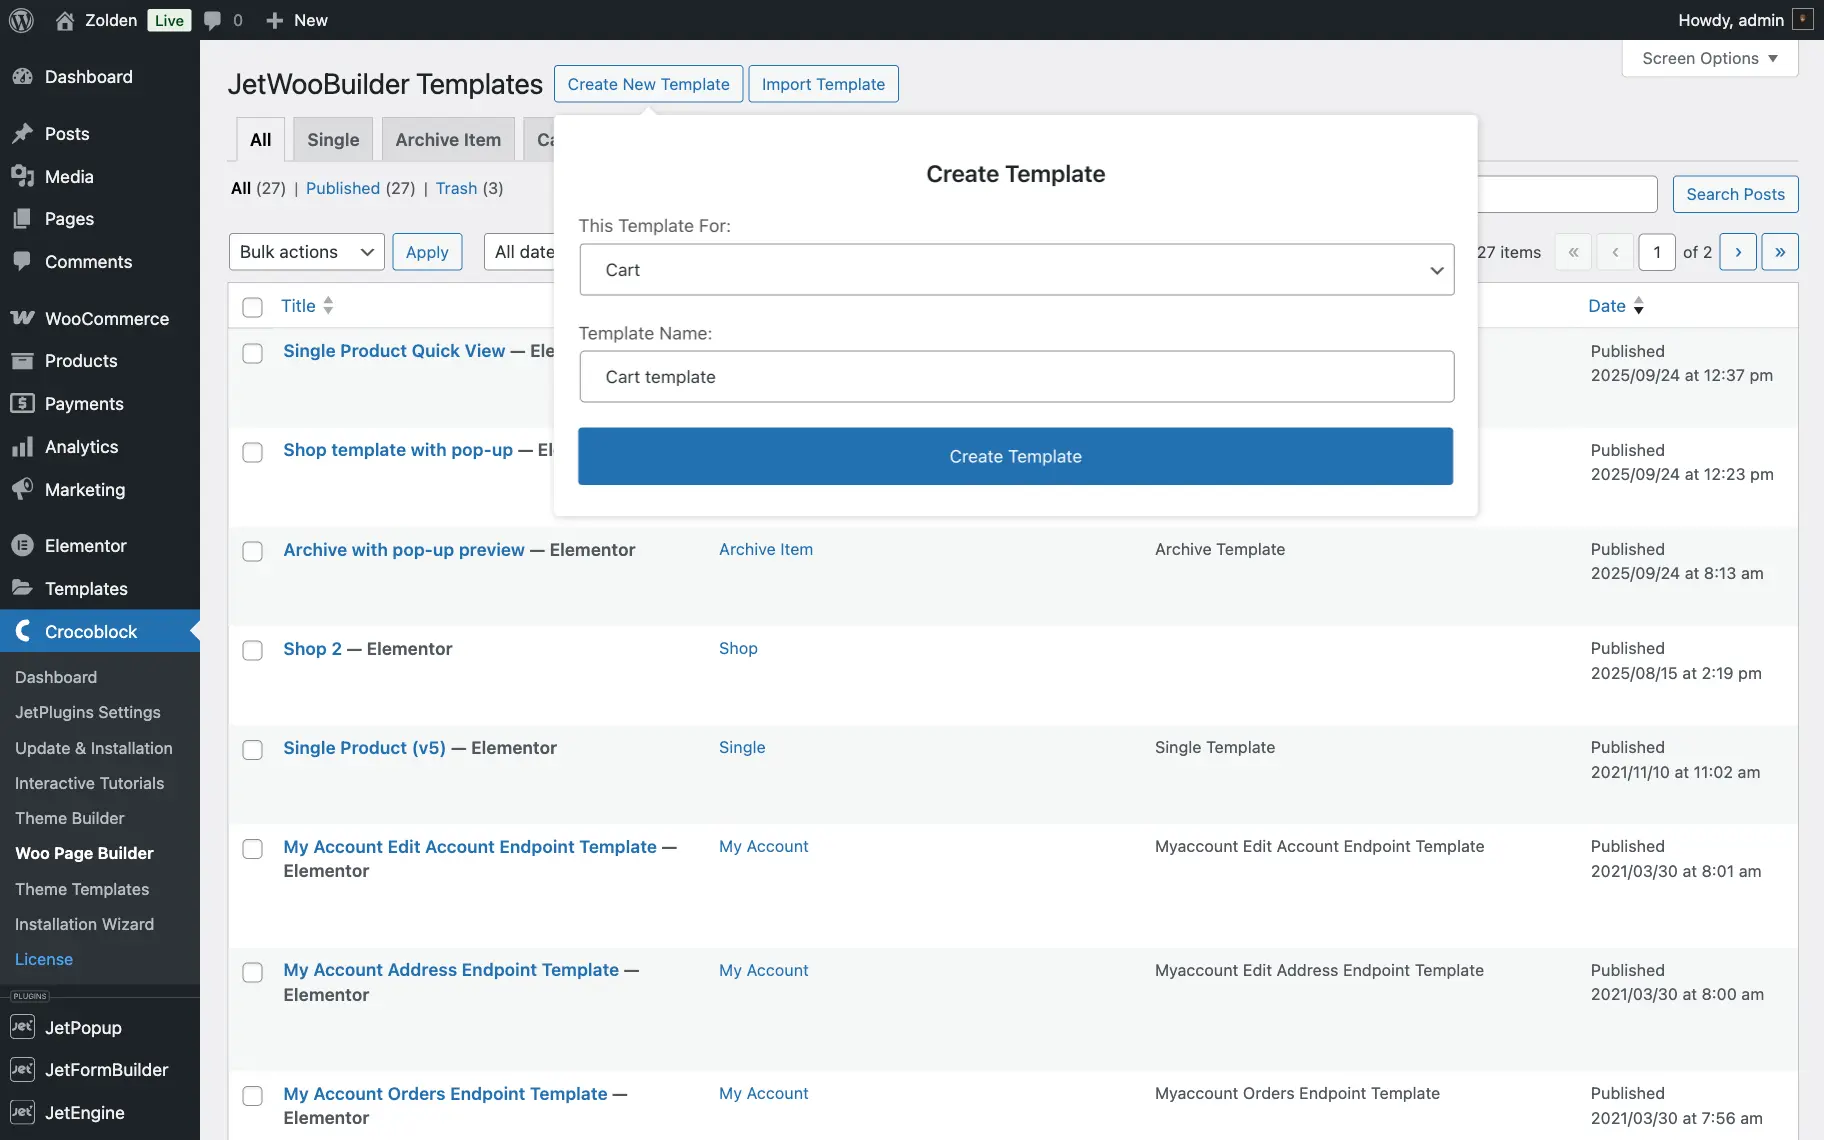
After enabling all the widgets, proceed to WordPress Dashboard > Crocoblock > JetPlugins > Woo Page Builder submenu and click the “Create New Template” button.
Choose the “Cart” option in the This Template For: drop-down menu. Name the template and click the “Create Template” button.
One can create templates for both empty and full carts. JetWooBuilder has five cart template-specific widgets.
Cart Table widget
This widget displays a table of products that the user added to the cart. By default, the table has five columns showing the product’s image, title, price, quantity, and subtotal.
Each row has a “Remove” button, and there is an option to add a coupon below the table. In the Style menu tab, users can customize each element to match their preferences and the overall design of the shop.
The Content tab of the widget setting has the following tabs: Table and Action Controls.
The Table tab includes the following settings:
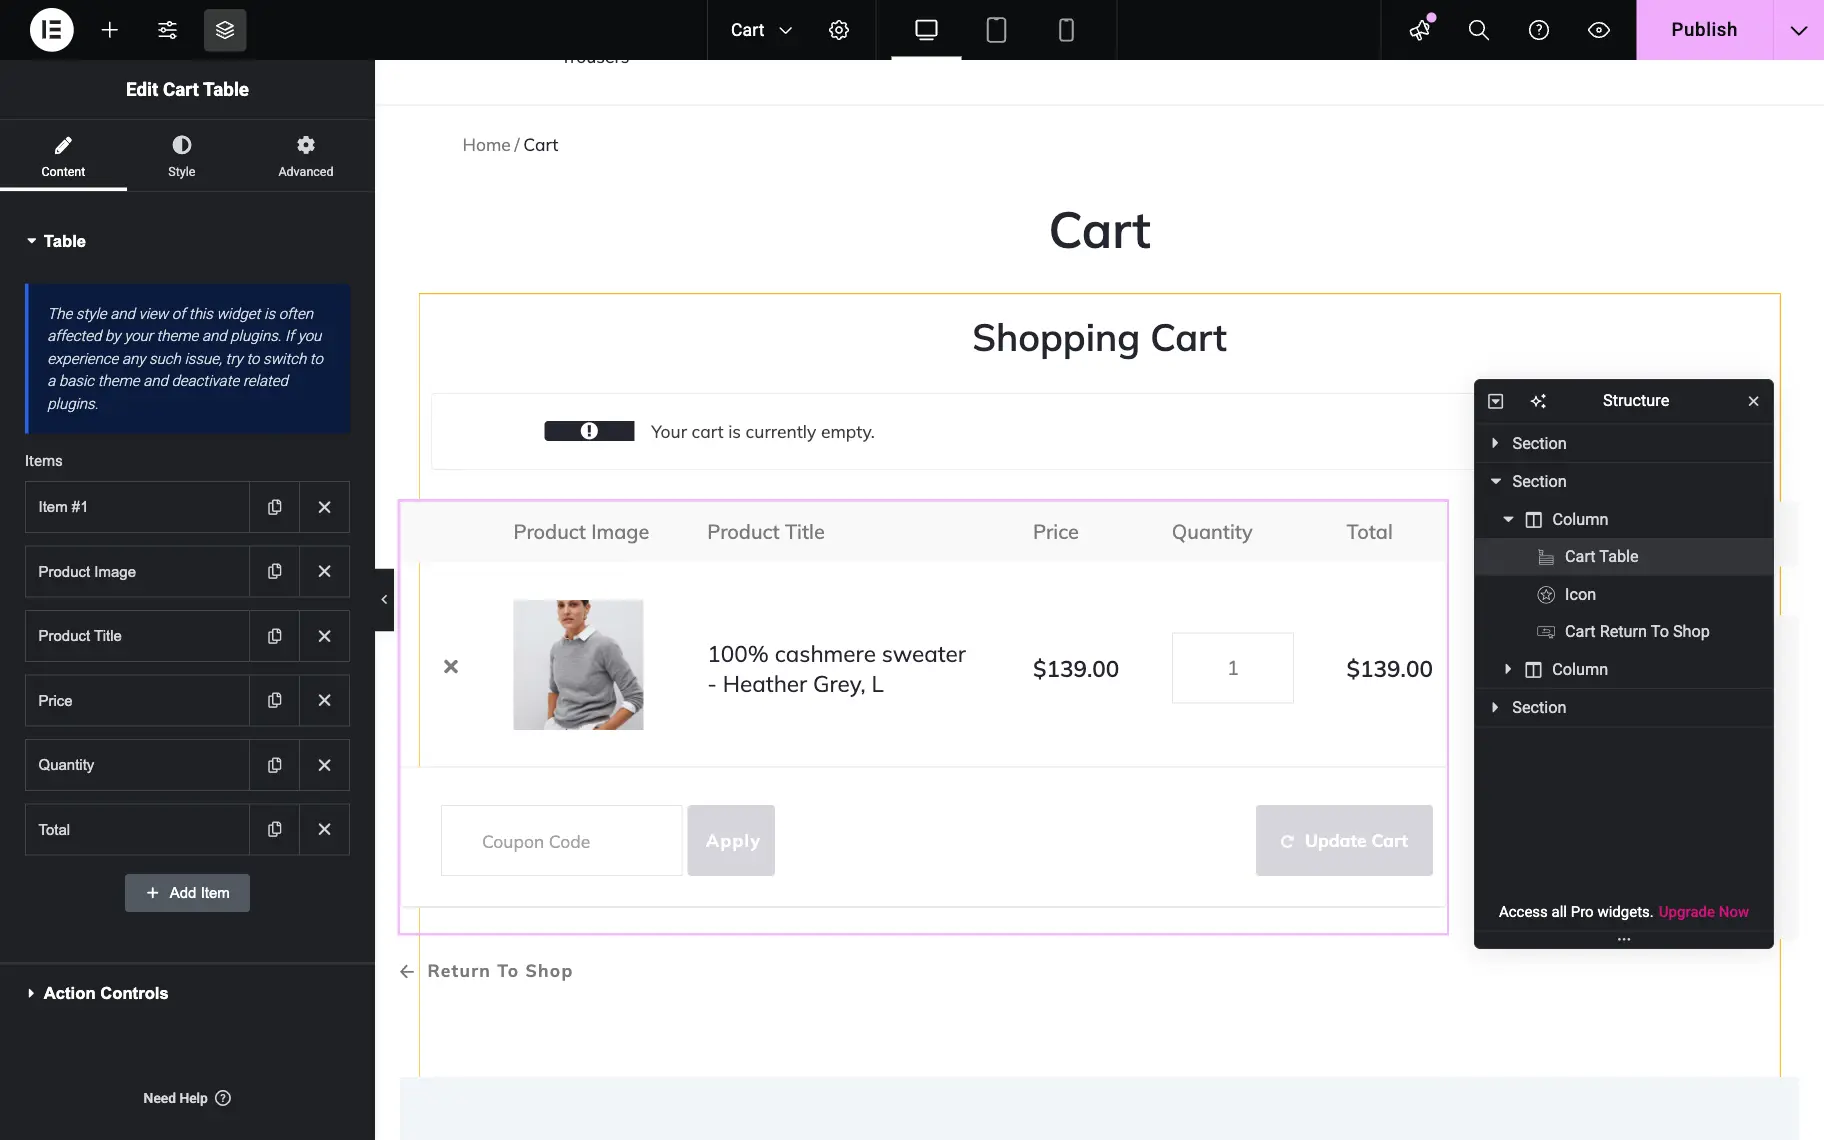
- Items — a section that lists all available product table columns. Clicking the “+ Add Items” button allows one to add additional items to the table.
The Action Controls tab contains the following fields:
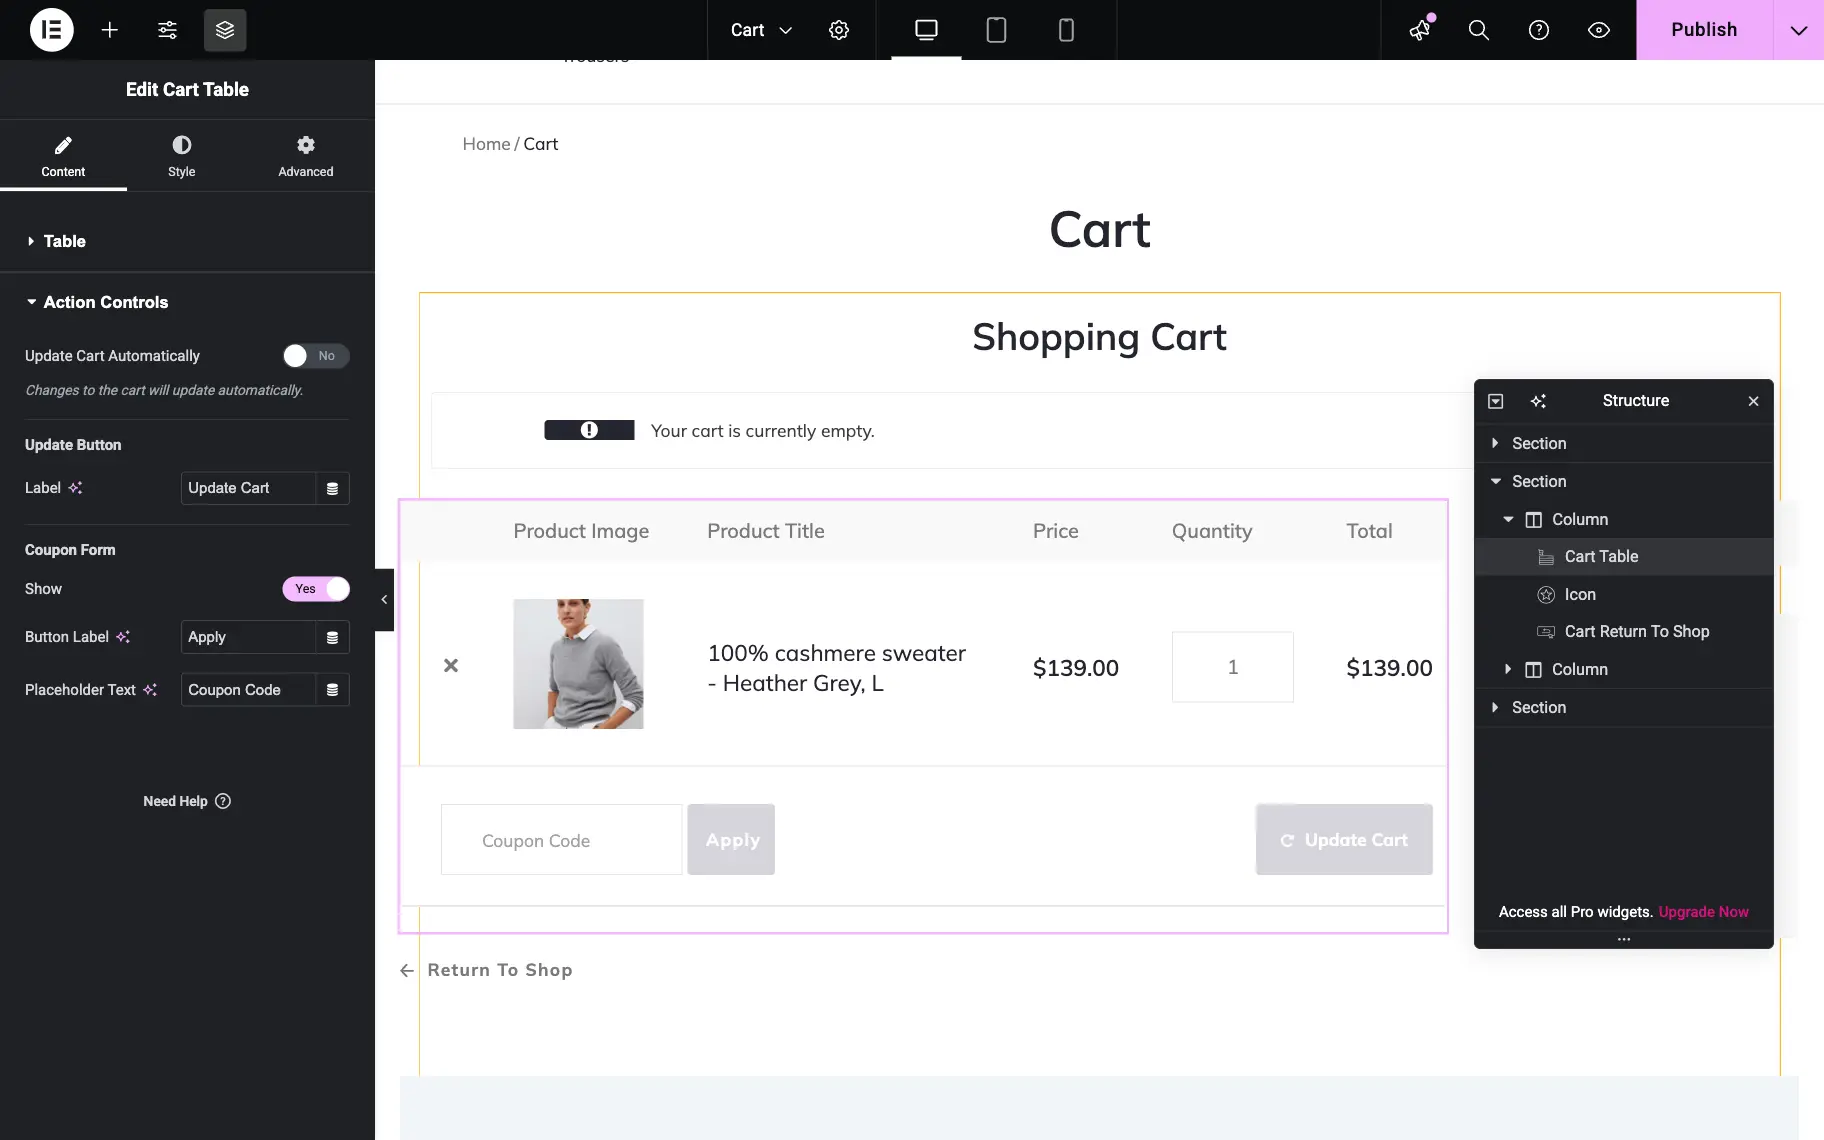
- Update Cart Automatically — a switch that enables cart update without page reloading.
The Update Button section includes one field:
- Label — a field that allows one to enter a custom Cart Table label;
The Coupon Form section contains such settings:
- Show — a switch that enables the coupon field;
- Button Label — a field where one can add a custom coupon field label;
- Placeholder Text — a field where one can add a custom coupon field placeholder.
Cart Totals widget
Cart Totals is a table displaying the total price of items added to the cart, accompanied by a checkout button. Just as with the rest of the cart widgets, you can define the appearance of the totals table in the Style tab.
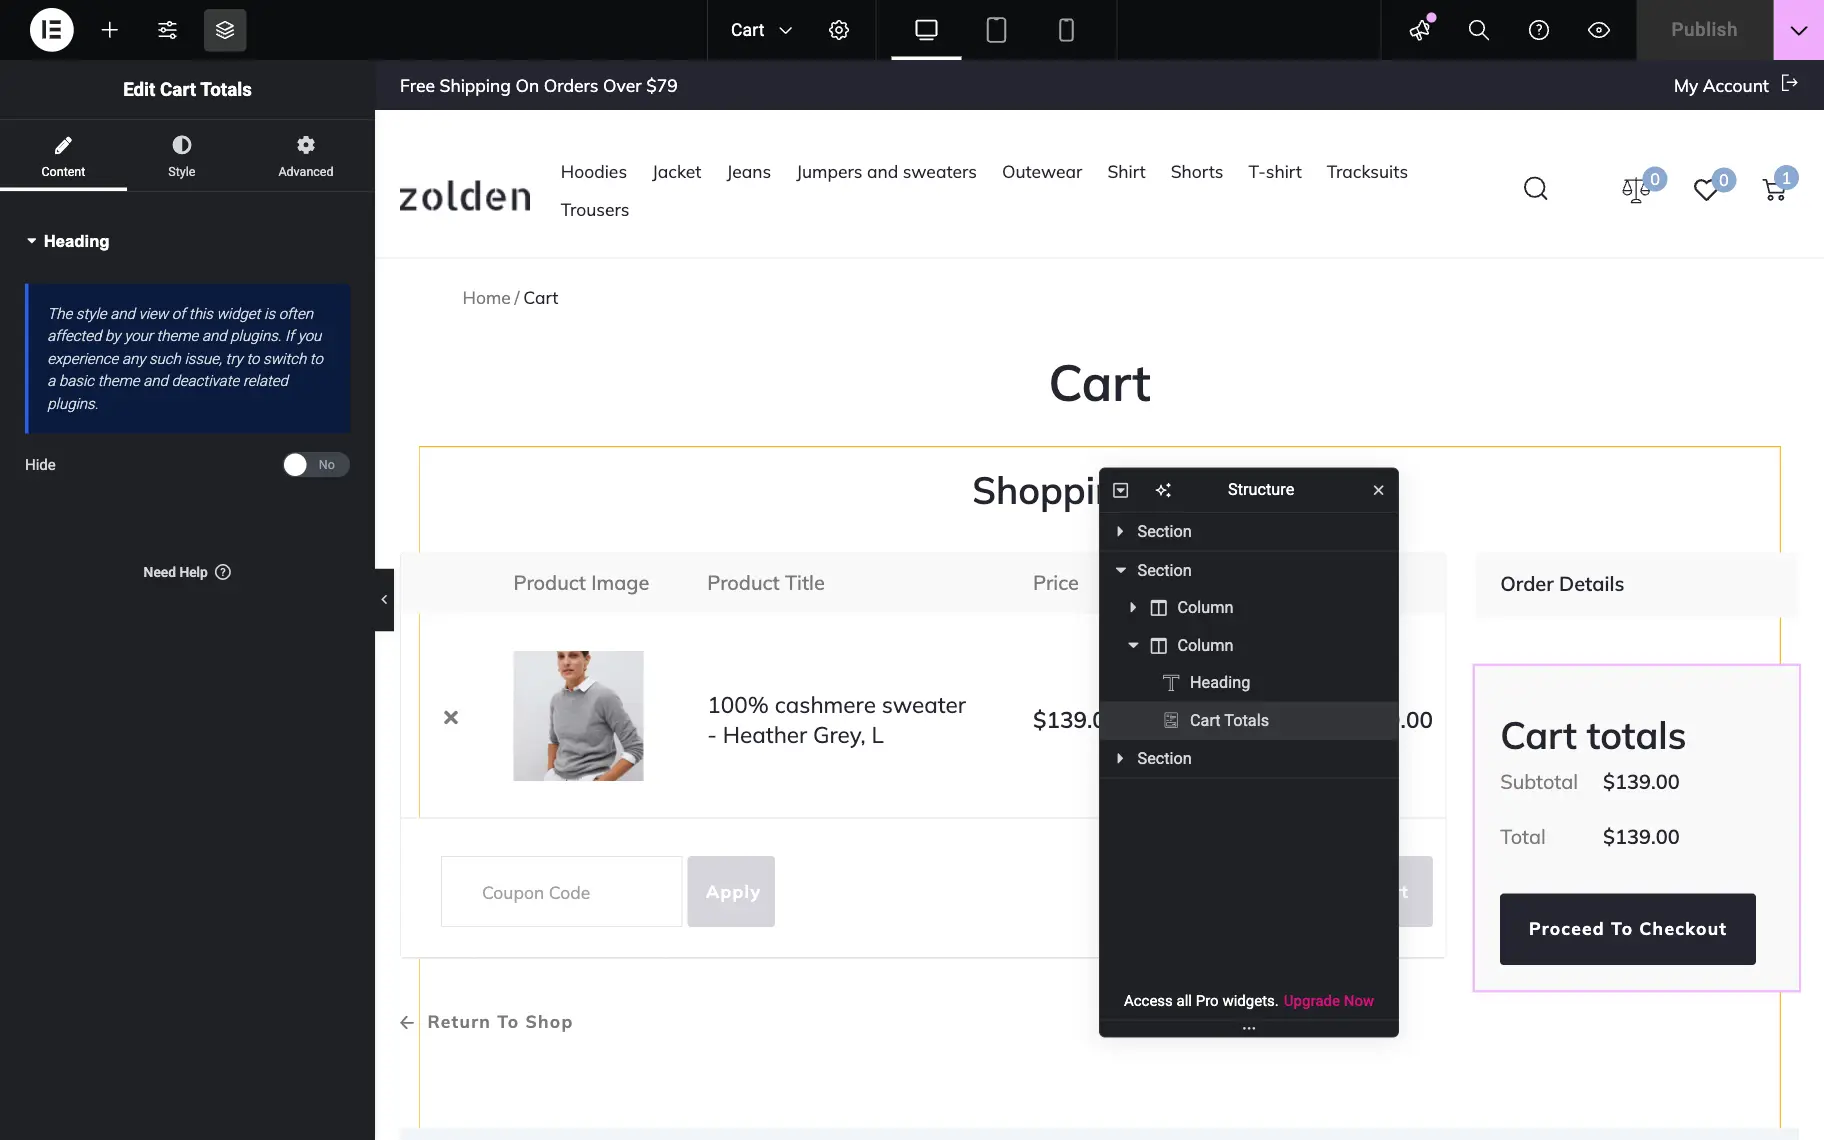
The widget settings include only one Hide switch (deactivated by default) that enables or disables the headline of the widget.
Cart Return To Shop widget
This widget can be used on both the empty and full cart pages. It will add a button that will return the user to the shop page.
The Content tab of the widget has the following set of settings:

- Modify — a switch (deactivated by default) that reveals the following fields:
- Label — a field that allows one to enter a custom “Return to Shop” label;
- Link — a field that allows one to add a custom link to the label.
Cart Empty Message widget
This widget creates a field with an icon and a message for the customer. The title informs the client that the cart is currently empty.
The Content tab of the widget settings has the following controls:
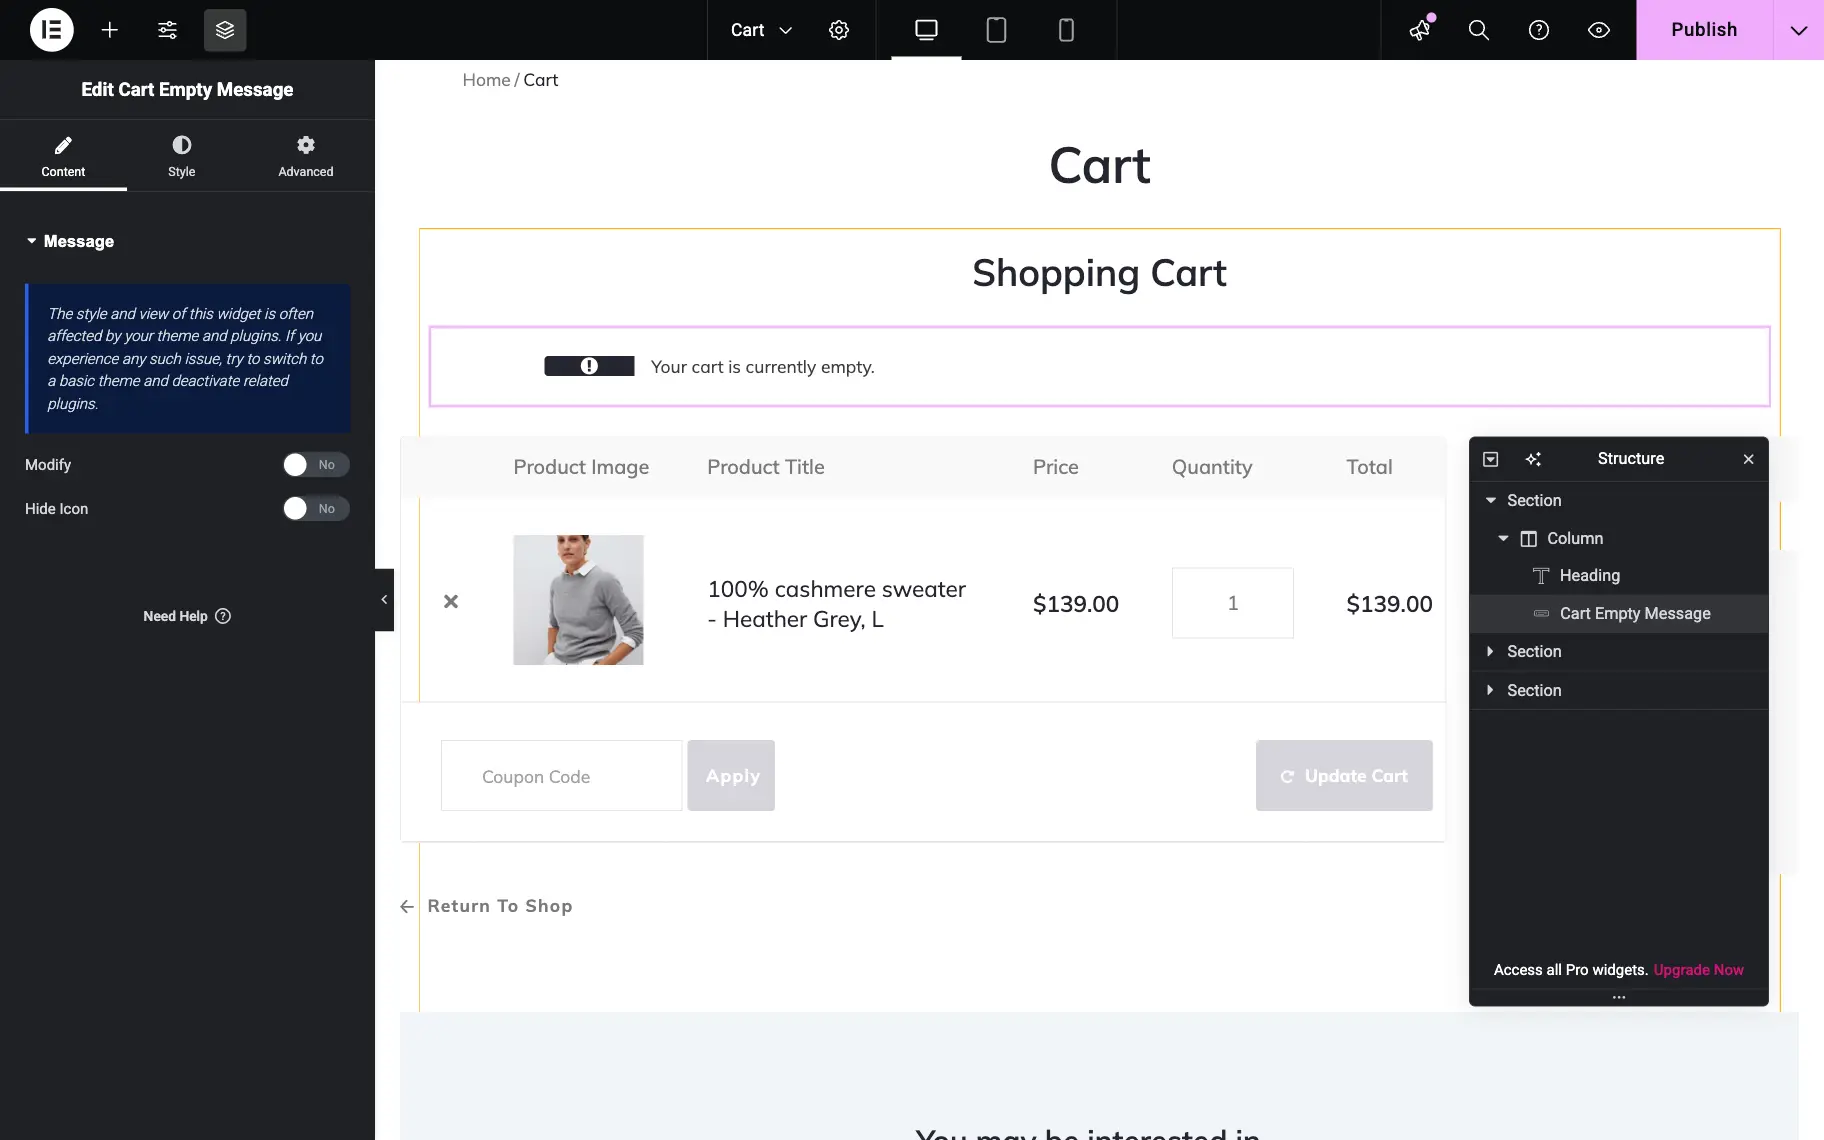
- Modify — a switch (deactivated by default) that allows enabling a custom header (when enabled, a Message input field is revealed);
- Hide icon — a switch (deactivated by default) that allows hiding the message icon.
Cart Cross Sells widget
Additionally, one can add a Cart Cross Sells widget that displays products related to items already in the cart. The Content tab contains the following settings tabs: Cross Sells and Heading.
The Cross Sells tab includes the following fields:
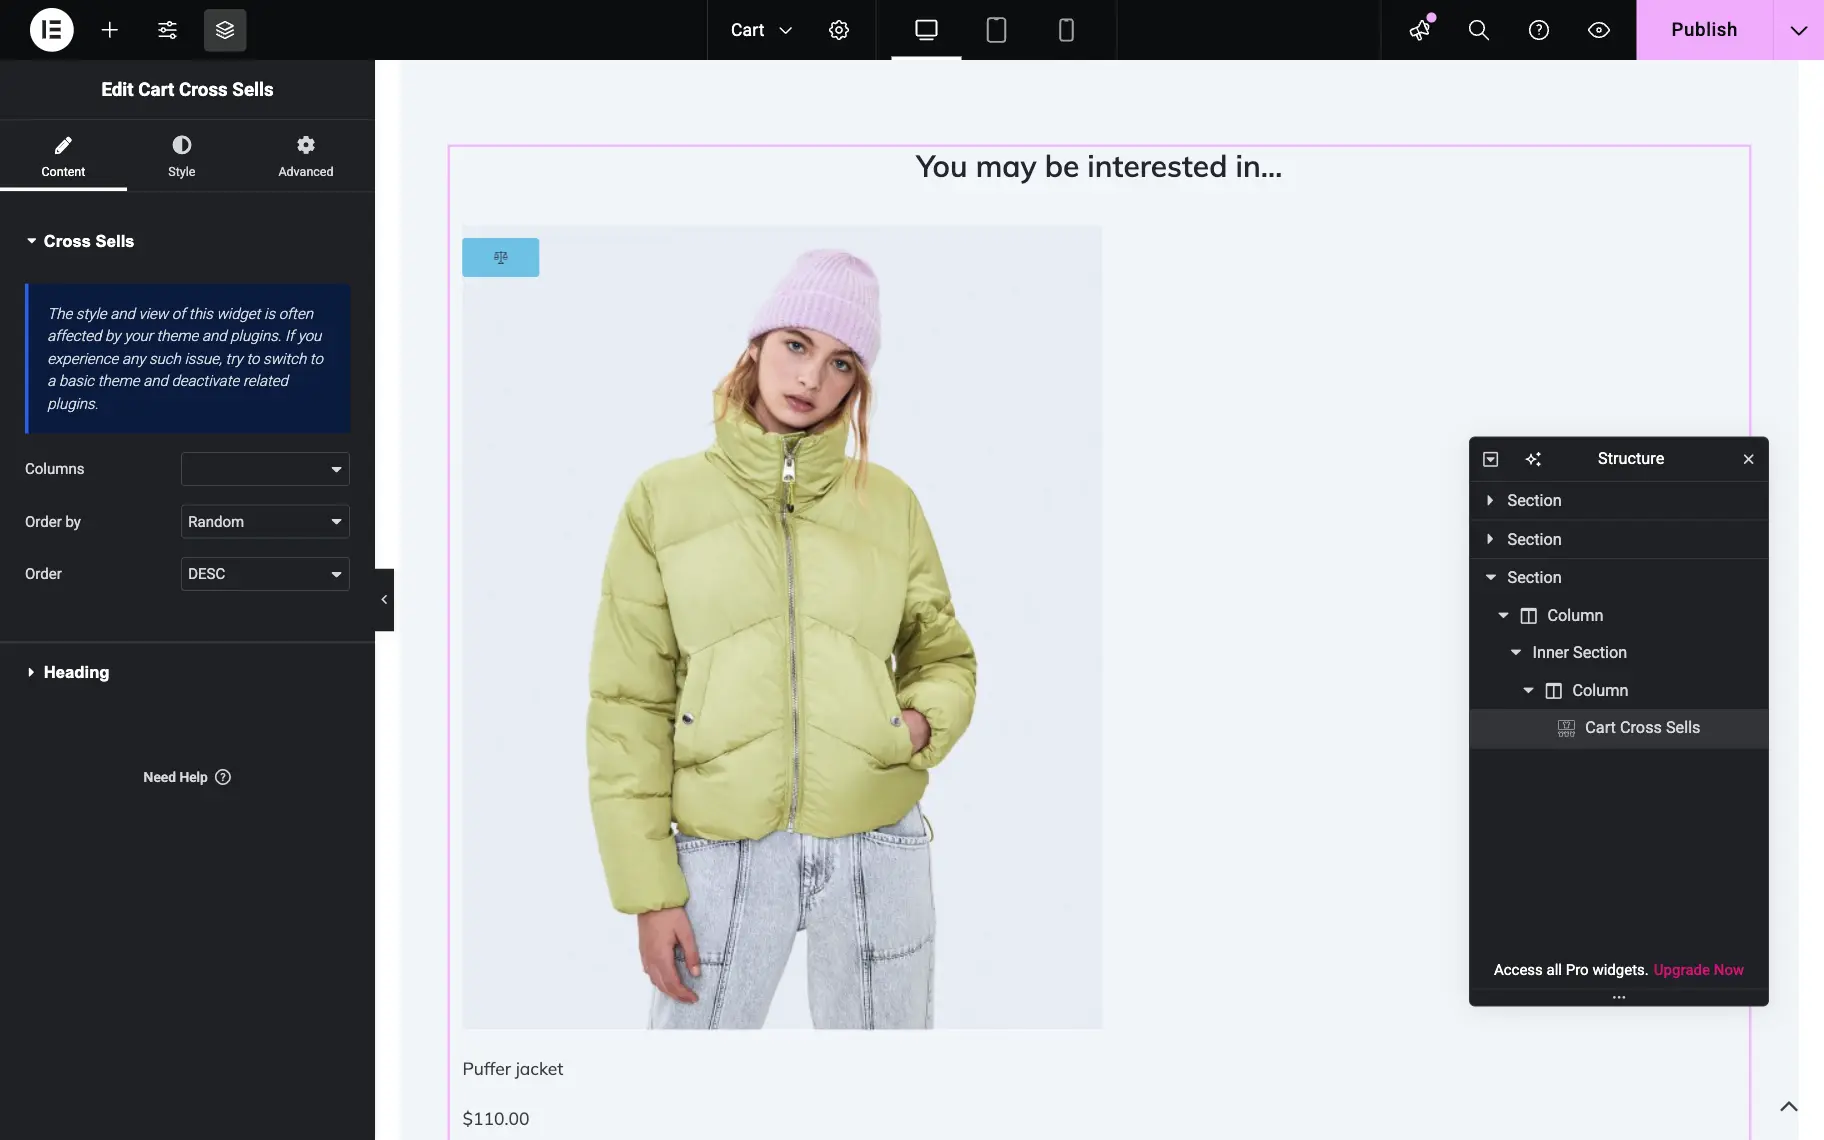
- Columns — a field that allows setting the number of columns from “1” to “12”;
- Order by — a field that allows setting the arrangement order of the displayed products, the following options are available: “Date,” “Title,” “Price,” “Popularity,” “Rating,” “Random,” and “Modified date”;
- Order — a field that allows ordering products in ascending or descending order, using the “ASC” and “DESC” options, respectively.
The Heading tab has the following field:
- Show — a switch that enables a custom header (when enabled, the Modify field is revealed, where one can input a custom header).
Style every element of the cart page template and publish it.
Assigning the Template to the Page
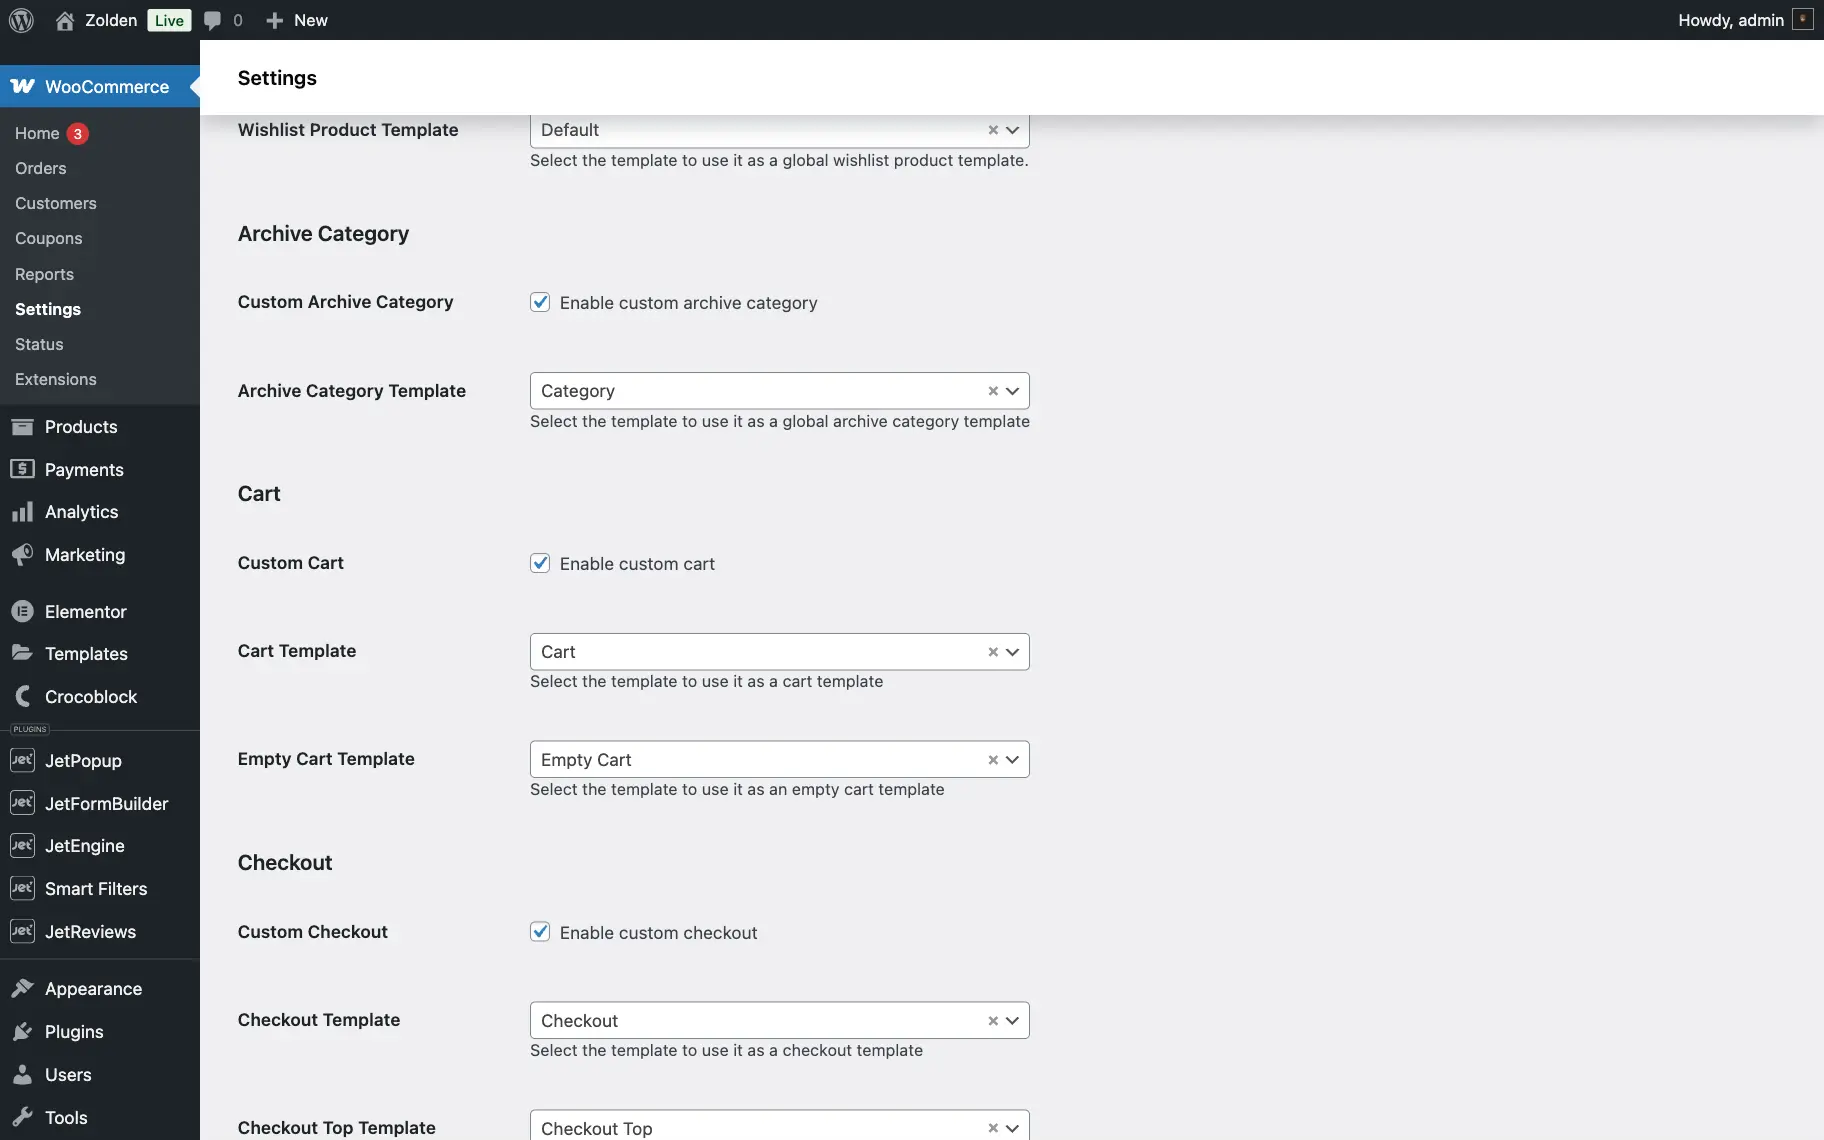
Go to WordPress Dashboard > WooCommerce > Settings > JetWooBuilder and scroll the page down to the Cart section.
Tick the Enable custom cart checkbox and choose the template you’ve just created in the Cart Template drop-down menu. After that, click the “Save Changes” button.
Proceed to the front end, add a product to the cart, and you will be redirected to the shopping cart page with the cart template you created before.

Creating a Cart Page Template with the JetThemeCore
With the recent update of the JetThemeCore plugin, you can create page templates and assign the needed elements like body, header, and footer.
Create a Page Template
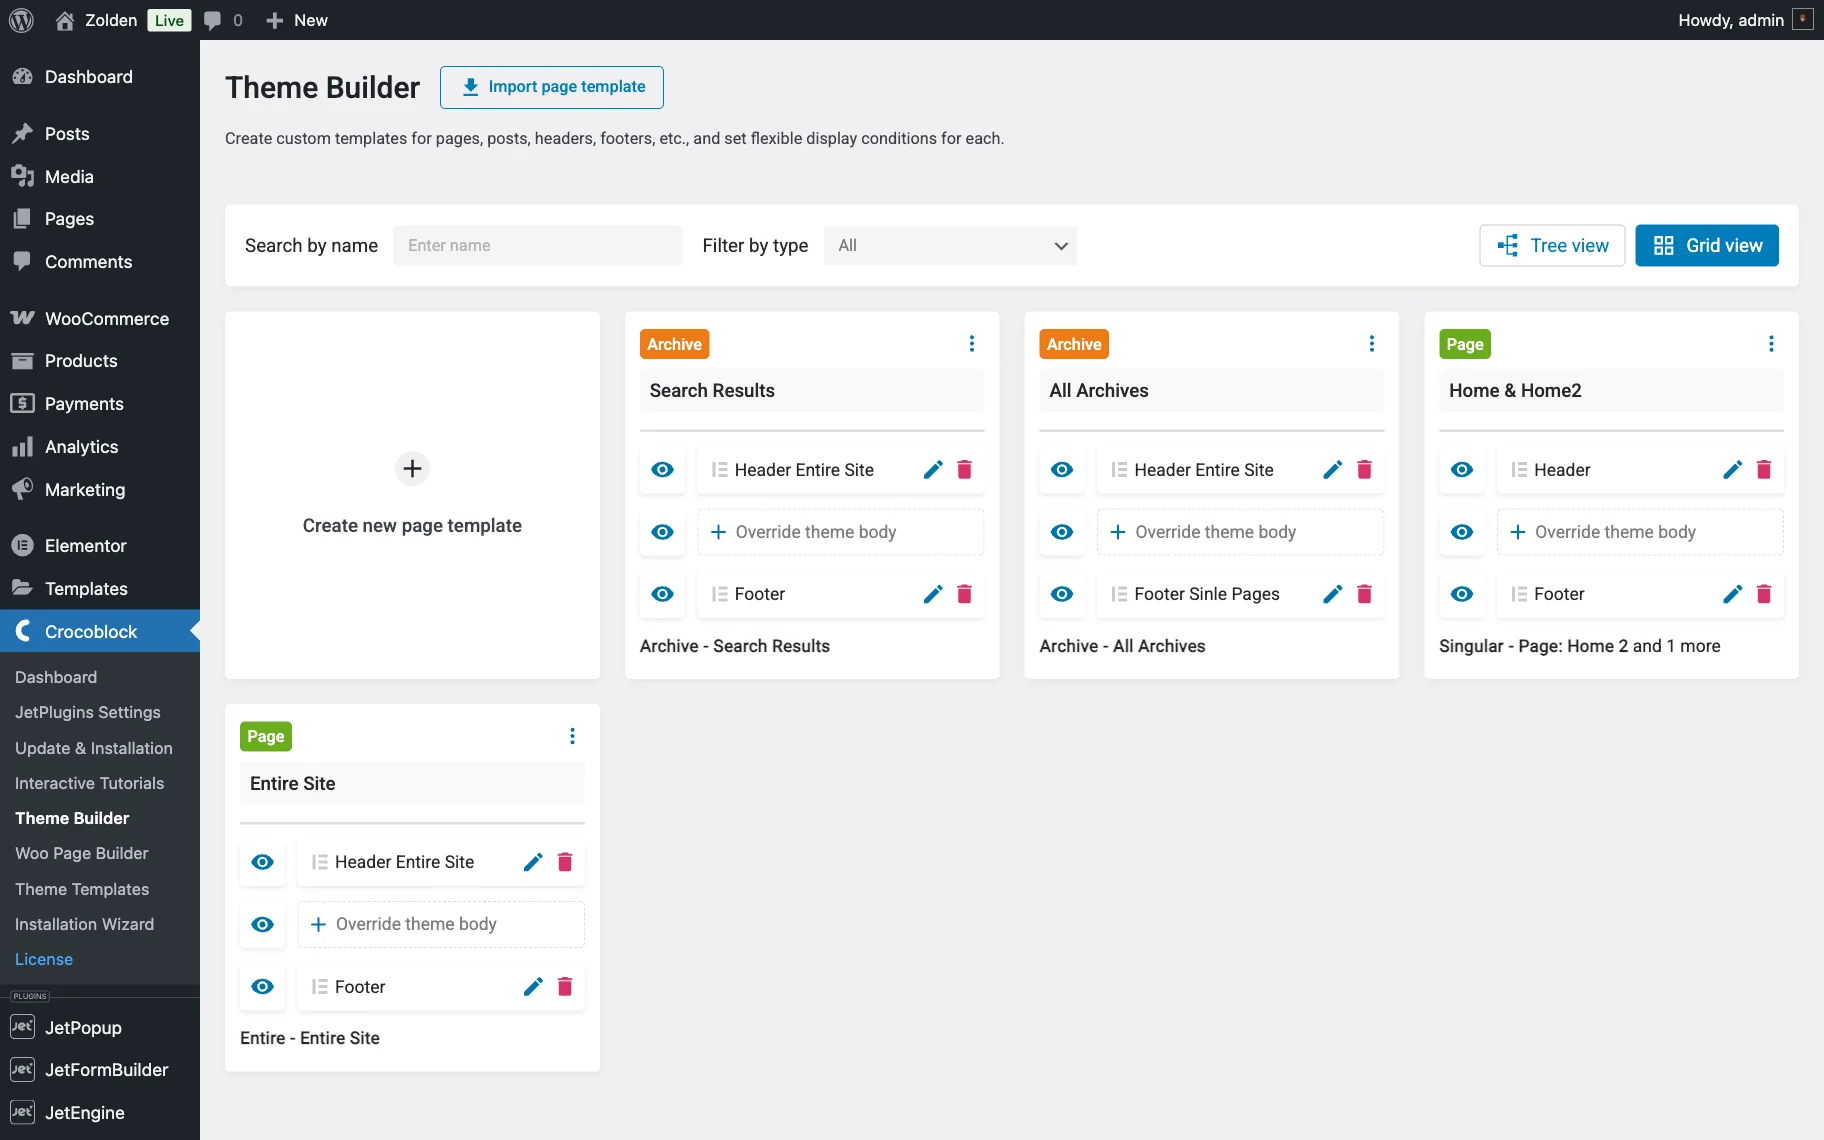
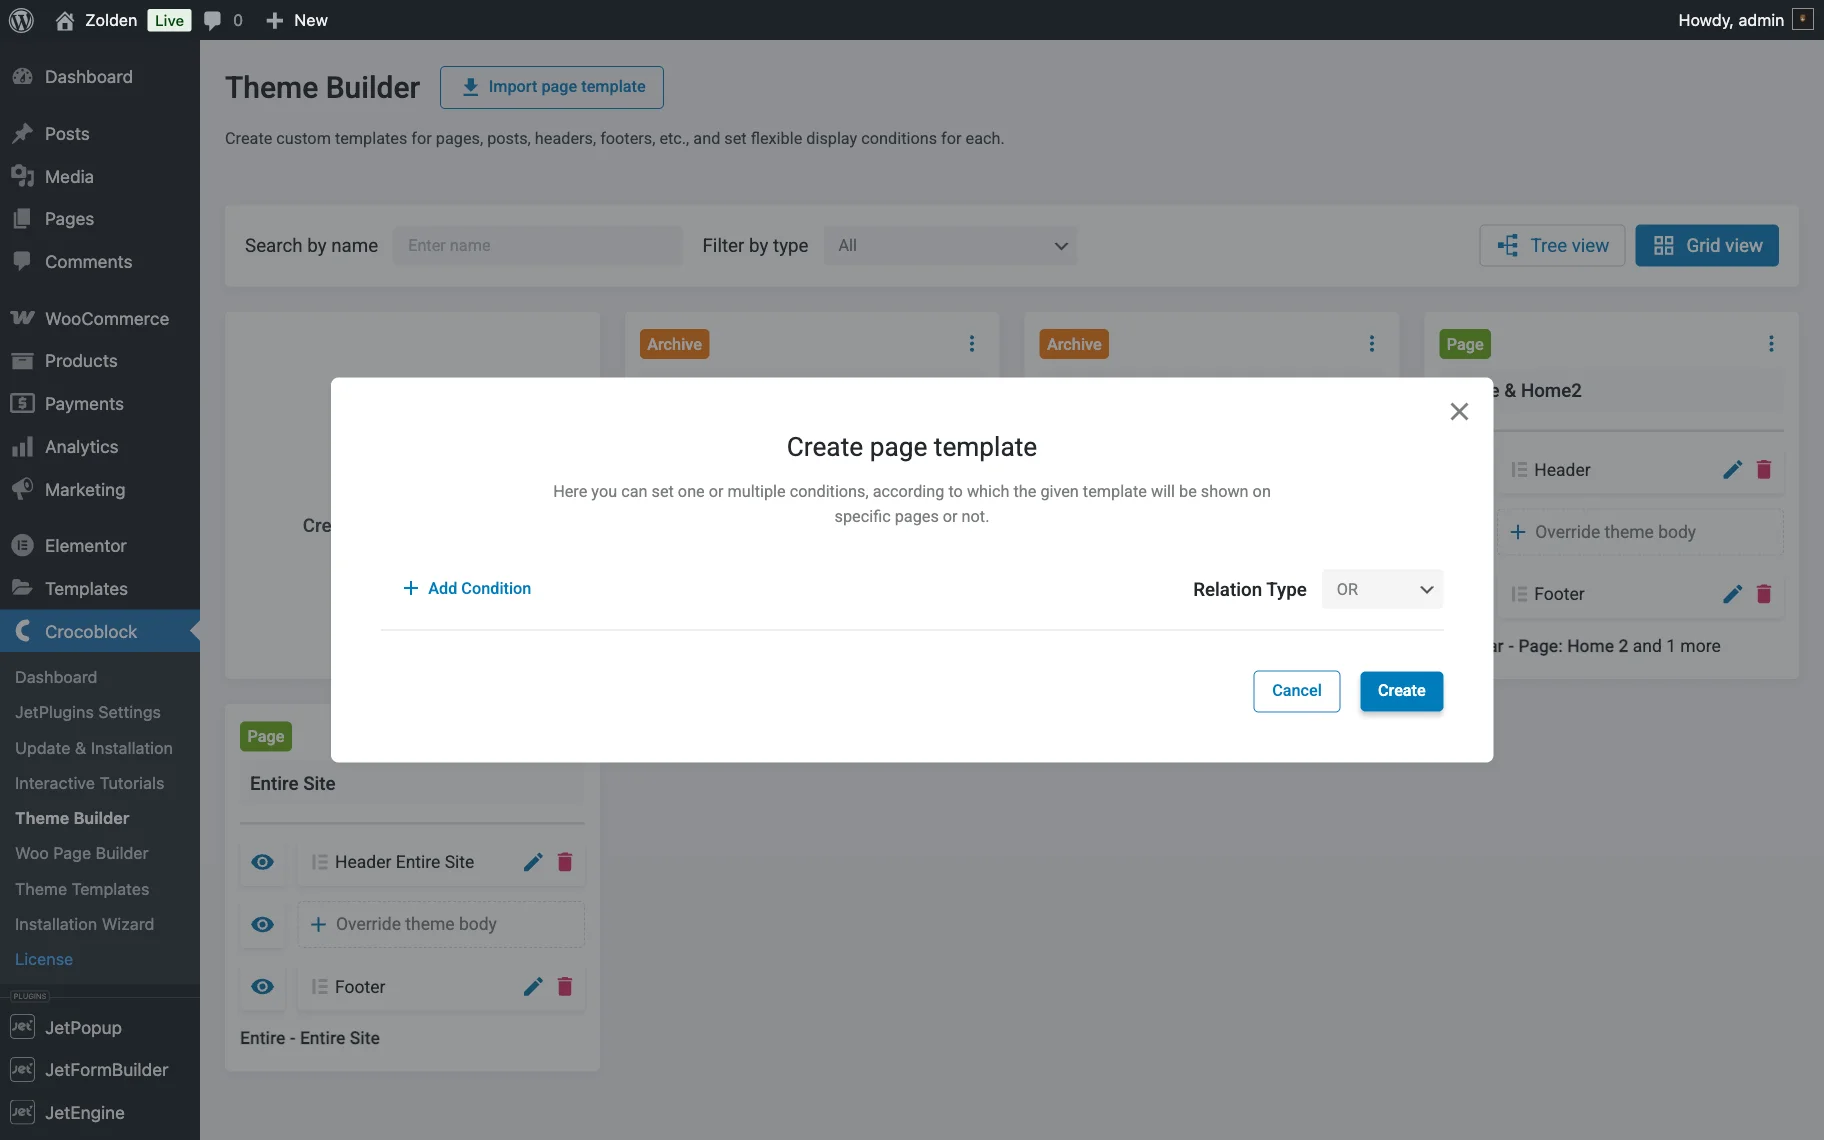
Proceed to WordPress Dashboard > Crocoblock > Theme Builder and click “Create new page template.”
There will be a new pop-up window where you can set one or multiple conditions, according to which the given template will be either shown on specific pages or not.
Hit the “Add Condition” button and set the visibility conditions to Include > WooCommerce > Product Cart for this template.
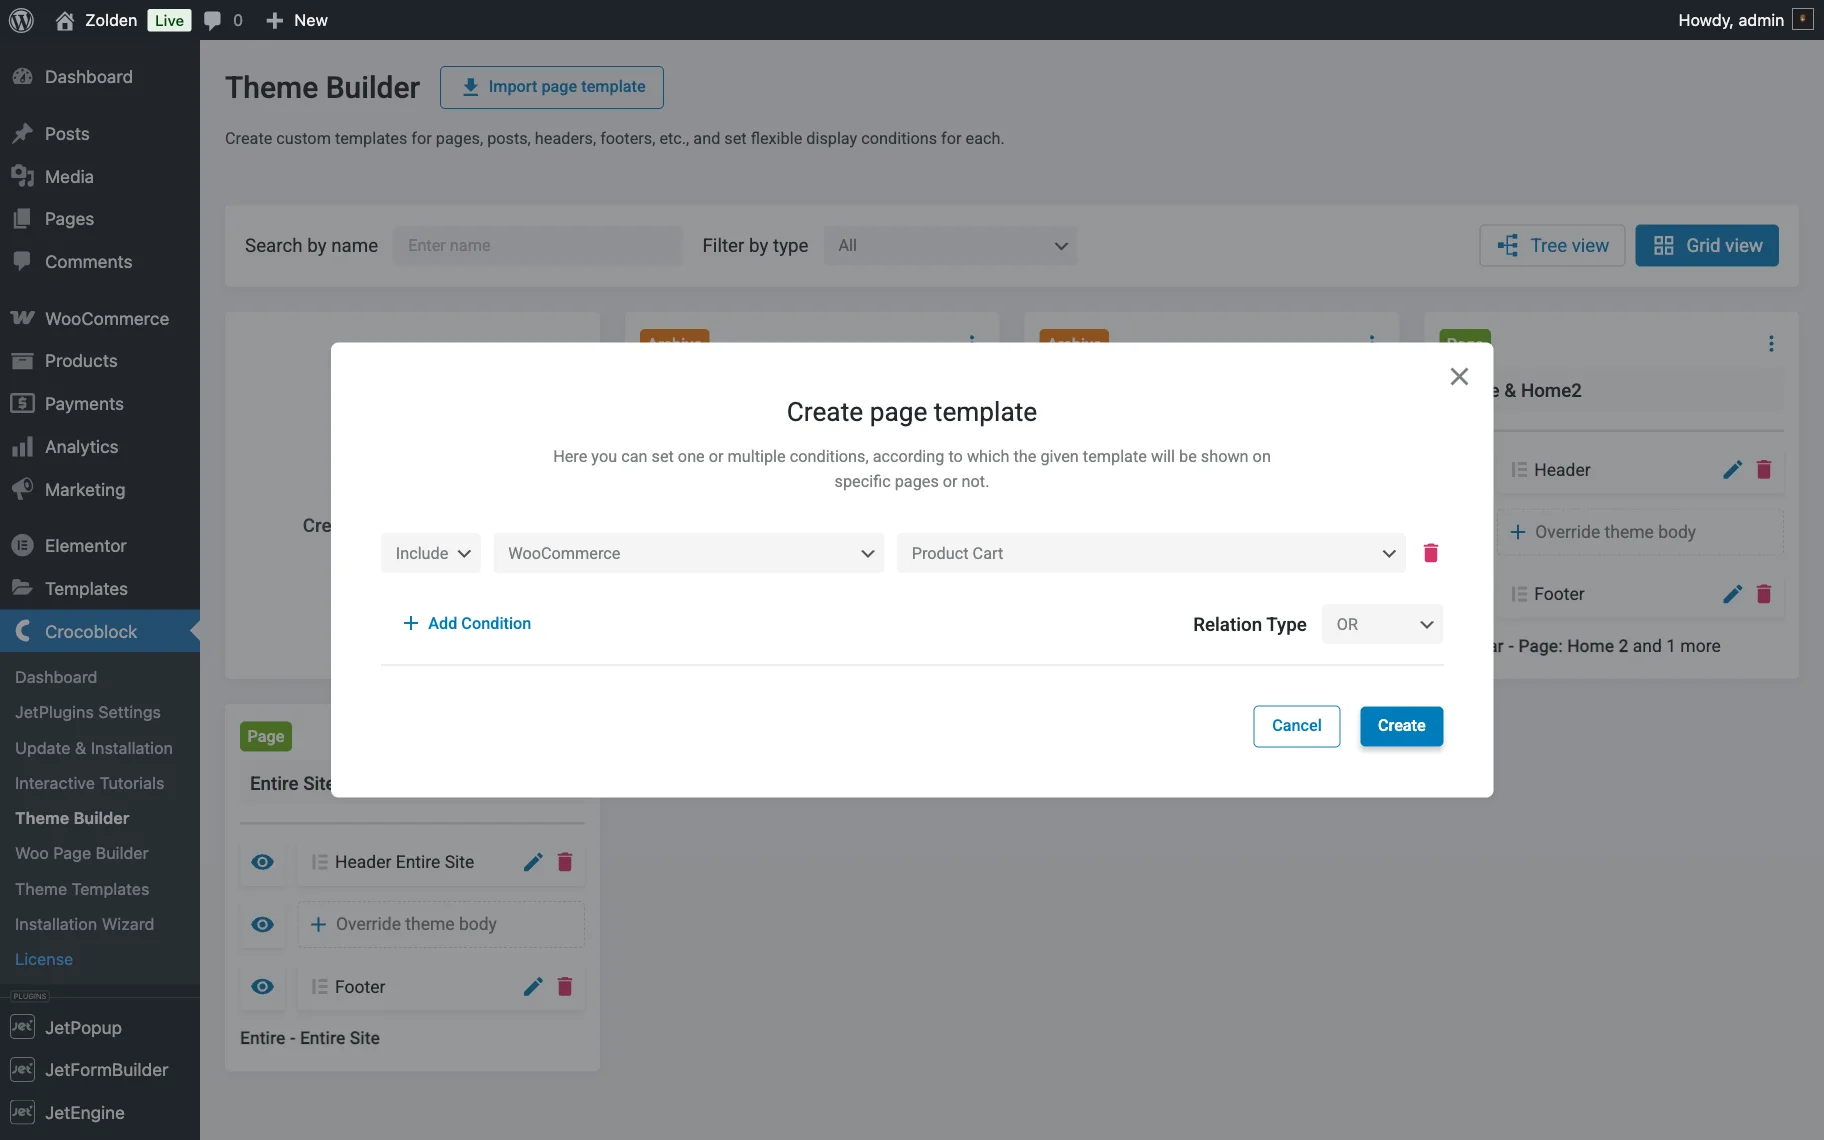
Once you hit the “Create” button, you will see a new template in the Theme Builder dashboard. Give it a name.

Firstly, click on the “Add body” button. Here you can create a template from scratch with the JetThemeCore plugin by adding the widgets described in the first part of this tutorial.
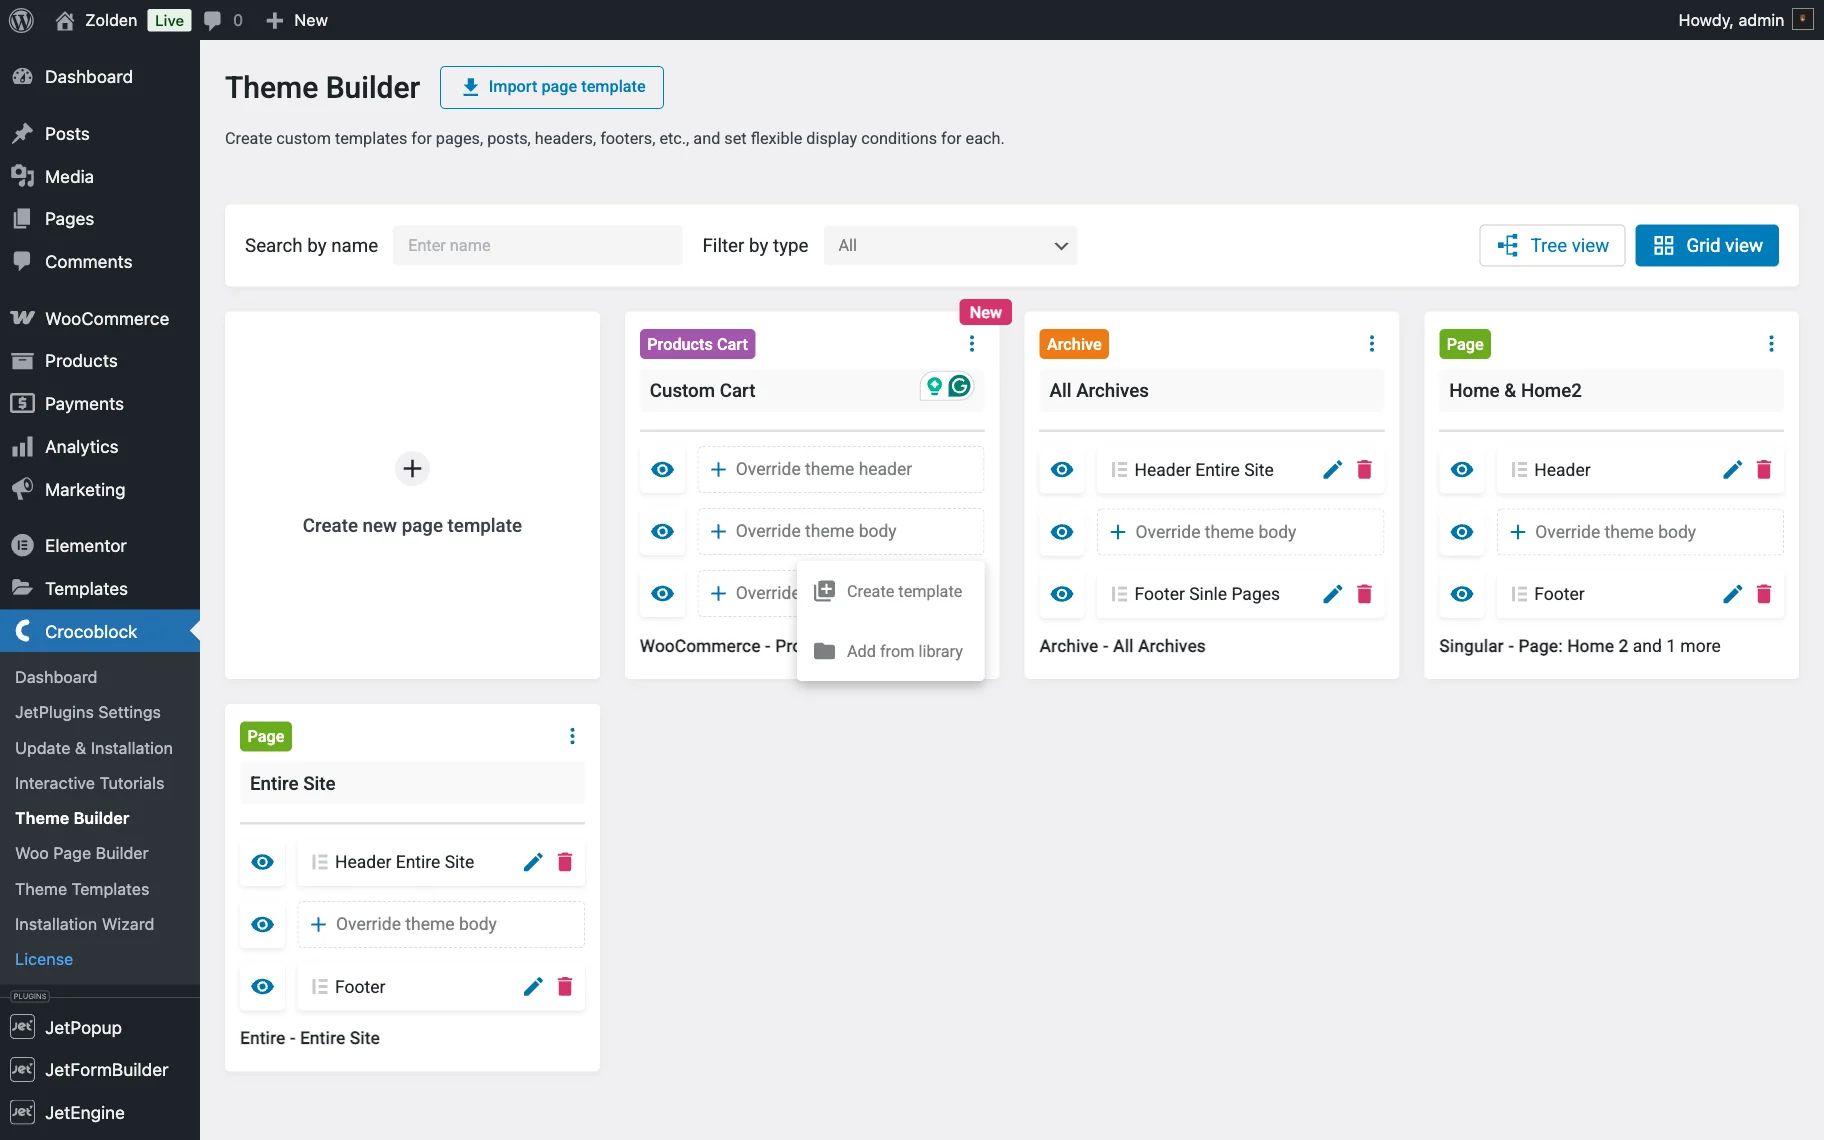
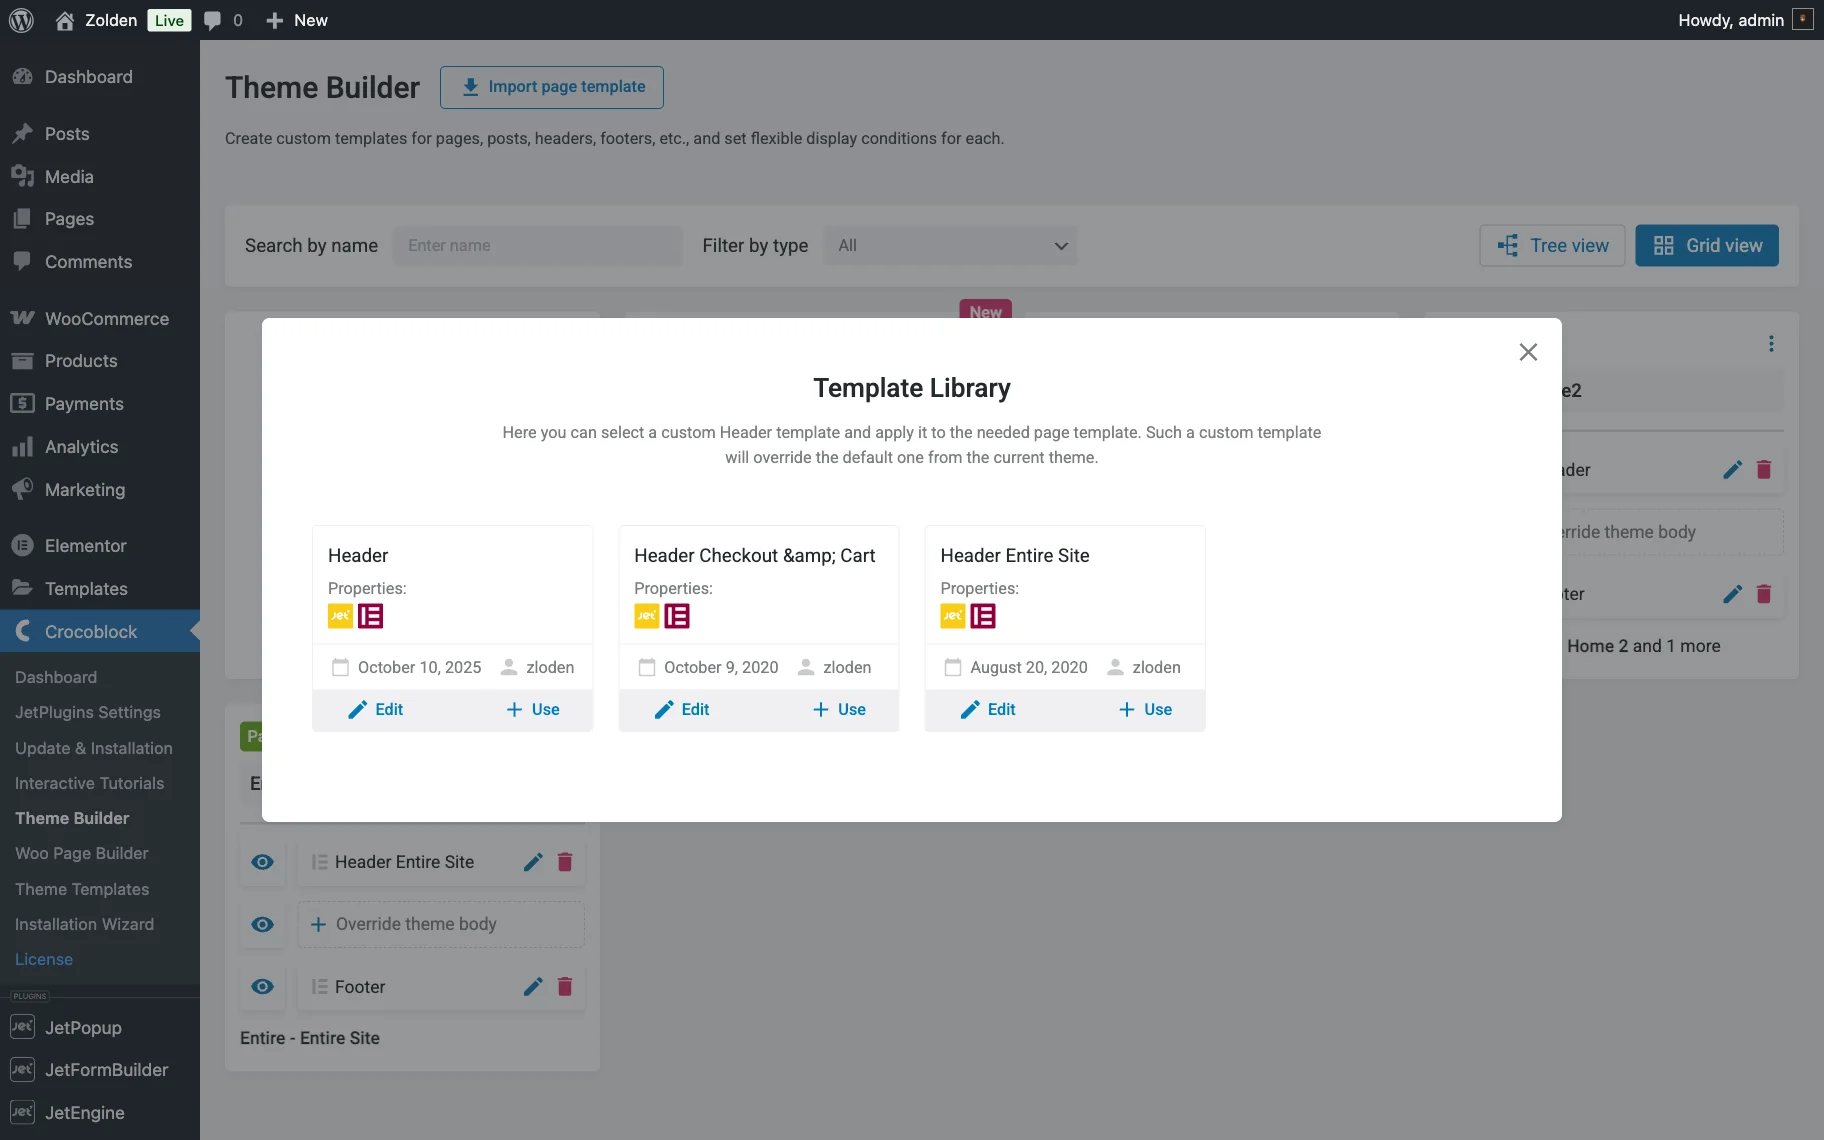
Otherwise, you can simply click on “Add from library” and choose a template you already have, e.g., built with the JetWooBuilder plugin.
The color of the first icon under the Properties will indicate which plugin was used to create the chosen template.
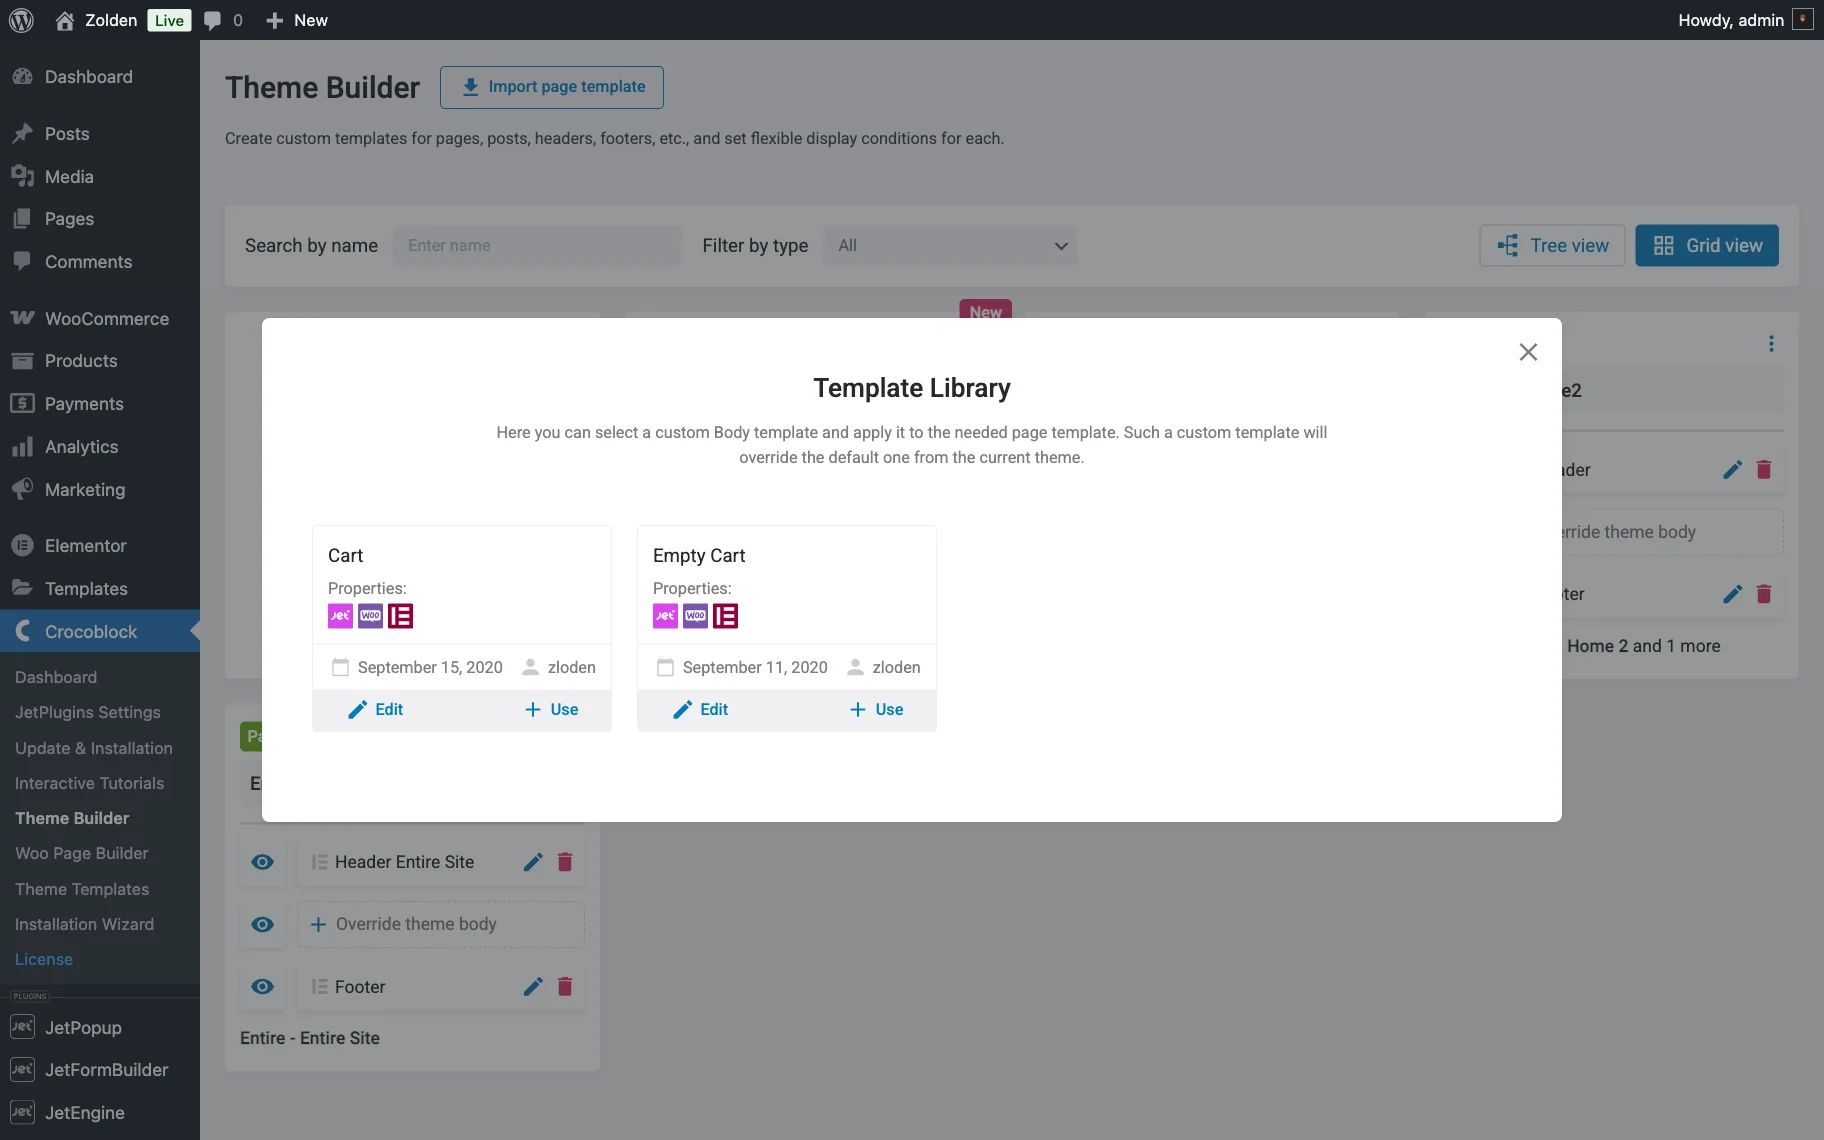
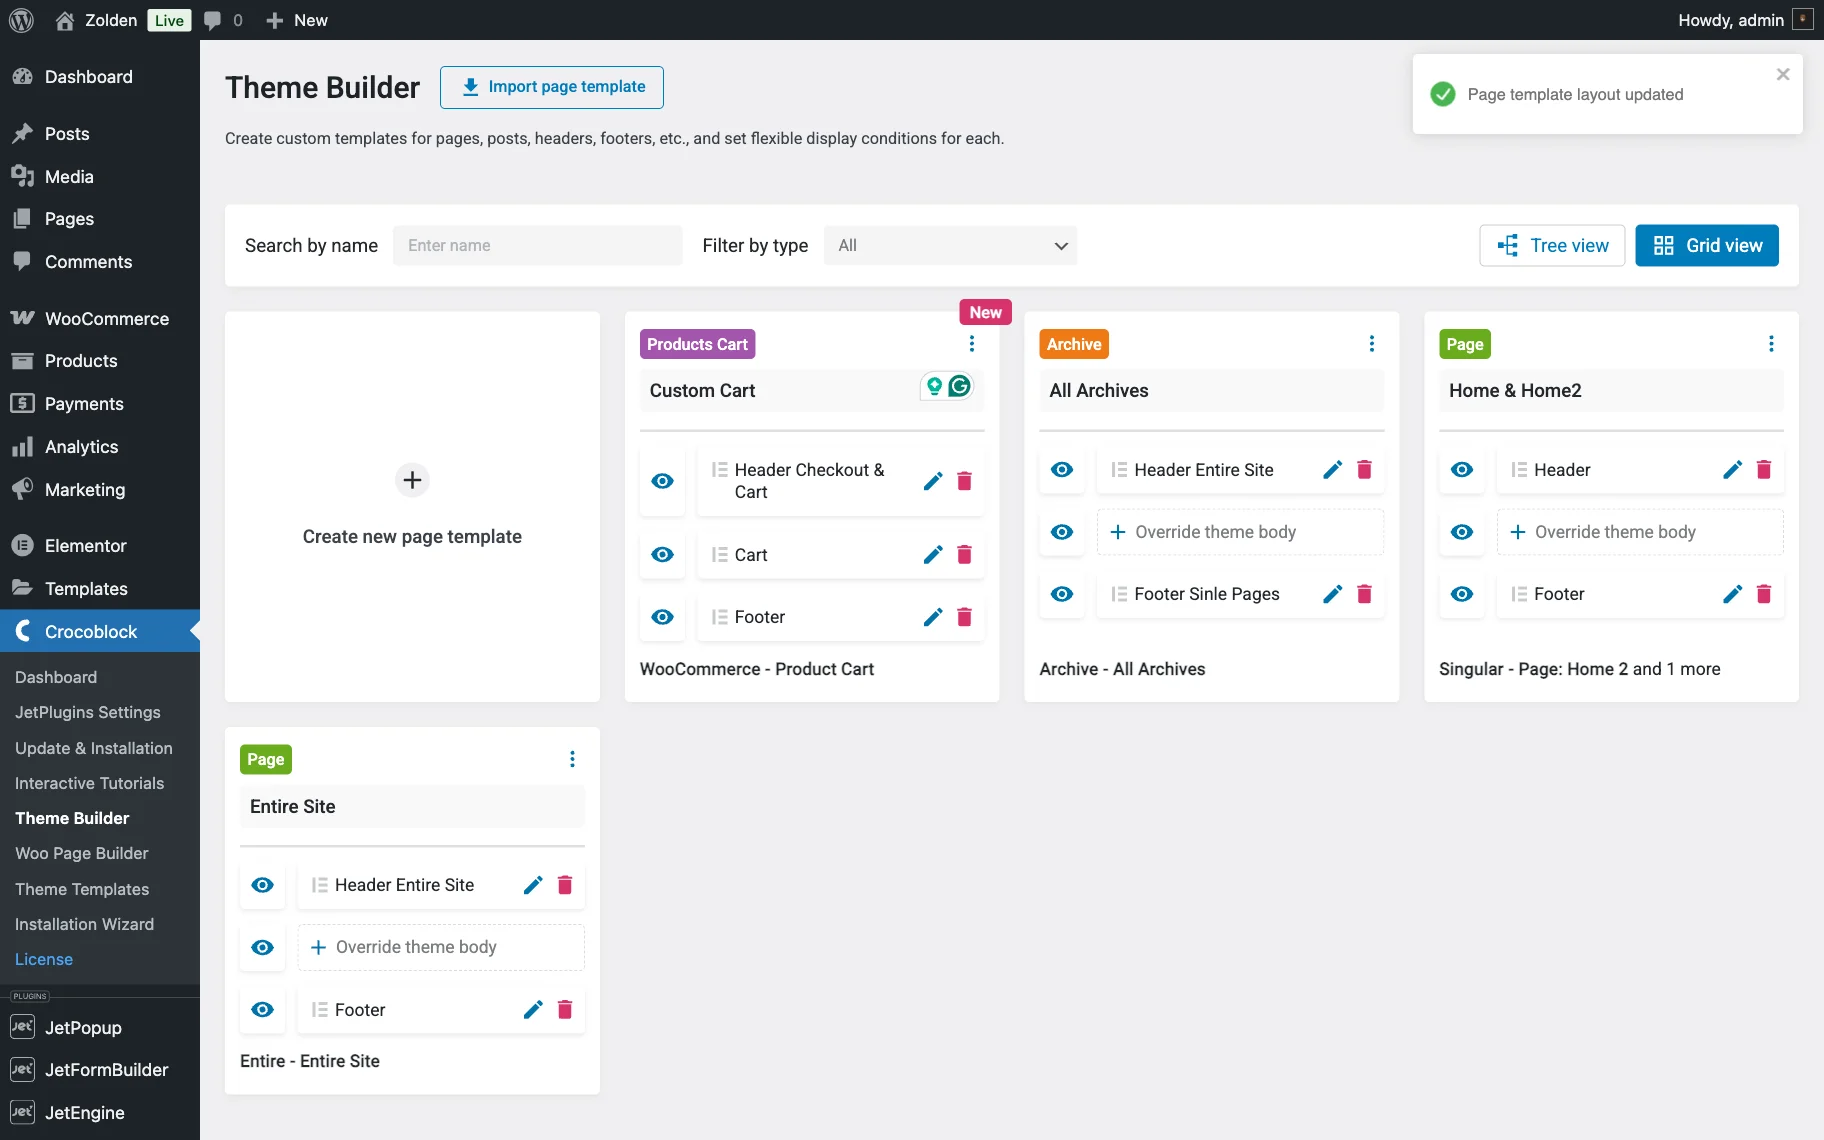
Hit the “Use” button. The template is attached to the body now.
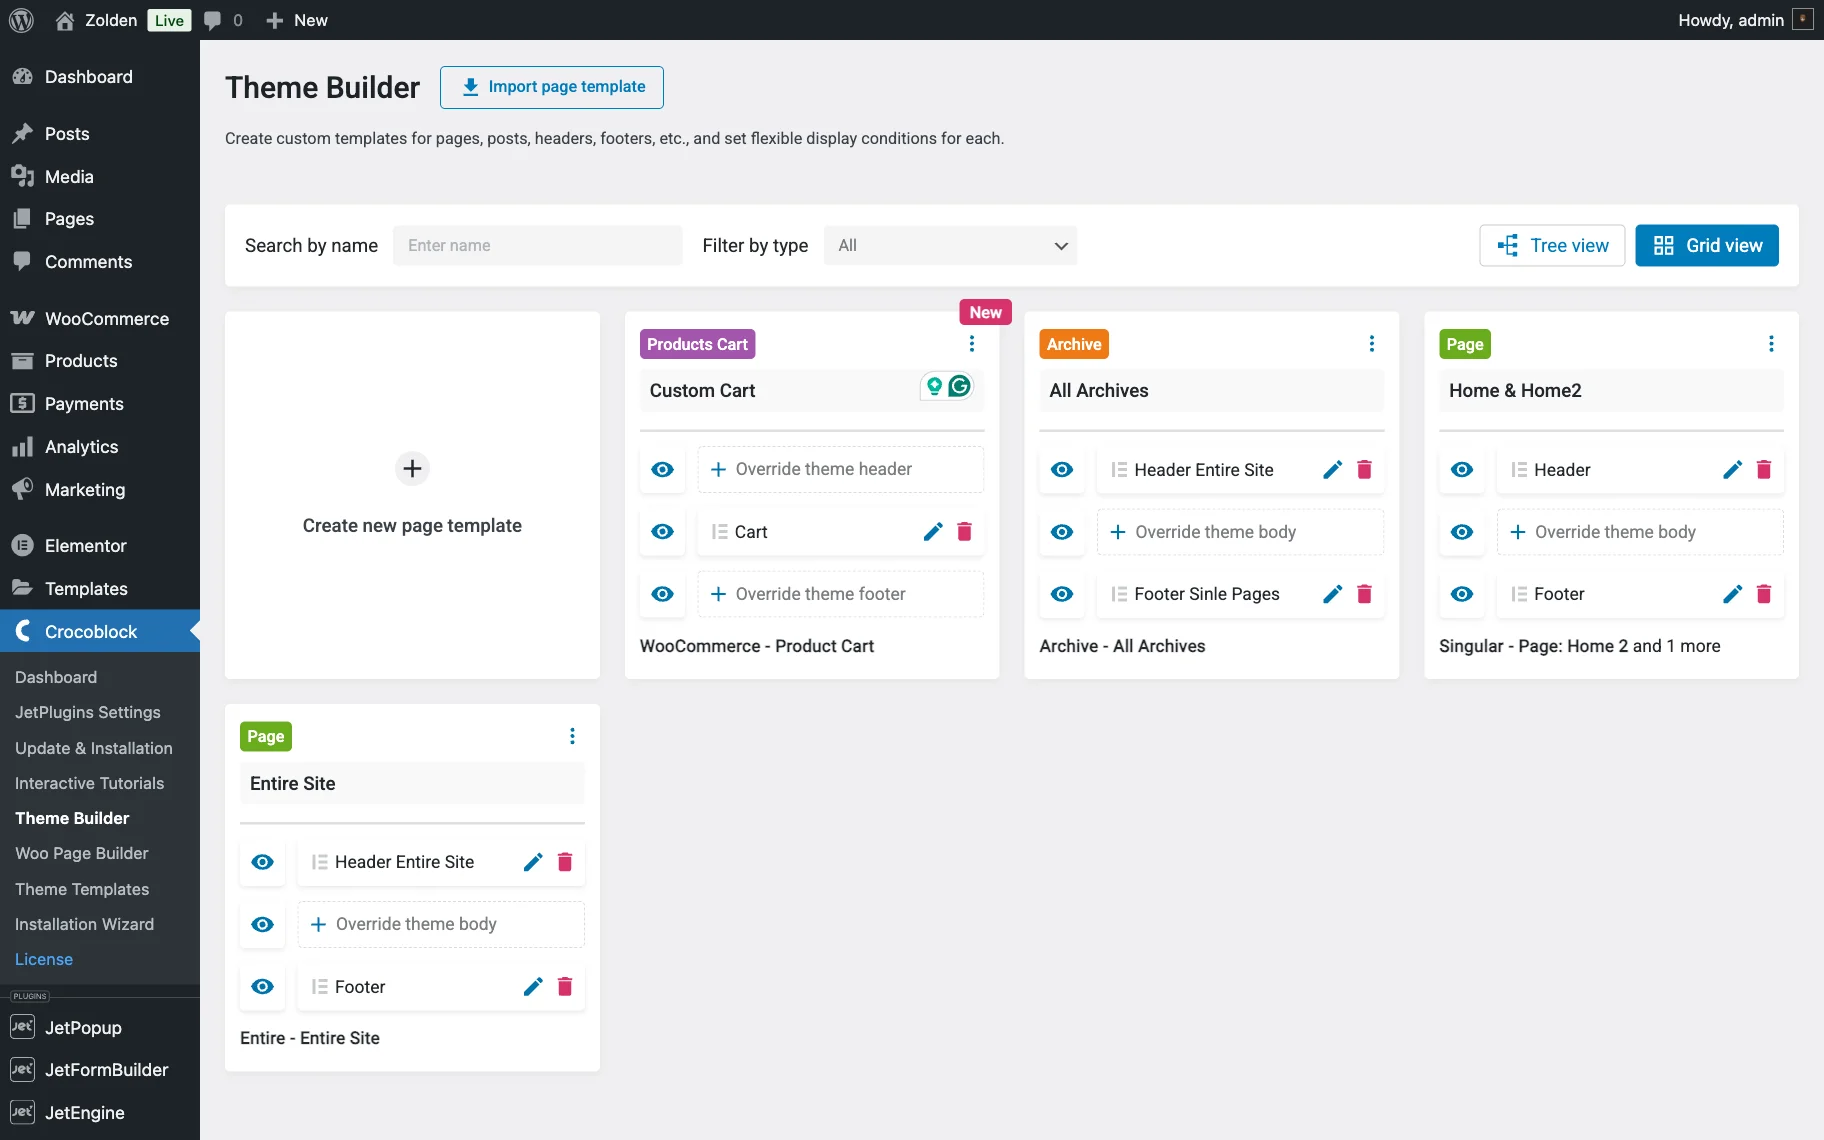
Adding a custom header and footer to the cart template
The JetThemeCore plugin enables the addition of custom headers and footers to templates directly from the Theme Builder dashboard.
To add an element to the cart template, click the “Add header” button to create a new header or select one from the library.
Repeat the same steps and add a custom footer if needed.
Checking the JetWooBuilder settings
Now that you’ve completed the template layout and design, it is time to review the JetWooBuilder settings.
Go to WordPress Dashboard > WooCommerce > Settings pathway and open the JetWooBuilder tab. There is no need to choose the template in the Cart Template drop-down menu, as we have already assigned the template to the Cart page in the Theme Builder dashboard.
Scroll down to the Cart section and make sure that the Custom Cart checkbox is disabled.
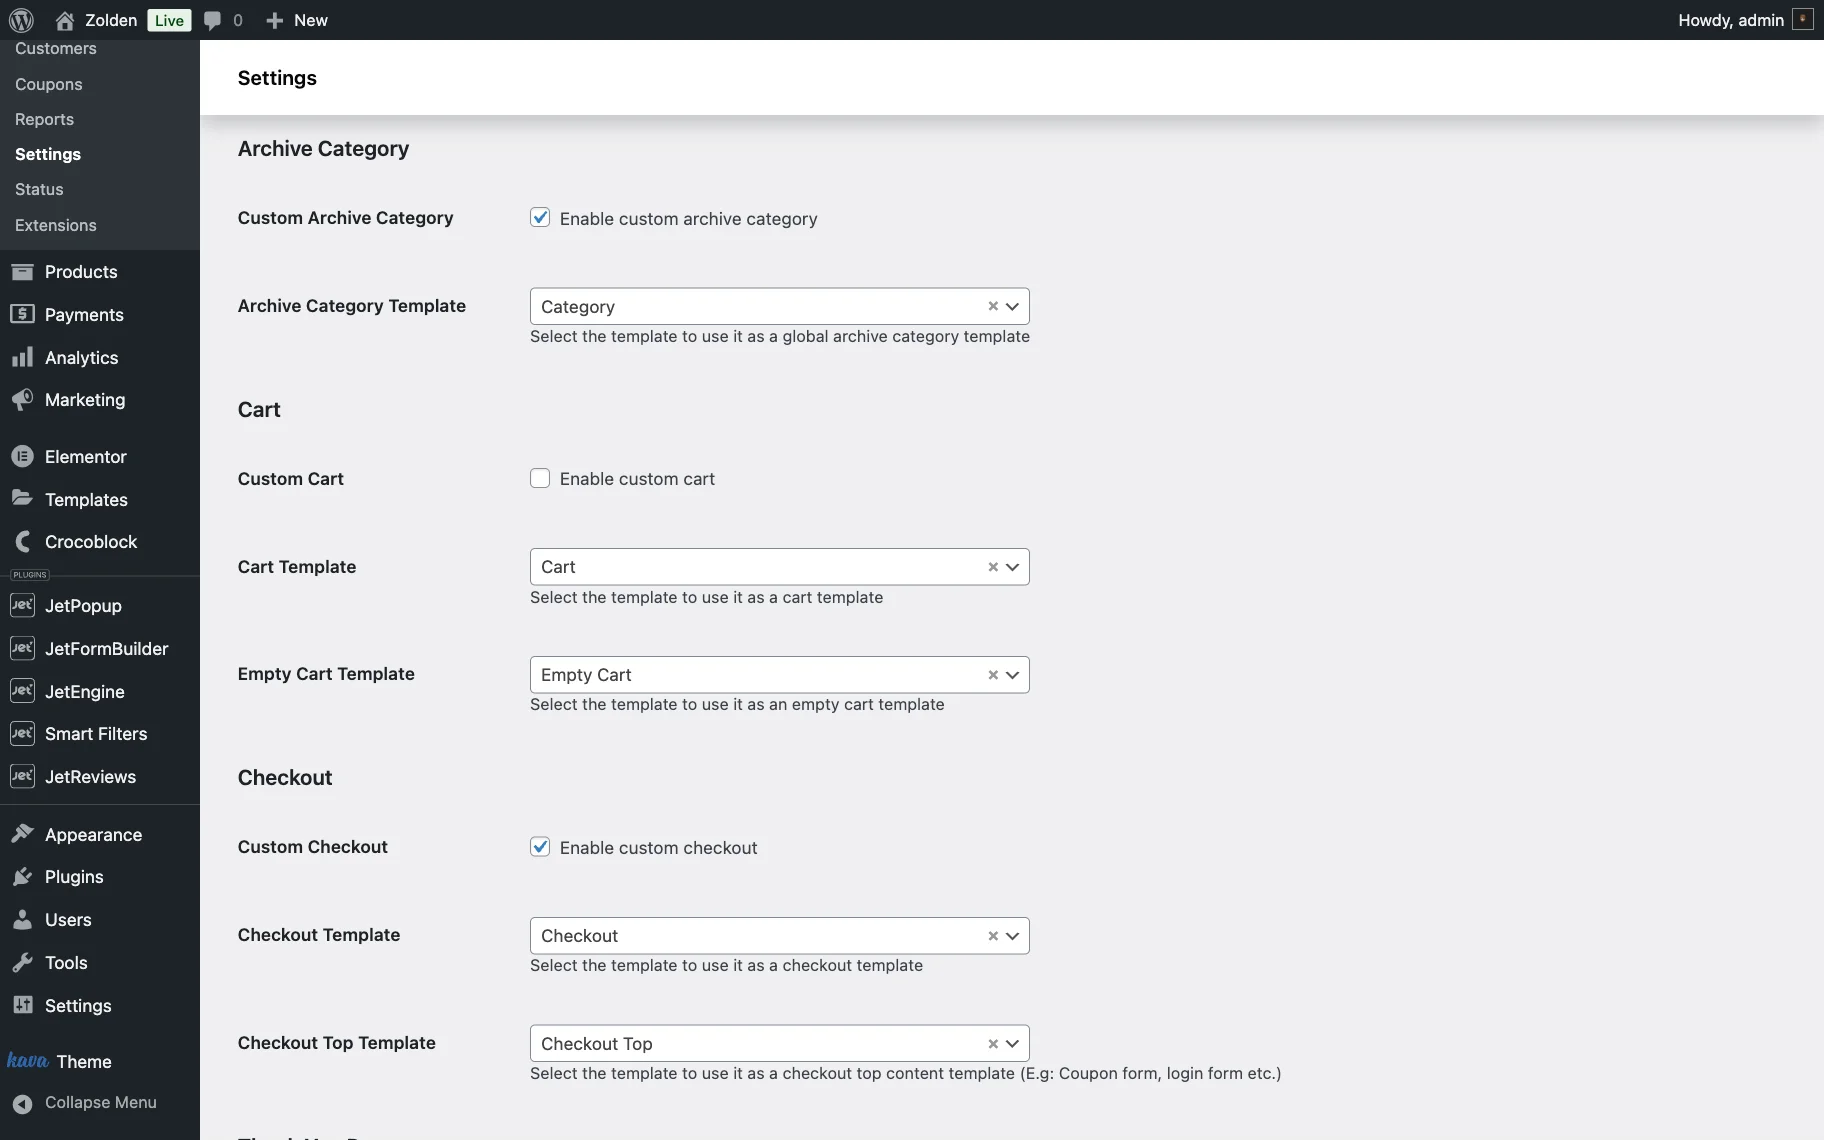
Scroll the page down and click the “Save Changes” button.
Proceed to the front end, add a product to the cart, and you will be redirected to the shopping cart page with the cart template you created before.
Now you know how to create and set up a cart page template with the help of the JetWooBuilder and JetThemeCore plugins on your WordPress website powered by JetPlugins and WooCommerce.