Displaying Smart Filters in a Popup Window
Create slide-out filters by inserting them into a popup. Set Open event trigger and needed conditions to make it work.
Before you start, check the tutorial requirements:
- Elementor (Free version)
- JetSmartFilters plugin installed and activated
with created filters.
- JetPopup plugin installed and activated
Create a New Popup
Go to JetPopup > Add New Popup in your WordPress admin panel, enter the title, and press “Publish”. Then hit the “Edit with Elementor” button and you’ll see a popup editing window.
Insert a Filter into It
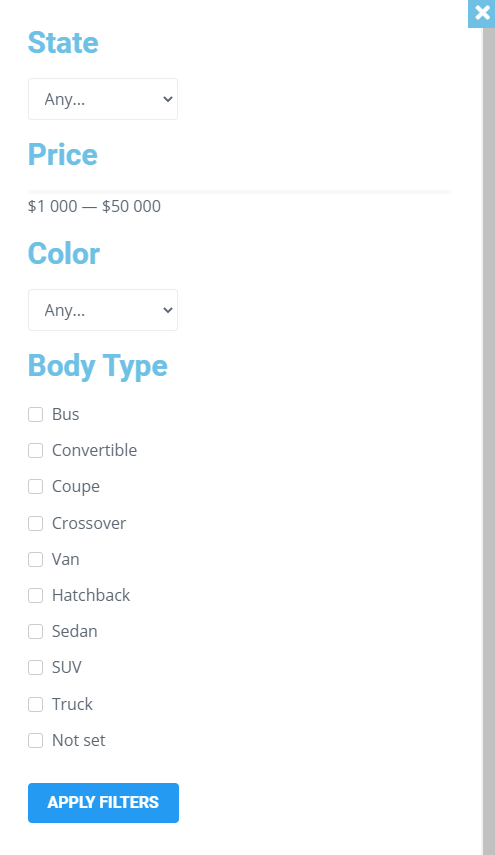
Use the necessary filter widgets to build a structure for the popup. If you are hardly familiar with the topic, there’s a lot to learn about JetSmartFilters in our tutorials. For instance, the Types of Filters will fill you in on the widgets. As a result, you might achieve something like this:

Set up the Popup Trigger Events
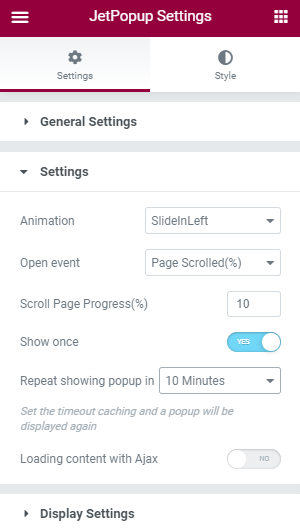
Open the JetPopup Settings > Settings tab in Elementor by clicking a gear icon in the bottom left corner of the editing screen. Choose the Open event option for your popup.

Configure the Popup Conditions
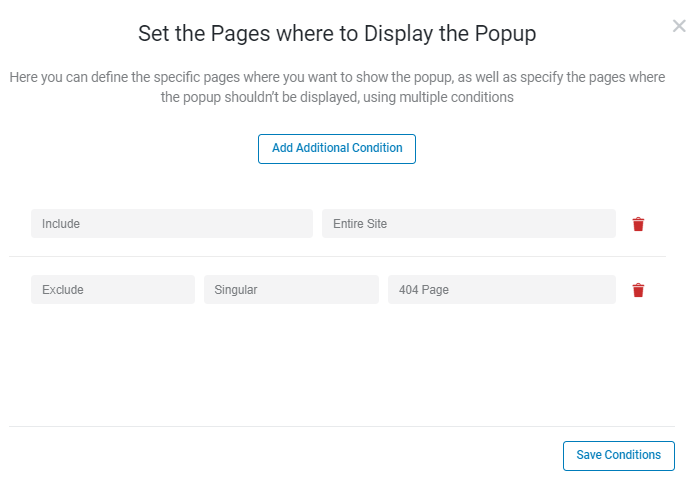
Unfold the Display Settings tab and set up the conditions. You can add as many as necessary and thus adjust the popup display on the website. Then click on the “Save Conditions” tab and press “Update” to update the popup settings.

Go to the webpage you’ve assigned the popup to and check out how it works.
You can also create a popup with smart filters inside and make it appear on the button click.