Outputting a URL in the Media Field
Output a link to a particular media file uploaded via the custom Media field, using the Attachment Link Callback addon (excellent for PDF and ZIP files).
Before you start, check the tutorial requirements:
- Elementor (Free version) or Block editor (Gutenberg)
- JetEngine plugin installed and activated
- Free Attachment Link Callback add-on installed and activated
you can download an add-on from the DevTools page.
Download and Activate the Plugin
Upload it to the WordPress Dashboard > Plugins > Add New directory and activate the plugin once done.
return sprintf( '<a href="%1$s" target="_blank">%2$s</a>', $url, $name );Check Meta Field Settings
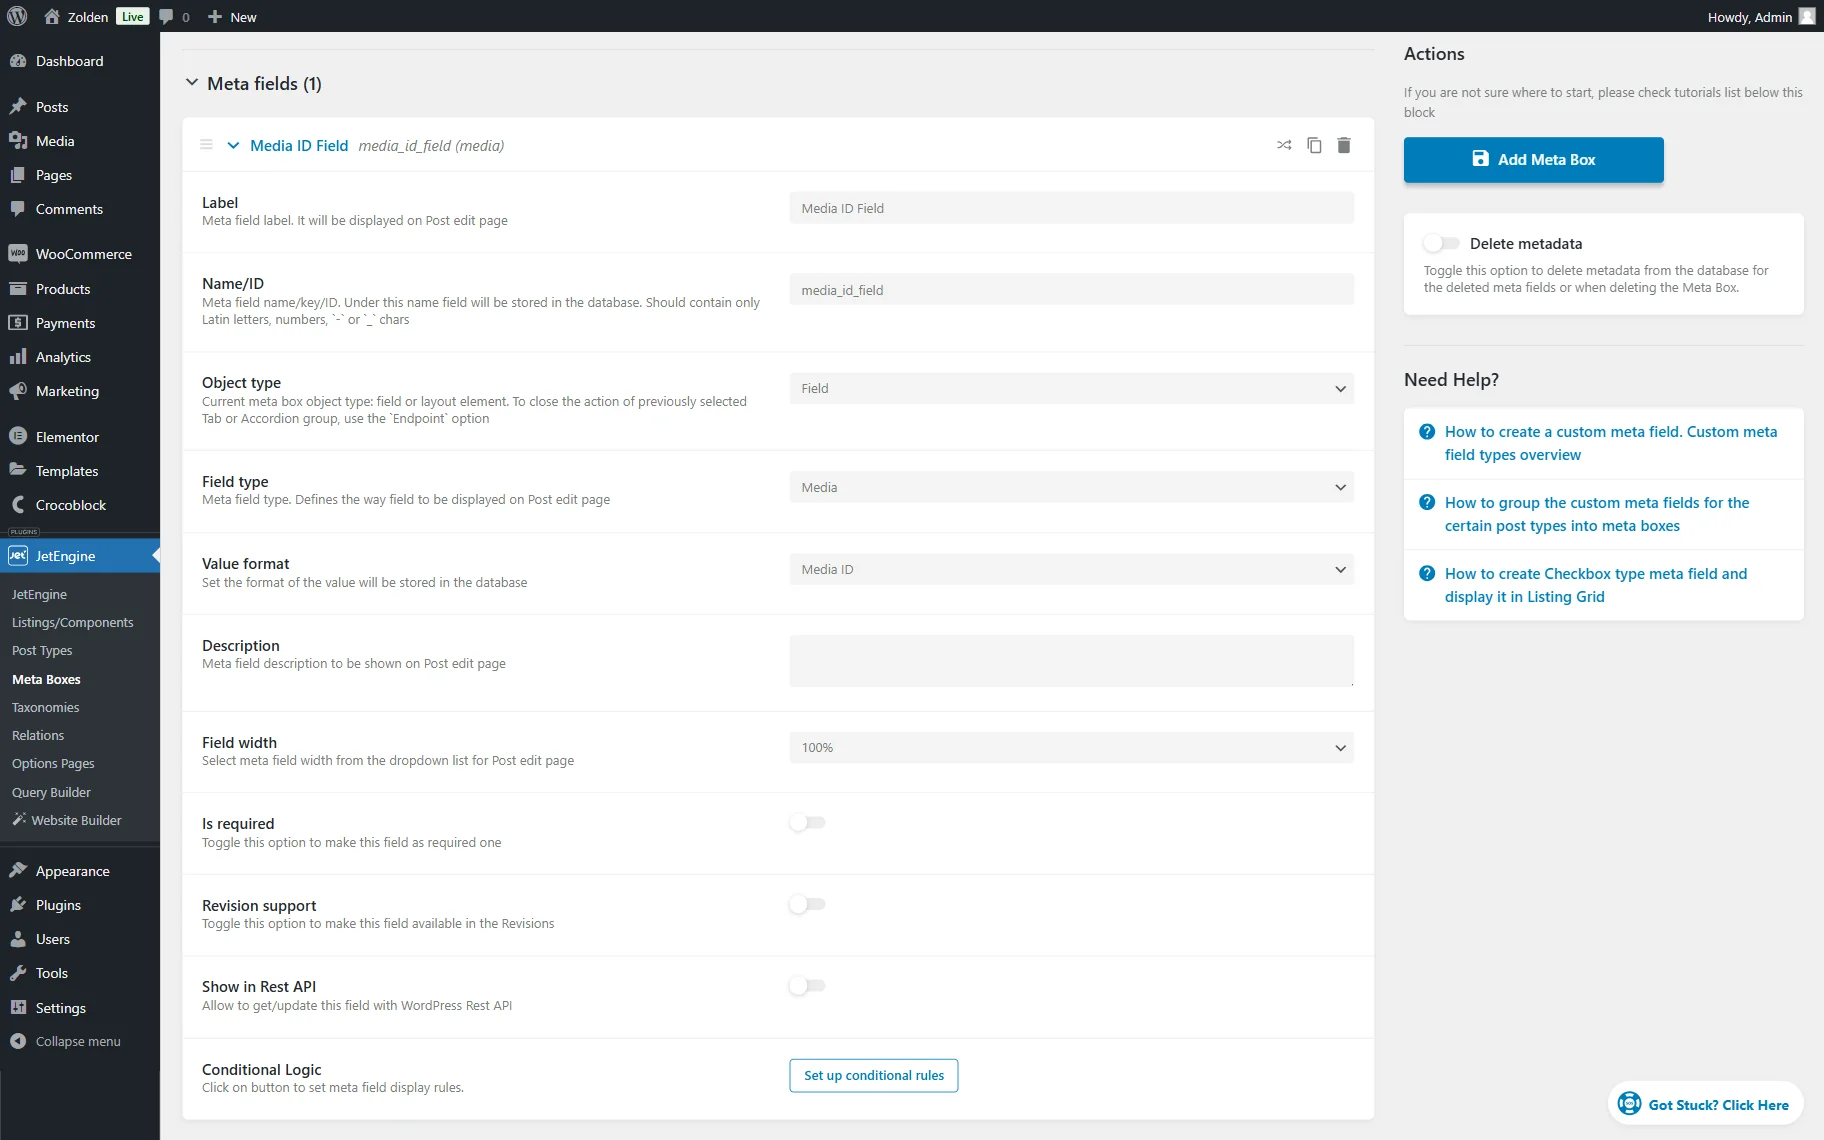
First, head to WordPress Dashboard > JetEngine > Meta Boxes and open the meta box you work with. If the meta box was built in another directory, go there.
Scroll down to the Meta Fields section and check your “Media” meta field settings.
Edit the Necessary Listing
Go to WordPress Dashboard > JetEngine > Listings/Components and open the Listing you need in Elementor.
Add the Dynamic Field widget to it.
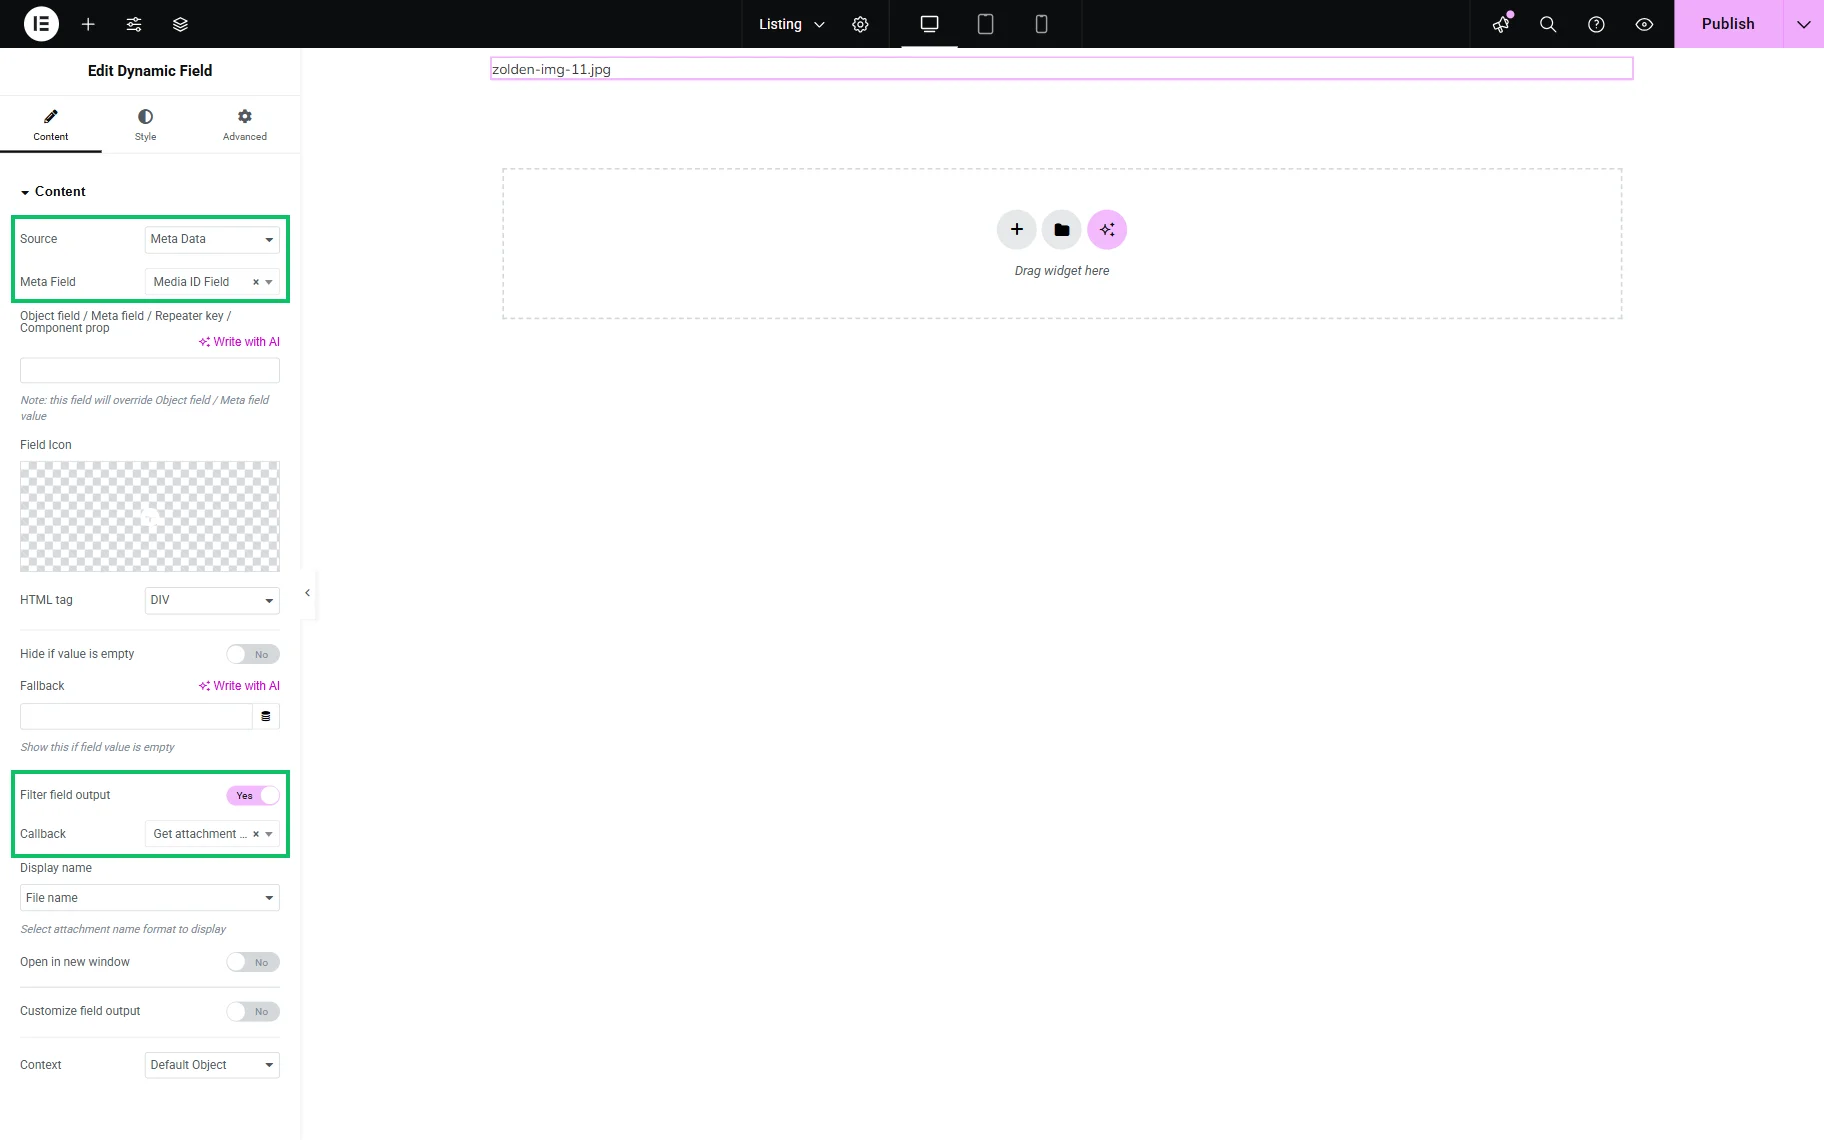
In the Source drop-down, choose “Meta Data”. Then, select the custom Media field you’ve created with JetEngine (it’s called “Media ID Field” in our case, but yours can be named otherwise) in the corresponding drop-down.
Enable the Filter field output toggle. In the Callback field, make sure to select the “Get attachment file link by ID” option.
That’s all. Now, the link to your media file will be displayed in the listing as needed with the help of the Attachment link addon from JetEngine for WordPress.