How to Display Several Custom Post Types in One Listing Grid Widget
This tutorial provides detailed information on displaying several custom post types in one Listing Grid using the JetEngine plugin.
Before you start, check the tutorial requirements:
- Elementor (Free version)
- JetEngine plugin installed and activated with several Custom Post Types created
Create Meta Box
Go to WordPress Dashboard > JetEngine > Meta Boxes and click the “Add New” button.
Move to the Visibility Conditions tab and select the needed Post types in the Enable For Post Types field.
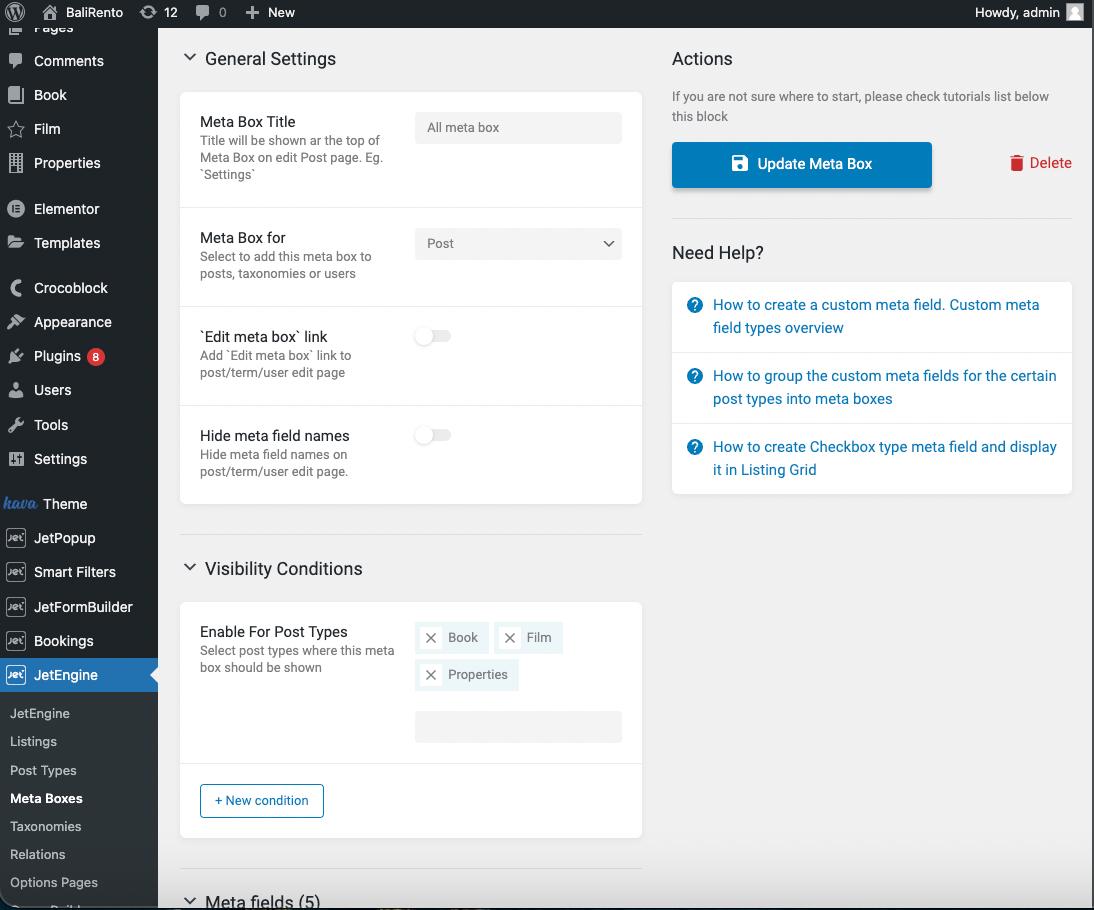
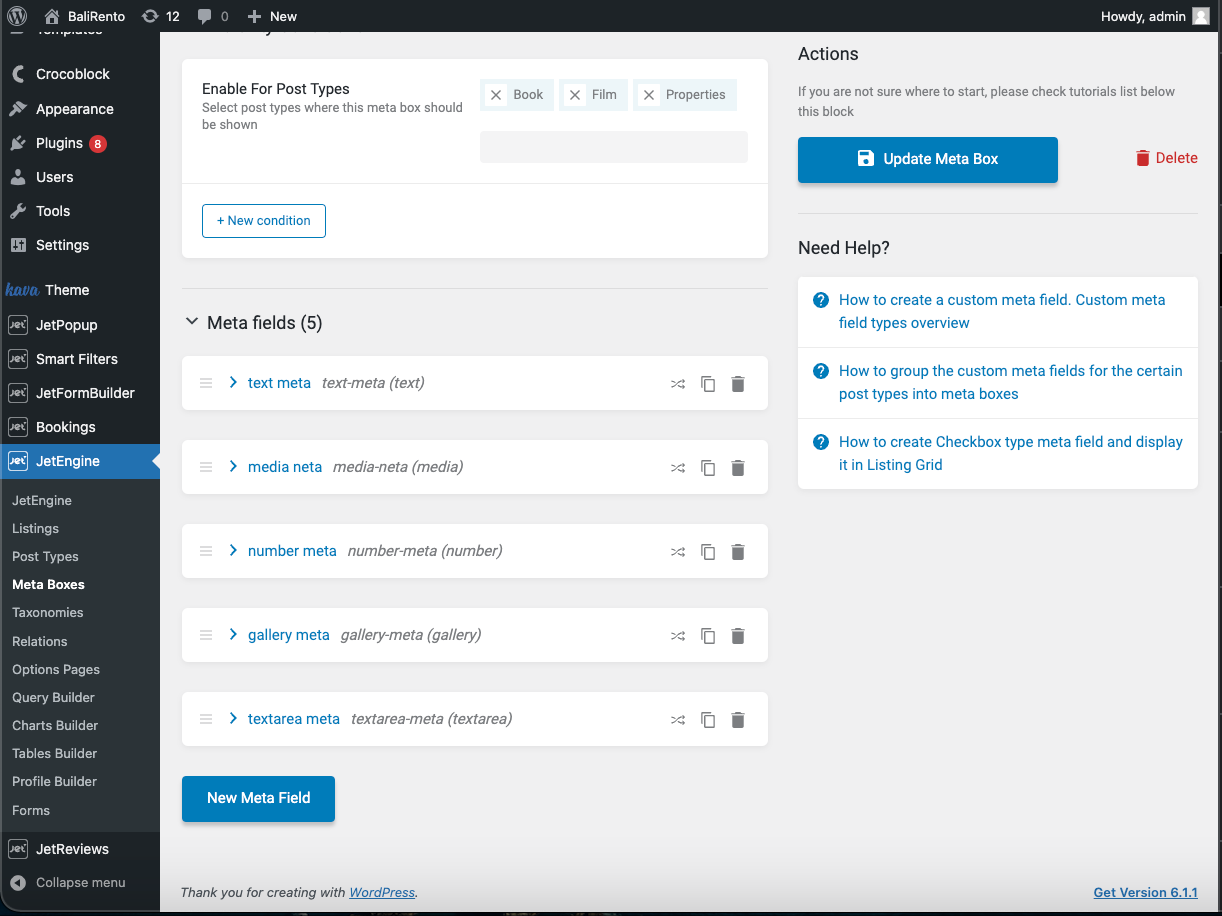
Add the meta fields you want to display in the listing item in the corresponding Meta Fields tab.
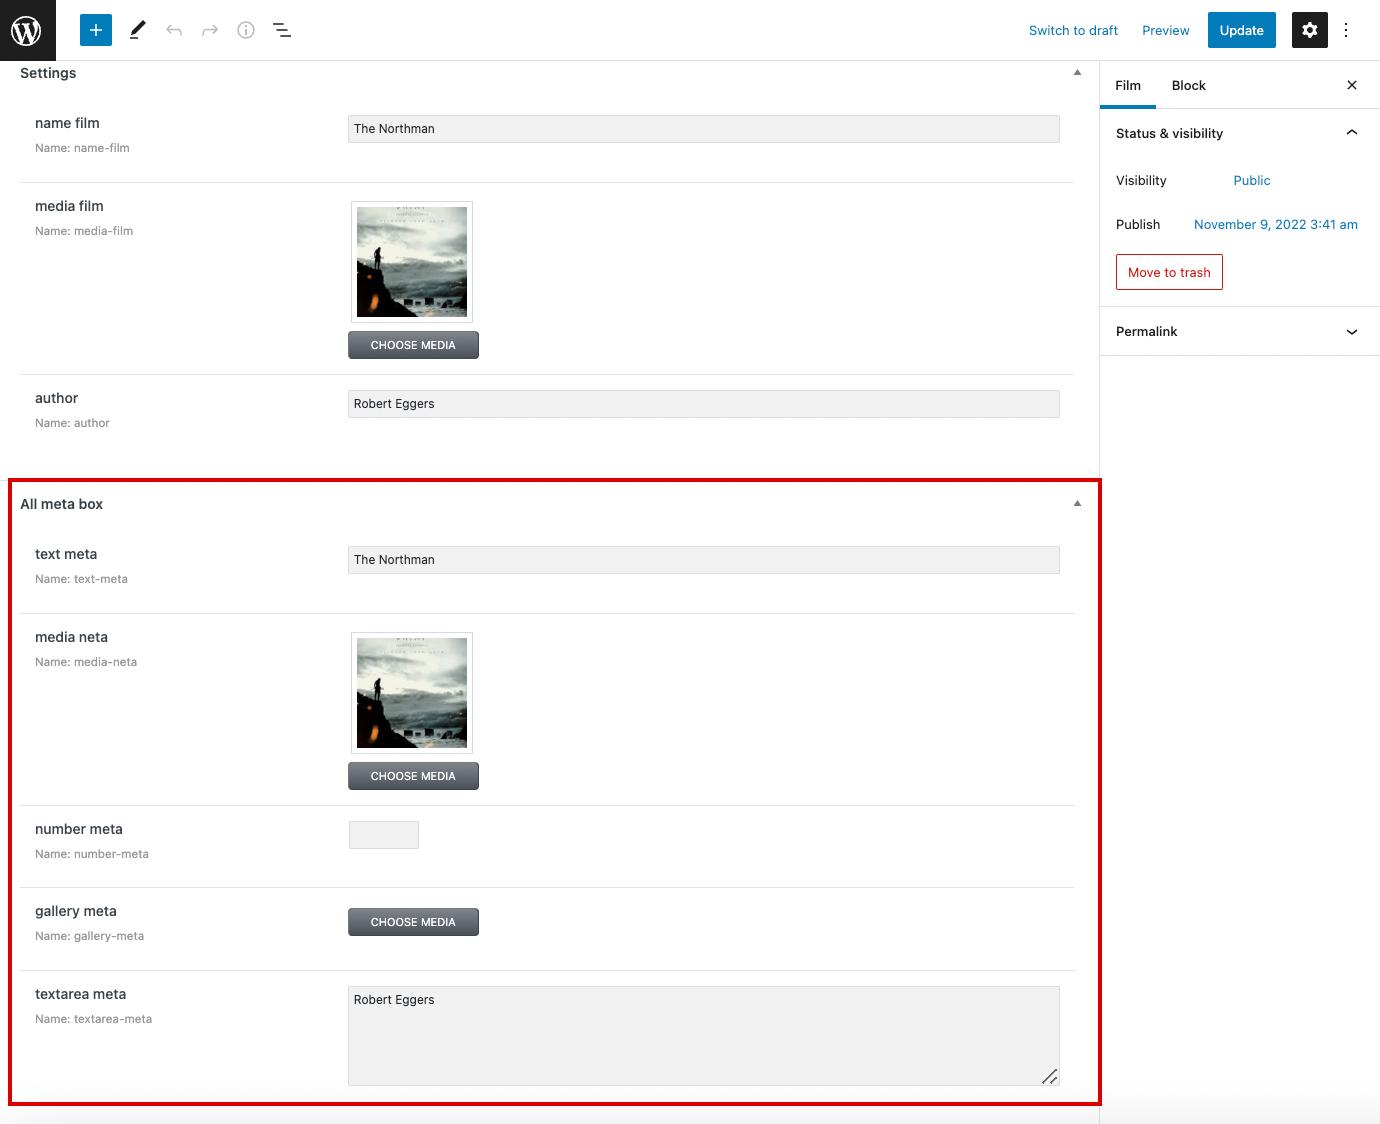
After creating the meta box, fill in these required fields in the selected post types.
Add Query
Now you need to create a Query for the future listing. Move to WordPress Dashboard > JetEngine > Query Builder and push the “Add New” button.
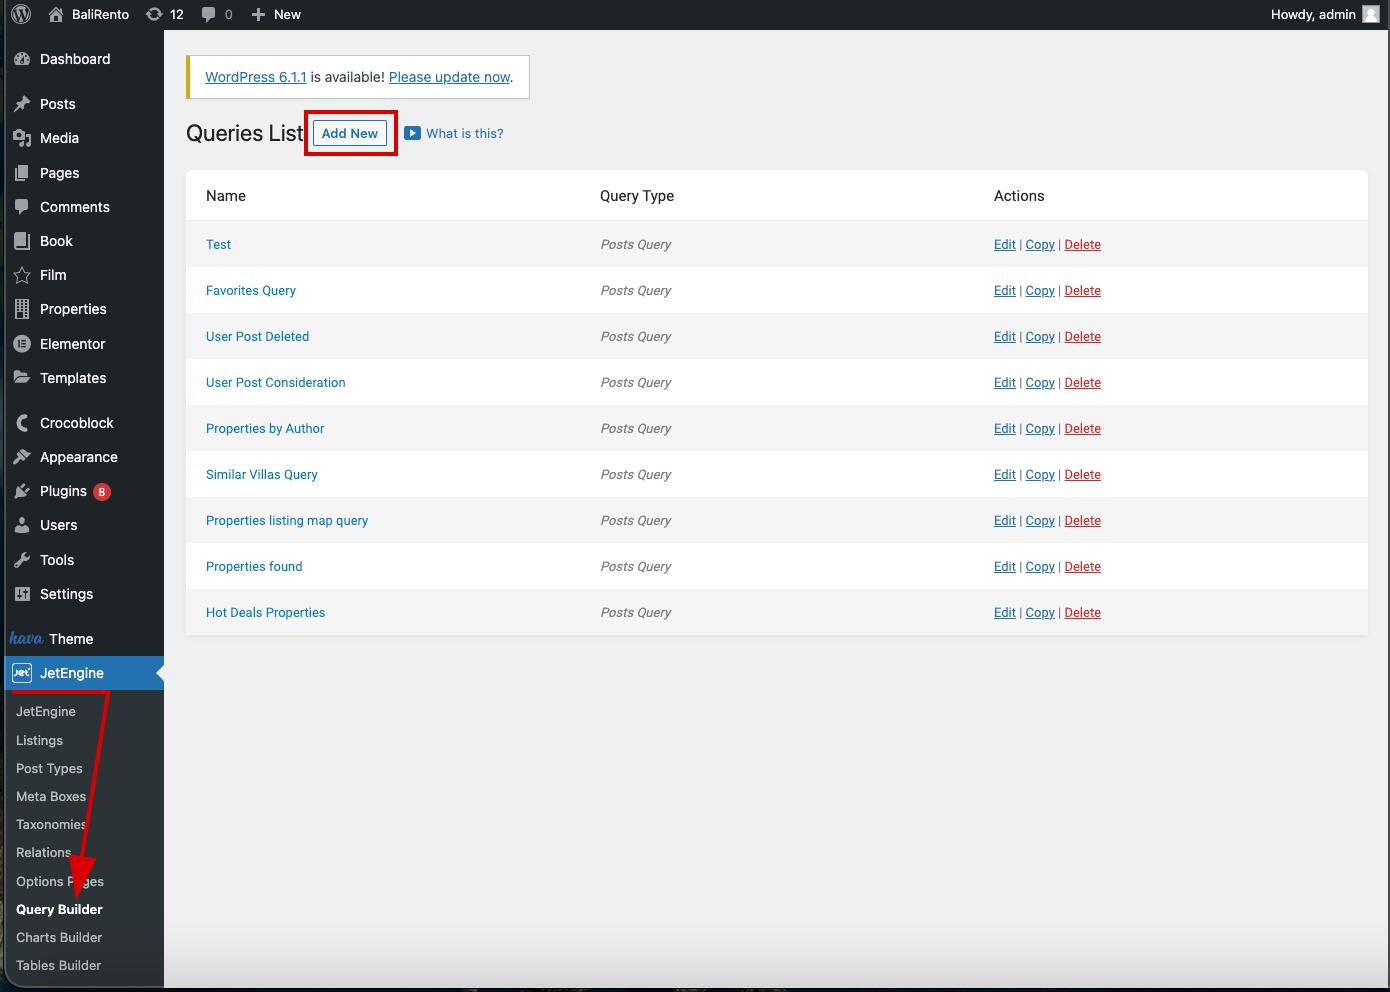
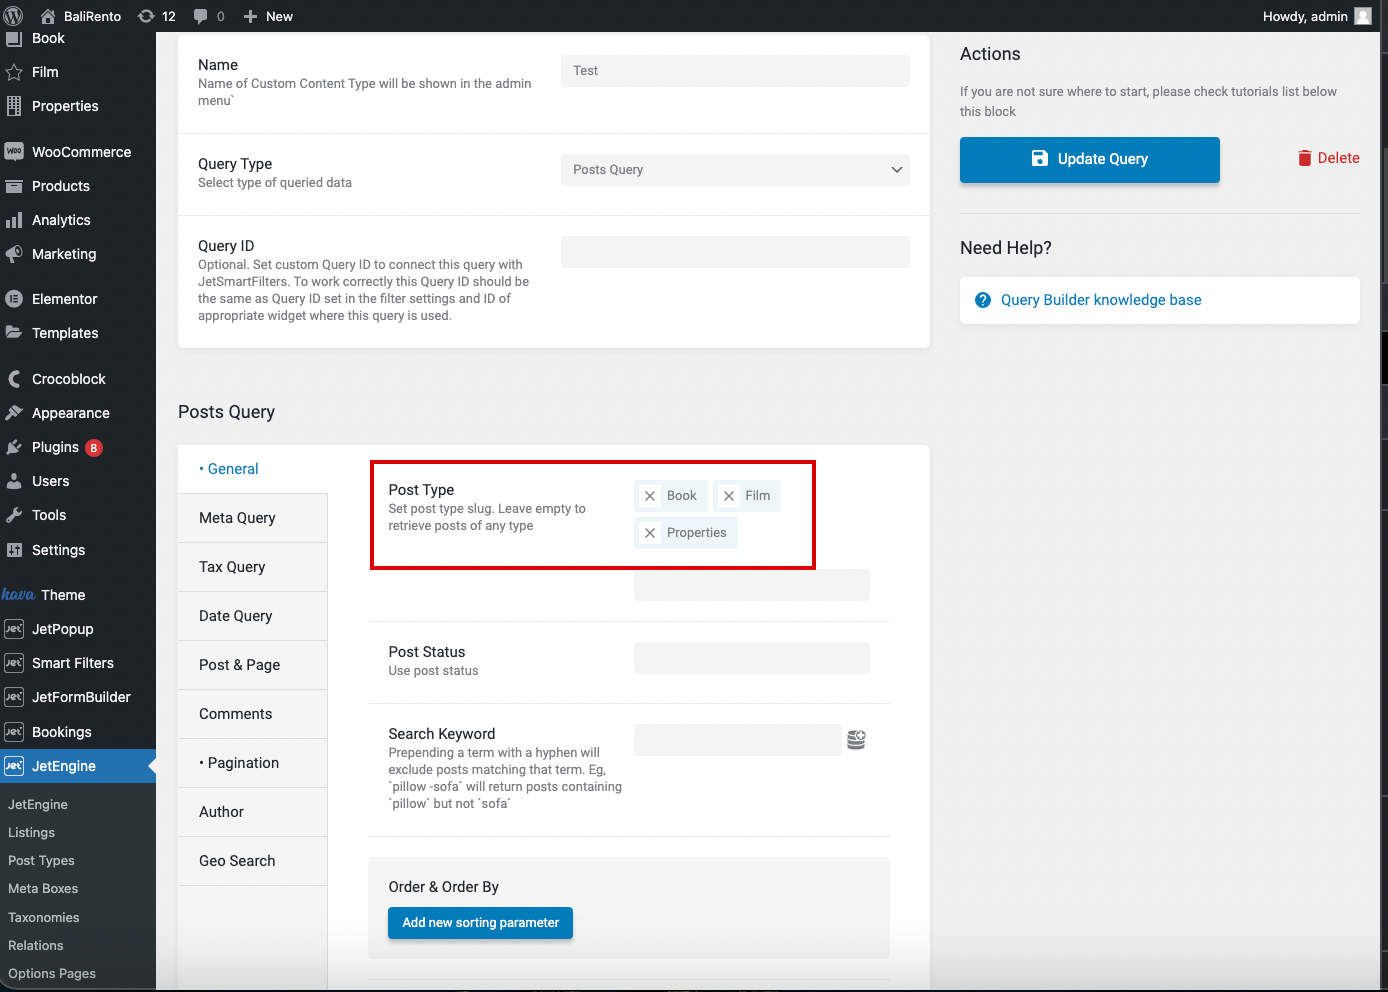
Enter the query Name and select the “Posts Query” Query Type.
Head to the Posts Query section.
In the General settings tab, find the Post Type field and choose several post types you have selected when creating the meta box.
Display Posts via Listing Grid Widget
Create query builder listing item
The next step is to create a listing item for the query. To do this via the WordPress Dashboard, go to JetEngine > Listing and press the “Add New” button.
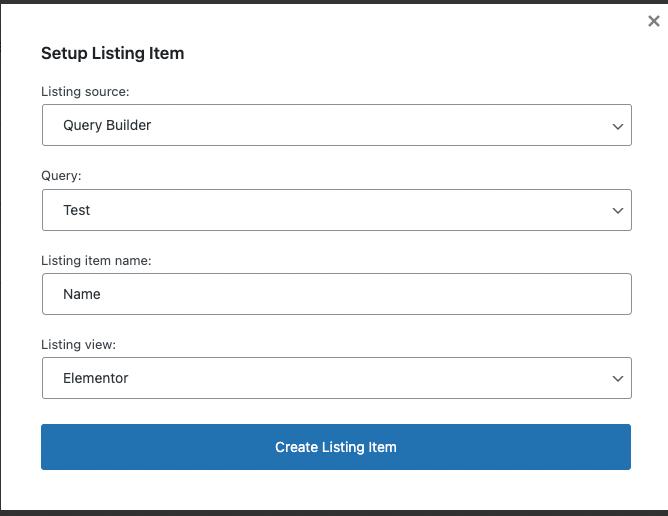
In the appeared pop-up, select the “Query Builder” Listing source and choose the needed Query in the dropdown menu. Hit the “Create Listing Item” button.
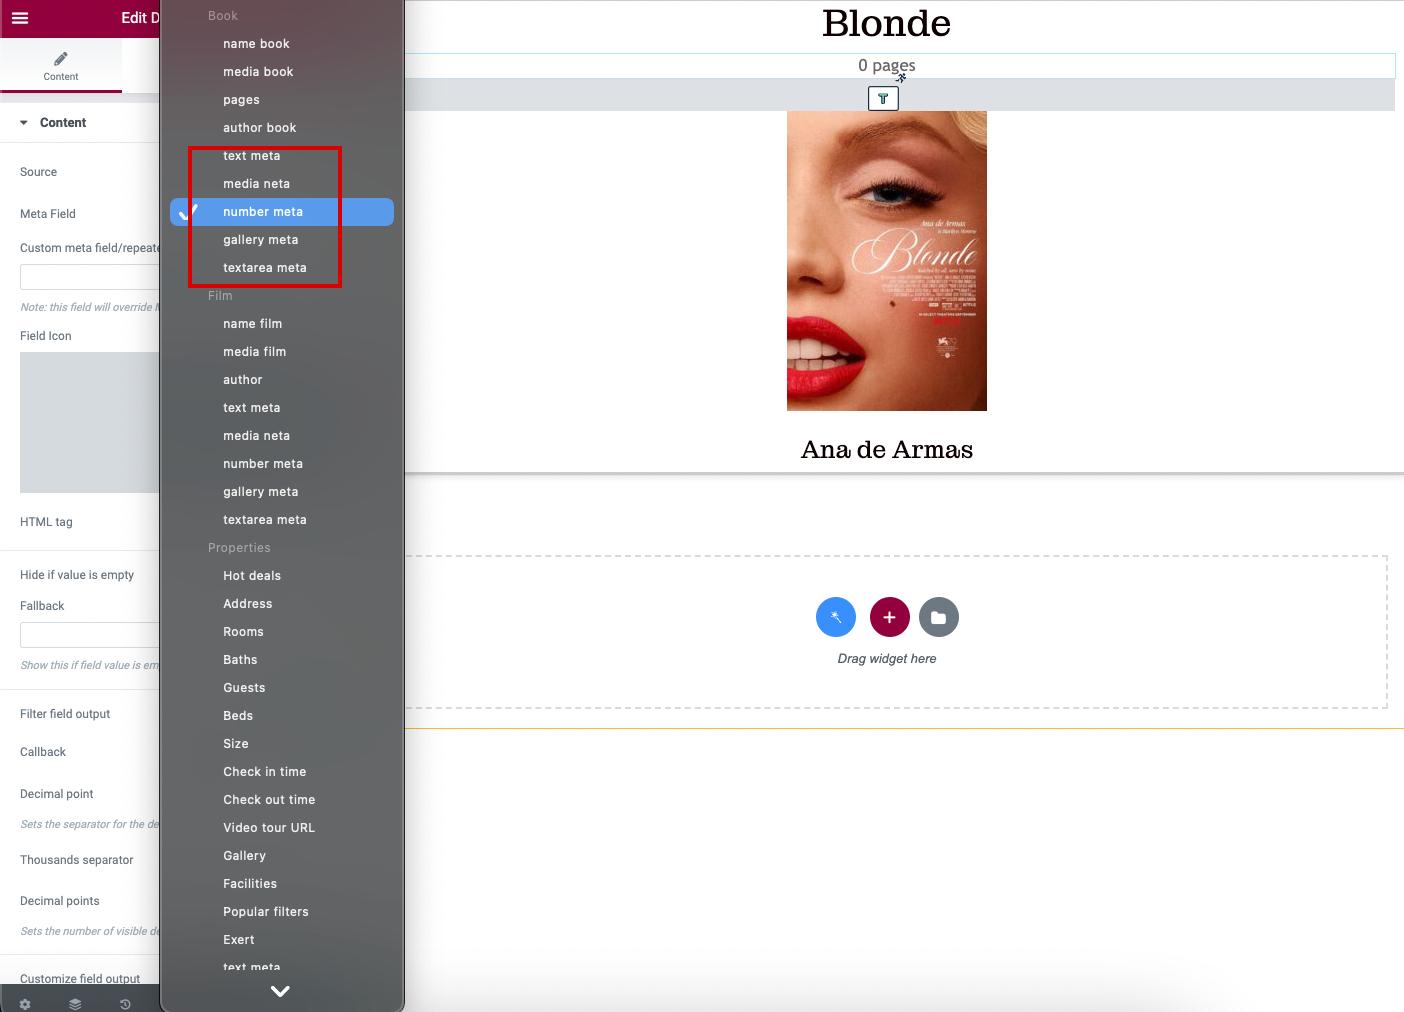
For a listing, you need to use dynamic widgets such as Dynamic Field and Dynamic Image.
Сhoose “Meta Data” Source, and in the Meta Field dropdown, pick the name of the field you created in the meta box.
Make style adjustments to the listing item. When you finish, hit the “Update” button.
Add listing grid widget
Open the needed page in the Elementor Page Builder. Add the Listing Grid widget and select the needed Listing item from the Listing dropdown menu.
Learn more about this feature in the Listing Grid functionality overview. Also, you can customize the content and style options of the widget right here.
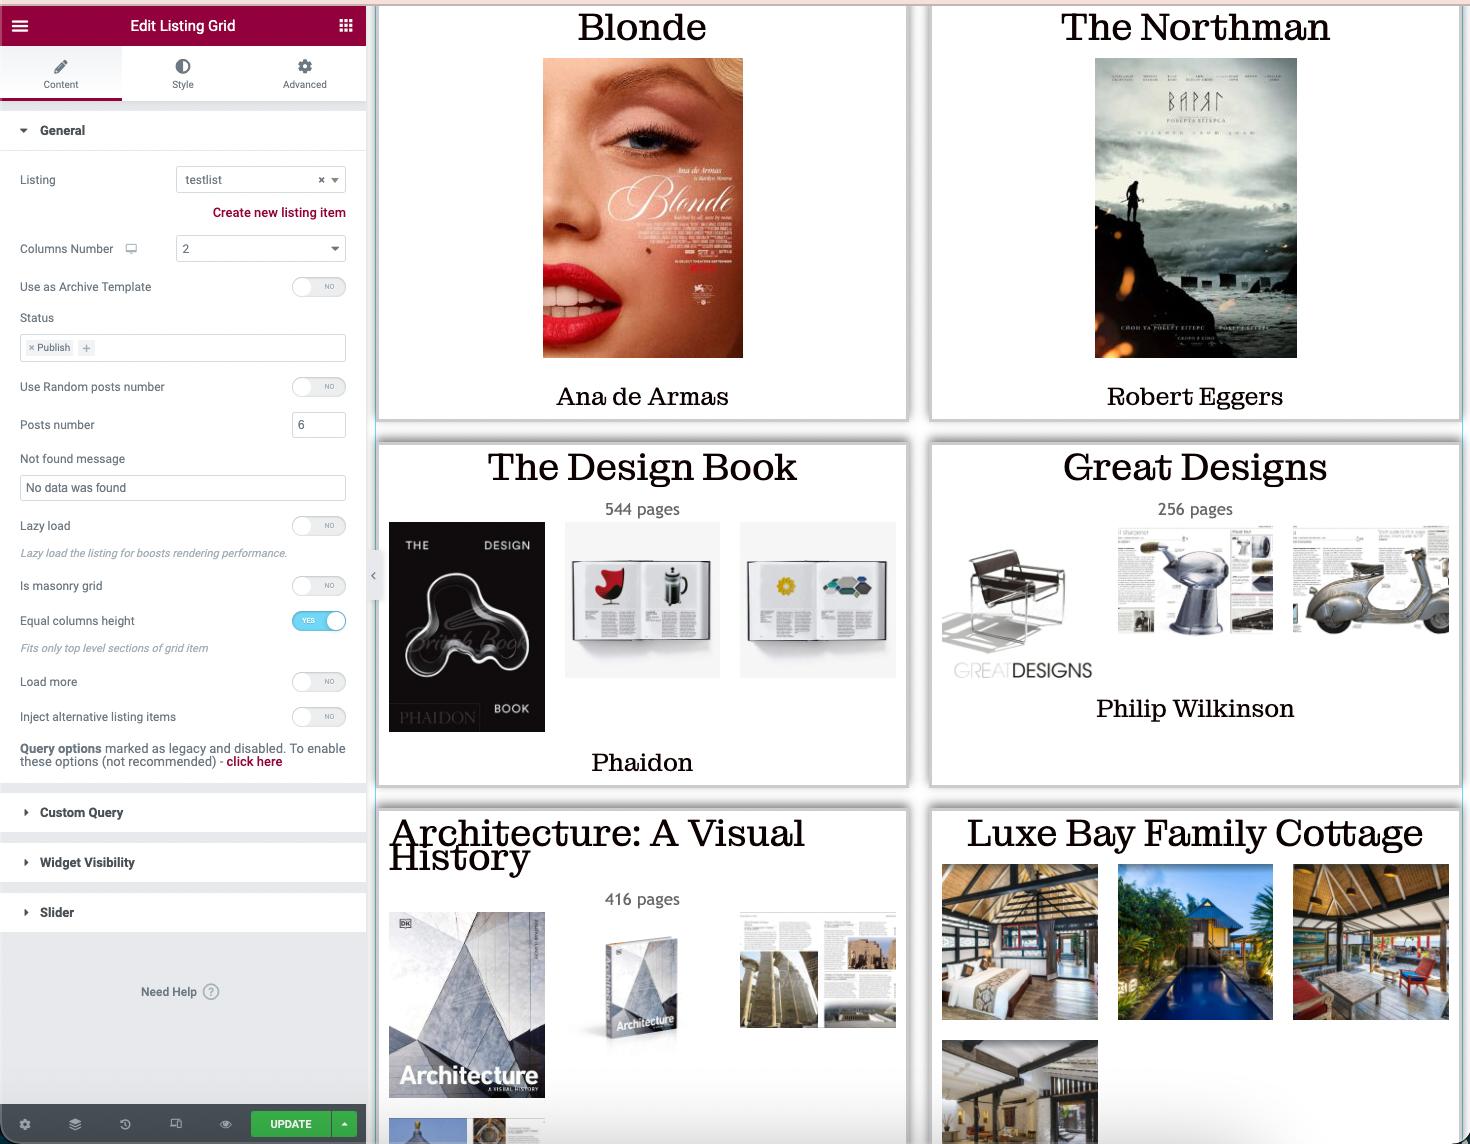
Save all updates and check how it works on your website. We have three different Custom Post Types: Films, Books, and Properties. These are located at one Listing Grid with the same design.
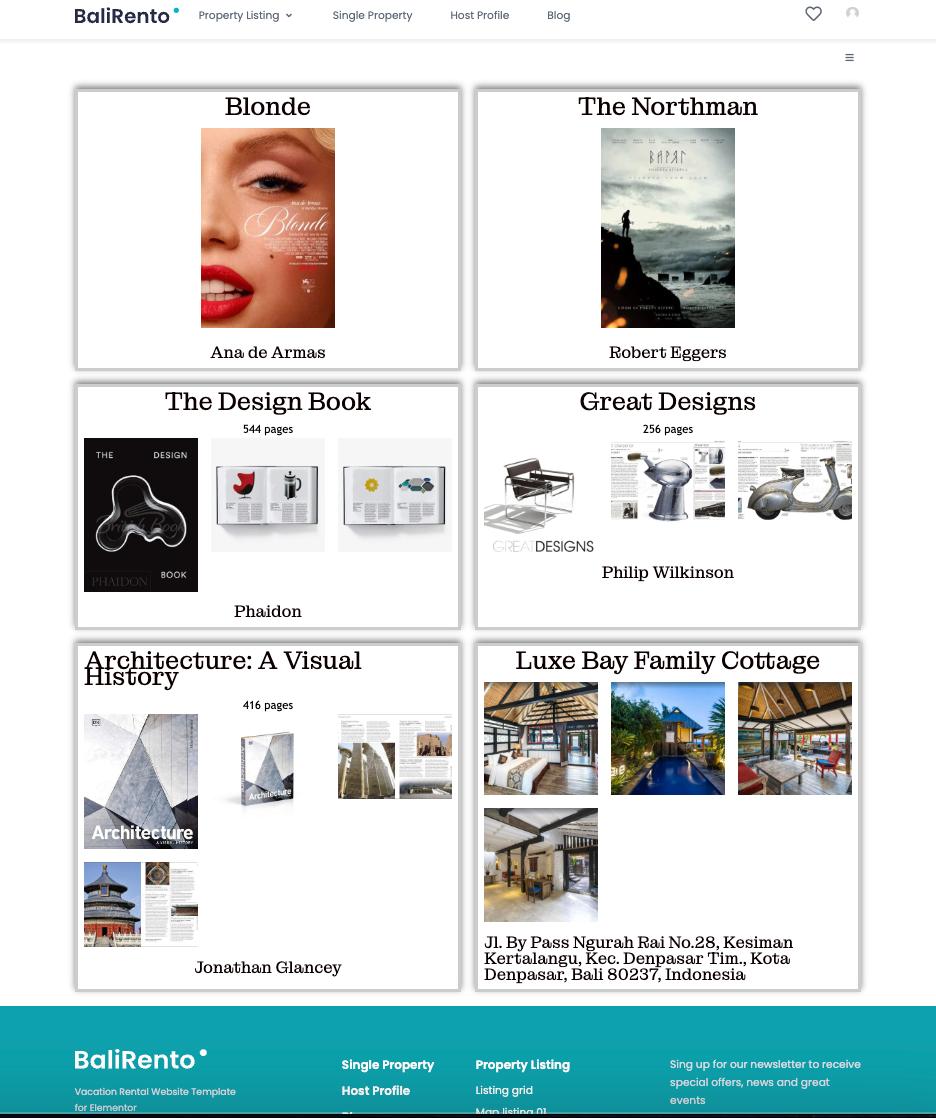
That’s all. Now you know how to display several different custom post types in one listing.