Admin Columns Overview
This tutorial overviews the main features and settings of the Admin Columns created by the JetEngine plugin for Elementor and Gutenberg.
Creating and Editing Settings
To edit or apply new Admin Columns, navigate to JetEngine > Post Types of the WordPress dashboard. Select the CPT you need and press the “Edit” button.
The JetEngine plugin allows adding the Admin Columns for any meta field while creating CPTs or CCTs.
Press the appropriate tab to add/edit Admin Columns.
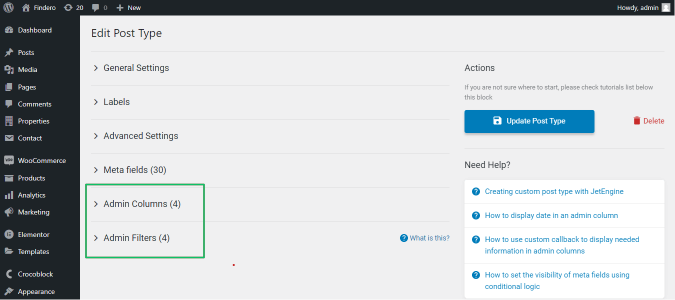
Admin Columns Options
The Admin Column tab has the following settings:
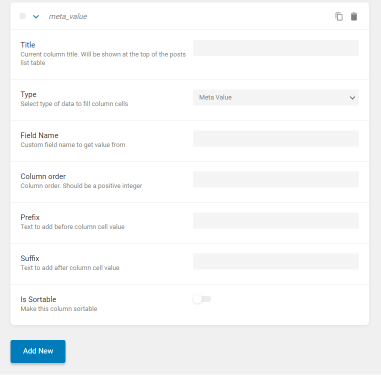
- Title field for typing the current column title. This title is displayed at the top of the posts list table;
- Type dropdown menu allows selecting the type of data to fill the column cells (Meta Value Post Terms Post ID, or Custom Callback);
This tutorial explains How to Use Default Callback to Display Date in Admin Column.
- Field Name field for typing a custom field name to get value from;
- Column order field to specify the order of the displayed column;
- Prefix field for typing a text before the column cell value;
- Suffix field for typing a text after the column cell value;
- Is Sortable toggle allows sorting column data.
Main Features
The admin panel with applied Admin Columns displays the meta fields with listed data. Users can apply Admin Columns to any data shown in the admin panel: meta field value, category name, post ID, or custom or predefined callback (for the image, switcher, checkbox, select, etc. field types).
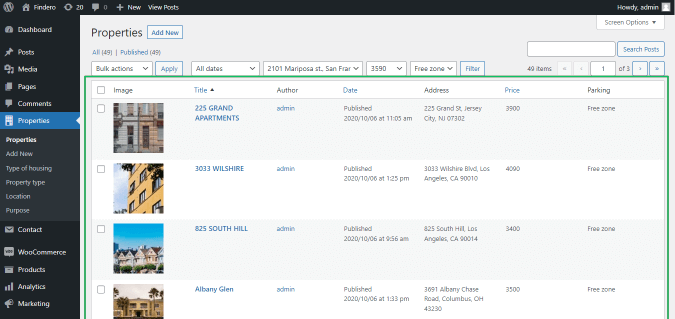
The titles of sortable meta fields are blue. The title of the sorted meta field has the sorting icon (sorting in ascending and descending orders).
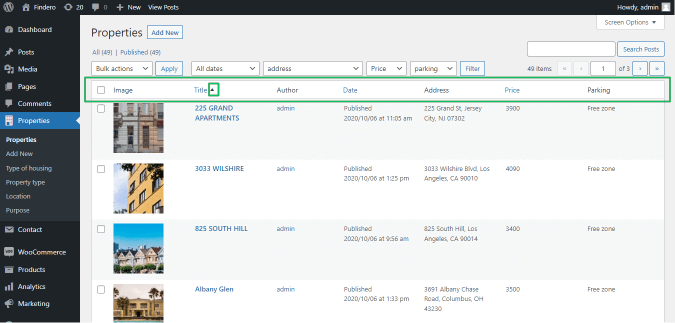
Quick Edit of Meta Field Data
Users can edit data from the meta field by clicking the “Quick Edit” link of the appropriate CPT.
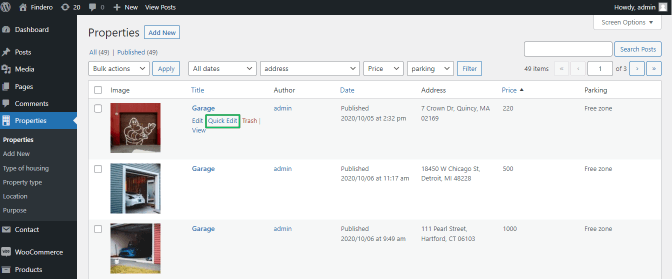
This link allows editing all meta fields of the CPT regardless of whether they are displayed or not.
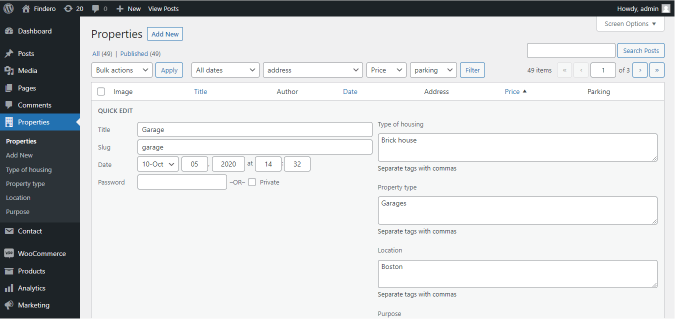
That’s all about the Admin Columns features.