How to Set Date Picker Configuration for Bookings
Discover how to set the date picker configuration for the WordPress bookings from. Link dates selected in JetFormBuilder with the JetBooking Availability Calendar widget/block.
Before you start, check the tutorial requirements:
- Elementor (Free version) or Block editor (Gutenberg)
- JetBooking plugin installed and activated
- JetEngine plugin installed and activated
- JetThemeCore plugin installed and activated
This tutorial explains how to configure the Date Picker settings of the WordPress JetBooking plugin to link dates selected in JetFormBuilder forms with the Booking Availability Calendar widget/block. The tutorial considers setting configurations for all monotypic Custom Post Types (CPTs) and individual CPT.
Global Settings of the JetBooking Plugin
To start the available booking days from the specified day, navigate to WordPress Dashboard > Booking > Settings > Configuration. If you have the Week-long bookings toggle enabled, it allows only full-week bookings and turns on the Weekday offset field, where you can change the first booked day of the week.
In the Starting day offset field, specify the earliest date allowed for the user.

These settings refer to all monotypic Custom Post Types specified in the General tab of the JetBooking plugin. Refer to our JetBooking Dashboard Overview guide to check the details on the JetBooking settings.
Settings of an Individual CPT
Proceed to the Instance CPT and open one of the posts to set the Date Picker settings linked with the Calendar widget.
Scroll down to the Date Picker Config tab and enable the Date Picker Configuration toggle.
Here are the same fields as in the Configuration tab of the JetBooking. Set the needed fields here (in this tutorial, we set the Starting day offset and the Min days fields).
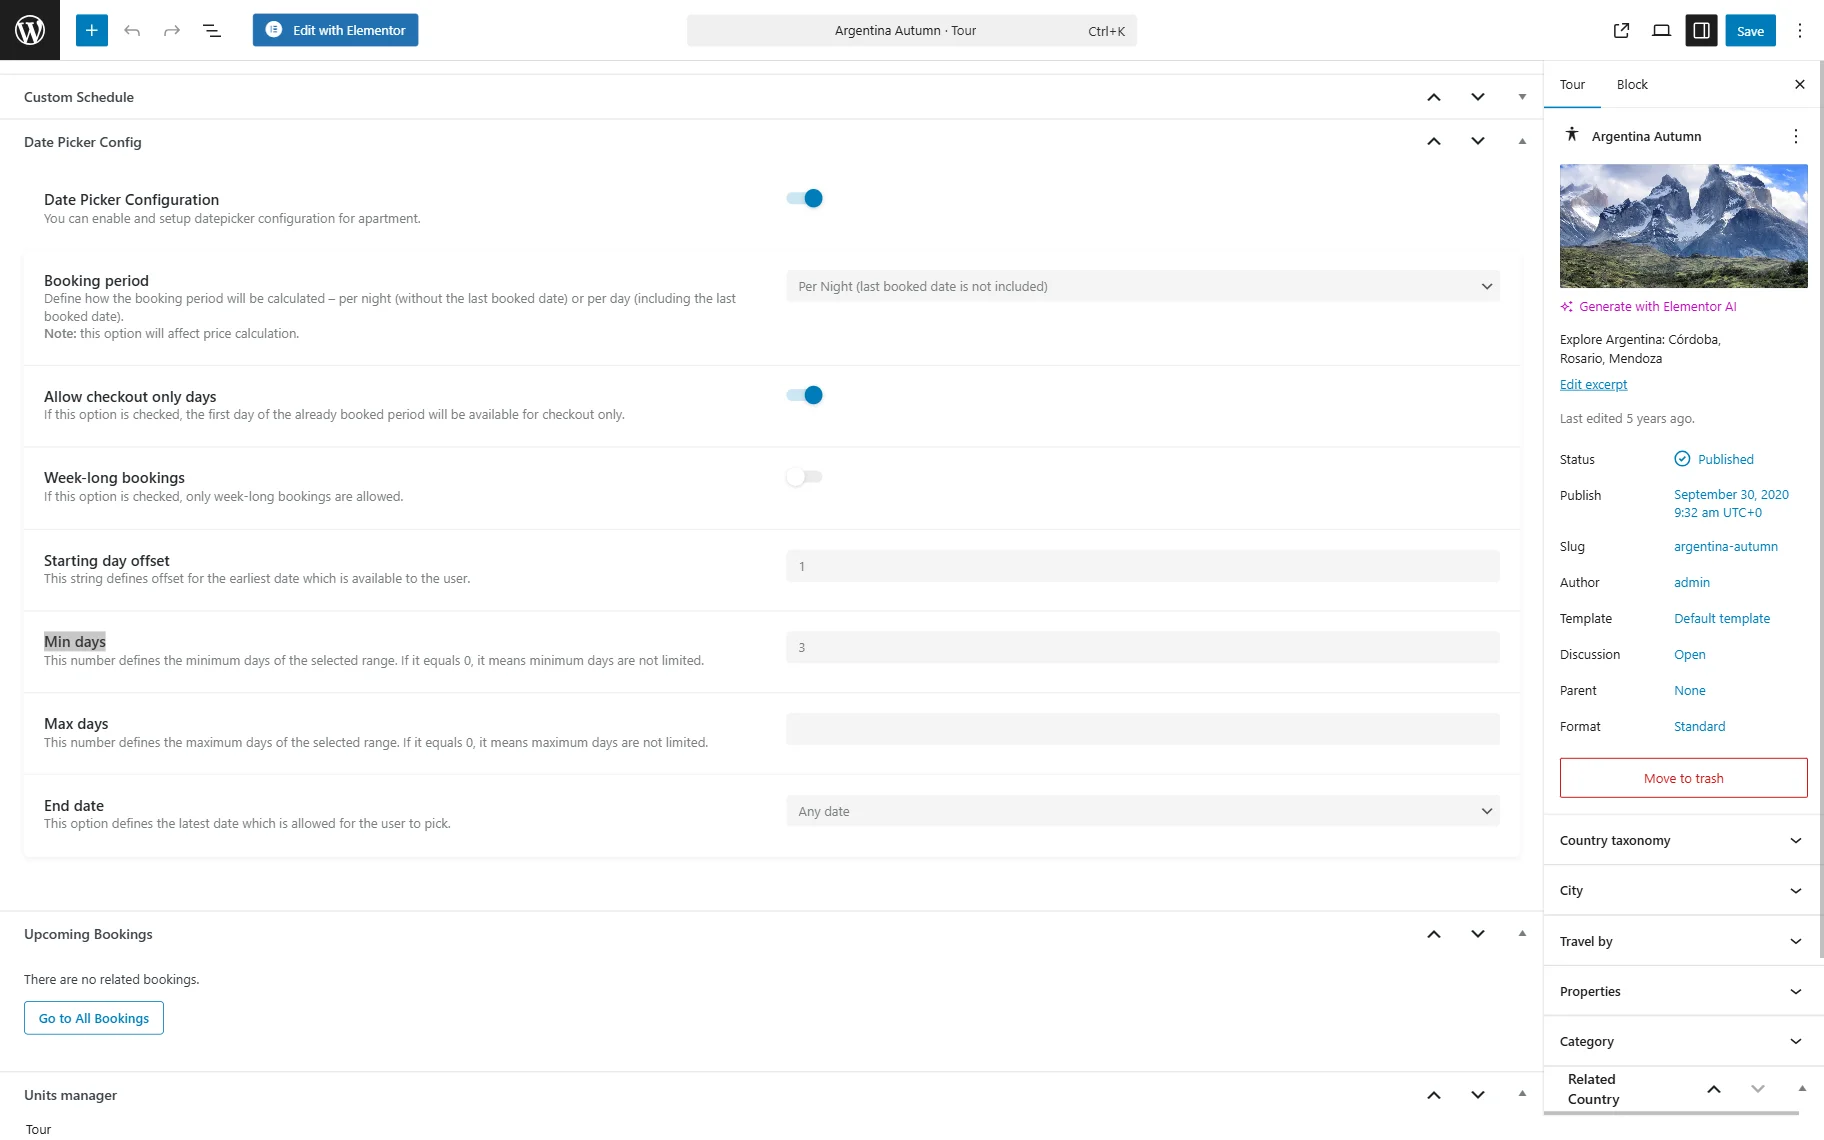
These toggles have the highest priority, more than the global settings and options of the current apartment.
If users enable the Date Picker Configuration toggle only, the standard values from the library for a specific apartment are active. Therefore, the General settings of the JetBooking plugin do not affect this CPT.
If users set the values, the values will become active for the current CPT.
Once you are ready, click the “Save” button. Set the Date Picker Configuration for all the needed posts.
Displaying the Date Picker Settings in Forms and the Calendar Widget
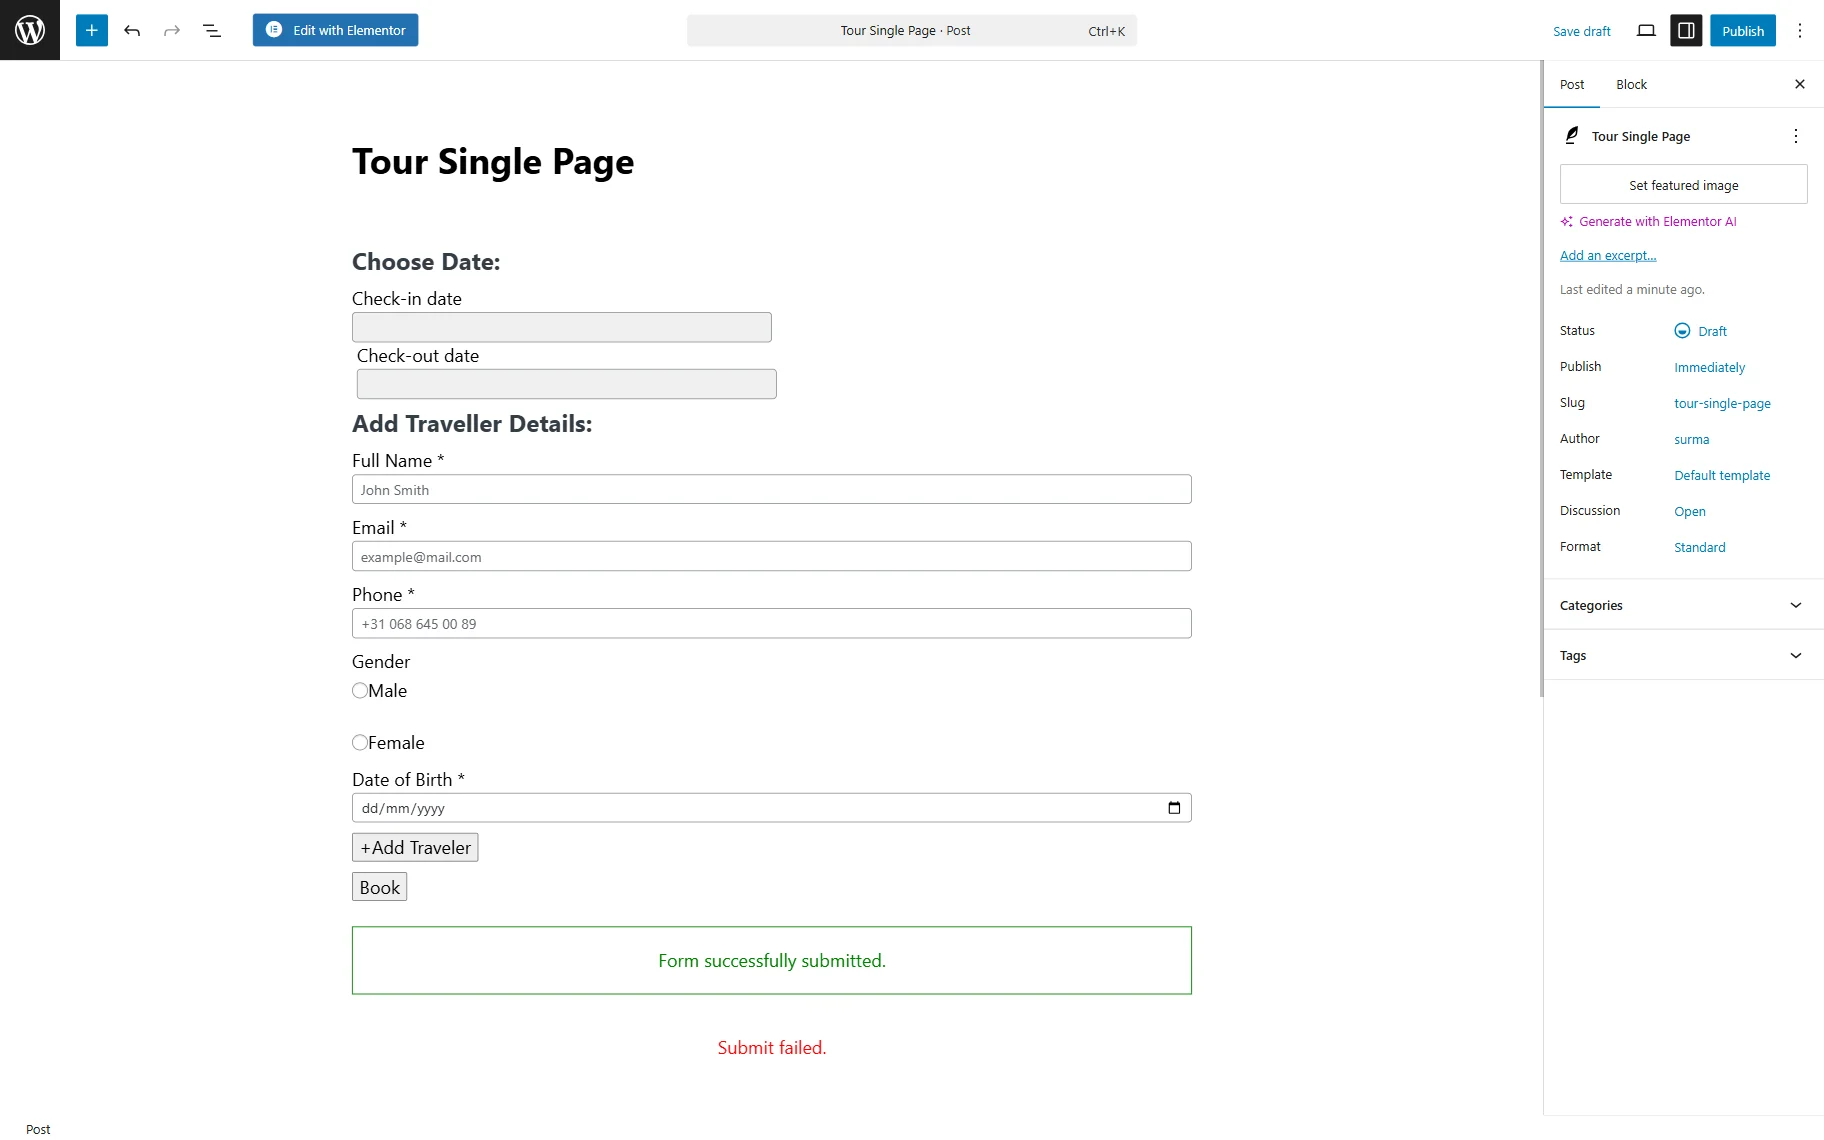
Proceed to the Single Page Template of the instance CPT. Ensure the booking form is added to the page. Refer to our How to Display the Booking Form on the Single Post Page guide to check the setup details.
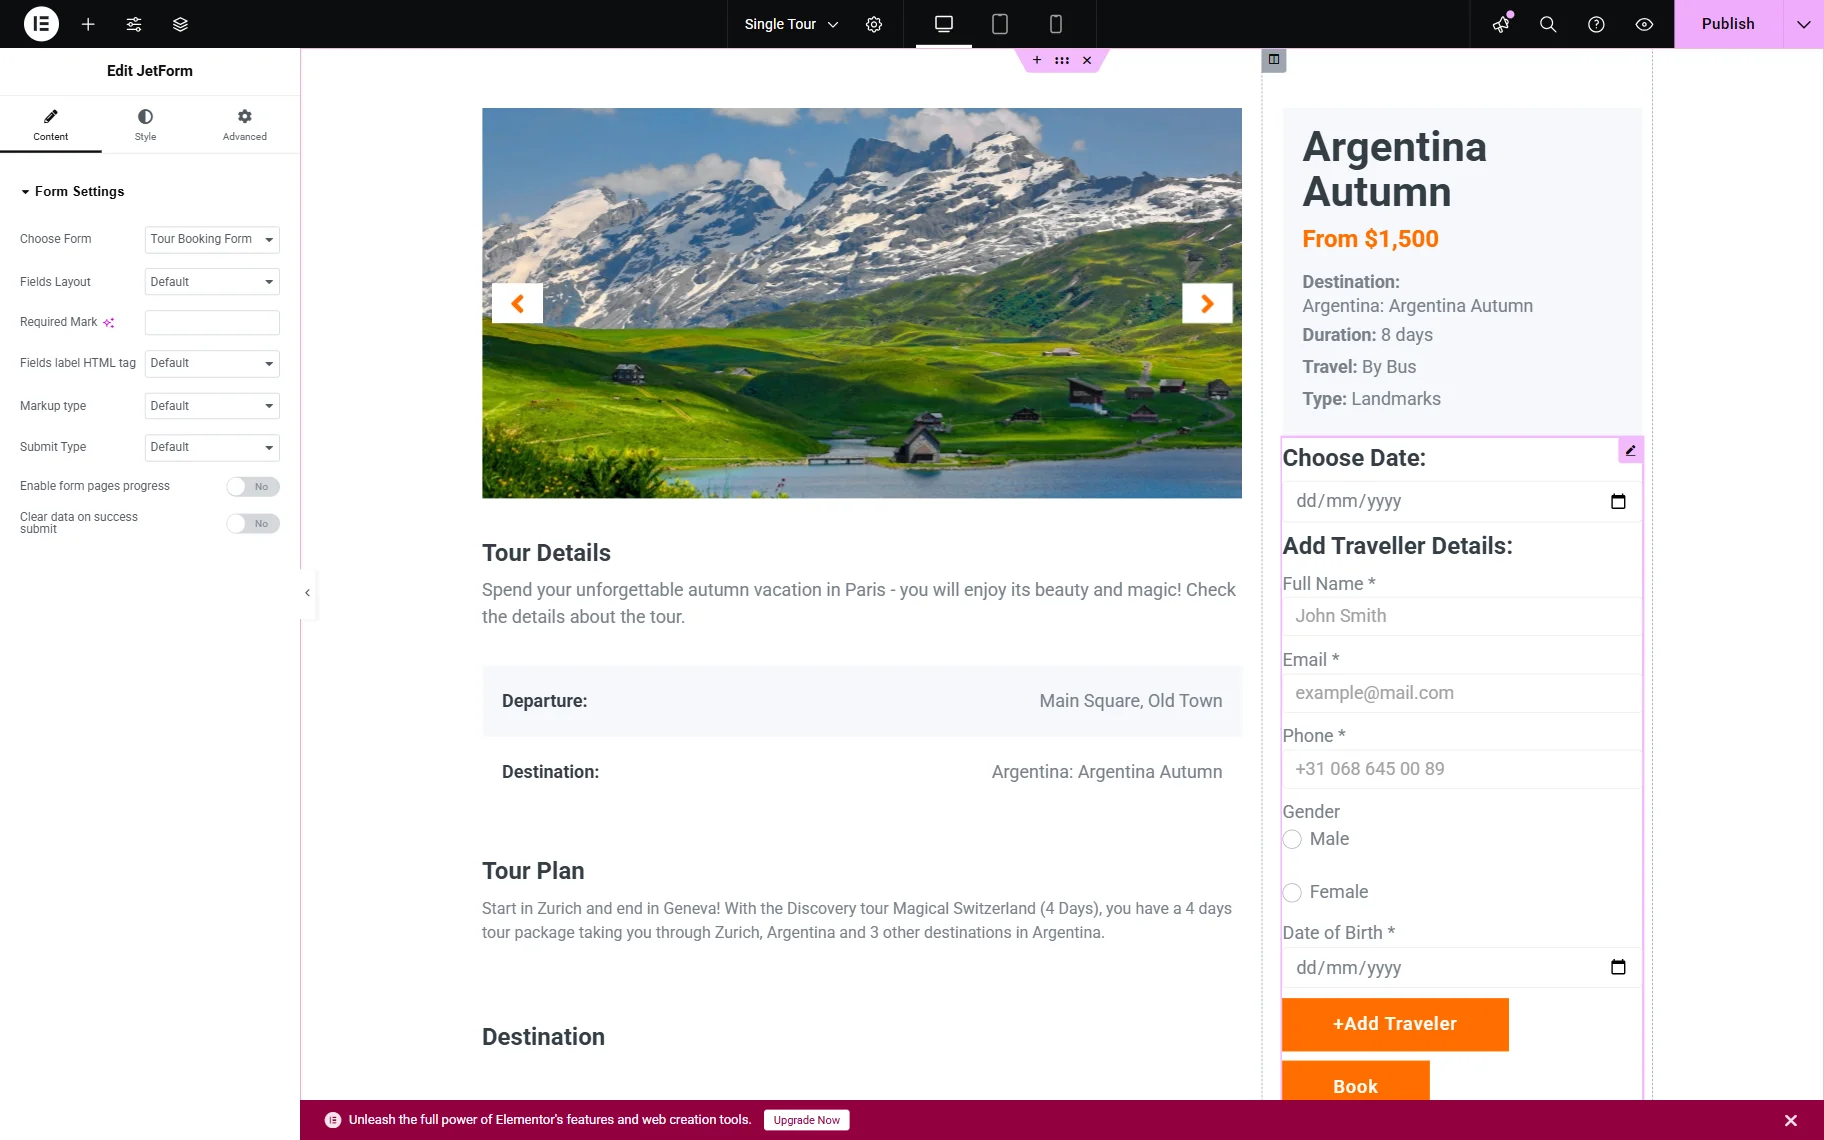
Add the Booking Availability Calendar widget to the page.
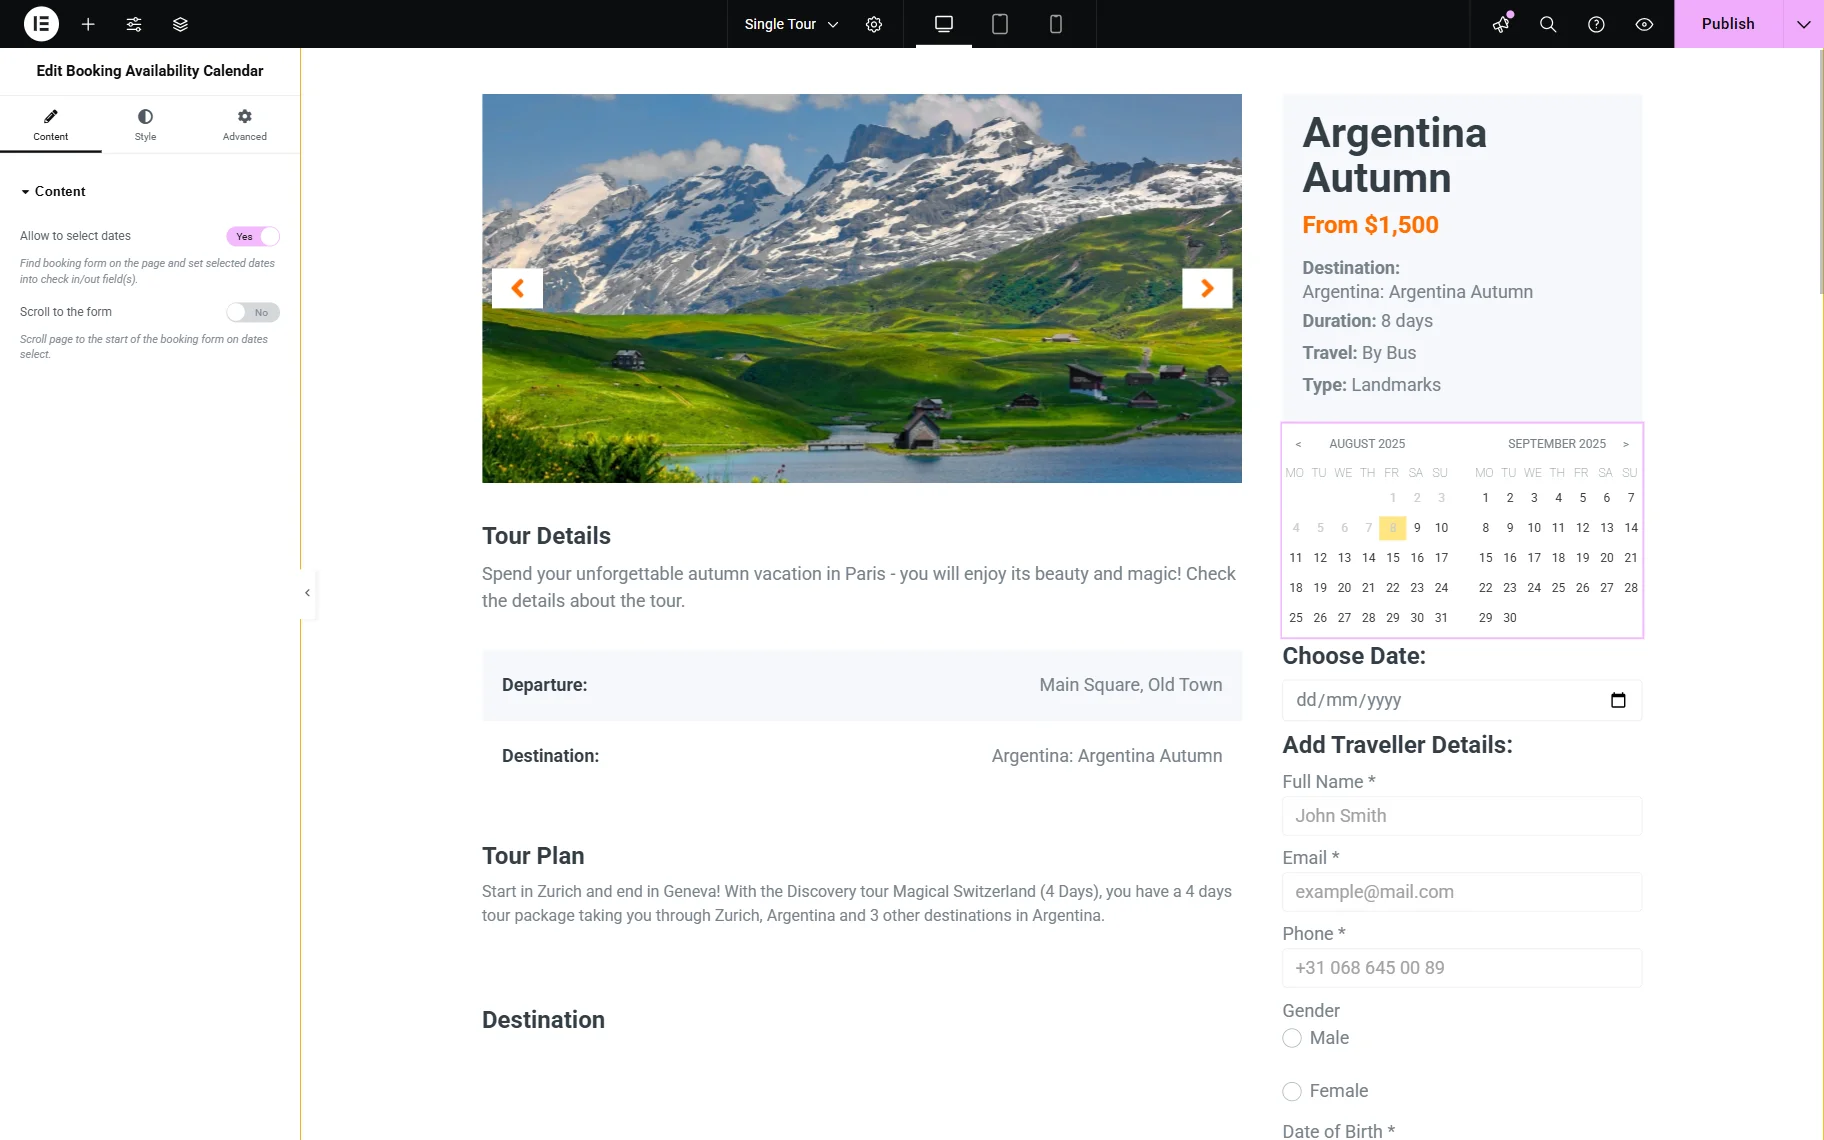
Click the “Publish” button once you are ready and proceed to the front end page.
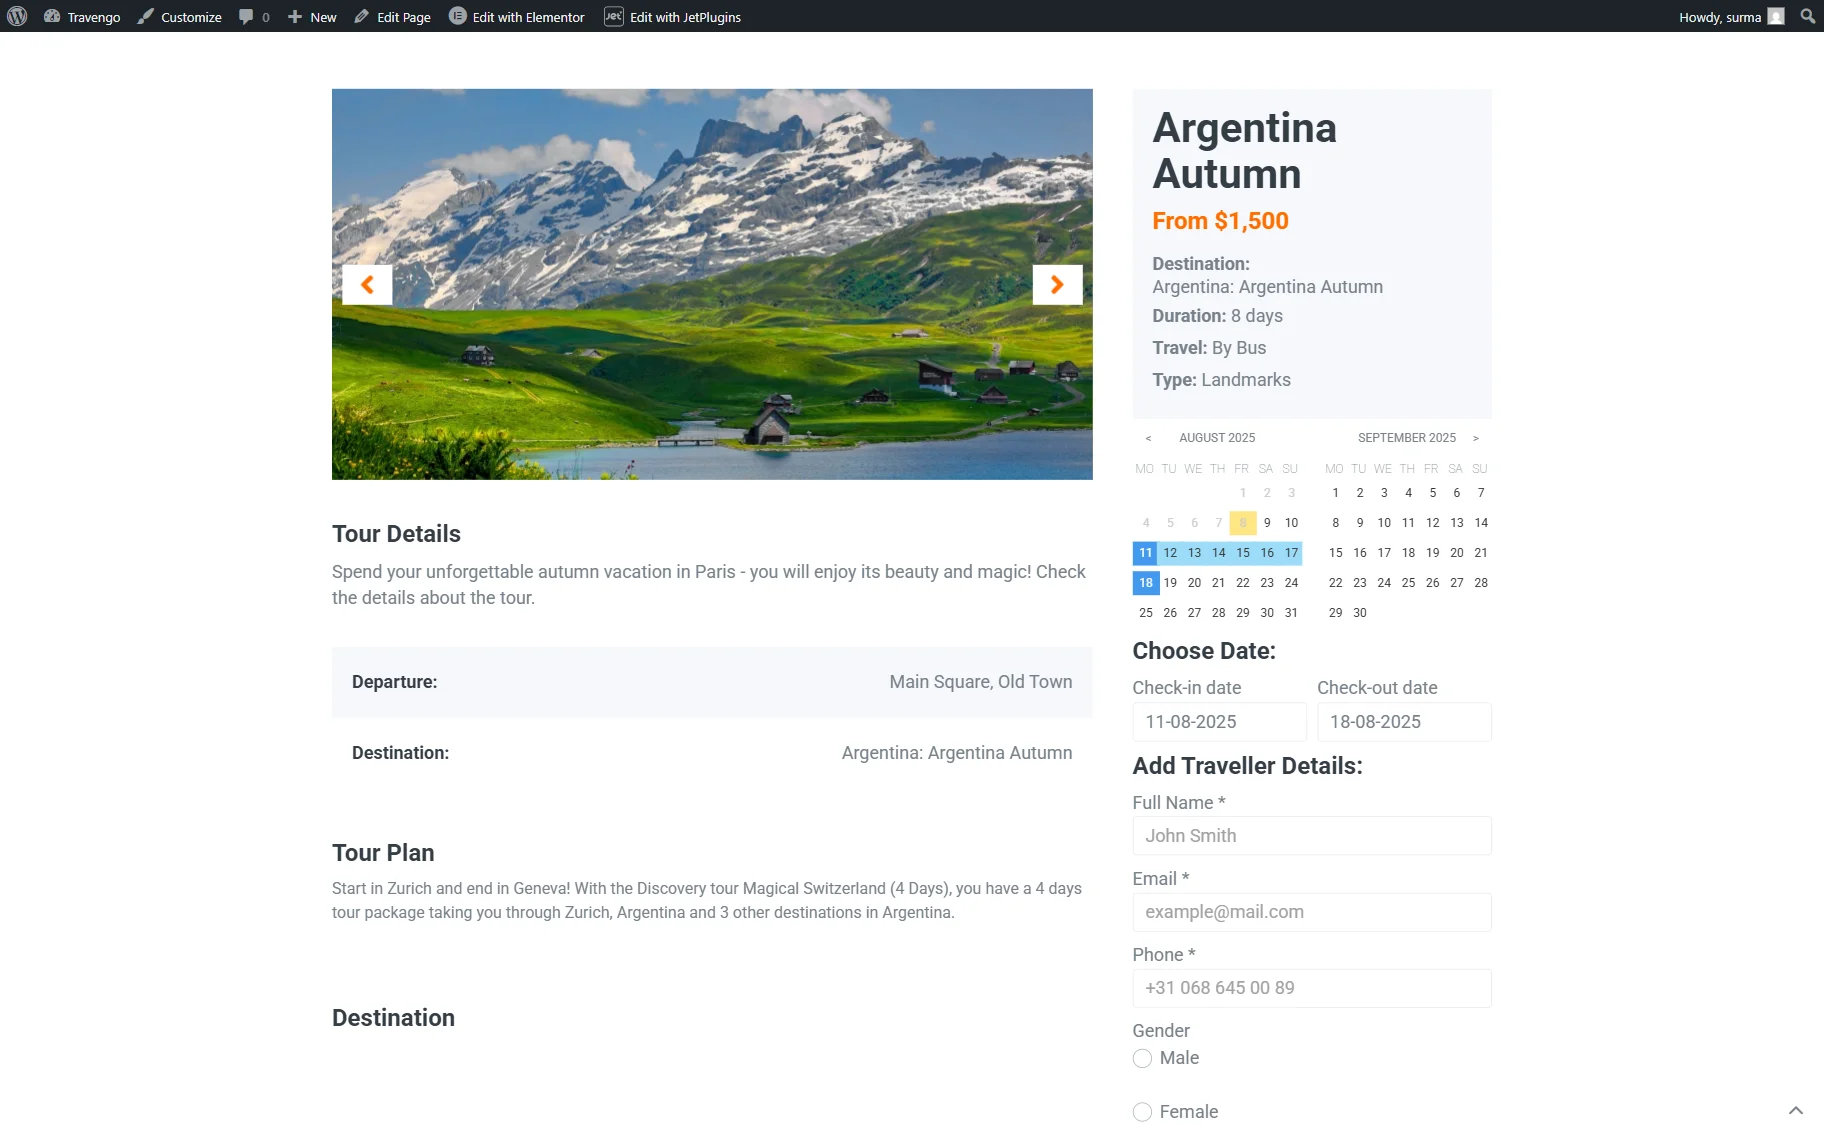
Once selected in the Booking Availability Calendar widget, the check-in and check-out dates will automatically be displayed in the form.
Displaying the Date Picker Settings in Forms and the Calendar Widget in Gutenberg
In case you work with the Gutenberg (Block) builder, proceed to the single page. Add the JetForm block and select the JetFormBuilder form in the CHOOSE FORM field.
Then, add the Booking Availability Calendar block.
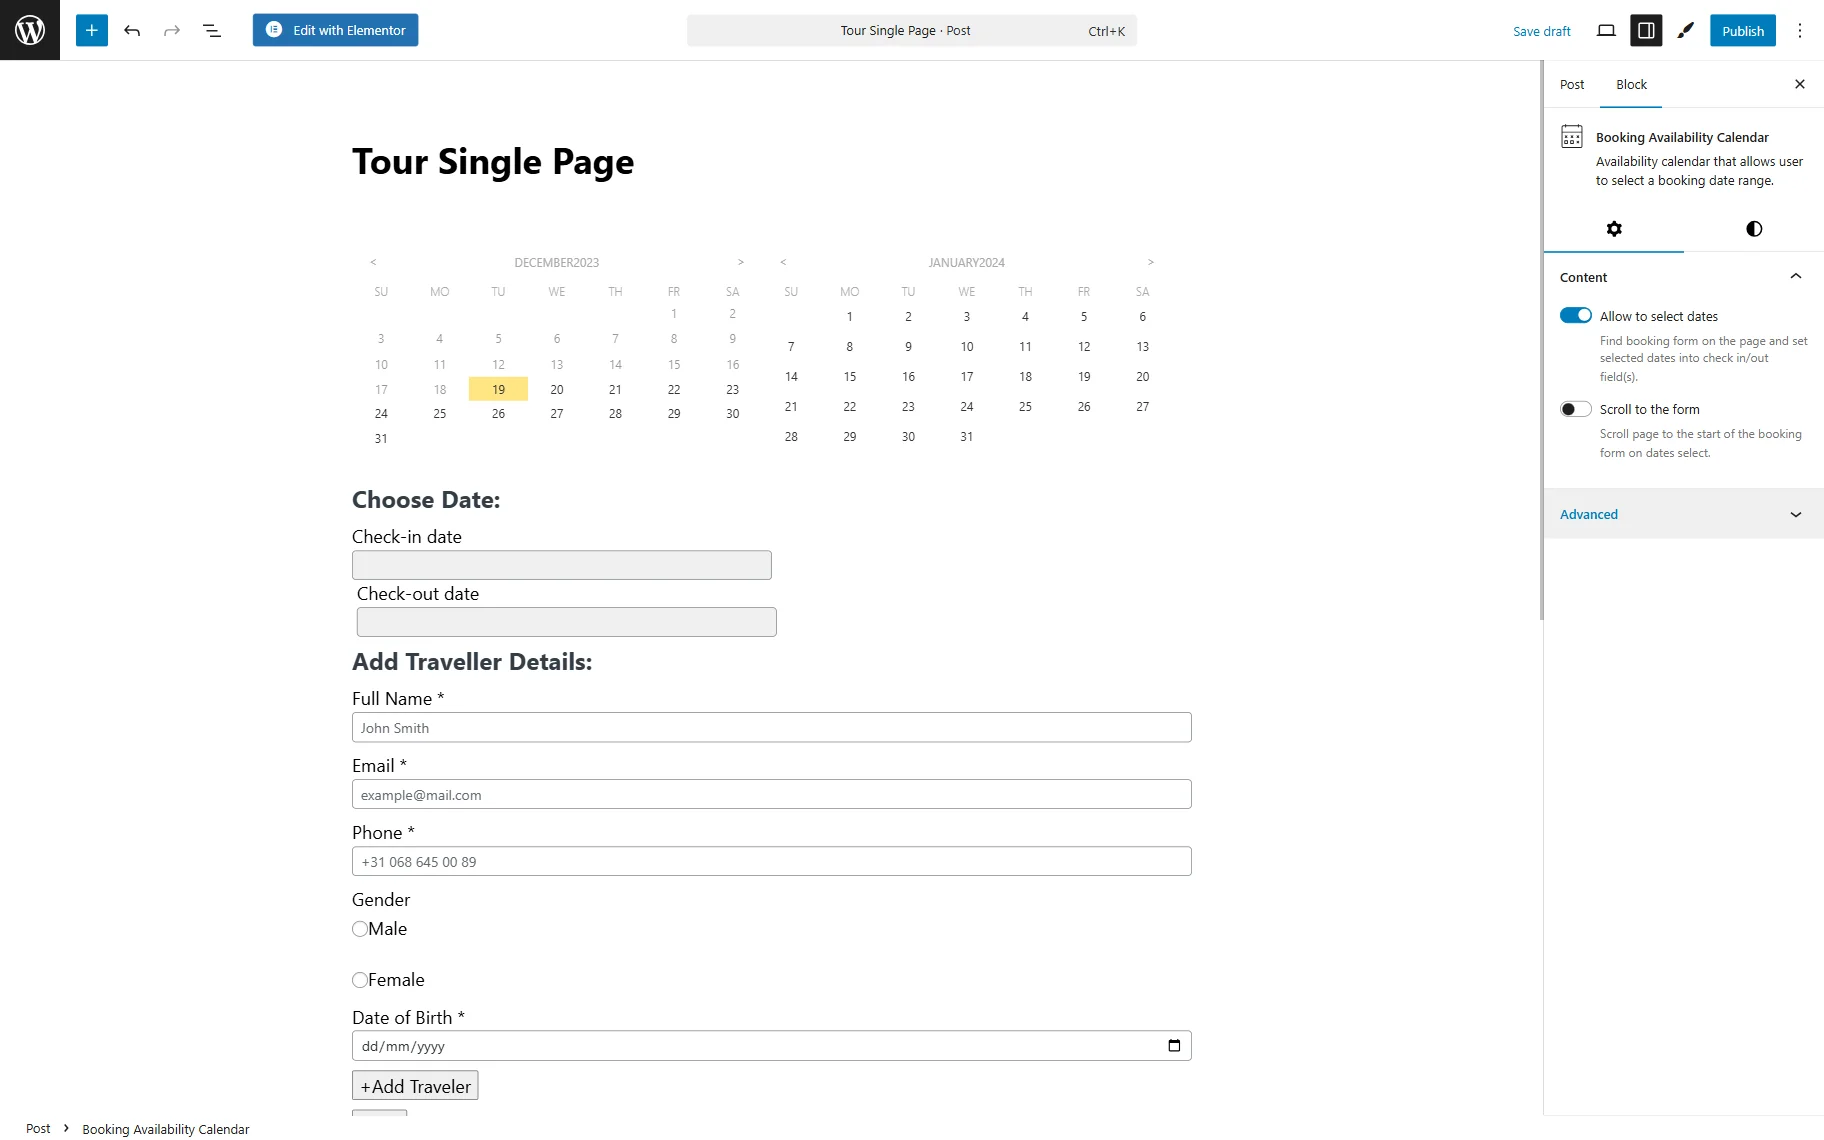
After all the necessary settings are applied, click the “Publish” button.
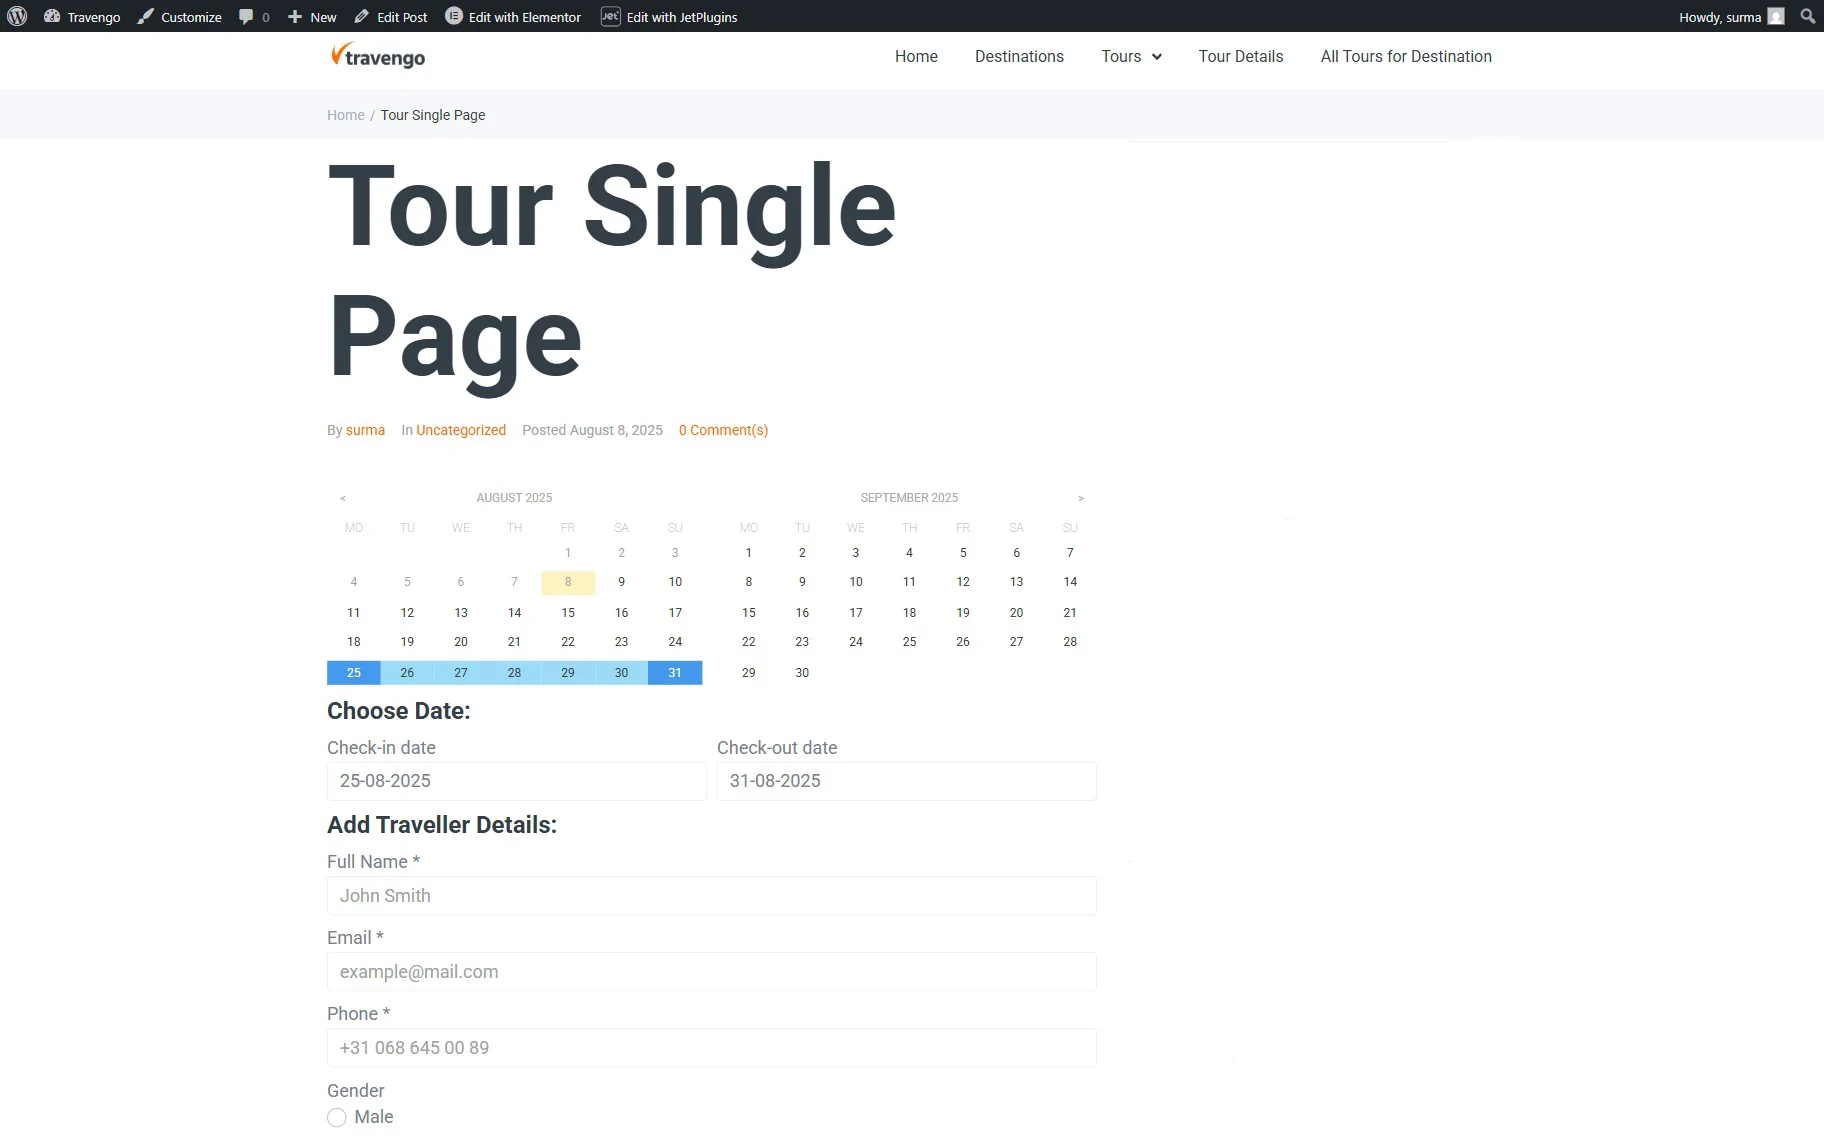
Proceed to the front end page and select the dates in the Booking Availability Calendar. The same dates will be automatically applied in the check-in and check-out dates form fields.
That’s it. Now you know how to configure the Date Picker settings of the WordPress JetBooking plugin to link dates selected in JetFormBuilder forms with the Booking Availability Calendar widget/block.