How to Apply Filters to Elementor Pro Loop Grid
This tutorial shows how to enable the Elementor Pro Loop Grid provider for the JetSmartFilters plugin. Learn how to create a Loop Grid with Elementor builder and apply filters to the Loop Grid widget.
Before you start, check the tutorial requirements:
- Elementor Pro plugin installed and activated
- JetSmartFilters plugin installed and activated
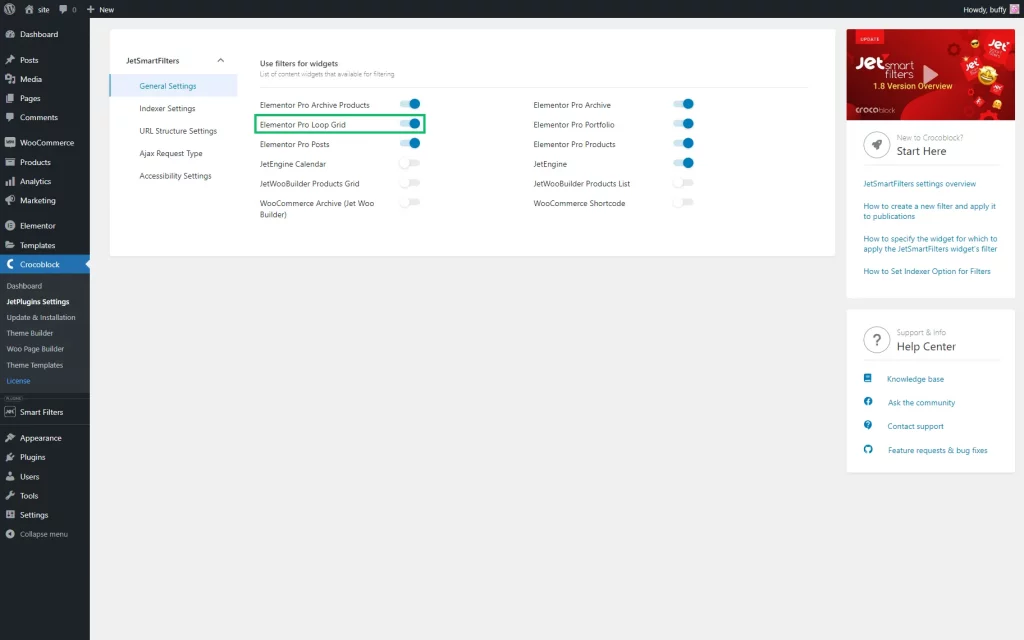
Before you start, navigate to WordPress Dashboard > Smart Filters > Settings and activate the Elementor Pro Loop Grid toggle in the General Settings tab.
The “Elementor Pro Loop Grid” option is now available for filters on the Elementor editing page.
Create a Filter
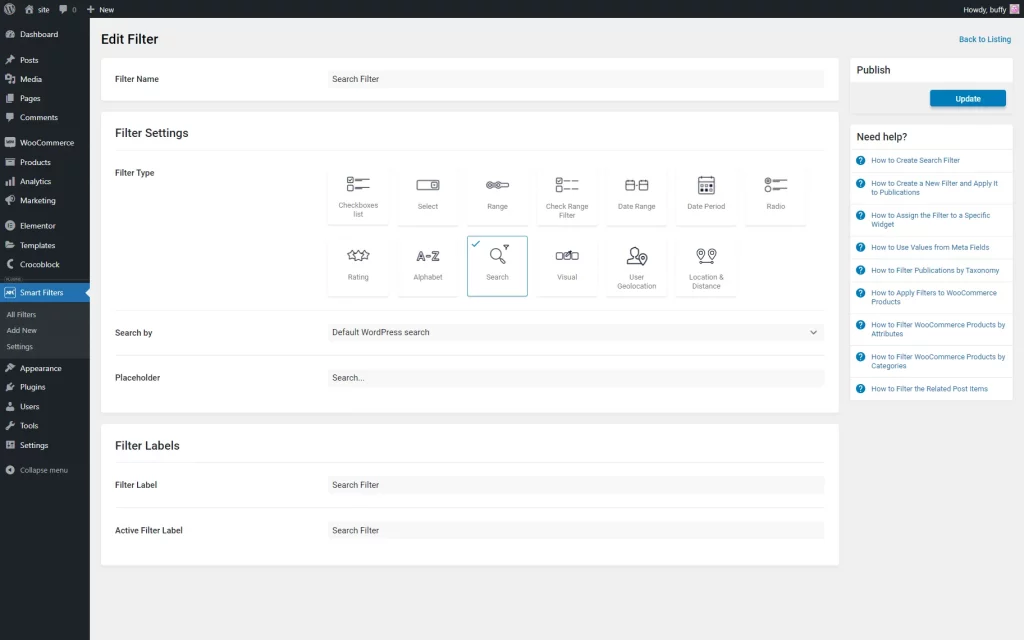
Follow the WordPress Dashboard > Smart Filters > Add New path. Create any filter to use further with the Loop Grid. To learn about all filter types creation processes, proceed to the JetSmartFilters page, scroll down to the Types of Filters chapter, and select the desired step-by-step tutorial.
For example, we created the Search Filter, where the “Default WordPress search” Search by option was selected.
When you finish setting the filter, press the “Update” button.
Create a Page With a Loop Grid and Filter
Move to the WordPress Dashboard > Pages > Add New tab. Add a title for the page and push the “Edit with Elementor” button.
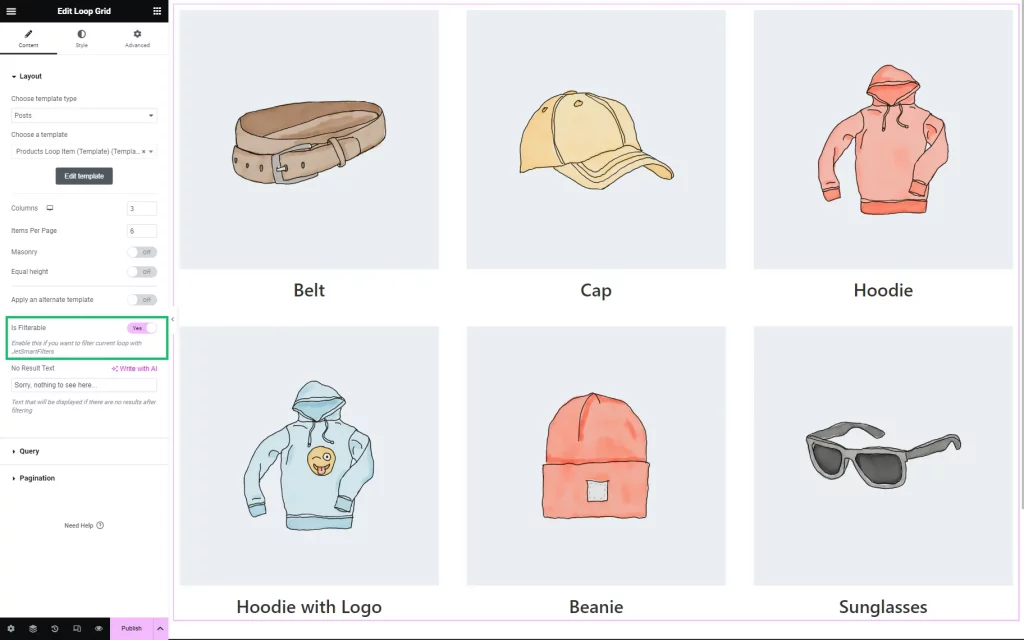
Drop the Loop Grid widget on the page. For instance, we have displayed the Post Title and Featured Image in the template.
To learn more about Loop Grid creation, proceed to the Build a Loop Grid tutorial.
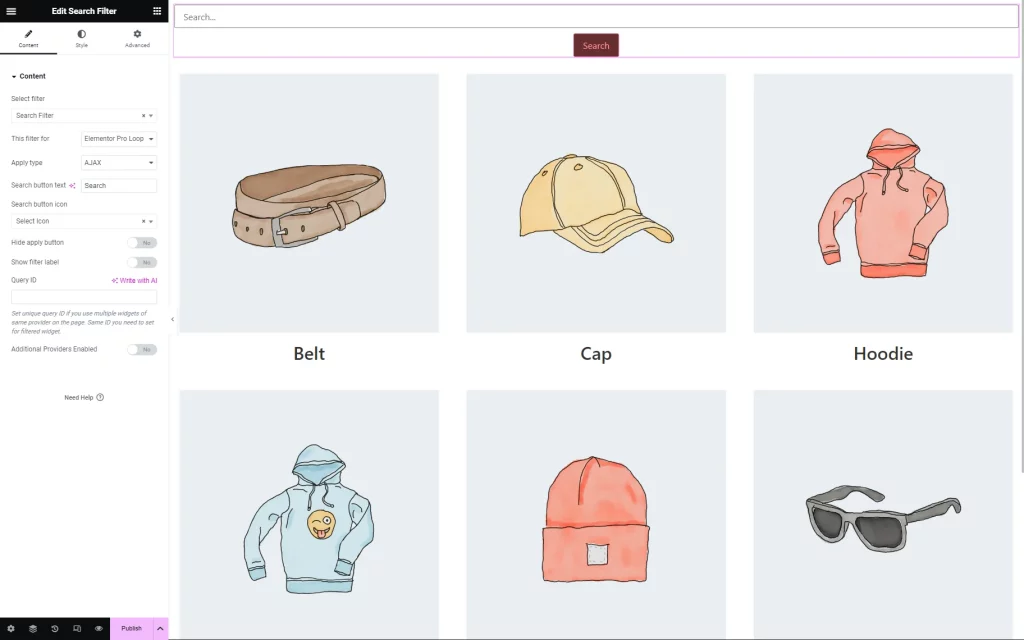
Place a filter widget on the editing page – for example, the Search Filter widget – to display the search filter.
In the Select Filter field, pick the created filter, and choose the “Elementor Pro Loop Grid” in the This filter for field. Set other settings according to your needs.
When you finish, hit the “Publish/Update” button.
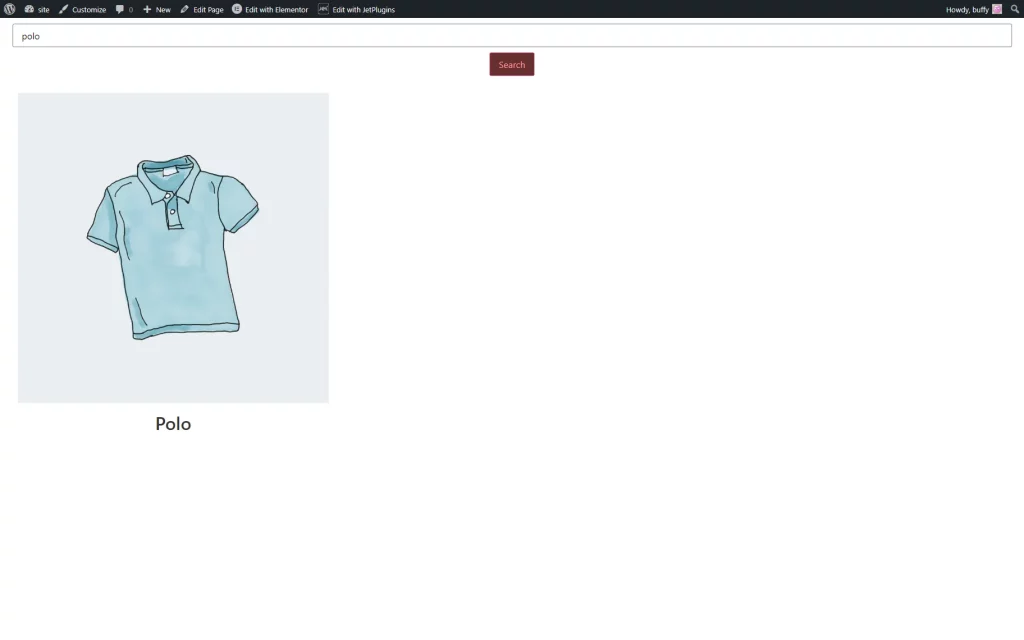
Filter and Loop Grid on the Front End
That’s all. Now you know how to apply filters created with the JetSmartFilters plugin to the Loop Grid widget from the Elementor Pro plugin.
