Search Filter Overview
This tutorial uncovers how to create a Search filter with the help of the JetSmartFilters plugin in the Elementor, Gutenberg, and Bricks editors.
The Search filter is one of the features available with the JetSmartFilters plugin. This filter can be used to allow visitors to search for the matching results manually by inputting the needed words into the Search field.
Search Filter Dashboard Settings
The settings for the Search Filter can be found in WordPress Dashboard > Smart Filters > Add New.
Filter Settings
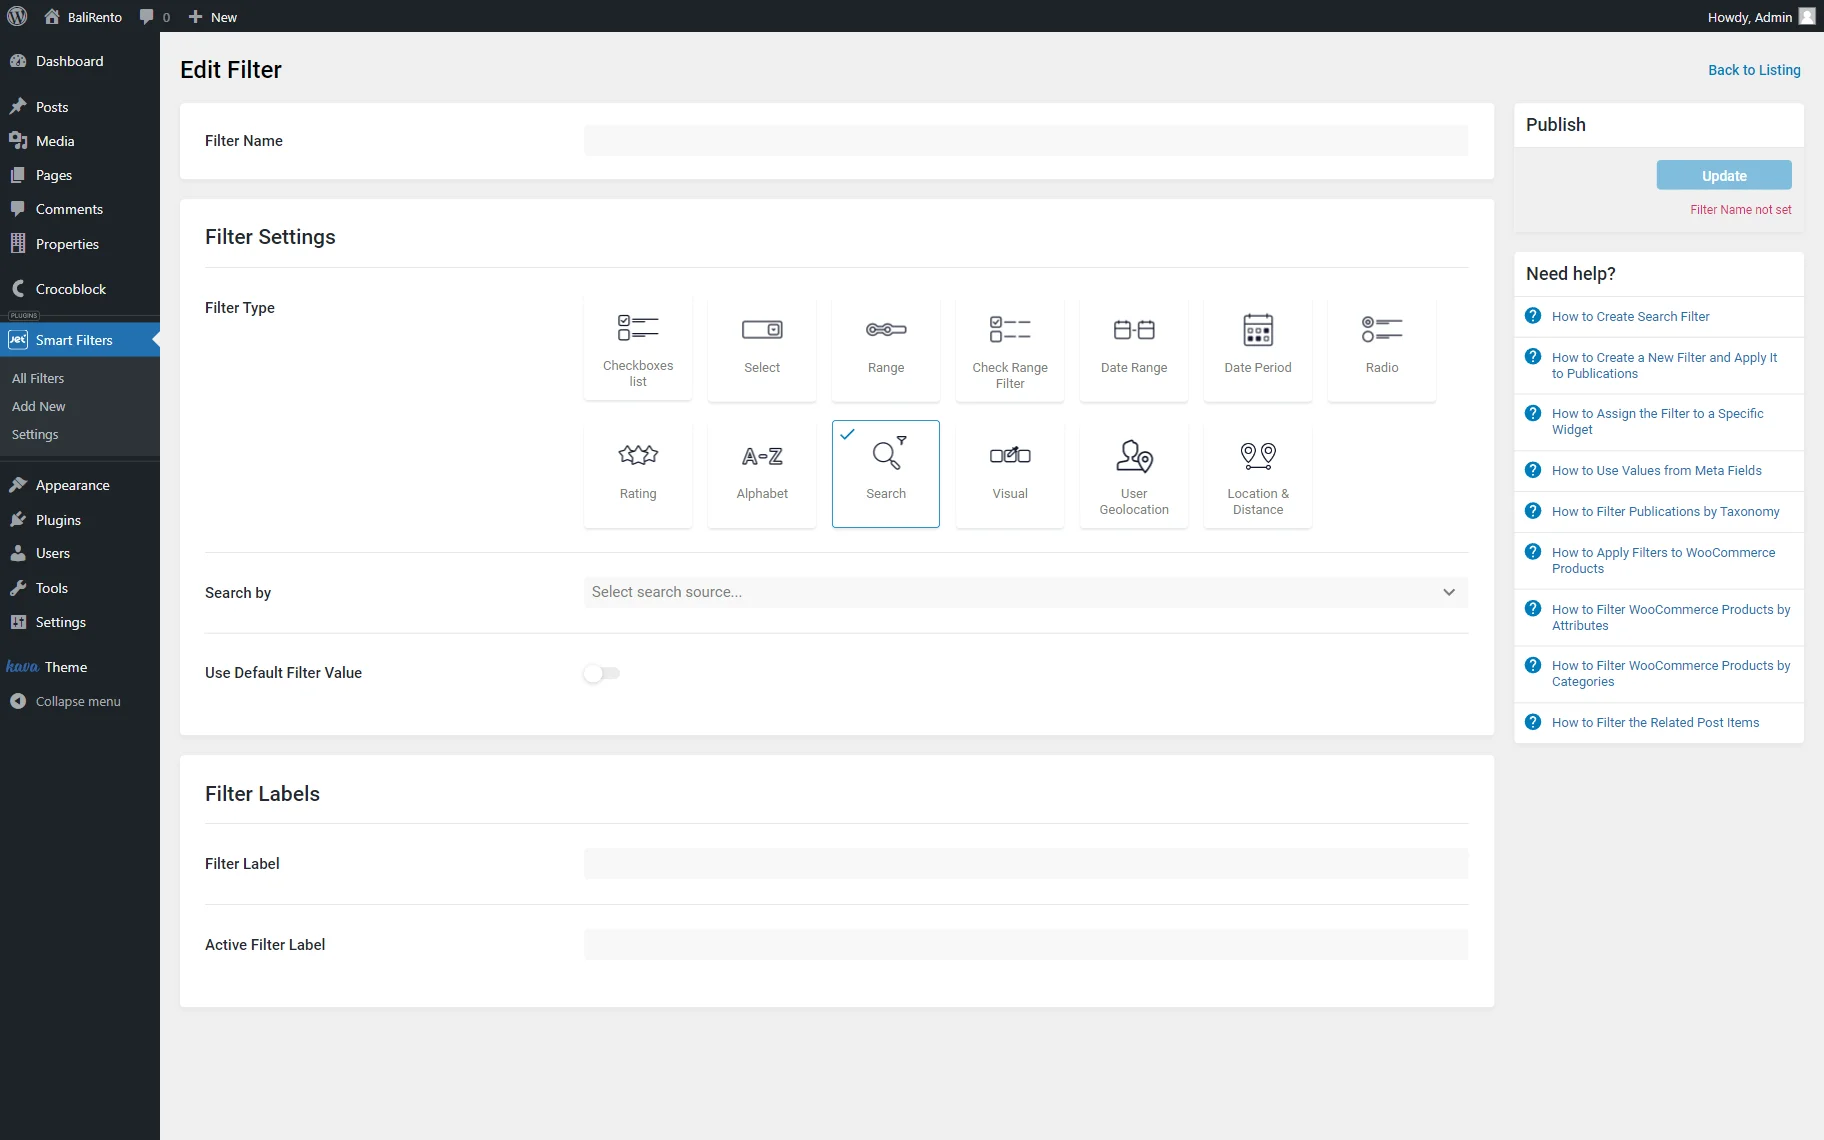
- Filter Name — a field where the filter name should be put;
- Filter Type — a section with all available filters presented. Among the options, the “Search” one should be picked to create a Search Filter;
- Search by — a selector with options to detect the way the filter will work.
In the Search by the bar, there are two variants to choose from.
Default WordPress search
The “Default WordPress search” will apply a default search to this filter.
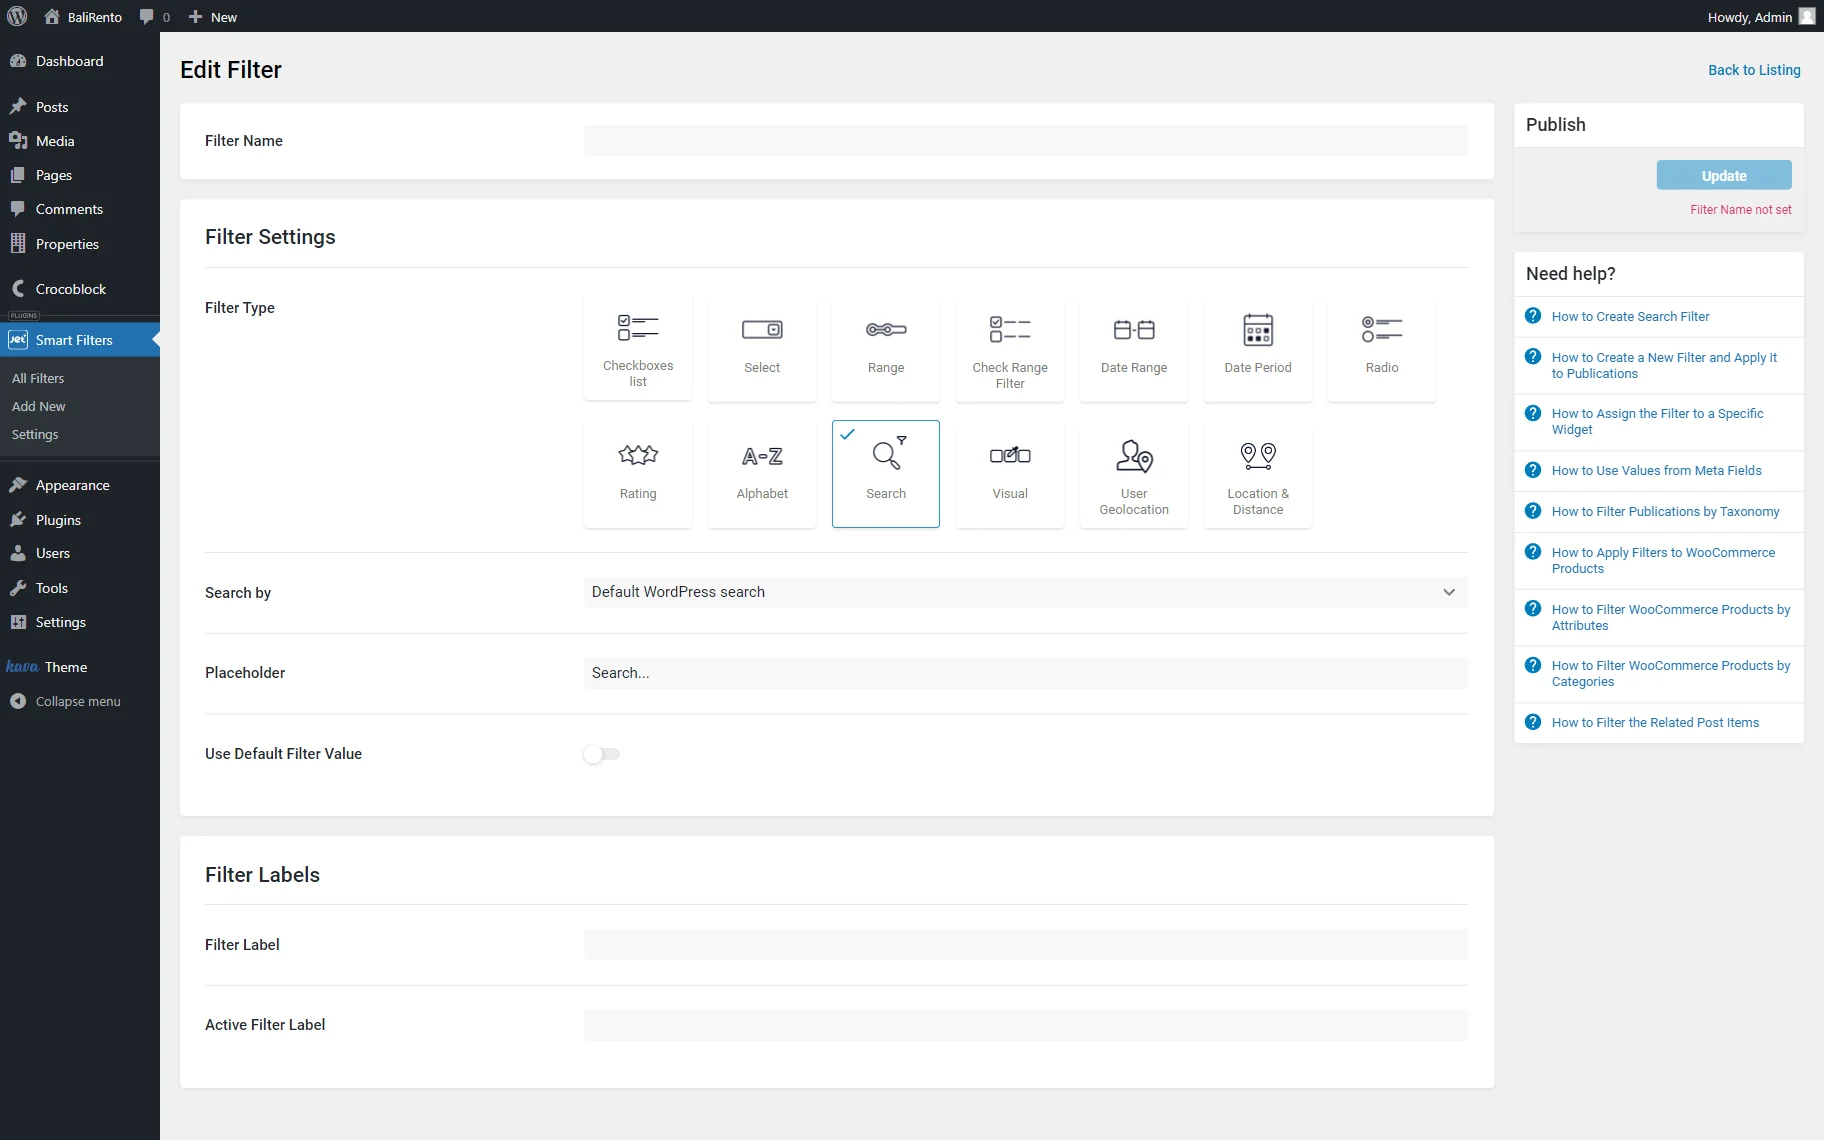
- Placeholder — a text displayed on a search bar. It can be later changed in the block/widget/element settings in the selected editor, respectively.
By custom field (from query variable)
The By Custom Field (from Query Variable) option will allow the users to do searches in fields mentioned in the Query Variable text area.
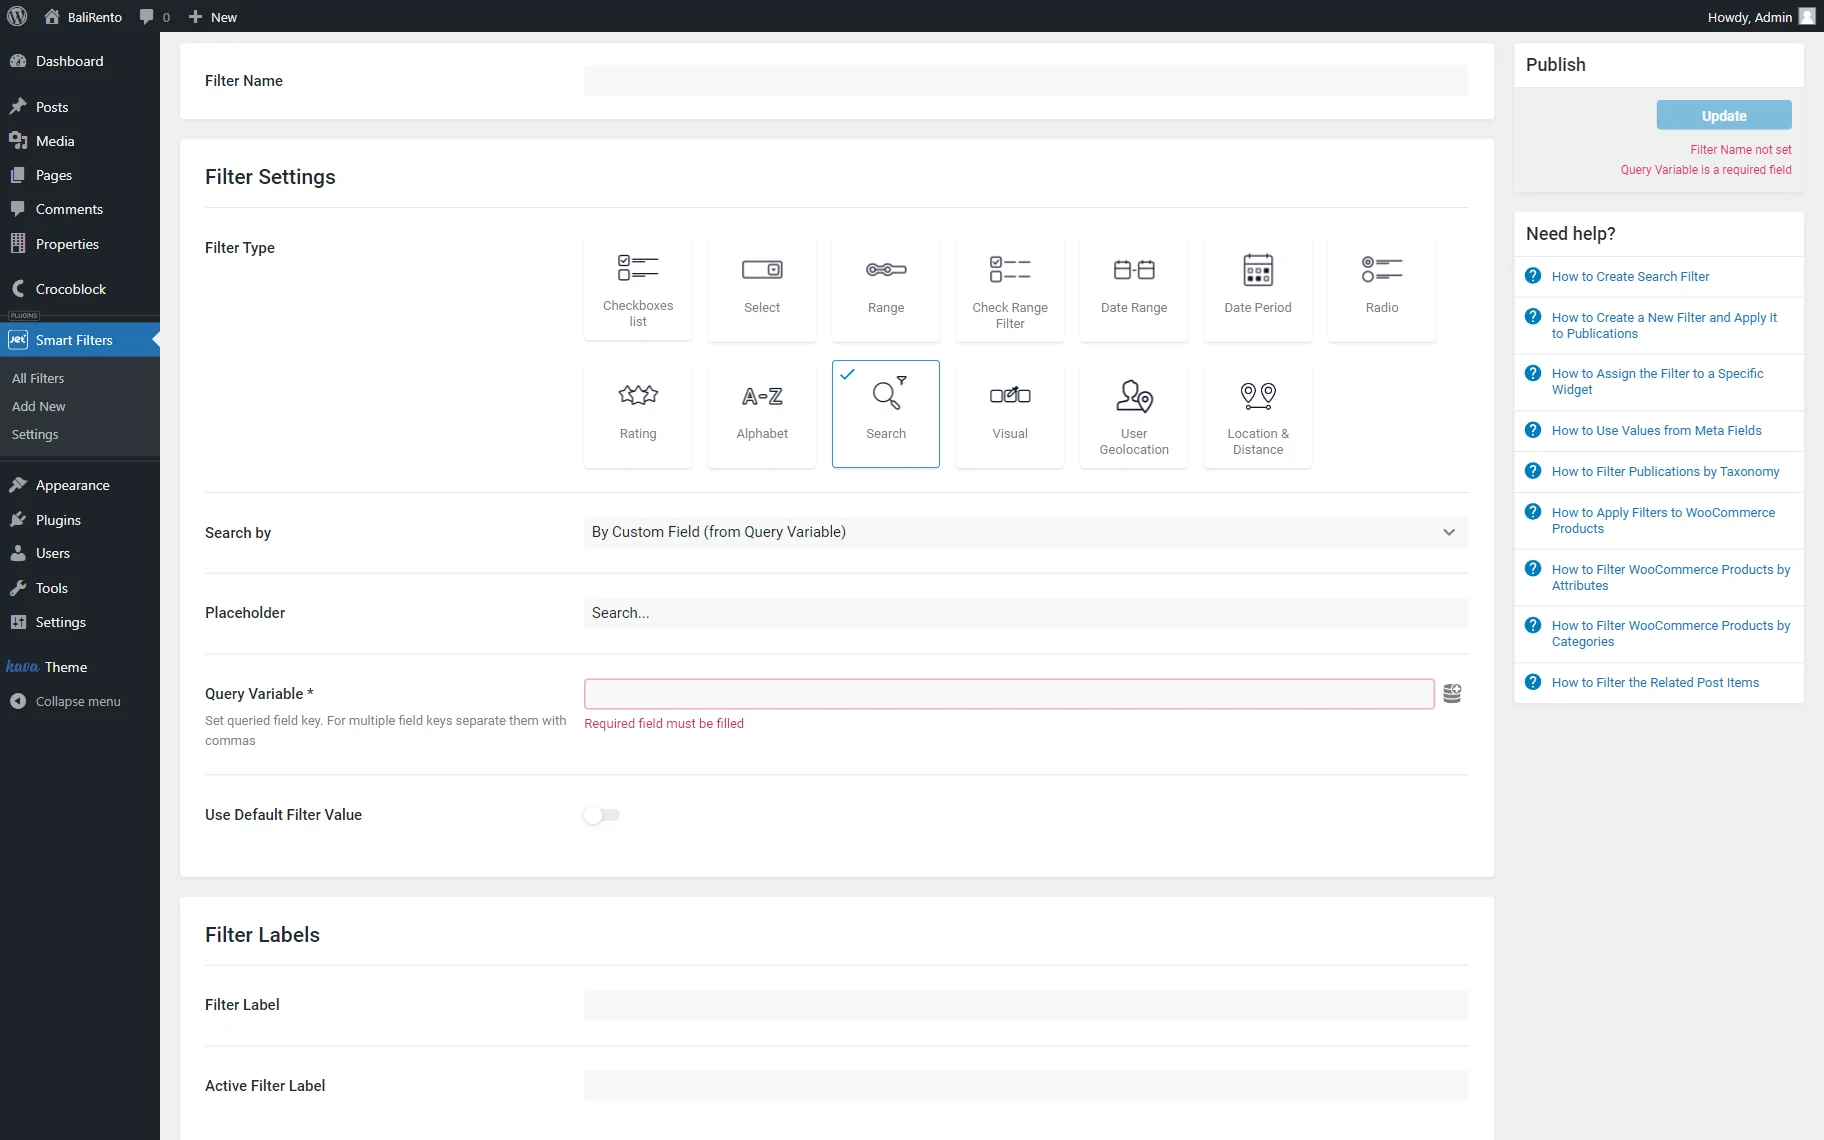
- Placeholder — a text shown on the search bar;
- Query Variable — a field to set the name of the field the filter is to search in; it is required for the correct work of the filter. It can be completed manually or by pushing the “Dynamic Tags” button next to the field. The Name/ID value should be put here to filter by exact meta field.
The options presented here can be pulled from different plugins if they are installed and activated. Some may require additional clarifications to complete in the extra settings fields.
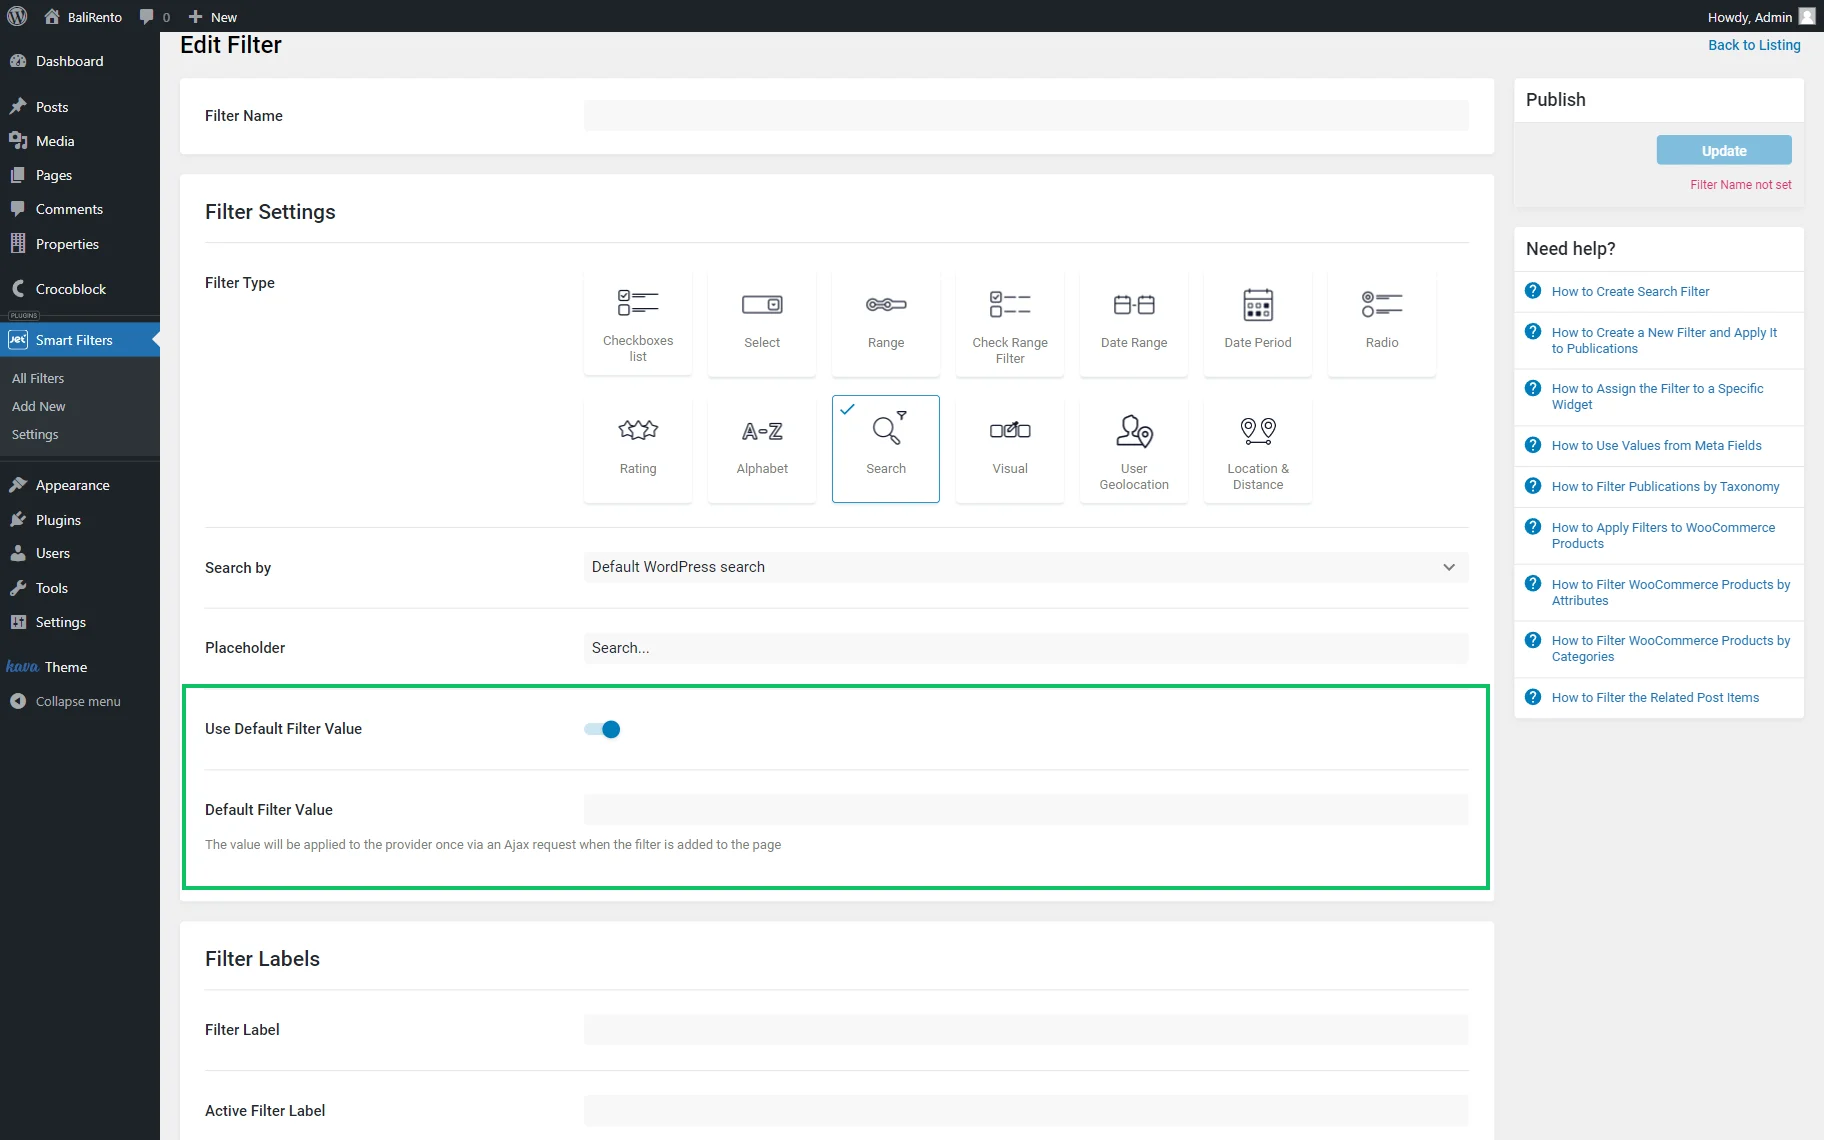
Use Default Filter Value
A toggle that, if enabled, allows setting the Default Field Value that will be set by default in the filter and applied to the provider via an Ajax request on the front end.
Filter Labels
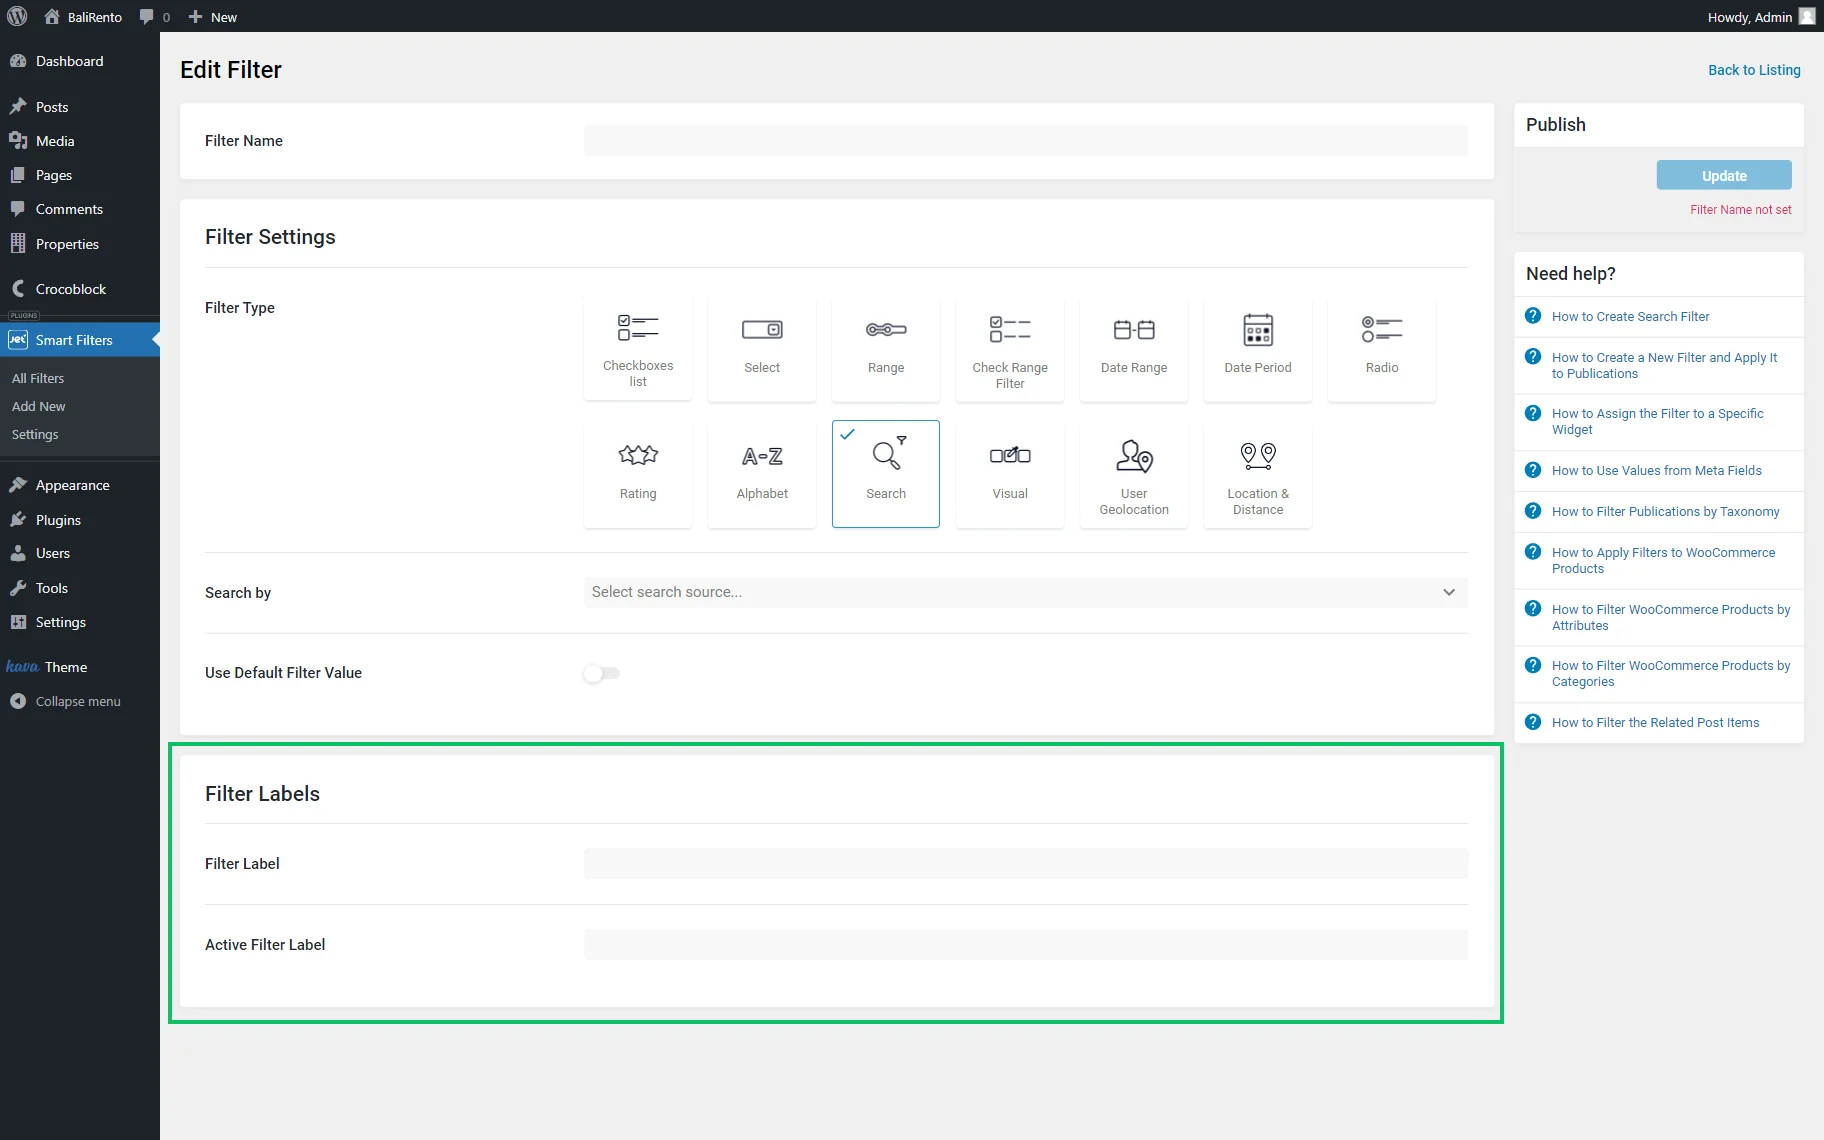
- Filter Label — a label to identify the filter and display it on the front end if needed;
- Active Filter Label — a label shown on the page if the corresponding filter is active.
Filter in Editors
As the filter is saved, it can be displayed on the front end with the help of different editors: Elementor, WordPress editor, or Bricks.
Search filter in Elementor
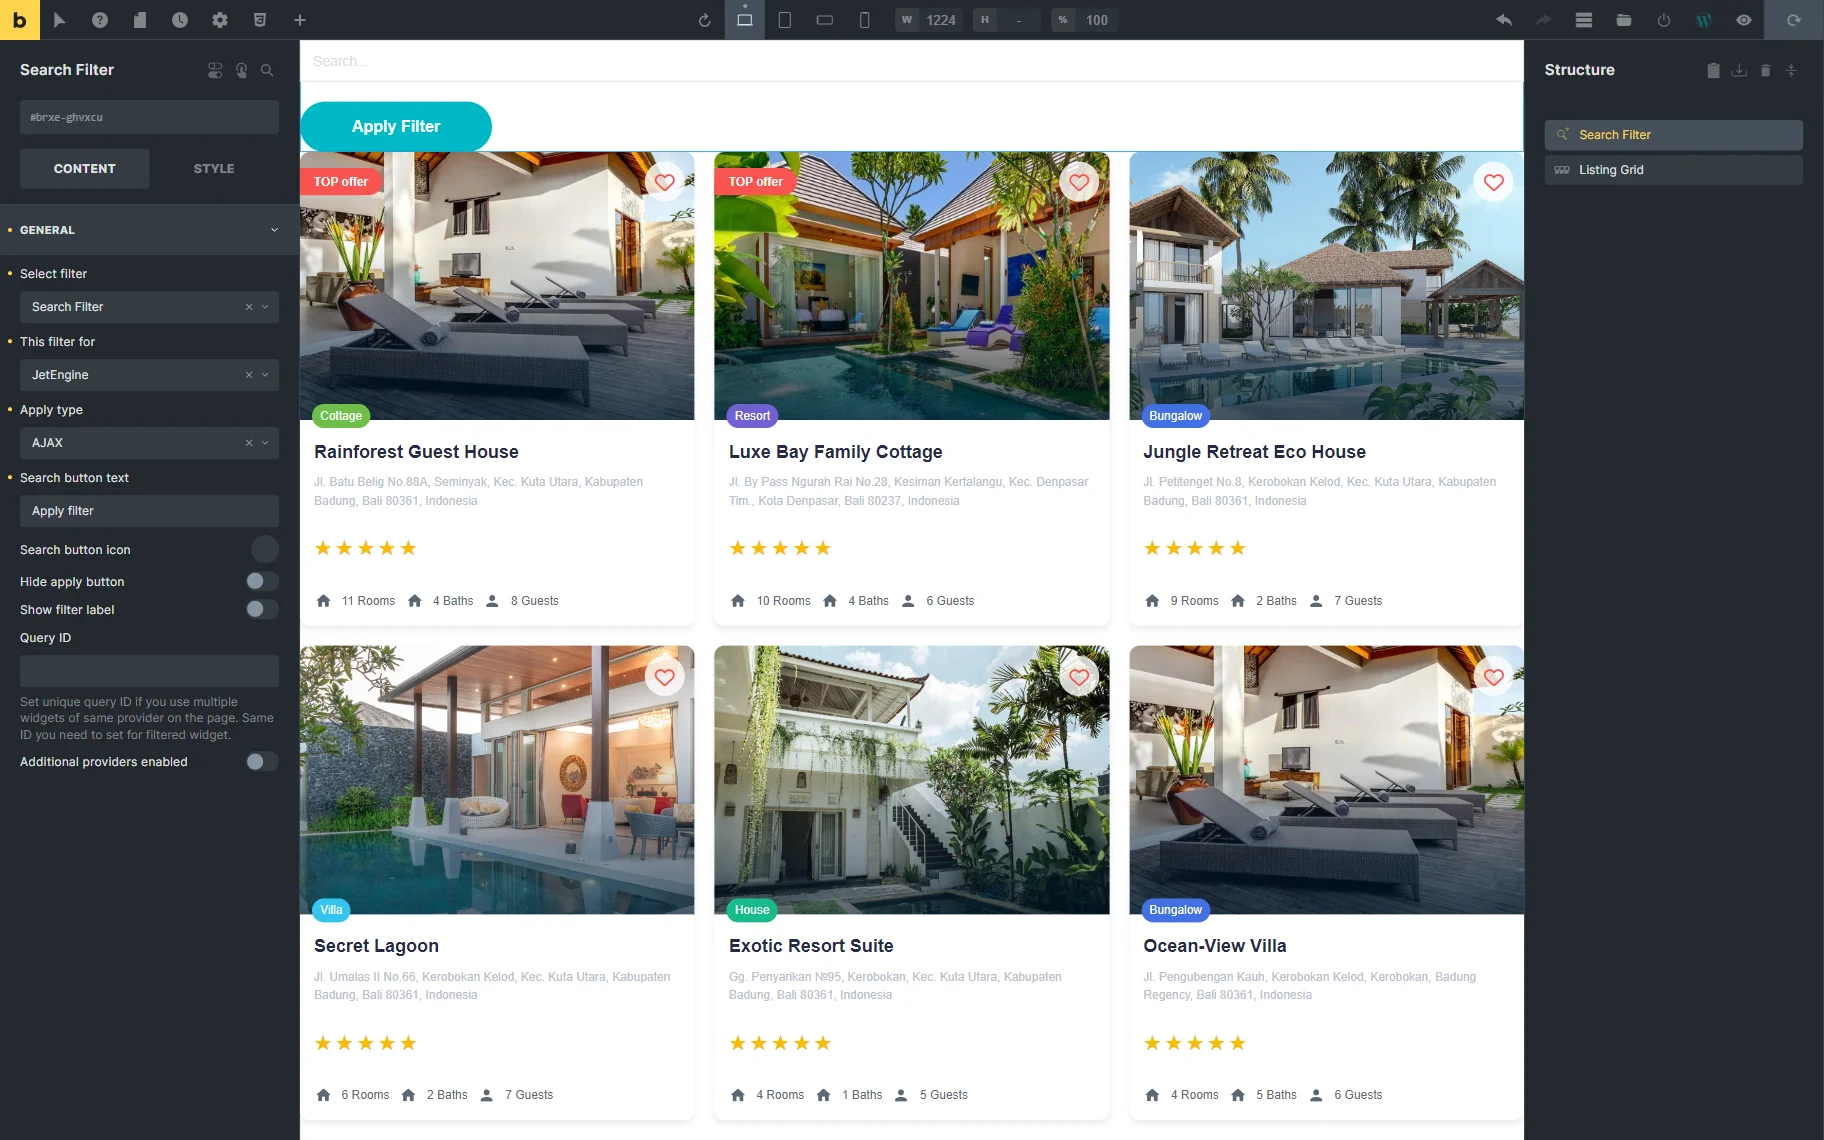
Elementor editor includes the Search Filter widget that has the following settings:
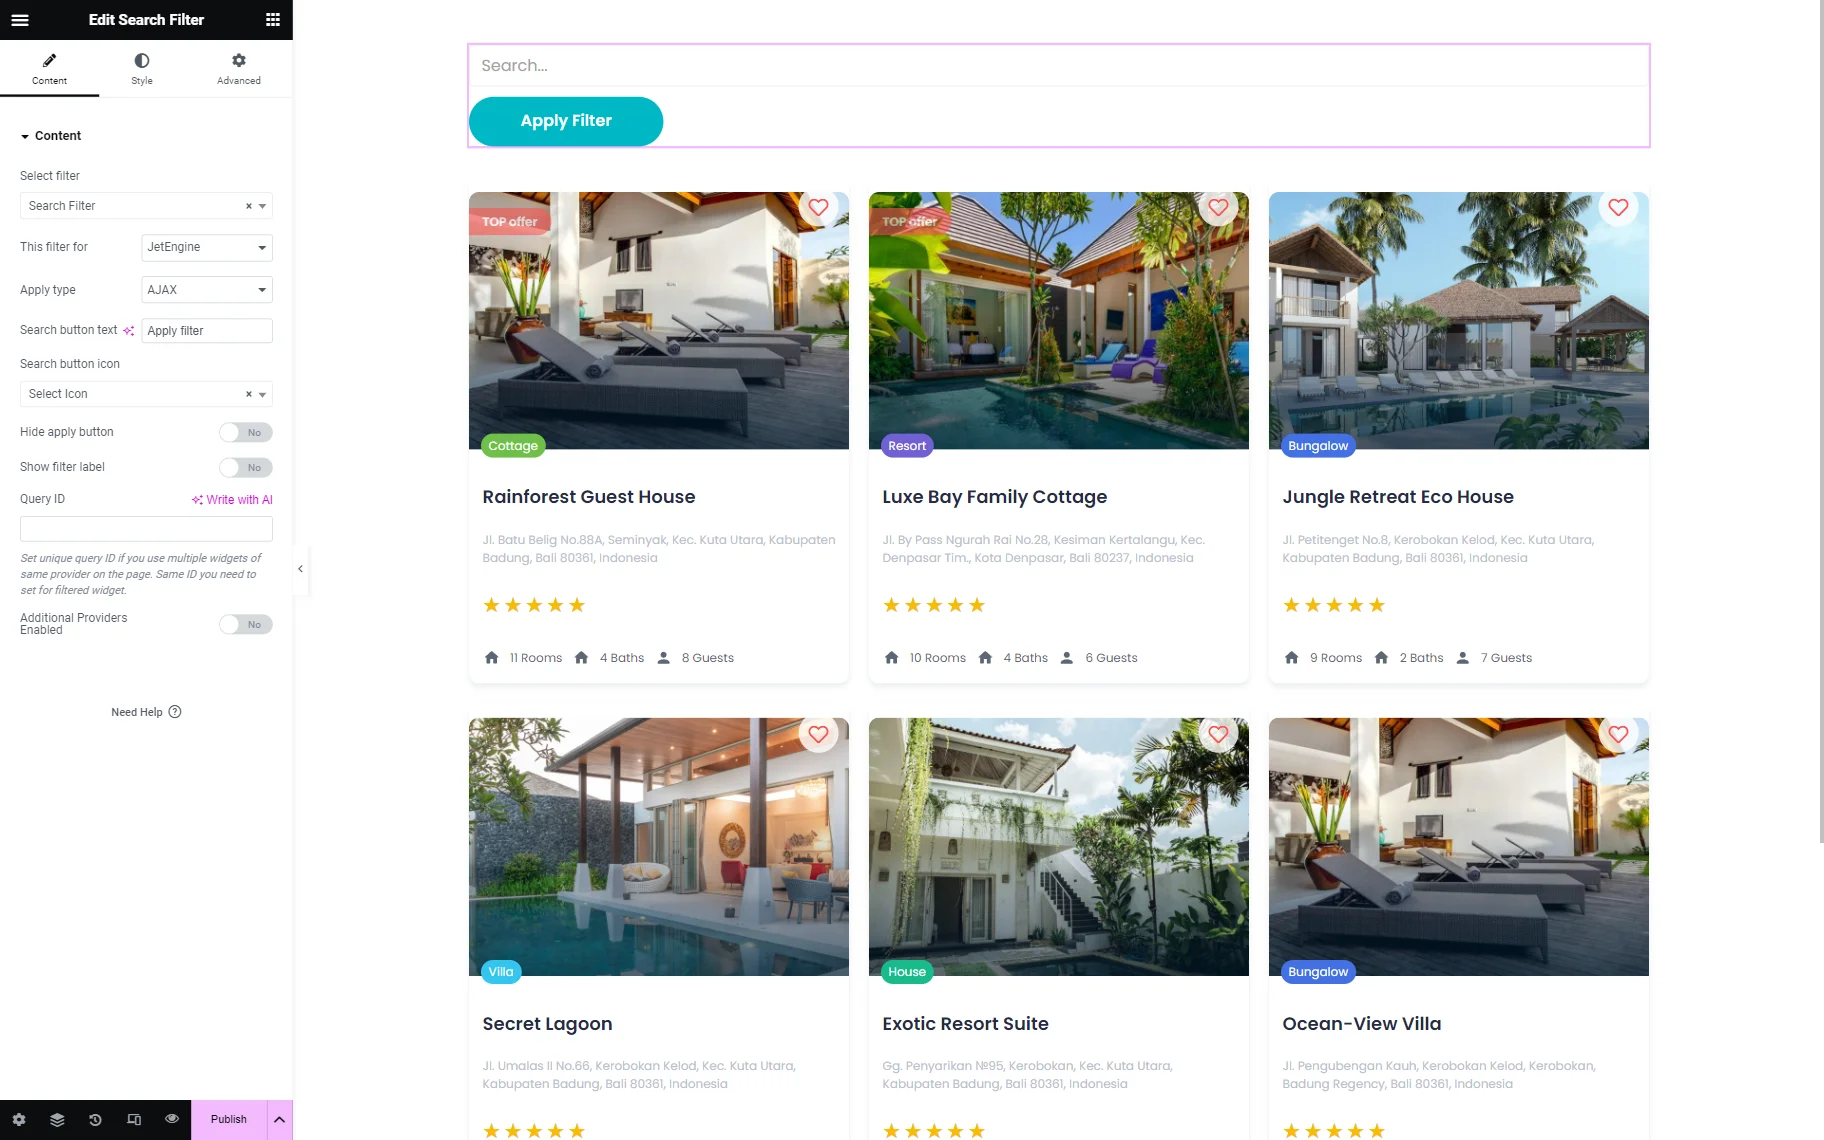
- Select Filter — a field for filter selection. To find a filter, one or more letters from the filter’s name should be entered;
- This filter for — a provider list; options here represent widgets that can be added to the page and connected to the filter;
- Apply type — a selector of filtering way. “AJAX” will show results without reloading the page, “AJAX on typing” works when the minimum amount of letters (number can be set in the Min number of letters field) is typed in the search bar, “Page reload” reloads the page on search respectively, and “Mixed” doesn’t reload the page, but changes the URL so it can be copied to send the search results page if needed;
- Search button text — a text displayed on the search button;
- Search button icon — an icon that will be added to the search button text;
- Show filter label — a toggle that shows the filter label above the filter once activated;
- Query ID — a field that can be completed with the CSS ID of another widget that is needed to be set as a provider. For instance, if there are two Listing Grids on the page, but only one should be filtered, the Query ID of the filter and CSS ID of the needed Listing Grid should match;
- Additional Providers Enabled — a toggle that can be activated if the filter is supposed to work with several providers. These can be added by pressing the “Add Item” button.
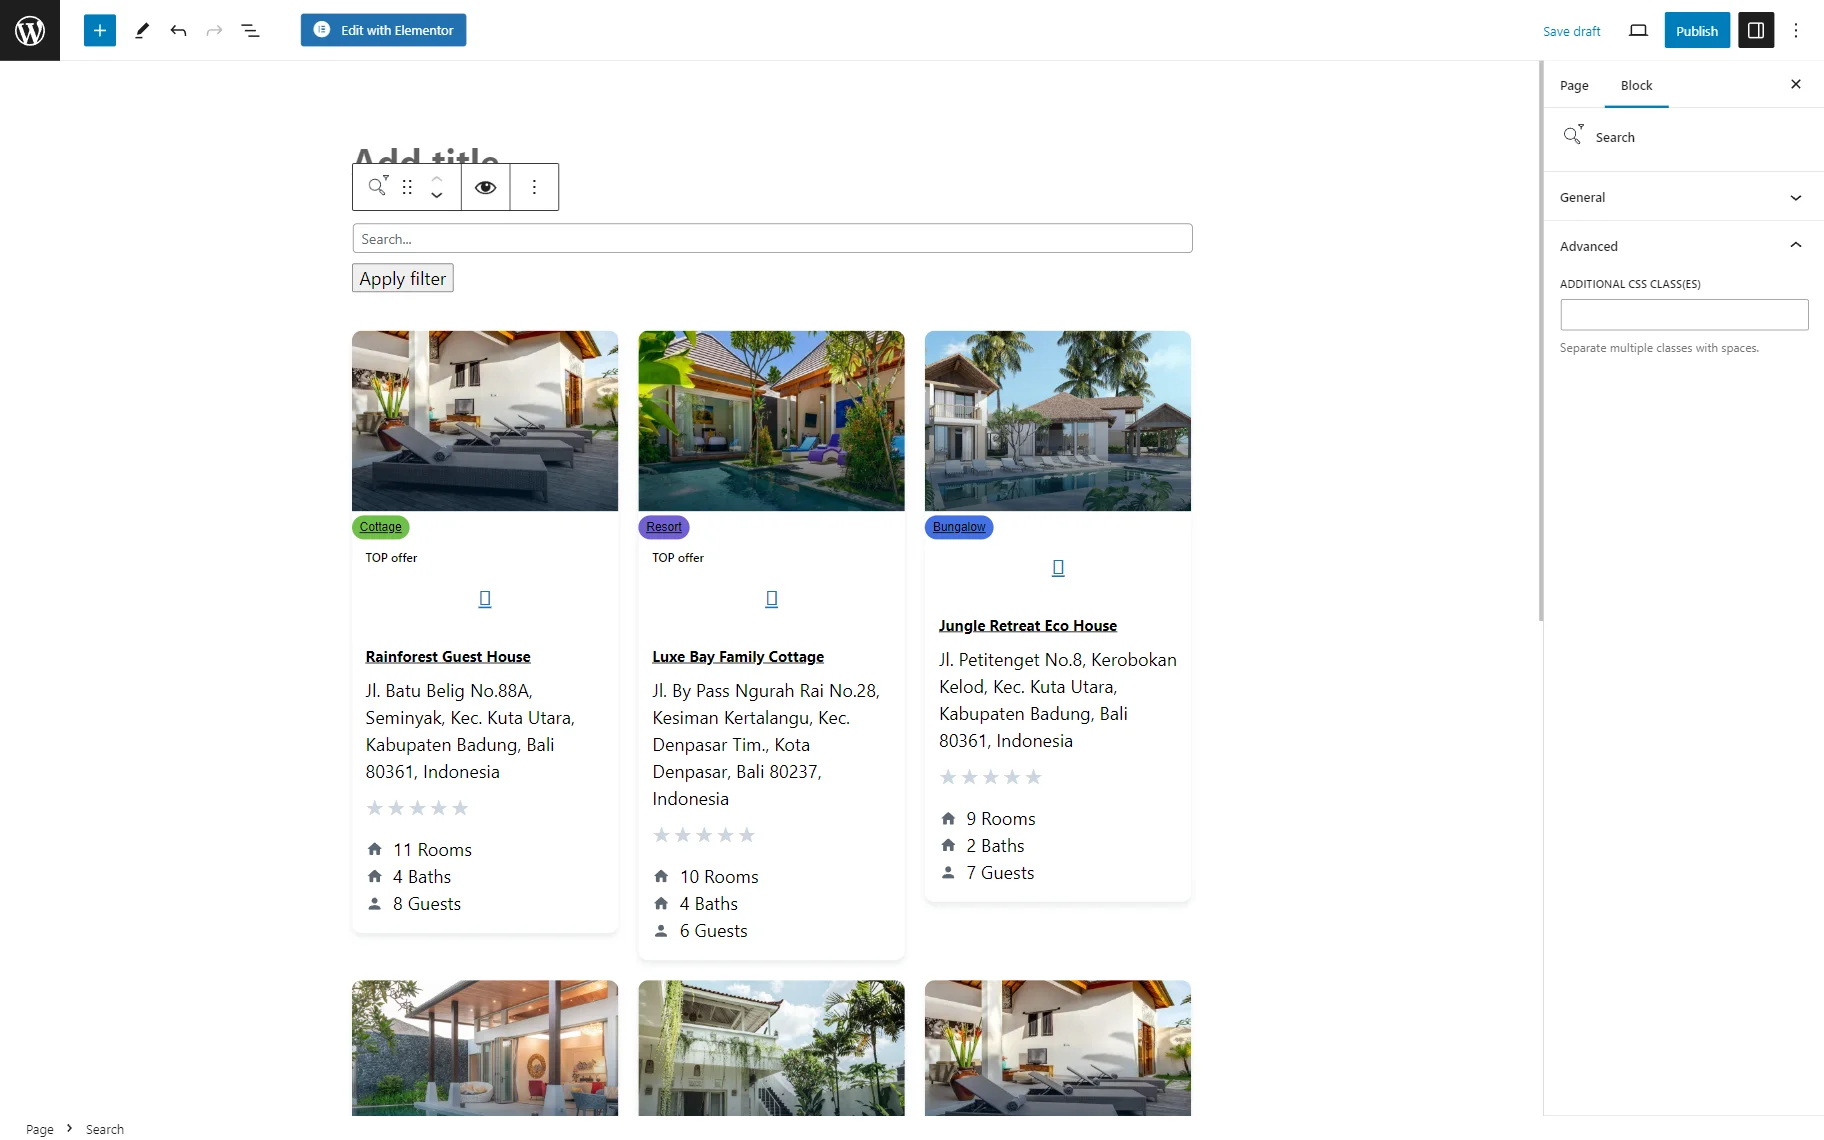
Search filter in WordPress editor
The Search block is available in the WordPress editor and includes the same fields for customization as in Elementor.
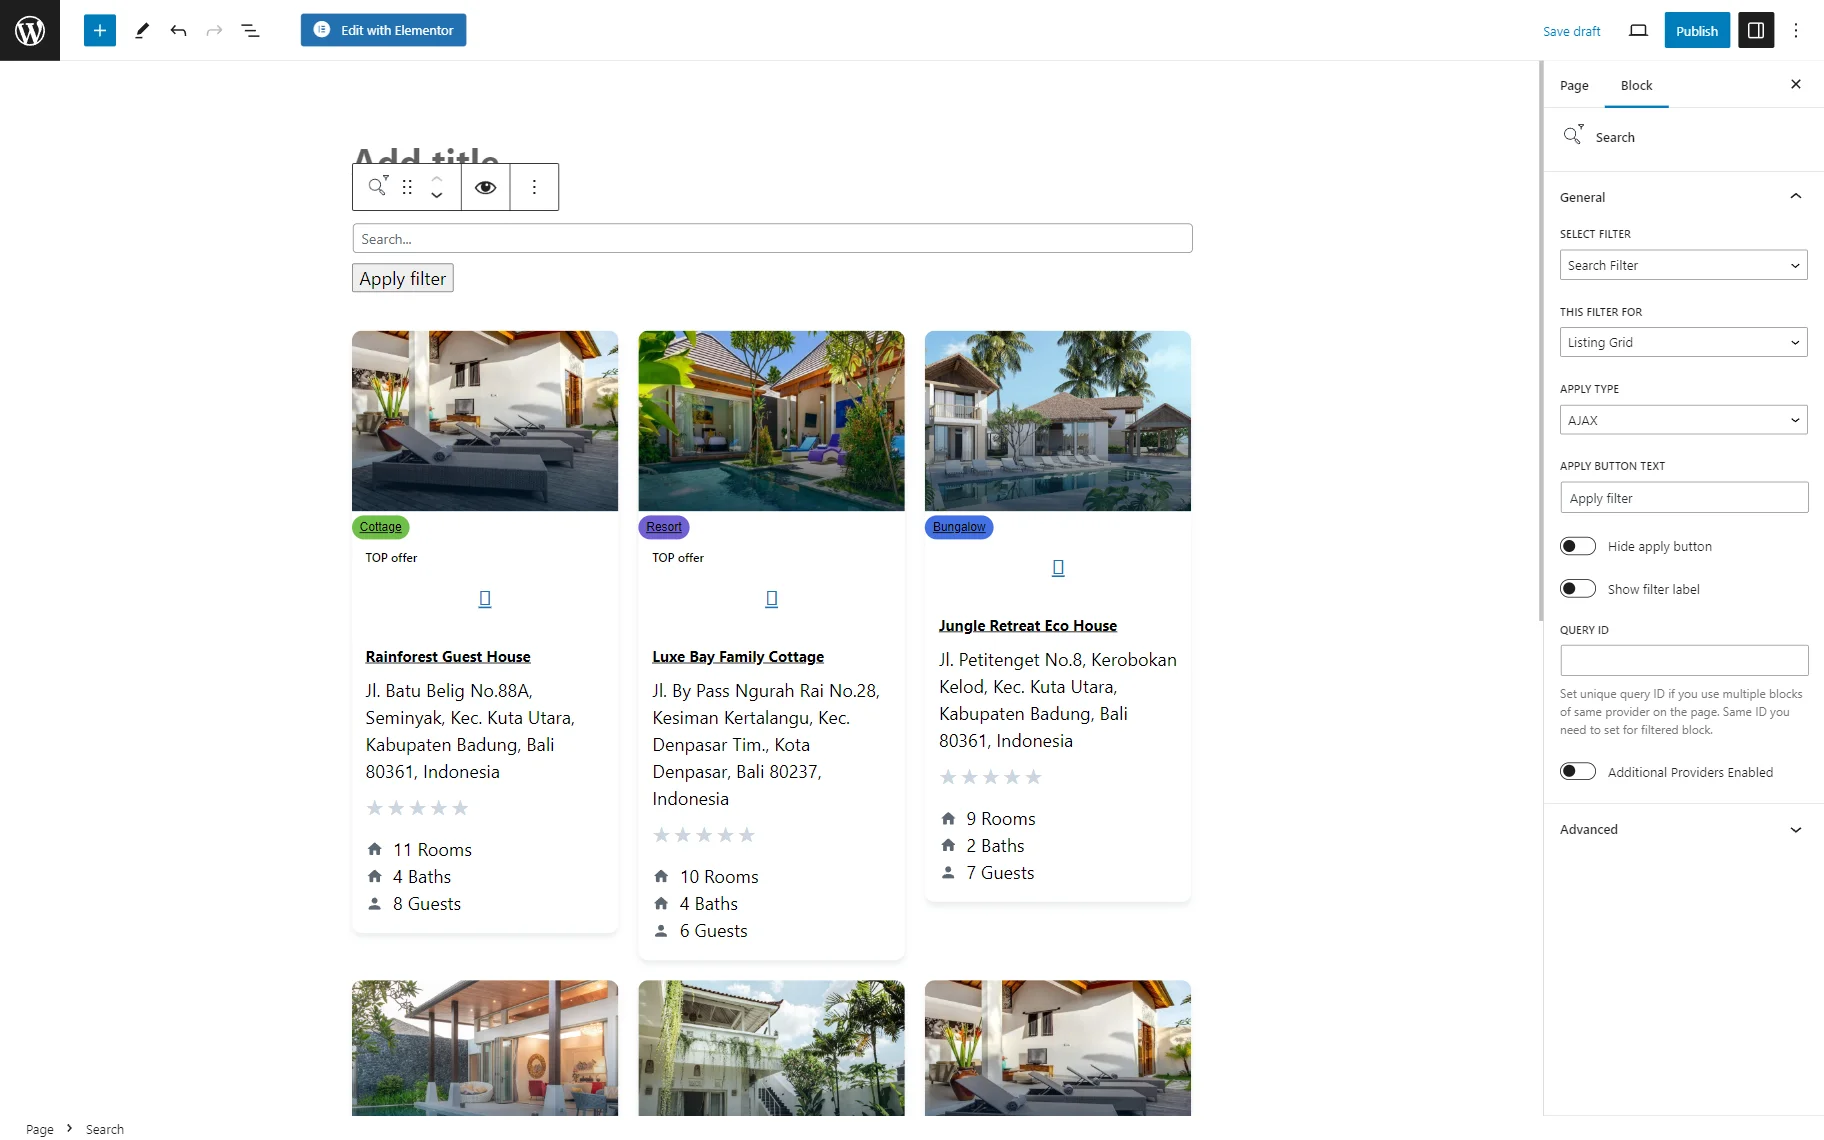
However, there is also an Advanced section. Here, the Additional CSS Class(es) field can be completed with the desired CSS class. If several classes are to be used, one should separate them with spaces.
One more field available in this tab is the Attached Popup drop-down. The pop-up can be selected here, and then the Trigger Type options list appears. Among the options are “Click,” “Custom Selector Click,” “Hover,” and “Scroll to Block.”
The following JetEngine Listing popup option should be activated in case the selected pop-up is supposed to be put in the Listing Grid item.
Search filter in Bricks
The Content tab of Bricks editor repeats the same settings as in Elementor Page Builder.
Result
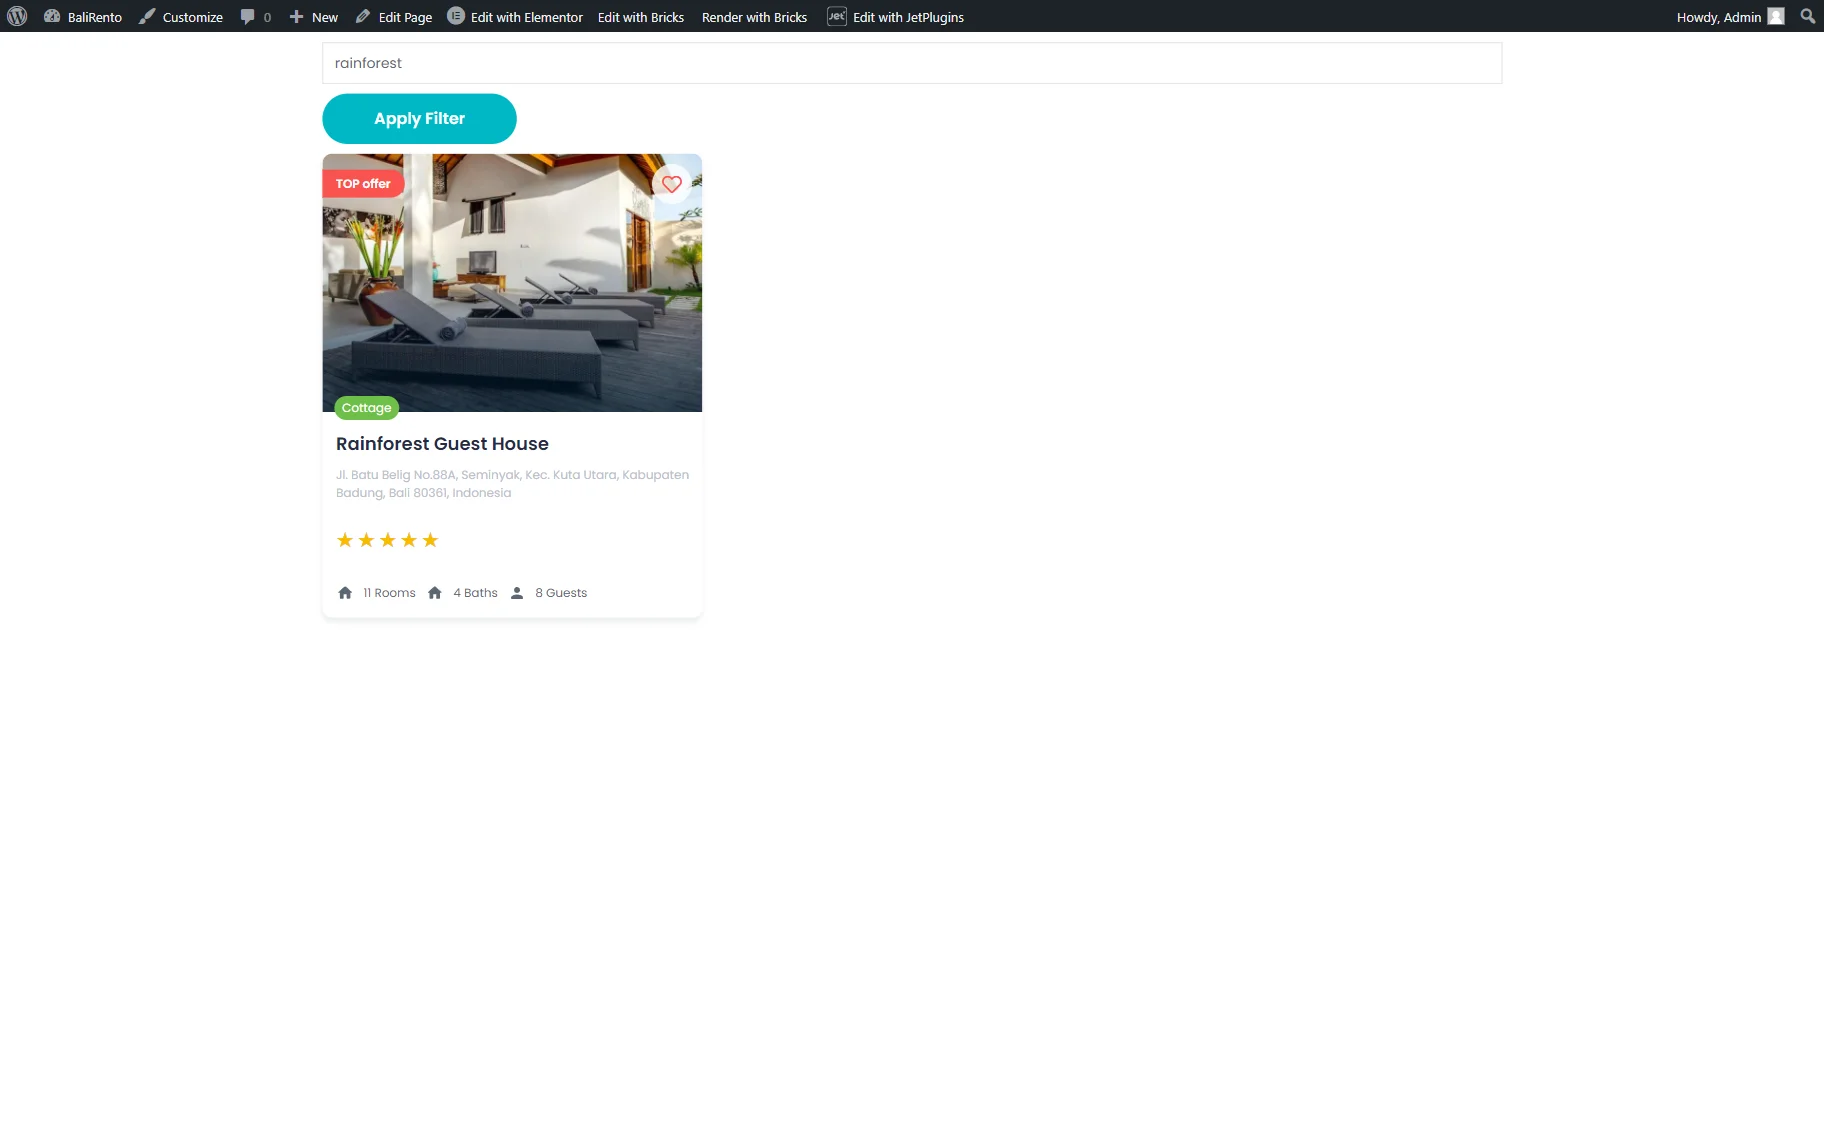
Now, on the front end, the search bar with the provider is displayed.
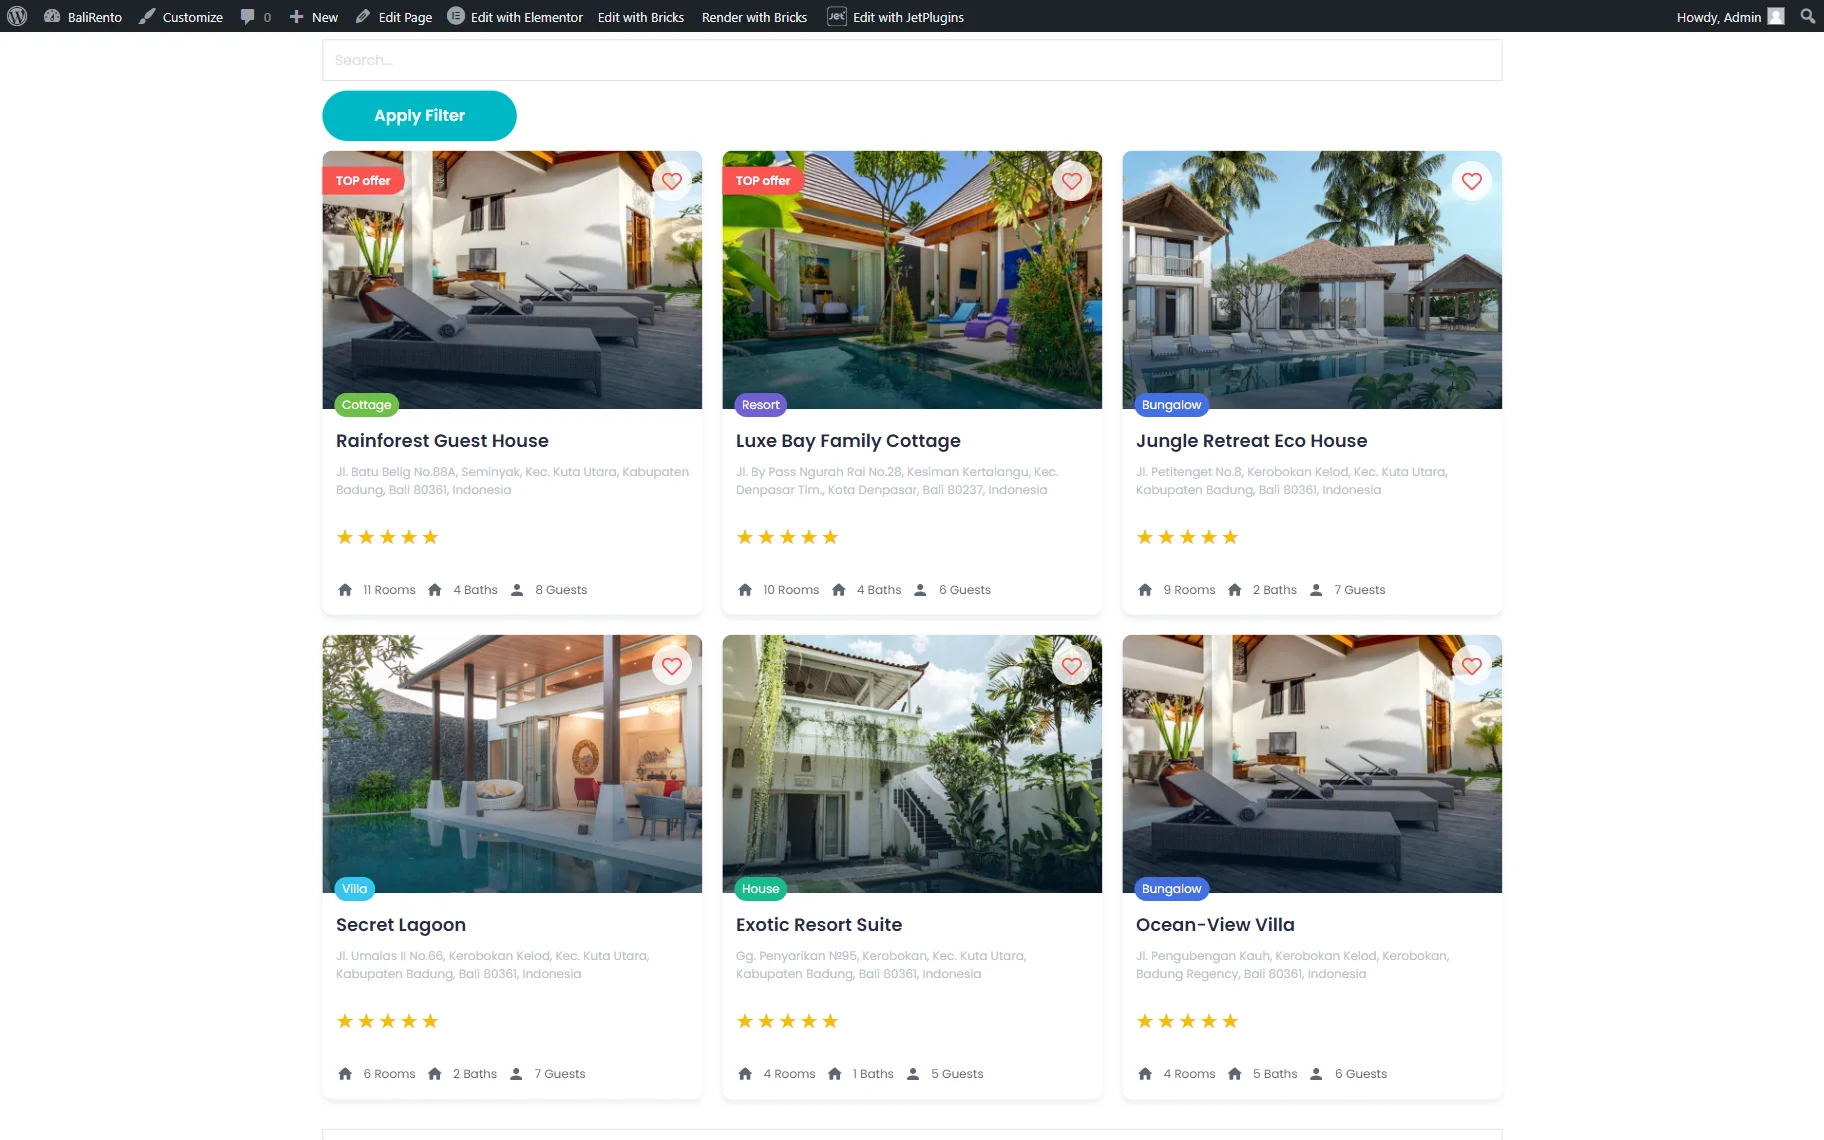
If a user completes the search bar and clicks the button, the search will be conducted, and the found results will be displayed.
That’s all about the Search Filter settings, which are available as a part of the JetSmartFilters functionality.