How to Create a Product Gallery Lightbox in WooCommerce
From this guide, you will learn how to build a product gallery lightbox for WooCommerce products using JetProductGallery widgets/blocks.
Before you start, check the tutorial requirements:
- Elementor (Free version) or Block editor (Gutenberg)
- JetProductGallery plugin installed and activated
With JetProductGallery, you can create a gallery for WooCommerce products in the preferred form with four widgets/blocks — Gallery Grid, Gallery Anchor Navigation, Gallery Modern, or Gallery Slider.
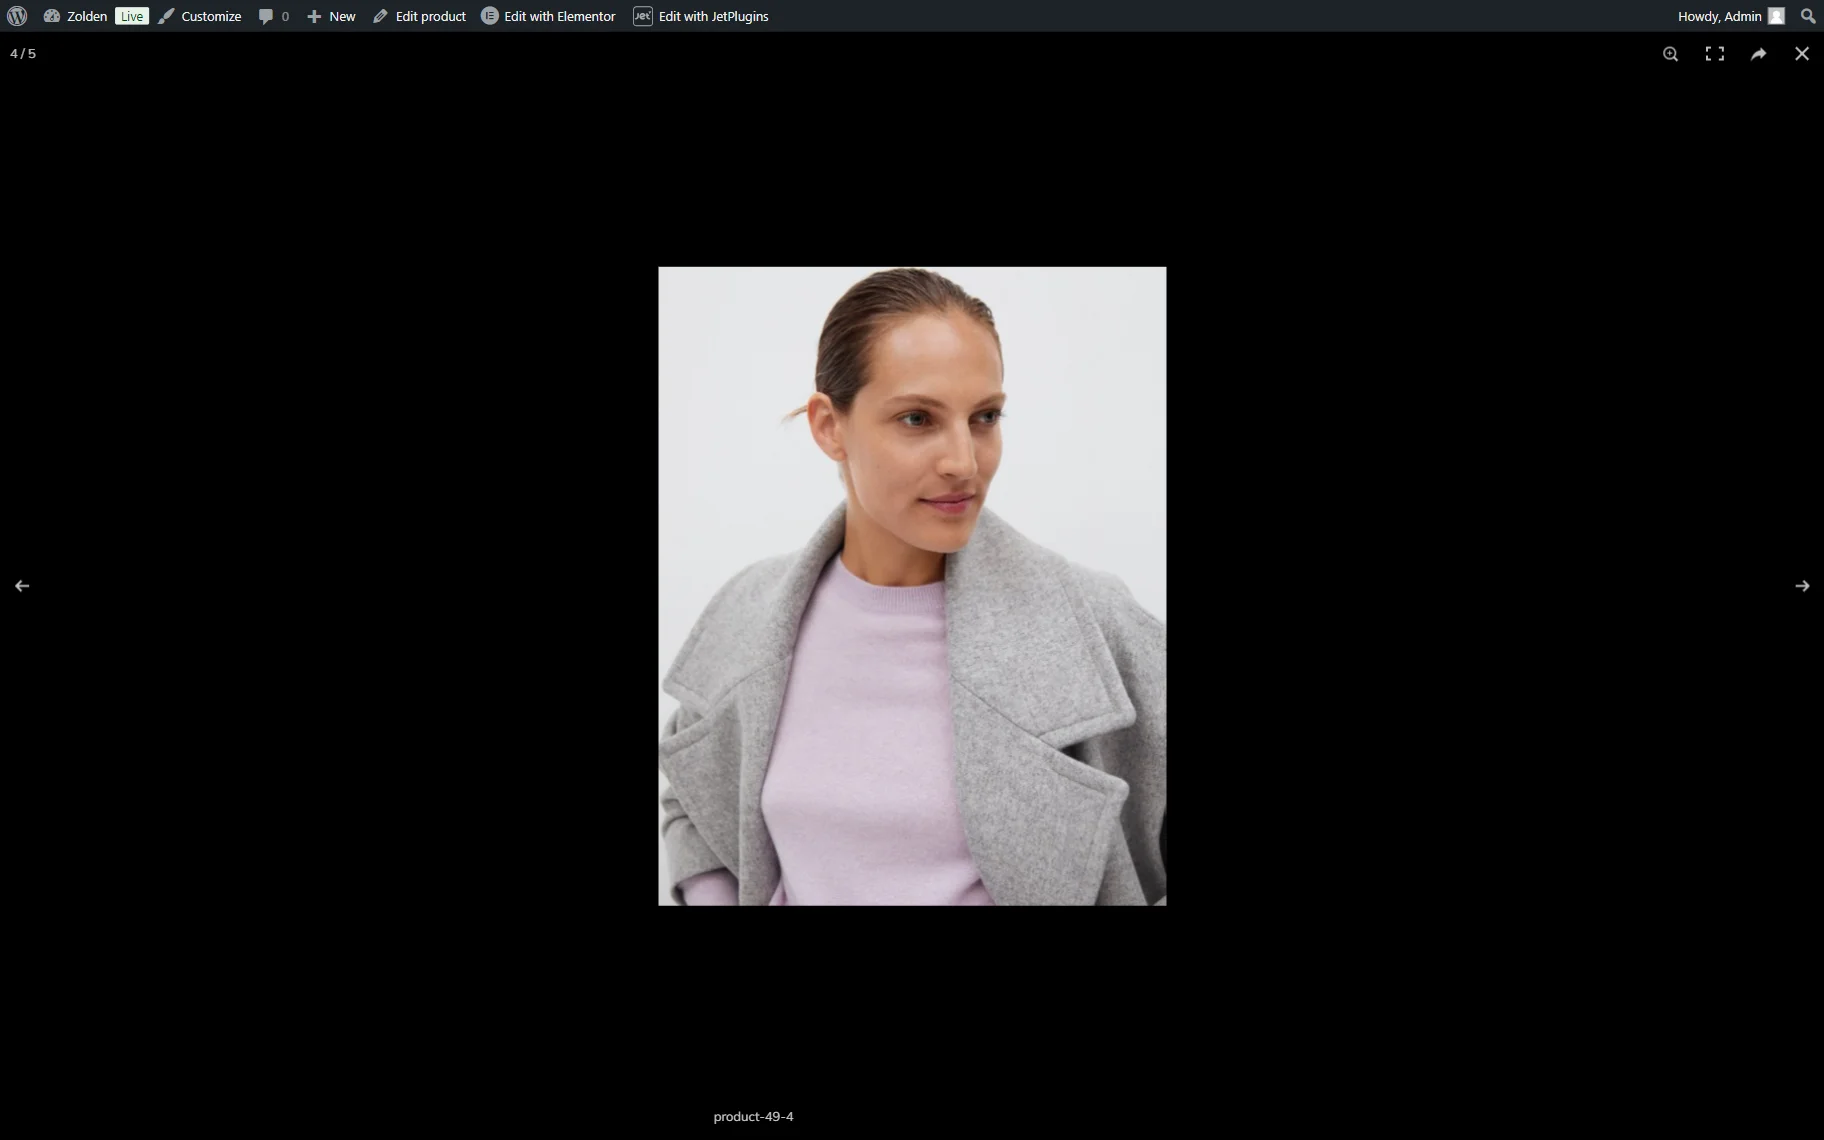
All these widgets/blocks support the lightbox feature, so every used image can be adjusted so it will be zoomed when clicked. In this view mode, the image will be centered, and the background will be dimmed.
So, let’s find out how to activate the lightbox feature for any JetProductGallery widget/block.
Open a Page/Template
First, open the page/template where you want to place the widget/block or where it is already located.
For instance, we want to create a Single Product template. We are going to place one of the JetProductGallery widgets/blocks there and enable the lightbox for the displayed product pictures.
Let’s check how to enable the lightbox for all the available widgets/blocks.
So, we open the Single Product template in the Elementor editor as an example. However, the JetProductGallery widgets/blocks can also be used in the Block Editor (Gutenberg).
Gallery Anchor Navigation
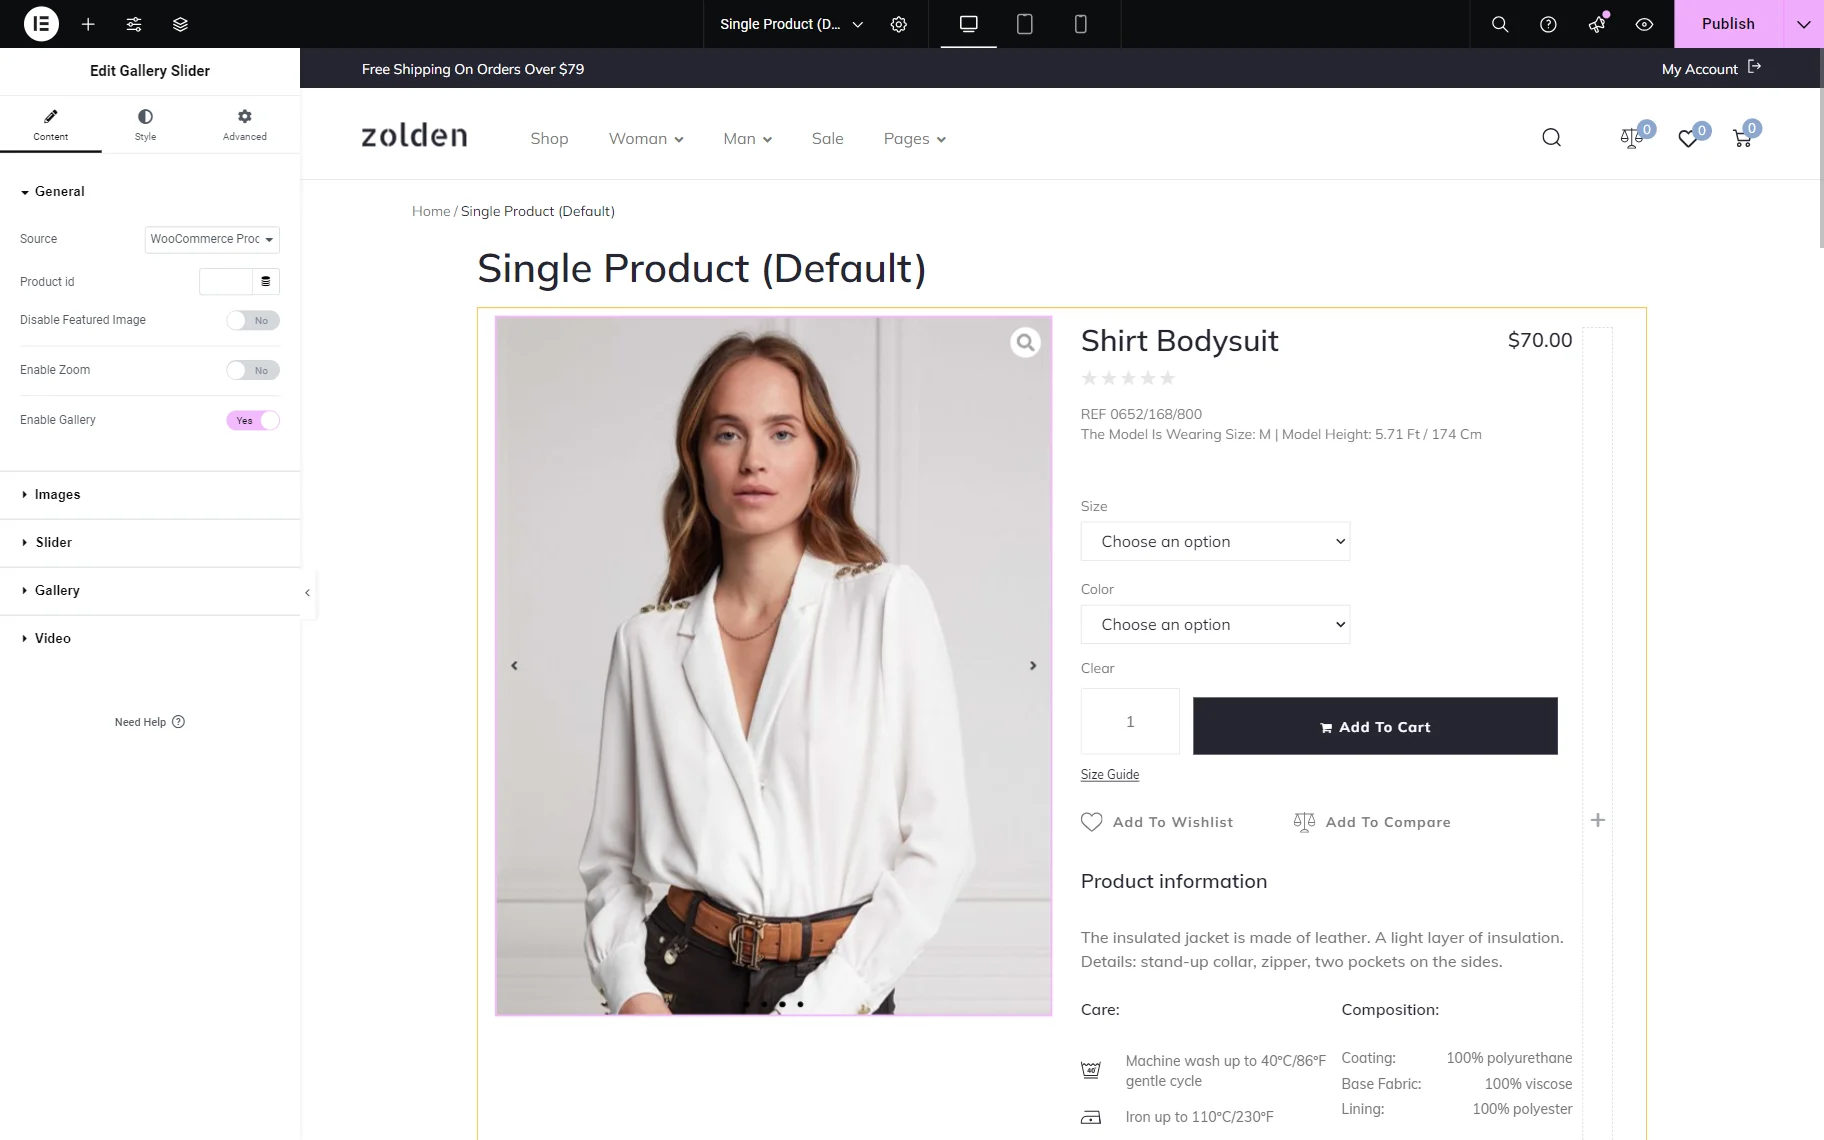
To make the Gallery Anchor Navigation widget/block a product gallery with a lightbox feature, select the “WooCommerce Products” Source and activate the Enable Gallery toggle.
This way, the lightbox feature will be activated.

If the Enable Gallery toggle is enabled, an additional Gallery section becomes available.
Here, you can set the Trigger Type: either “Button” or “Image.” If the default “Button” is selected, you can choose the icon and position of the button and define whether it will be shown on hover or be present by default.
For all the trigger types, you can also pick the controls that will later be displayed in the lightbox: caption, full-screen view, “Zoom” and “Share” buttons, counter, and arrows. These are activated by default; however, you can deactivate them if desired.
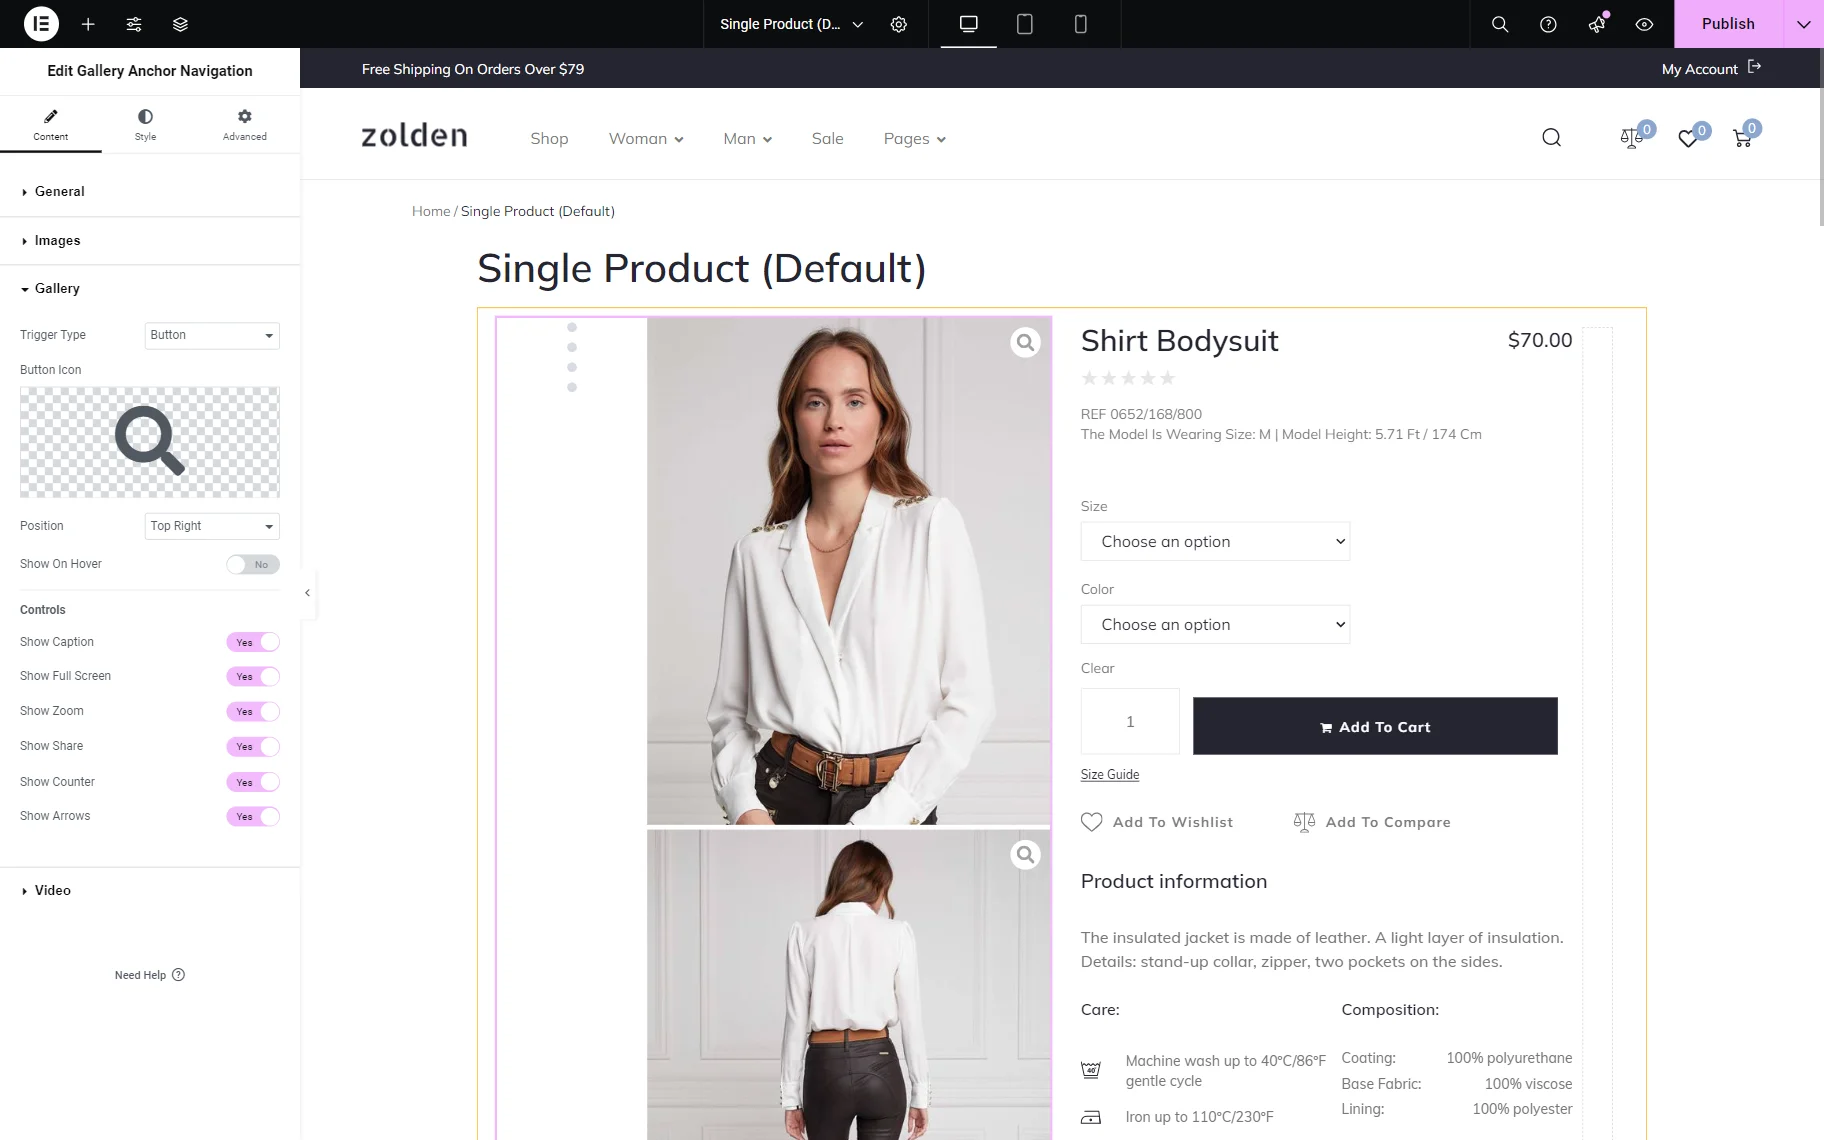
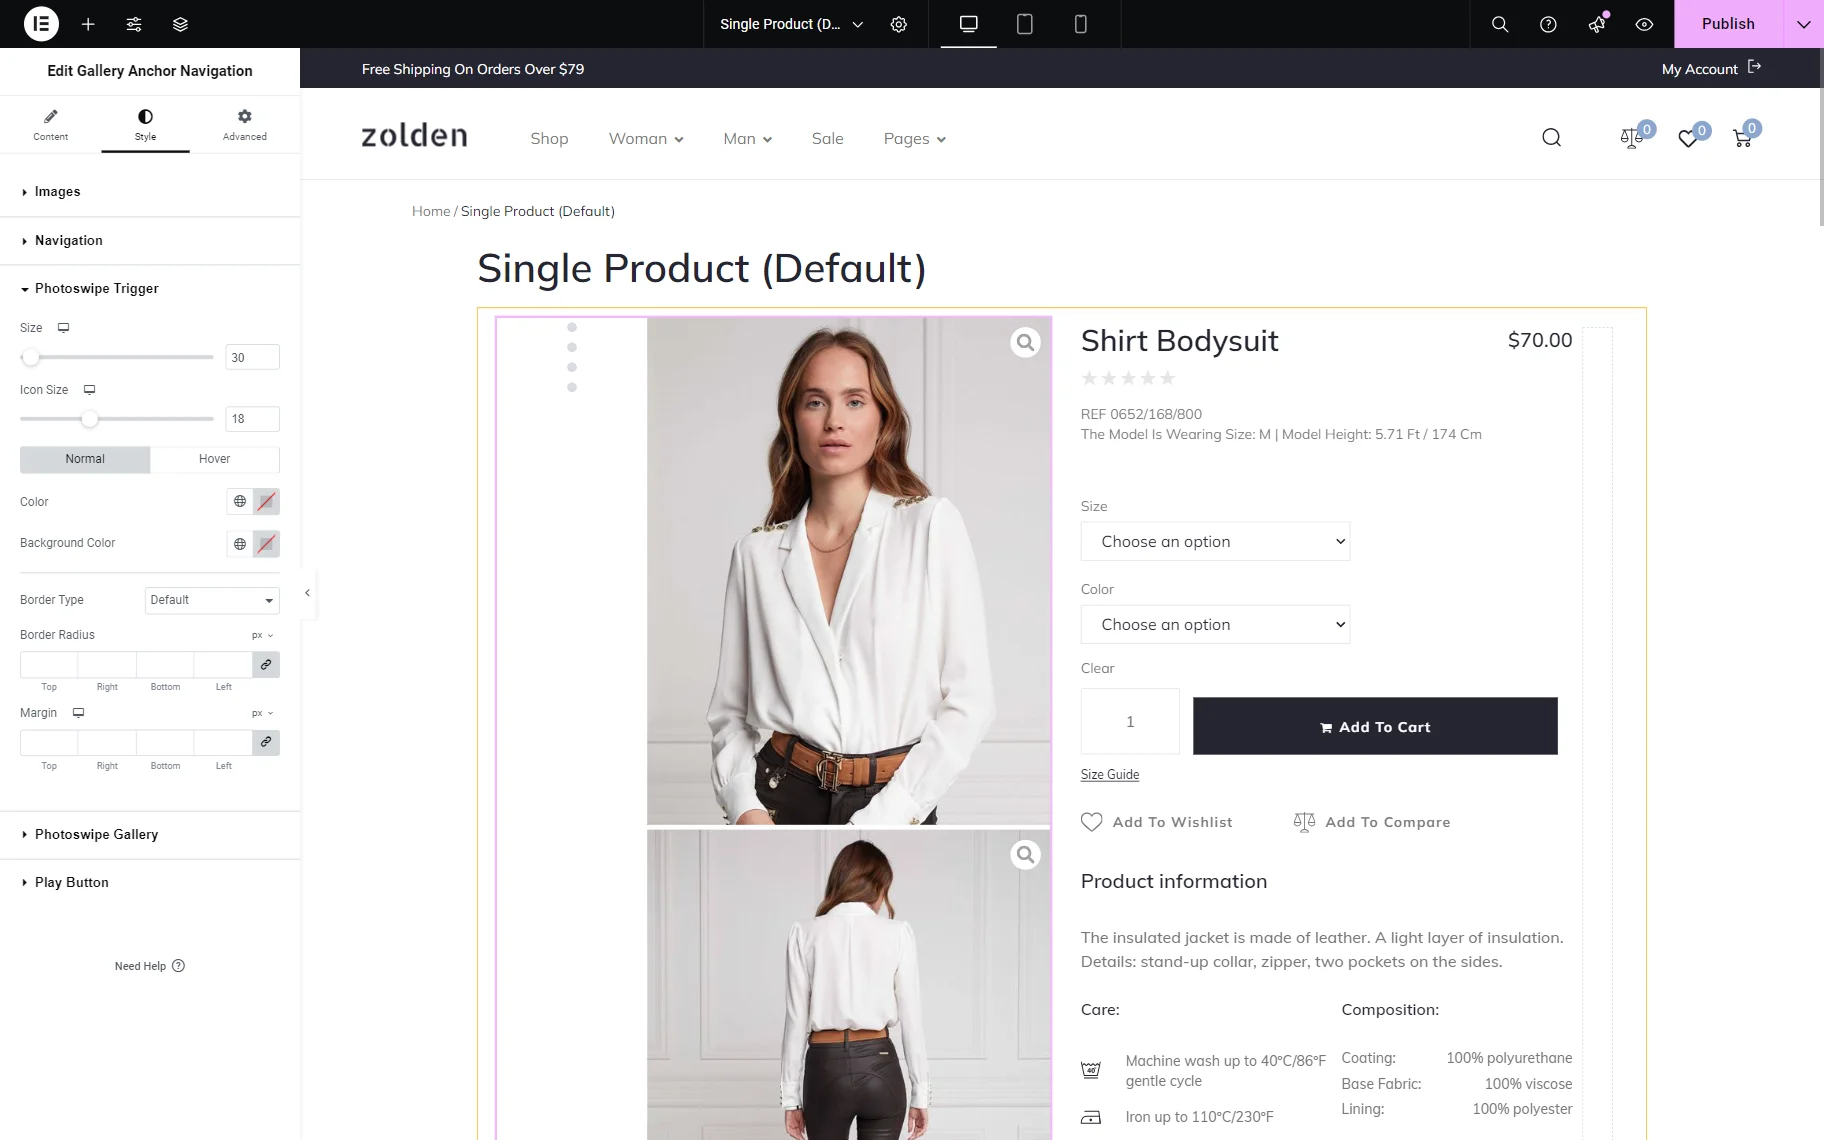
Also, if the Enable Gallery toggle is activated, two additional sections become available in the Style tab: Photoswipe Trigger and Photoswipe Gallery.
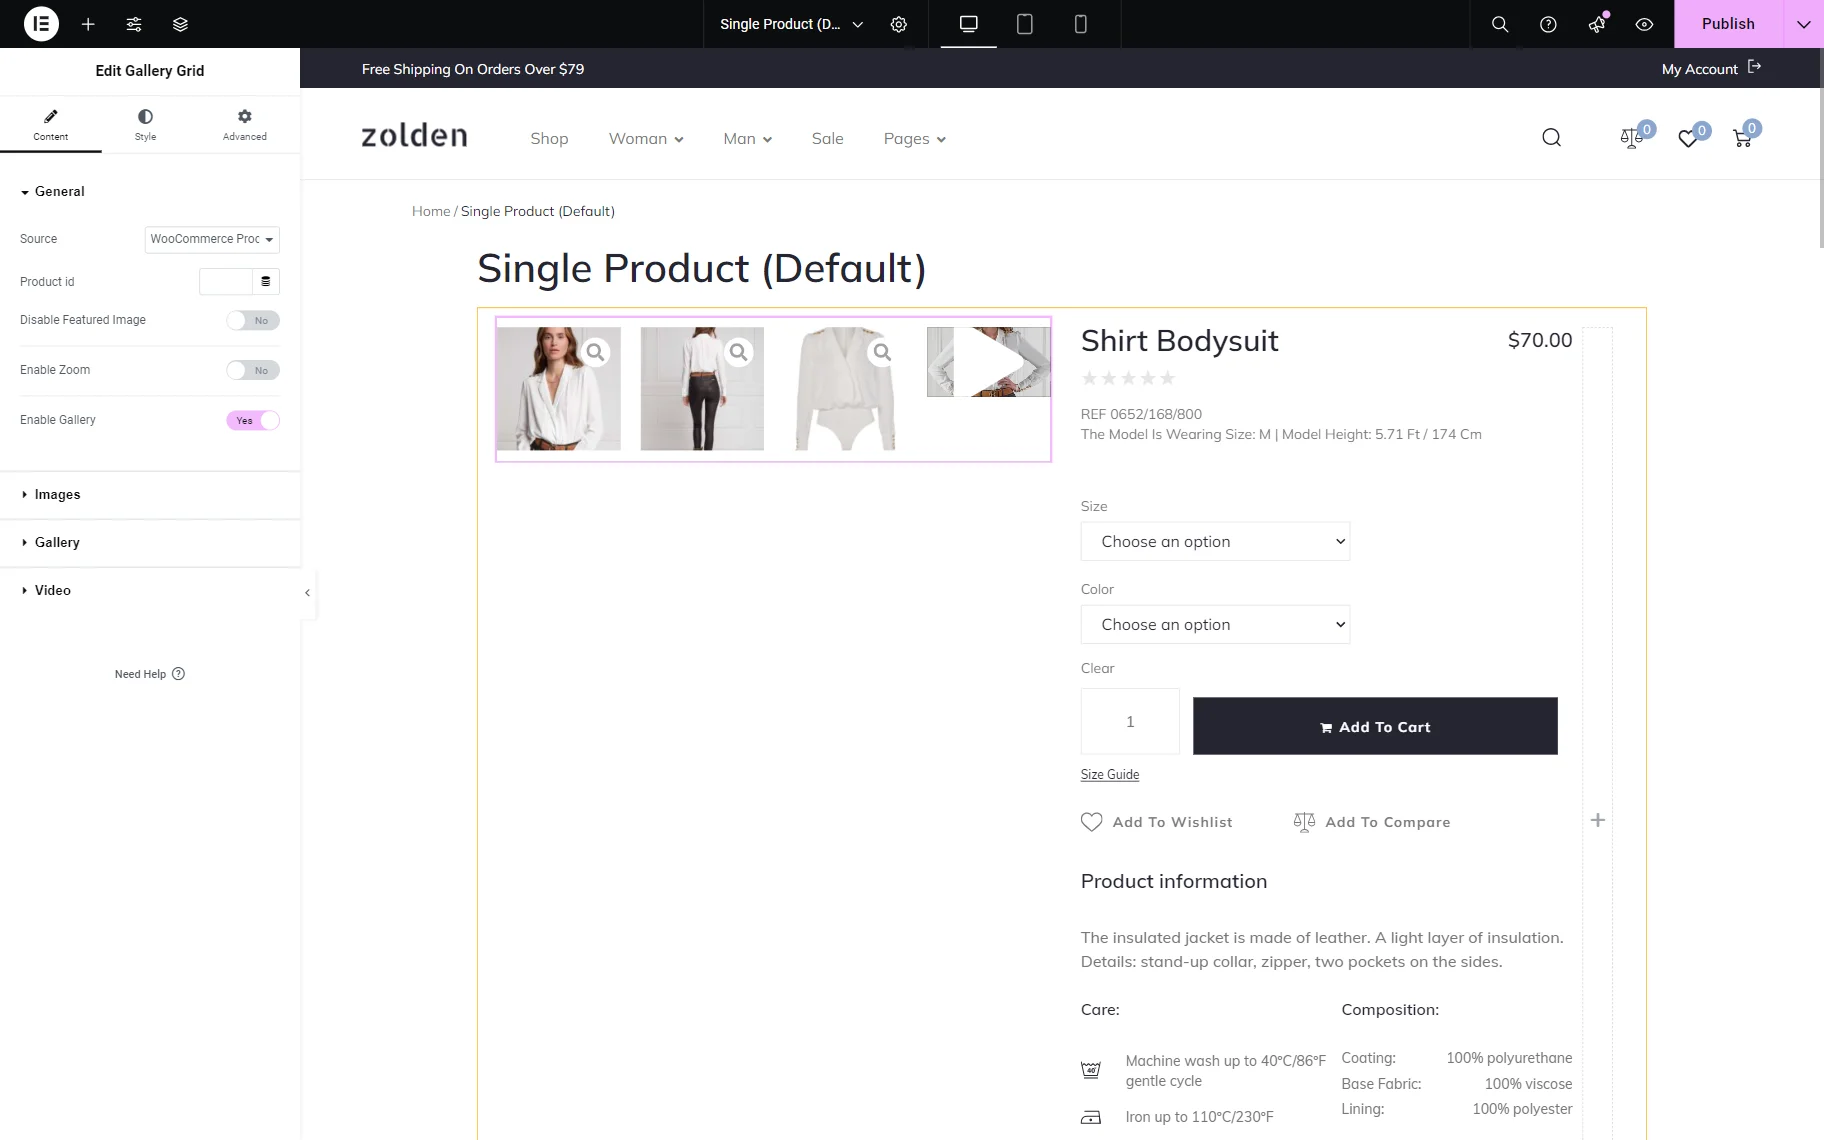
Gallery Grid
If you want to work with the Gallery Grid widget, the Enable Gallery toggle is also available here. Activate it to enable the lightbox feature.
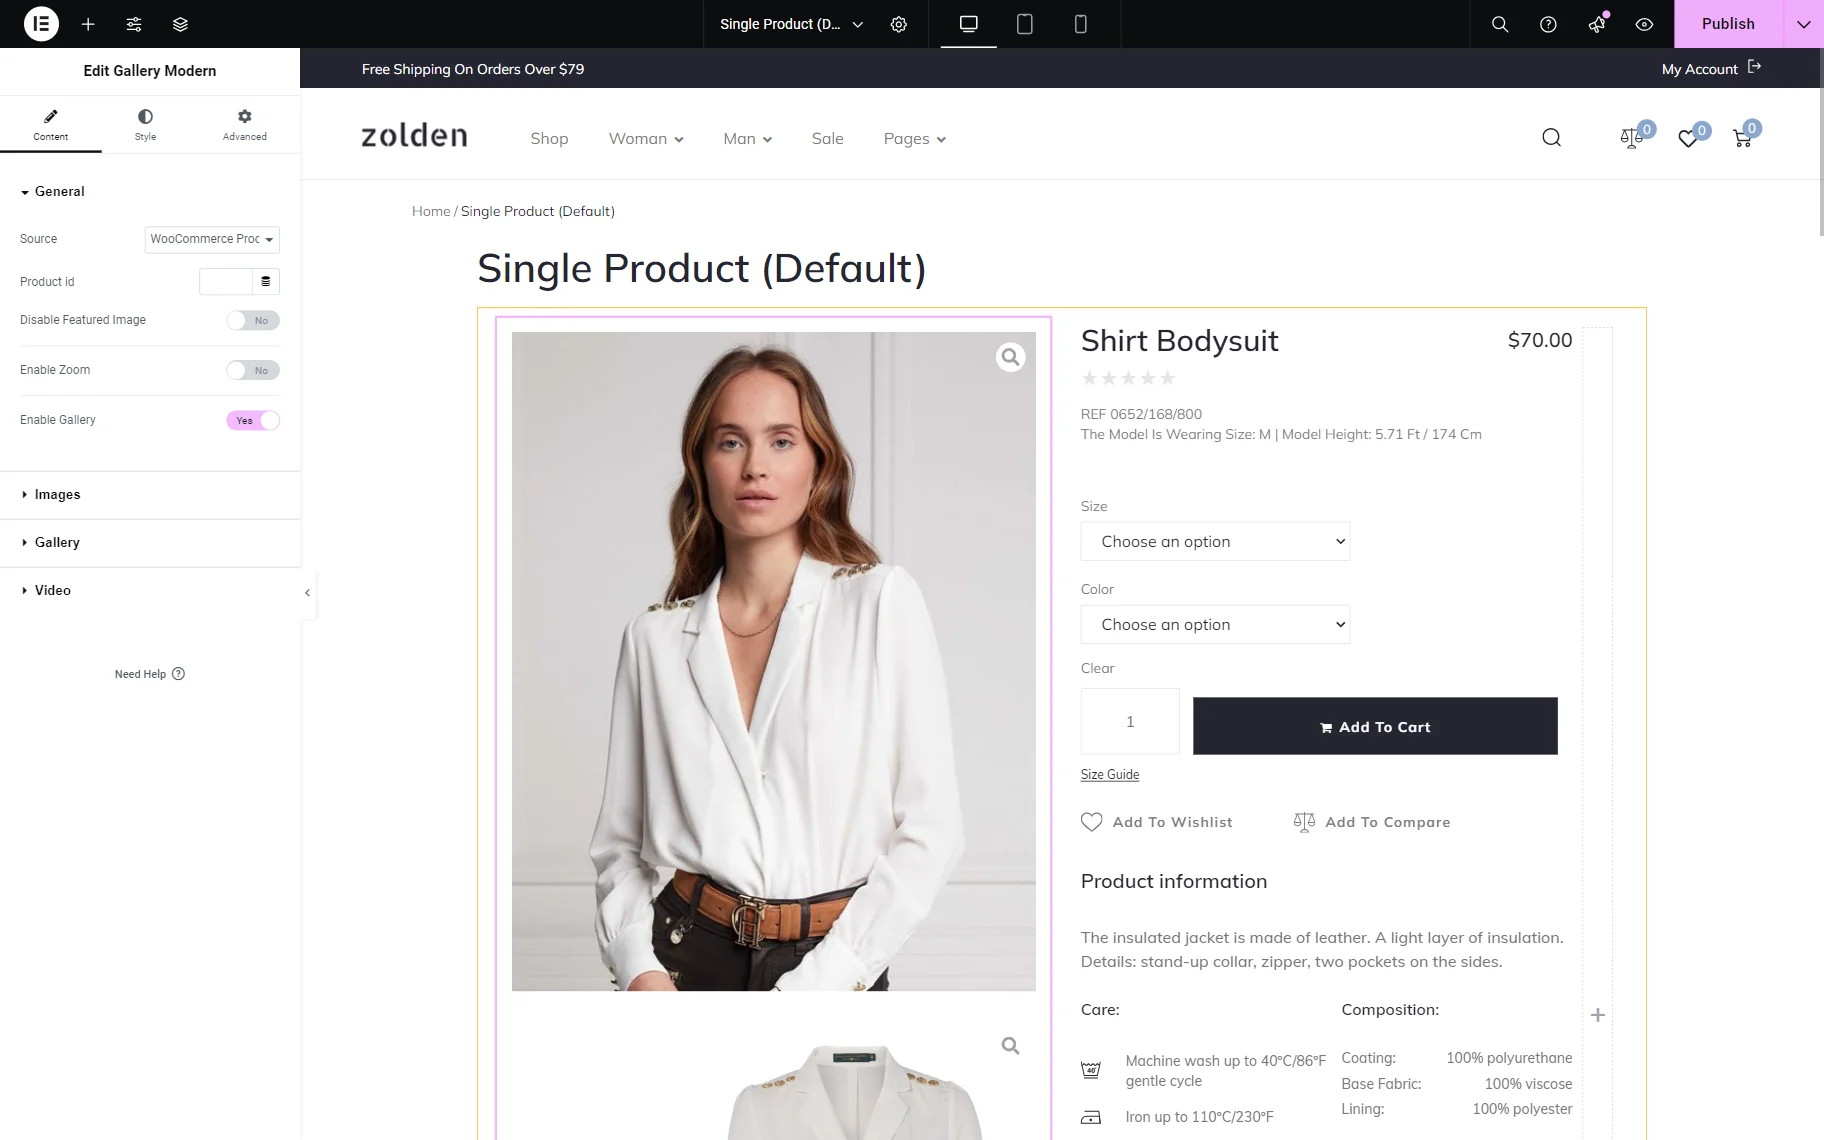
Gallery Modern
The Gallery Modern widget settings also include the Enable Gallery toggle that activates the lightbox feature when the gallery pictures are opened.
Gallery Slider
One more widget where the lightbox can be activated is the Gallery Slider. Its settings also include the Enable Gallery toggle.
That’s why you can use any desired JetProductGallery widget to implement the lightbox.
Once you customize the page completely, press the “Publish/Update” button.
Check the Result
Now, you can head to the front end page of any product and check if the lightbox feature is implemented by clicking on any of the pictures presented.
That’s all; now you know how to implement the lightbox feature into the product gallery created for WooCommerce with the JetProductGallery plugin for WordPress.