How to Build a Pop-up for a Dynamic Calendar
Discover how to build a pop-up for the JetEngine’s Dynamic Calendar with the help of the JetPopup plugin for WordPress.
Adjust the Dynamic Pop-up
This method involves creating a Dynamic Pop-up that aims to display the additional information from the post inside the Dynamic Calendar. Let’s walk through the setup process step by step.
Build a pop-up
Following the How to Build a Dynamic Popup for JetEngine Listings guide, we set up a pop-up that displays more meta fields from the Custom Post Type (in our case, we will use the post type called “Doctors”).

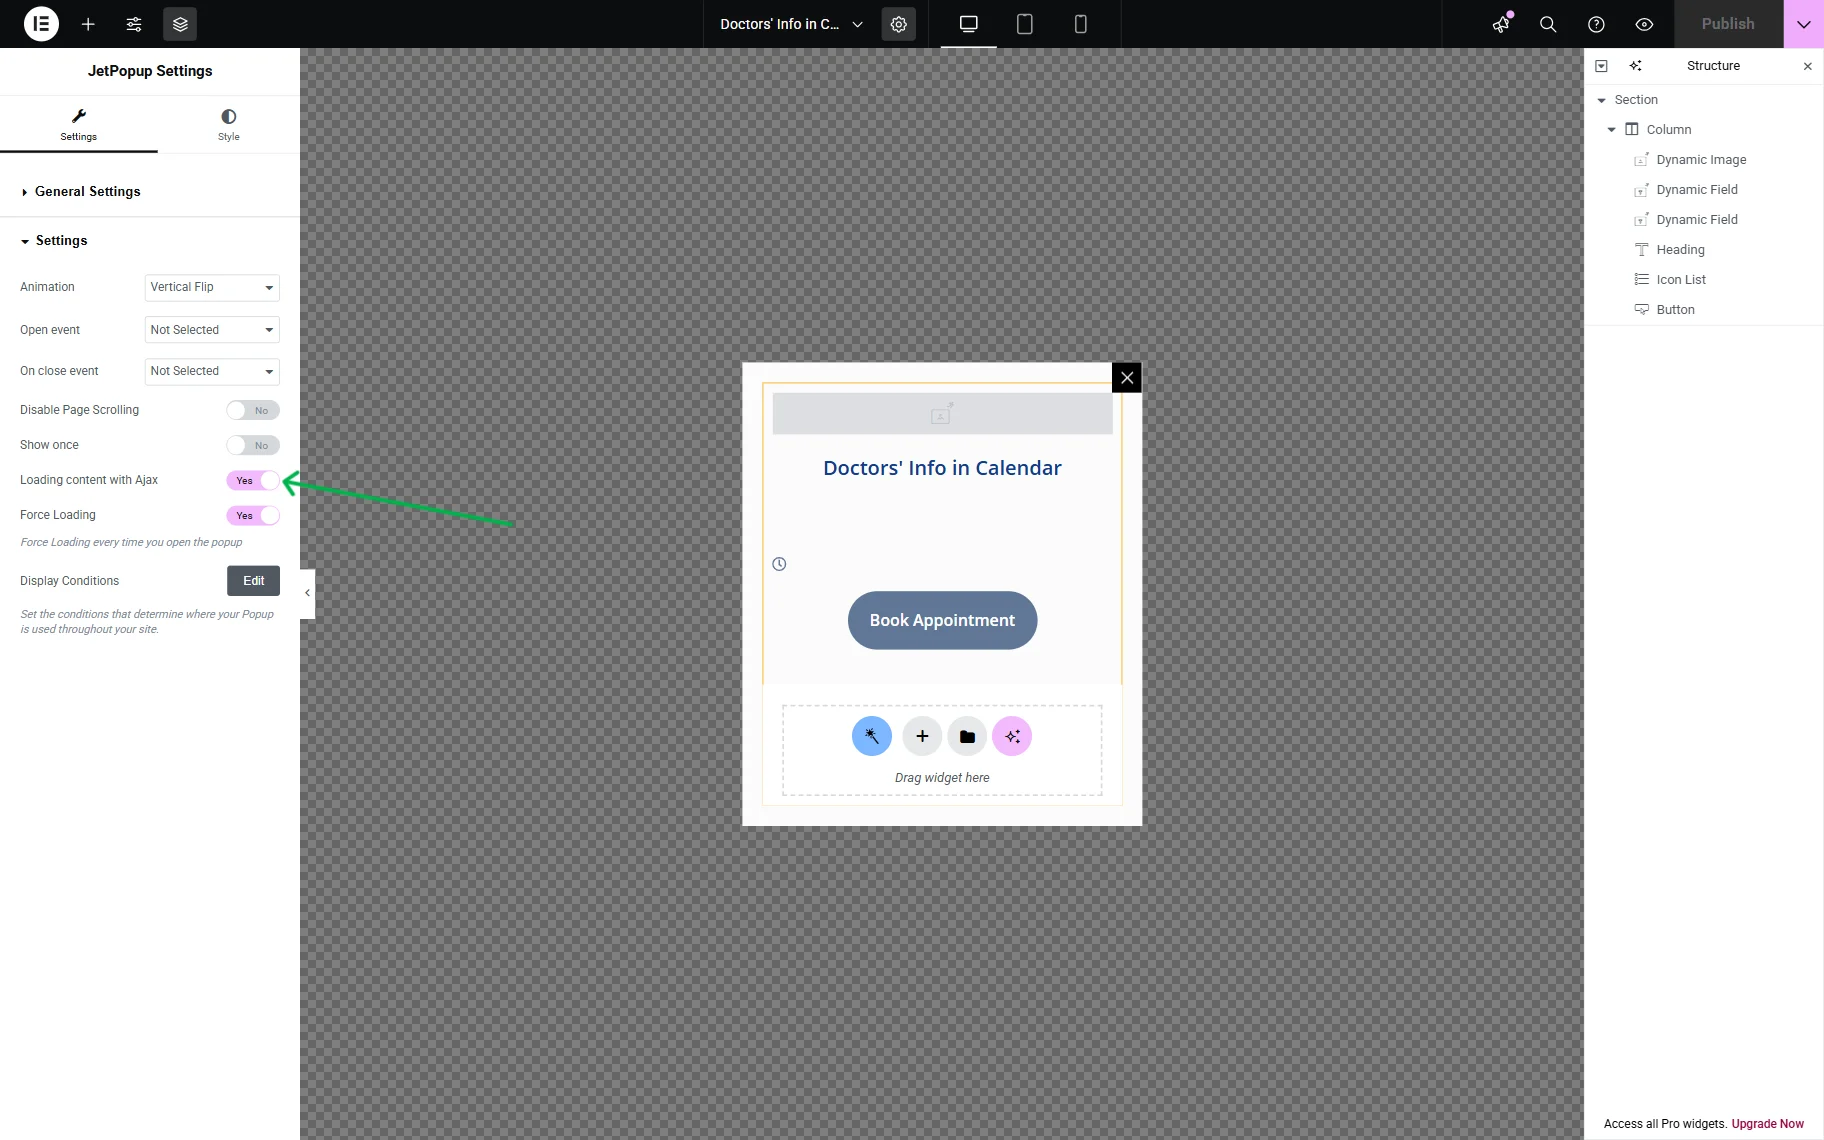
Then, the content of the pop-up should be loaded using the AJAX method. For that, click the “gear” icon on the Elementor panel, and the JetPopup Settings will be displayed.
Open the Settings accordion block and toggle on the Loading content with Ajax.
Also, enable the Force Loading option so that the content of the pop-up loads every time it is opened.
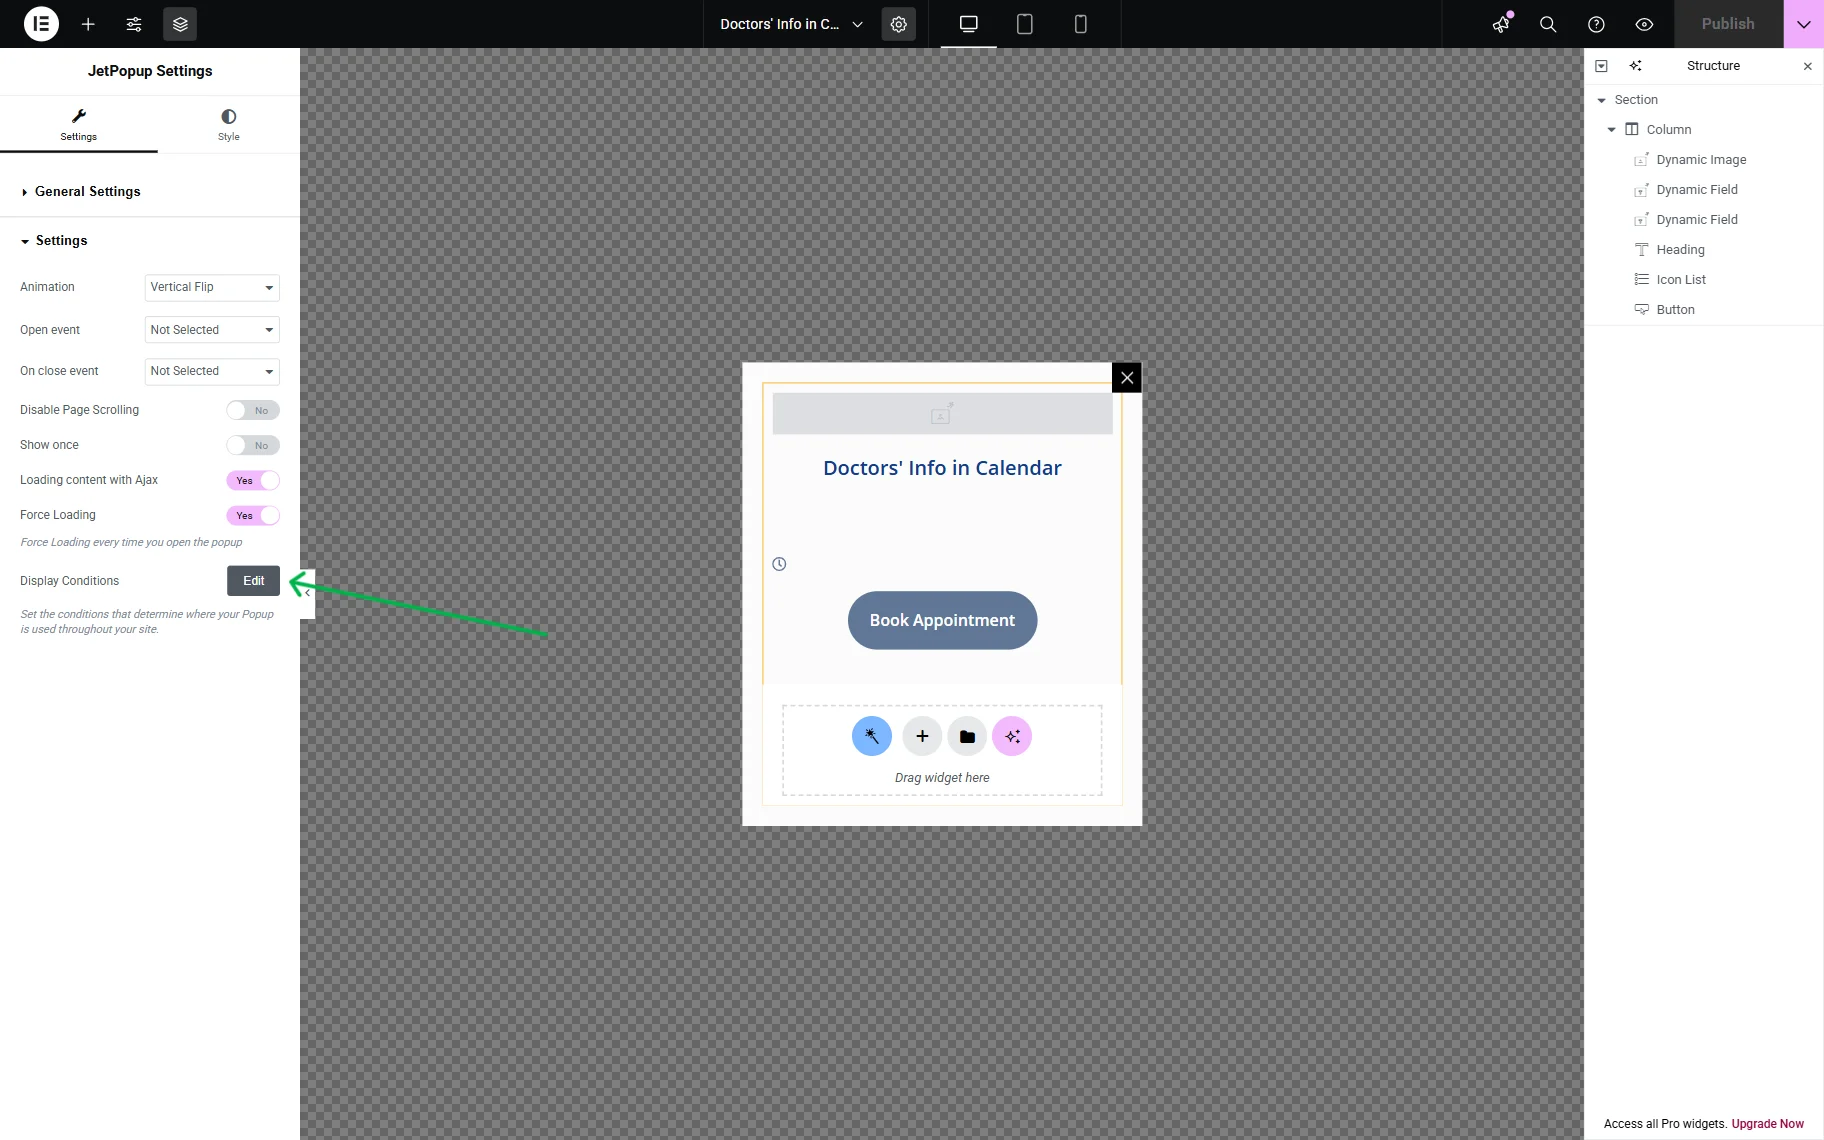
Set up conditions for the pop-up
The next step is setting up the conditions for the pop-up. To do this, click the “Edit” button next to Display Conditions to set the pop-up display conditions.
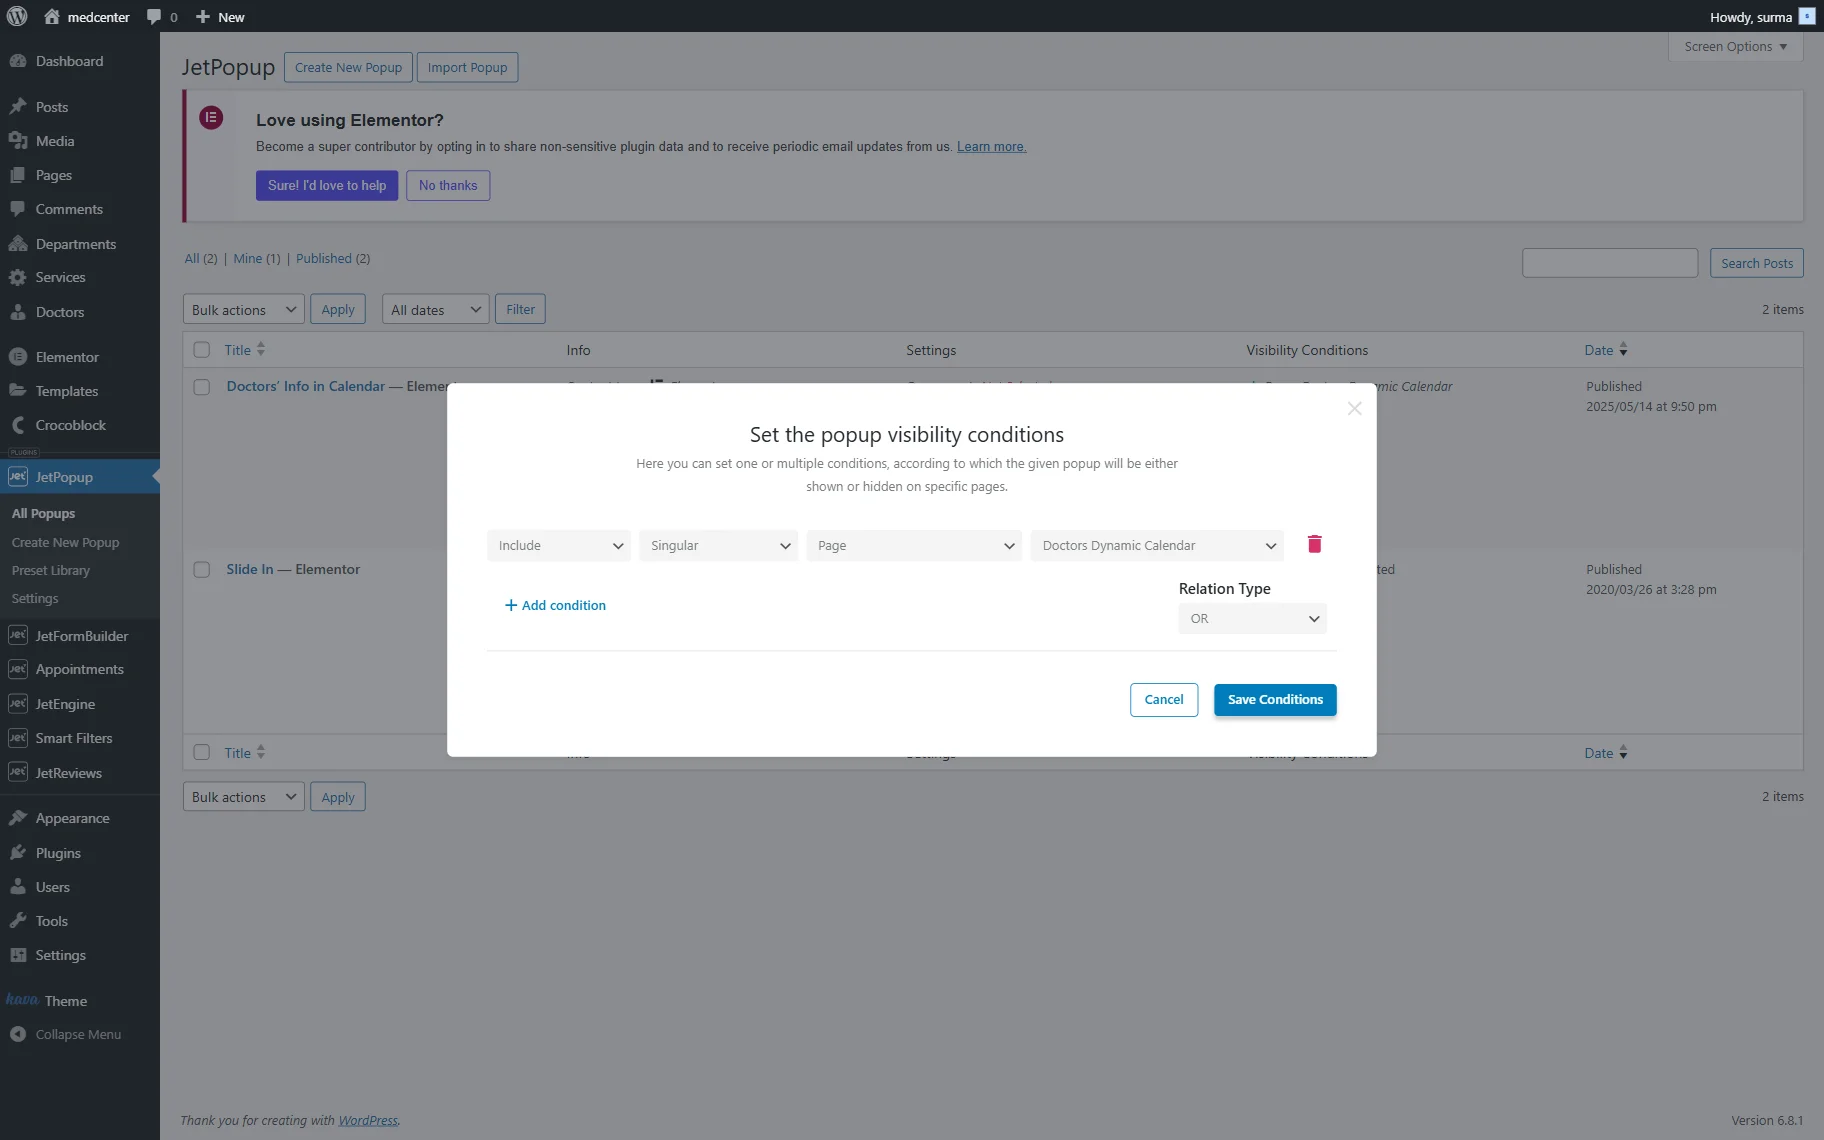
Once done, the new tab will be opened. Here you will see the conditions pop-up.
Set the conditions according to your needs and press the “Save Conditions” button.
In our case, we need the pop-up to be opened on one static page only. So we choose “Include,” “Singular,” “Page,” and the page where we display the Dynamic Calendar.
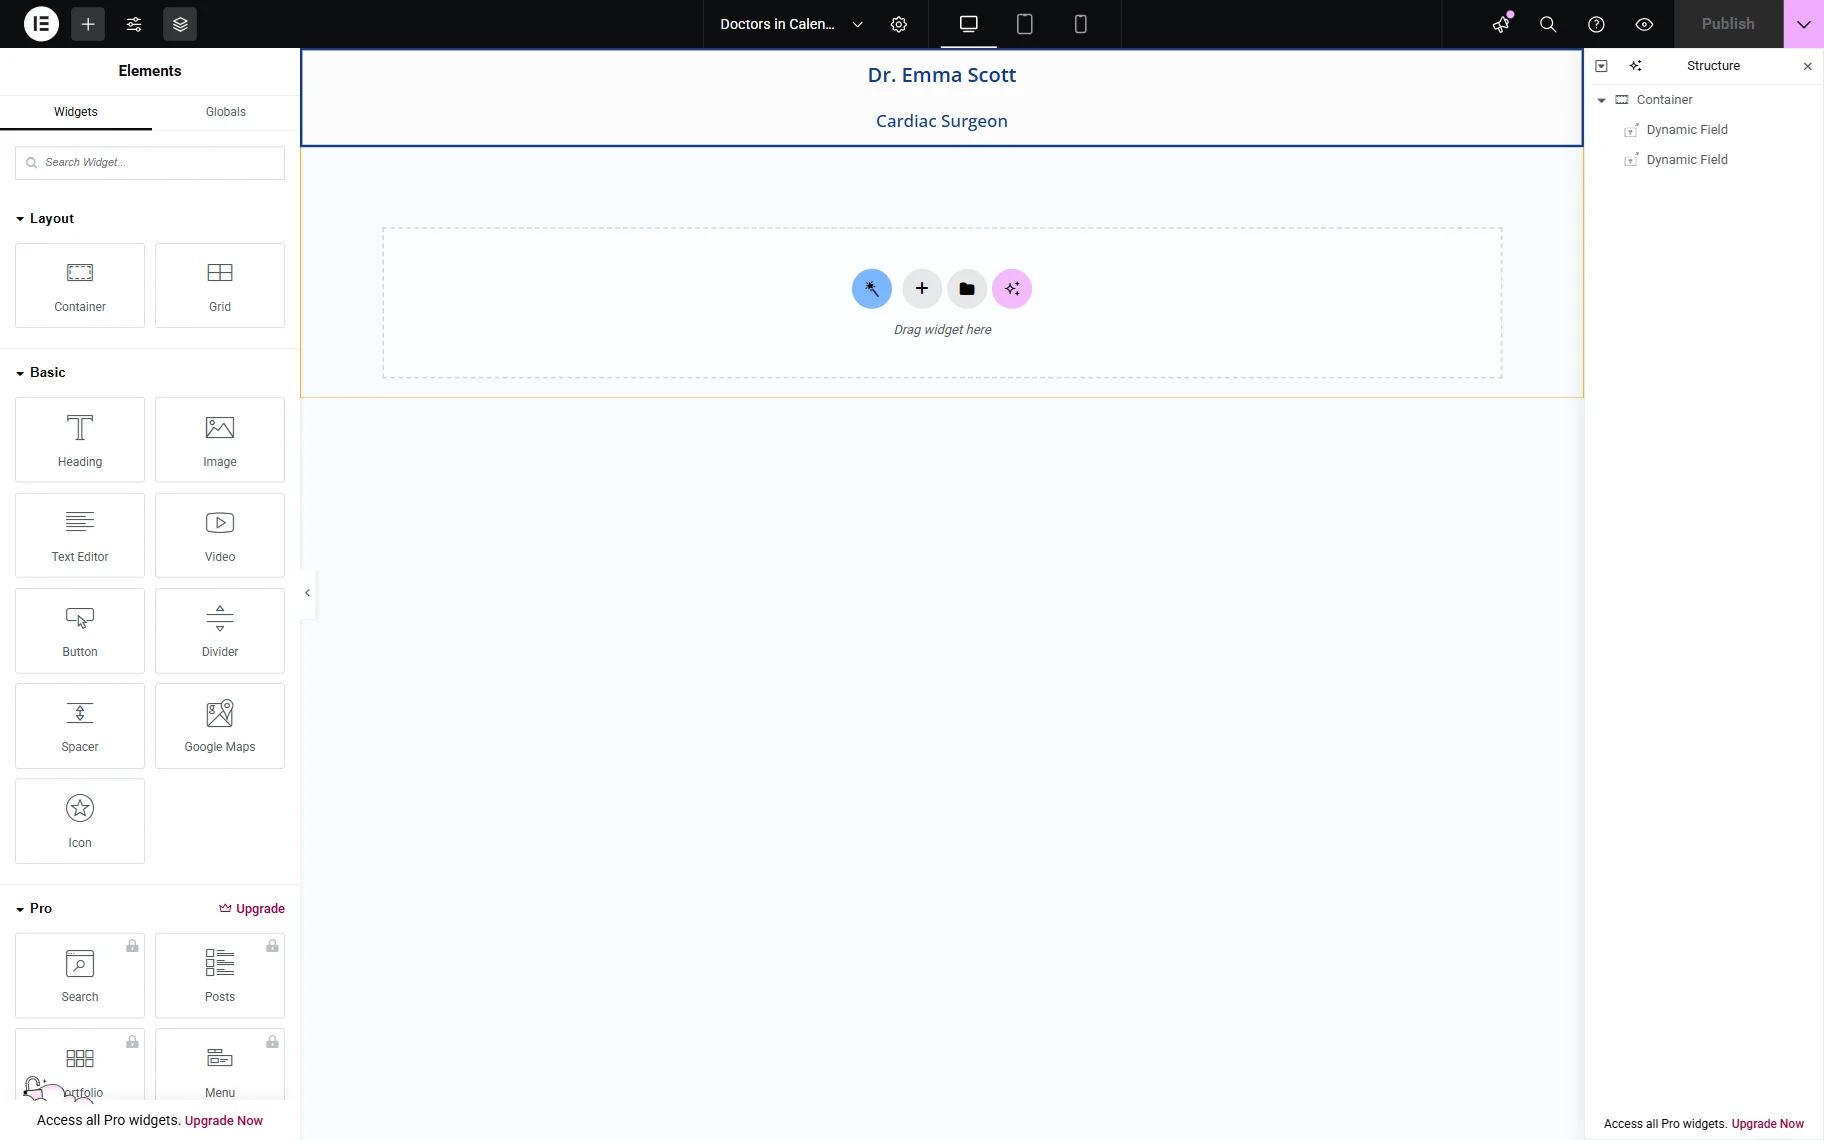
Create a Listing for Calendar
Now we proceed to creating a Listing Template for the Dynamic Calendar.
In our How to Create a Dynamic Calendar tutorial, you can check the details on setting up the Dynamic Calendar.
Attach the Pop-up to the Listing
Once we are done with the Listing’s setup, click the “gear” icon on the Elementor panel, open the Listing Item Settings tab, and enable the Make listing item clickable switcher.
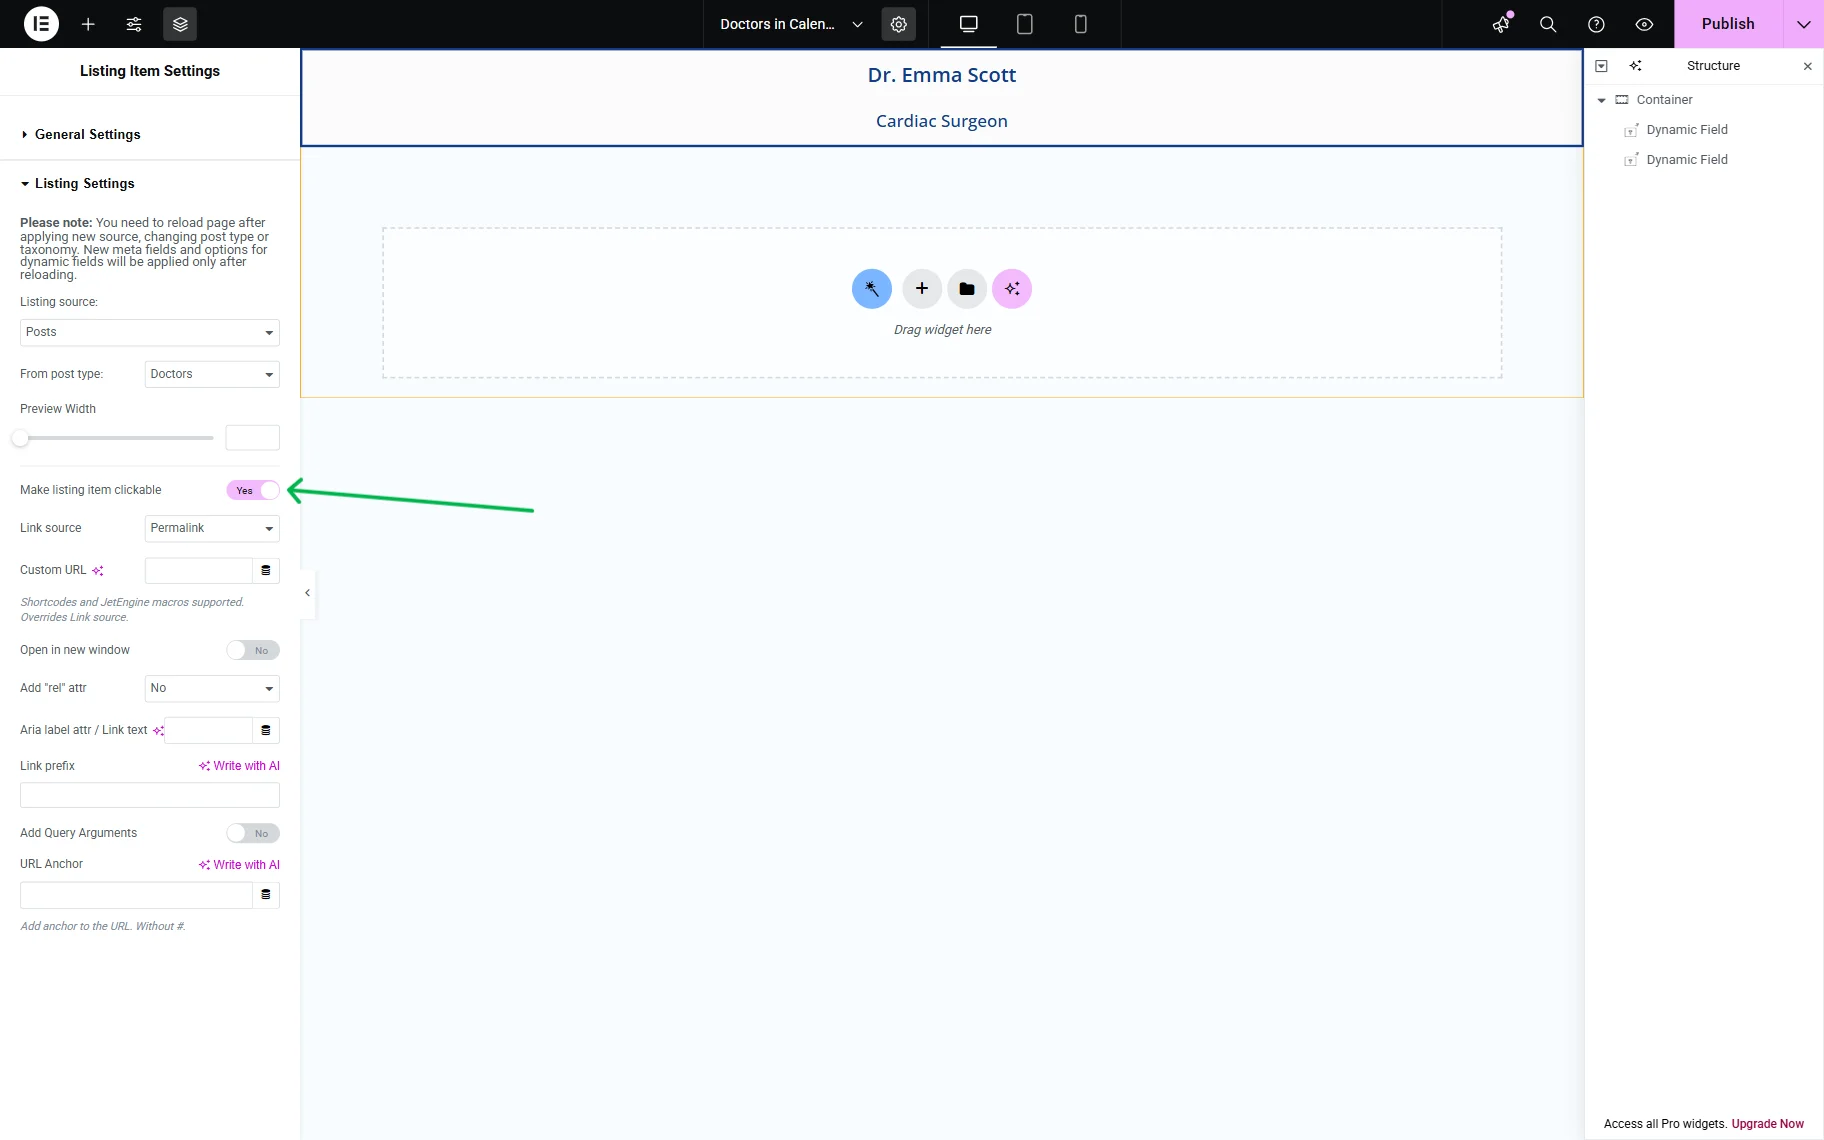
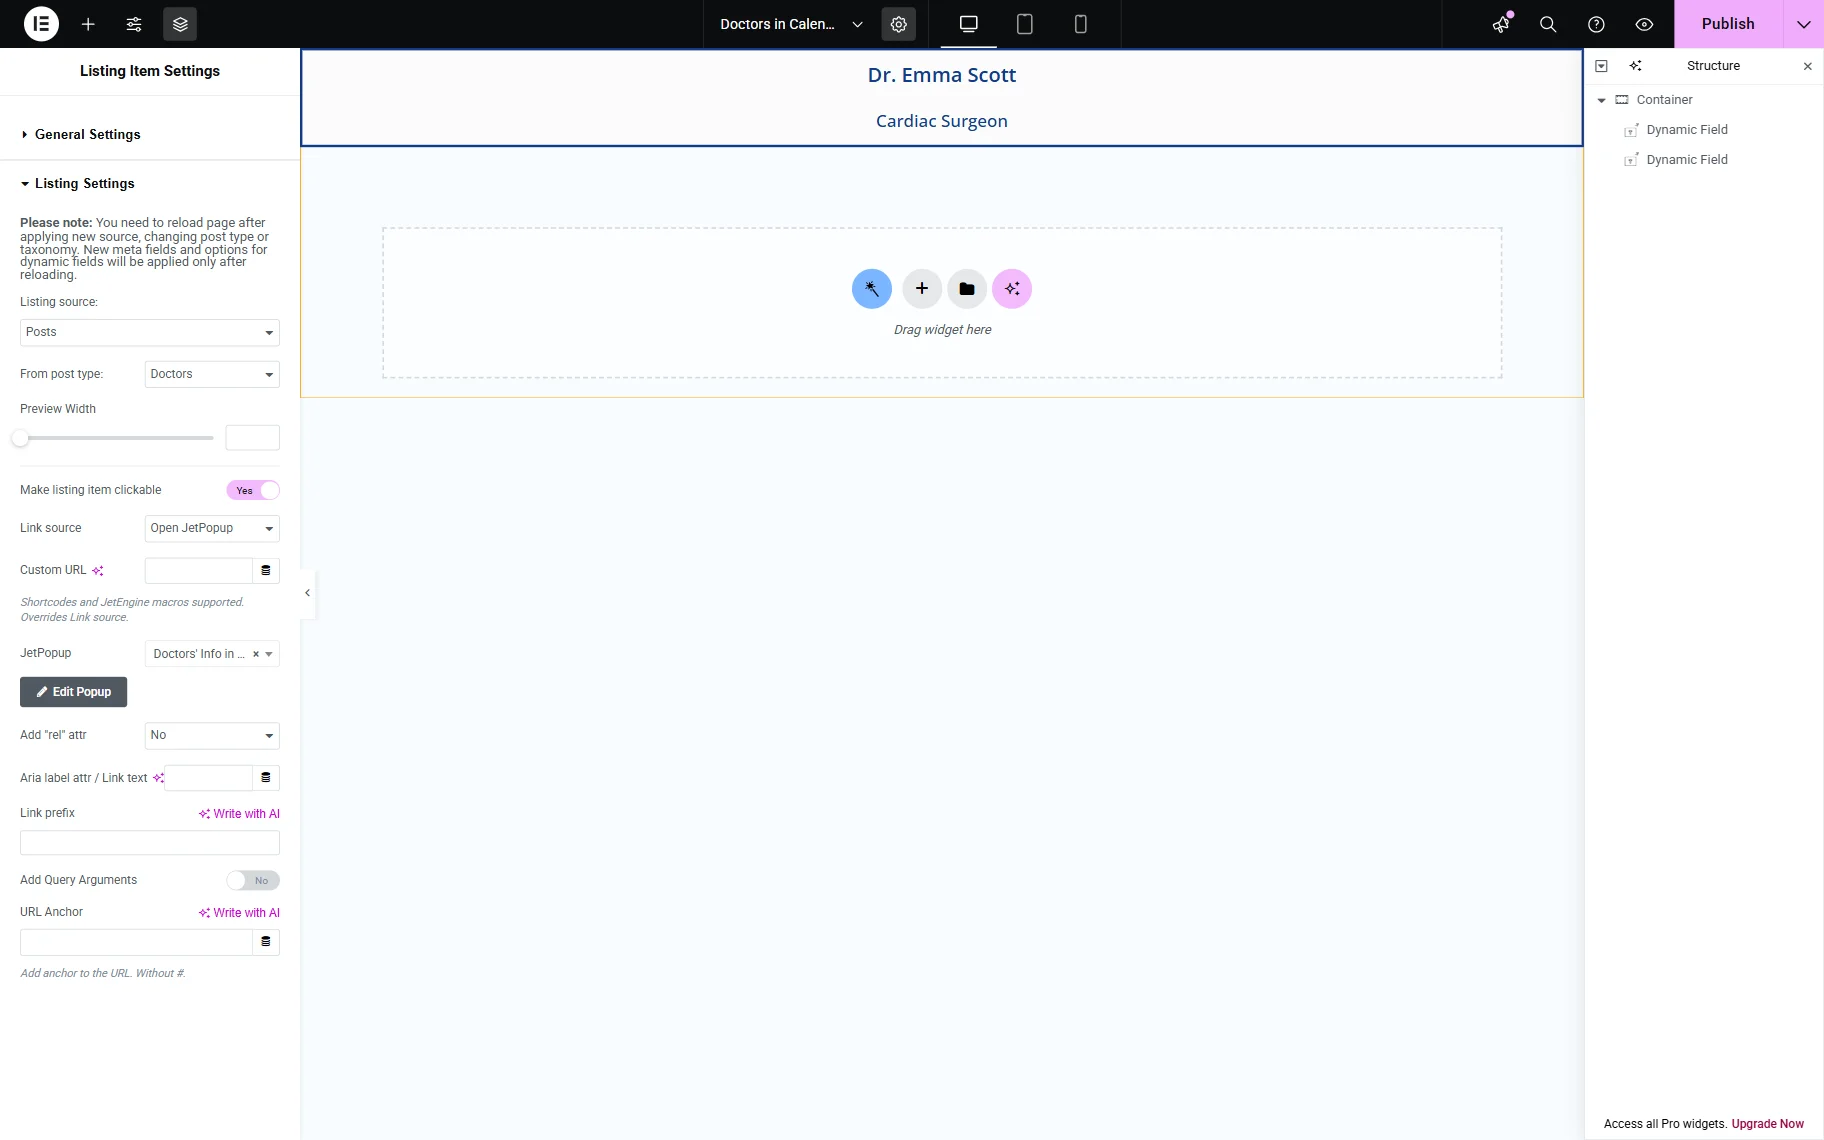
In the newly appeared Link source field, select the “Open JetPopup” option from the dropdown.
In the JetPopup field, we can choose the pop-up we have just created.
Click the “Publish” button once you are ready with the settings.
Add a Dynamic Calendar to the Page
Now, we can proceed to the needed page and open it in Elementor.
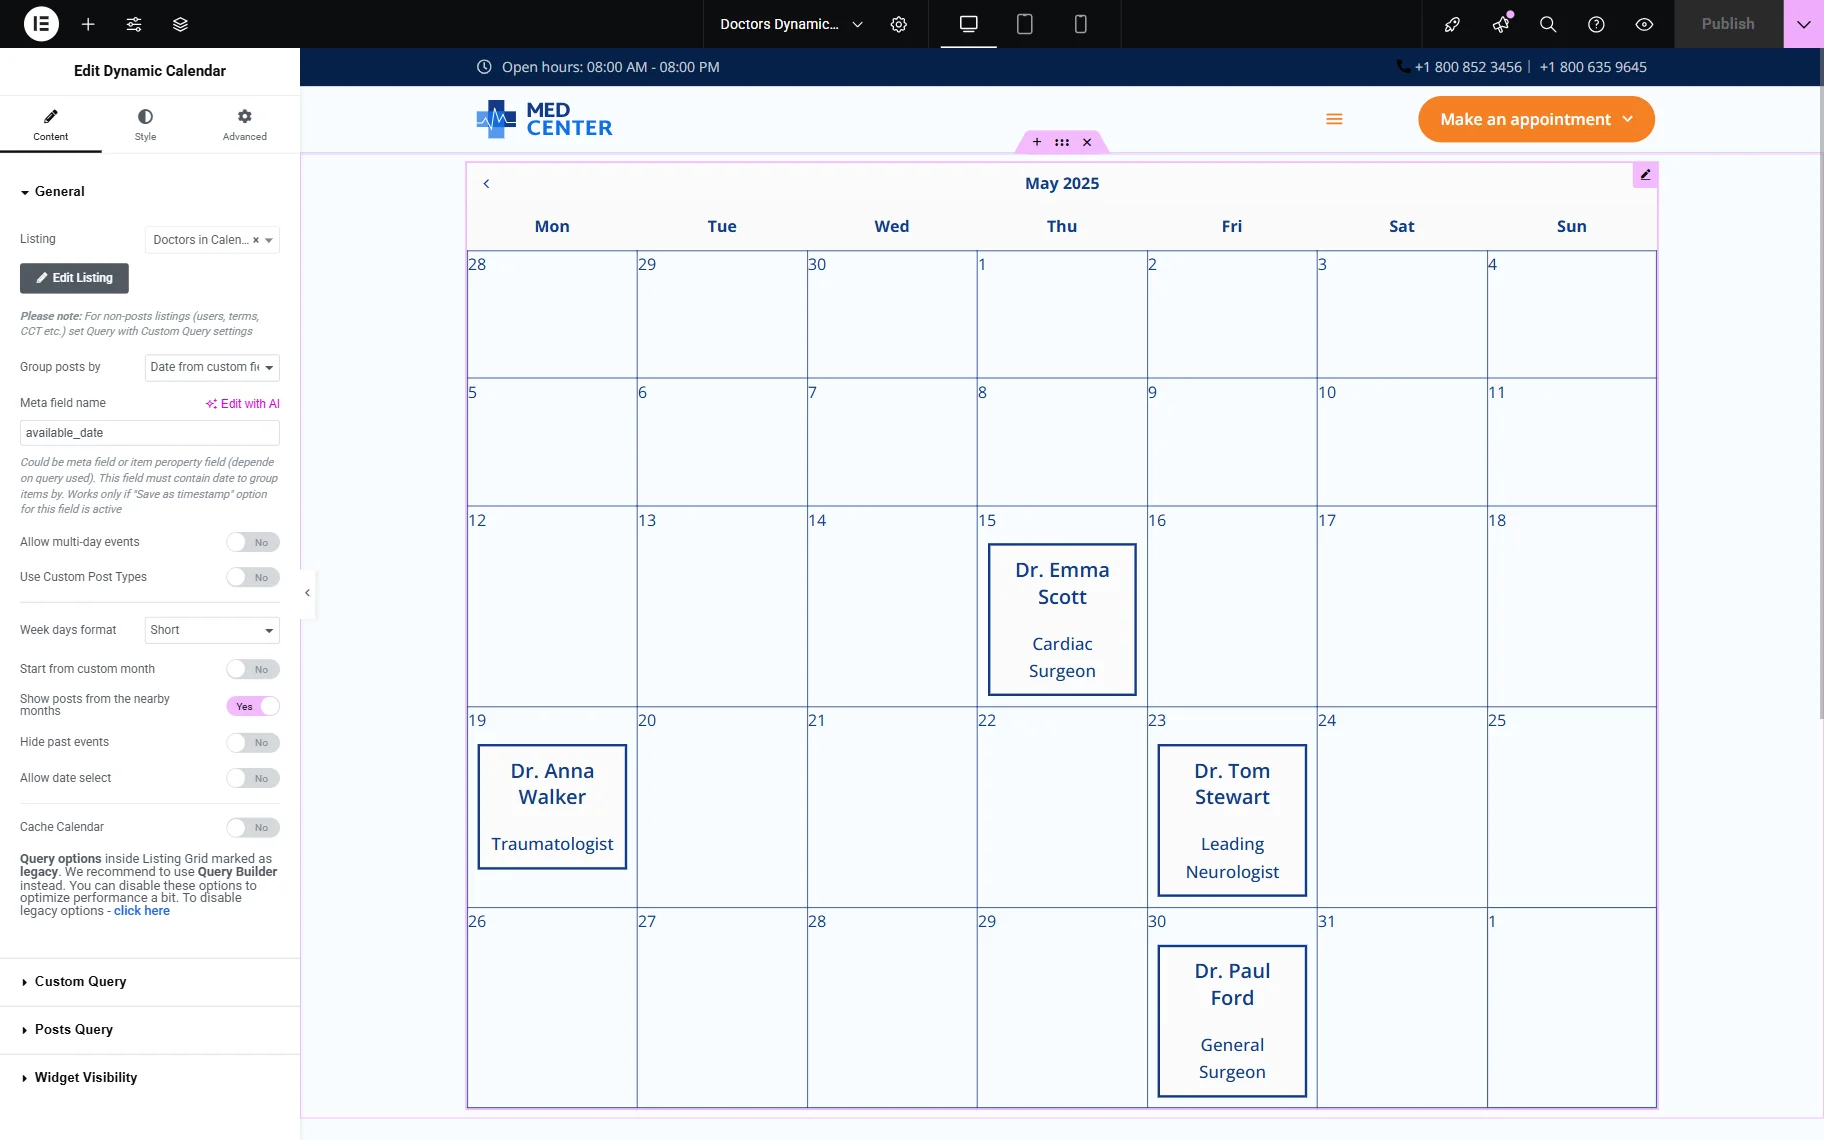
Add the Dynamic Calendar widget and select the necessary listing item from the Listing field.
In the Group posts by drop-down menu, choose how the events will be placed in the calendar. In this case, we pick the “Date from custom field” option, which turns on the Meta field name field to type the custom meta field to display the date (“available_date” in our example).
When you are done with the settings and styling, press the “Publish” button.
Check the Result
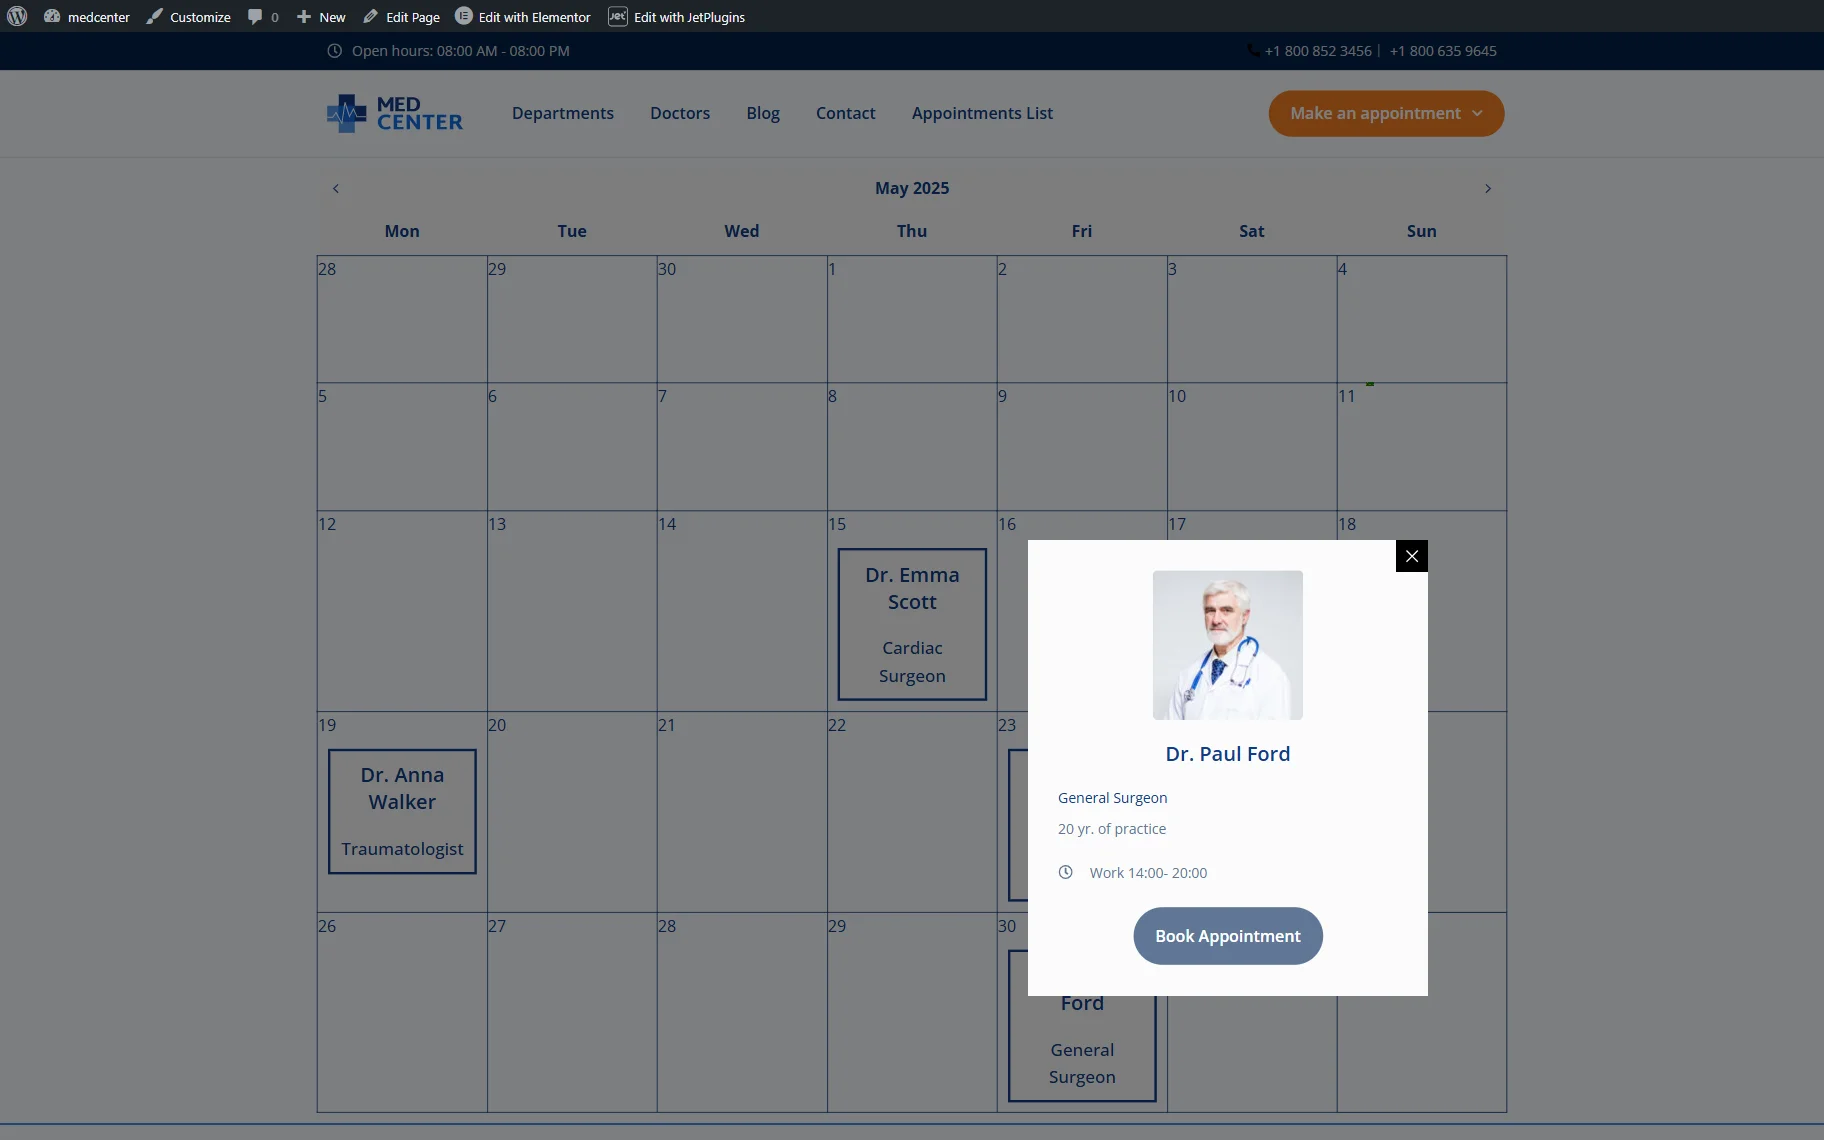
Let’s check the results on the frontend.
We have several doctors available, and when we click any of them, we get a pop-up with further information and the ability to book an appointment.
Now, you know how to build a pop-up for the JetEngine’s Dynamic Calendar with the help of the JetPopup plugin for WordPress.