How to Arrange Meta Fields in the Booking Instance CPT
Discover how to arrange meta fields in the Booking Instance CPT for the WordPress JetBooking plugin with the help of the JetEngine plugin.
Before you start, check the tutorial requirements:
- Elementor (Free version) builder
- JetBooking plugin installed and activated
- JetEngine plugin installed and activated
This tutorial focuses on arranging meta fields in the Booking Instance Custom Post Types for JetBooking using the JetEngine WordPress plugin, to display and manage booking data more effectively.
Creating the Booking Instance Custom Post Type
In this tutorial, we use the premade Dynamic Template – BaliRento. It is a vacation rental Dynamic Template for Elementor with the booking system set up. You can use a Dynamic Template and customize it according to your needs, or you can create a site and a Custom Post Type, particularly from scratch.
This guide focuses on the step-by-step setup of the Booking Instance Custom Post Type.
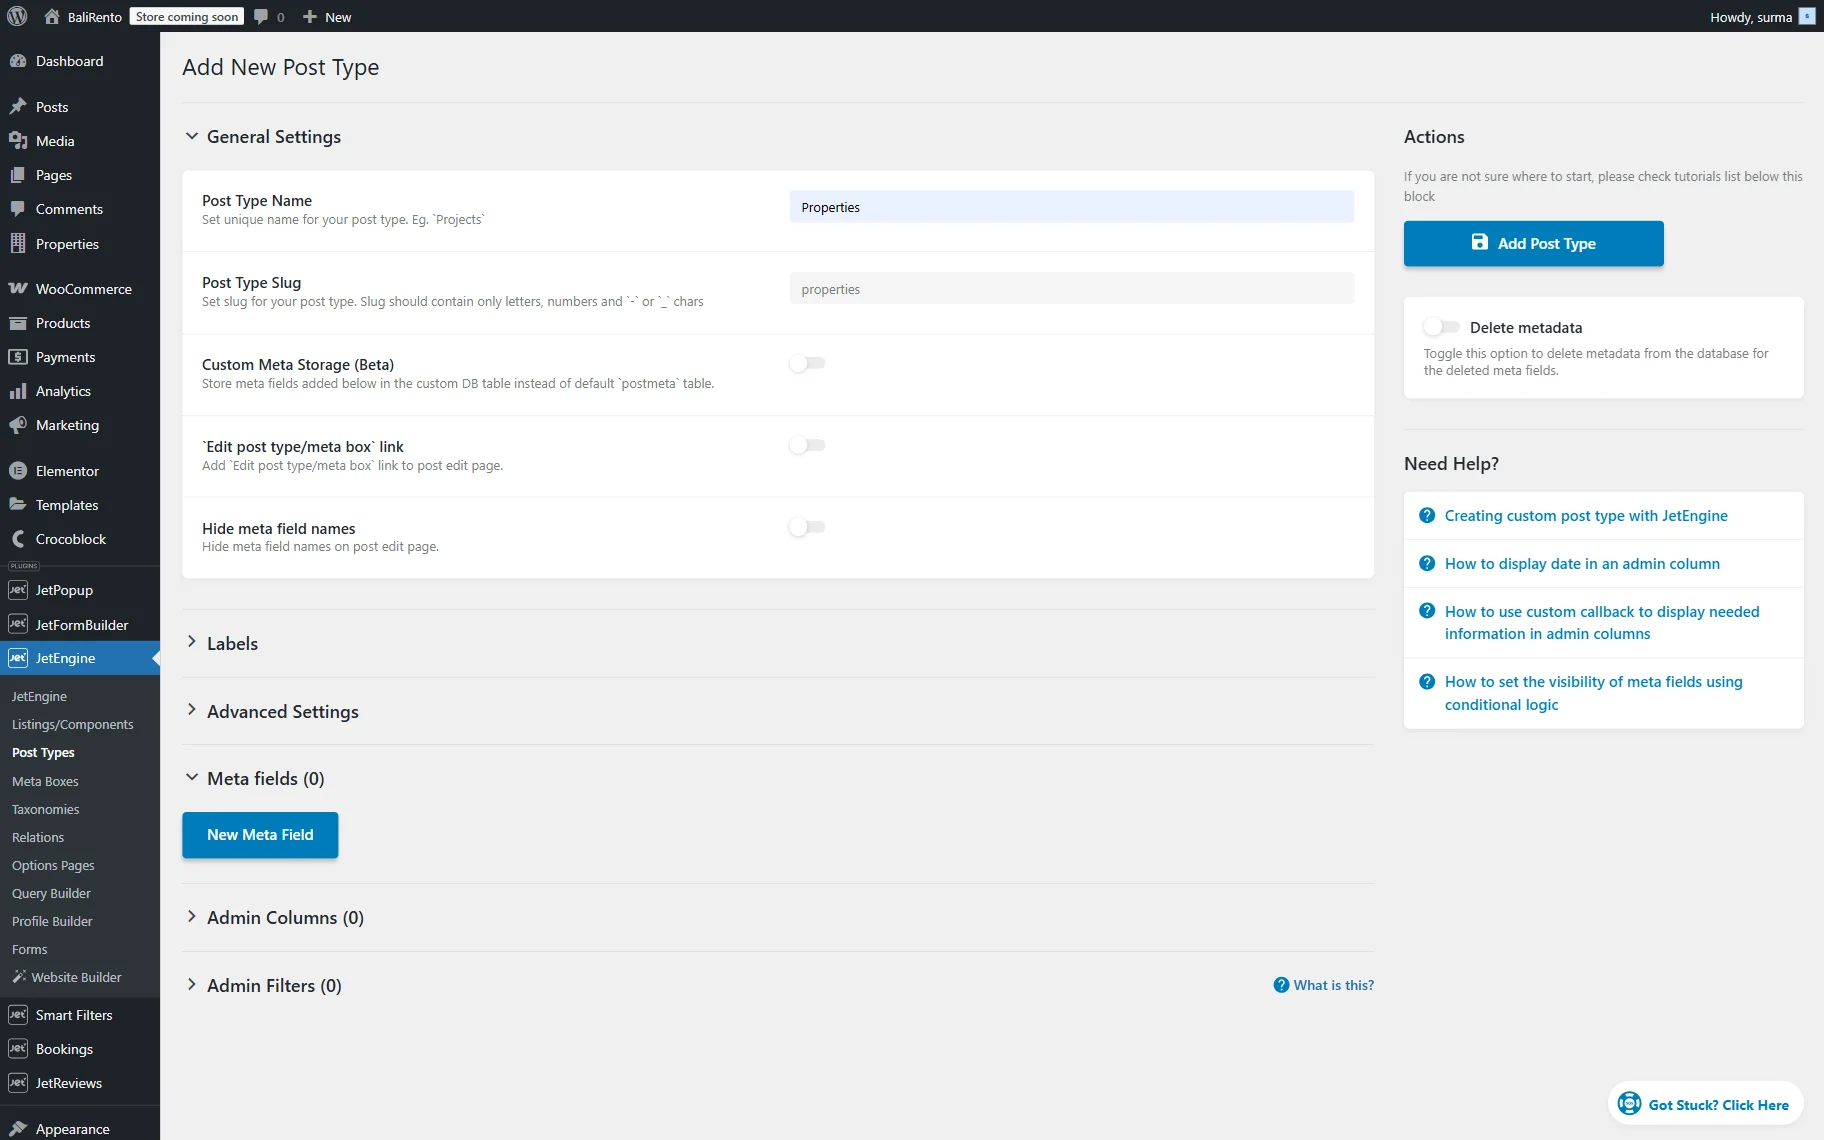
So, proceed to WordPress Dashboard > JetEngine > Post Types and click the “Add Post Type” button.
Add the Post Type Name (“Properties” in this guide).
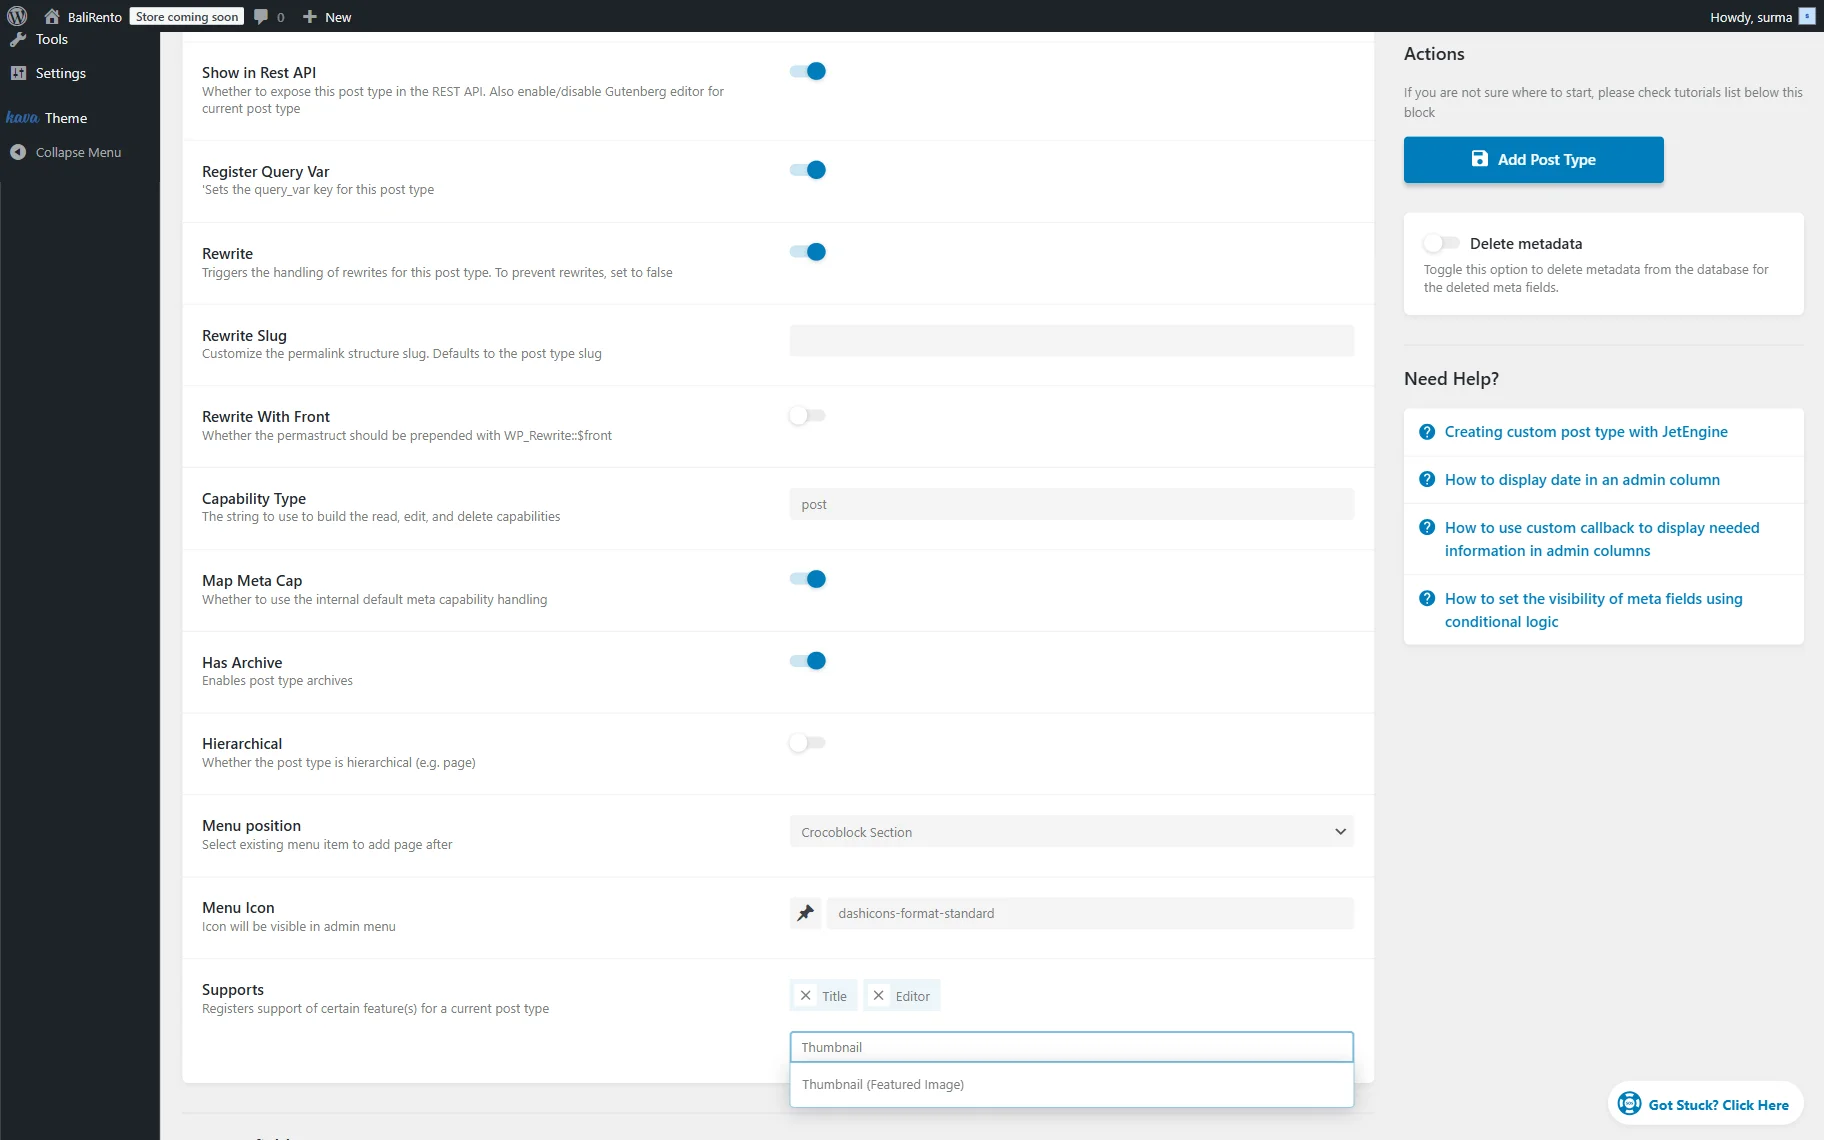
Then, open the Advanced Settings tab and scroll down to the Supports input. Here, make sure that the “Title” and “Thumbnail” are added to the list.
Setting up the meta fields
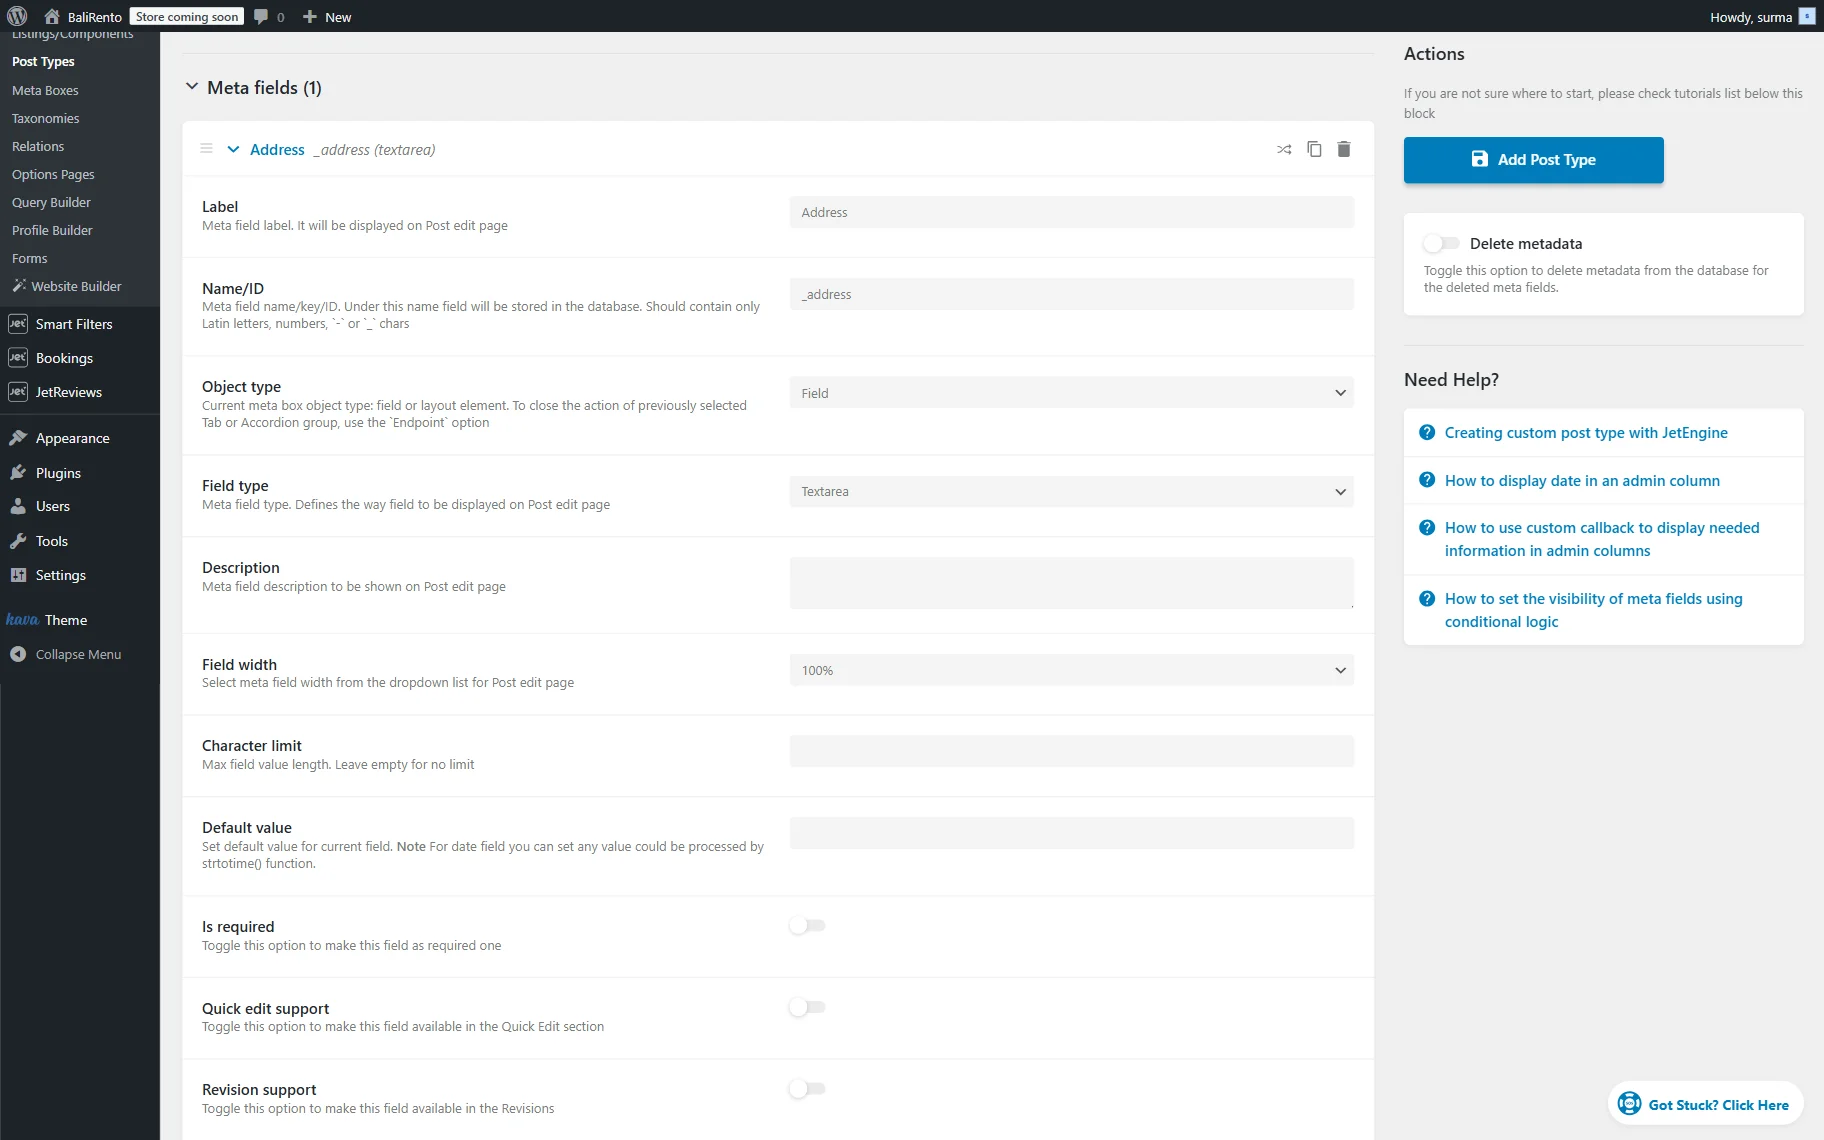
Now, let’s scroll down to the Meta Fields tab. Click the “New Meta Field” button.
First of all, as it is a property, let’s add the address or location. For this, we can use “Text”, “Textarea”, or “Maps” field. In this tutorial, we use the “Textarea” field for that.
So after a new field is created, type its Label and ensure that the Name/ID contains only Latin letters, numbers, ’-’ or ‘_’ characters. Select the “Textarea” option for the Field type.
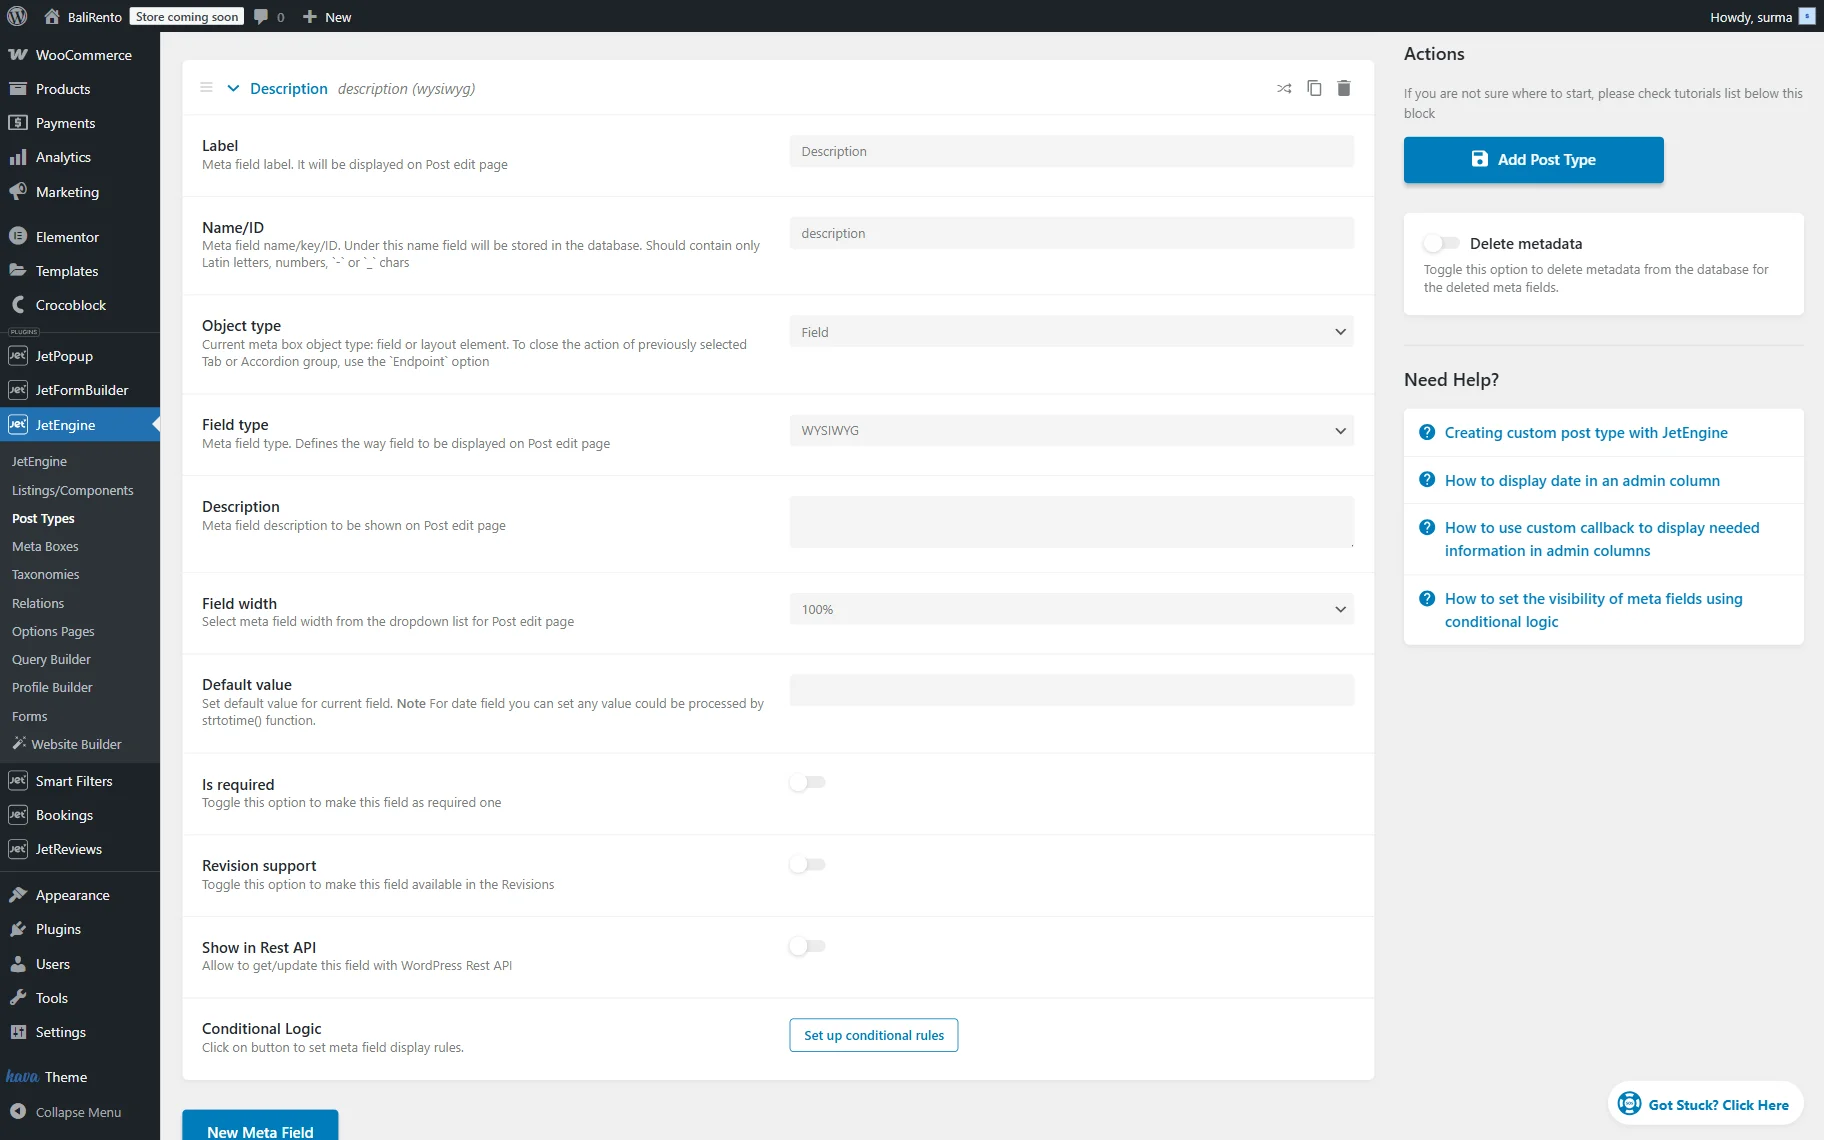
If you need to add the description of the service, you can use the default Excerpt field, or add the “Textarea” or “WYSIWYG” field.
Then, click the “New Meta Field” button again and add a new field. Now, we need a “Rooms” field. For this, we add the Label and Name/ID. For the Field Type, keep the “Text” option.
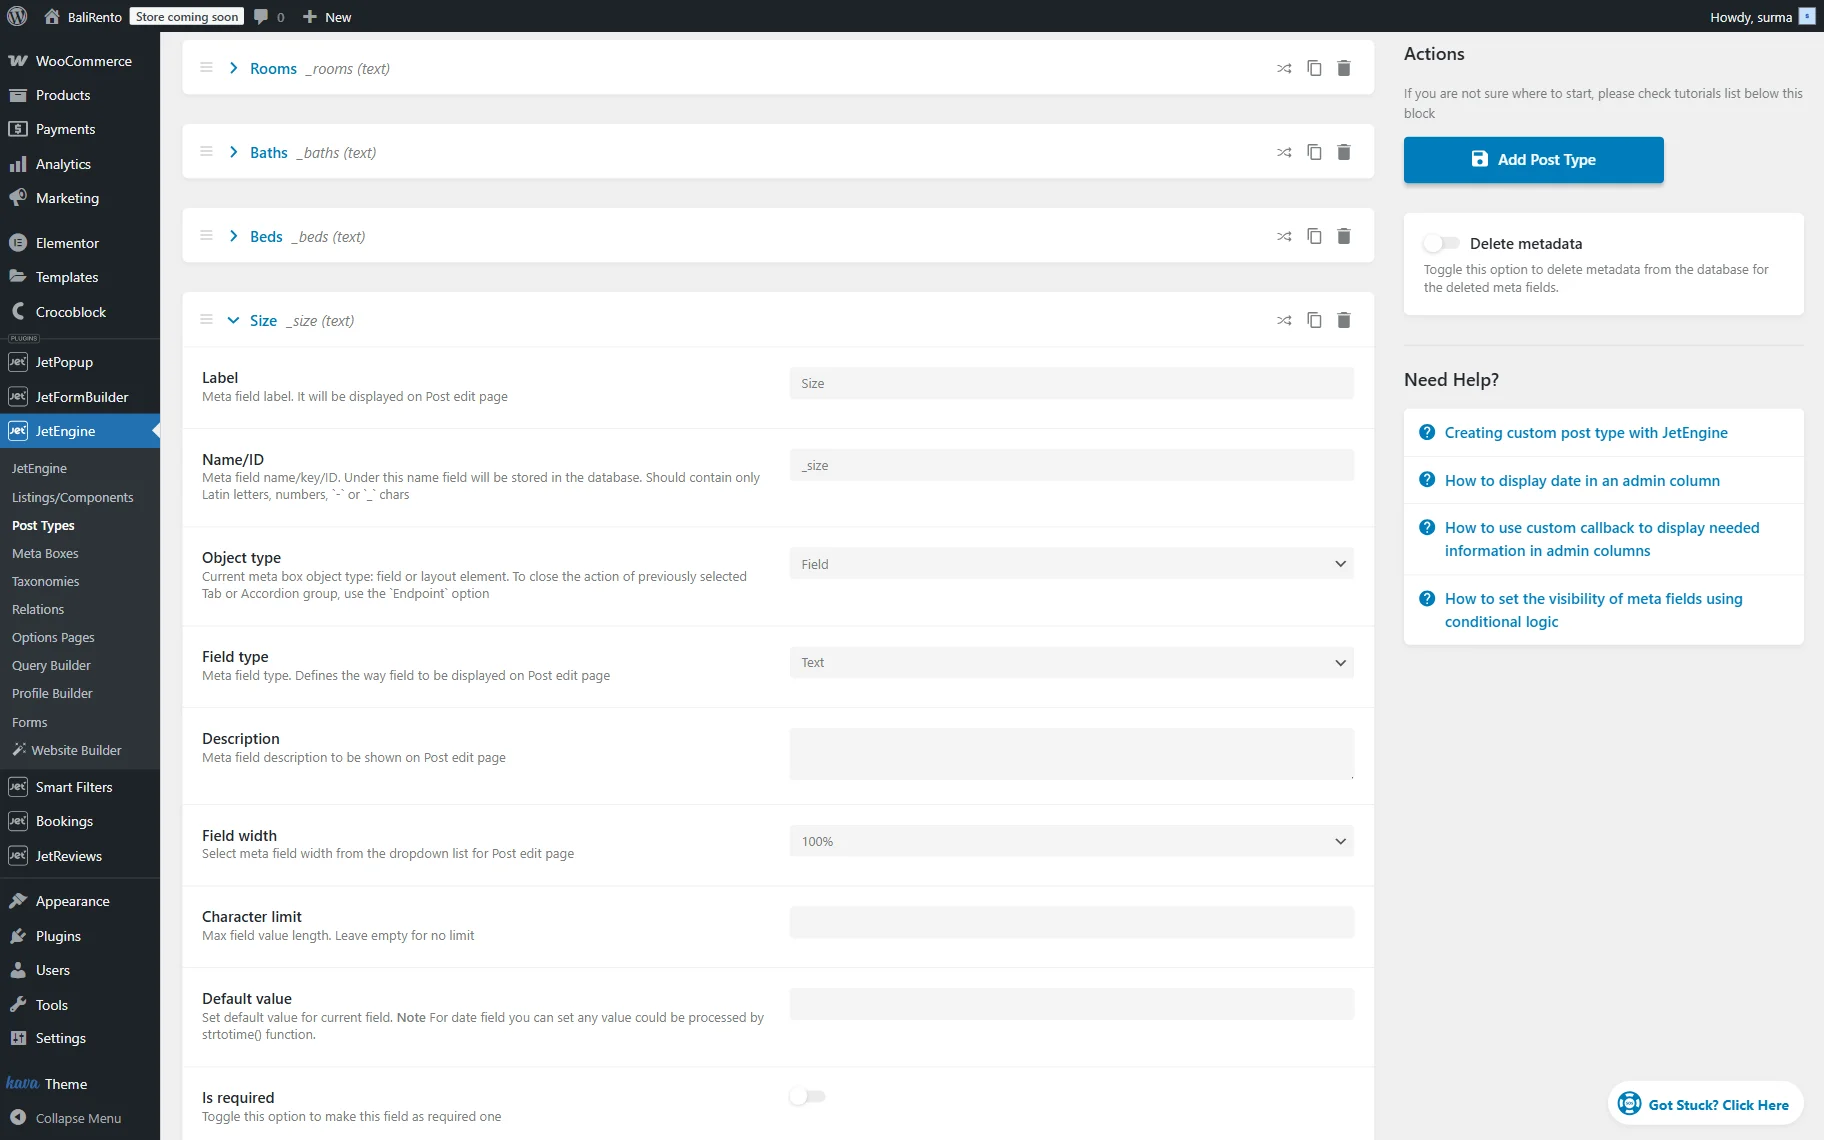
In the same way, we create three more fields for beds, baths, and size. Alternatively, the “Number” field can be used for these fields.
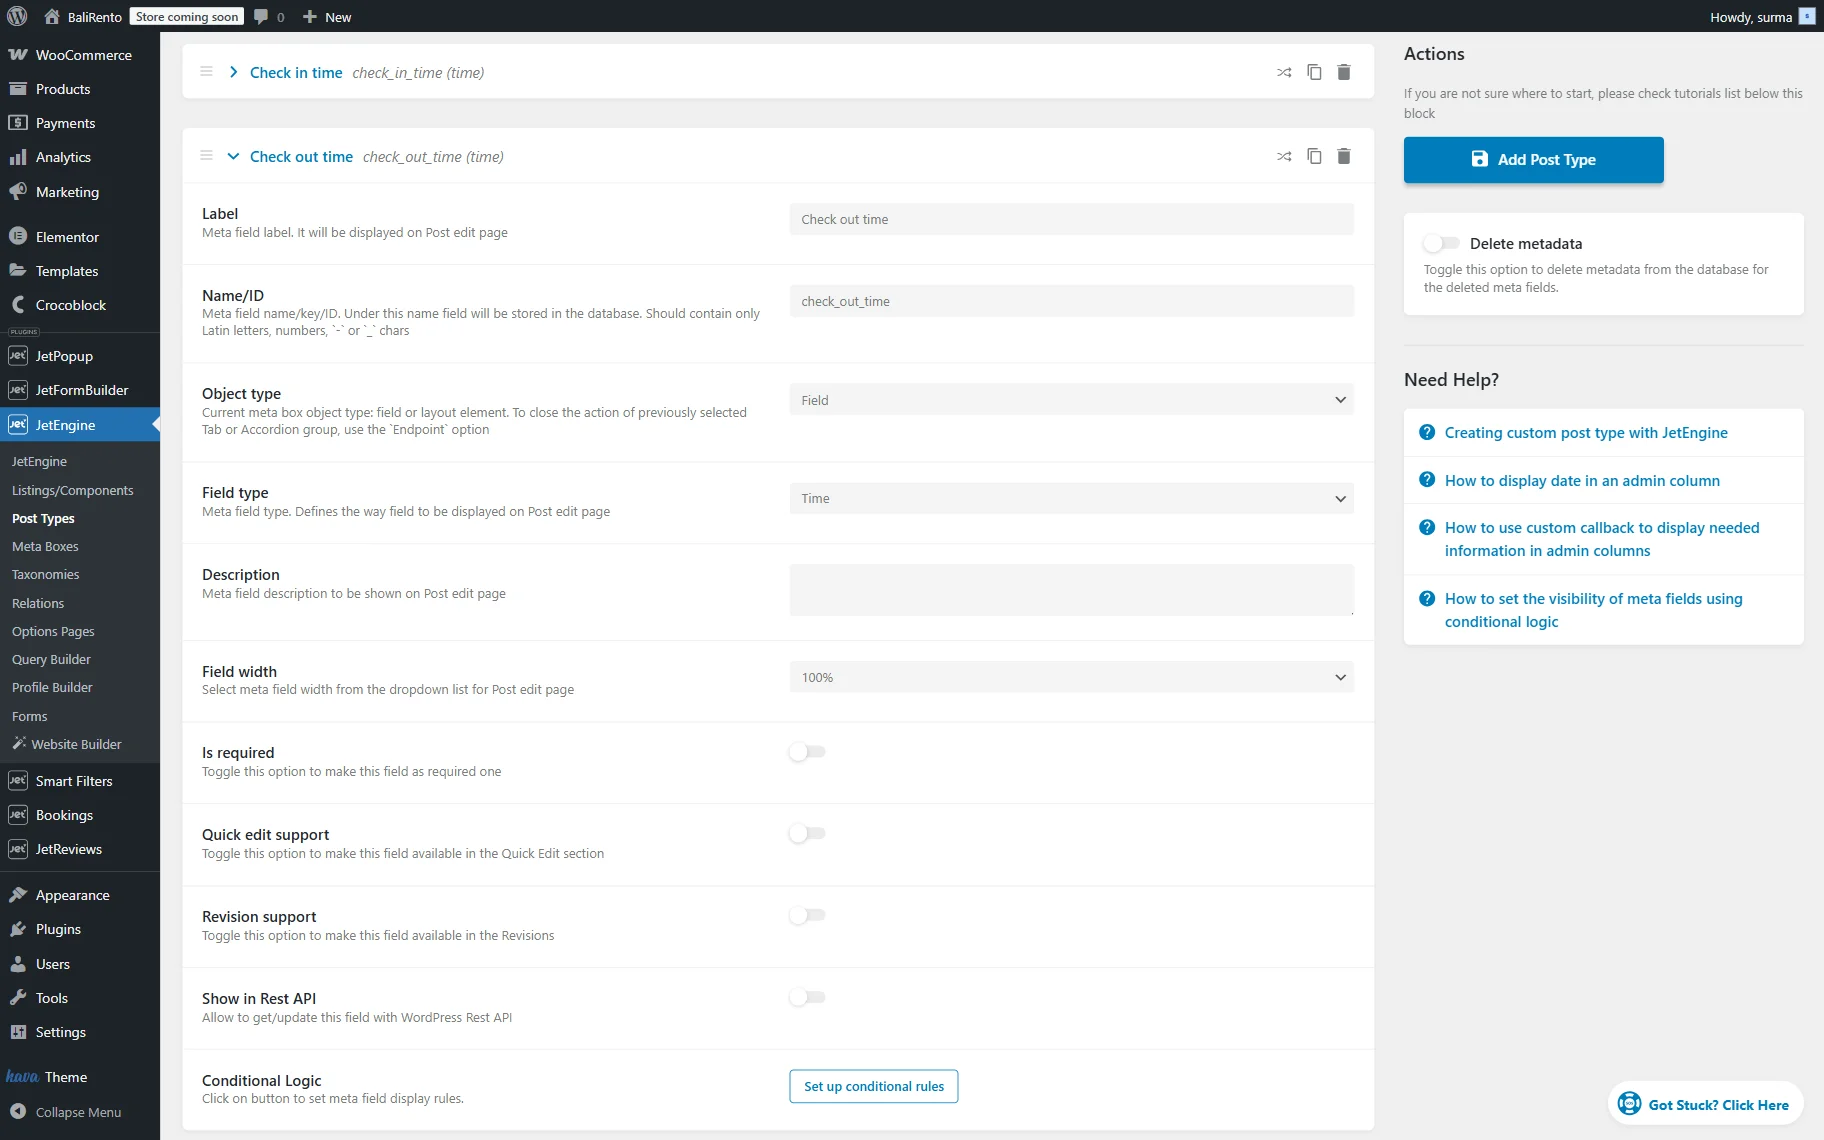
Then, we add the “Check-in” and “Check-out time” fields. For this, we add a new “Time” field.
Add the Label and Name/ID and select the “Time” option for the Field type.
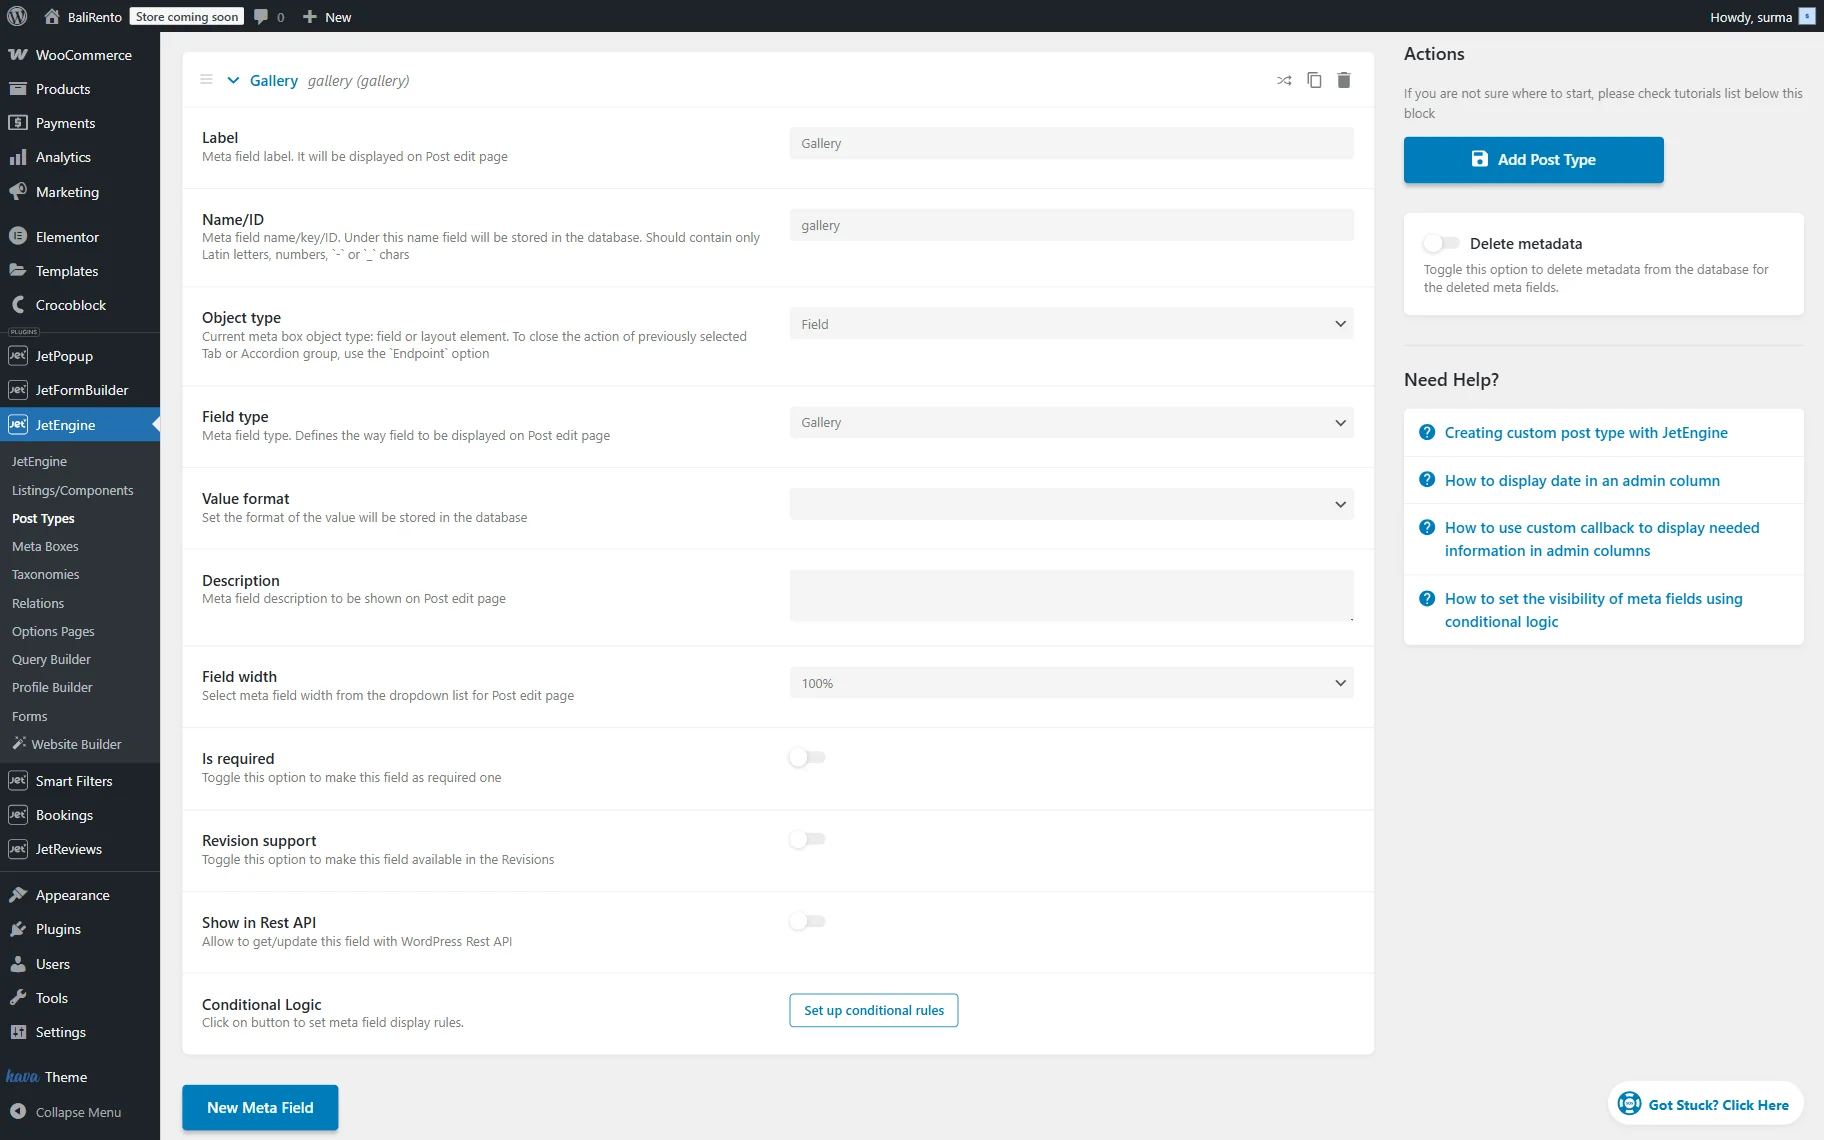
The thumbnail image will be added to the post by default, but if we need to add more images, the “Image” or “Gallery” field should be used.
In this case, we use the “Gallery” field to show more images of the property.
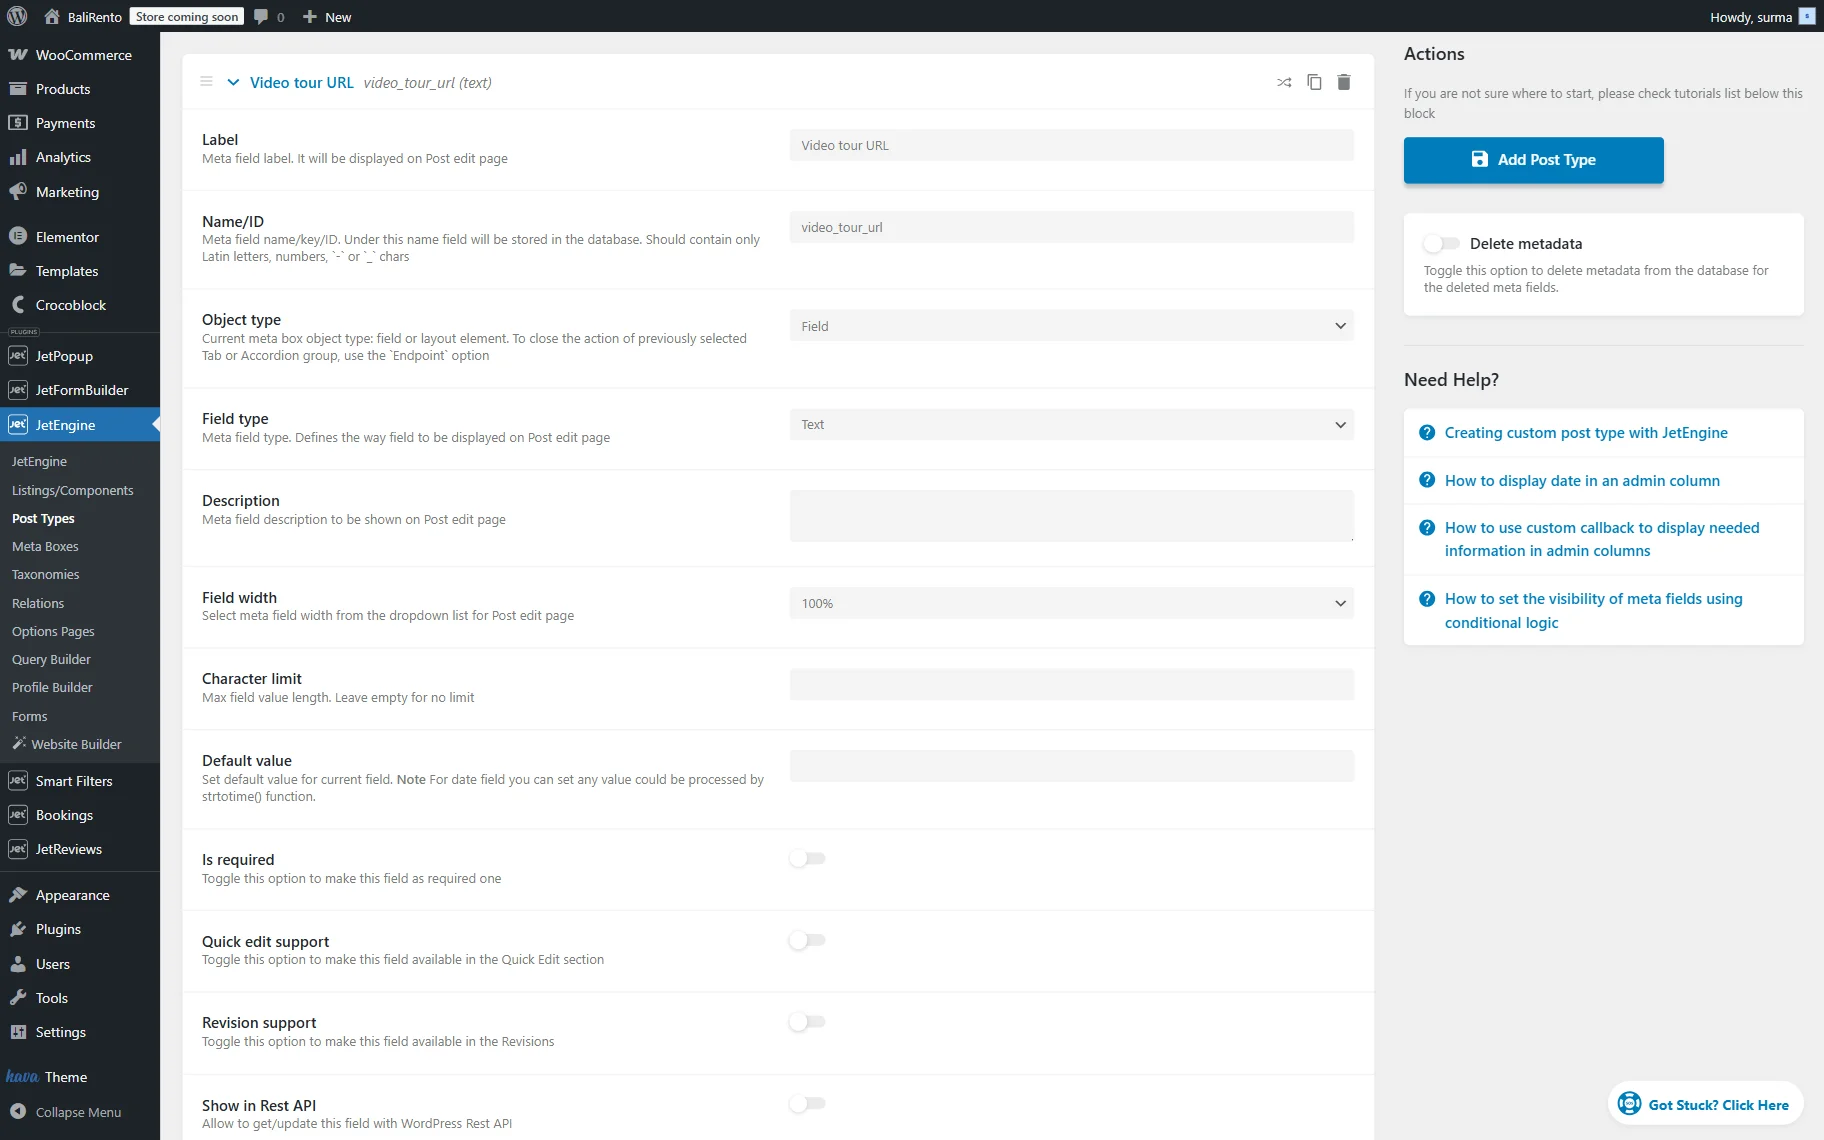
To make the selection of the property even more user-friendly for customers, we add the “Video tour URL” field. For this, the “Text” field can be used.
Additionally, we add two “Checkbox” fields for the “Facilities“ and “Popular filters”.
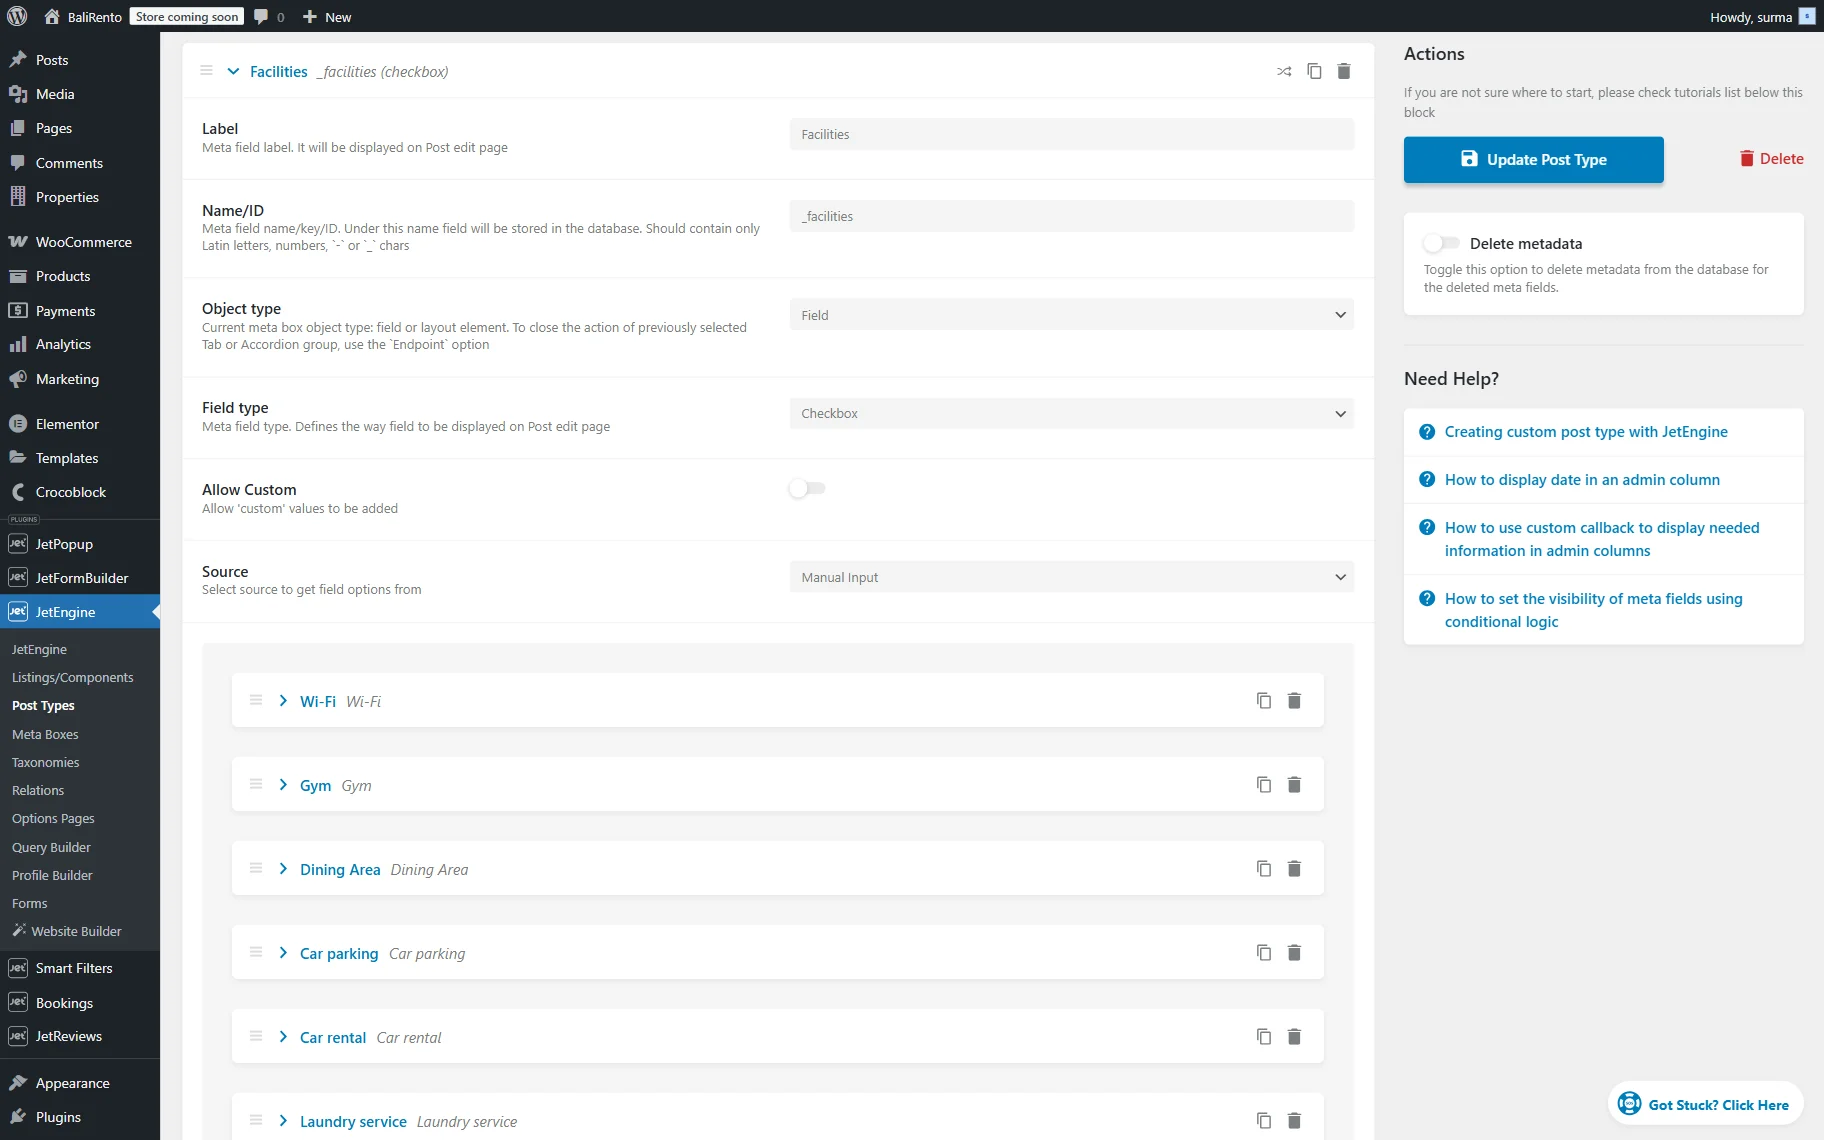
In case you need to use these fields for filtering or Custom Queries later, ensure that the Save as Array toggle is enabled.
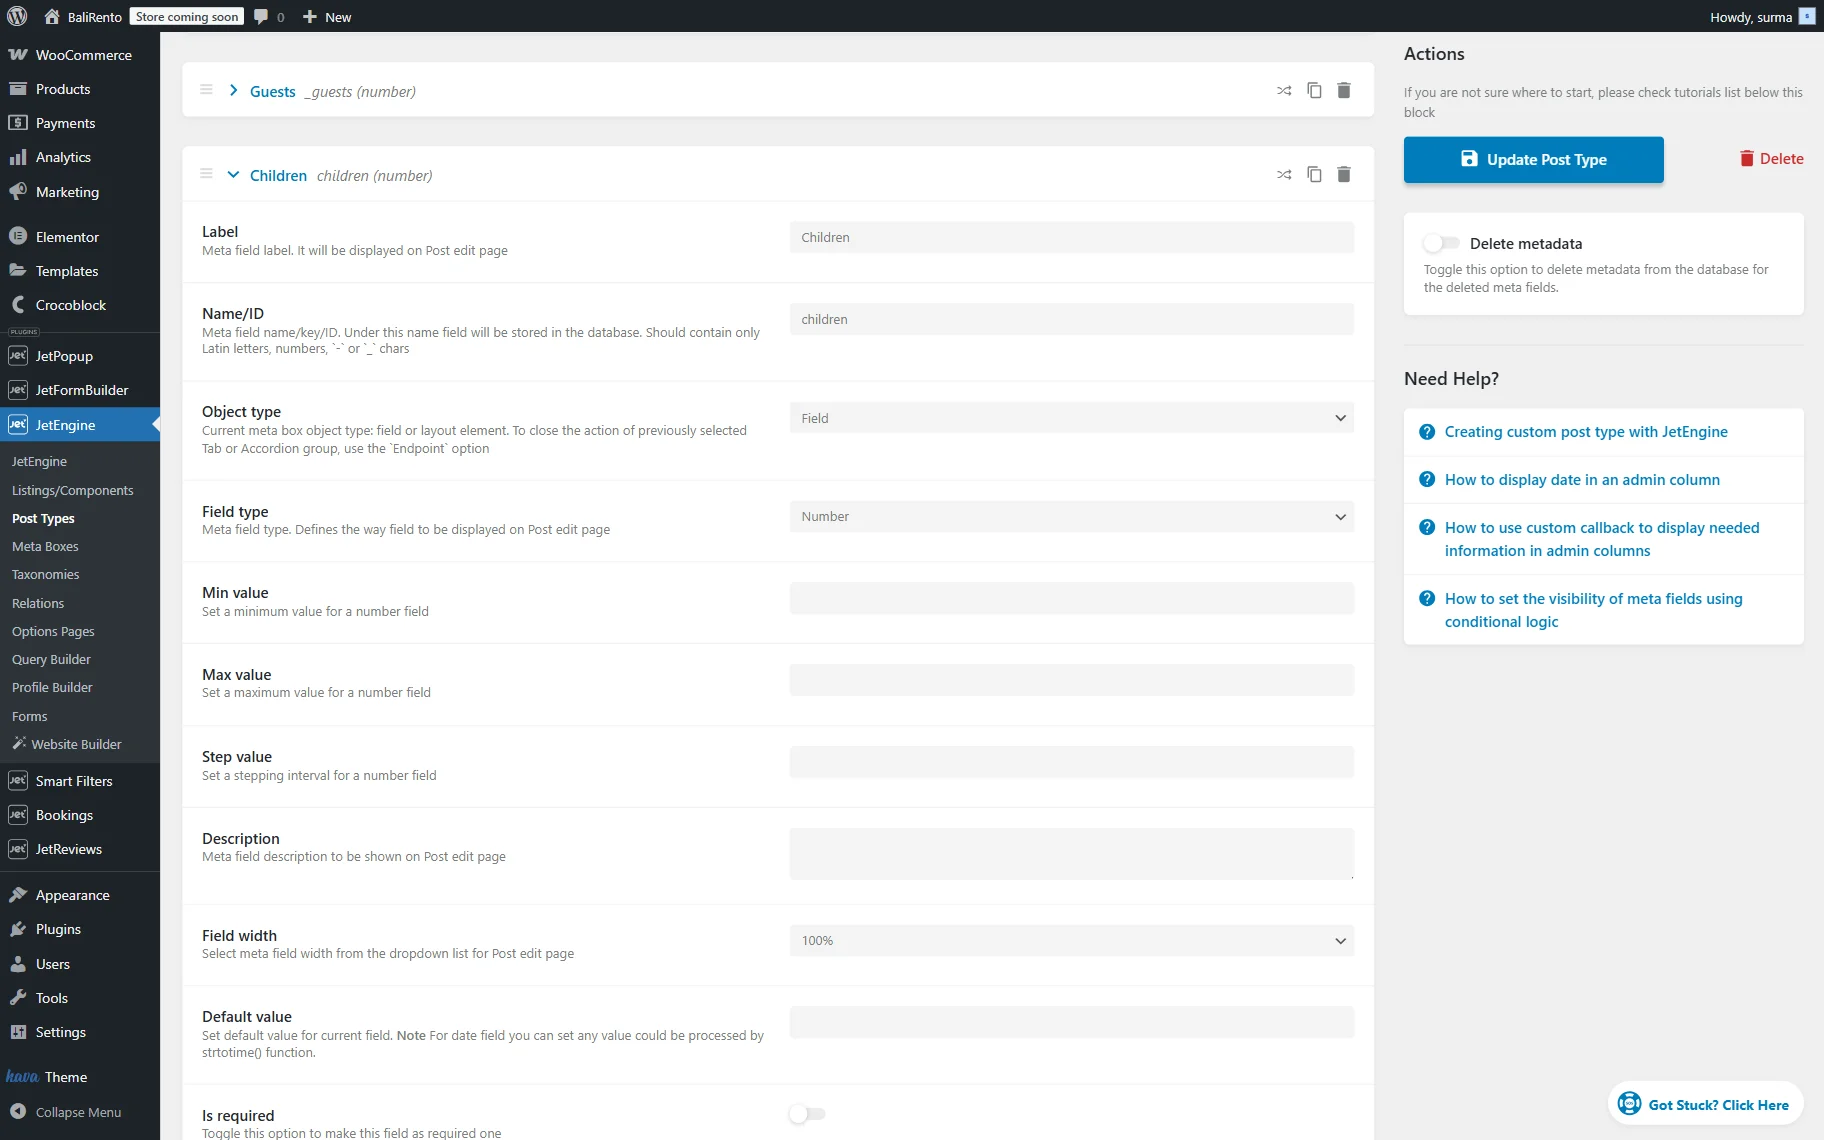
Also, if you work with the properties, the “Number” field may be needed to specify the allowed number of guests and children in the property.
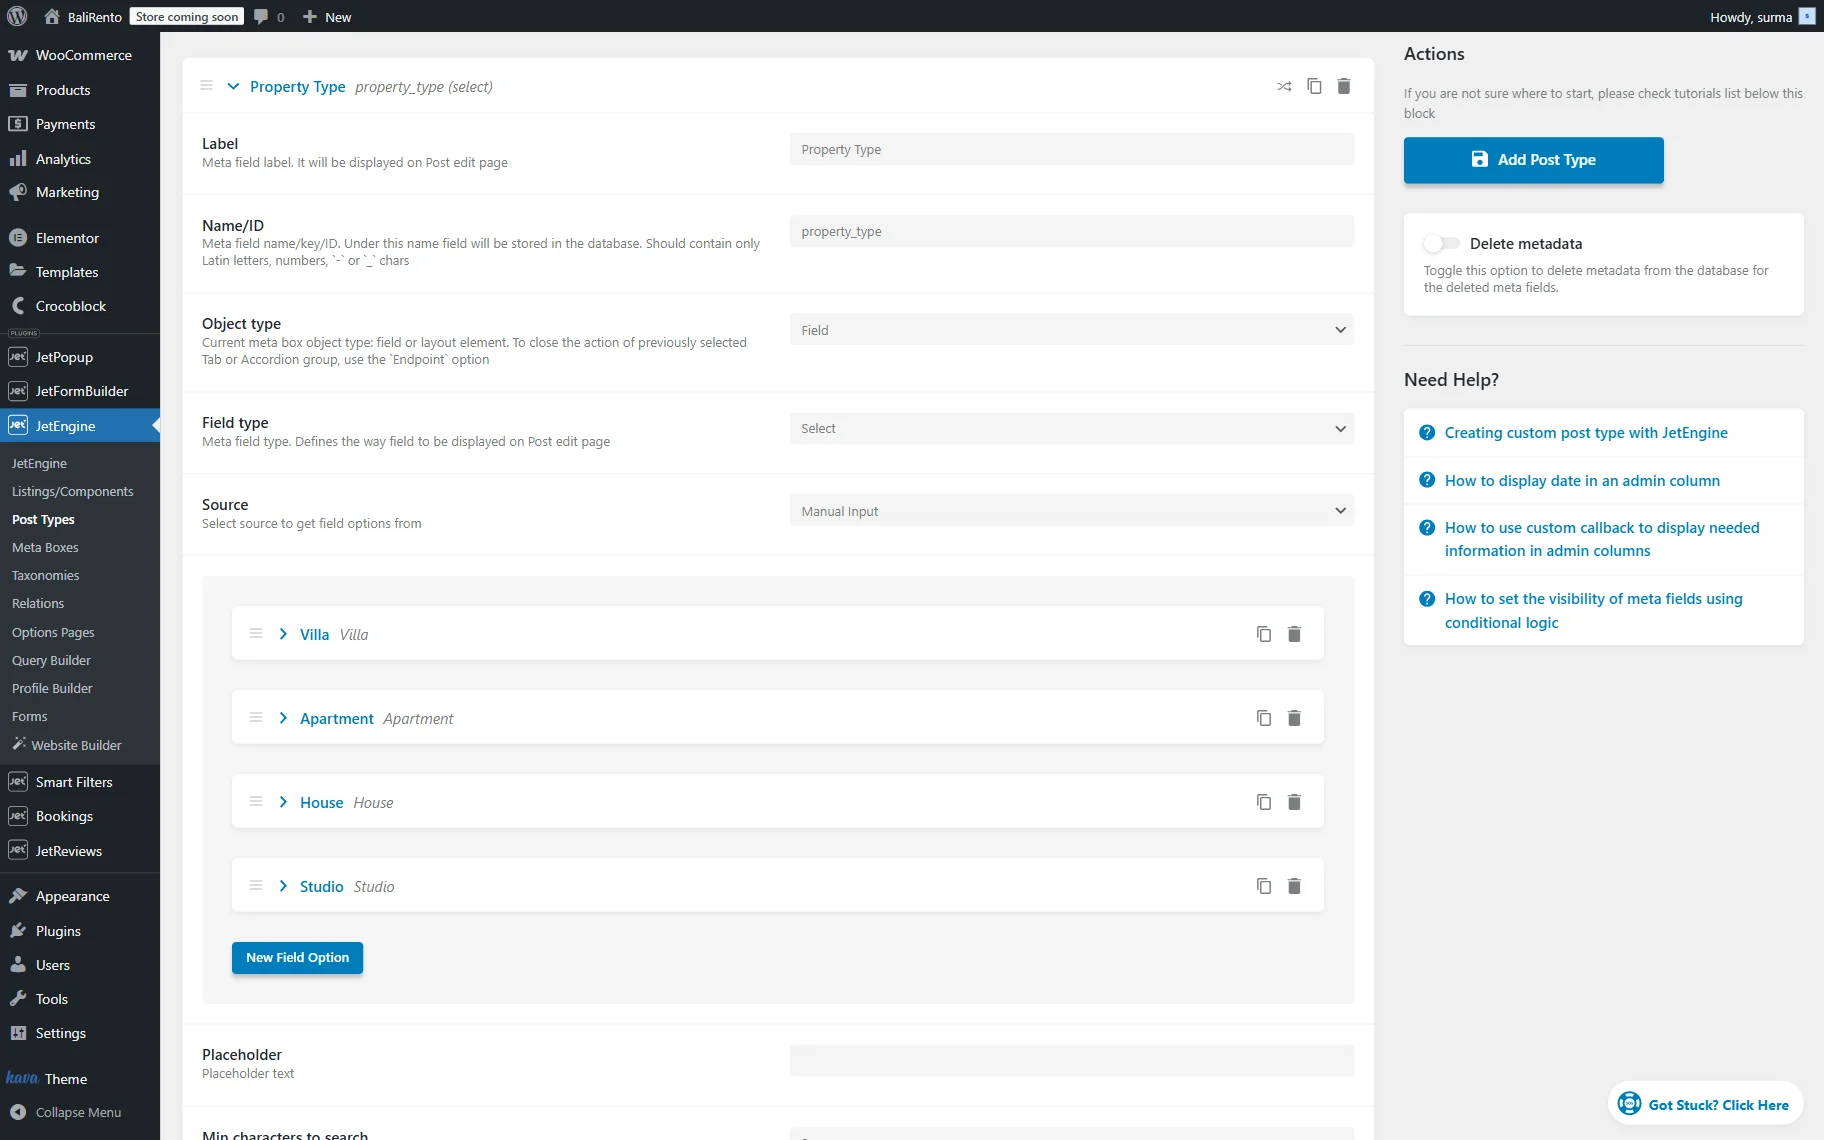
If your site offers different types of housing, the “Select” or “Radio” field may be needed to specify the type of property.
Additionally, on the property sites, you can check if pets are allowed. So let’s add the “Switcher” field, “Pets friendly”.

These are the basic fields. You can select which ones you need or add other fields.
Once you are ready, click the “Add Post Type” button.
Adjusting the Booking Instance Post Type
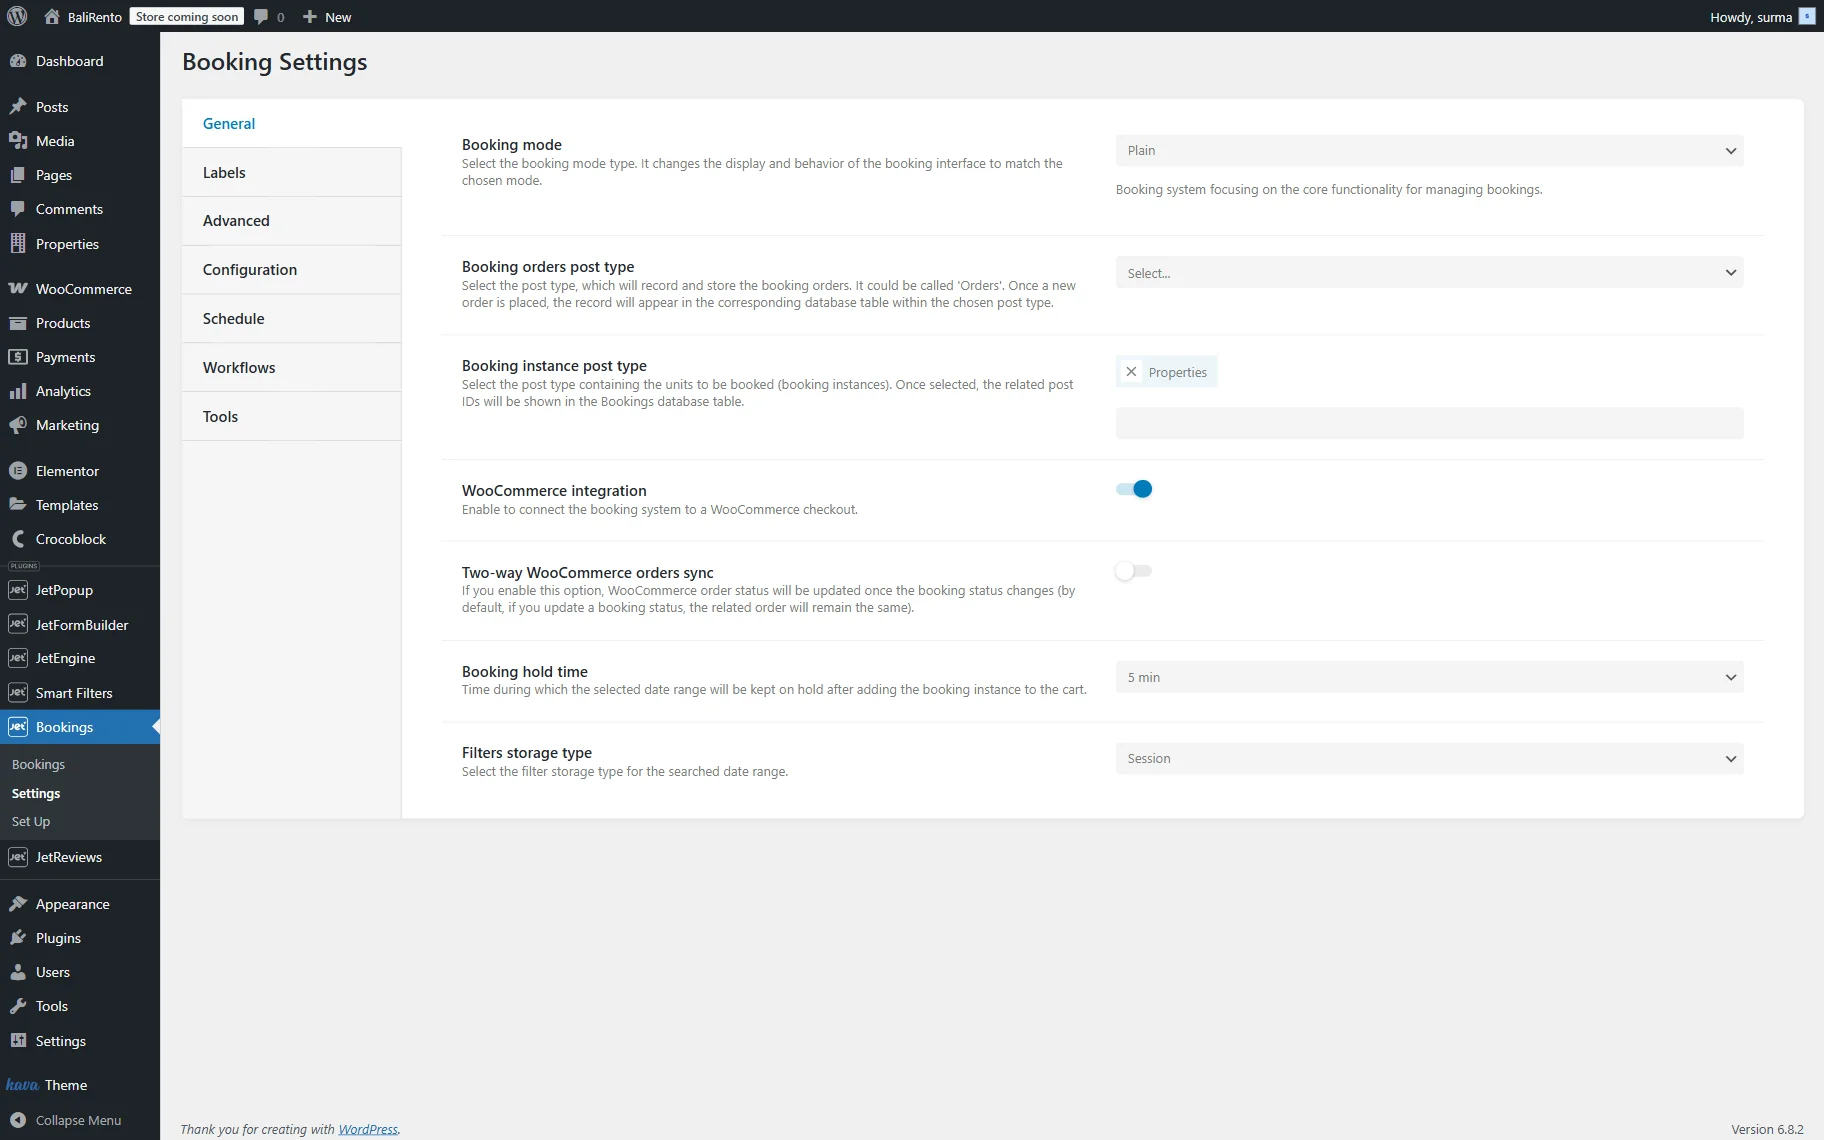
Now, proceed to the WordPress Dashboard > Bookings > Settings > General tab.
In the Booking instance post type field, select the CPT (“Properties” in this tutorial) we have just created.
Organizing Booking Instance Data on the Backend
Once the “Properties” CPT is created, the available service posts can be added. Proceed to WordPress Dashboard > CPT you created (“Properties” here) and click the “Add Post” button.
On the newly opened page, add the title, thumbnail, and fill in all the meta fields.
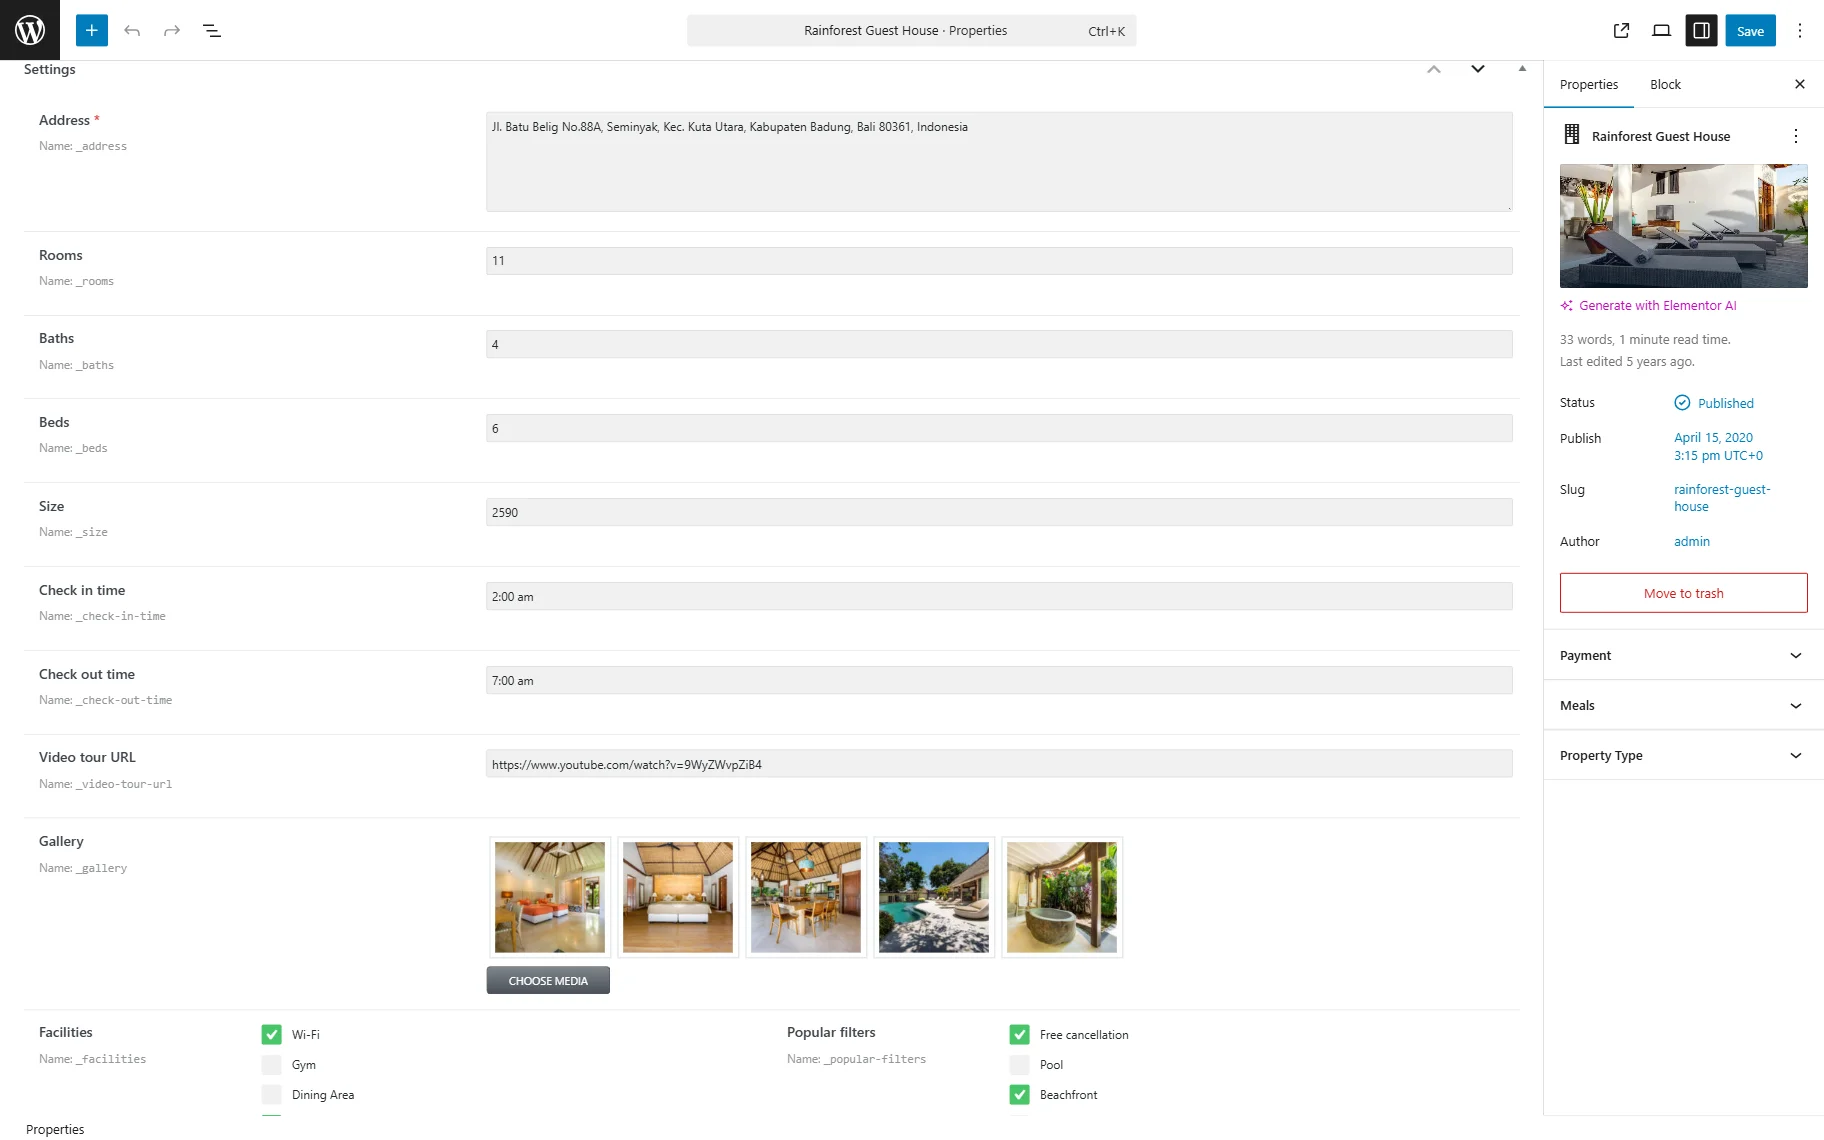
Click the “Save” button once you are ready.
Displaying the Booking Instance on the Single Booking Page
To display all the added meta fields, we need to create a Single Page template.
In the How to Create a Custom Single Page for CPT-Based Booking tutorial, you can find all the details on the setup of the Single Template.
So, we created a template to display all the information about the property.
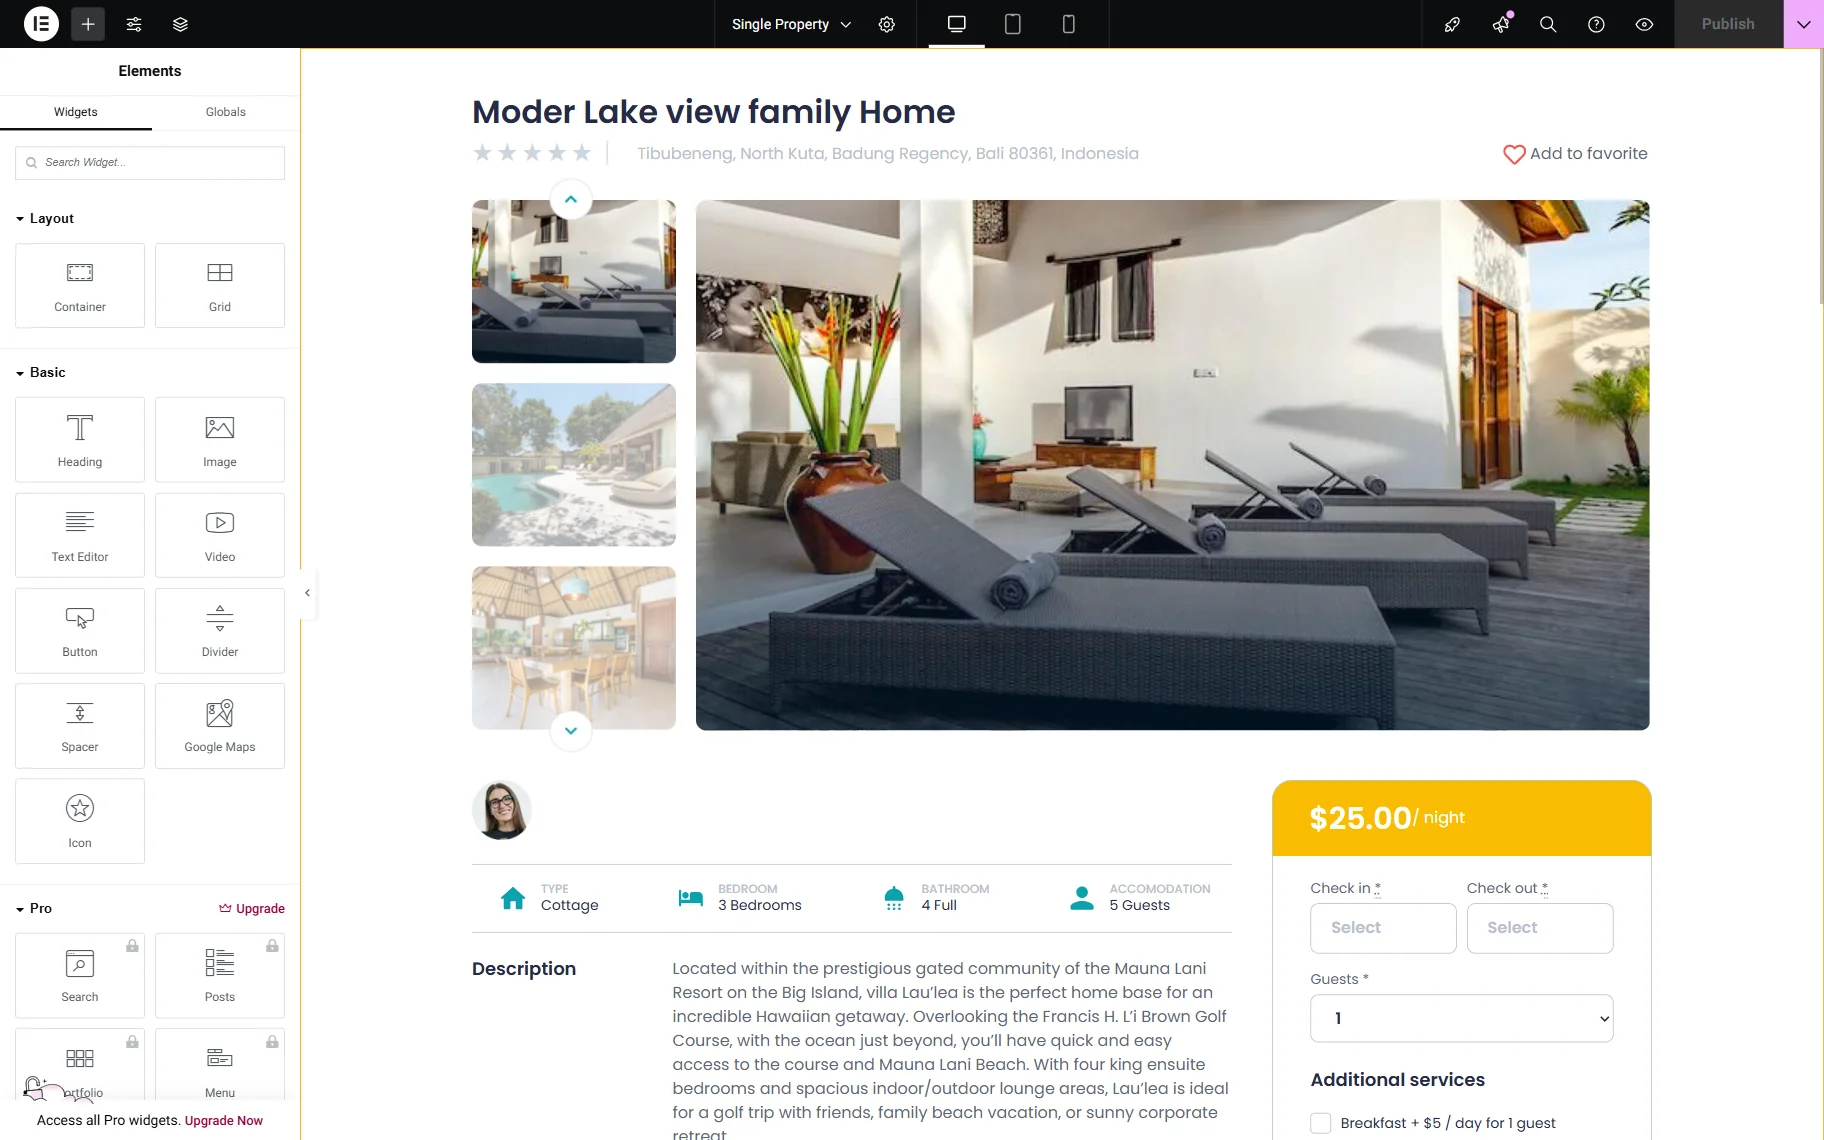
Click the “Publish” button once you are ready with the settings.
Checking the Result
Now, proceed to the front end of any page from the services CPT (“Properties” in this case). Here, the template is applied, and all the meta fields we created are displayed.
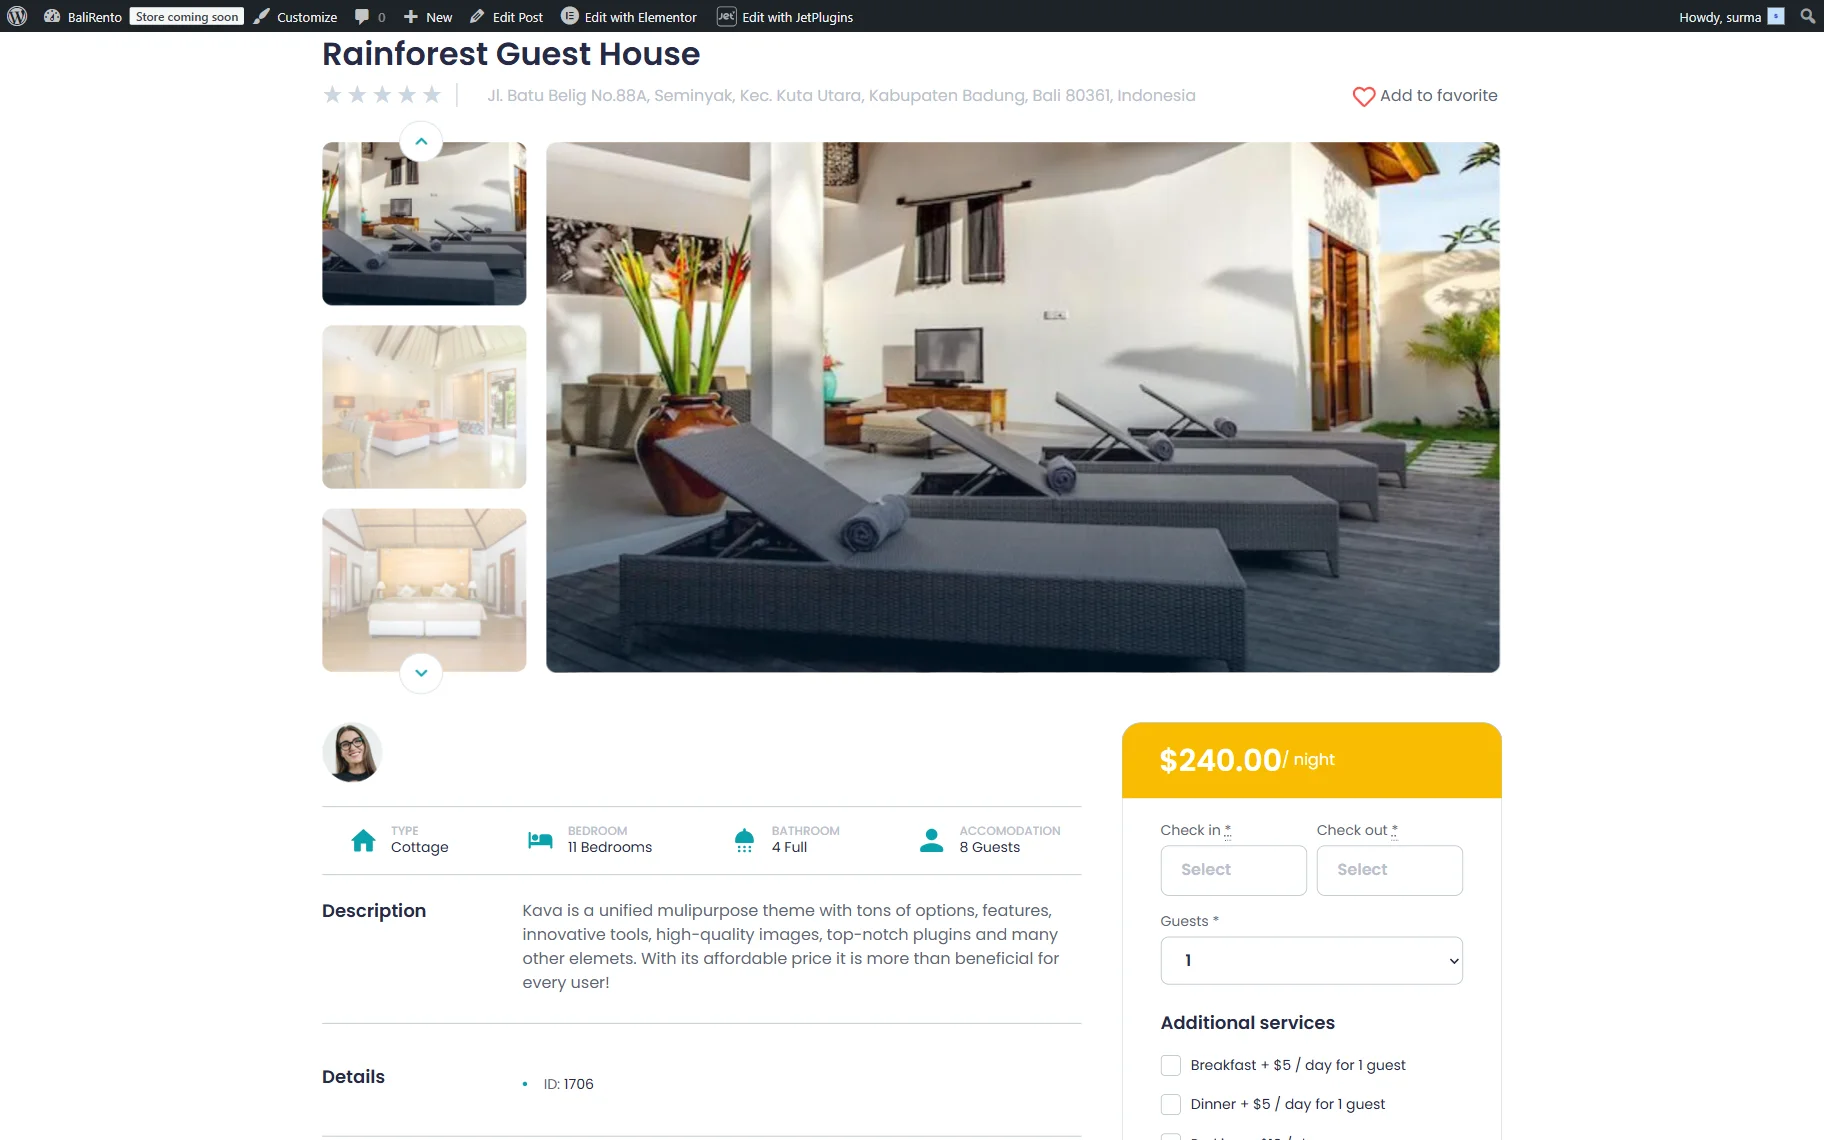
That’s it. Now you know how to arrange meta fields in the Booking Instance CPT for JetBooking using the JetEngine WordPress plugin, and display and manage booking data.