How to Create a Users Page with Profile Builder
This tutorial explains how to create a Users page in WordPress using JetEngine Profile Builder.
Before you start, check the tutorial requirements:
- Elementor (Free version), Block editor (Gutenberg), or Bricks
- JetEngine plugin installed and activated
This tutorial explains how to create a Users page in WordPress using the JetEngine Profile Builder.
You will learn how to create a users Listing template, add it to a page using a Listing Grid, and assign the page in the Profile Builder settings so JetEngine knows which page should display all users and apply its dynamic features correctly.
Create a Listing for Users
Create a Listing template with WordPress users as a source, as described in the How to Create a Listing Template for Users tutorial using Elementor, WordPress block editor, or Bricks as a builder.

Create a Users Page
Proceed to WordPress Dashboard > Pages > Add Page and create a page in the preferred editor. As an example, we enter the “All Employees” page title.
Place the Listing Grid widget/block/element on the editing page and select the recently created Listing.
Customize the page and its components and save the changes.

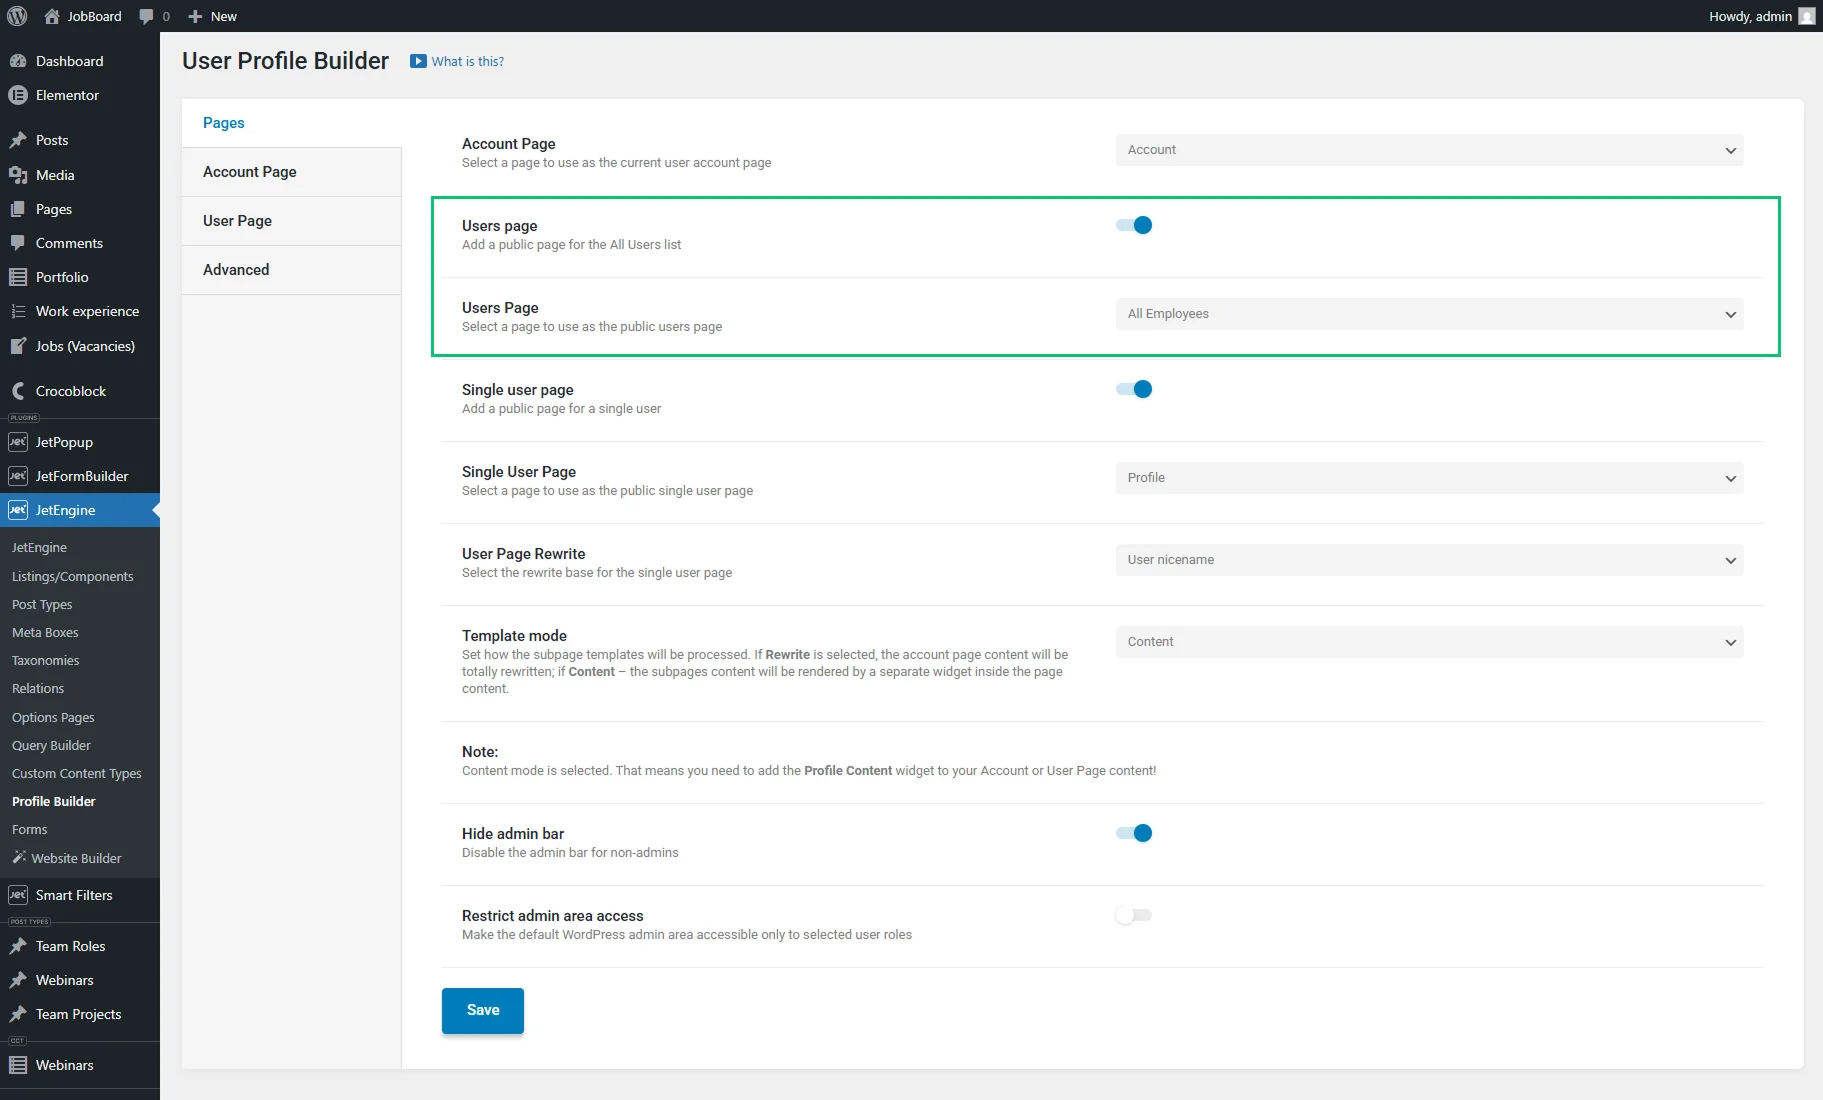
Adjust the Users Page in the Profile Builder Settings
Finally, head to WordPress Dashboard > JetEngine > Profile Builder > Pages, activate the Users page toggle, and select the recently created page in the Users Page dropdown.
Press the “Save” button at the bottom of the profile settings page.
That’s all. Now you know how to create a Users page in WordPress using JetEngine Profile Builder. Learn how to build a user listing, add it to a page, and assign it in settings.