How to Apply Skins' Style with Different Editor Load Levels
From this tutorial you will discover how to create and use skins of the element's design with the help of the JetStyleManager plugin.
Before you start, check the tutorial requirements:
- Elementor (Free version)
- JetStyleManager plugin installed and activated
Several JetPlugins have the Elementor editorial load functionality that allows you to sufficiently fasten the page load speed of your website by reducing styling options. The JetStyleManager plugin gives you an opportunity to save the astounding look and reduce the loading speed at the same time by using the saved skins.
Set Full Editor Load Level
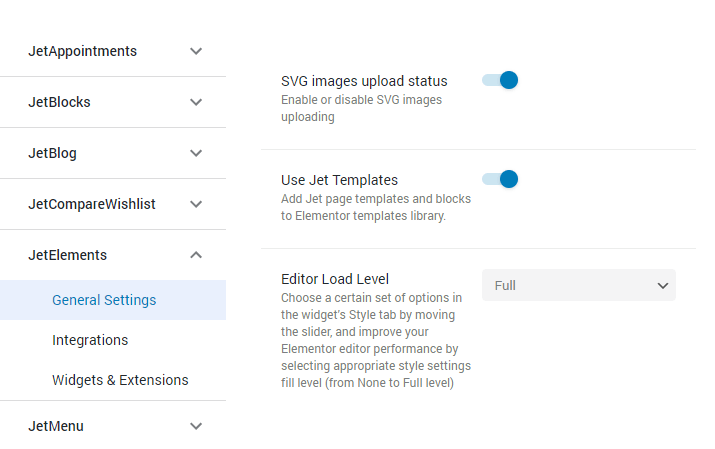
For this example, let’s use the JetElements plugin’s Pricing Table widget. Open the Crocoblock > JetPlugins Settings > JetElements > General Settings section in the WP Dashboard and pick the “Full” option in the Editor Load Level drop-down menu.
Create a Design
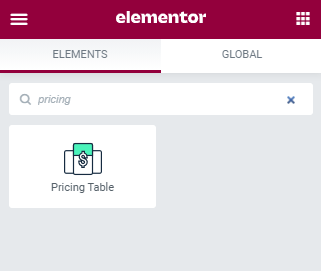
Open the page in the Elementor editor and drop the Pricing Table widget to the necessary section.
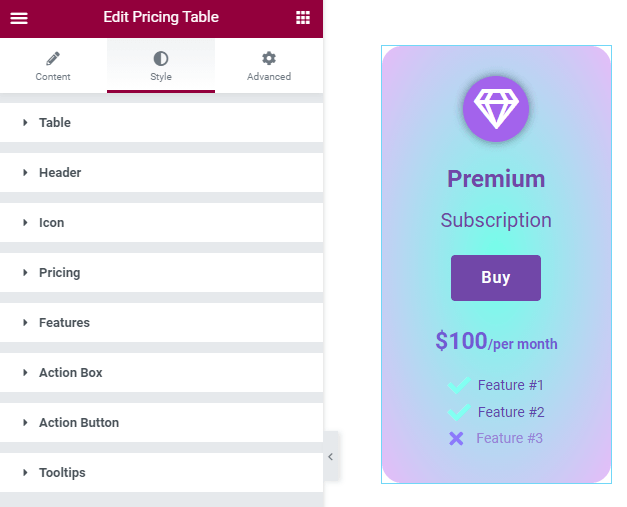
Style the widget up in the Style menu tab.
Create a Skin
Click the right mouse button on the widget’s surface, and in the appeared window, select the Save as Skin option.
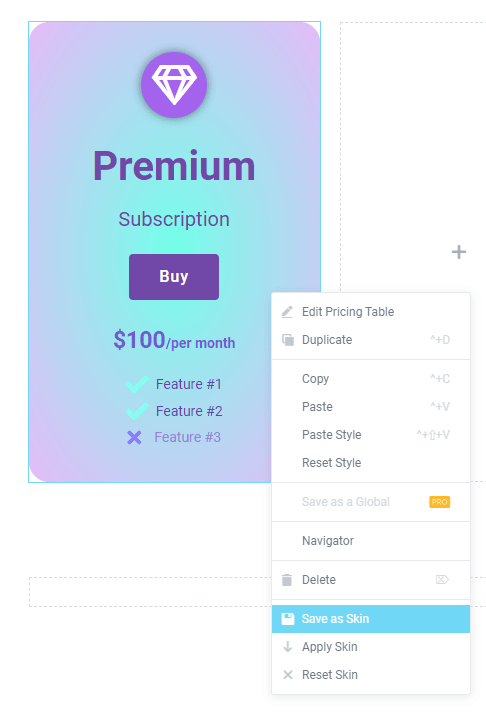
In the opened box, name the skin and click the “Save” button.
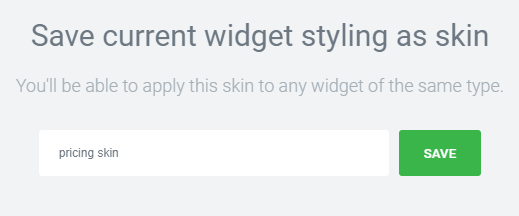
We saved the skin with certain style settings of the Pricing Table widget. Now we can use it with a lower level of the Editor Load Level option.
Apply the Skin at the Lower Loading Level
Now we can pick the “None” Editor Load Level in the WP Dashboard for quicker loading of the pages.
Go back to the Elementor editor and insert a new Pricing Table widget into a certain place or duplicate the used one. Then, click the right mouse button on the widget and choose the Apply Skin option.
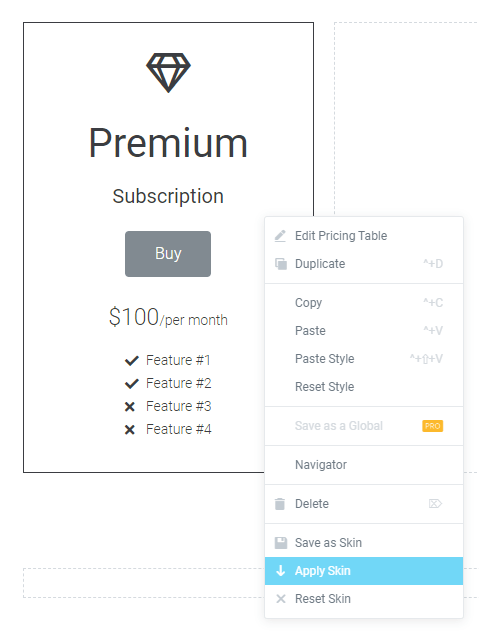
In the window, click the “Apply” button next to the skin you’ve created.

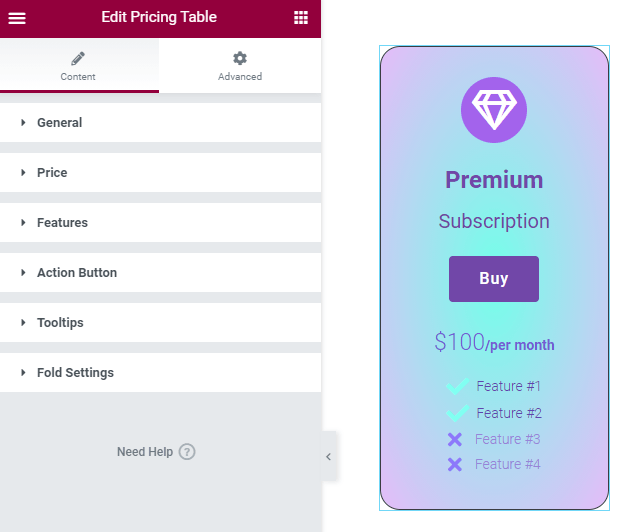
We get the same design of the widget as we set before, in spite of the Style settings aren’t available. Now you just should change the content.
If you want to adjust the widget to its default appearance, click the right mouse button on the widget and pick the Reset Skin option.
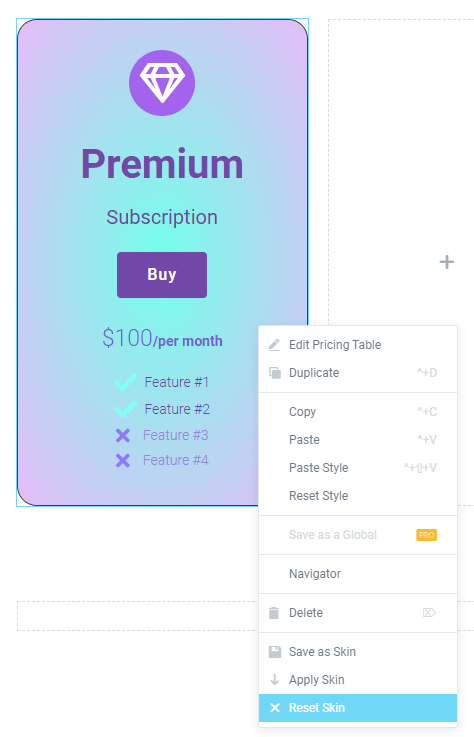
Save different skins of JetPlugin widgets and apply them on pages of your website. Make the page loading 20-30% faster by disabling the Style settings of the widgets using the JetStyleManager plugin.