Query Builder Users Query Type
This overview will describe all the Query Builder’s Users Query type settings, which are part of the JetEngine plugin.
It can be useful to display a list of users in various places on your website, such as team member lists. You can certainly create a Listing template for users and then display it via the Listing Grid. However, the Users Query settings section of Listing Grid is not very flexible. Users Query type of Query Builder gives you much more options and allows you to query the list with higher precision.
Let’s dive deeper into its settings.
Display a list of users in various places on your website, such as team member lists. You can create a Listing template for users and then show it via the Listing Grid. However, Listing Grid’s Users Query settings section is not very flexible. Users Query type of Query Builder allows you to query the list more precisely.
Let’s dive deeper into the Users Query primary settings. Mind that you can find out about the more specific use case in the corresponding article.
Initially, check the basic settings relating to any query.
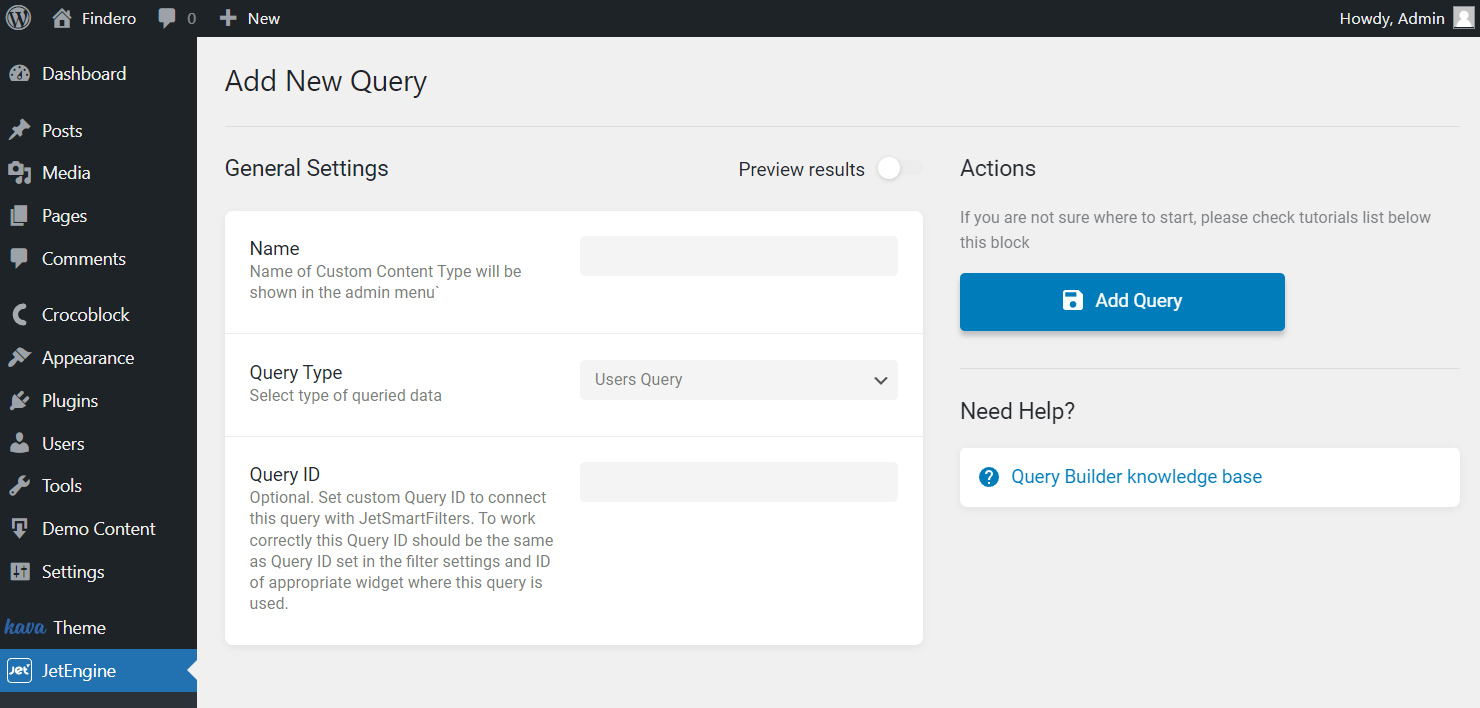
- Name — complete the name given to the query and displayed in the Query Builder menu;
- Query Type — select the “Users Query” option to work on the needed type of query;
- Query ID — fill in the field if needed to work with JetSmartFilters; it is optional. You can specify the ID here and add the same value to the filter you build.
User Role
This tab allows you to include or exclude users by their WordPress user role.
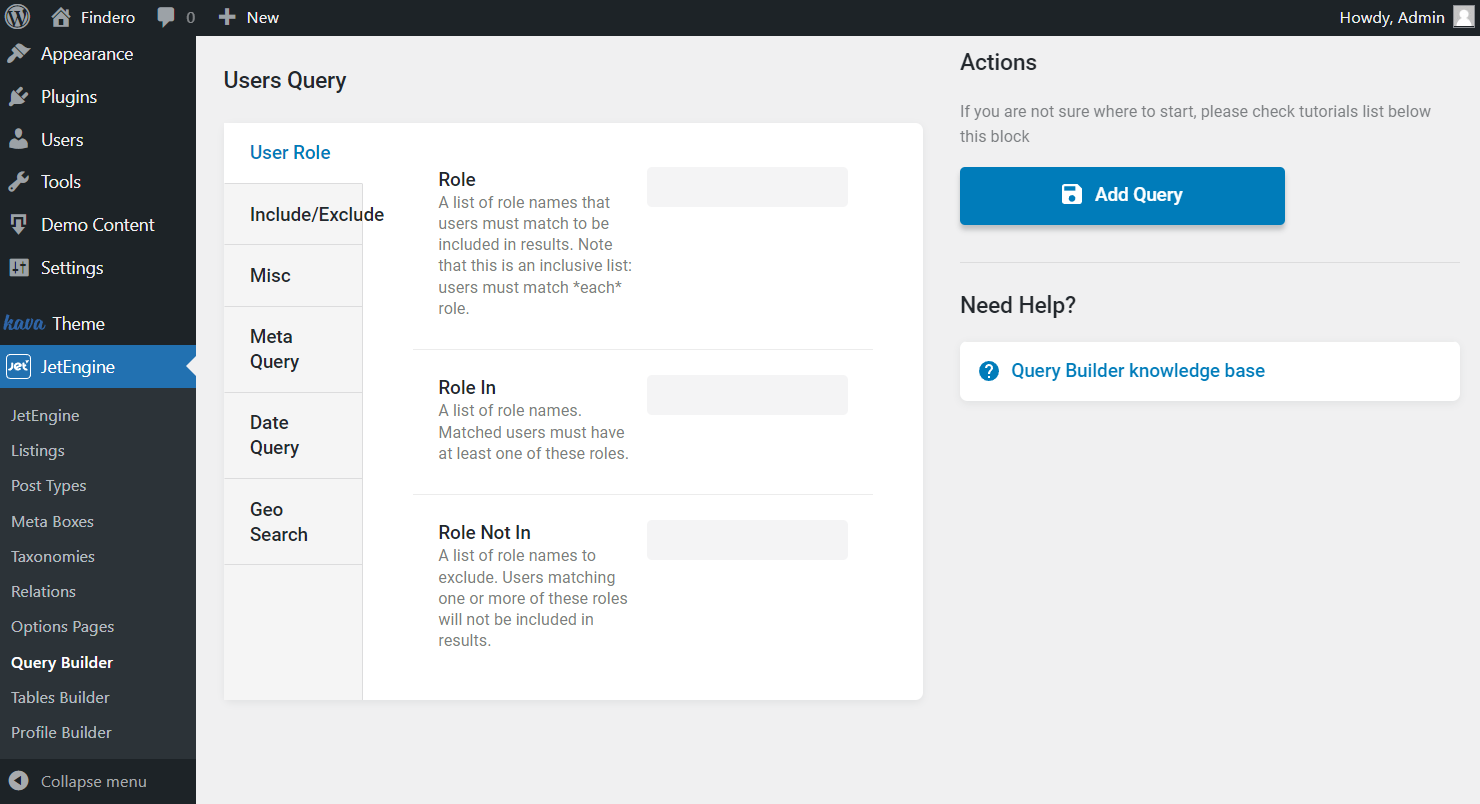
- Role — you’ll find all the user roles on your website in this drop-down menu. You can select as many as you want. The user assigned to each selected role will be added to the list;
- Role In — here, you also can choose several user roles. The users that are assigned to at least one of the roles you choose will be added to the list;
- Role Not In — the users assigned to at least one of the roles you choose here will be excluded from the list.
Include/Exclude
Here you can also include or exclude users. This time do it by specifying the user ID.
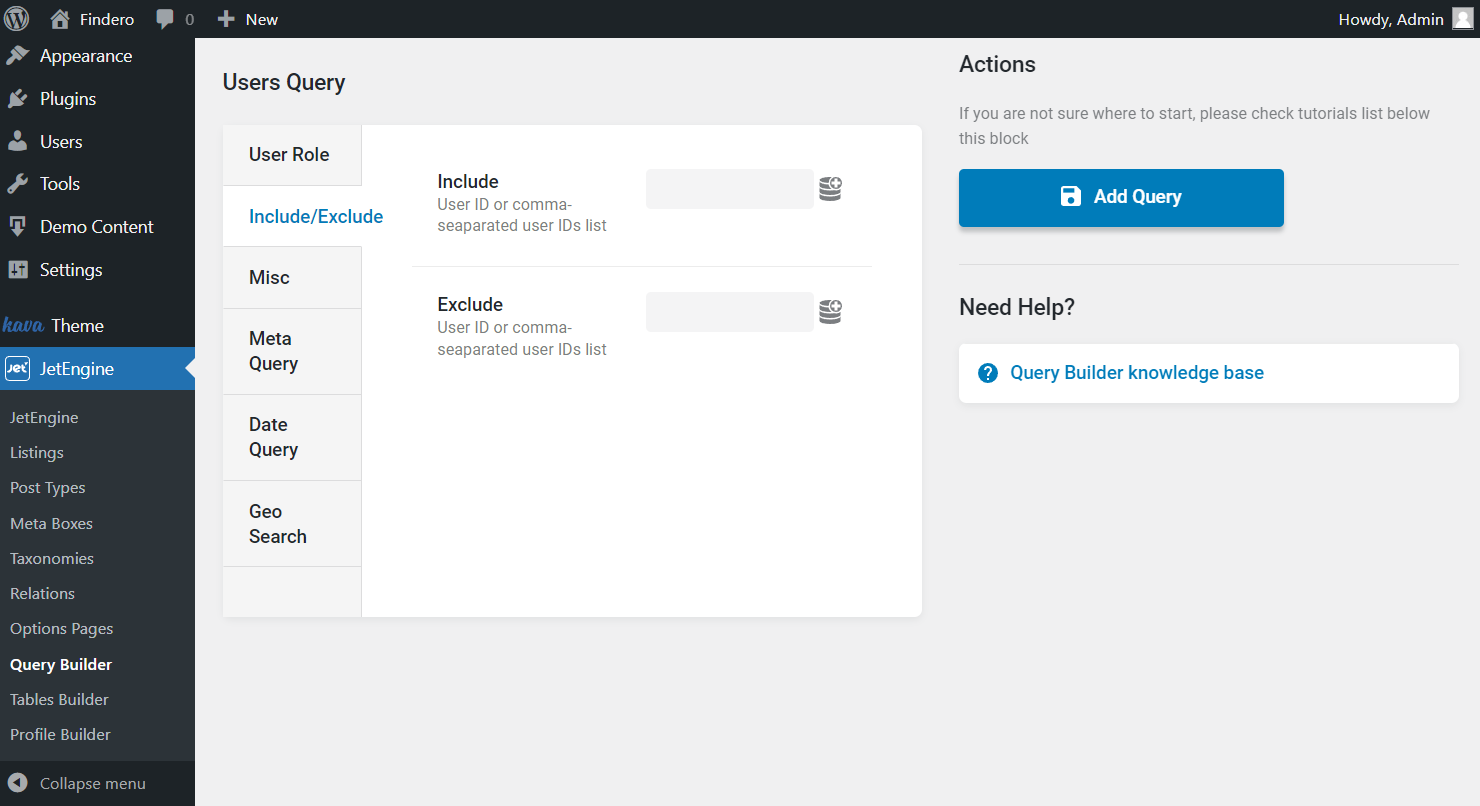
- Include — type the IDs of users you want to add to the list here;
- Exclude — here, you can type the IDs of users you don’t want to see in the list.
Misc
Take a look at other additional points and fill in the fields if they are needed for your query.
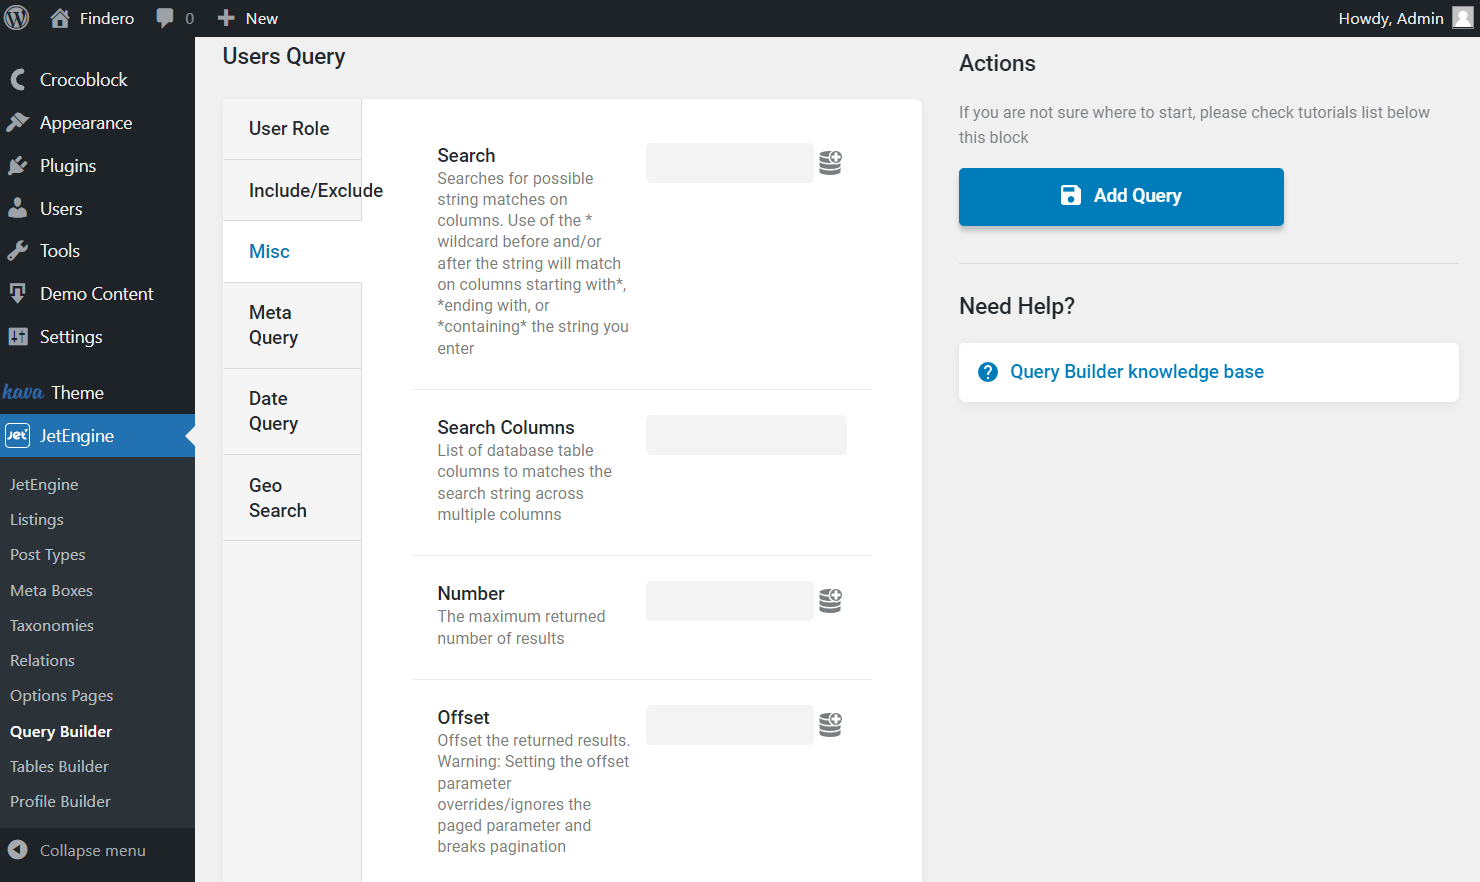
- Search — if you want to display only users having a specific value in one of their default meta fields (like Login, Email, or URL), you can type that value here. Afterward, choose the default meta field in the Search Columns drop-down menu. The typed-in value will be searched in the fields you selected in the Search Columns list. Only users with that value in the chosen fields will be added to the list. You can also set the search rules here (in the Search field) using the “*” symbol:
- “*” before the value — the system will search the values that start with the symbols you type. For example, if you insert “*a” to the bar, all the users that have a value that begins with “a” in the field you have chosen will be added to the list;
- “*” after the value — the system will search the values that end with the symbols you type. For example, if you insert “a*” to the bar, all the users that have a value that ends with “a” in the field you have chosen will be added to the list;
- “*” before and after the value — the system will search the values that contain symbols you type. For example, if you insert “*a*” to the bar, all the users that have a value that includes “a” in the field you have chosen will be added to the list;
- Search Columns — you will find all the meta fields attached to the users in this drop-down menu. Choose the one in which to search for the value of the Search bar;
- Number — in this bar, you can define the number of users that will be added to the list;
- Offset — type the number of first posts that won’t be added to the list;
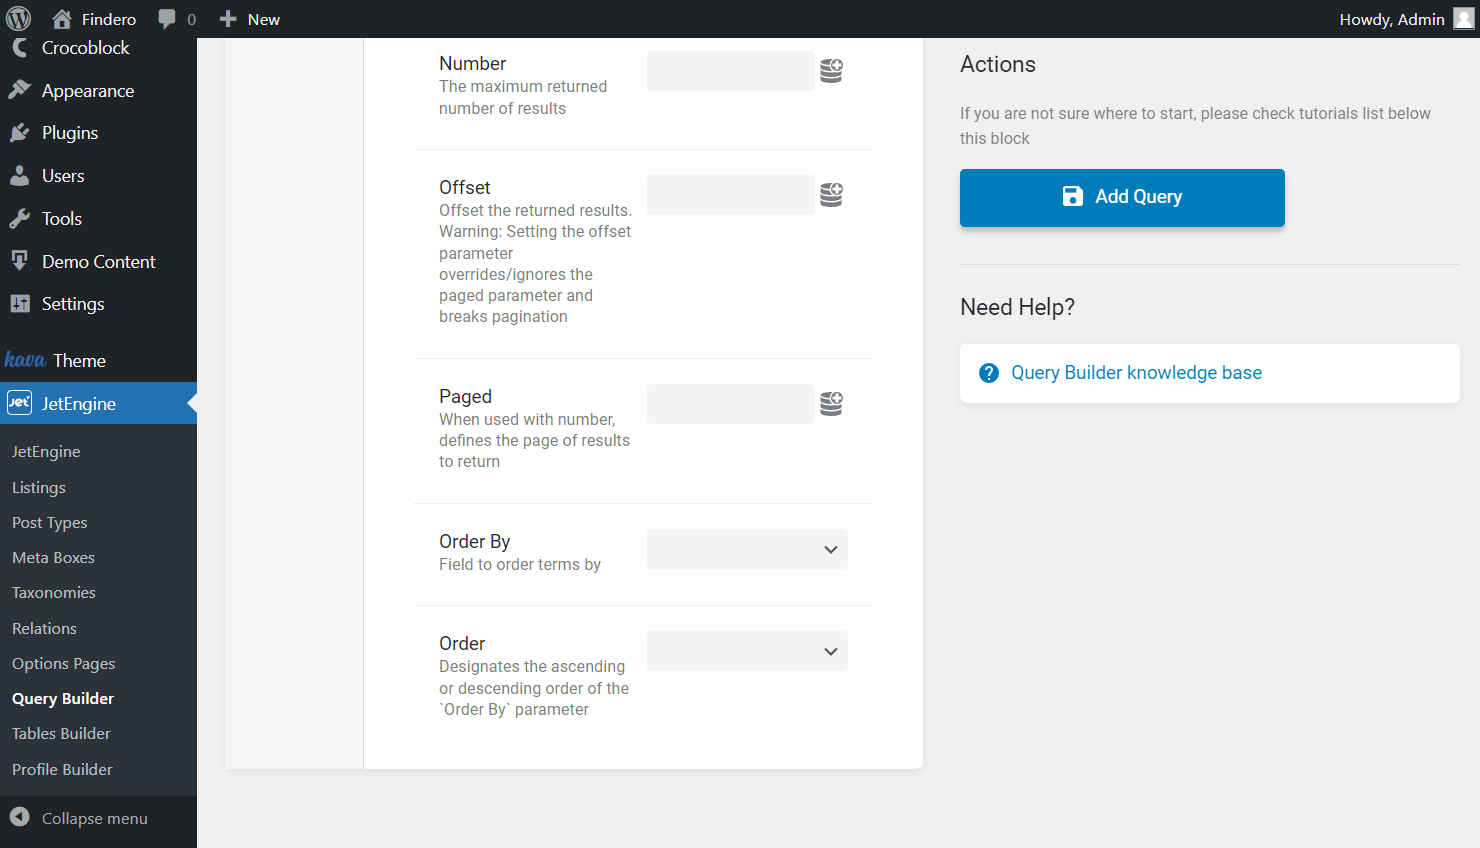
- Paged — this feature works like there’s pagination added to the list. You can type a number of the page, and all the users that would’ve been shown on that page will be added to the list;
- Order By — choose by what value to order the users in the list;
- Order — select how the users will be ordered – from lowest to highest values or vice versa.
Meta Query
This tab allows you to add users to the list according to the values of their meta fields. You set a value in the Value text area, and then the data from the meta field you choose in the Field key/name bar is compared to that value. If they match, the user is added to the list. The conditions the value of the meta field has to meet are called Meta Query Clause. You can add as many Meta Clauses as you want by clicking on the “Add New” button.
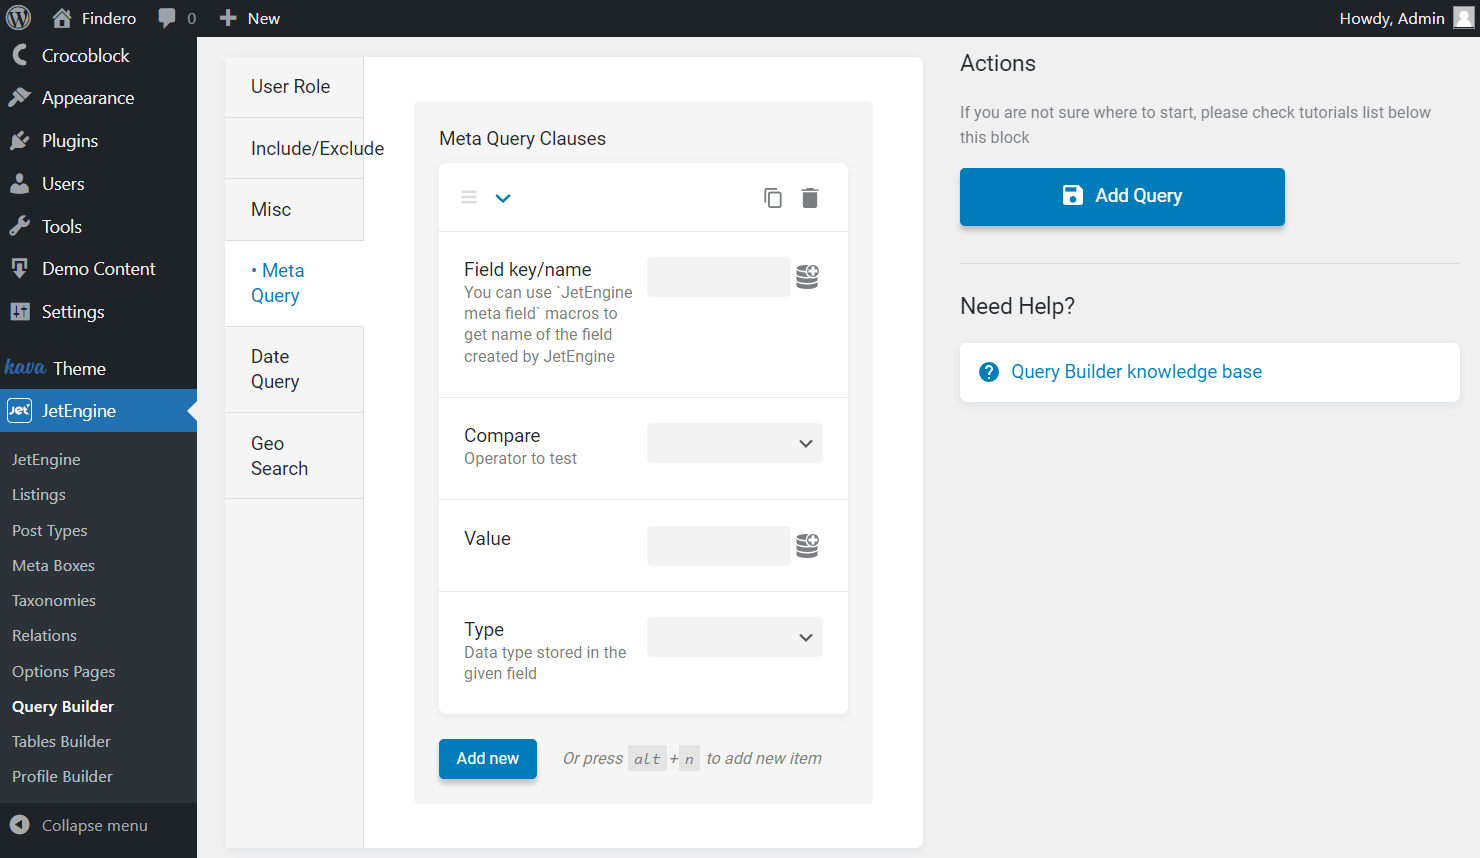
- Field key/name — enter the name of the meta field attached to the Post Type you’ve chosen in the General settings tab. You can use dynamic tags in this bar. For instance, select the “Current terms” macro and press the “Advanced settings” button to set the “Queried User” Context and fill in the Fallback field with the desired value (e.g., “Not Found”). So now, the queried posts will be displayed for only queried user. And once the posts are absent, the fallback “Not Found” will be shown. You can set the Context and Fallback for any selected macro;
- Value — the value you set here will be compared to the value of the meta field you have chosen in the Field key/name bar;
- Compare — here, you can select how the values will be compared:
- Equal — displays posts having an equal value;
- Not Equal — shows posts that don’t have an equal value;
- Greater than — shows posts that have a greater value. It works with numeric values only;
- Greater or equal — displays posts that have a greater or equal value. It also works only for numeric values;
- Less than — shows posts that have a lesser value. For numeric values only;
- Less or equal — displays posts that have a lesser or equal numeric value;
- Like — shows posts that have the value you set in the Value field mentioned in the content;
- Not like — displays only the posts that don’t have the value you’ve put in the Value field mentioned in the content;
- In the list — after you add several values to the Value field, it shows the posts that have at least one of them in their content;
- Not in the list — displays posts that have any values except the ones you typed into the Value field;
- Between — displays posts that contain the value between two, which are set in the Value field;
- Not between — shows all the posts except the ones that have a value that matches the set interval;
- Exist — shows all the posts that contain the Key. You don’t need to set the Value in this case;
- Not exist — displays all the posts that don’t include the Key. You don’t need to select the Value either;
- Regexp — queries users depending on the checkboxes or radio meta field values;
- Not regexp — excludes the mentioned checkboxes or radio value, the query will not take it into account;
- Type — this drop-down allows you to specify what kind of data is stored in the chosen meta field:
- Char — alphabetic data that is not sensitive to case;
- Numeric — whole numbers only;
- Date — date values (be aware, there should be enabled the Save as timestamp toggle in the fields from where you get date values);
- Datetime — date and time (be aware, there should be activated the Save as timestamp toggle in the fields from where you get date values);
- Decimal — fraction number data;
- Time — time values;
- Binary — data that is sensitive to the case;
- Signed — whole numbers, both positive and negative;
- Unsigned — whole numbers, only positive.
Date Query
Observe this tab if you are willing to query users depending on the date criteria.
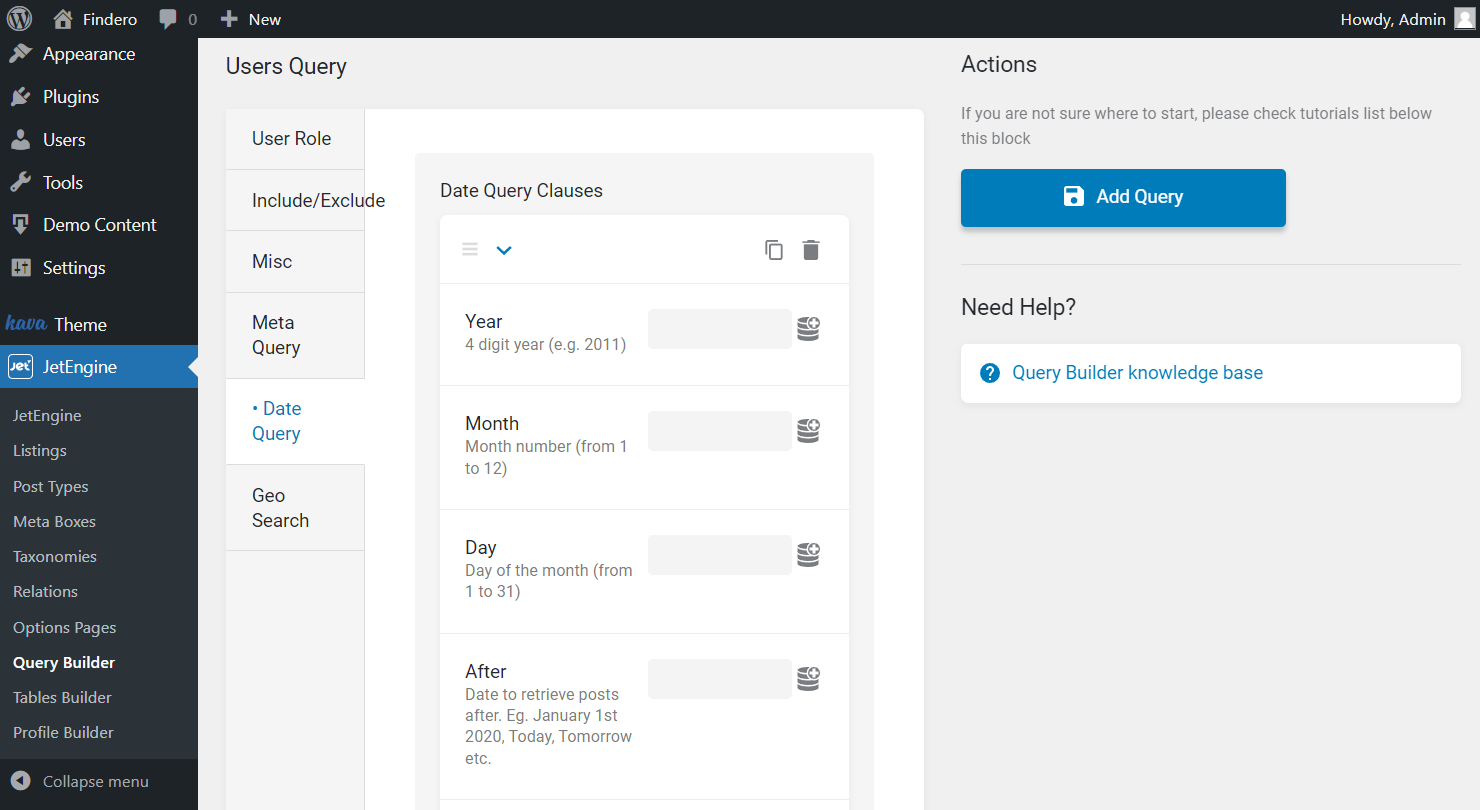
- Year — users that were created or modified this year will be added to the list;
- Month — users that were created or modified this month will be added to the list;
- Day — users that were created or modified on this day will be added to the list;
- After — users created or modified after the date you enter into this bar will be added to the list;
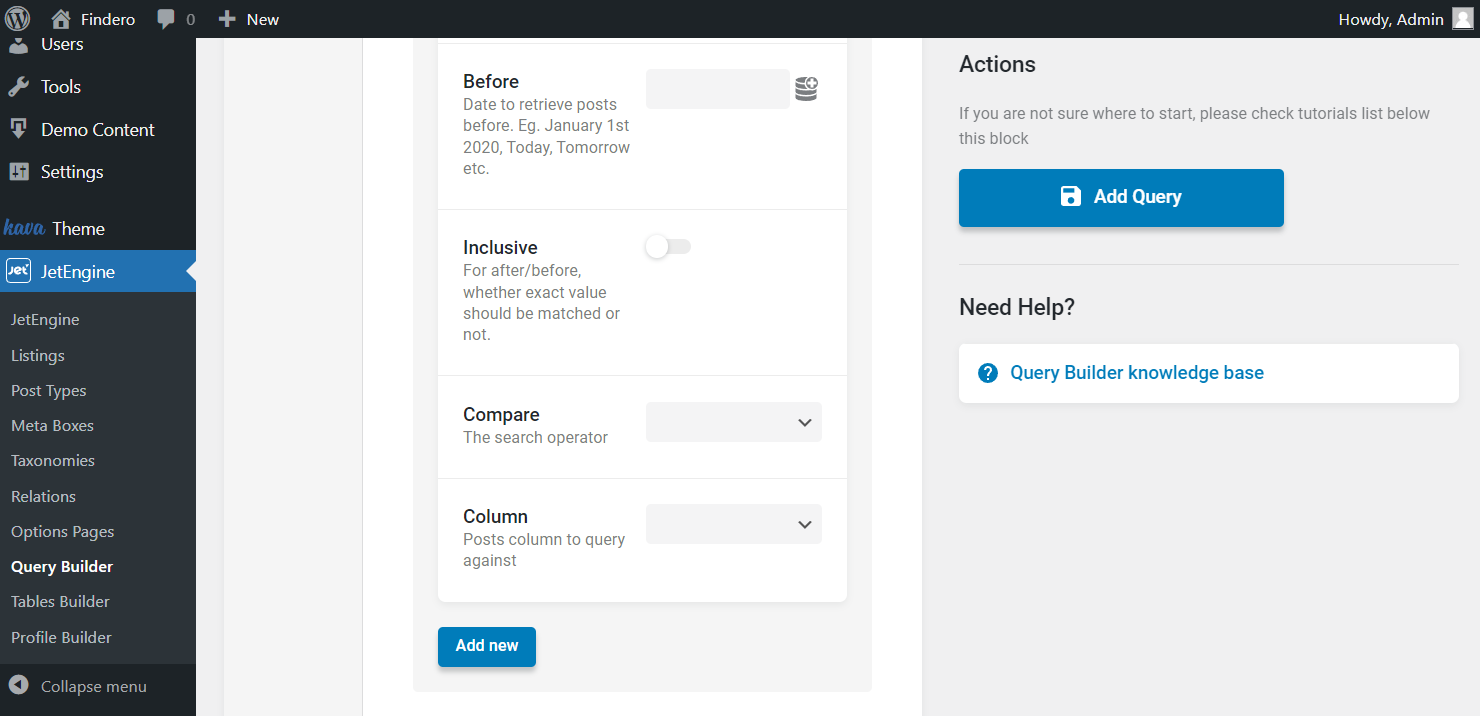
- Before — type date here, and all users created or modified before it will be added to the list;
- Inclusive — if you enable this toggle, the date you type in the After or Before bars will be included in the range;
- Compare — here, you can choose how the date you added to Year, Month, and Day bars will be compared to the date of user creation or modification;
- Column — you can choose which date to take in this drop-down menu – the date of creation or modification.
Geo Search
Set the query depending on the location. The query will select users with the coordinates of points within this radius stored in the corresponding fields. The received data does not have to be displayed on the map; it can also be done using a listing.
Beginning with the corresponding tab, you may notice the map under the Select location field. Pick the desired point on the map to set it as the center for the search.
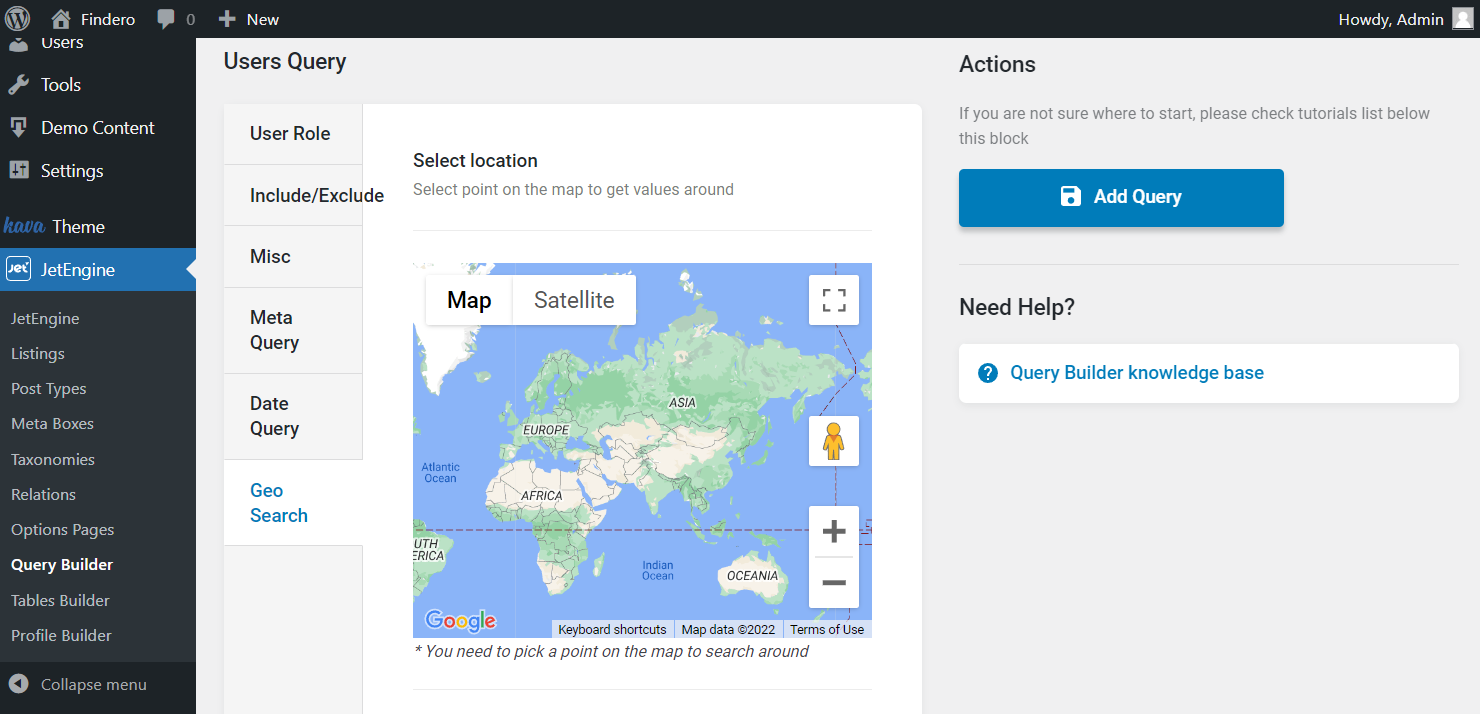
Then work on the further setting fields presented after the map.
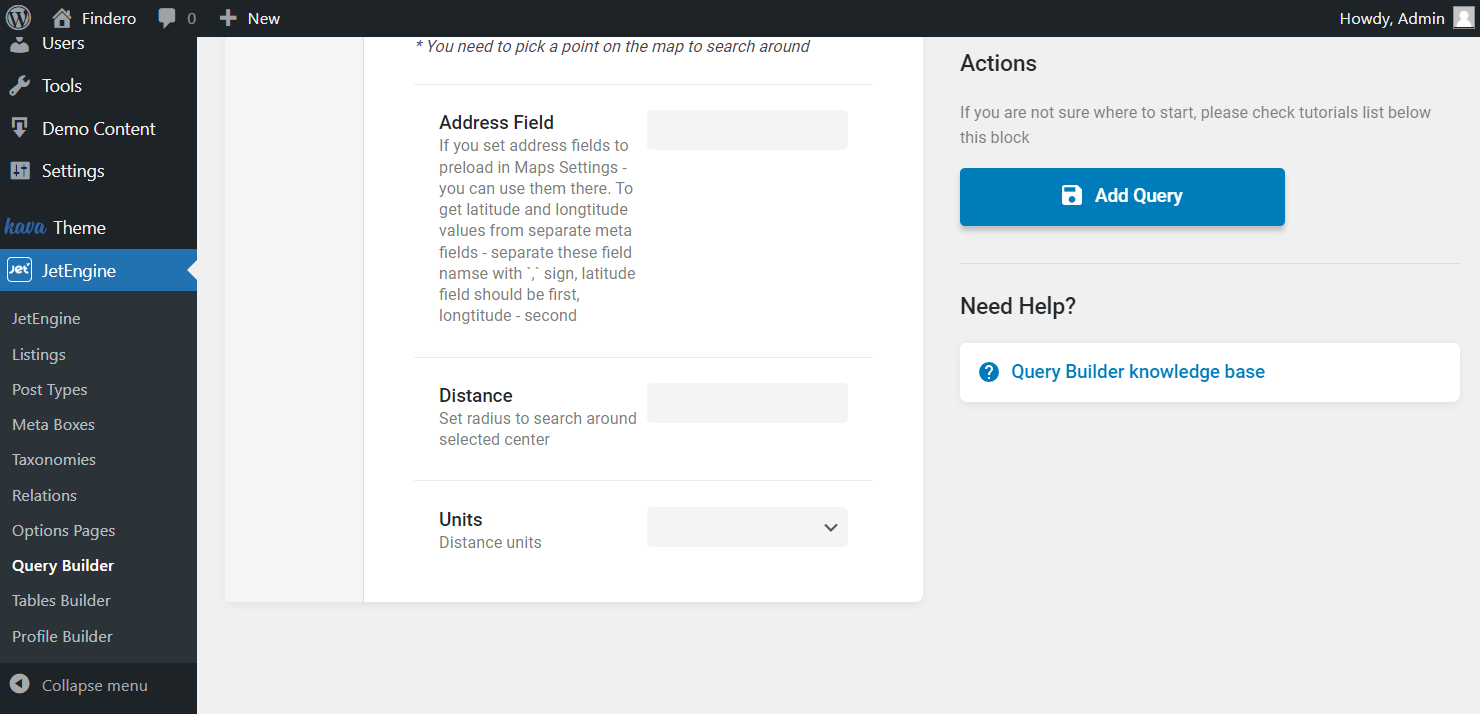
- Address Field — type in an address meta field value built beforehand with JetEngine. It can be the meta field of the user that stores the address. It can be either a Map meta field or two meta fields values that keep latitude and longitude separated by a comma;
- Distance — type in the radius to conduct the search around the picked center;
- Units — choose between the “Miles” and “Kilometers” to set the desired distance unit.
Once you have adjusted the needed fields in the described tabs, you can finally press the “Add Query” button and add this query to the wanted posts list.
That is all for the Users Query type. Now you can create a desired users list with the JetEngine plugin and display it wherever you want.