How to Create Users Query and Displaying Specific Users in the Listing Grid
Learn how to create a Users Query with JetEngine Query Builder and display only users with the “Top Specialist” status depending on the number of their WordPress posts.
Before you start, check the tutorial requirements:
- Elementor (Free version) or Block editor (Gutenberg)
- JetEngine plugin installed and activated
If you want to show only specific users in the grid, JetEngine got you covered. Systemize the dynamic display of the users with needed status only and even query them by the number of posts using Query Builder.
Build a Glossary
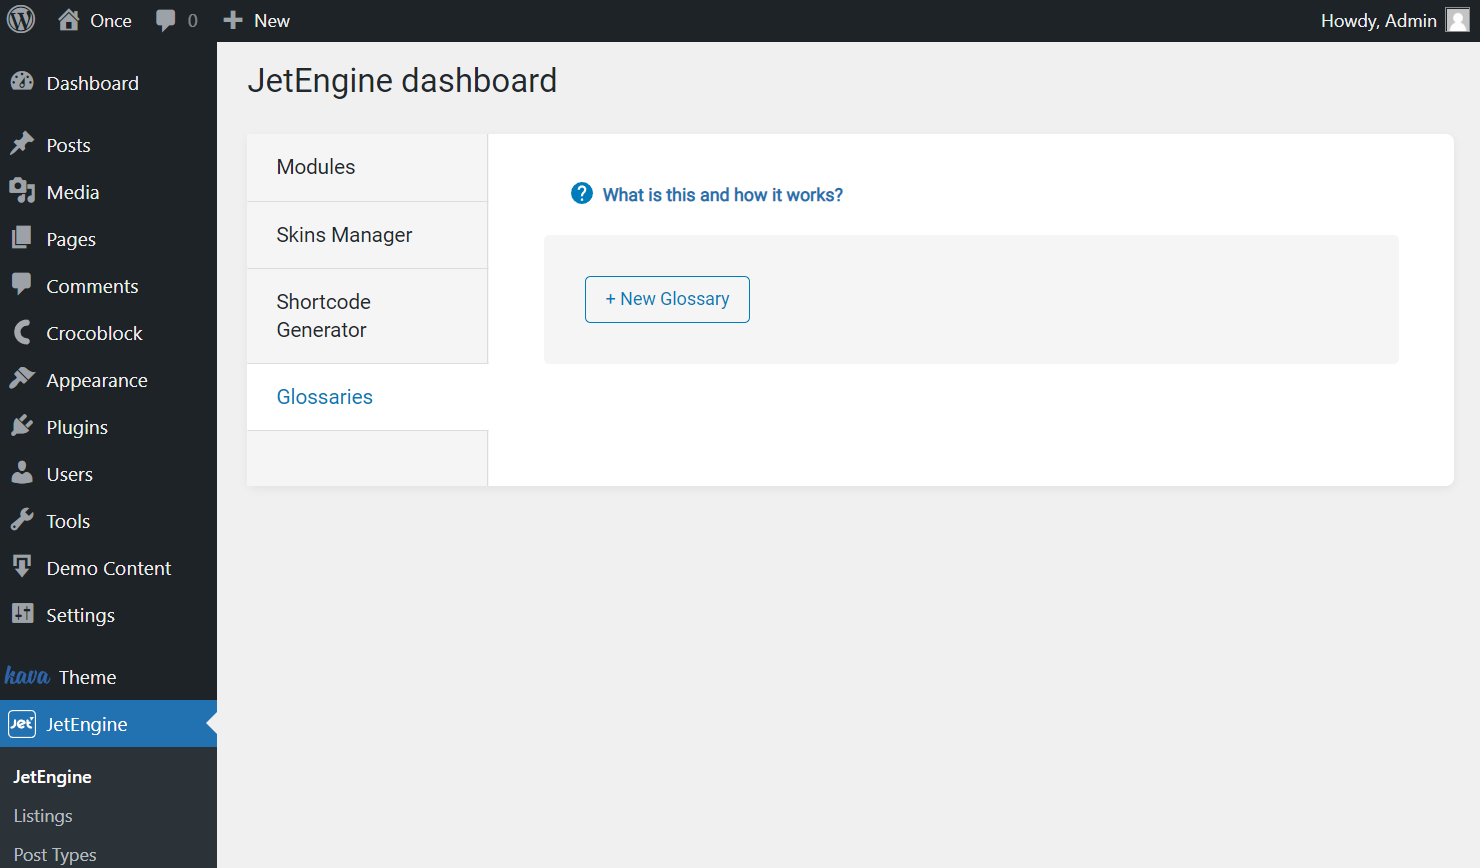
As we will begin with creating a glossary, firstly, head to WordPress Dashboard > JetEngine and open the Glossaries tab.
Click on the “New Glossary” button to set the needed parameters.
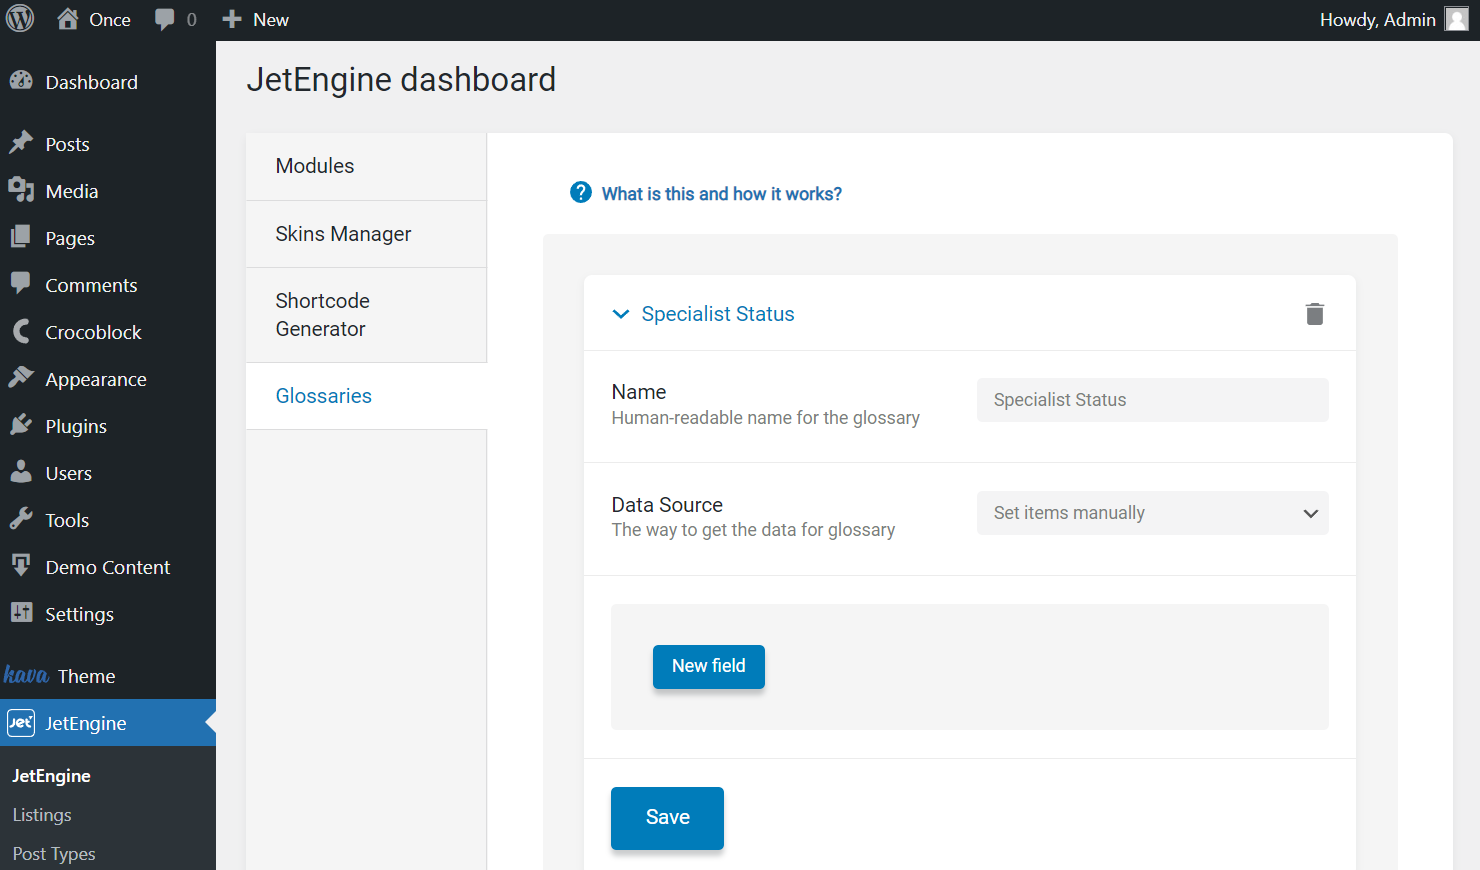
Complete the Name field with a value that will become a label for the created glossary.
After that, pay attention to the Data Source field. This time we will select the “Set items manually” option, although you can choose the “Get items from uploaded file” in case you want to import values.
Press the “New field” button to add the first item.
Let’s take a look at the presented fields and complete them accordingly.
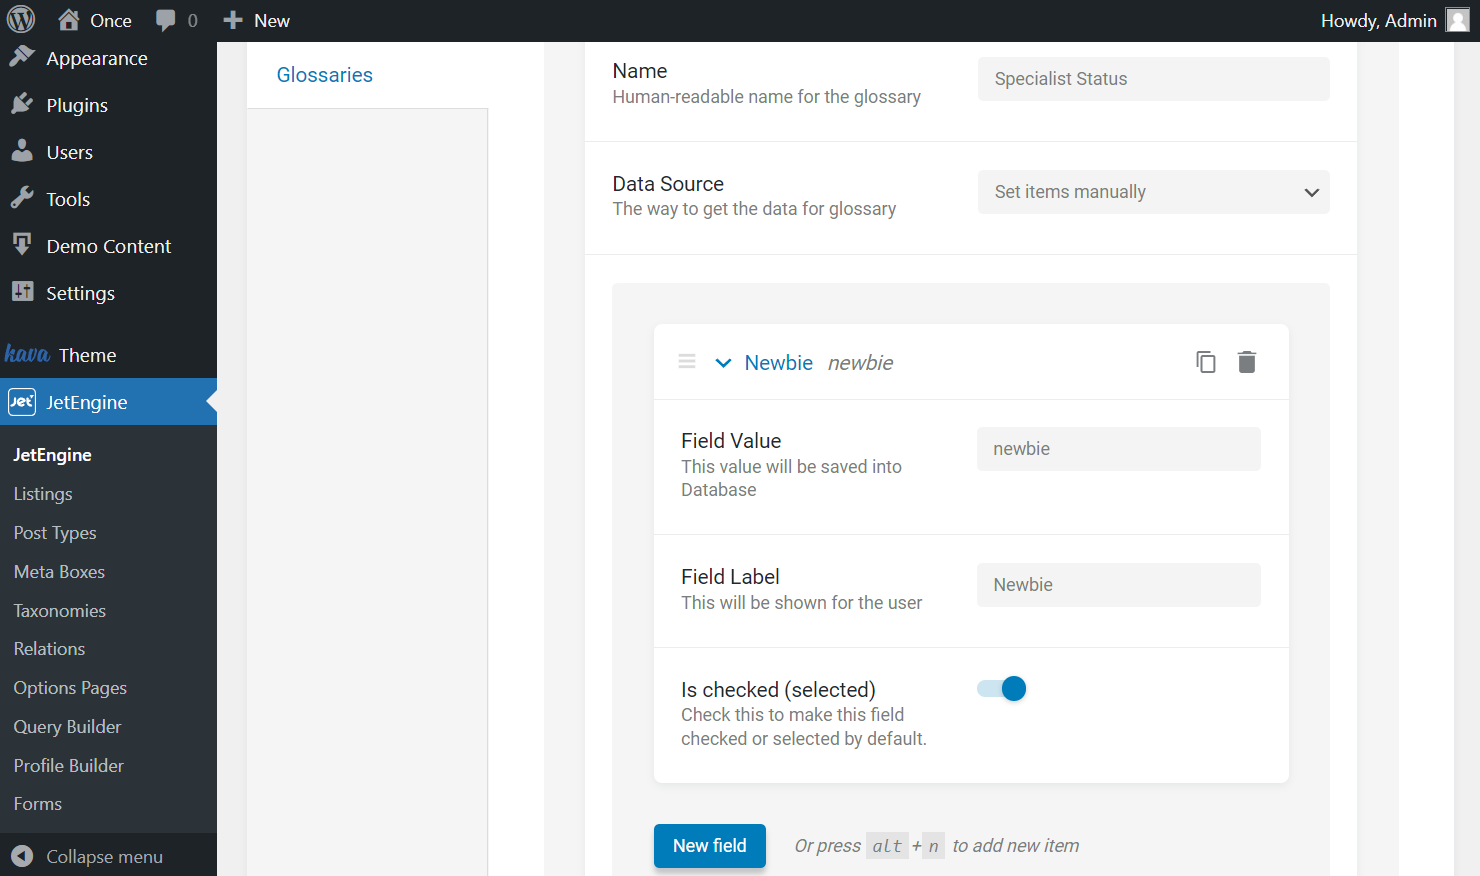
- Field Value — type in a value that will be saved into the database. Pay attention that this value shouldn’t include any spaces and capital letters and should be written using Latin letters. If you want to separate the words, do it by using “-” and “_” symbols;
- Field Label — complete the field with the label displayed as a glossary item title;
- Is checked (selected) — enable the mentioned toggle to make the particular value checked by default. For instance, we activate it for one option, one that is dedicated to new users. So, all the users will get this status by default, and it will be possible to disable it later.
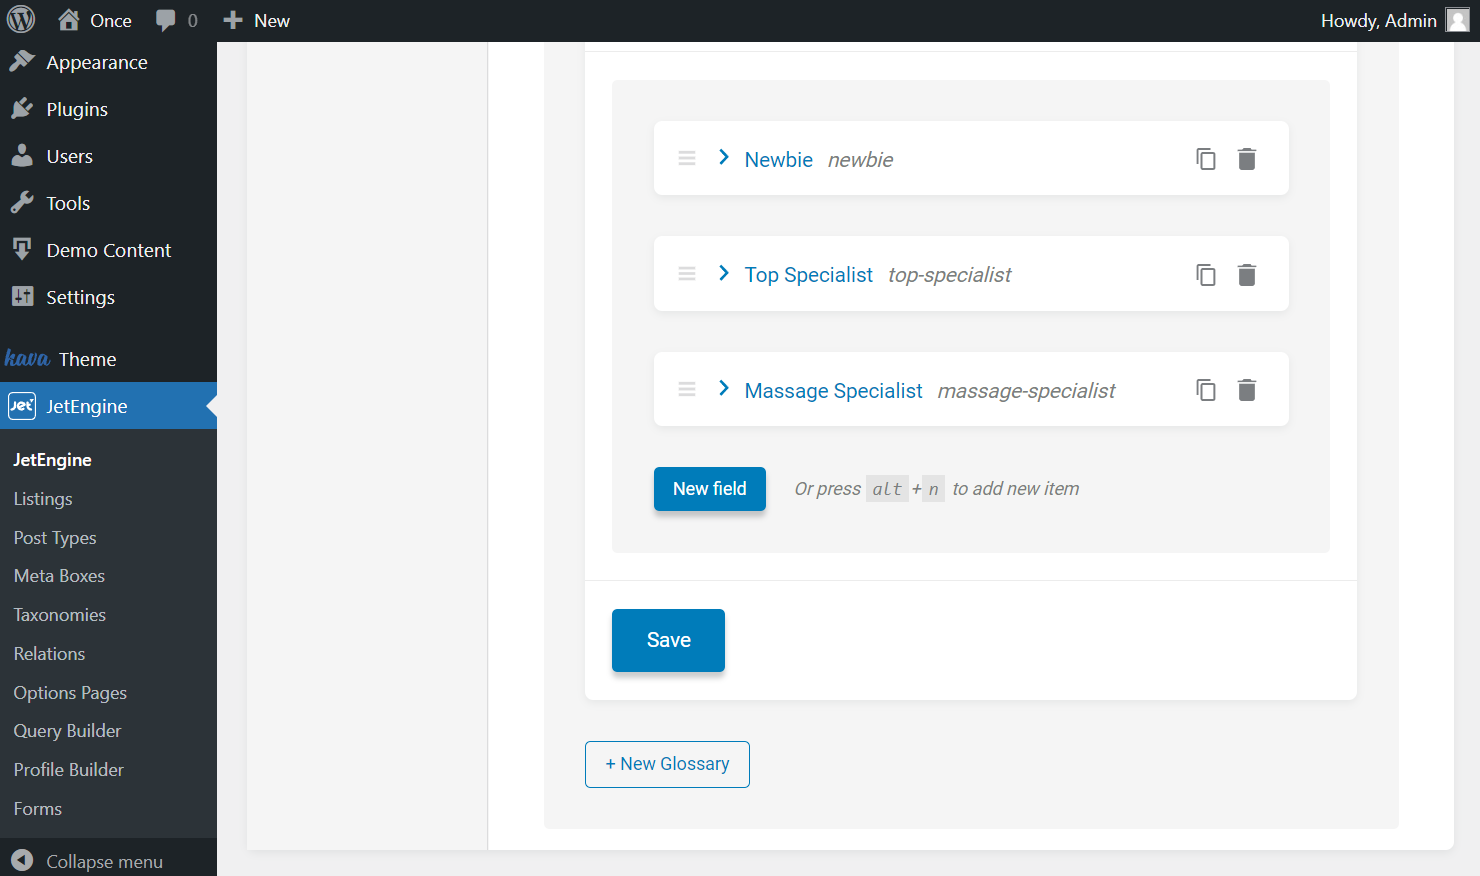
Then add as many options as you need by hitting the “New field” button, adjust them, and don’t forget to press the “Save” button.
After taking the previous steps, we need to add the built glossary into the users meta box.
Add a Checkbox Field to the Meta Box
Navigate to WordPress Dashboard > JetEngine > Meta Boxes and push the “Add New” button to build a new meta box.
Or, select the existing meta box and press the “Edit” button next to the needed item.

Starting from the General Settings tab, complete all the initial fields.
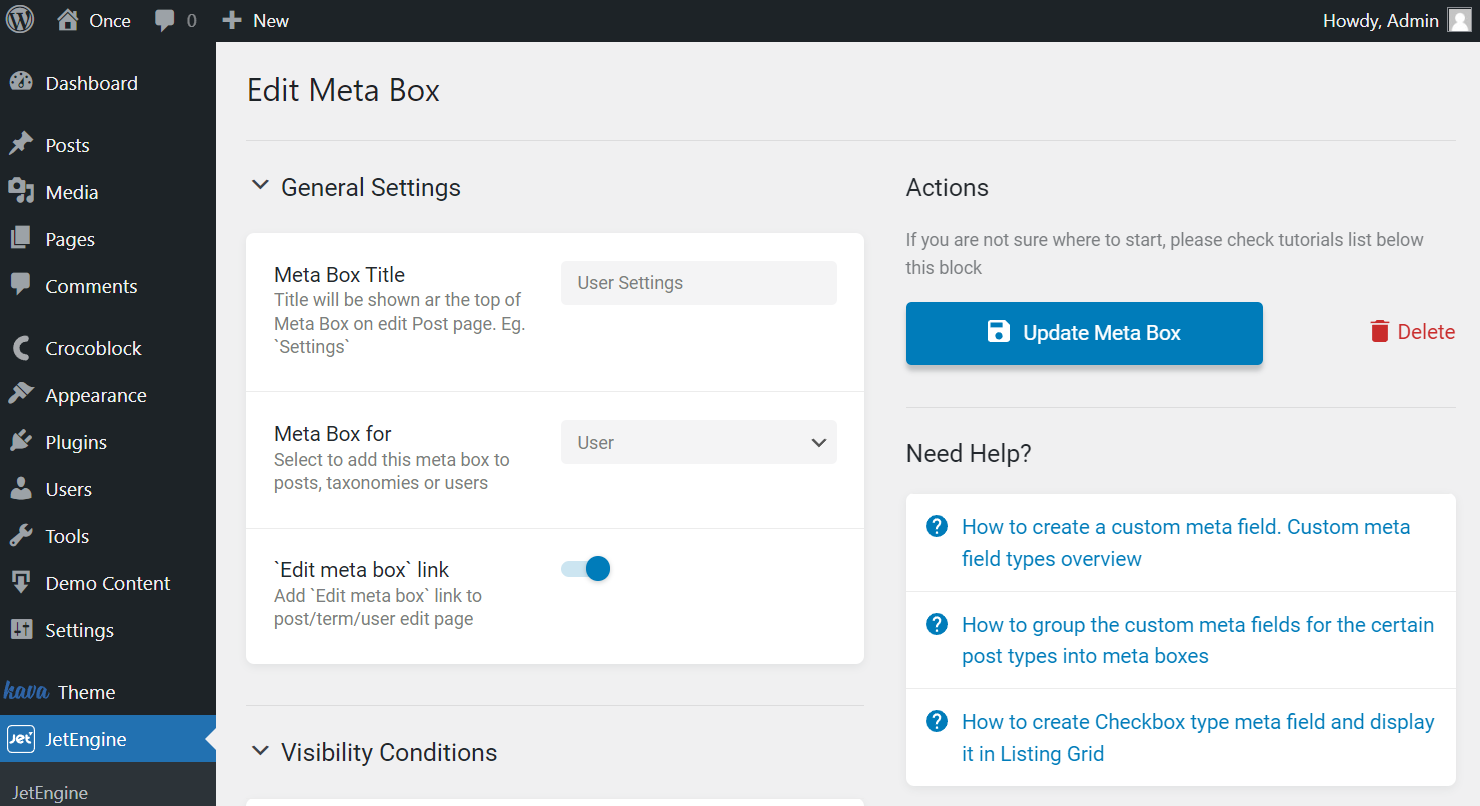
- Meta Box Title — give a title to the meta box you are creating;
- Meta Box for — select the source where the meta box will be displayed. In the described use case, we need to pick the “User” option;
- ‘Edit meta box’ link — activate this feature if you want to display the gear-shaped button on the user editing page to proceed to meta box editing quickly.
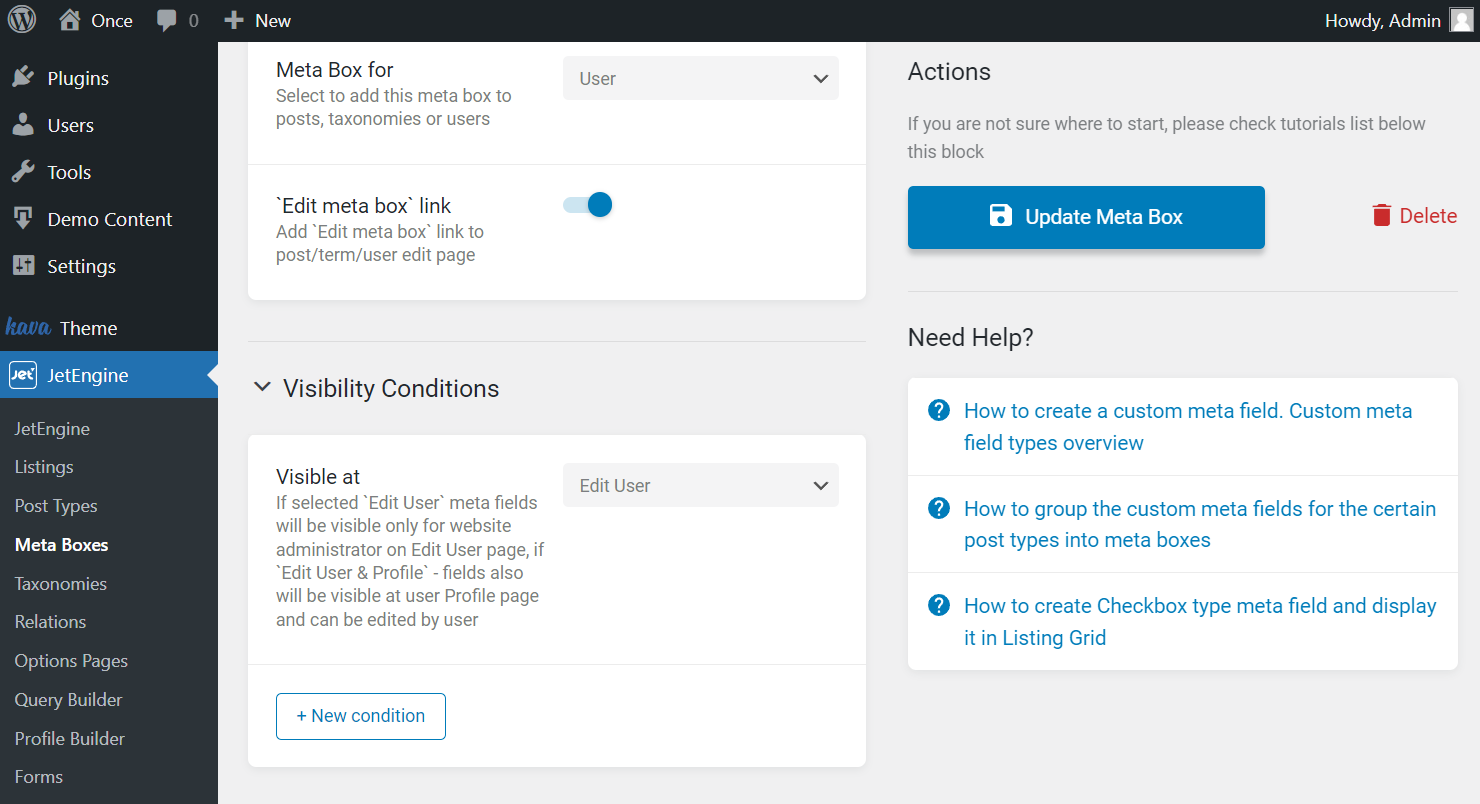
You can also work on the Visibility Conditions tab to define the visibility of the user meta box.
Now we will select the “Edit User” option so only the website admin can change the users’ status.
Mind changing this value into the “Edit User & Profile” one if you want to make editing available both for admin and users.
Ultimately, proceed to the Meta Fields tab and press the “New Meta Field” button to start editing.
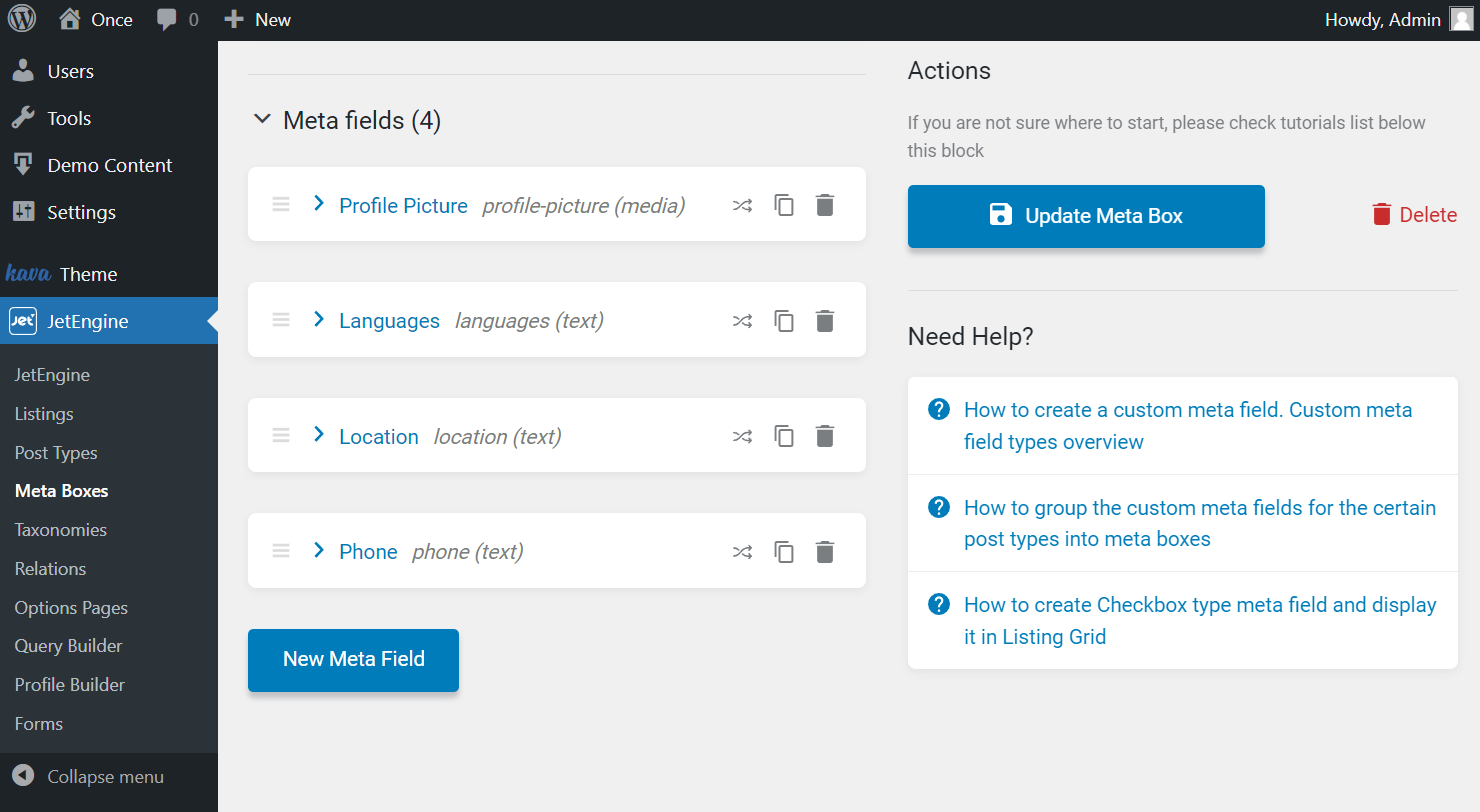
Let’s check the meta field settings and work on the needed ones to get the desired result.

- Label — name the field displayed in the user meta box;
- Name/ID — set the ID for the future checkbox field; you’ll need it later. Check that this value should include only small Latin letters, numbers, “-” and “_” symbols with no spaces;
- Object type — select the “Field” option as you need to add the field precisely;
- Field type — specify the meta field type you want to use. This time we select “Checkbox.”
Then look through the following settings. Not all of them are obligatory to complete in the described case. Pay attention to the Get options from the glossary toggle; activate it to see the Glossary field. Here pick the glossary built earlier with JetEngine.
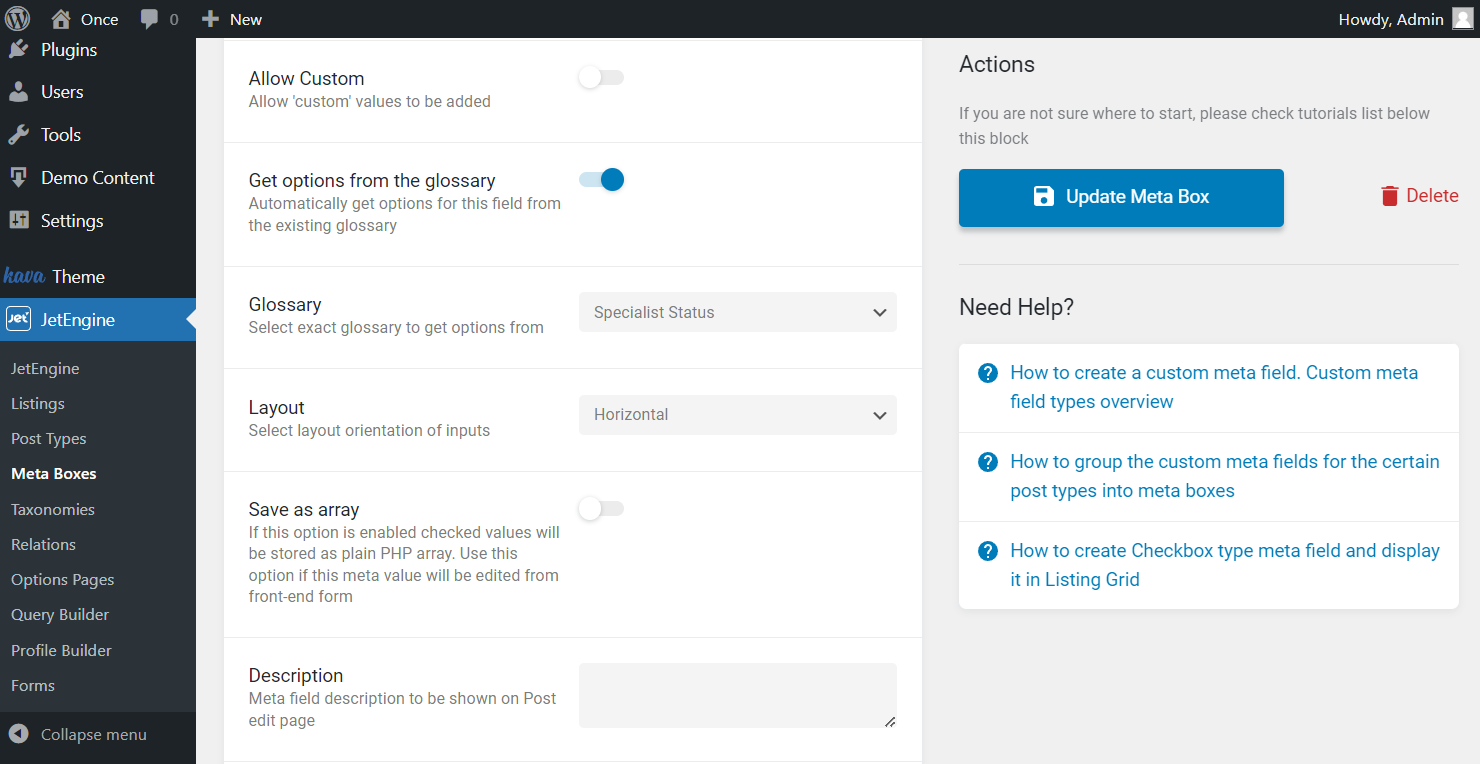
That’s all we need in the meta box. So, now you can click the “Add/Update Meta Box” button to save the result.
Create Users Query
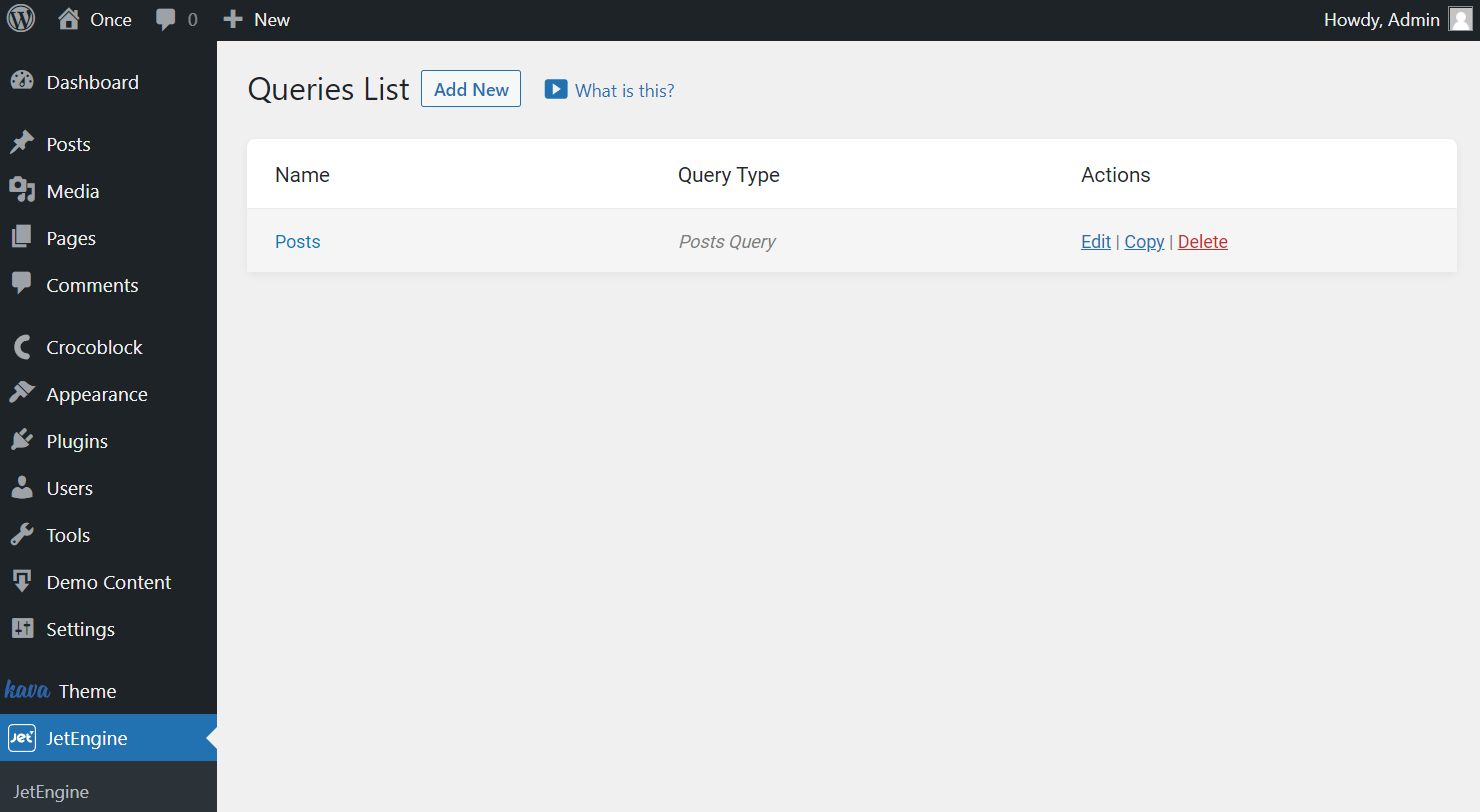
The next step is building a query by heading to the WordPress Dashboard > JetEngine > Query Builder directory.
Press the “Add New” button to create a new query.
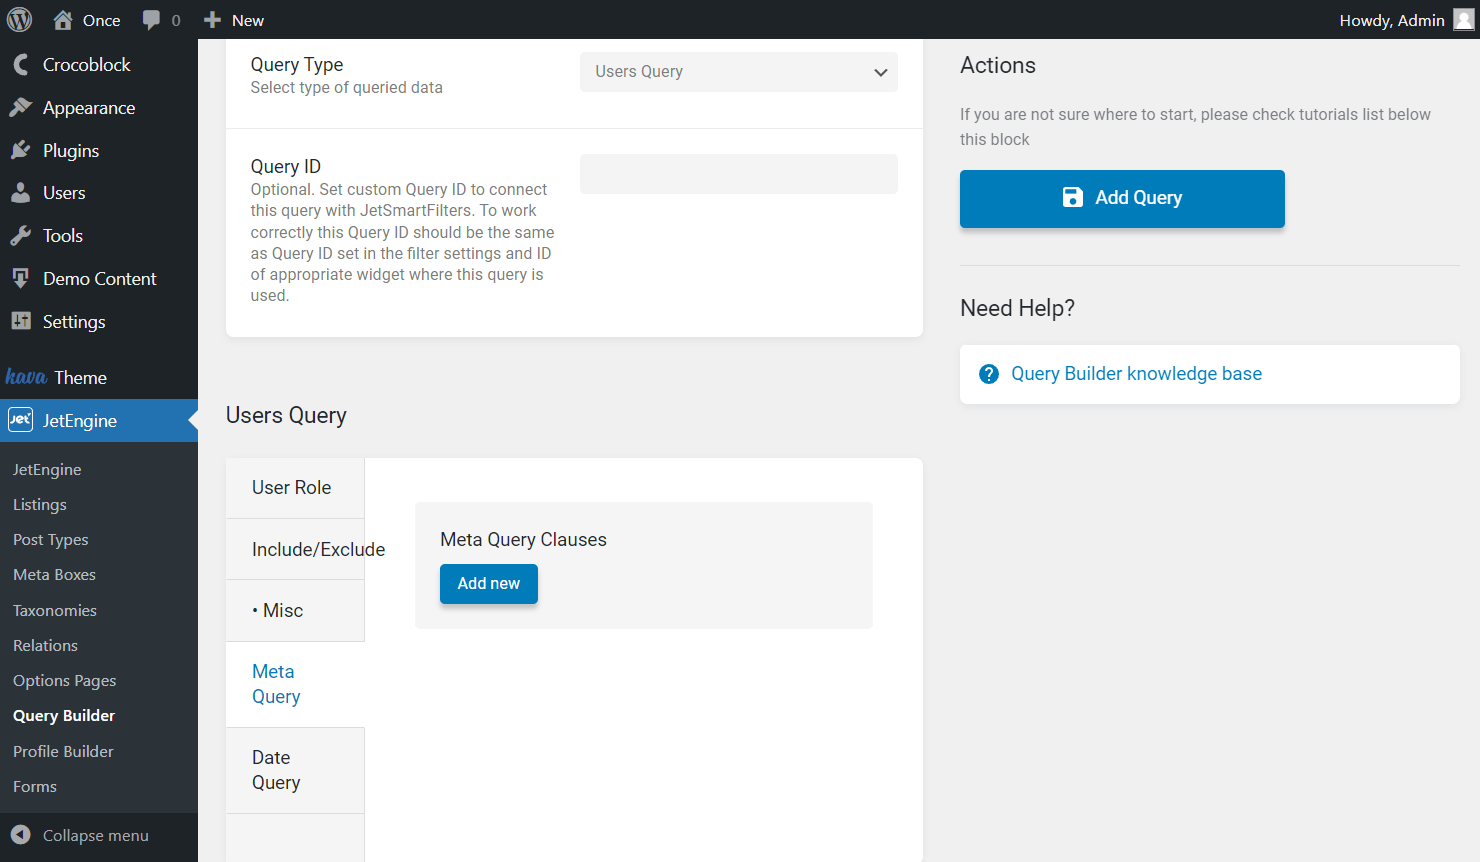
Here General Settings are also the first to be set in the described query.
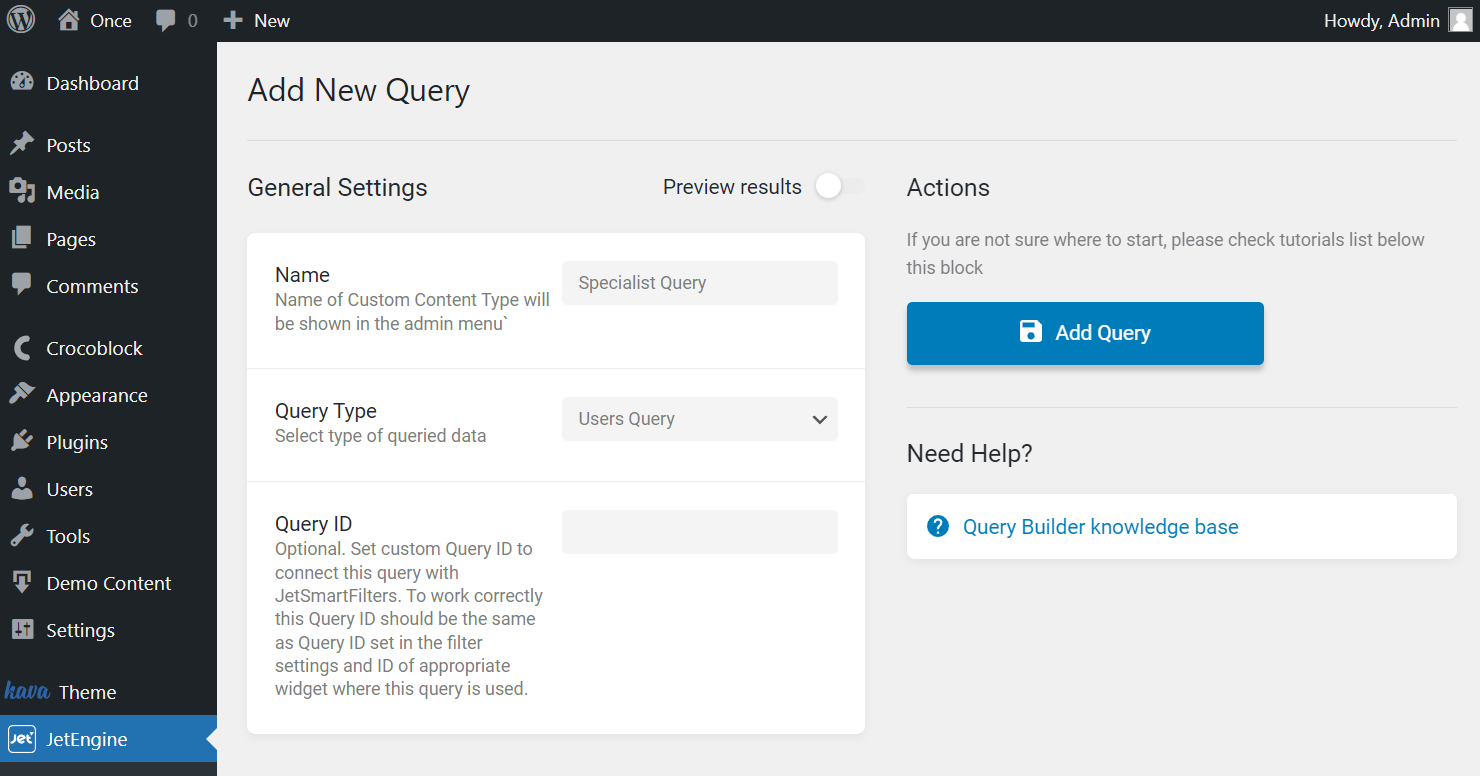
- Name — give a title to the edited query;
- Query Type — choose the “Users Query” to set the query strictly for users;
- Query ID — you can optionally fill in this field if you work with the JetSmartFilters plugin and need the ID for the filter you build.
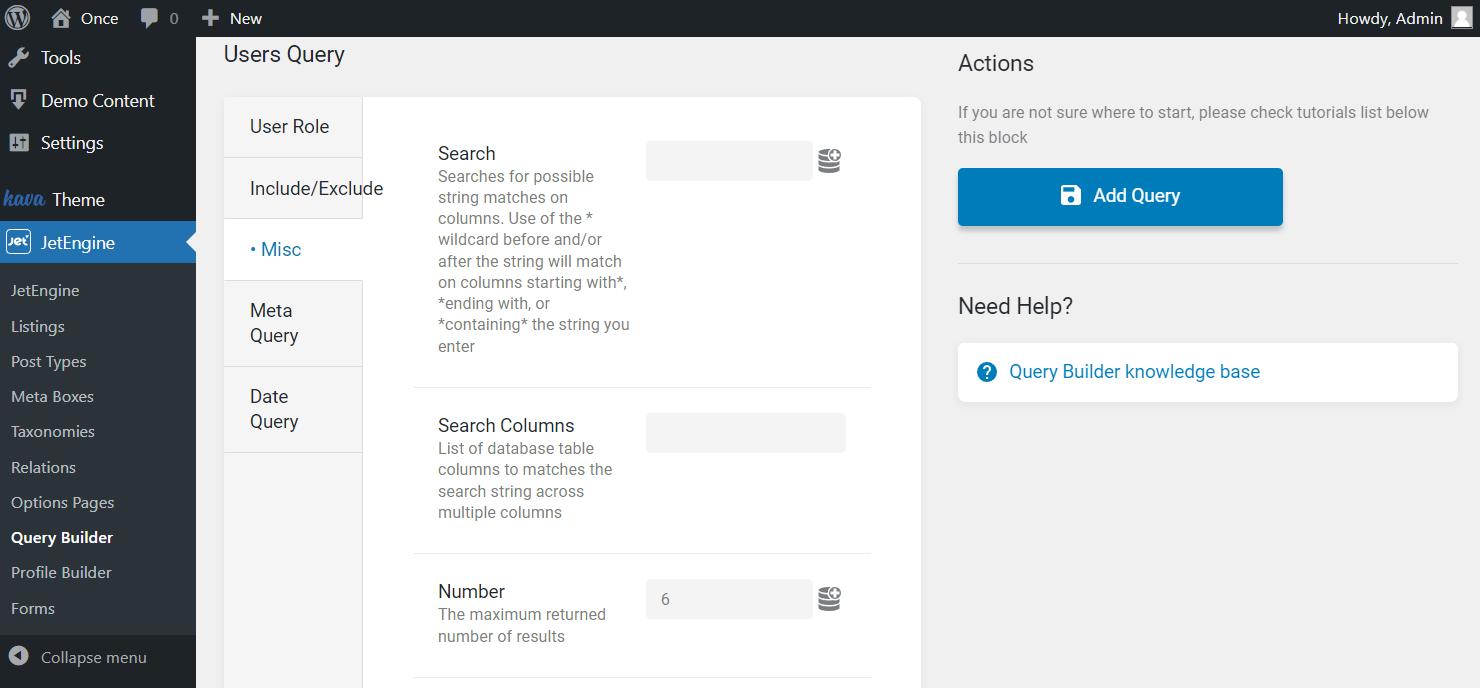
Moving to the Users Query, open the Misc tab. Here we need to specify the Number of users that will be displayed in the grid later.
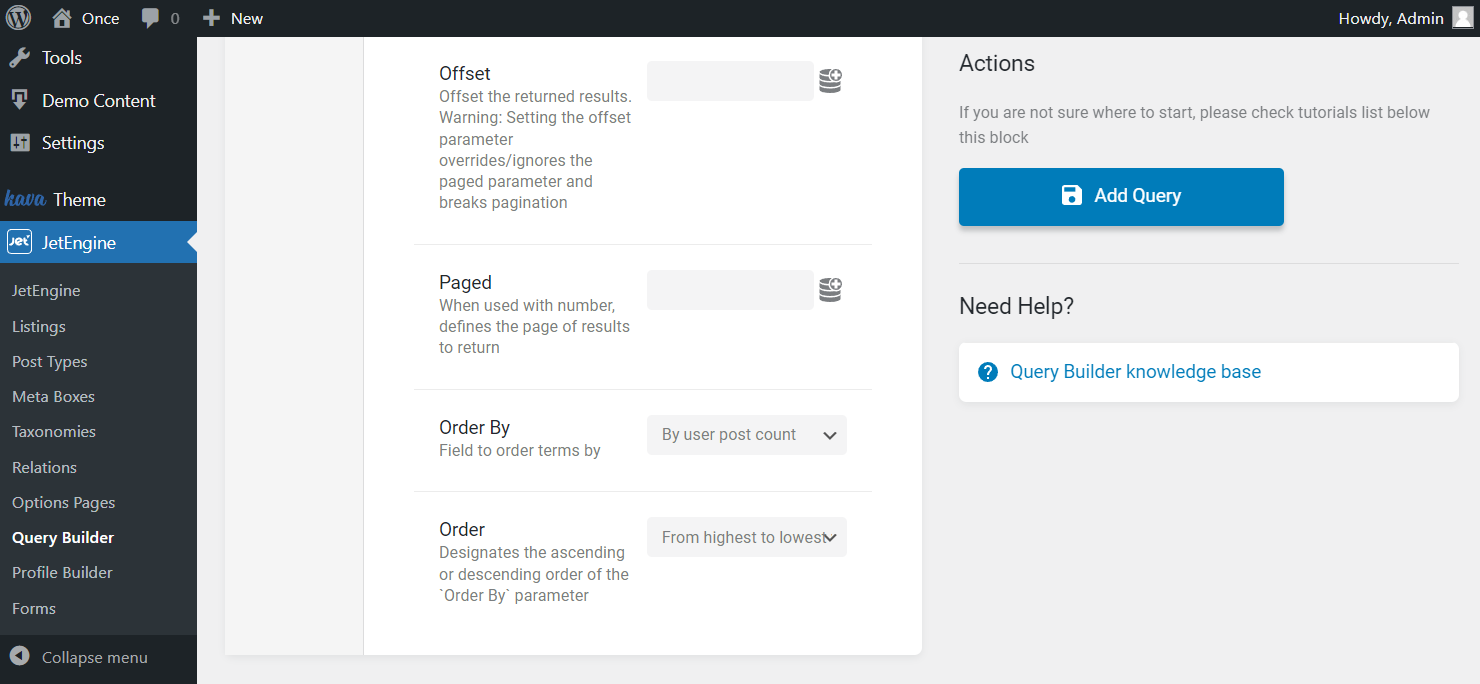
Also, we want to display users not only depending on their status but also on the number of posts they have. So move to the Order By field and select the “By user post count” option.
Besides, we set the Order as “From highest to lowest values.” And you can choose the preferred order if you want.
Go to the Meta Query tab to work on its settings. Push the “Add new” button to create a new meta query clause.
Let’s start filling in the fields available for editing.
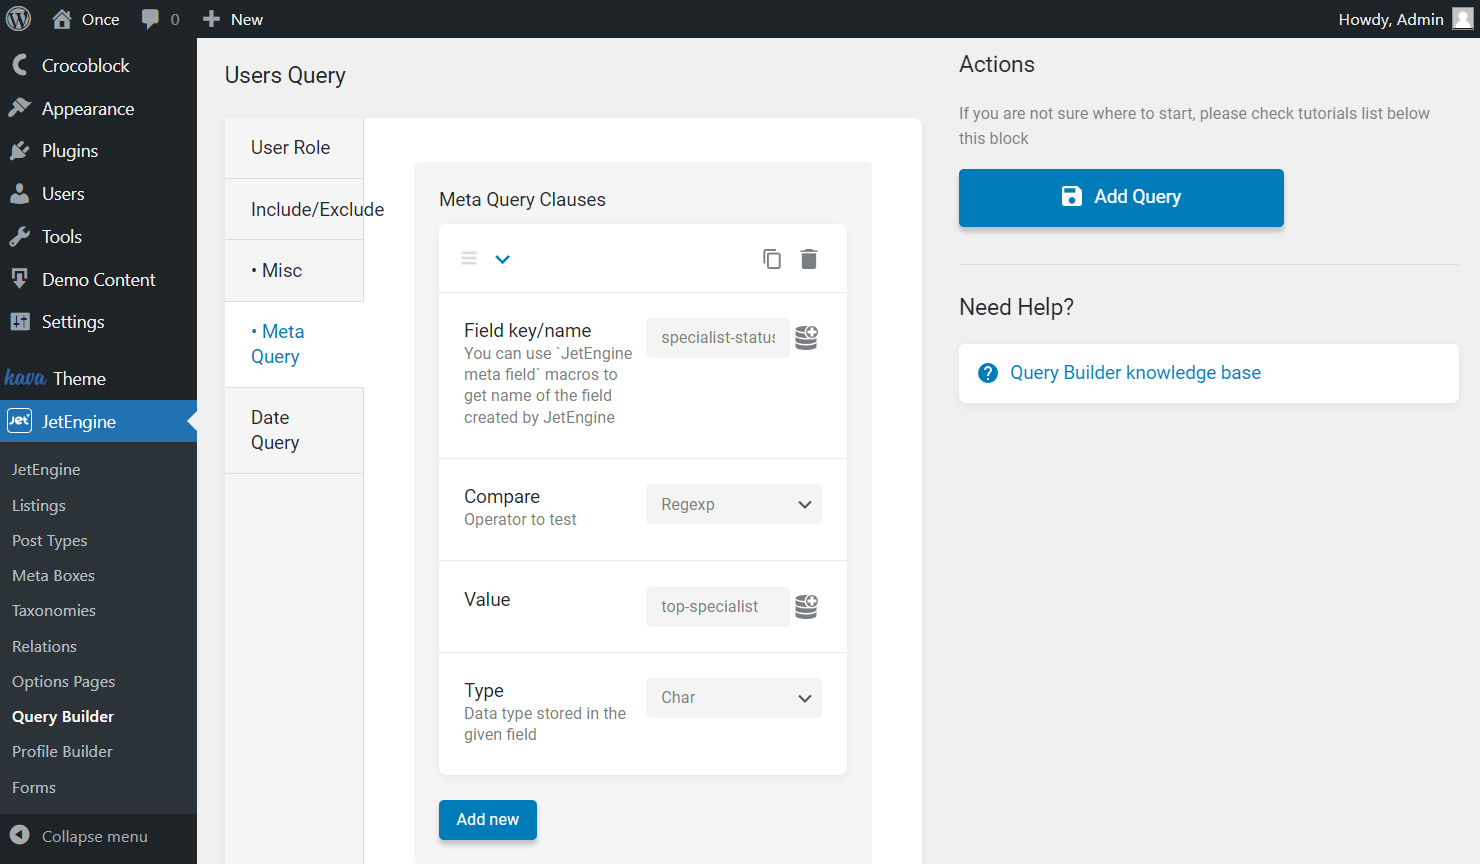
- Field key/name — paste the meta field value that you have entered previously in the user meta box Checkbox meta field;
- Compare — choose the “Regexp” option here as it is meant to be used with the Checkbox and Radio values;
- Value — paste one of the values you want to display in the grid;
- Type — pick the “Char” option if you work with the alphabetical values or check the other available value.
That’s all we need for the query, so now you can click on the “Add Query” button.
Display Top Specialists
Go to WordPress Dashboard > JetEngine > Listings. Edit the existing listing by hovering over it and pressing the “Edit” button, or hit the “Add New” button.
Fill in the listing with the dynamic data concerning users on your WordPress website.

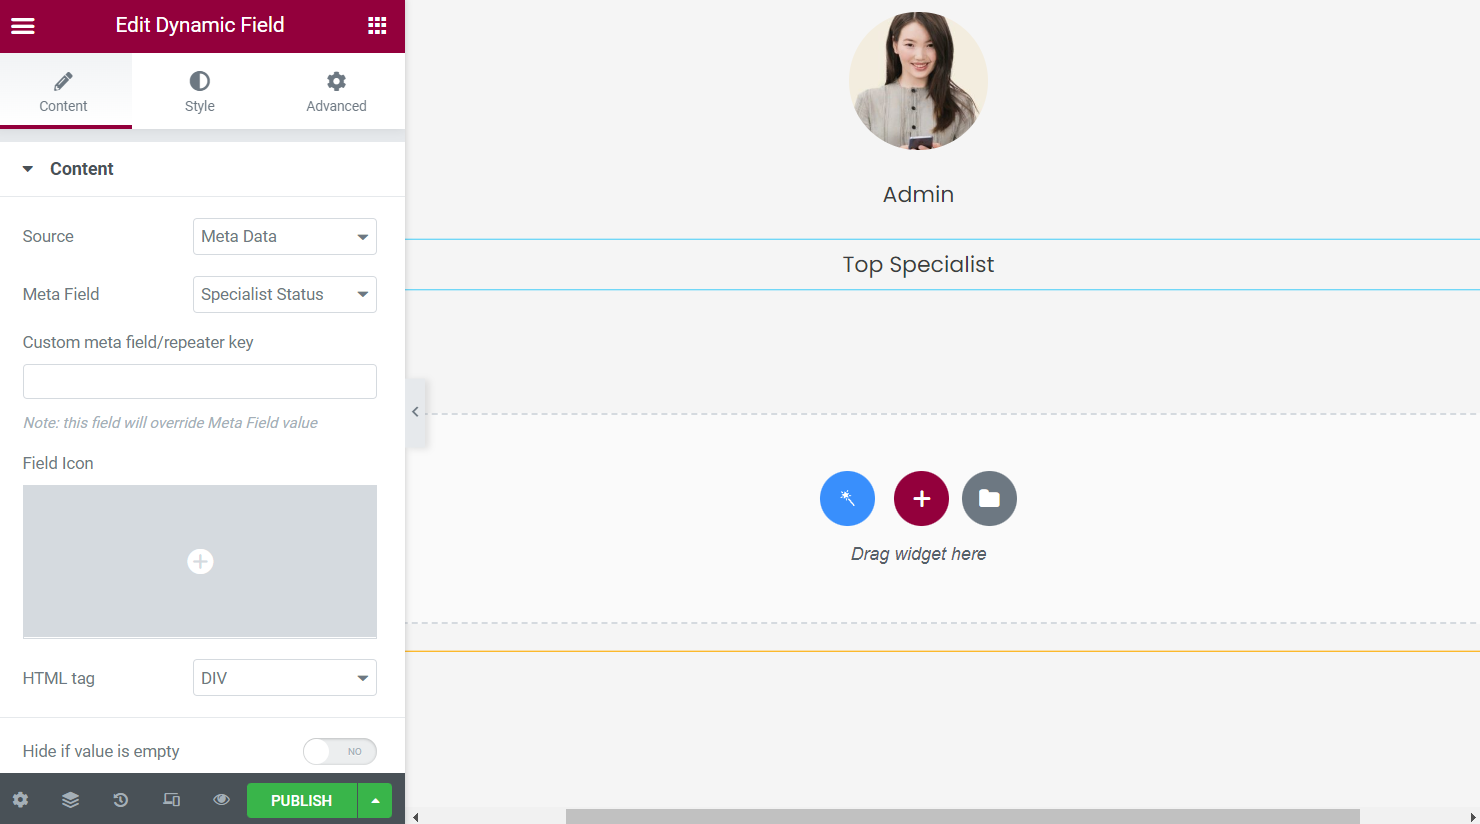
Also, we can add the created statuses to this listing. Place the Dynamic Field widget/block onto the page.
Set the “Meta Data” as the Source and pick the Meta Field you have created before in the users meta box.
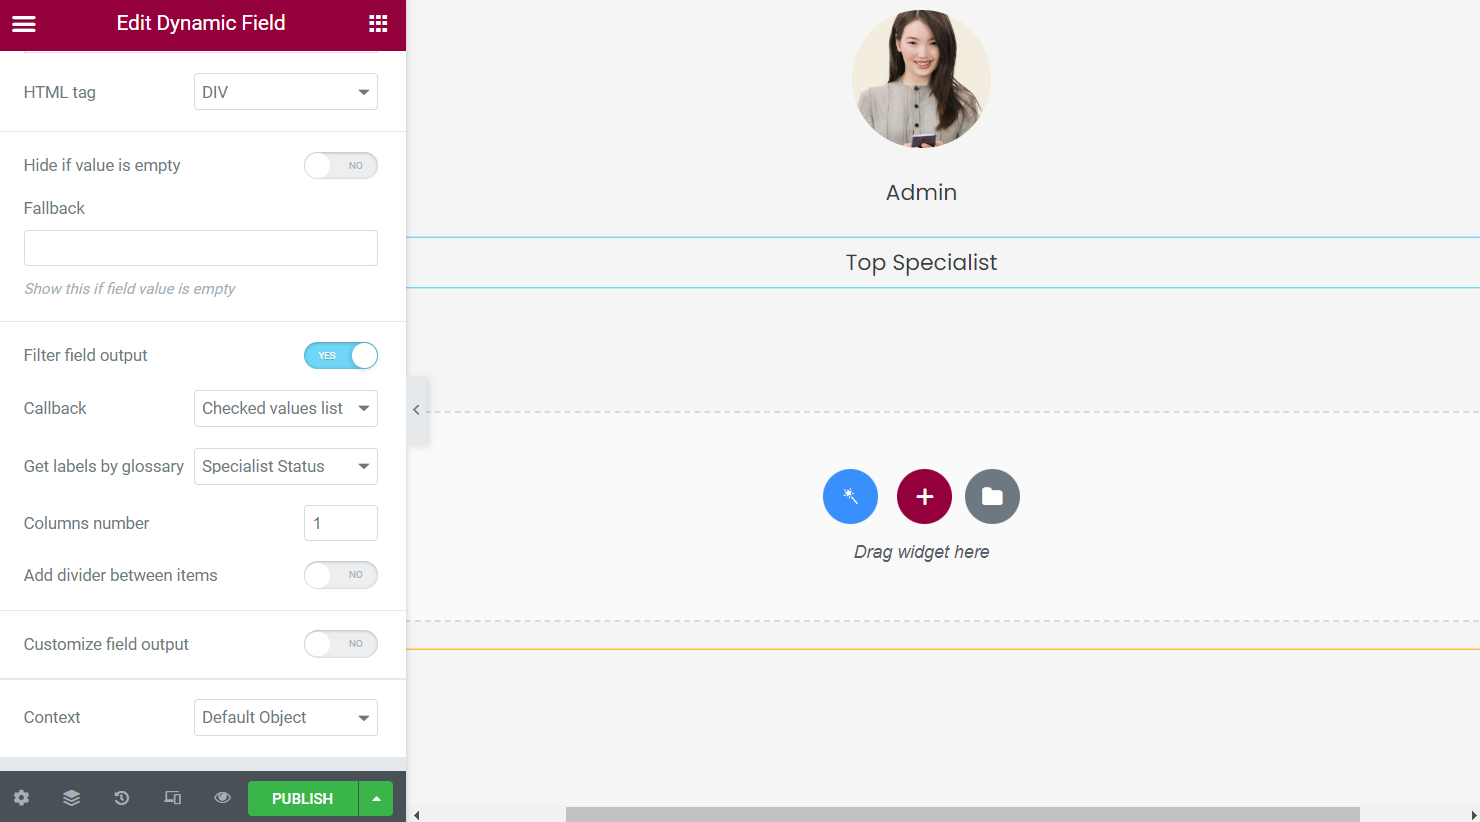
Move to the Filter field output toggle and activate it to set the “Checked values list” as the Callback.
Select the built glossary in the Get labels by glossary field. So, now this is it for adjusting this field.
You can also style up the added fields in the corresponding Elementor section and press the “Publish” button whenever everything is ready.
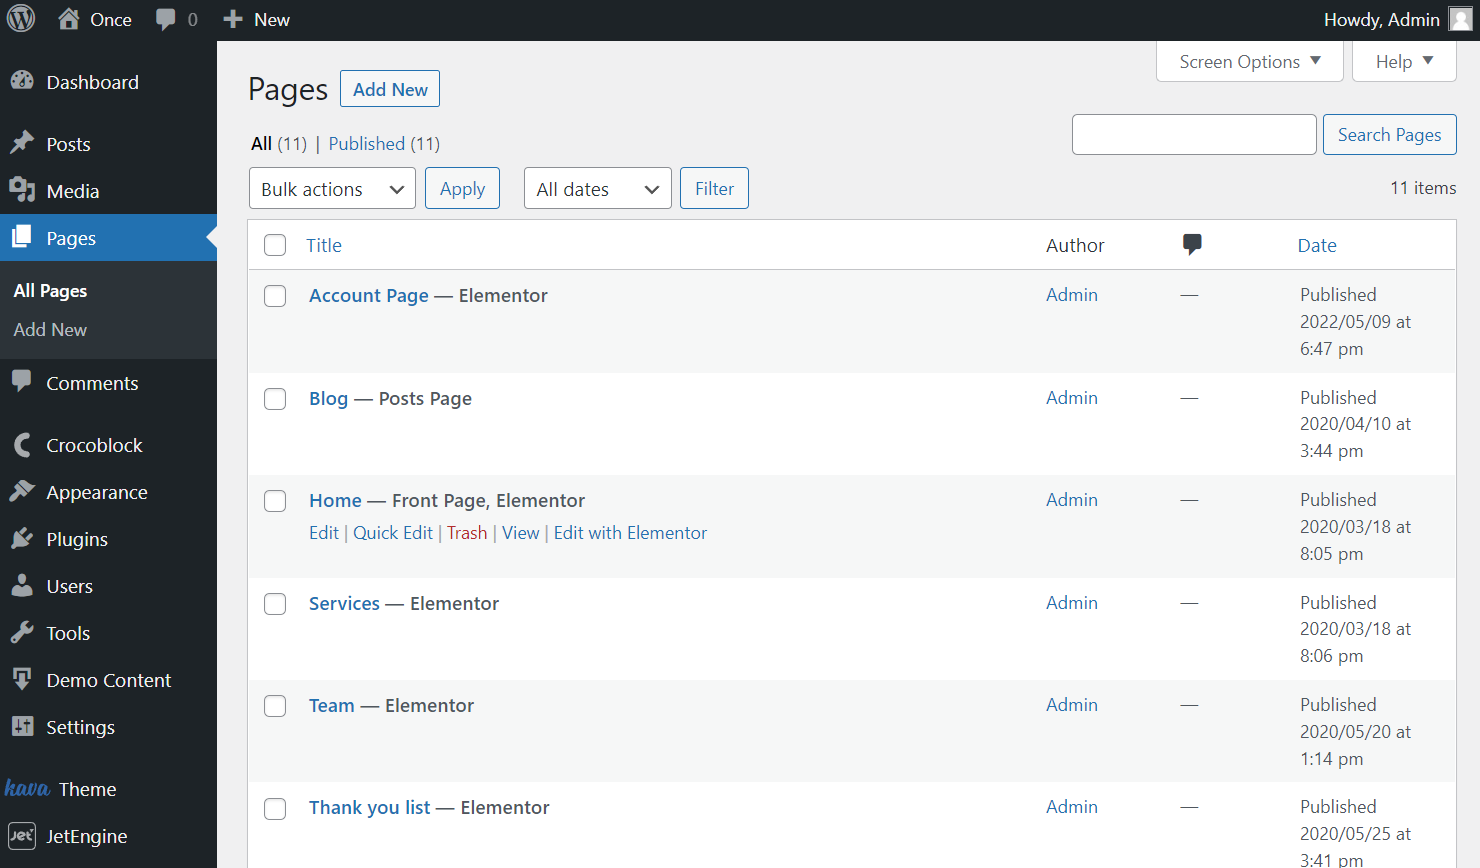
Head to the page where you want to place the listing in WordPress Dashboard > Pages. Select the existing page and hover over it to click the “Edit” button.
Or build a new page by hitting the “Add New” button.
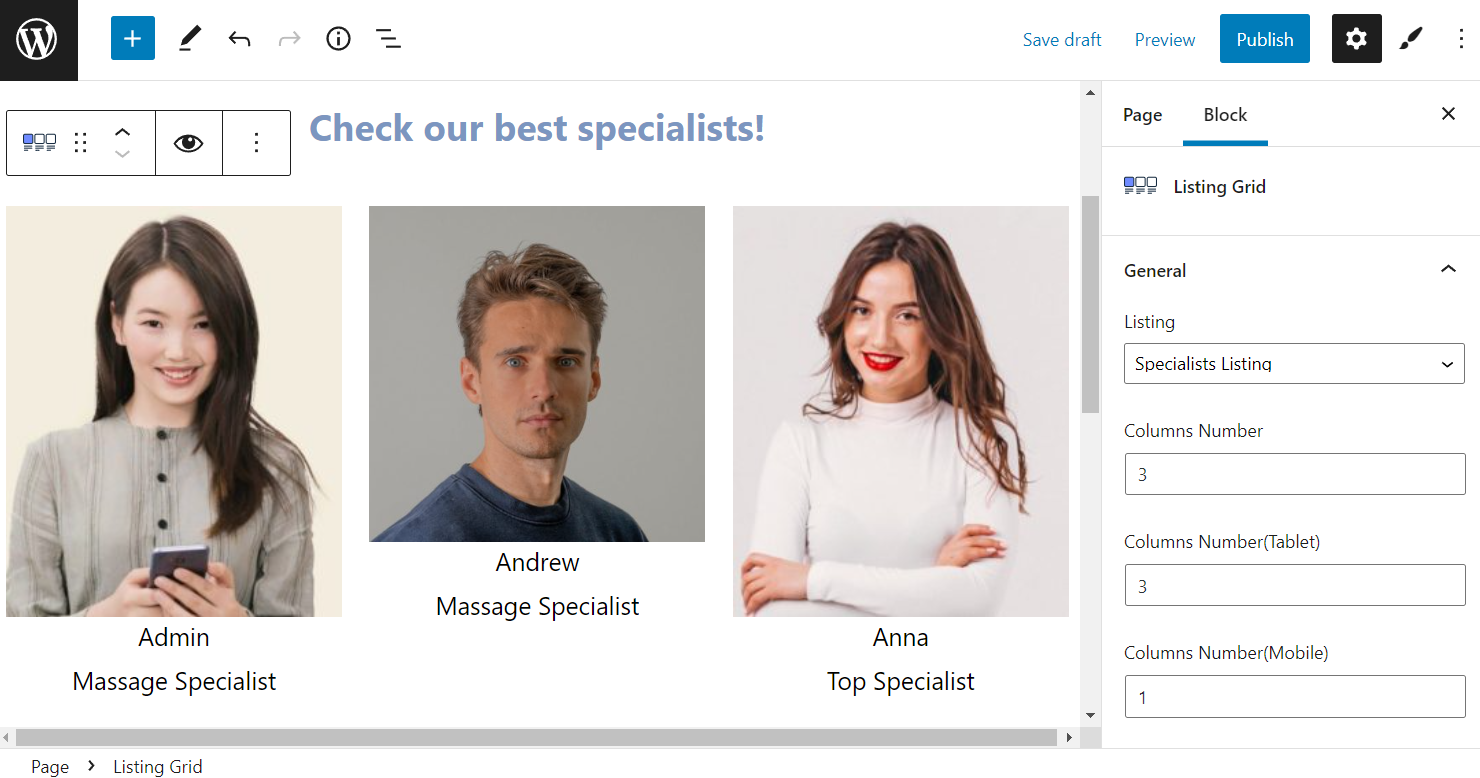
Add Listing to Gutenberg
Search for the Listing Grid block. Once you add it to the page, pick the needed item in the Listing field.
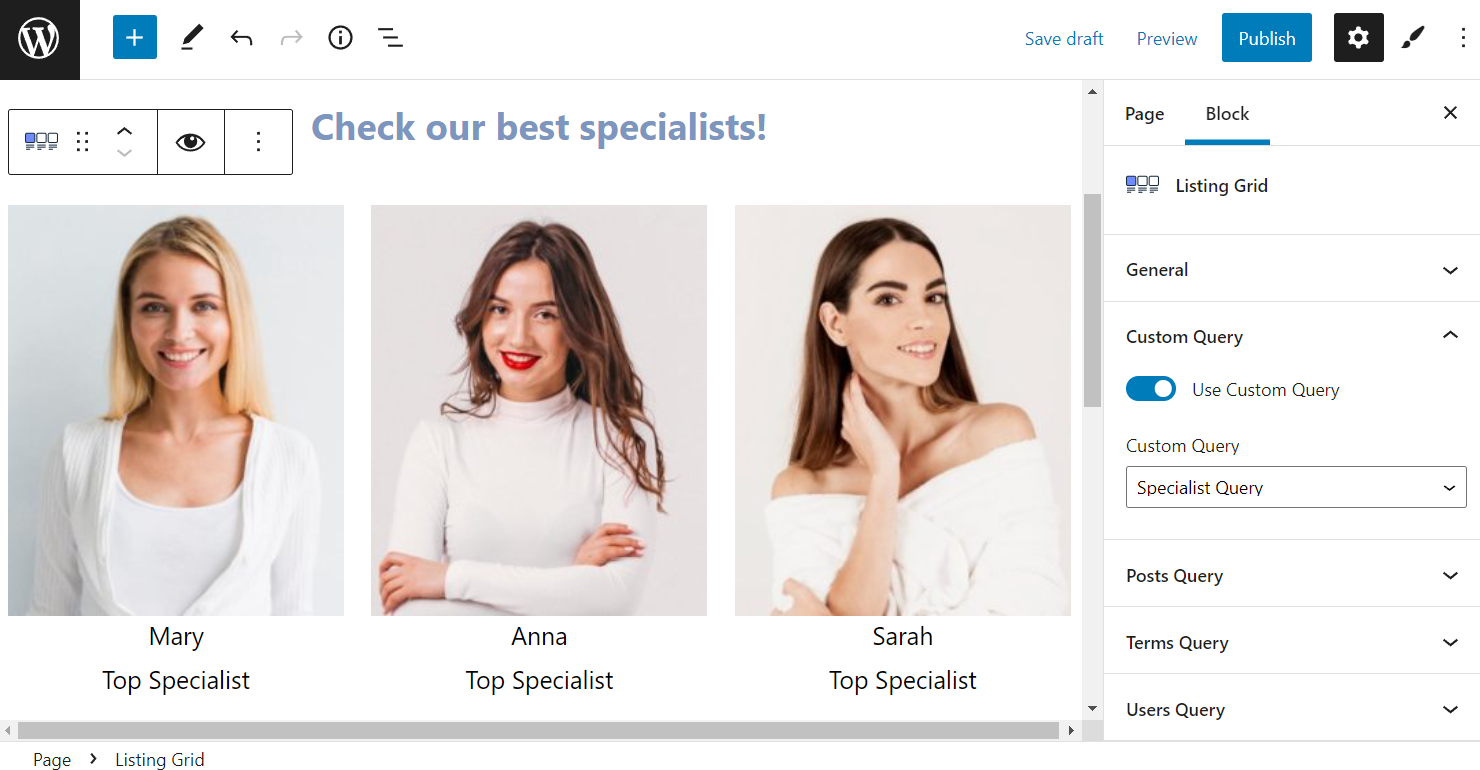
Open the Custom Query tab to activate the Use Custom Query toggle and select the created query in the Custom Query field.
Push the “Publish/Update” button to make the page live.
Adjust Listing in Elementor
The same procedure described earlier can be repeated in the Elementor Page Builder.
Find the Listing Grid widget and place it on the page. Pick the item you have built earlier in the Listing field.

Move to the Custom Query tab, switch on the Use Custom Query toggle, and pick the built query as the option in the Custom Query field.
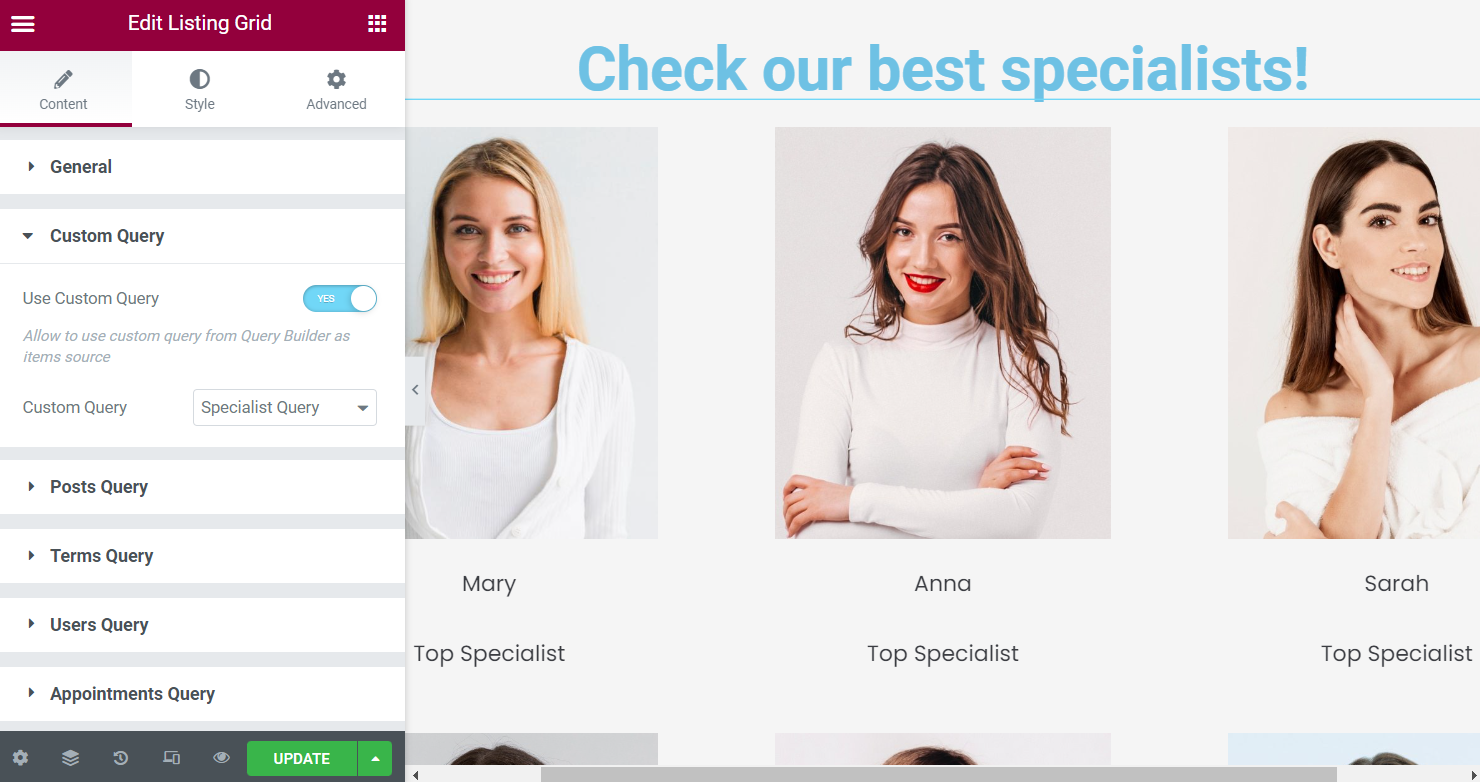
That’s it; press the “Publish/Update” button.
And now, by means of JetEngine and its Query Builder feature, all the users with the “Top Specialist” status will be displayed within the grid and ordered depending on the number of user posts.