Wishlist Widgets Overview
This overview reveals functions and describes the settings of all three comparison widgets of the JetCompareWishlist plugin: Compare Button, Compare Count Button, and Compare.
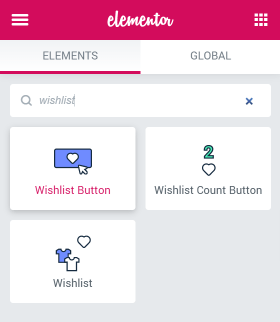
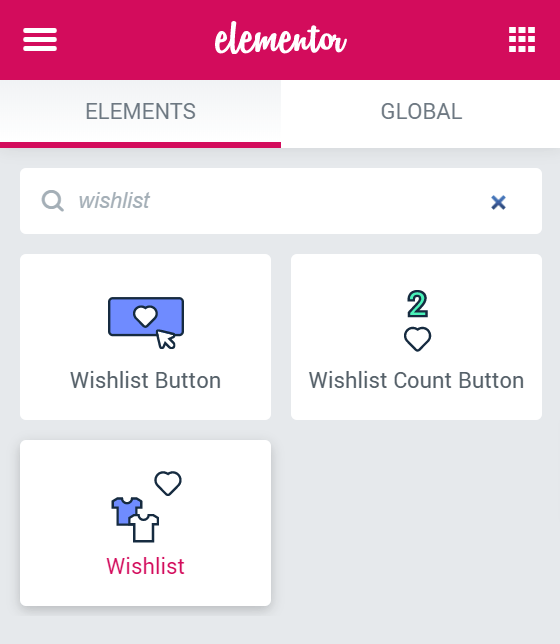
With the JetCompareWishlist plugin, you will have a unique opportunity to create wishlists and compare tables with desired products, as well as add Wishlist and Compare buttons to the product templates. From this overview, you will learn about all the functions of the Wishlist, Wishlist Button, and Wishlist Count Button widgets.
Before you can add these widgets to the website page, you’ll have to enable them. If you have no idea about how to do that – proceed to the How to Enable Wishlist Functionality tutorial.
Wishlist Button Widget
The Wishlist Button widget allows you to create a button that adds products to the wishlist. The widget can be added to the custom Single and Archive WooCommerce templates.
In the Content menu tab, you can switch between the “Normal” and “Added” appearance options. For each of them, you can customize the set of general options. Let us take a closer look at them.
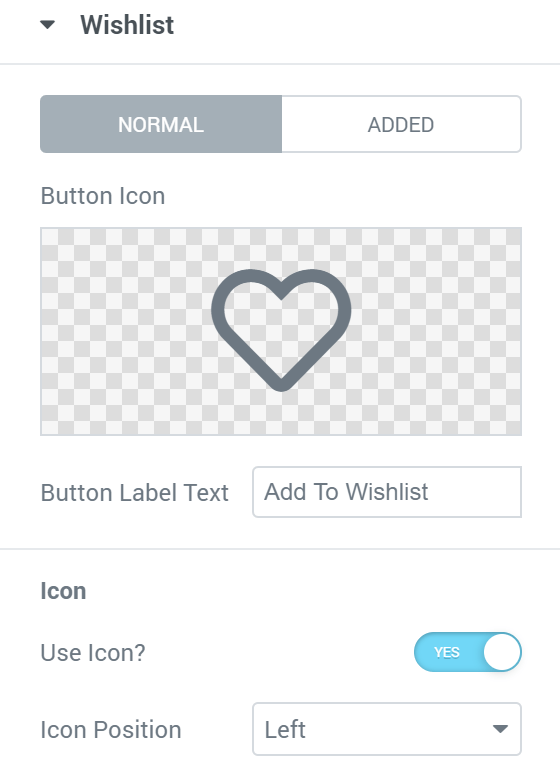
- In the Button Icon field, you can select the image that will be displayed on the button. It can be one of the Icon library items or an uploaded SVG image;
- In the Added tab, you can also turn on the Use as remove button toggle. In this case, the user will be able to remove the product from the wishlist by clicking on the same button;
- If you want to change the text on the button, you can insert it into the Button Label Text field;
- The Use Icon toggle enables showing the icon on the button. If you turn it on, you can choose the icon position in the Position dropdown menu.
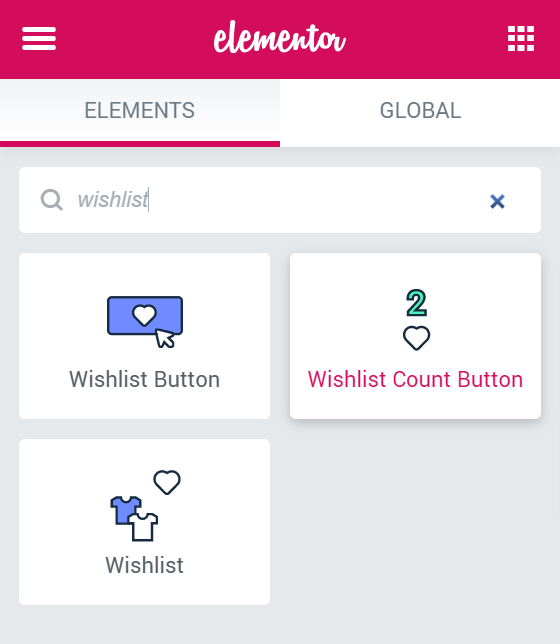
Wishlist Count Button Widget
The Wishlist Count Button widget allows you to create a button that will lead the customer to the wishlist. Besides that, it shows the number of products added to the wishlist. This widget can be added either to the header or footer.
All the general settings are listed in the Content menu tab. Let us go through all of them.
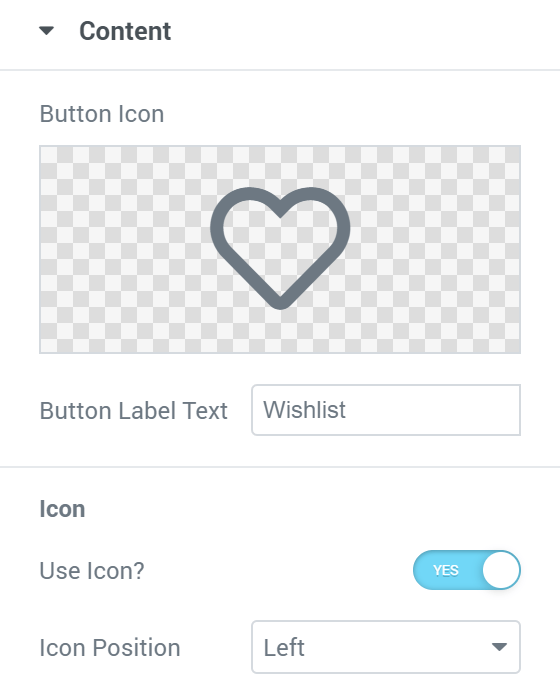
- You can select the image you like in the Button Icon field, and it will be displayed on the button;
- In the Button Label Text, you can define the text that will be shown on the button;
- In the Icon block, you need to turn on the Use Icon toggle and select the best position in the Icon Position dropdown menu.
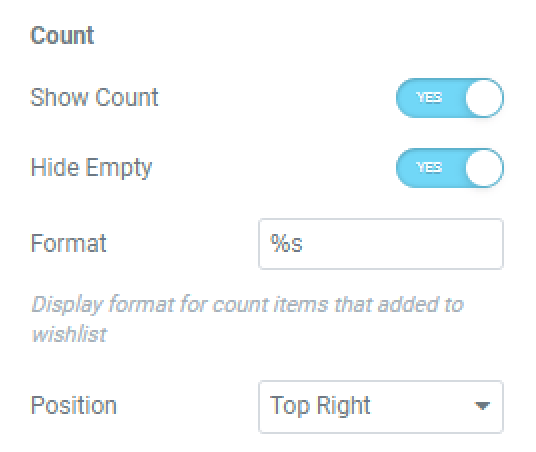
- In the Count block, you should enable the Show Count option if you want to show the users how many items there are already on the wishlist;
- Toggle Hide Empty on if you want to hide a wishlist items quantity if it equals 0;
- The Format field allows you to set the format more specifically for the count items added to the wishlist using macros;
- The position of the counter can be defined in the Position dropdown menu.
Wishlist Widget
The Wishlist widget helps you to create a wishlist. It is better to show it on a separate page, created especially for this purpose.
In the General settings block, you are able to define the look of the wishlist and its parts.
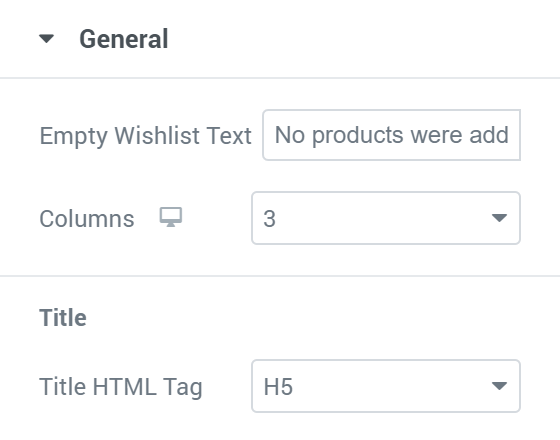
Empty wishlist text is a text that will be shown to the user if there are no items in his wishlist;
You can set the number of columns of the list in the Columns field that will be responsive to any of the chosen devices, compatible with Elementor Custom Breakpoint;
The size of the title can be chosen in the Title HTML Tag drop-down menu;
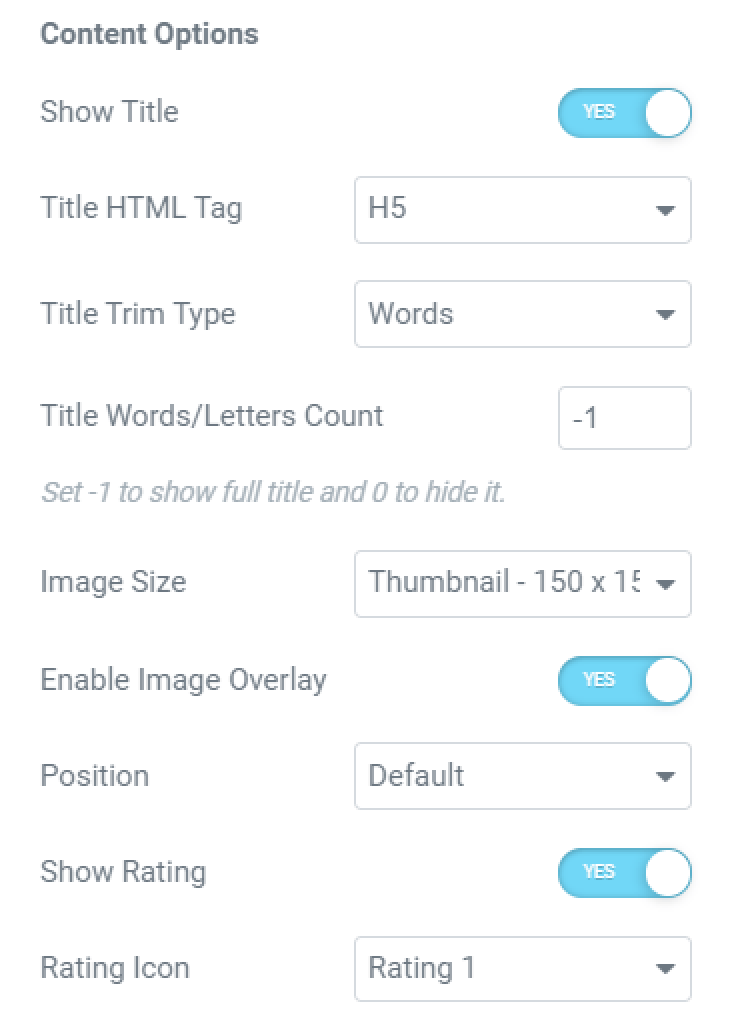
- Choose whether you want to Show Title of the product, its Title HTML Tag, Title Trim Type, and Title Words/Letters Count;
- You can set the preferable size of the image in the Image Size dropdown menu and enable Image Overlay;
- In the Position dropdown list, you can choose where to place the thumbnail;
- Show Rating by enabling this option and check Rating Icon that allows you to select a special style for the rating icon among 14 different styles. Remember that to showcase the rating, you should previously install and customize the JetReviews plugin.
As you know, the Style tab allows you to customize the general appearance of the products shown in the widget as well as certain elements: the Title, Price, Rating, etc. After you are done with the styling, don’t forget to click the “Update” or “Publish” button.
This is it. Now you know the basic functionality of the wishlist widgets and know how to customize them.