How to Create Single Service/Provider Pages
From this tutorial, you’ll learn how to create Single Page templates for services and providers.
JetAppointment is a plugin for WordPress that will help you create a website with providers and services. To customize and display them on the front end, you will need to build Single Page templates for providers and services. Let’s find out how to do it effortlessly.
Kindly note that the Service is the main CPT, and JetAppointment could function without the Provider CPT, so you decide whether to create it or not.
Create Single Service Page
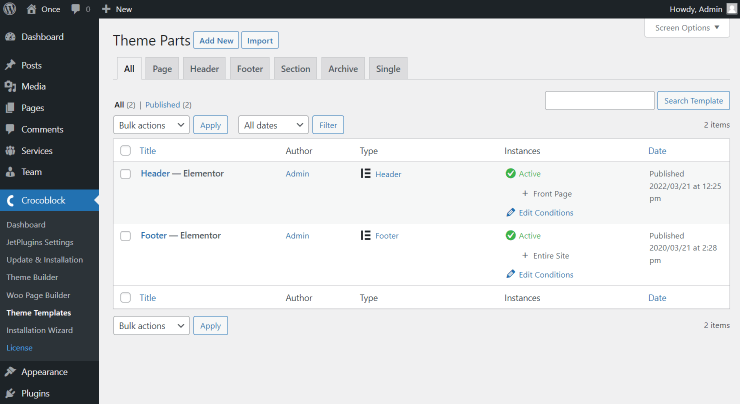
Navigate to WordPress Dashboard > Crocoblock > Theme Templates.
Here you can also observe the built header and footer so you can create them with JetThemeCore as well.
How to build a service page in Elementor
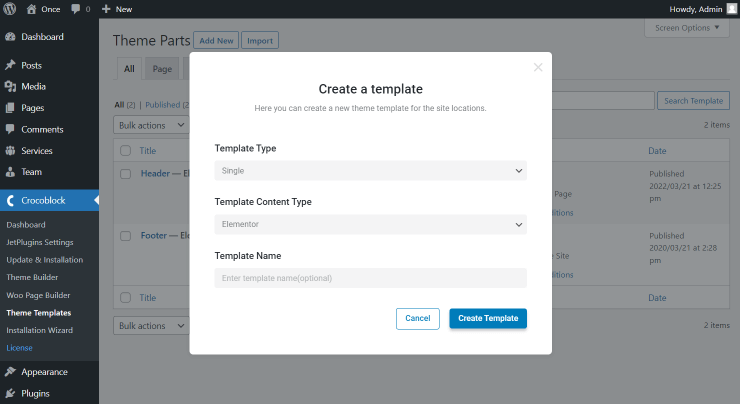
The Template Type should be set as “Single,” Template Content Type as “Elementor,” and the final Template Name field is optional. Click the “Create Template” button once ready with the fields.
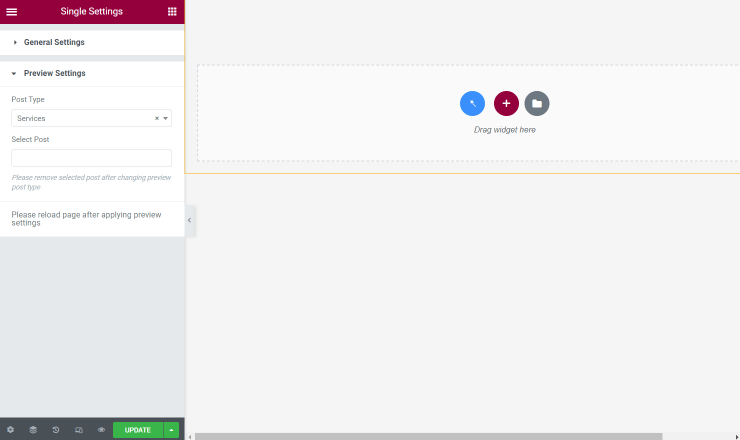
As the editor opens, head to the settings block in the bottom left corner of the editor and proceed to the Preview Settings block.
Here set the Service CPT as Post Type and specify the post in the Select Post field if desired.
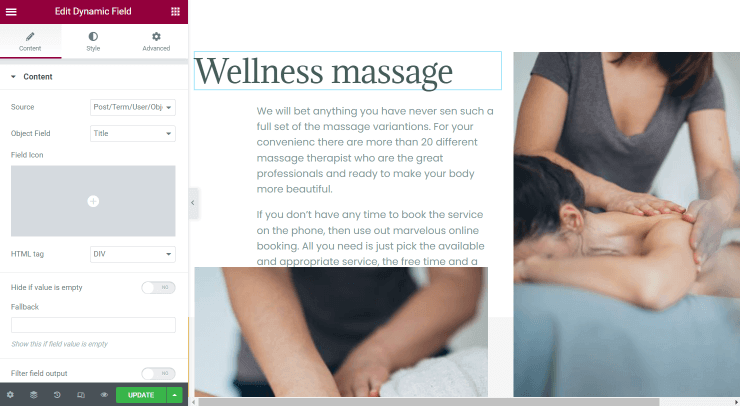
After setting up the Preview, you’ll be able to fill the template with content using JetEngine Dynamic widgets.
That’s what a Single Service Page would look like. Press the “Update” button once you are satisfied with the achieved result.
How to build a service page in Block Editor
After clicking the “Add New” button in the WordPress Dashboard > Crocoblock > Theme Templates directory, select “Single” as a Template Type, “Block Editor” as Template Content Type, and complete the Template Name field if needed.
Press the “Create Template” button to open the Block Editor.
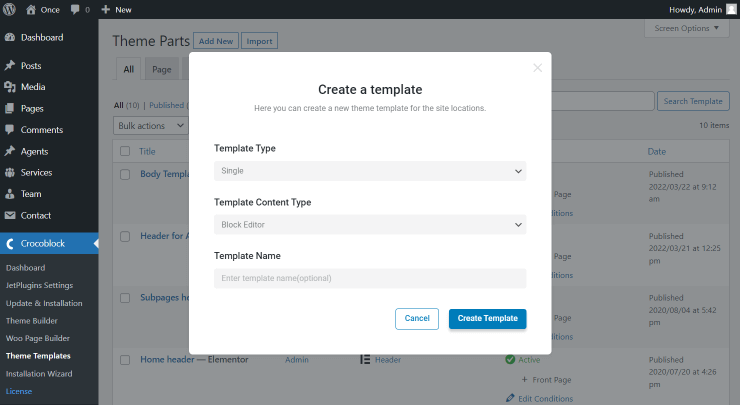
Work on the appearance of the page. Add the required blocks to make the template complete.
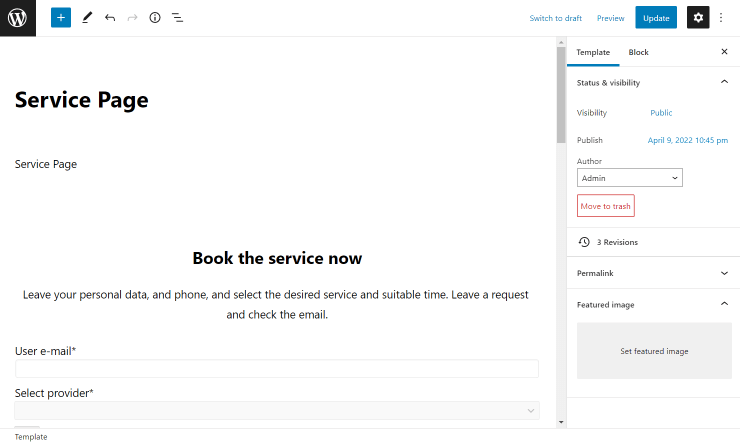
Setting the single service template visibility conditions
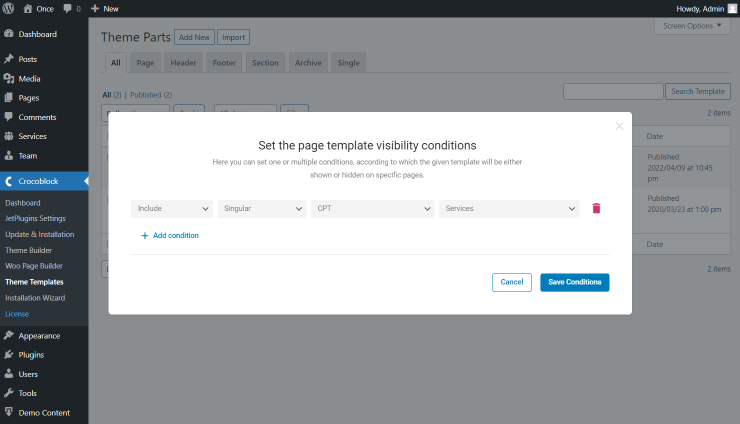
Now we need to set the template visibility conditions. Return to WordPress Dashboard > Crocoblock > Theme Templates and find the newly built template. Look at the Instances tab; you can press the “Edit Conditions” button here.
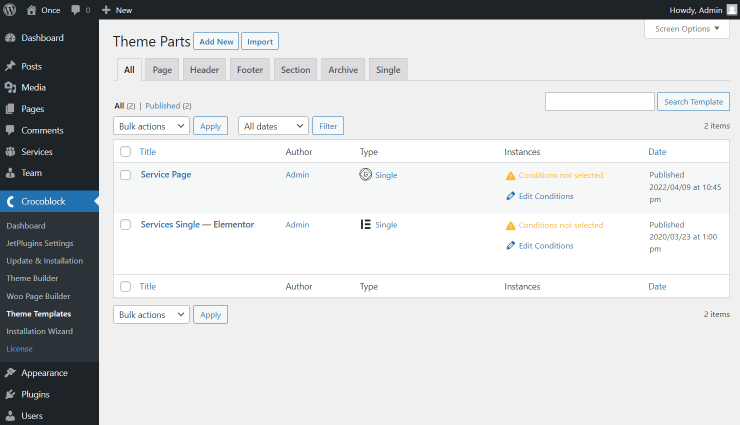
The initial step is pushing the “Add Condition” button.
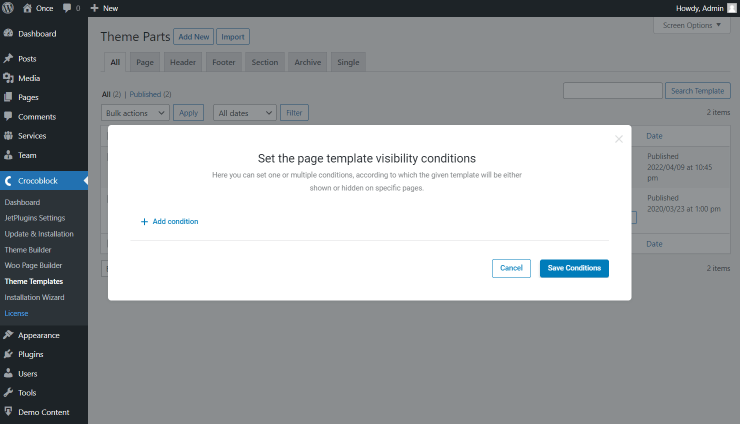
There you go, now you can select the needed options for display. Choose “Include,” “Singular,” and “CPT” options. Then specify the CPT by choosing the service one.
Don’t forget to click on the “Save Conditions” button.
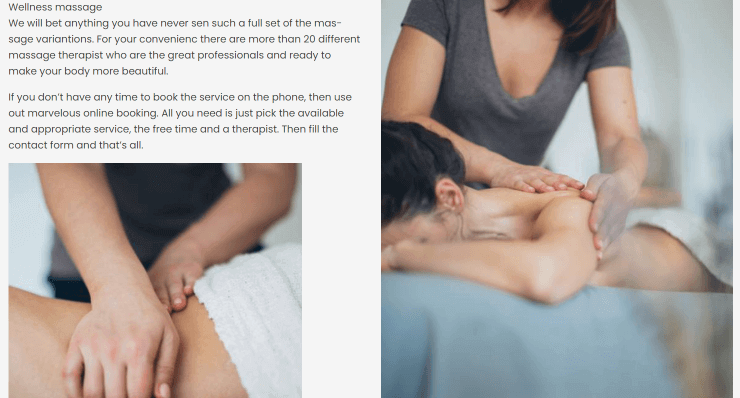
Now, you can check any service page to see the built template in action. Let’s have a look at the Elementor-built template.

And now check the template created with the help of Block Editor.
Create Single Provider Page
How to build a provider page in Elementor
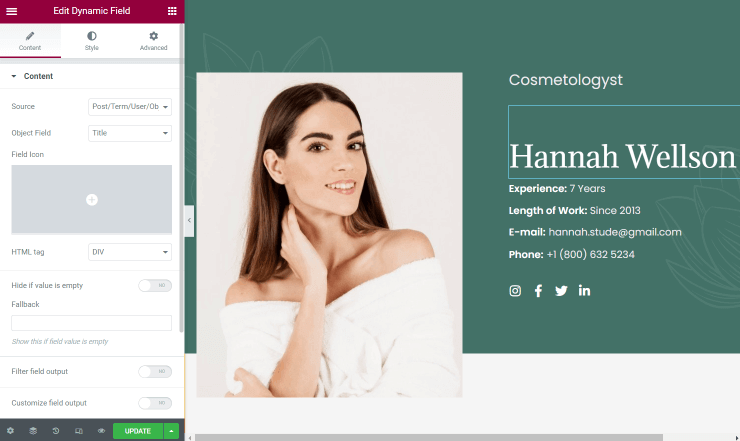
Using the description above, create the Single Provider Page template. That’s what it would look like.
Press the “Update” button to implement the changes.
How to build a provider page in Block Editor
Here the procedure is pretty much the same as described earlier.
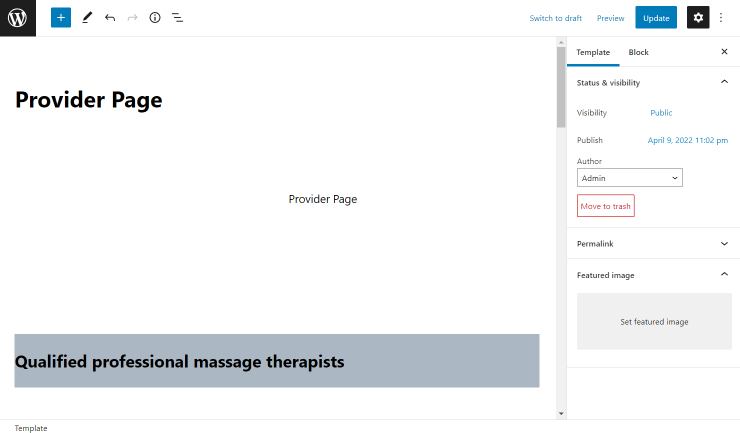
Add the desired blocks to be shown on the provider page template and push the “Update” button to save the result.
Setting the single provider template visibility conditions
Open the WordPress Dashboard > Crocoblock > Theme Templates tab once again. Here find the needed provider template.
Press the “Edit Conditions” button located in the Instances tab.
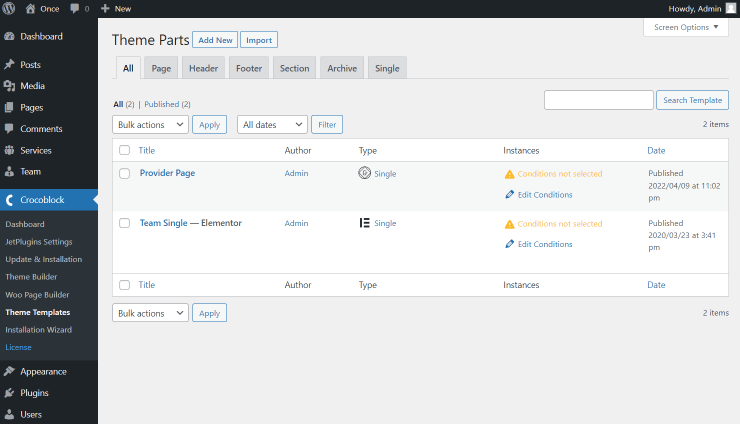
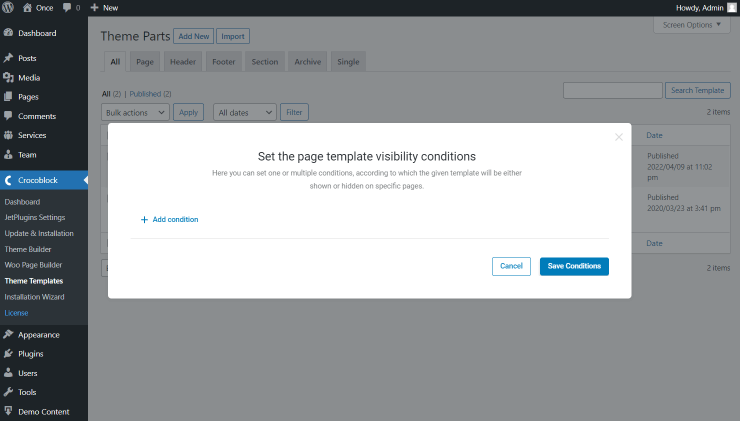
Hit the “Add Condition” button to start adjusting the conditions.
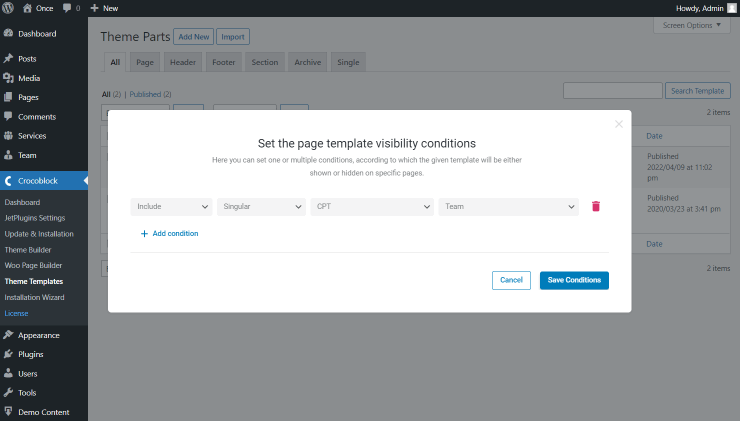
Pick the “Include” option in the first drop-down, then move to the second where the “Single” option should be selected. One more option to be chosen is “CPT.” Moreover, mind specifying the CPT you have earlier set as the provider.
Click the “Save Conditions” button and close the pop-up window.
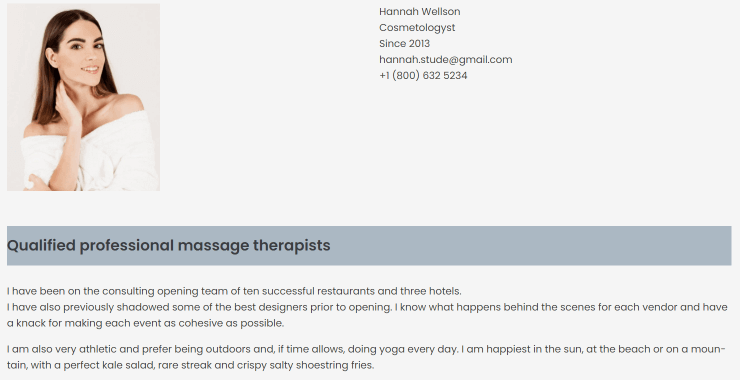
Head to the provider page to see what it looks like. Firstly, let’s check the result once the template is built with Elementor.

And that’s what the Gutenberg-created template looks like on the front end.
How to Display Related Posts on the Single Page
Related Posts in Elementor
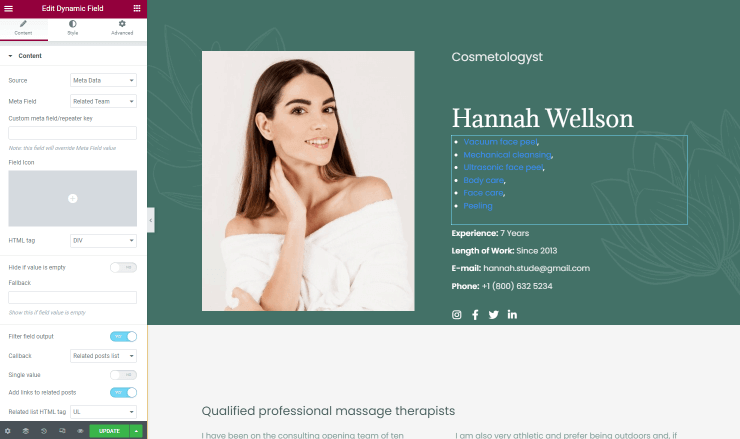
So, moving to the template editor, drag and drop the Dynamic Field widget. Choose “Meta Data” as the Source and the Meta Field: “Related (the Provider CPT name)” in the Content block.
Enable the Filter field output toggle and choose the Callback: “Related posts list.”
If you want, you can use the Add links to related posts feature, so clients can click on the corresponding provider and go to their page.
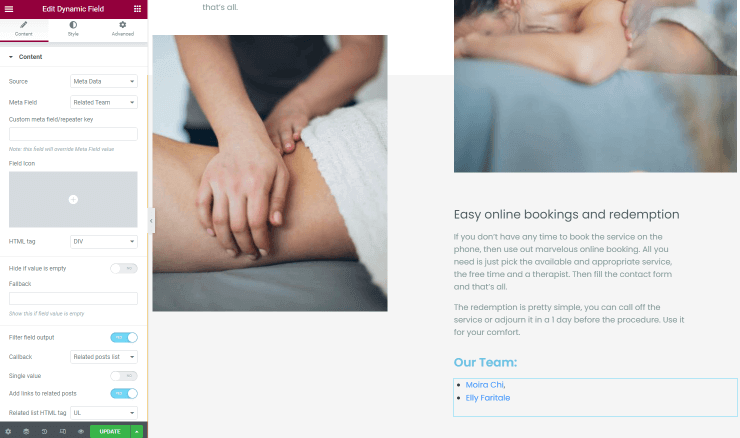
Then you could do the same for the Single Provider Page, but choose the Meta Field: “Related (the Service CPT name).”
Related posts in Block Editor
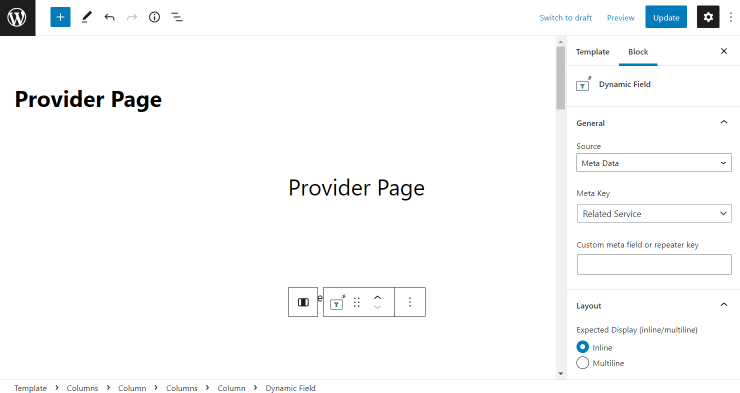
The same procedure can be applied to the Block Editor. Open the editor and paste the Dynamic Field block.
Select the “Meta Data” as the Source and “Related (the Provider CPT name)” as the Meta Field.
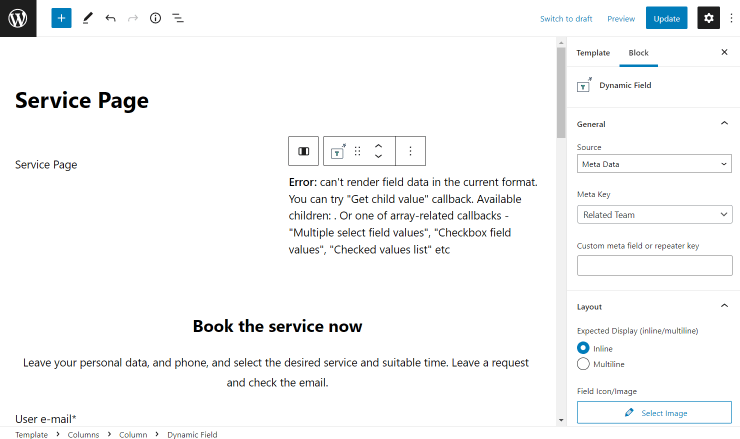
Toggle the Filter field output and pick the “Related posts list” option in the Callback selector.
Also, you can activate the Add links to related posts feature if needed.
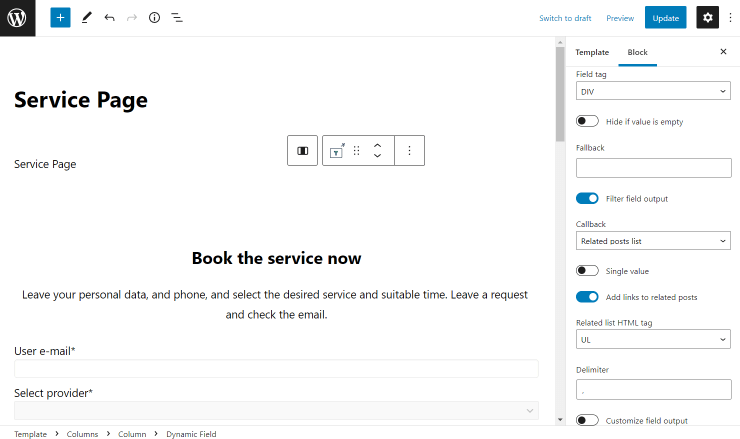
Then you can take the same steps to showcase the related posts of the provider. Just choose the “Related (the Service CPT name)” as the Meta Field this time.
You could add Single Booking Forms to your new Single Pages for Services and Providers. The creation and setup of forms are described here.
That is all about Single Service and Provider Pages. Now you know how to create them and what features to use to present the service at its best.