How to Display Booking Instances Grid in WooCommerce-Based Mode
Learn how to display booking instances in WooCommerce-based mode. Compare the default shop page, template customization, and JetEngine listing grid for flexible layouts.
Before you start, check the tutorial requirements:
- WooCommerce plugin installed and activated
- Elementor (Free version)
- JetBooking plugin installed and activated
- JetWooBuilder plugin installed and activated
- JetEngine plugin installed and activated
- JetThemeCore plugin installed and activated
This tutorial explains how to display booking instances in WooCommerce-based mode. We will cover three approaches, from which you can select the most suitable one for your case.
This tutorial focuses on three approaches to display booking instances in WooCommerce-based mode: using the default WooCommerce shop page, customizing layouts with your theme or JetWooBuilder, and creating a custom Listing Grid with JetEngine. By the end, you will understand when to use each method and how JetEngine and JetWooBuilder provide greater flexibility for shop product pages.
Using the Default WooCommerce Shop Page
The first way is the least customizable. You need WooCommerce and JetBooking plugins.
The default WooCommerce Shop Page is used as a booking instance catalog.

To change the Shop page appearance, proceed to the WordPress Dashboard > Appearance > Customize > WooCommerce > Product Catalog.
There, you can choose whether to display products, categories, or both. You can additionally set up the Default product sorting or change the number of Products per row and Rows per page.
Click the “Publish” button once you are ready with the changes.

The applied changes will be displayed on the front-end Shop page.

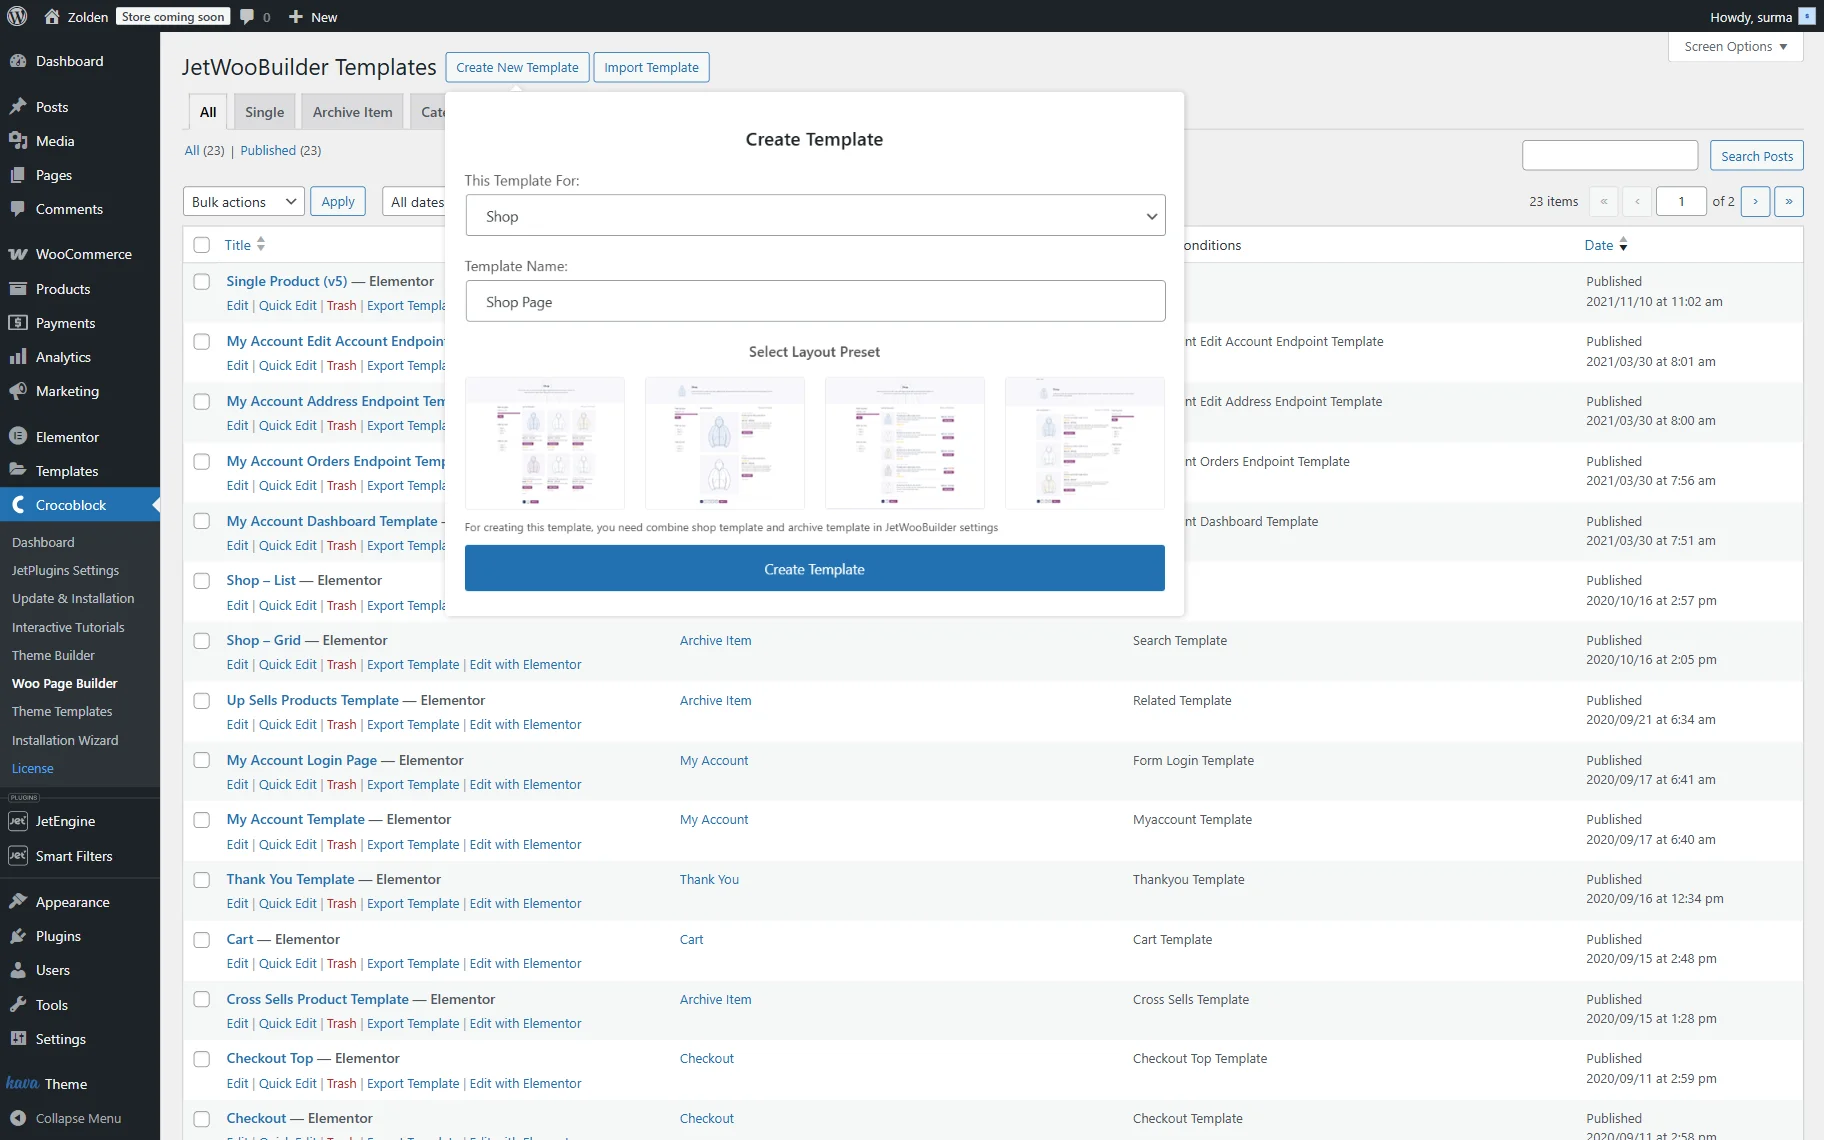
Customizing JetWooBuilder Shop Page Template
If you want the Shop page to have a more customized look, you can apply the JetWooBuilder shop template. It enables the implementation of an alternative design layout.
Refer to our How to Create a Shop Page Template guide to know how to set up a Shop Template with JetWooBuilder.
You can select the desired layout during template creation.
With the JetWooBuilder, you can choose to display products using the Products Grid, Products List, or Products Loop. The Products Grid widget displays a grid containing a specified number of products on the page, whereas the Products List widget displays the same products in a list. The Products Loop widget, besides showing an endless loop of products, allows you to switch between the grid and list views.
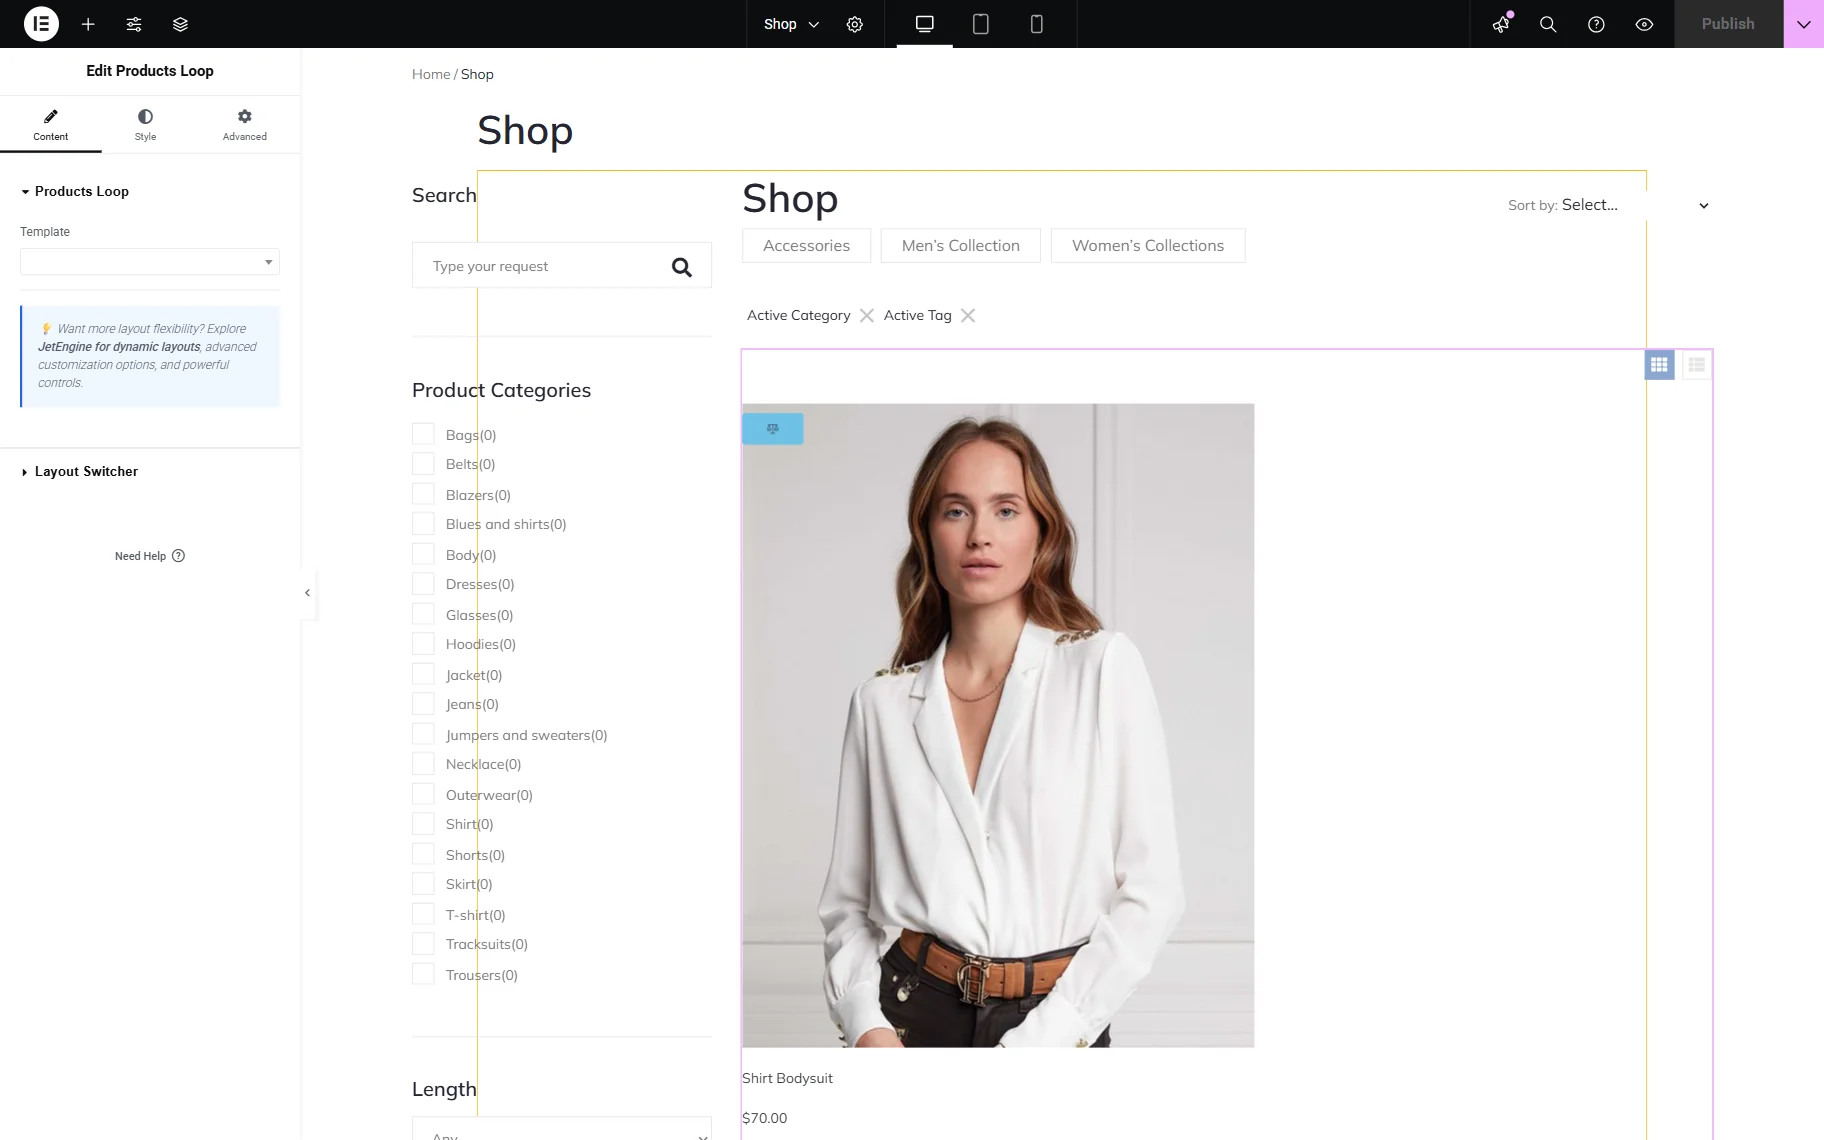
In the JetWooBuilder template, you can add the filters and search fields if needed.
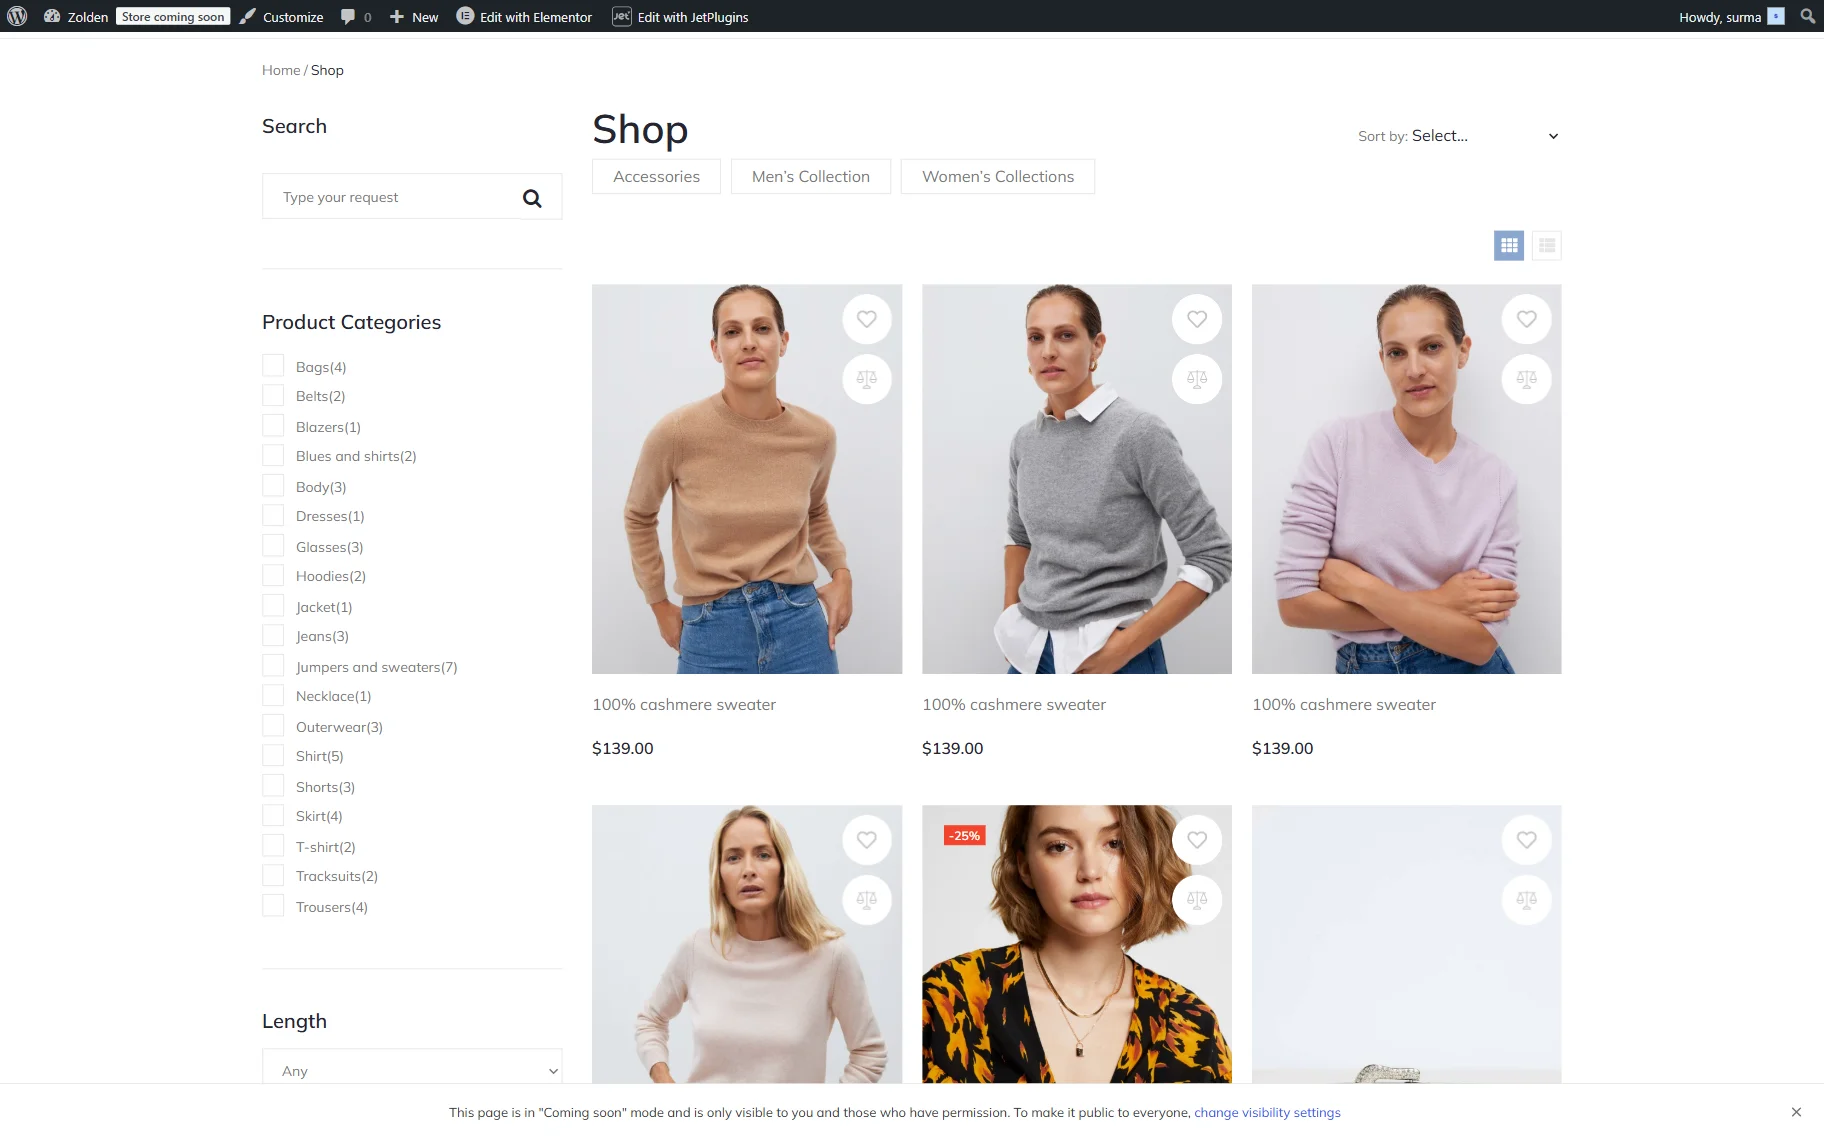
Click the “Publish” button once you are ready with the setup.
Here, the custom shop template is applied to the front-end page.
Creating Product Listing with JetEngine
If you need to create a Listing Item from scratch and ensure it is unique, you can use the JetEngine plugin to create a custom Listing Template.
Refer to the How to Build WooCommerce Products Listings with the Dynamic Tag tutorial to build a listing for the WooCommerce products.
We added the Dynamic Widgets to display short information about the products.

Click the “Publish” button once you are ready.
Then, you can add the Listing Grid widget to the needed page.

The custom products catalog can be displayed on the front-end shop page.

That’s it. Now you know three ways of displaying the WooCommerce-based Booking Instances according to the flexibility level needed: using the default WooCommerce shop page, customizing layouts with your theme or JetWooBuilder, and creating a custom listing grid with the JetEngine WordPress plugin.