How to Create a Custom Taxonomy
Learn how to create a custom taxonomy and taxonomy terms, manage their settings, and categorize the WordPress CPT posts with the JetEngine plugin.
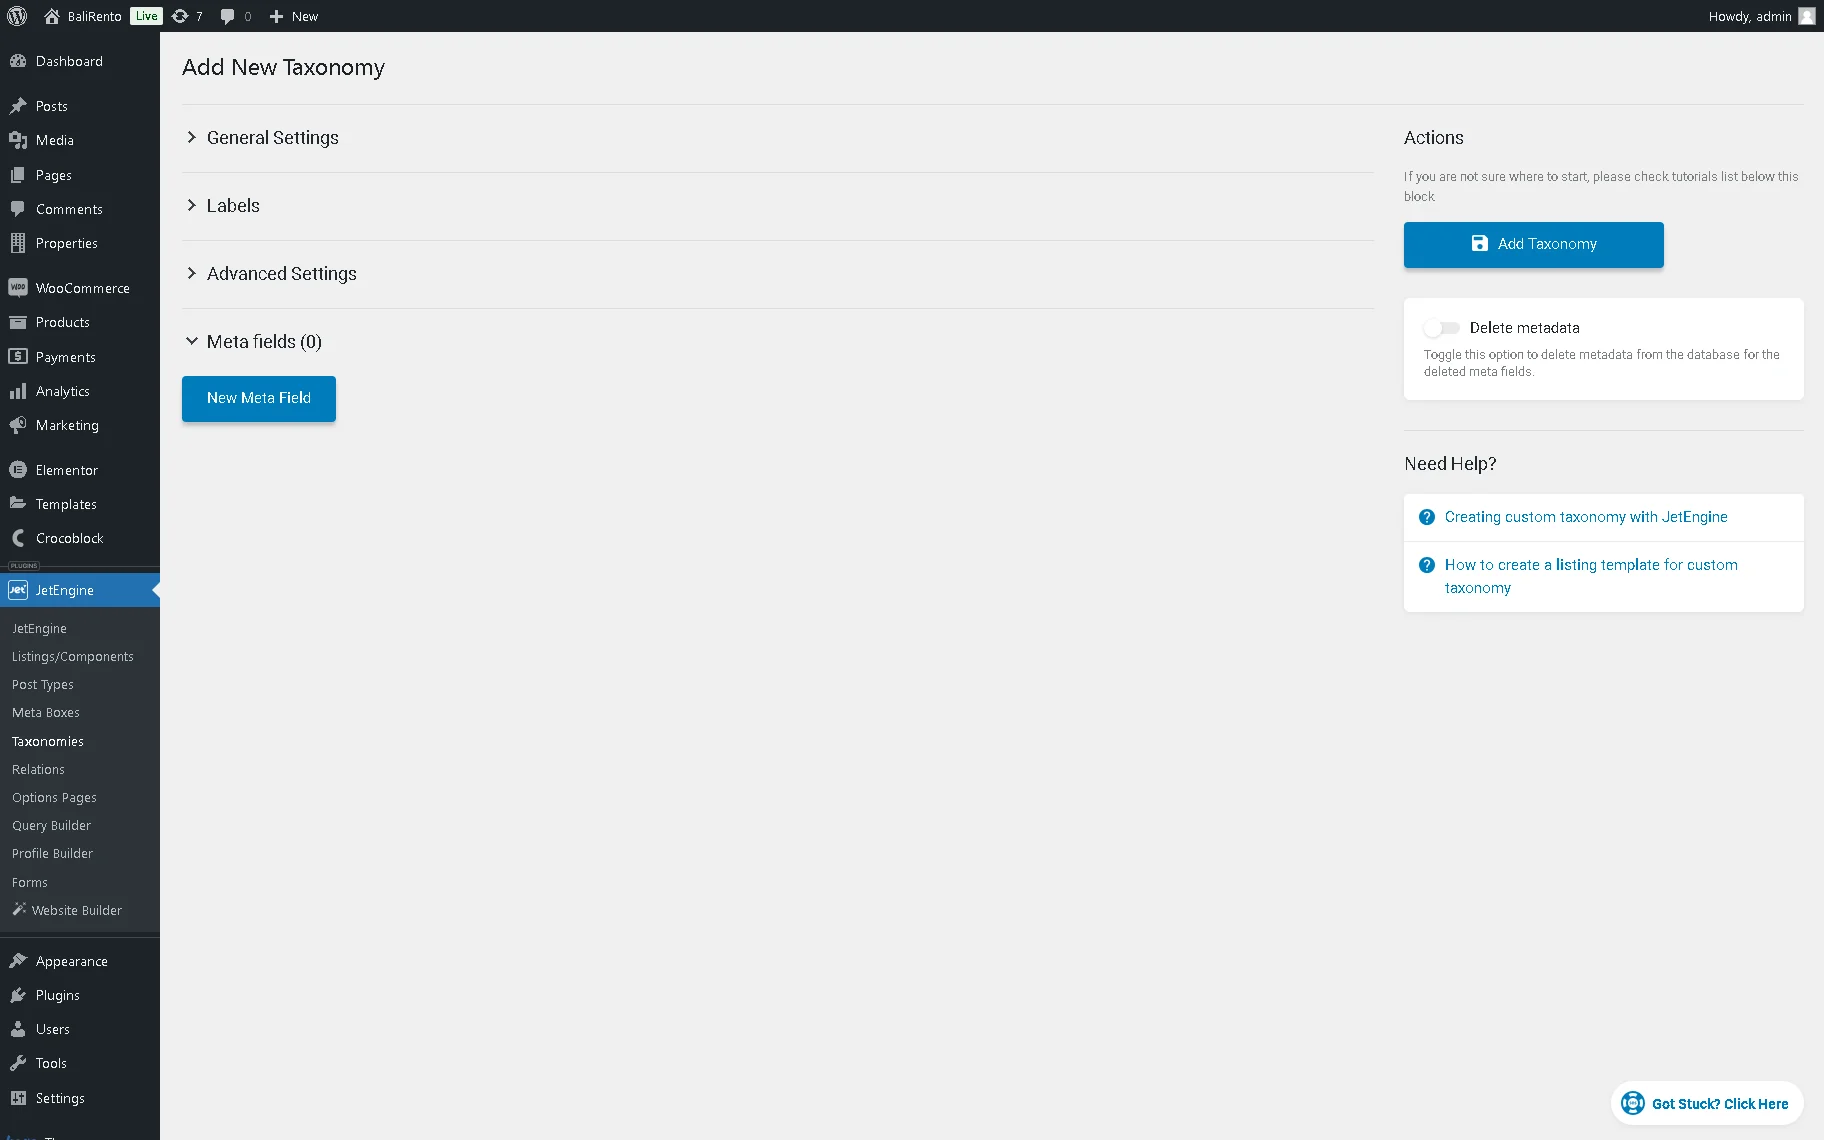
Create a New Custom Taxonomy
Proceed to the WordPress Dashboard > JetEngine > Taxonomies tab on the WordPress Dashboard and click the “Add New” button to create a new taxonomy.

The process is very similar to creating a Custom Post Type (CPT). On the newly-appeared Add New Taxonomy page, the same blocks are used: General Information, Labels, Settings, and Meta Fields.
Fill in the Fields With Information
In this block, we typed the Taxonomy Name (the “Property Type” value, in this case); after that, the Taxonomy Slug was filled automatically (“property_type”). Next, we selected an item from the Post Type list for which the taxonomy will be created (the “Properties” CPT in this tutorial).
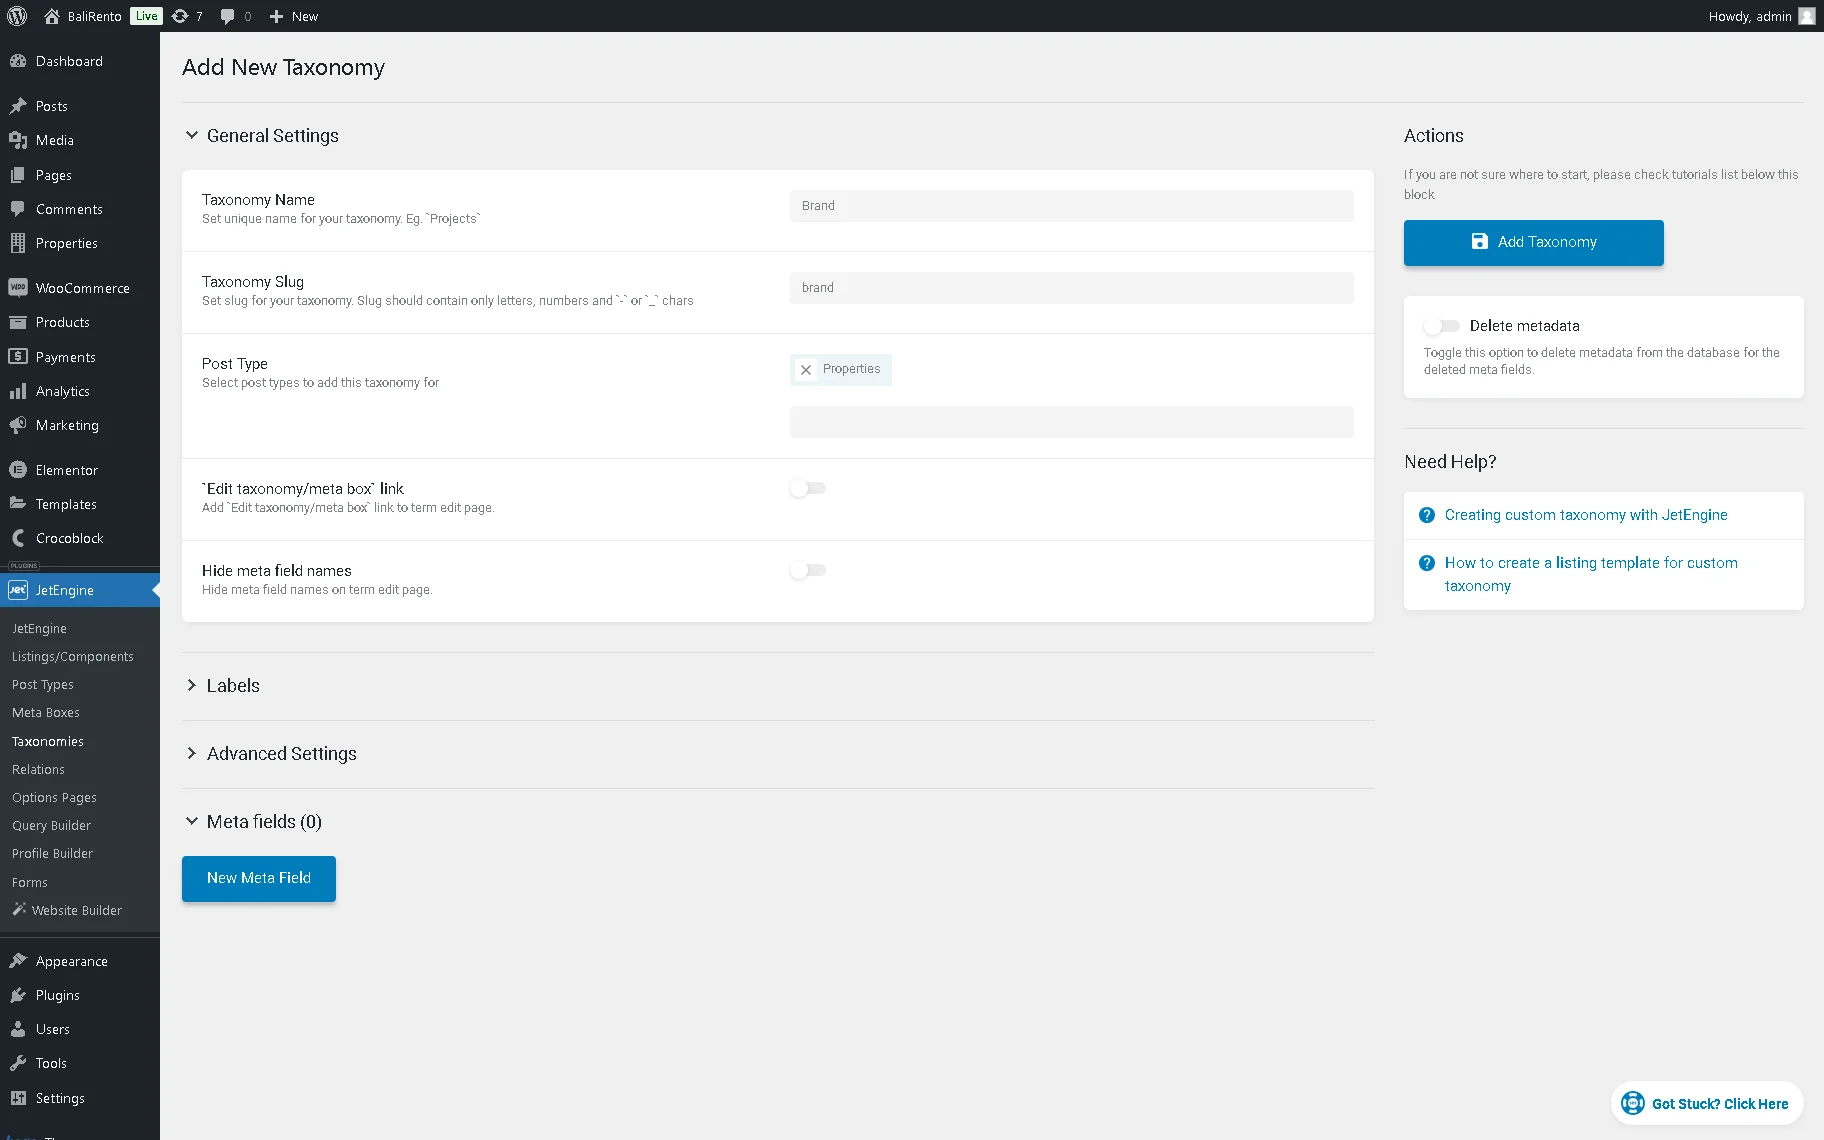
In the following step, we unrolled the Label block. Here, you can set the Labels to use instead of the default titles. For example, instead of “Add New Item,” you can set “Add New Category.” Labels will be visible only on the backend, but they can make navigation a little easier. Also, you can leave the fields empty to make labels default.
After that, unroll the Advanced block and enable the toggles corresponding to the specific mode of taxonomy to make them public or shown. In this case, we left the default values.
Add the Needed Meta Fields
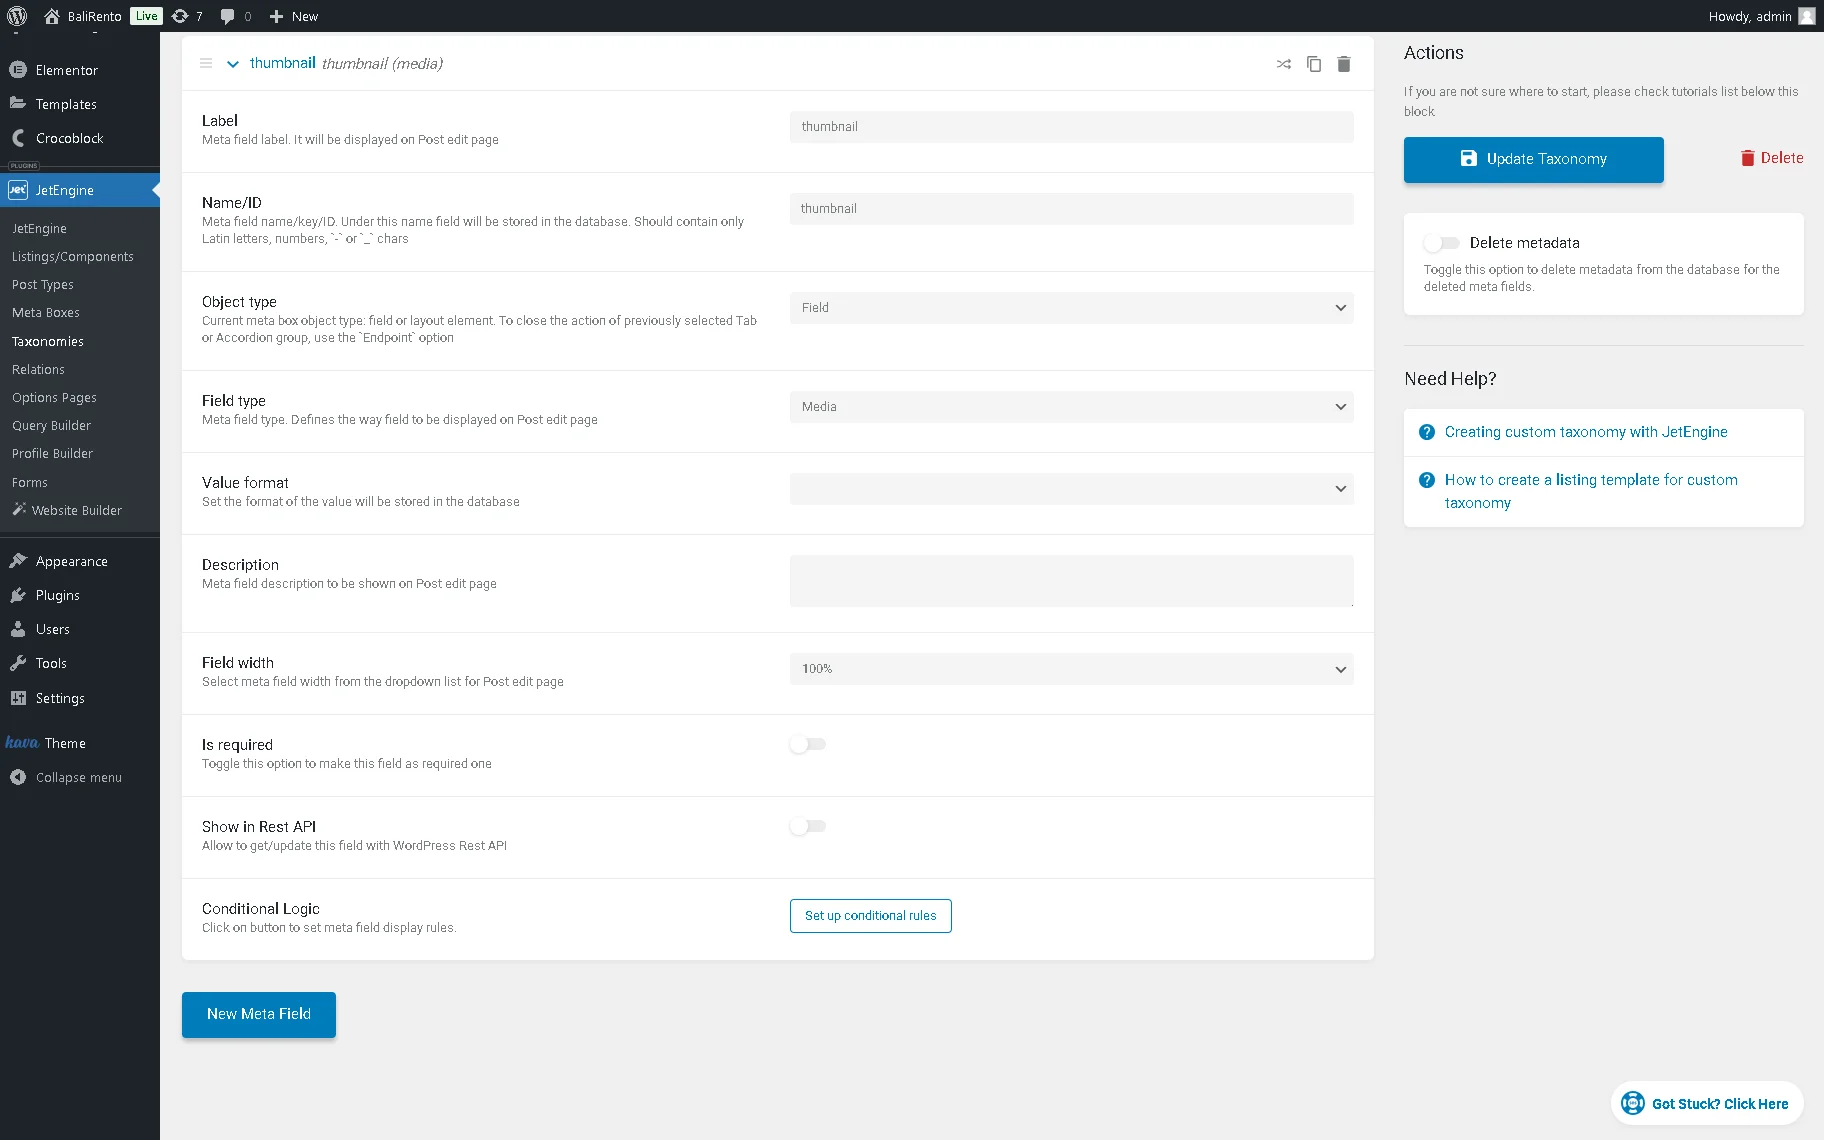
Move to the Meta Field block and press the “New Meta Field” button. In the unrolled Meta fields setting tab, the new meta field of the “Text” Field type appears by default.
In this setting tab, we typed the Label (the “thumbnail” text), and the Name/ID field was filled automatically (the “thumbnail” text). After that, we selected the “Media” Field Type. In other fields, we left the default settings.
Read the Custom Meta Fields Overview to learn the main features of the meta fields.
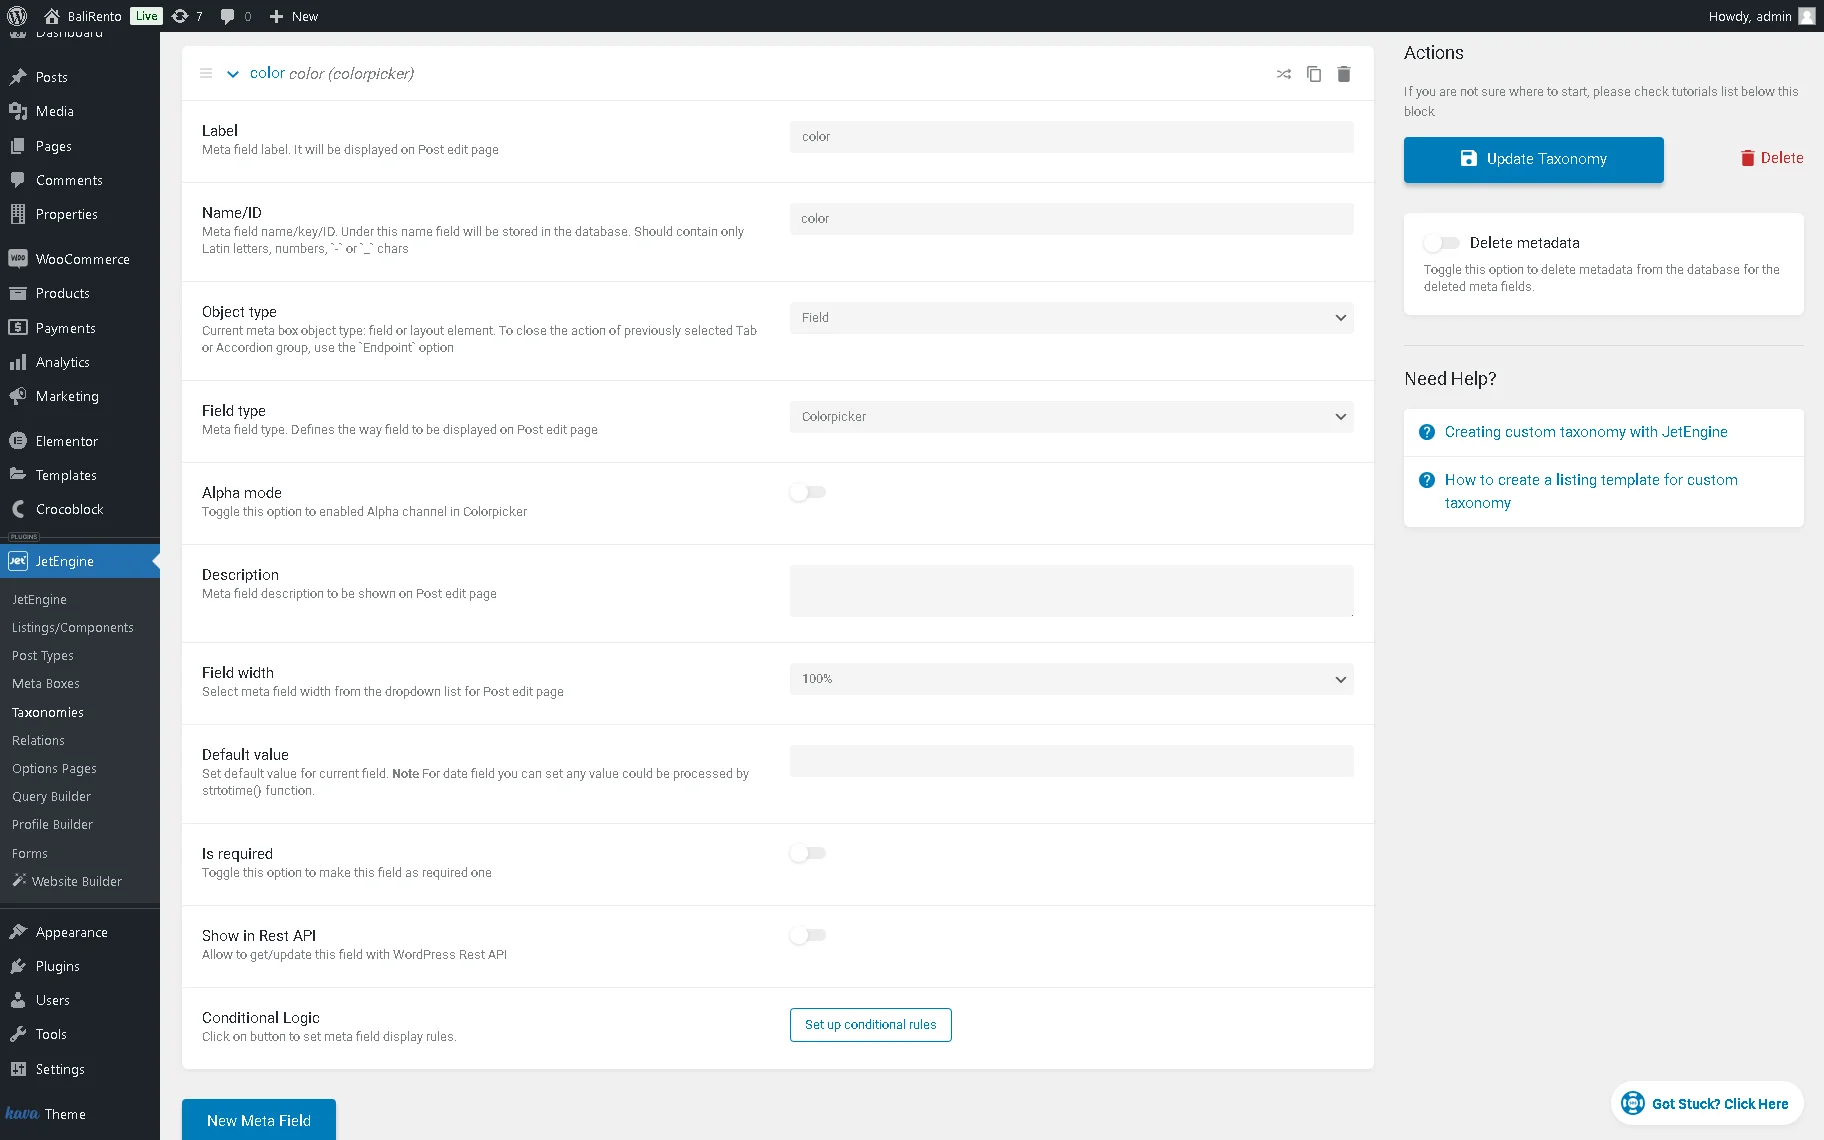
Then, we pressed the “New Meta Field” button again and added the “Colorpicker” meta field. Next, we typed the “color” Label, and the Name/ID field (“color” in this case) was filled automatically. Other fields were left with the default settings.
Finally, scroll the tab up and press the “Add/Update Taxonomy” button.
Create Terms
As we created a taxonomy only for the “Properties” CPT, the “Property type” taxonomy menu tab appears in the post type block on the WordPress Dashboard.
We navigated to the WordPress Dashboard > Properties > Property type path and opened the Add New Tag page.
After the taxonomy is created, you need to specify a new tag; in our case, we need to add a new “Property Type” (e.g., “Cottage, “ “Bungalow,” etc.).
Next, fill out the Name and Slug, enter the Description (if needed), and then click the “Add New Tag” button.
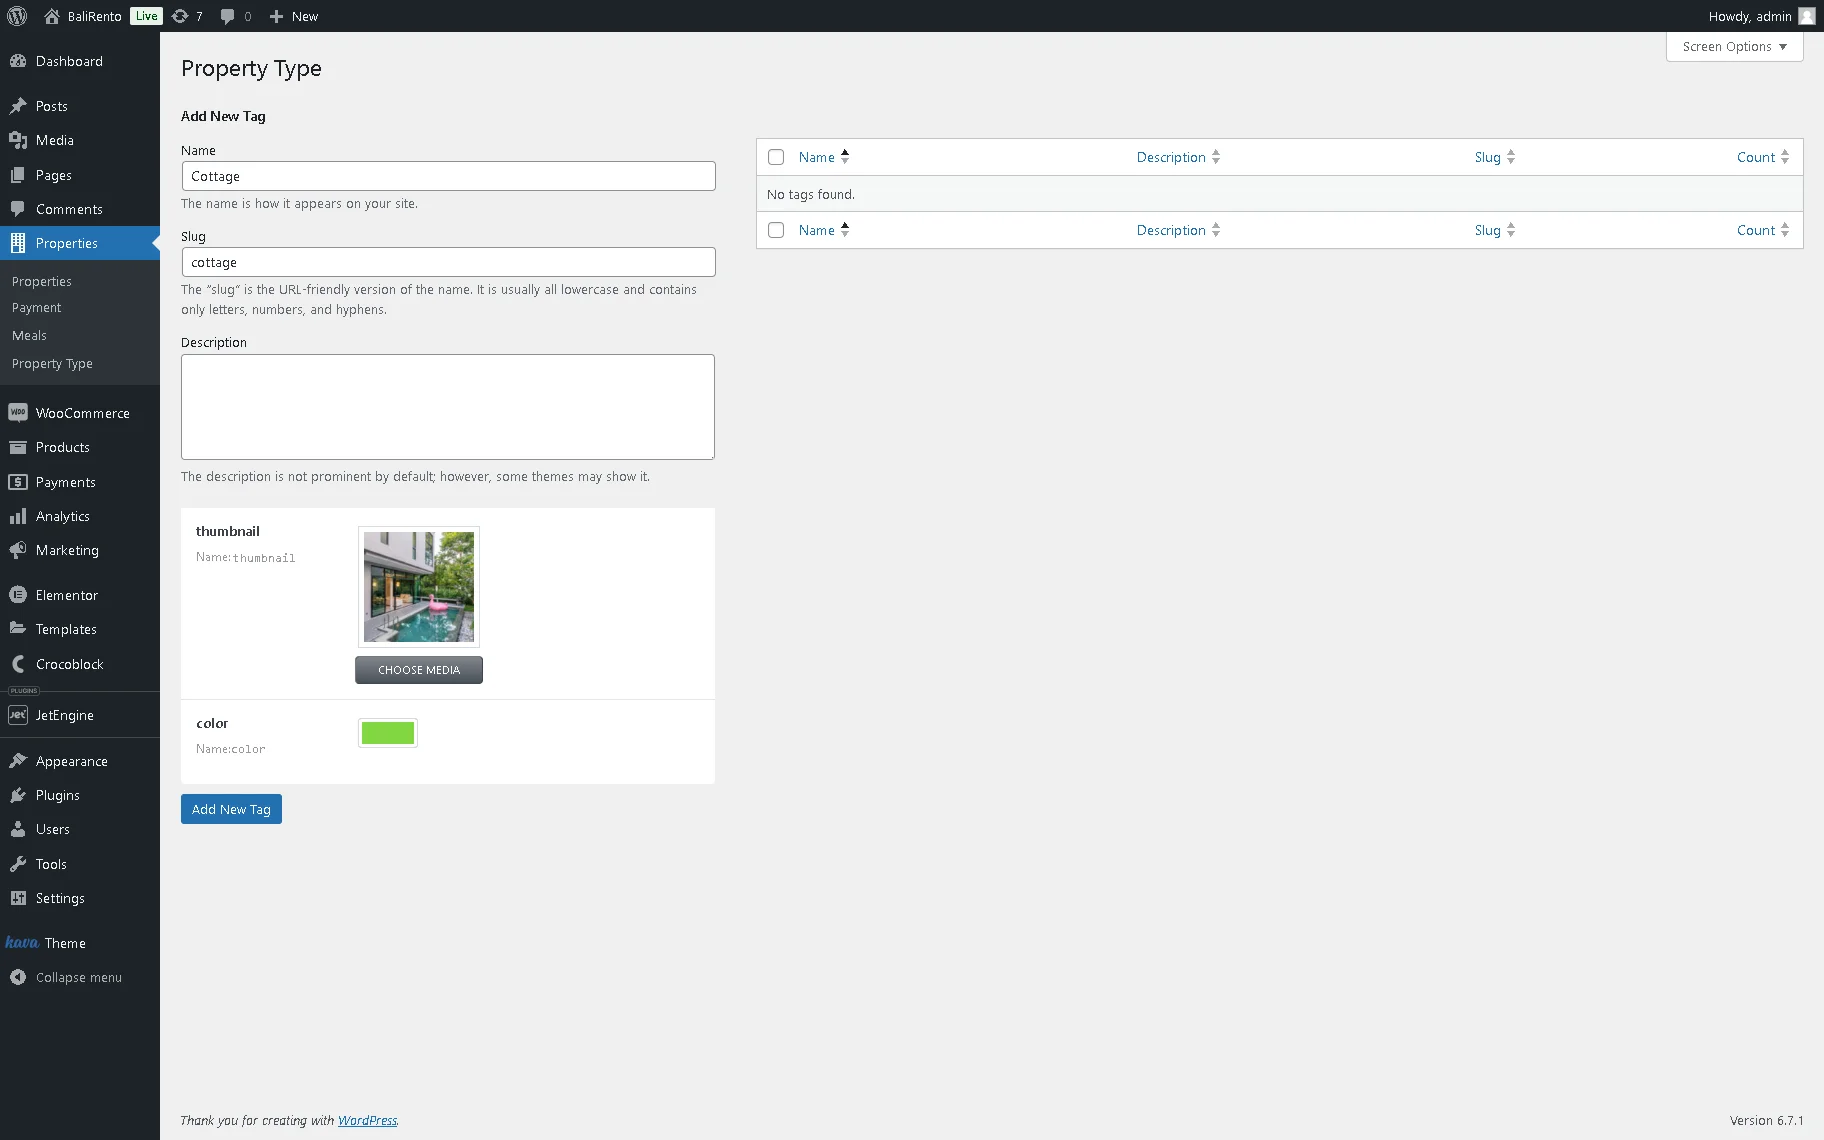
After that, you will be redirected to the Add New Tag page. The previously created new term(s) will be listed on the right side of the page.

Edit the CPT
Open a CPT post on which you assigned the taxonomy. Then, unroll the taxonomies listed on the right side and select the needed taxonomy term (the “Cottage” Property Type taxonomy in our case).
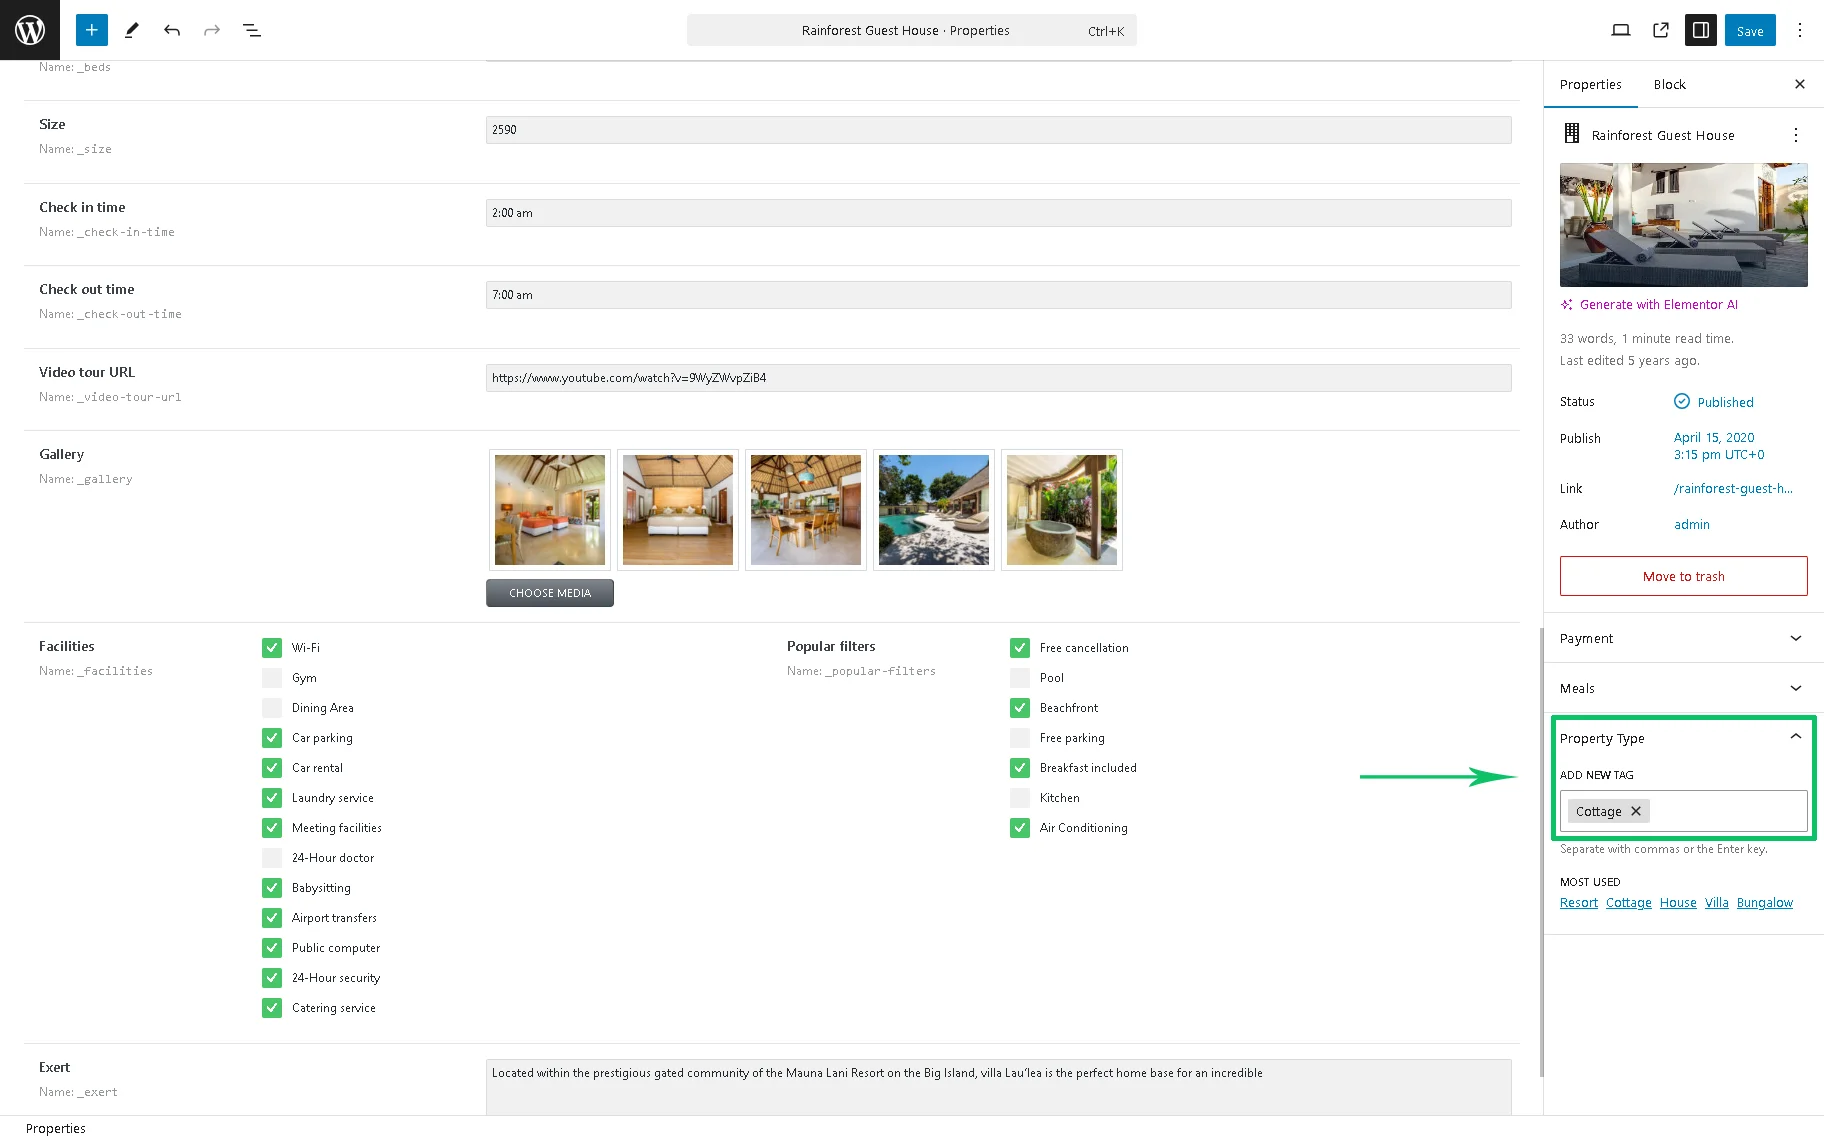
Click the “Update” button to save the changes.
That’s it. Now you know how to create custom taxonomy and taxonomy terms.