How to Set Icon Color Dynamically in Maps Listing
This tutorial explains how to dynamically change map marker icon colors in JetEngine Map Listings based on post meta field values using a macro or shortcode in Elementor, Gutenberg, and Bricks editors for WordPress.
Displaying dynamic, visually informative maps can significantly enhance the user experience, especially when map markers adapt based on your content.
With JetEngine’s Map Listing widget/block/element, you can customize marker icon colors dynamically, assigning a different color to each post, term, CCT item, user, etc. via the custom fields.
Backend Preparation
Create a “Colorpicker” meta field
In our case, we display posts on the map from the “Tours” Custom Post Type, so we need to add a meta field for the icon color into the CPT source.
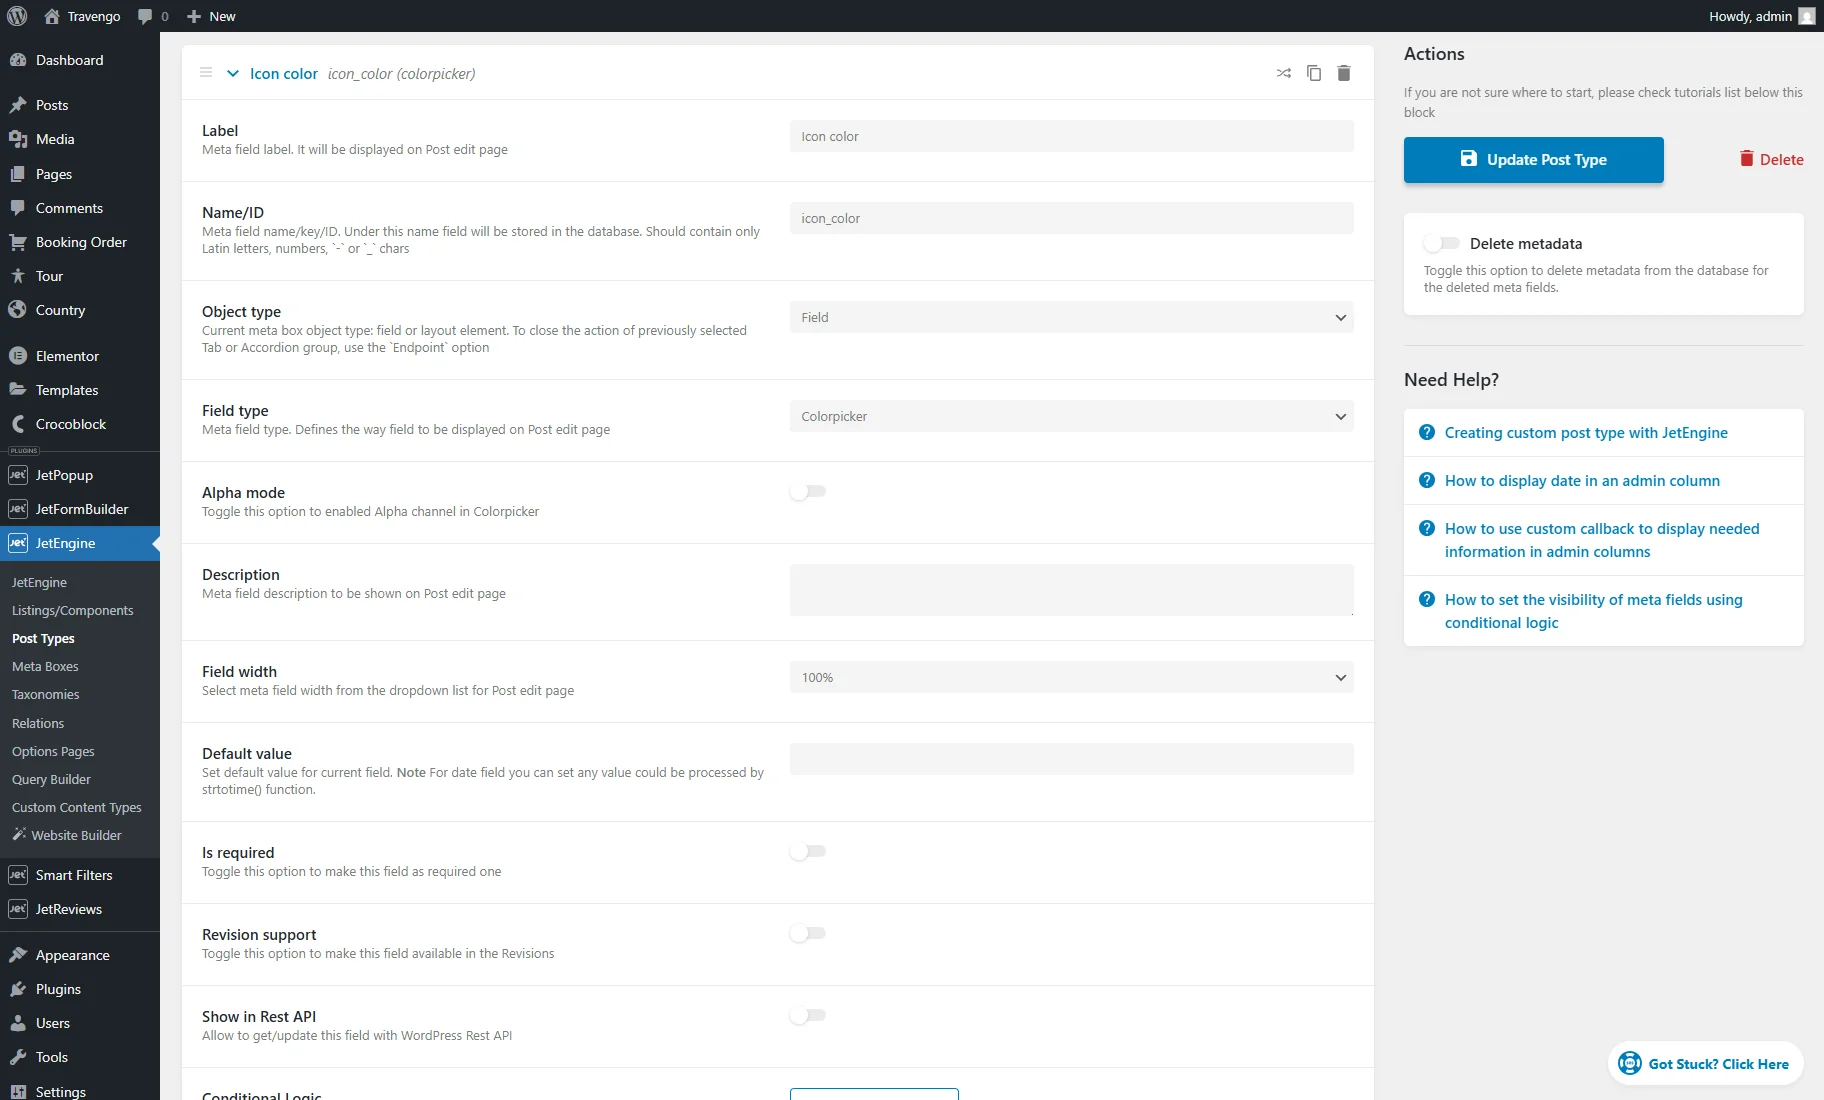
We open the WordPress Dashboard > JetEngine > Post Types tab and click to edit the “Tours” CPT. Here, we scroll the page down to the Meta Fields section and hit the “New Meta Field” button.
Fill in the Label and Name/ID and select the “Colorpicker” or “Text” Field type. Set other meta field settings if needed and save the changes.
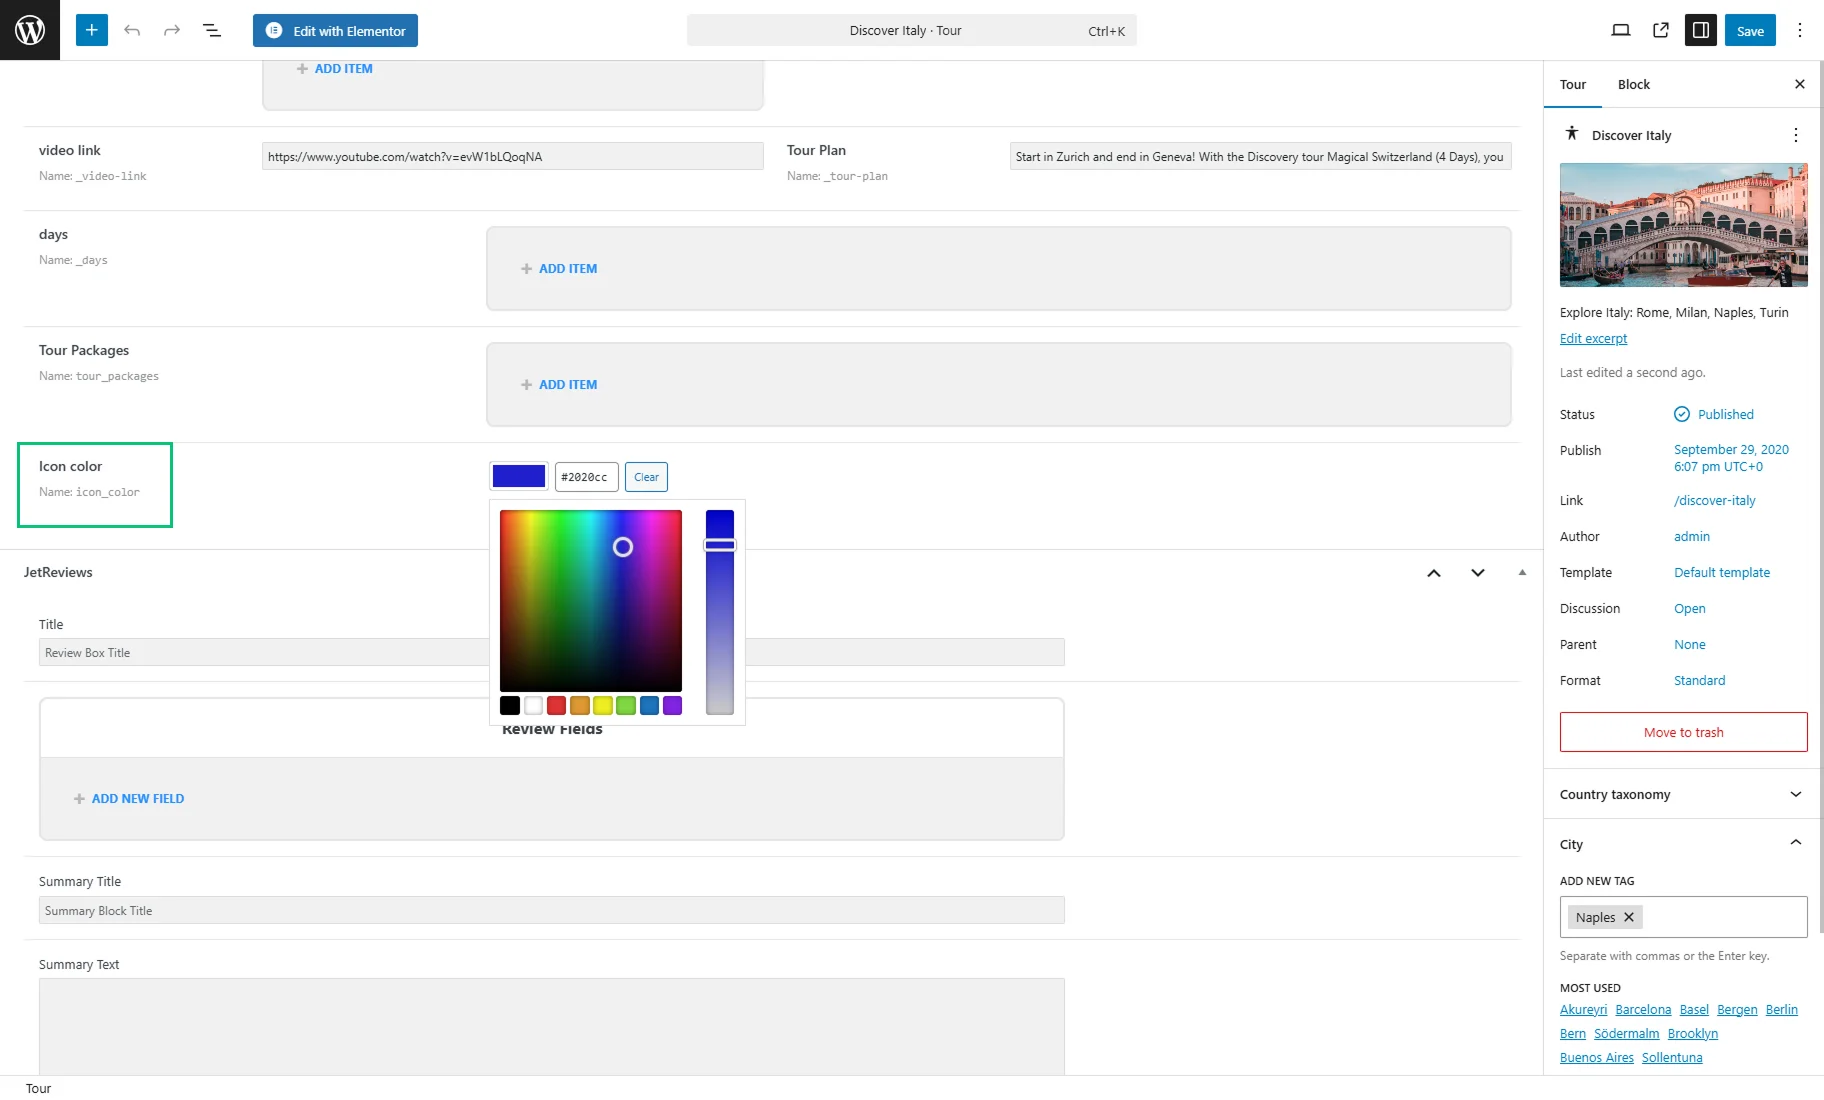
Then, we edit the custom posts and fill in the meta fields.
Generate a shortcode/macro
To apply dynamic icon colors to the Map Listing, you need to generate a shortcode or macro.
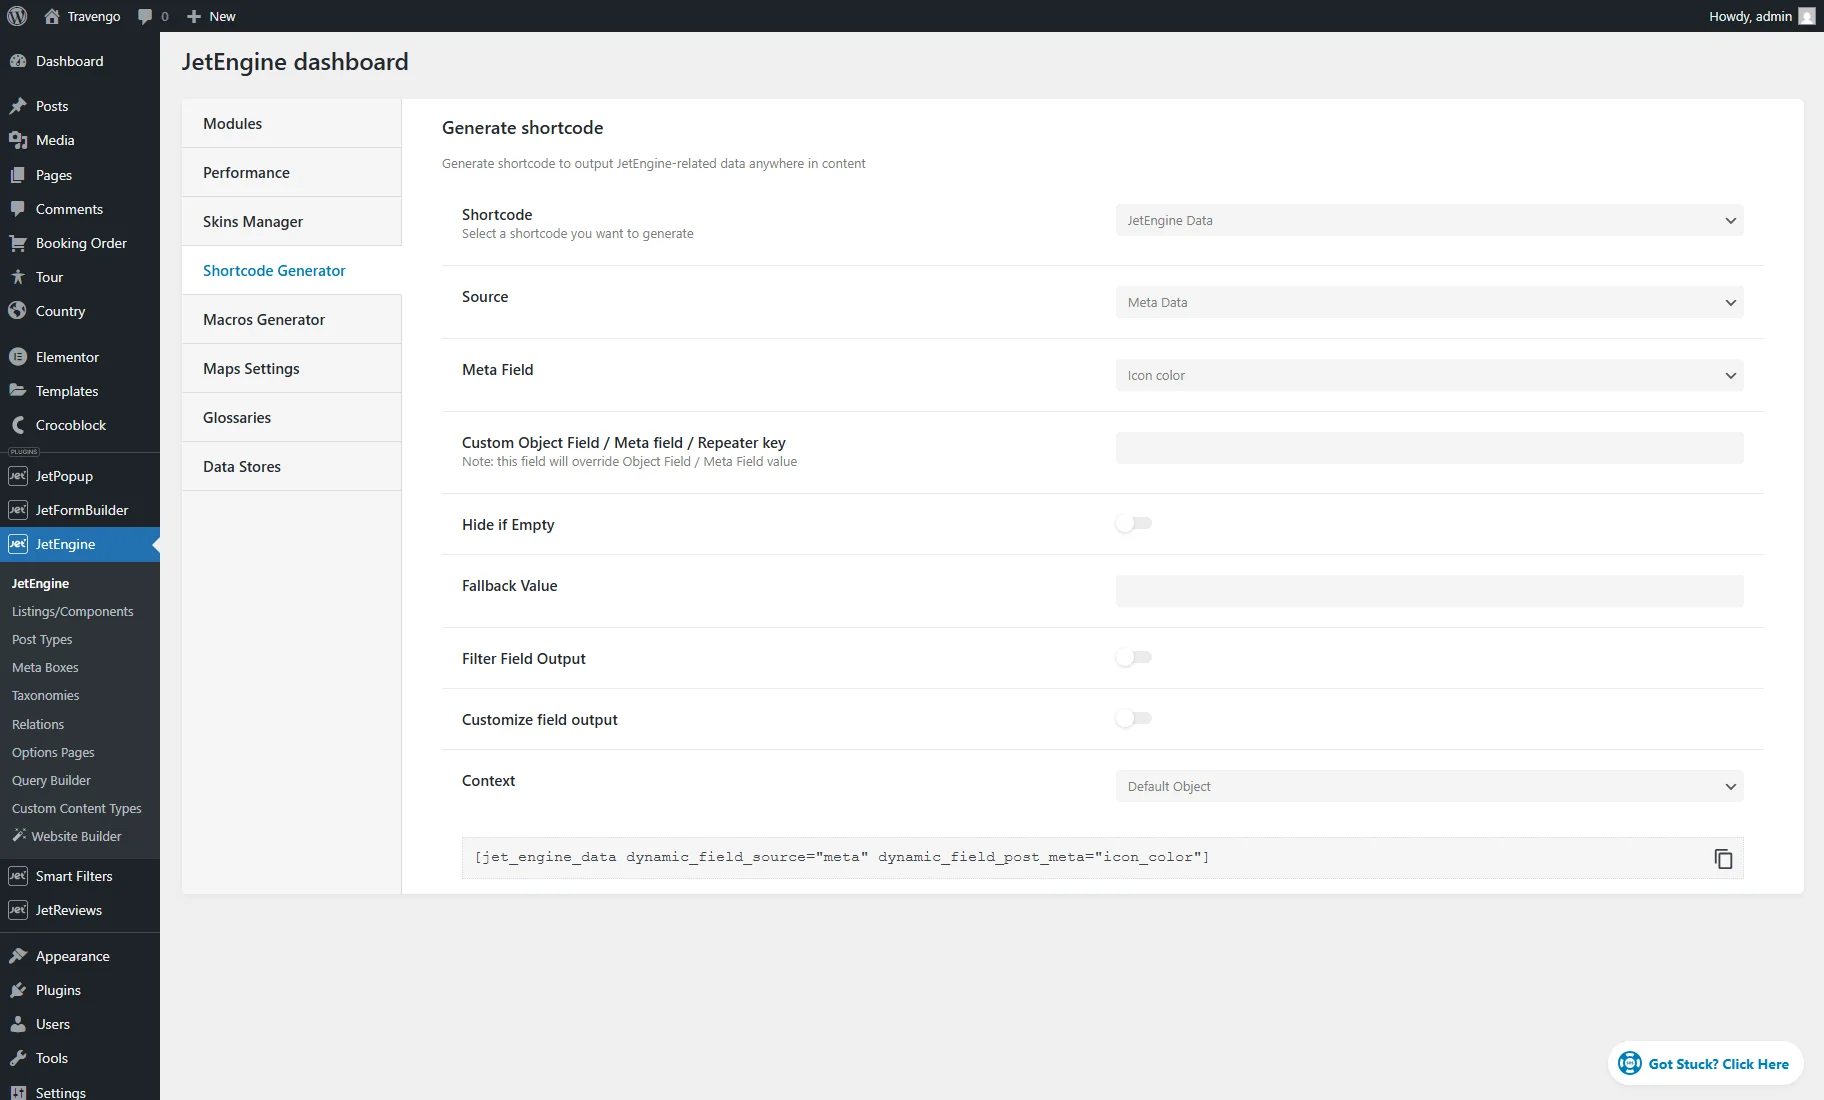
Proceed to the WordPress Dashboard > JetEngine > JetEngine > Shortcode Generator to generate a shortcode.
Select “JetEngine Data” in the Shortcode dropdown, “Meta Data” as Source, and the required Meta Field. Adjust other settings if needed and copy the shortcode from the bar at the bottom of the page ( in our case).
If you want to create a macro, open the Macros Generator tab.
Choose “Current meta value” in the Macros dropdown and enter the “Colopicker” meta field name into the Meta field. After that, you can copy the macro (%current_meta|icon_color% as an example).

Dynamic Icon Color in Elementor
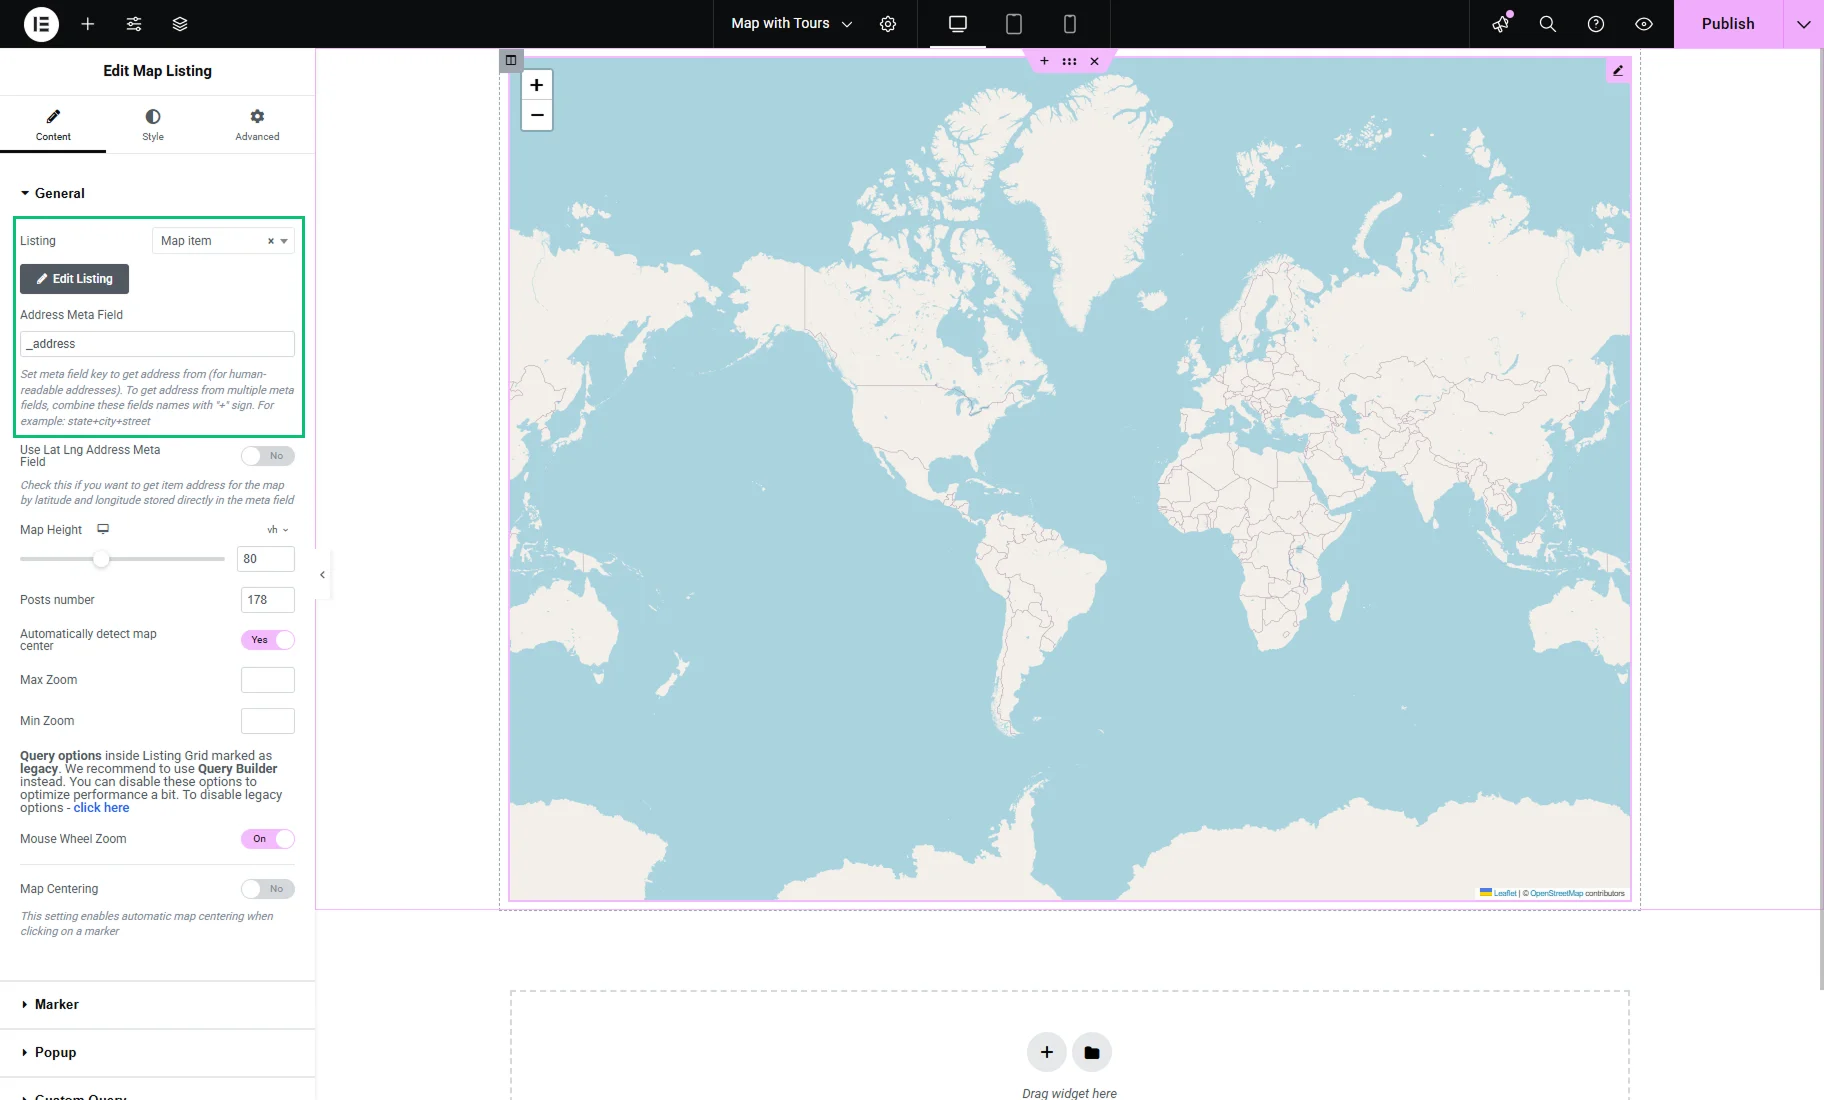
Open a page with the Elementor editor that contains the Map Listing widget.
In the General settings tab, ensure that the Listing and Address Meta Field are configured.
Then, unroll the Marker tab and select any Marker Type (e.g., we pick “Icon” and set the “Map marker alt” Icon from the Icon Library). For our case, we also disabled the Marker Clustering toggle.

Now, you can open the Style section and modify the marker appearance in the Marker style tab. That’s how the marker will look on the map if the post meta field has no value.
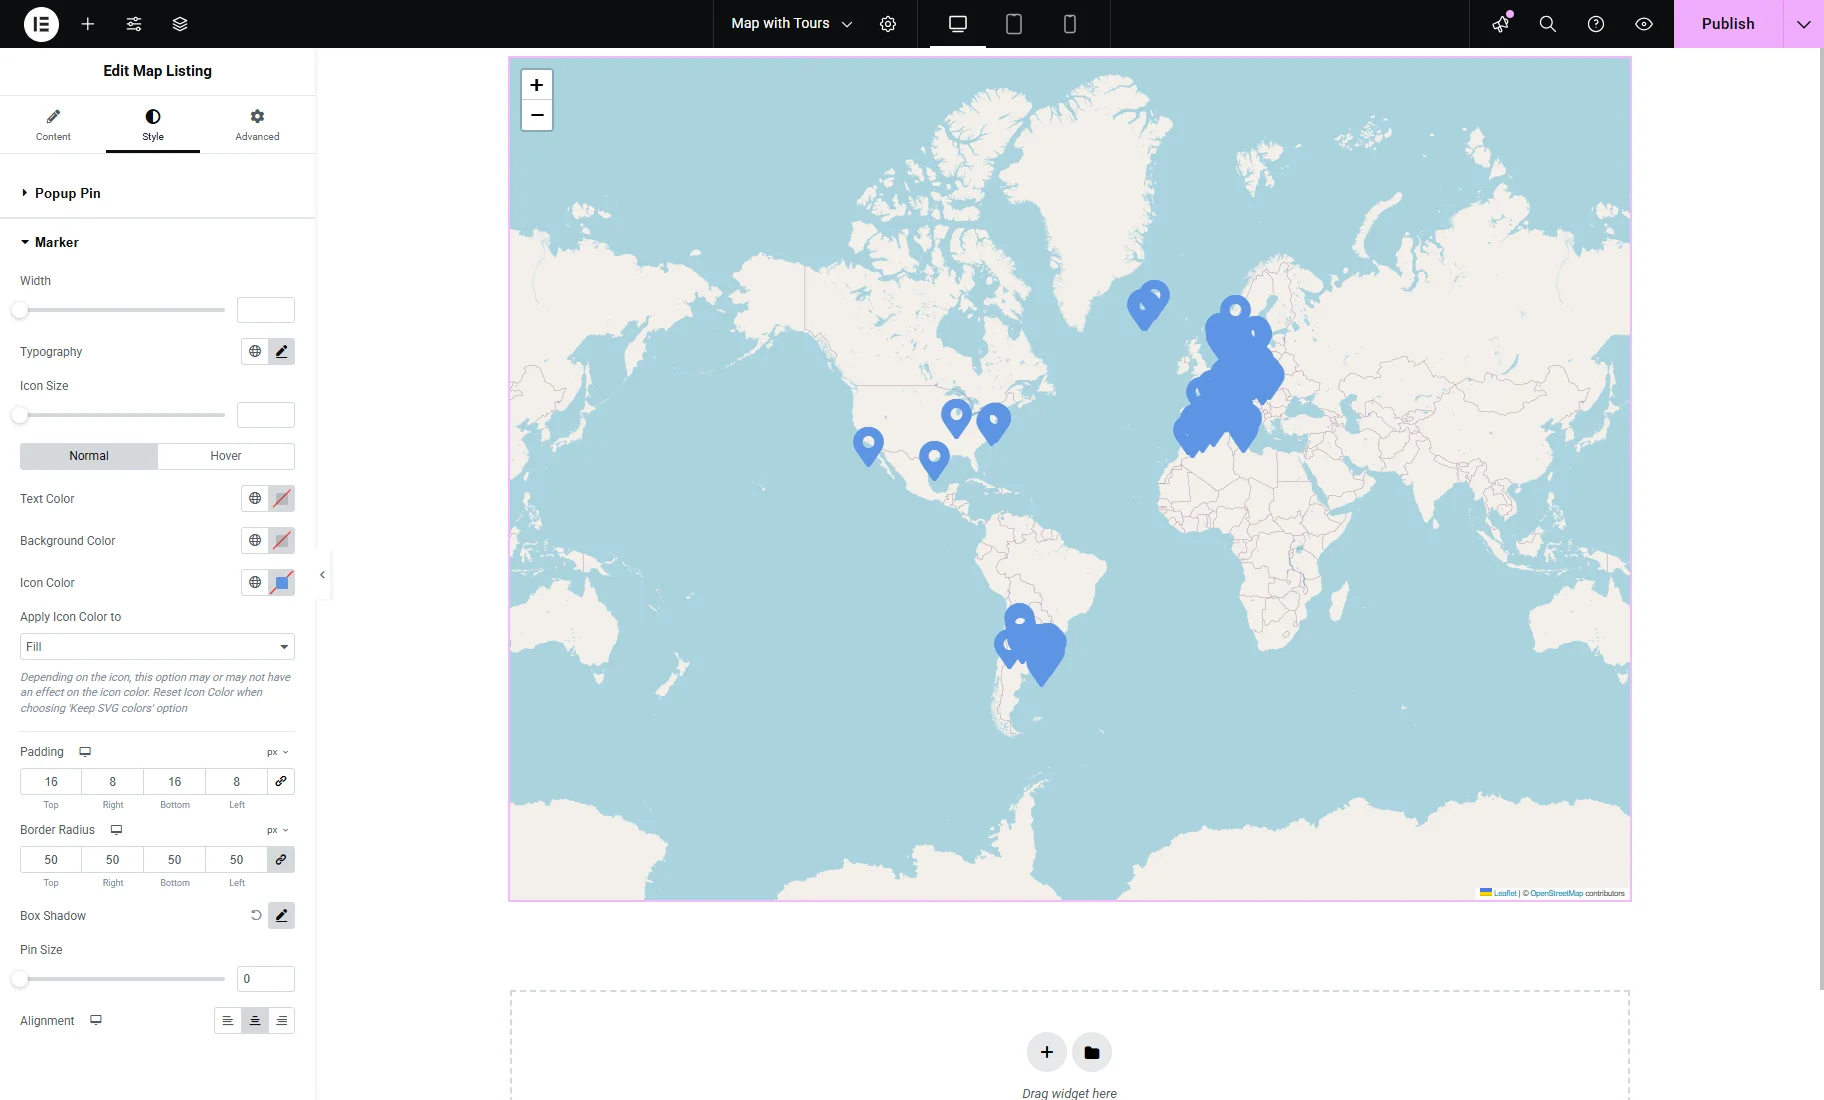
To apply dynamic colors, go back to the Marker settings tab of the Content section, enable the Use different markers by conditions toggle, and press the “+ Add Item” button.
In the Item repeater, select the “Icon” Marker Type.
If needed, set the Icon and pick an option from the Apply Icon Color to dropdown:
- Fill — fills the icon with the adjusted color;
- Stroke — applies the adjusted color to the outline (stroke) of the icon only;
- Both — applies the adjusted color to both the fill and the stroke of the icon;
- Keep SVG colors — retains the original colors defined in the SVG file, ignoring any adjusted color settings.
Into the Dynamic Icon Color bar, enter the macro or shortcode generated previously.
In the Apply this marker if dropdown, select the “Dynamic color not empty” variant.
After that, markers on the map will change their color according to the post meta field values. Changes can be saved by pushing the “Publish” button.
Dynamic Icon Color in Gutenberg
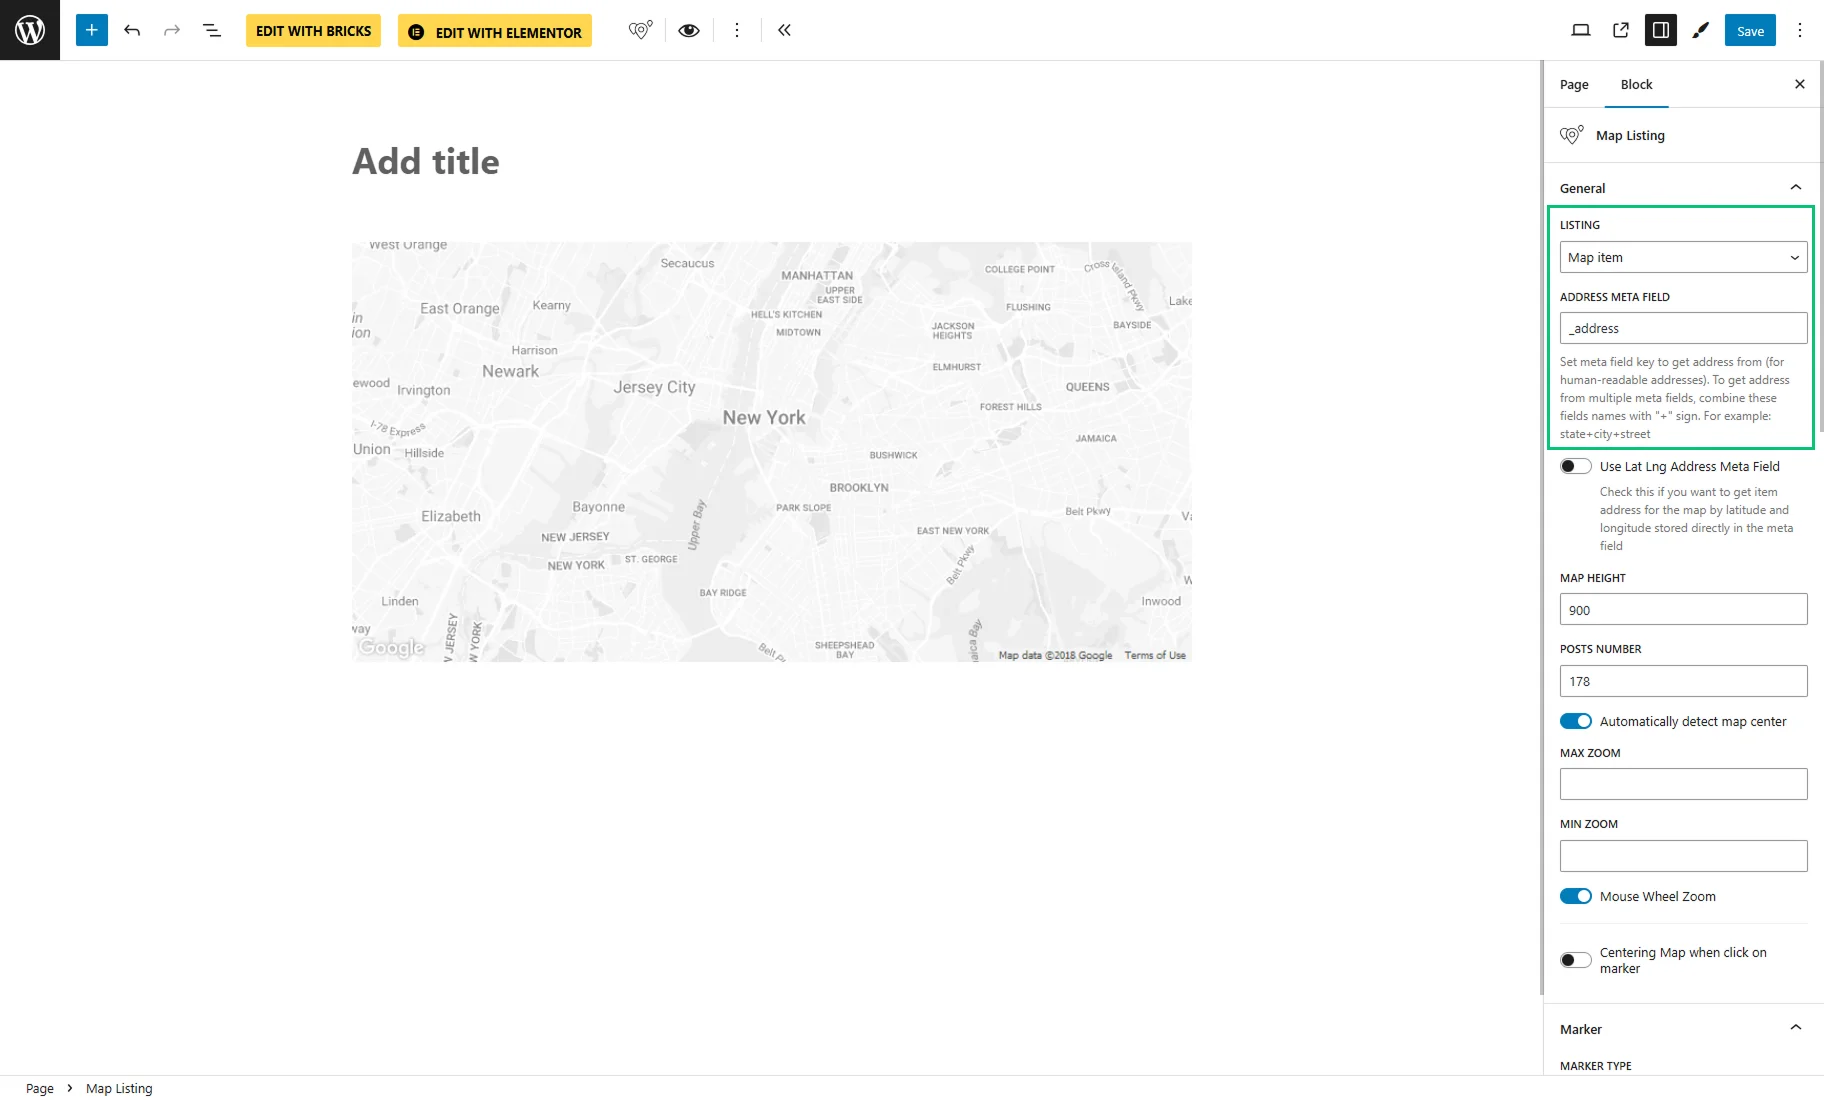
Open a page with the WordPress Block editor where the Map Listing block is placed.
In the General settings tab, ensure that the LISTING and ADDRESS META FIELD are configured.
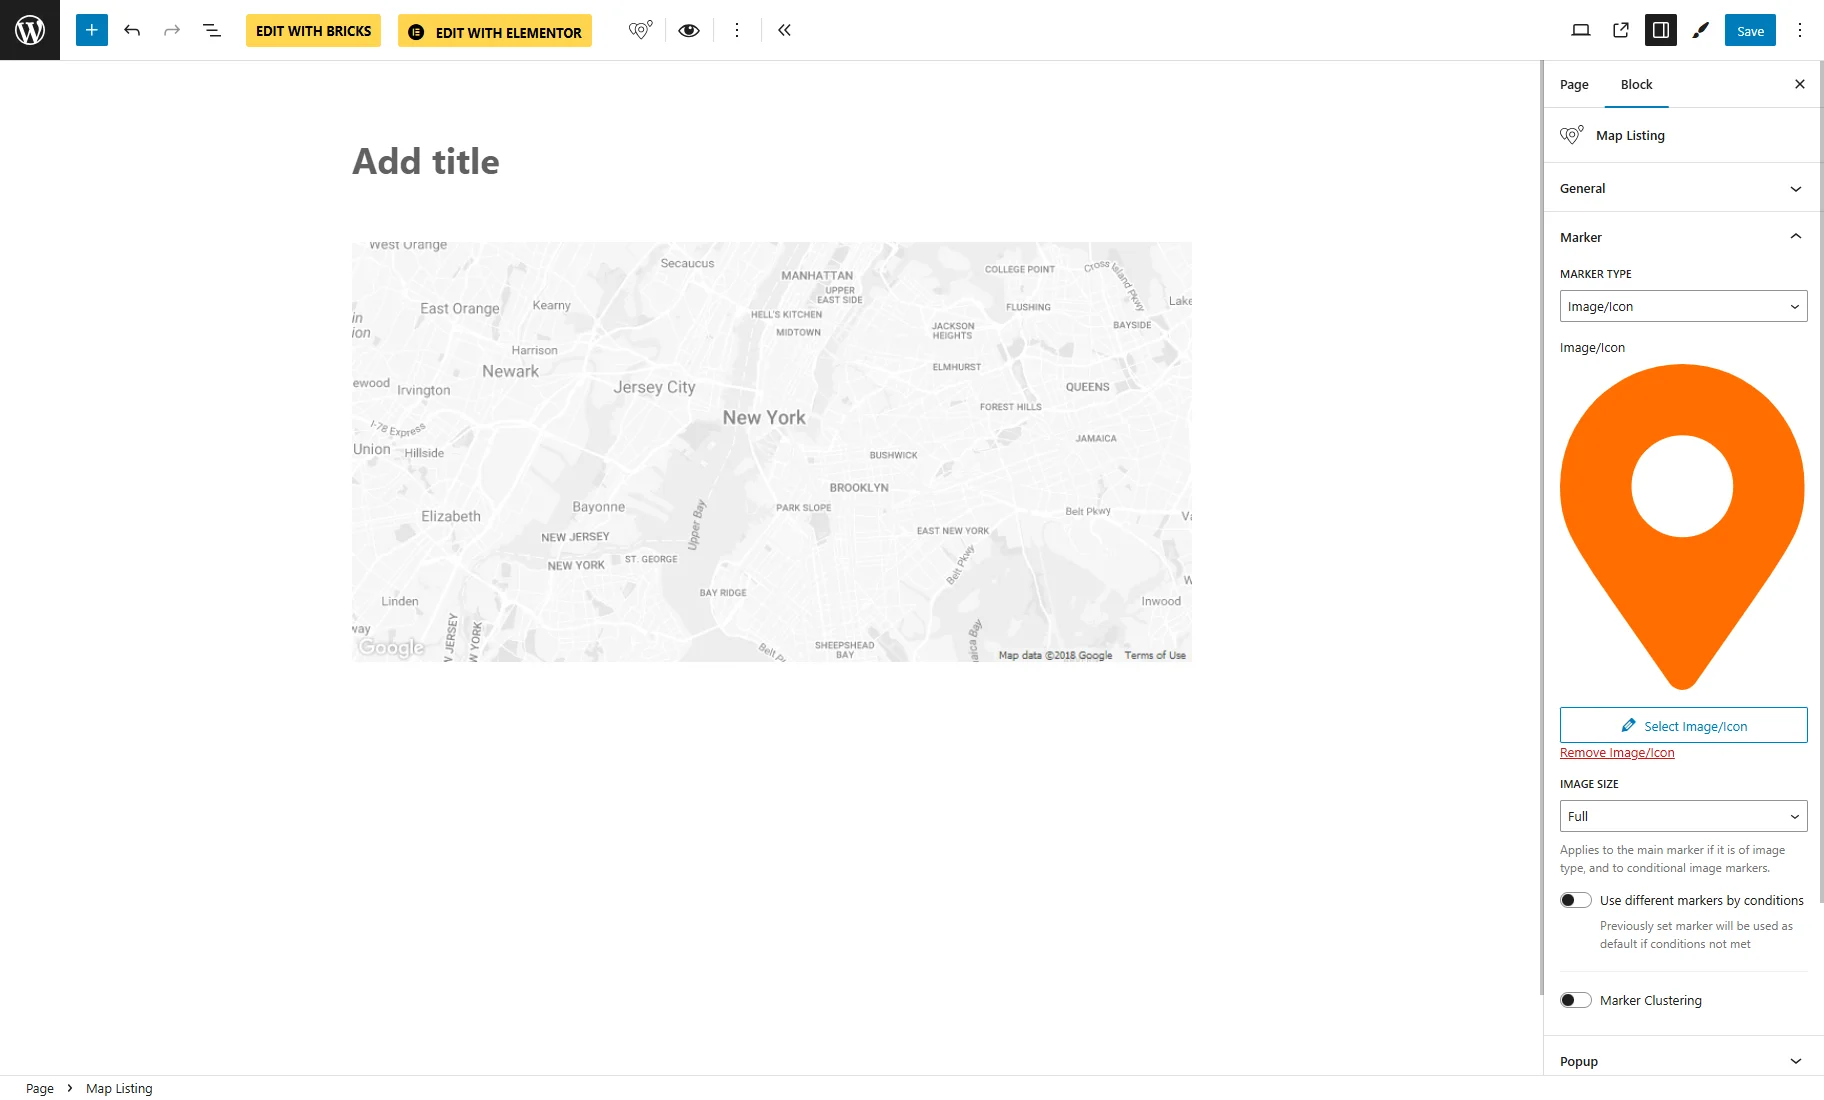
Then, unroll the Marker tab and select any MARKER TYPE (e.g., we pick “Image/Icon” and set the Image/Icon from the Media Library). For our case, we also disabled the Marker Clustering toggle.
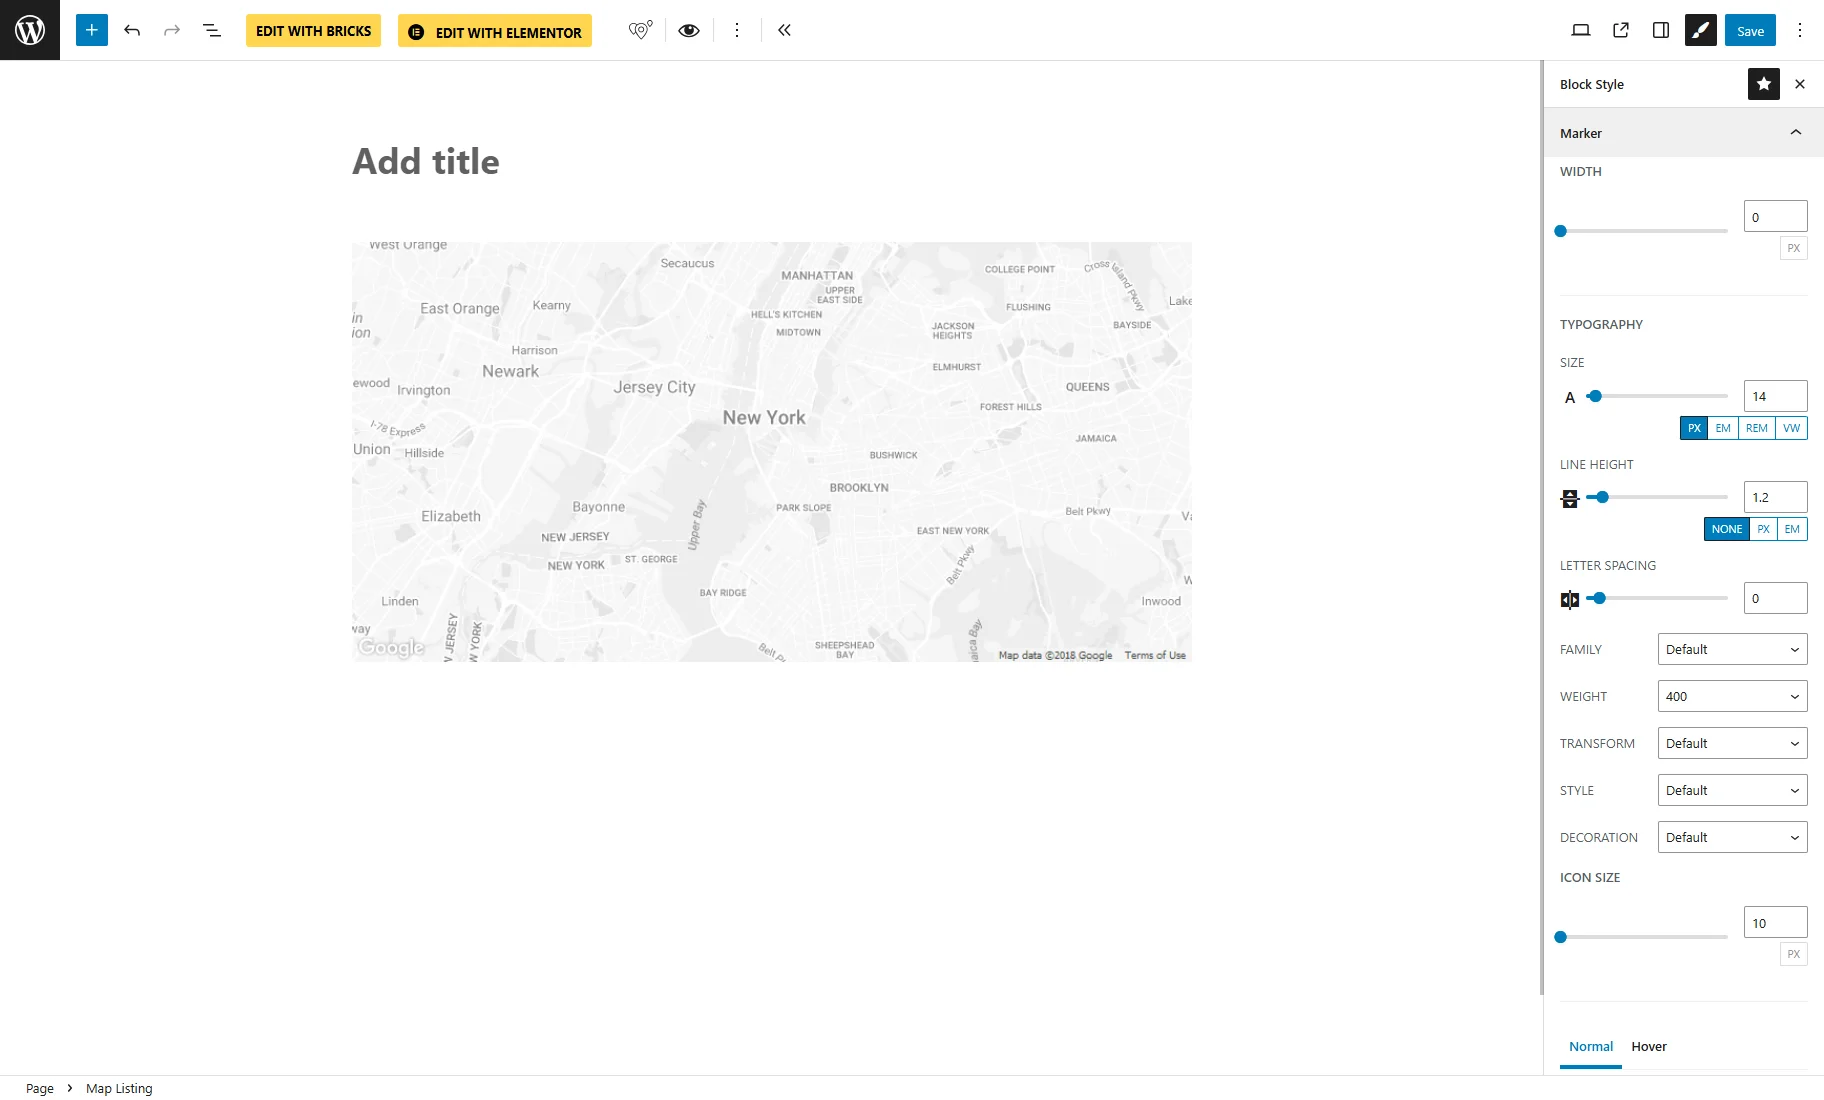
If the JetStyleManager free plugin is installed and activated, the “paintbrush” icon appears in the upper right corner. By clicking on it, you’ll open the Map Listing style settings. In the Marker tab, you can customise how the marker will look on the map if the post meta field has no value.
To apply dynamic colors, go back to the Marker settings tab of the Block section, enable the Use different markers by conditions toggle, and press the “+ Add new item” button.
If needed, set the Image/Icon pick an option from the APPLY ICON COLOR TO dropdown:
- Fill — fills the icon with the adjusted color;
- Stroke — applies the adjusted color to the outline (stroke) of the icon only;
- Both — applies the adjusted color to both the fill and the stroke of the icon;
- Keep SVG colors — retains the original colors defined in the SVG file, ignoring any adjusted color settings.
Into the DYNAMIC ICON COLOR bar, enter the macro or shortcode generated previously.
In the APPLY THIS MARKER IF dropdown, select the “Dynamic color not empty” variant.
Finally, you can save the settings by clicking the “Save” button.
After that, on the front end, markers on the map will change their color according to the post meta field values.
Dynamic Icon Color in Bricks
Open a page with the Bricks editor where the Map Listing element is placed.
In the GENERAL settings tab, ensure that the Listing and Address Meta Field are configured.
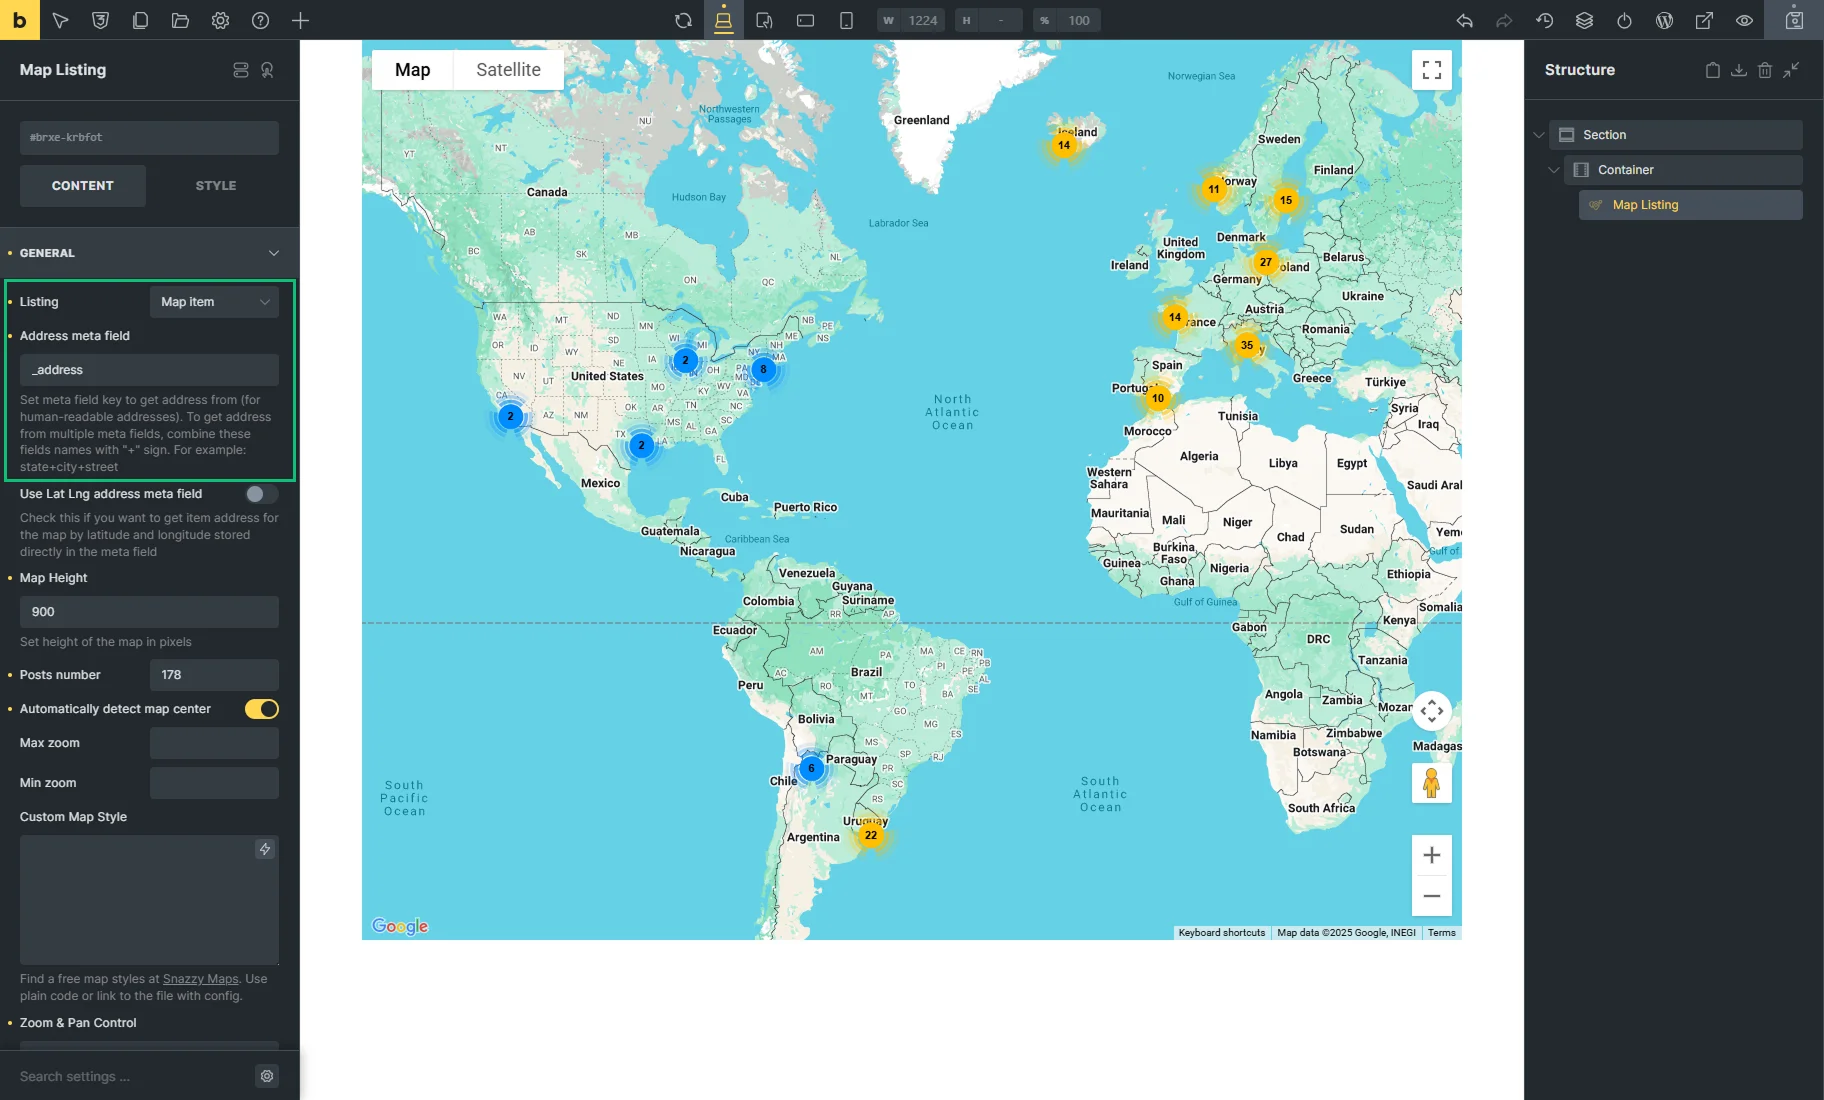
Then, unroll the MARKER tab and select any Marker Type (e.g., we keep the default “Icon” option). Also, we disabled the Marker clustering toggle for now.

Now, you can open the STYLE section and modify the marker appearance in the MARKER style tab. That’s how the marker will look on the map if the post meta field has no value.
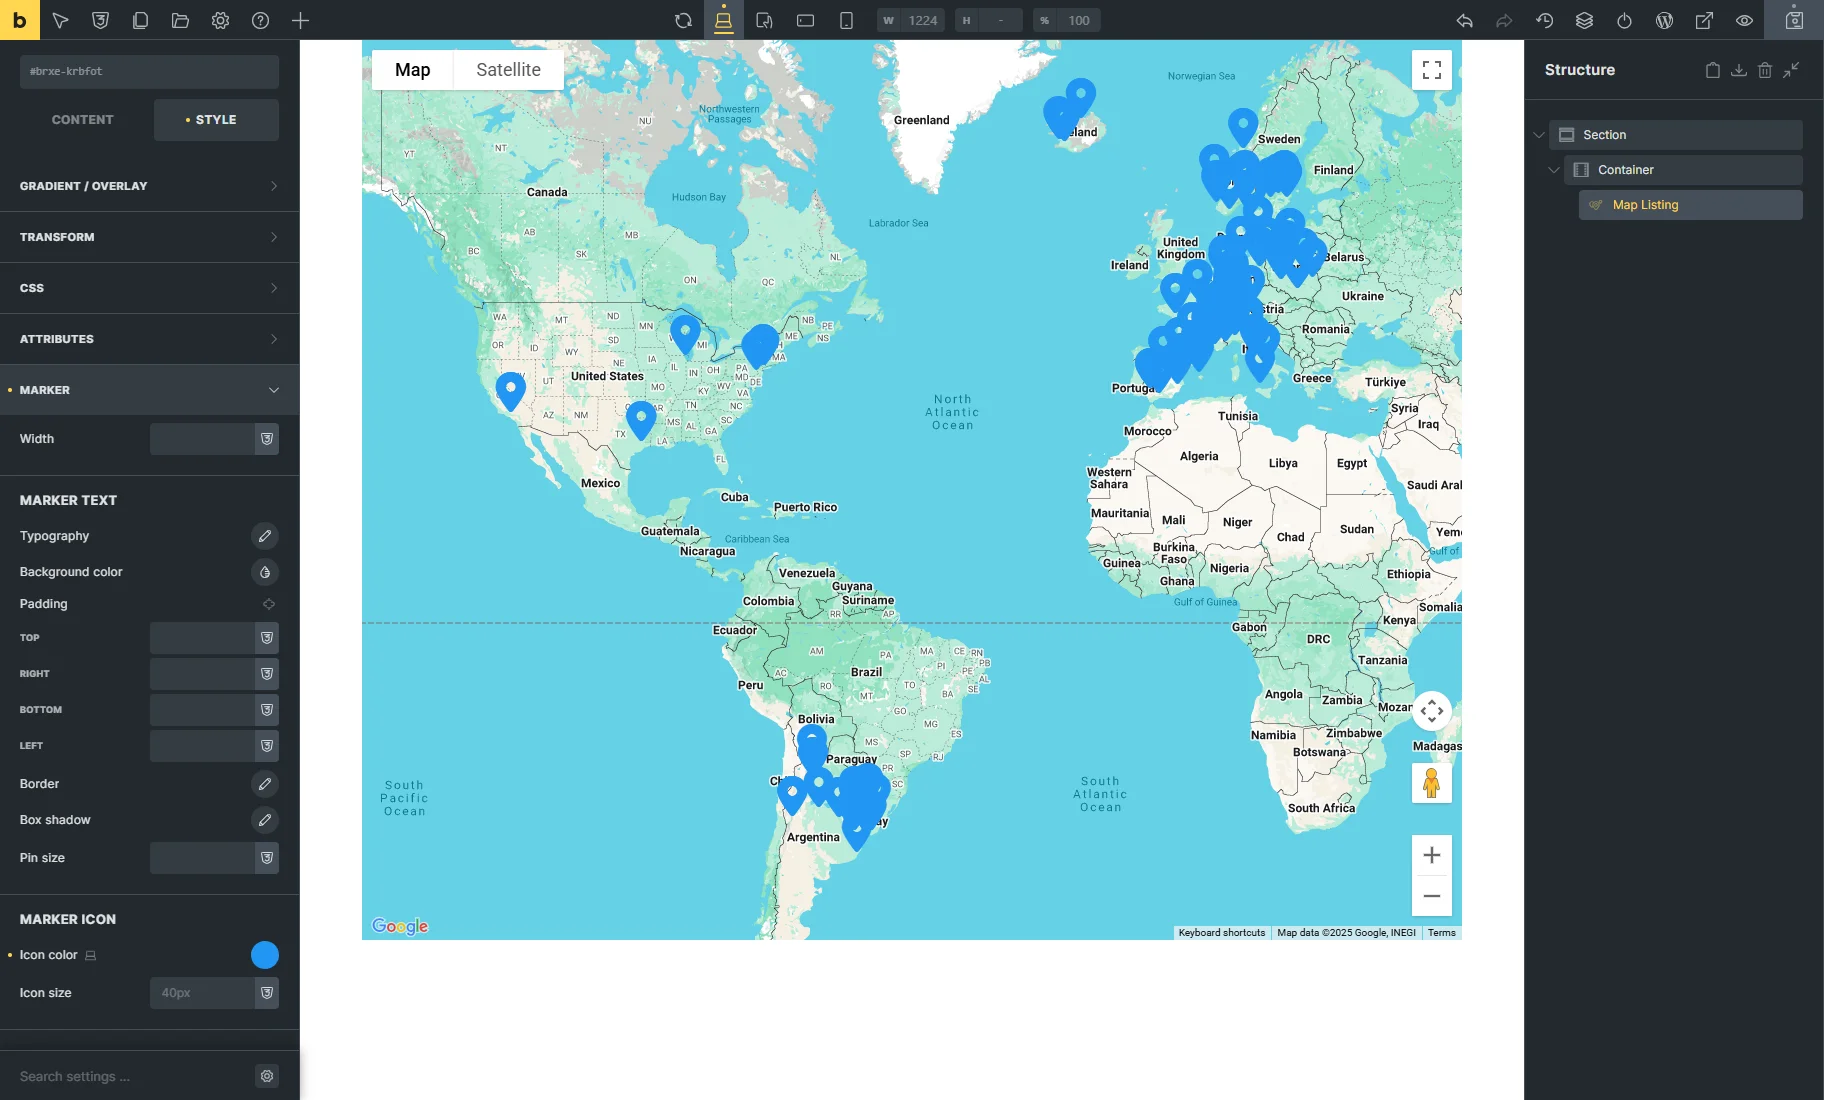
To apply dynamic colors, go back to the MARKER settings tab of the CONTENT section, enable the Use different markers by conditions toggle, and press the “+ ADD MARKER” button.
In the Repeater item, select the “Icon” Marker Type and set the Icon if needed.
Into the Dynamic Icon Color bar, enter the macro or shortcode generated previously.
!Things to know
The Dynamic Icon Color option takes over the Icon color, so you need to set either one or the other for each item.
In the Apply this marker if dropdown, select the “Dynamic color not empty” variant.
After that, markers on the map will change their color according to the post meta field values. Finally, you can save the settings by clicking the “Save” button.
That’s all. Now you know how to dynamically change map marker icon colors in JetEngine Map Listings based on post meta field values using a macro or shortcode in Elementor, Gutenberg, and Bricks editors for WordPress.