How to Show Posts in Listing Grid Based on Geolocation
From this tutorial, you will learn how to show posts in JetEngine’s listings based on geolocation.
Before you start, check the tutorial requirements:
- Elementor (Free version) or Block editor (Gutenberg)
- JetEngine plugin installed and activated with meta field storing address, Maps Listings module activated, and listing template created.
Build a Query
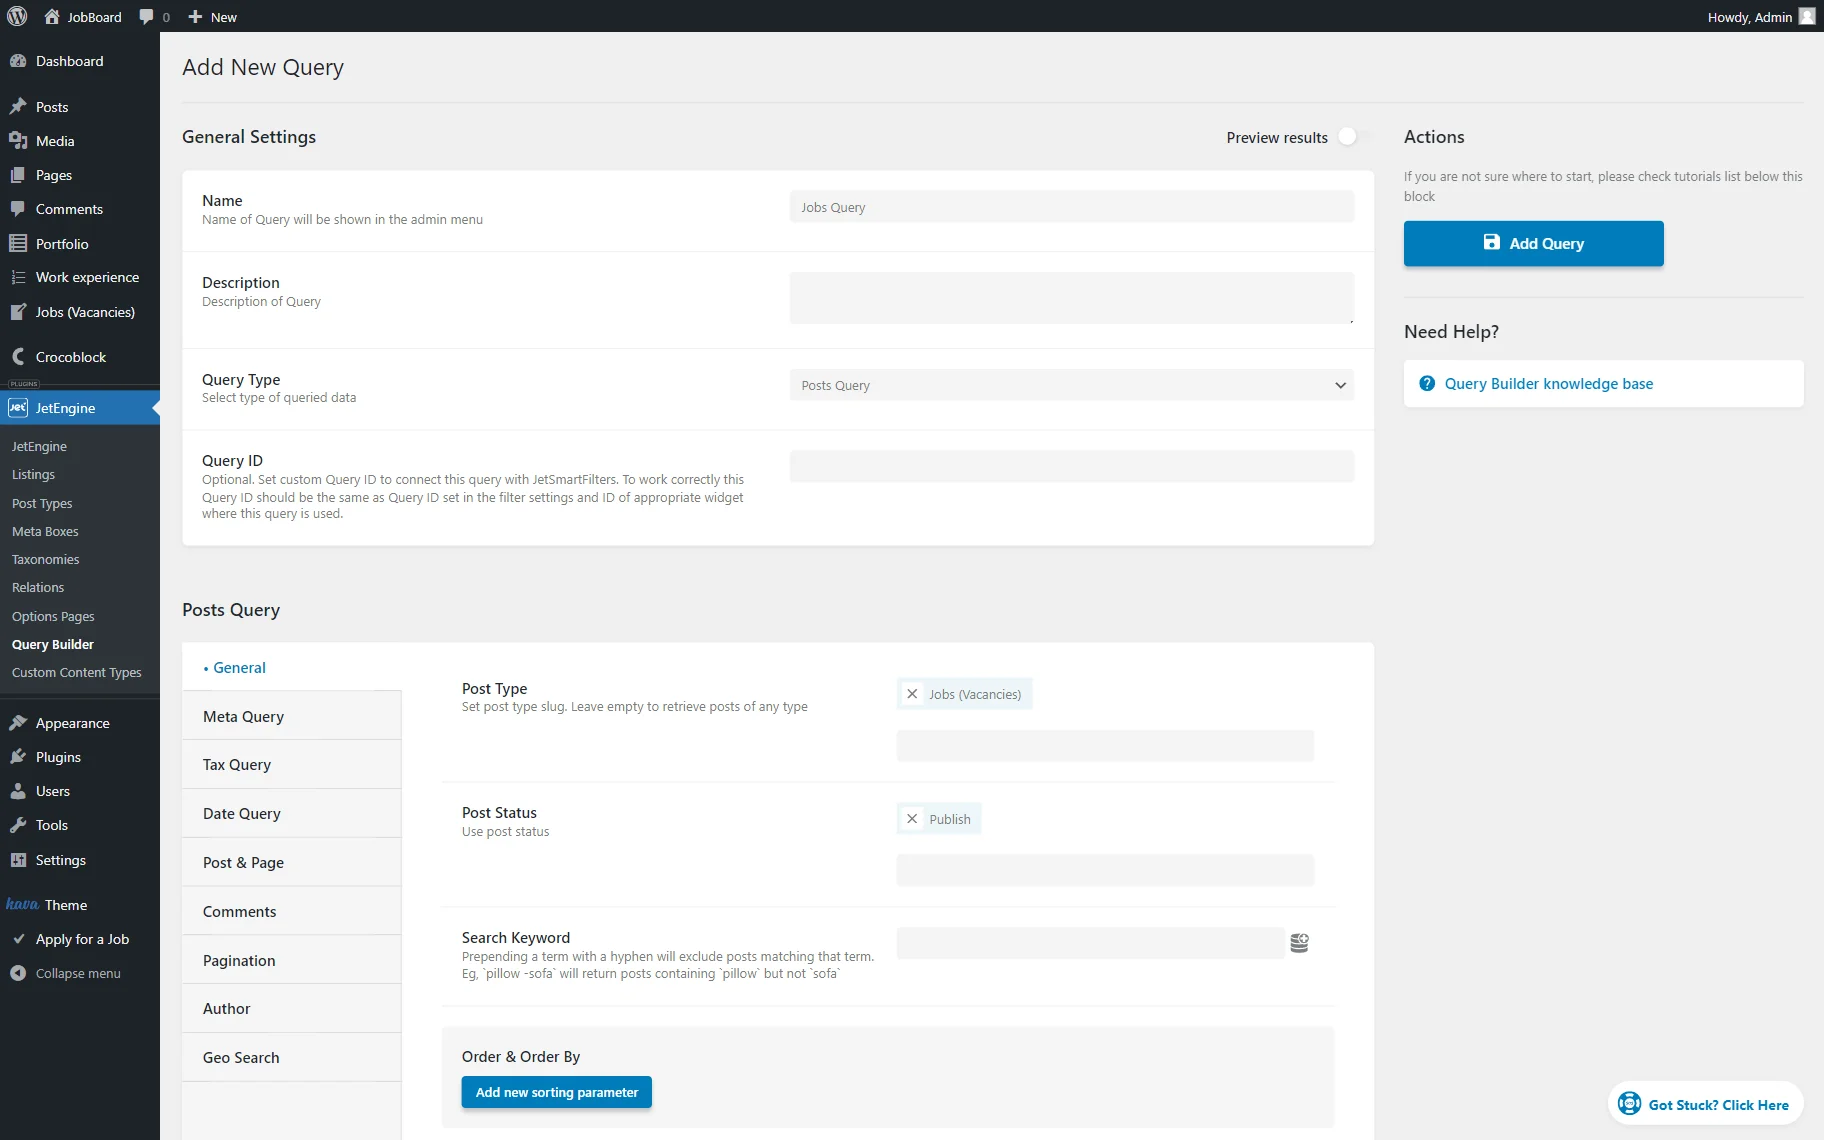
Go to WordPress Dashboard > JetEngine > Query Builder and press “Add New.”
Fill in the Name field in the General Settings section.
Select the desired Query Type. Among the options that work with Geo Search are: “Posts Query,” “Terms Query,” “Users Query,” and “Custom Content Type Query.”
Proceed to the next section now. If you’ve chosen the default “Posts Query” type, it will be called Post Query.
In the General tab, choose the Post Type, such as JetEngine’s Custom Post Type or skip this step to work with posts of any type.
Post Status options allow specifying posts’ status (published, drafts, etc.) if necessary.
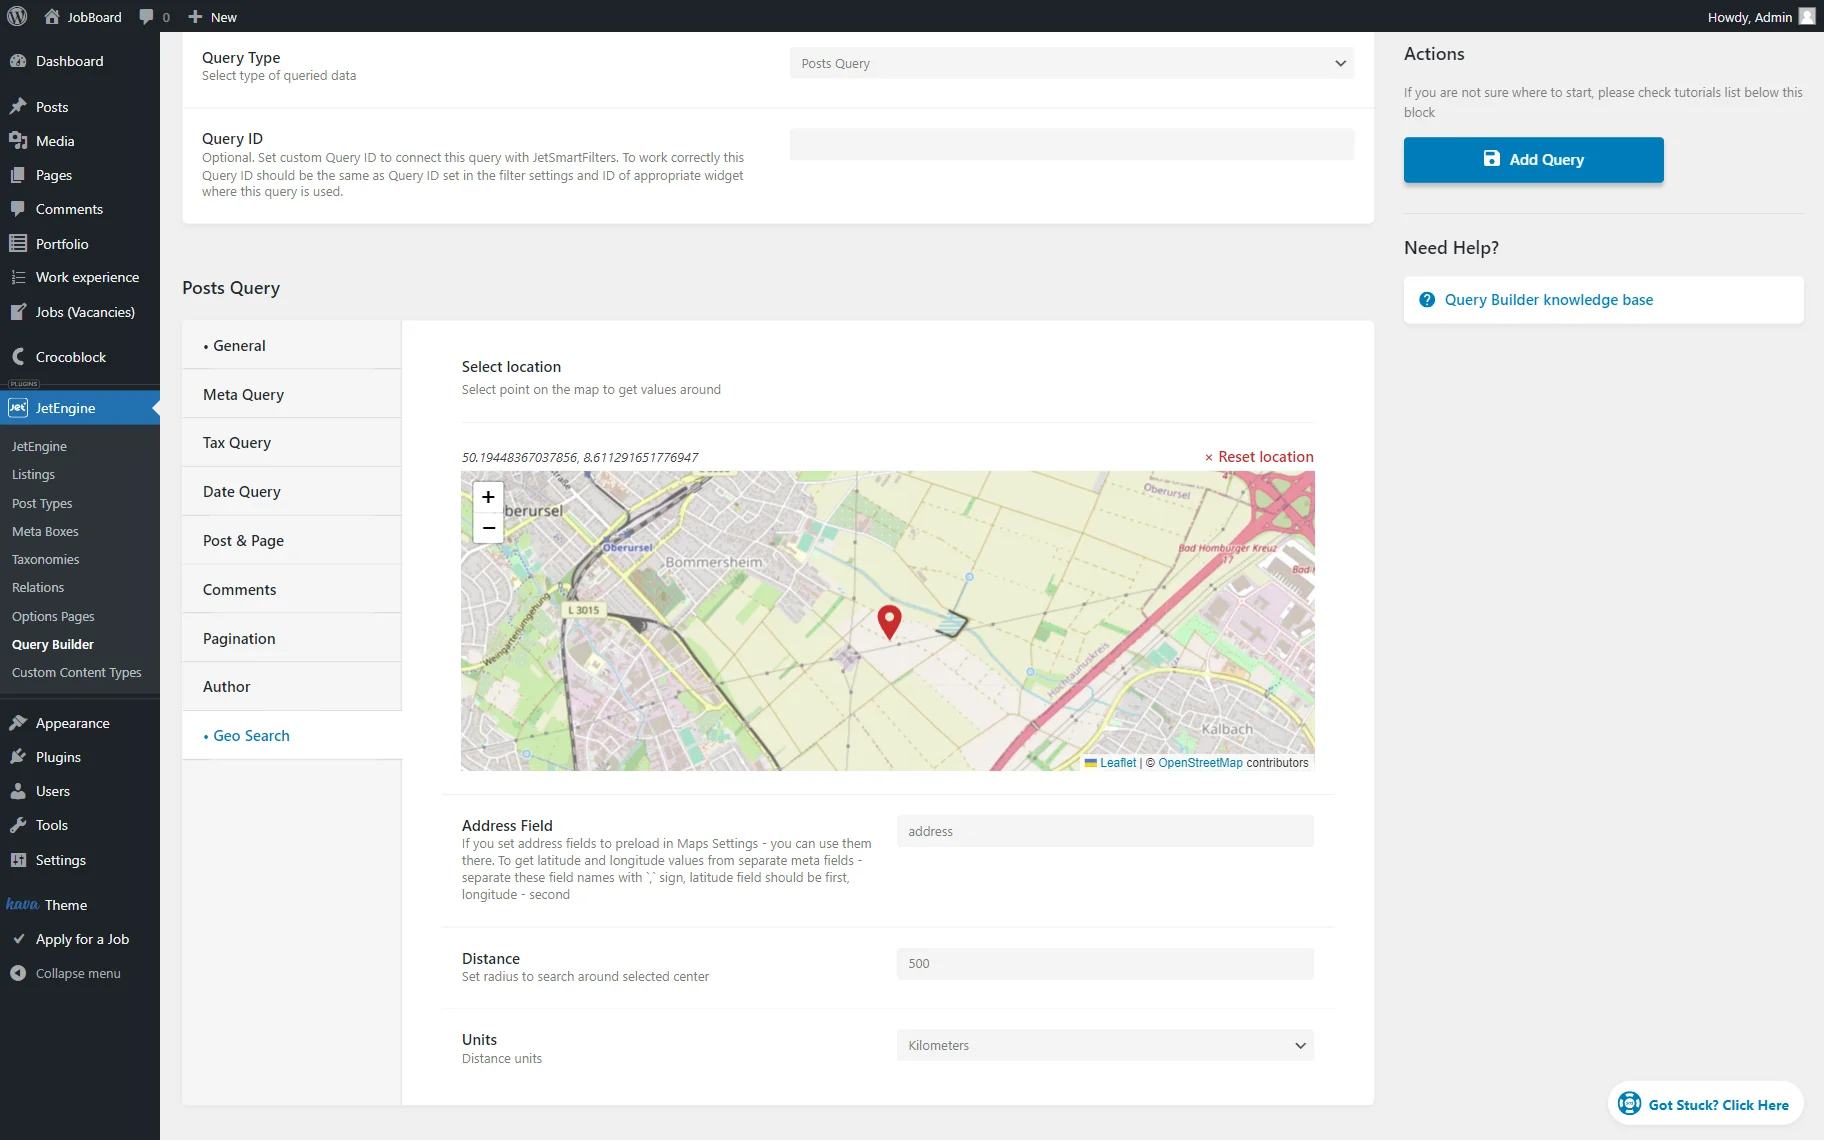
In the Geo Search tab, select a point on the map using the Select location field. Once the user opens the page, the map will be centered on this point.
Complete the Address Field with a meta field value (Name/ID in the meta field settings) created beforehand.
Specify a radius in the Distance field for users to search around the center selected in the Select location field.
Select the Units options for the map to display distances in either miles or kilometers.
Press the “Add Query” button to save the result.
Customize a Page
Head to the page where a listing is located or where you want to place it or create a new page by going to WordPress Dashboard > Pages and clicking the “Add New” button.
This tutorial describes editing a page with Elementor; however, you can recreate the same case in the Block Editor.
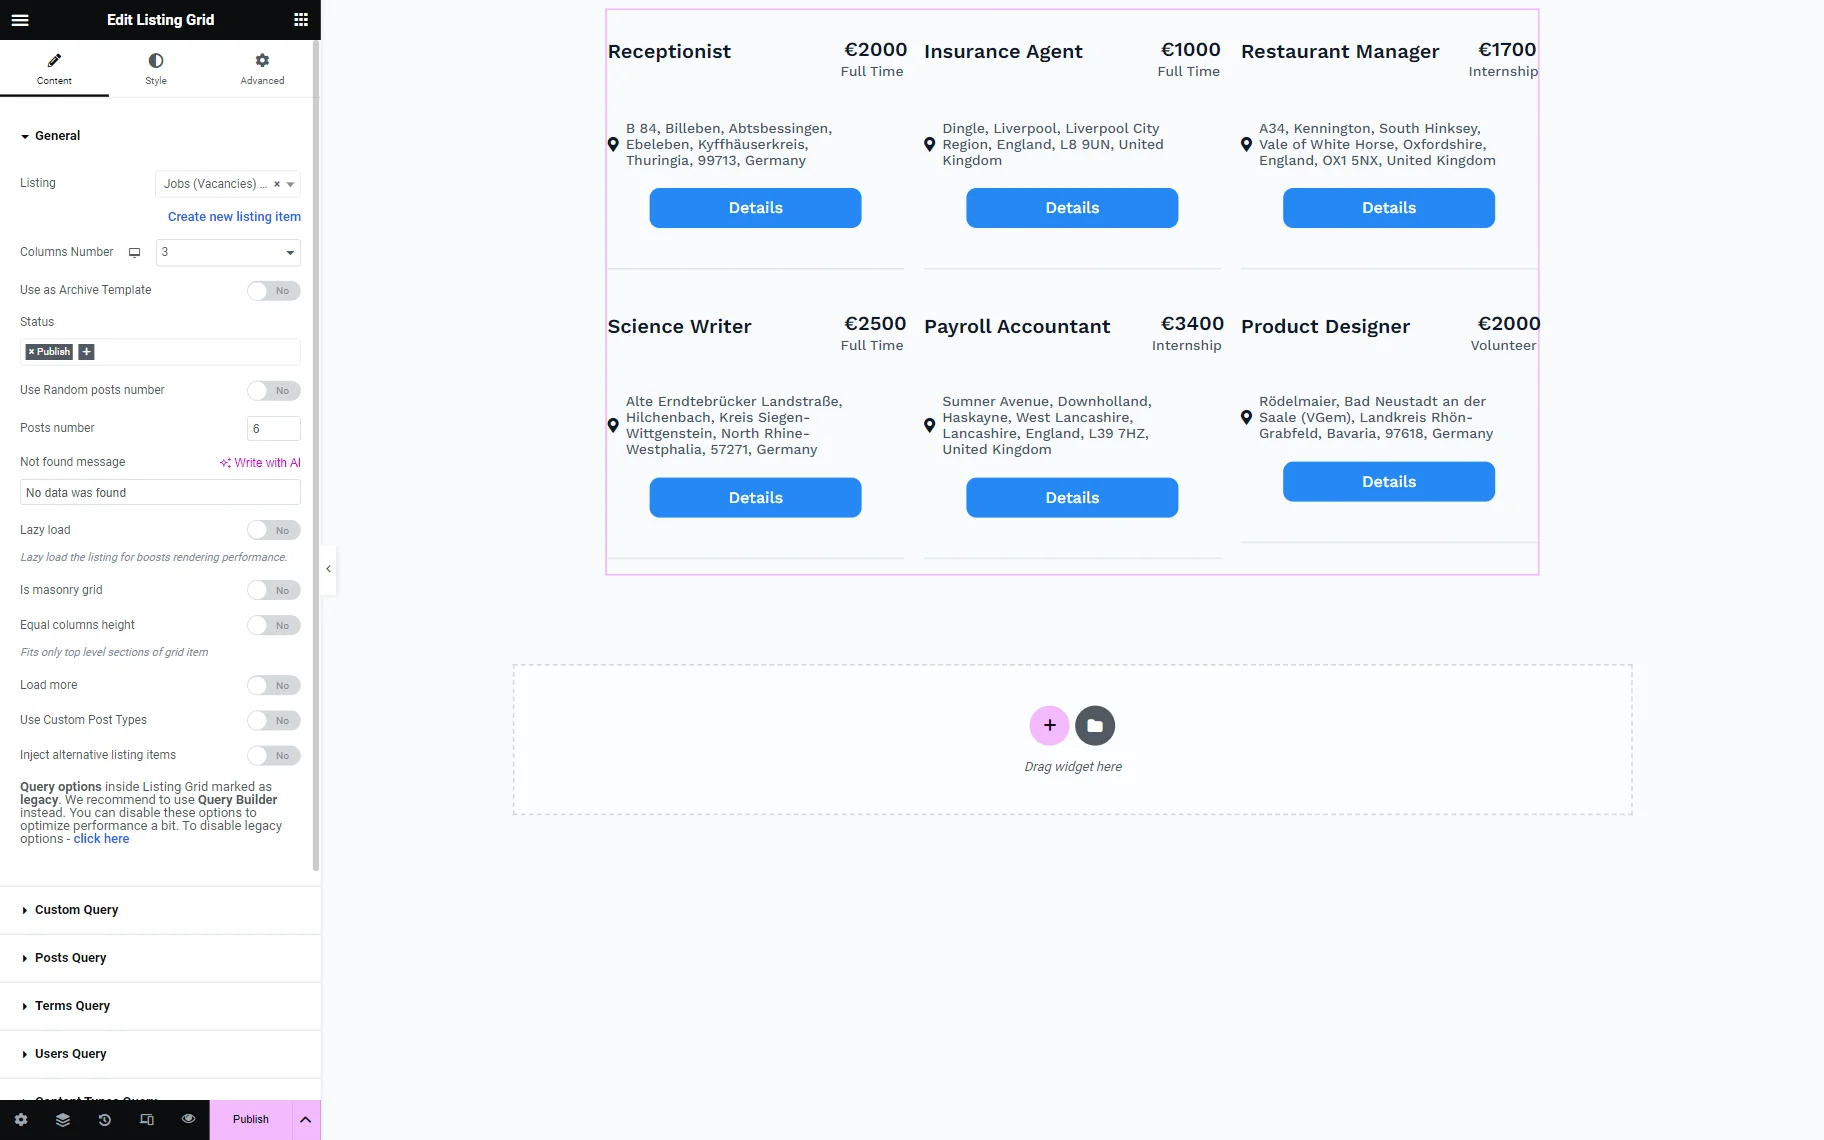
Place the Listing Grid widget on the page. Select a Listing built earlier.
Adjust the General settings according to your preferences.
Go to the Custom Query tab and activate the Use Custom Query toggle.
Once the switcher is activated, choose the Custom Query built in the previous step.
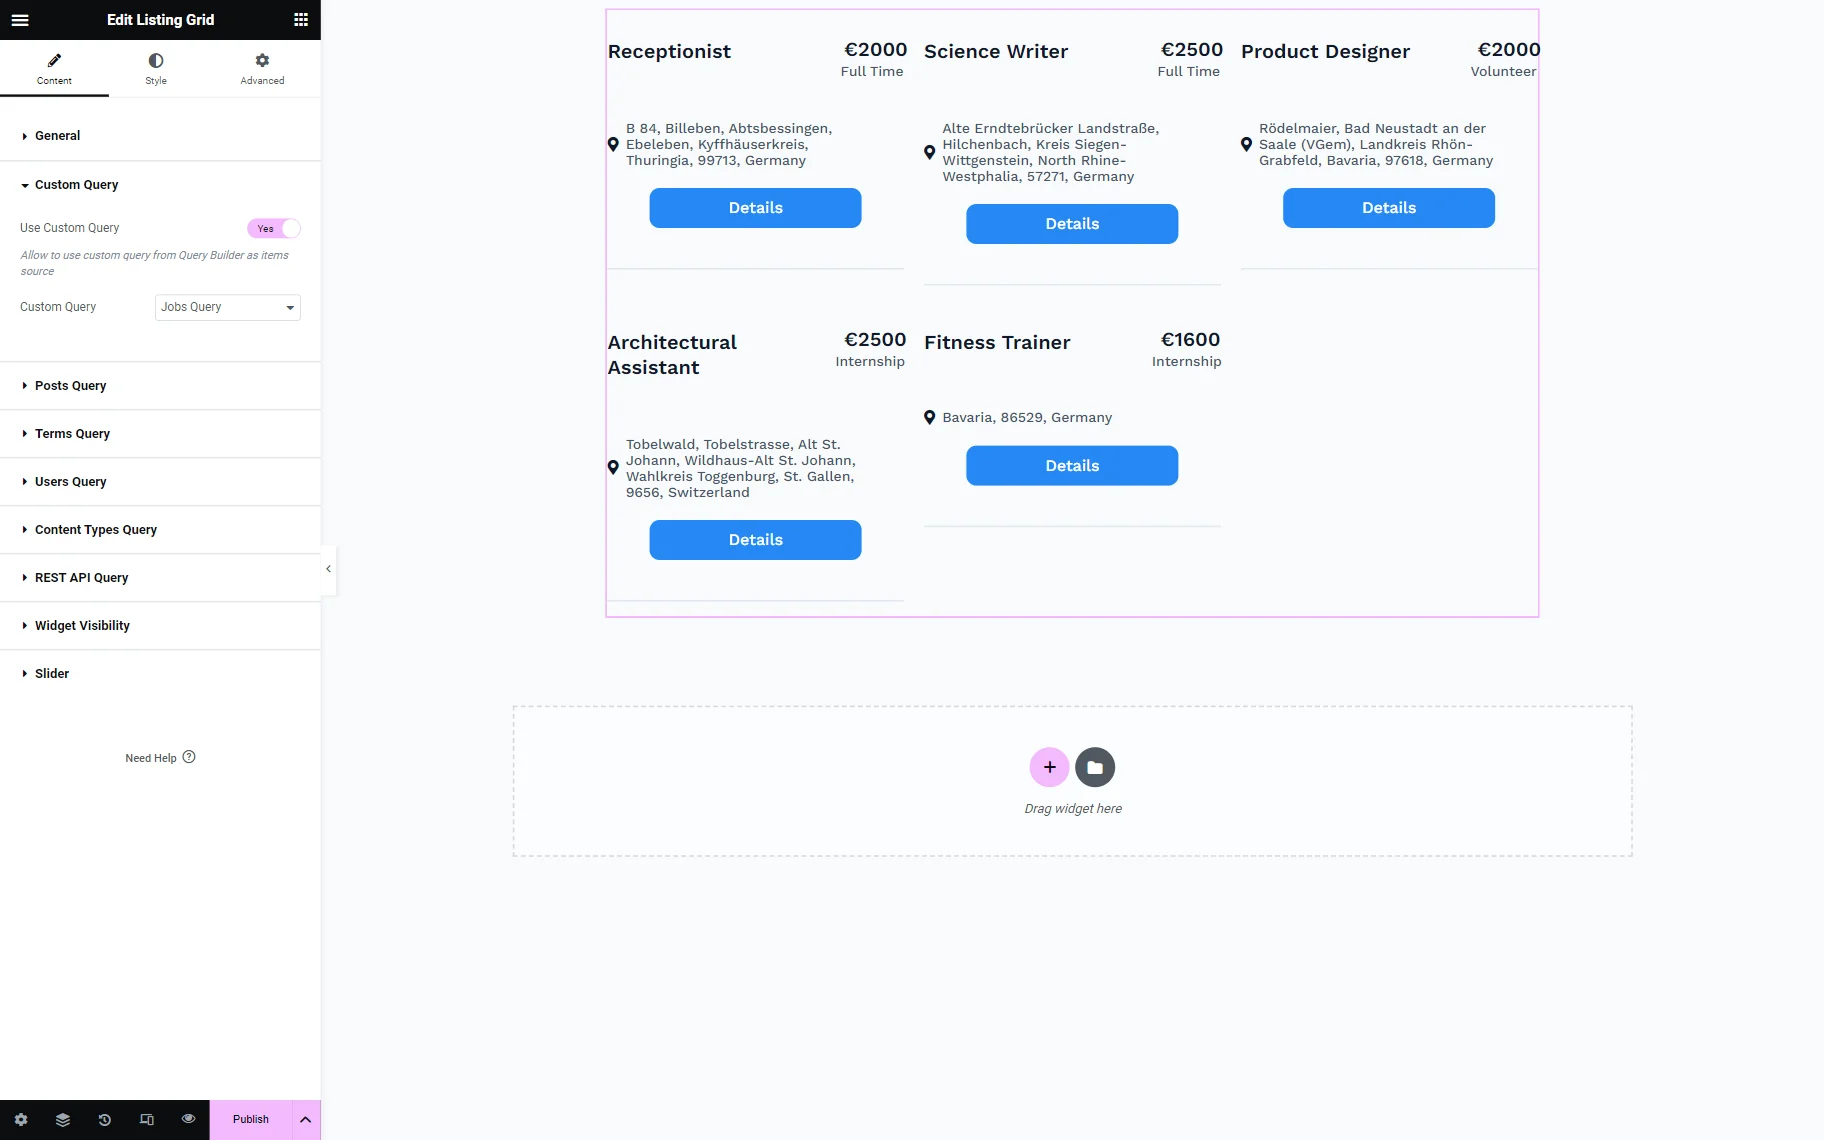
Work on other settings if needed and adjust styling.
Once done, hit the “Publish/Update” button to save the changes.
Check Result
Head to the front end of the edited page.
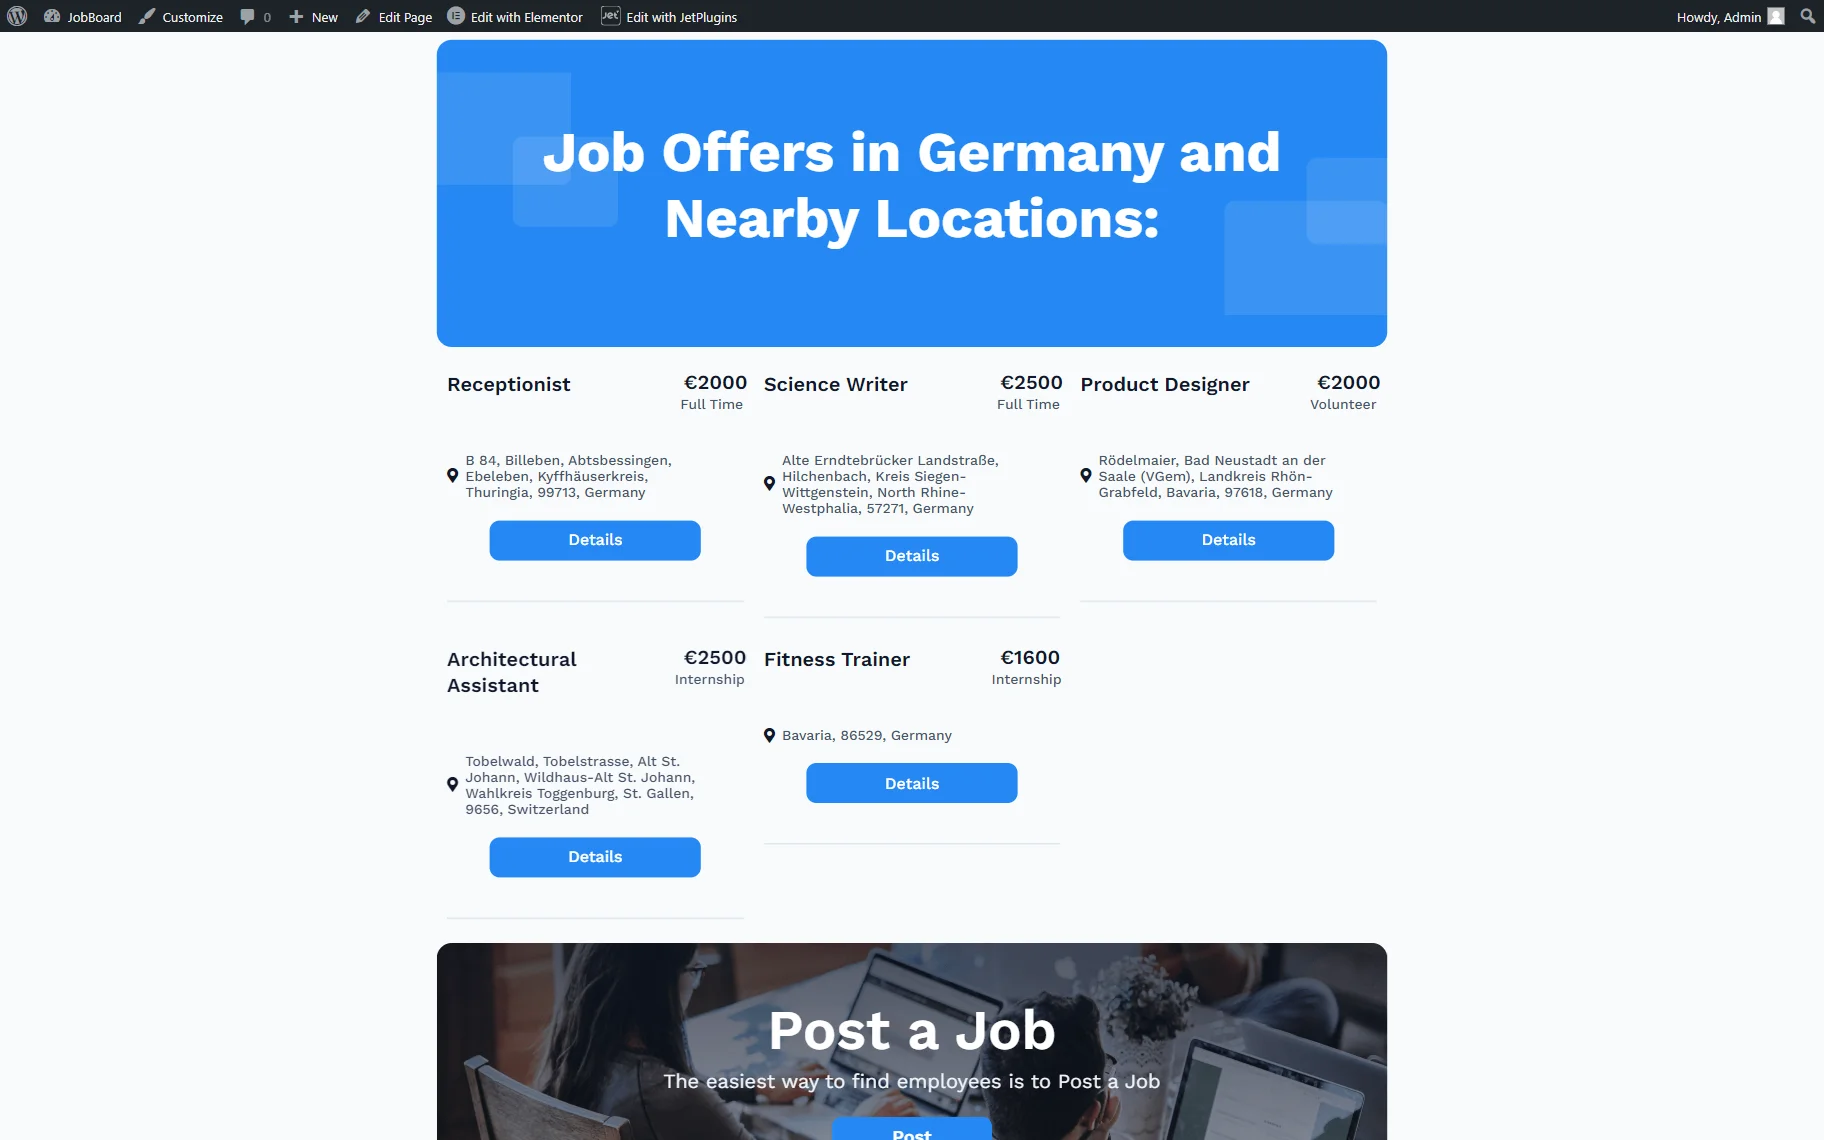
Now, the Listing Grid displays items located within the radius of the map center specified in the query settings.
That’s all; now you know how to order JetEngine listings based on geolocation on your WordPress website.