How to Use Glossary in ACF Meta Fields
This guide will teach you how to use JetEngine Glossary values in ACF meta fields on your WordPress website.
The ACF plugin is compatible with the JetEngine plugin, and you can display the ACF meta fields in the listing templates and Listing Grids of JetEngine.
However, this way, you can only show the values of the Select, Checkbox, and Radio fields, not the labels. To fix that issue, you can use the Glossary.
Initially, create an ACF Radio, Select, or Checkbox field and make a glossary with the same values and labels as the ACF field.
Head to WordPress Dashboard > JetEngine > Listings and open/create a listing item in the Gutenberg or Elementor Page Builder.
Add the ACF meta field to the listing template via the Dynamic Field widget/block.
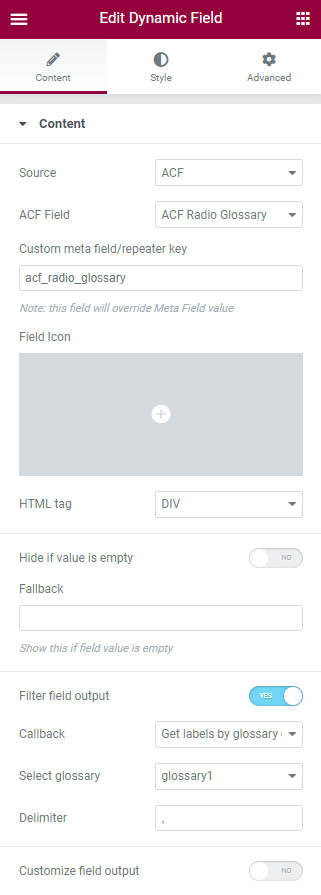
In the Source drop-down menu, choose the “ACF” option and specify the field in the ACF Field bar.
Enable the Filter field output toggle and select the “Get labels by glossary data” option in the Callback drop-down list.
Specify the glossary in the Select glossary field and choose the Delimiter.
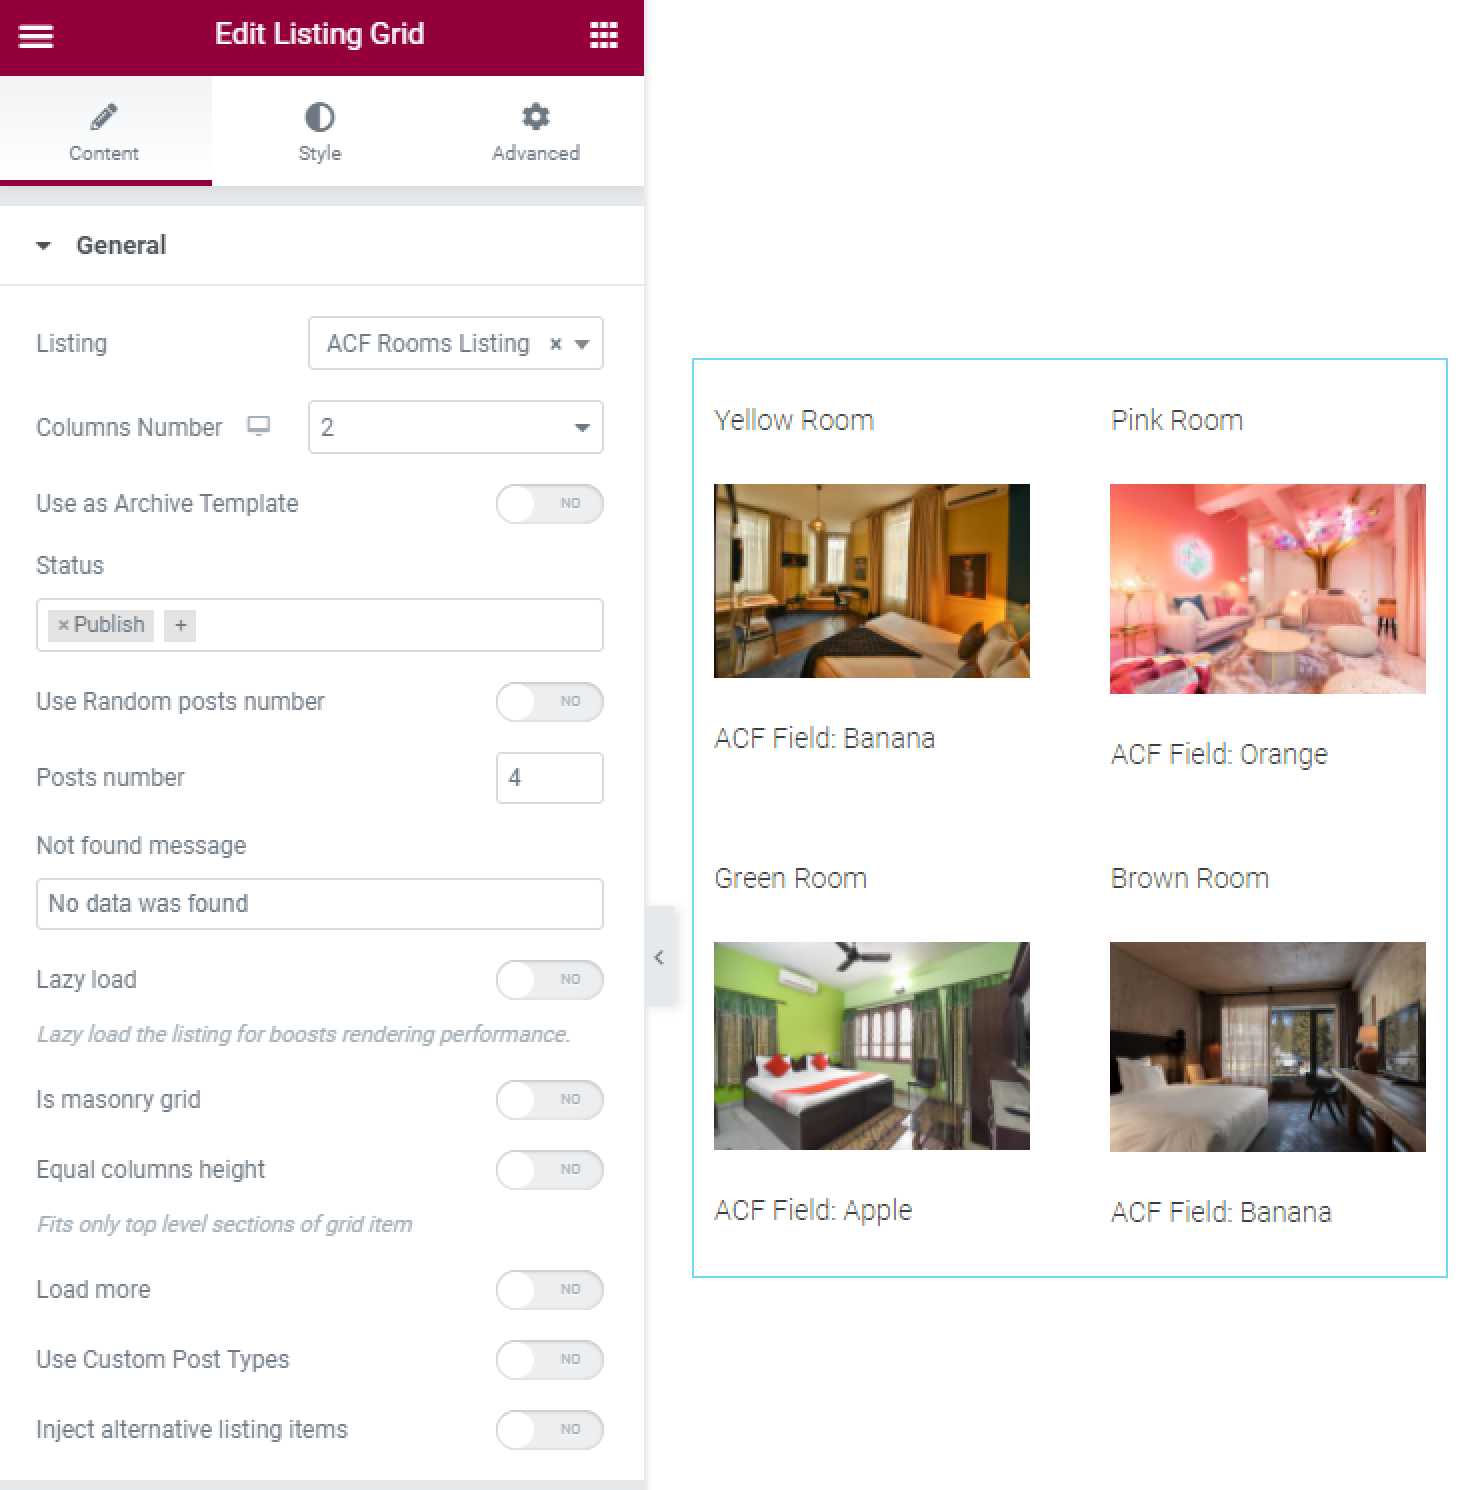
In Elementor, the result will look like as shown in the picture below.
Now, you know how to use JetEngine Glossary items as the data source for the ACF meta fields on your WordPress website.