How to Use Query Results as a Source for Meta Fields
This guide focuses on setting up the query results as a source for meta fields using the WordPress JetEngine plugin.
Before you start, check the tutorial requirements:
- Elementor (Free version), Block editor (Gutenberg), or Bricks
- JetEngine plugin installed and activated, with Custom Post Type created
In this article, we aim to obtain the future tour in the meta field to display it on the page. We are going to explore step by step how to use a custom query as a source for meta fields.
Add Custom Date Field
First, set up the “Date” meta field according to which we are going to query the posts. In this case, we have the “Tours” Custom Post Type.
Proceed to WordPress Dashboard > JetEngine > Post Types and click the “Edit” button next to the needed Post Type. Scroll down to the Meta fields tab and click the “New Meta Field” button to add another field.
Select the “Date” Field type and enter the Label (“Start Dates” in our case). It is important to enable the Save as timestamp toggle — without it, the query will not work for the “Date” field.
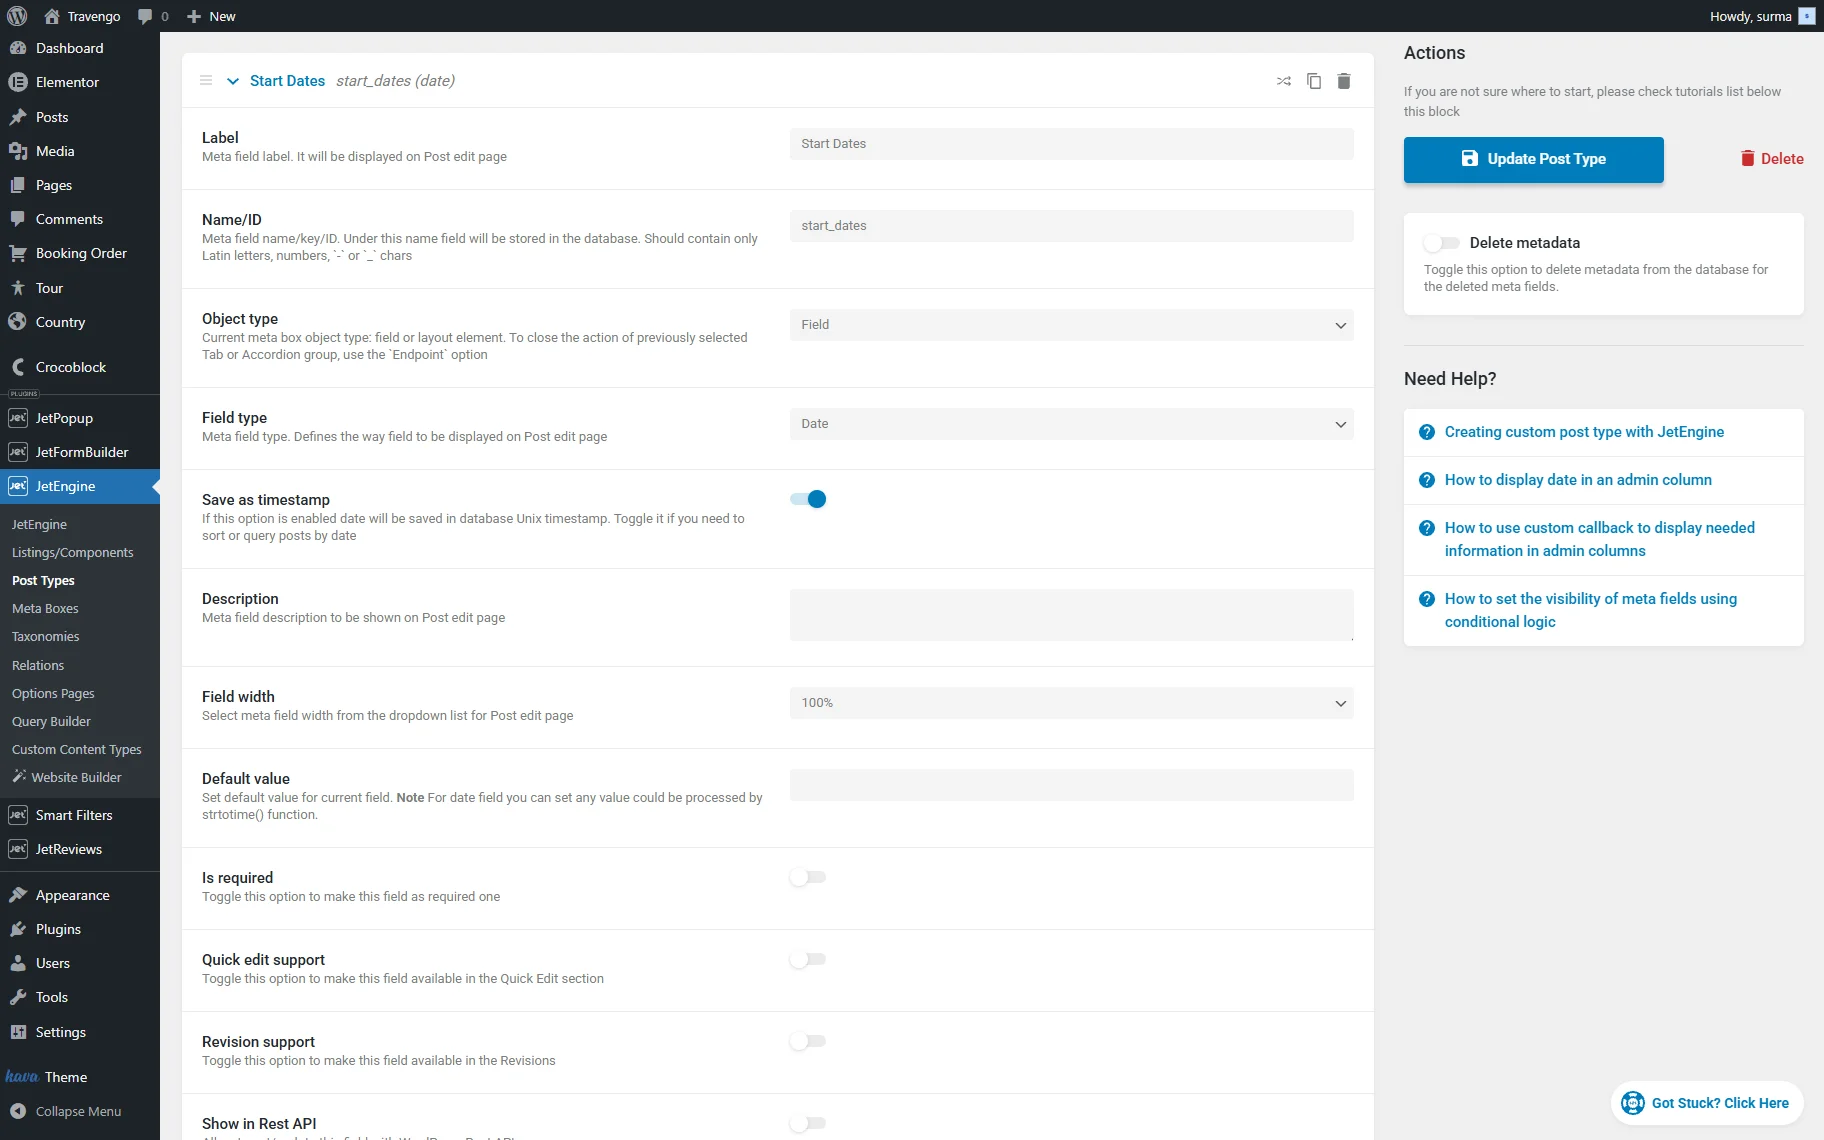
Once you are ready, click the “Update Post Type” button.
Create Custom Posts Query
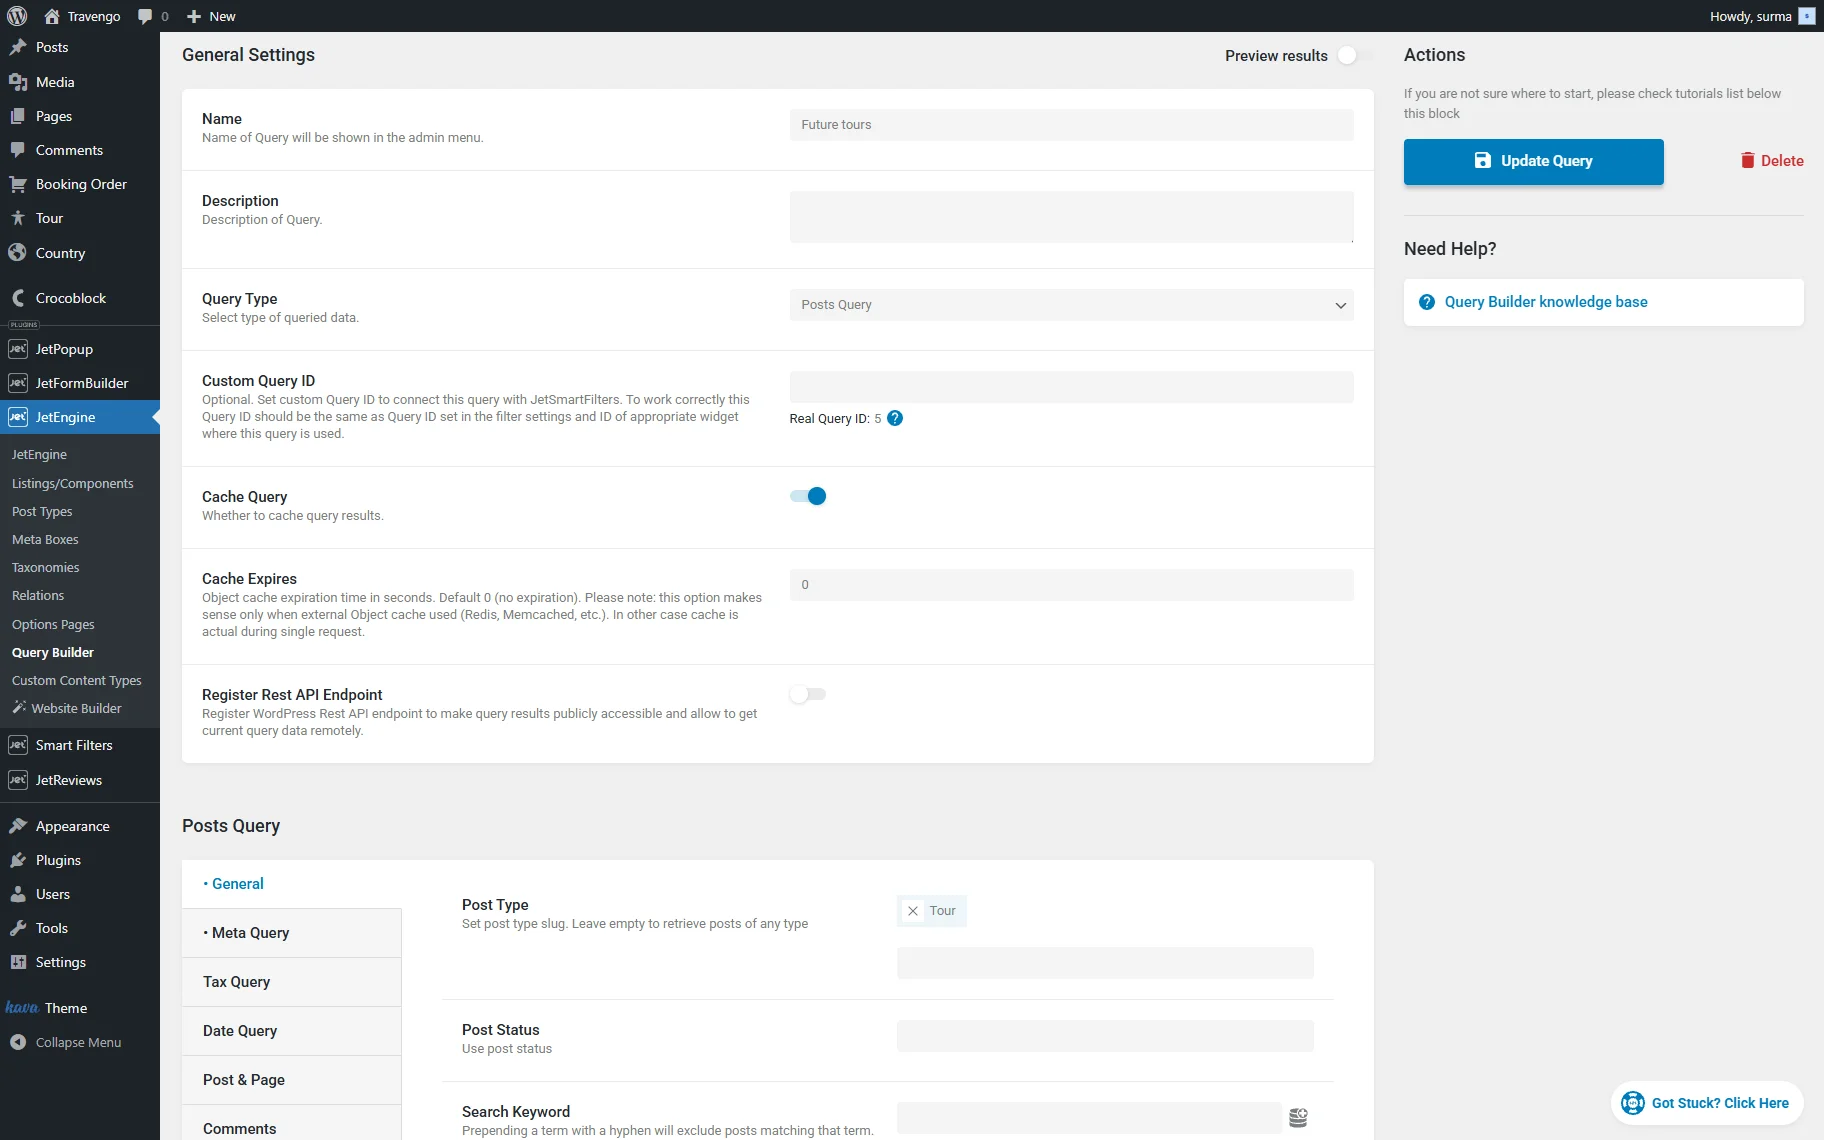
Now, move to WordPress Dashboard > JetEngine > Query Builder and click the “Add New” button.
Enter the Name for your query and select the “Posts Query” Query Type. In the General tab, select the needed Post Type (“Tour” in this case).
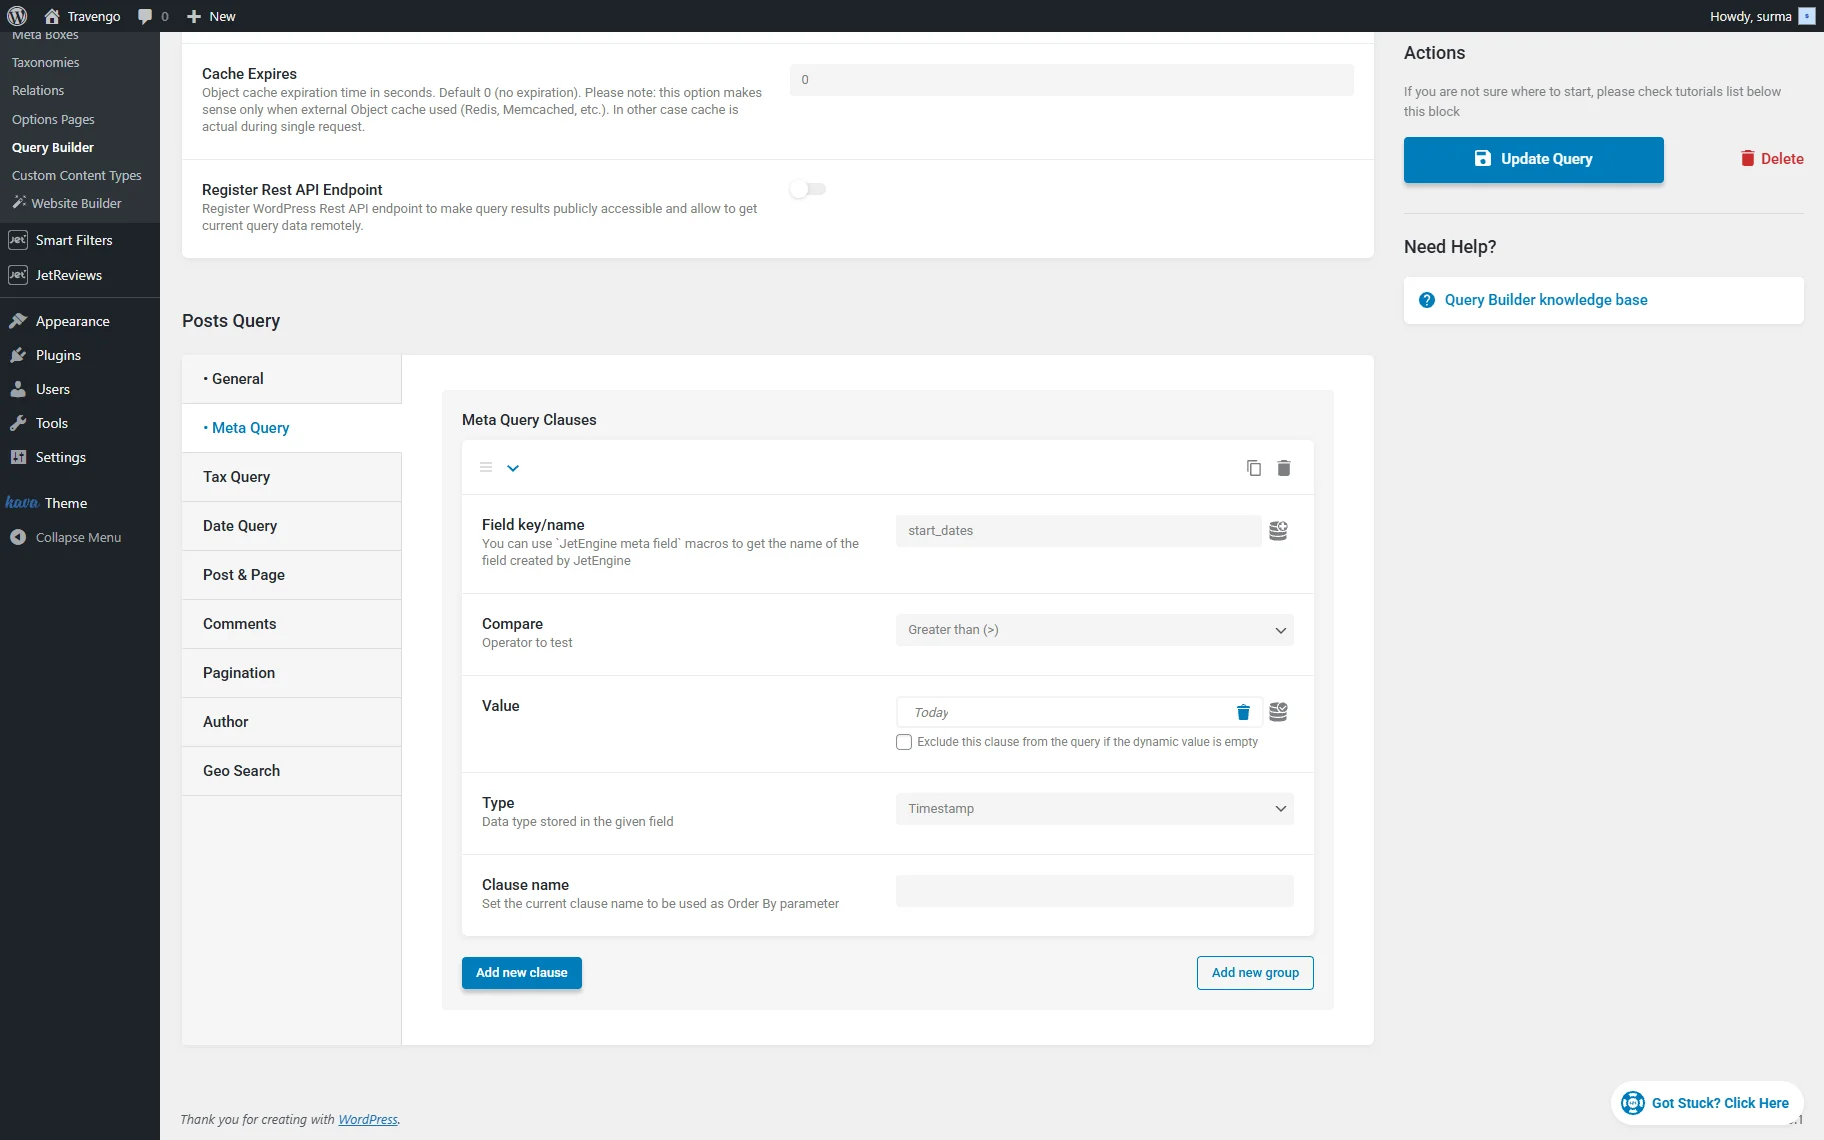
Open the Meta Query tab and click the “Add new clause” button.
In the Field key/name type the name of the “Date” field you created. Set the “Greater than (>)” operator to Compare. Next to the Value input, click the “Dynamic Tag” icon and select the “Today” option. Also, choose the “Timestamp” for the data Type.
When we enable the Preview Results toggle, we see that we get six posts with the dates in the future.
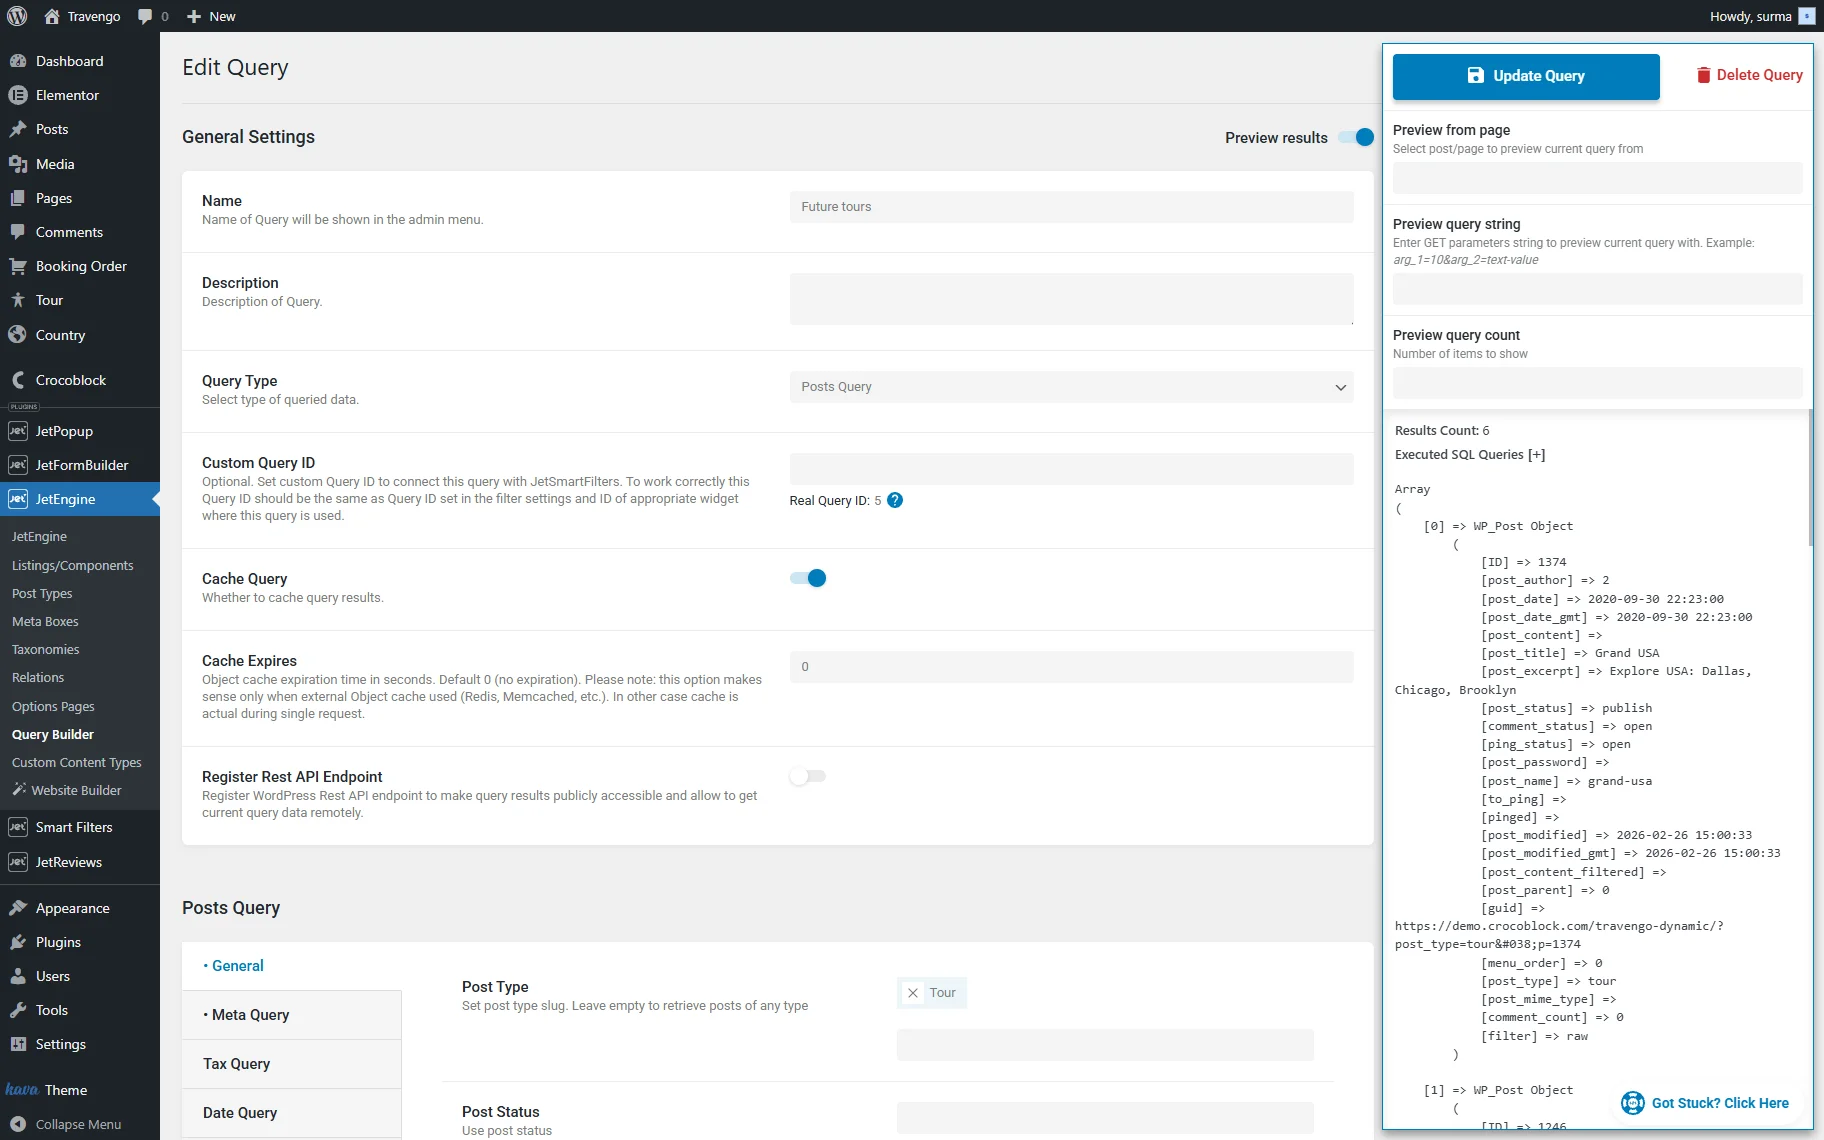
Click the “Add/Update Query” button.
Set Up the Query Results as a Source for a Meta Field
In this case, we will display the options on the WordPress page. So we need to add a custom field to the pages. For that, go to WordPress Dashboard > JetEngine > Meta Boxes and click the “Add New” button.
Enter the Meta Box Title and select “Posts” in the Meta Box for the dropdown. In the Enable for Post Types field, we select the “Pages” option.
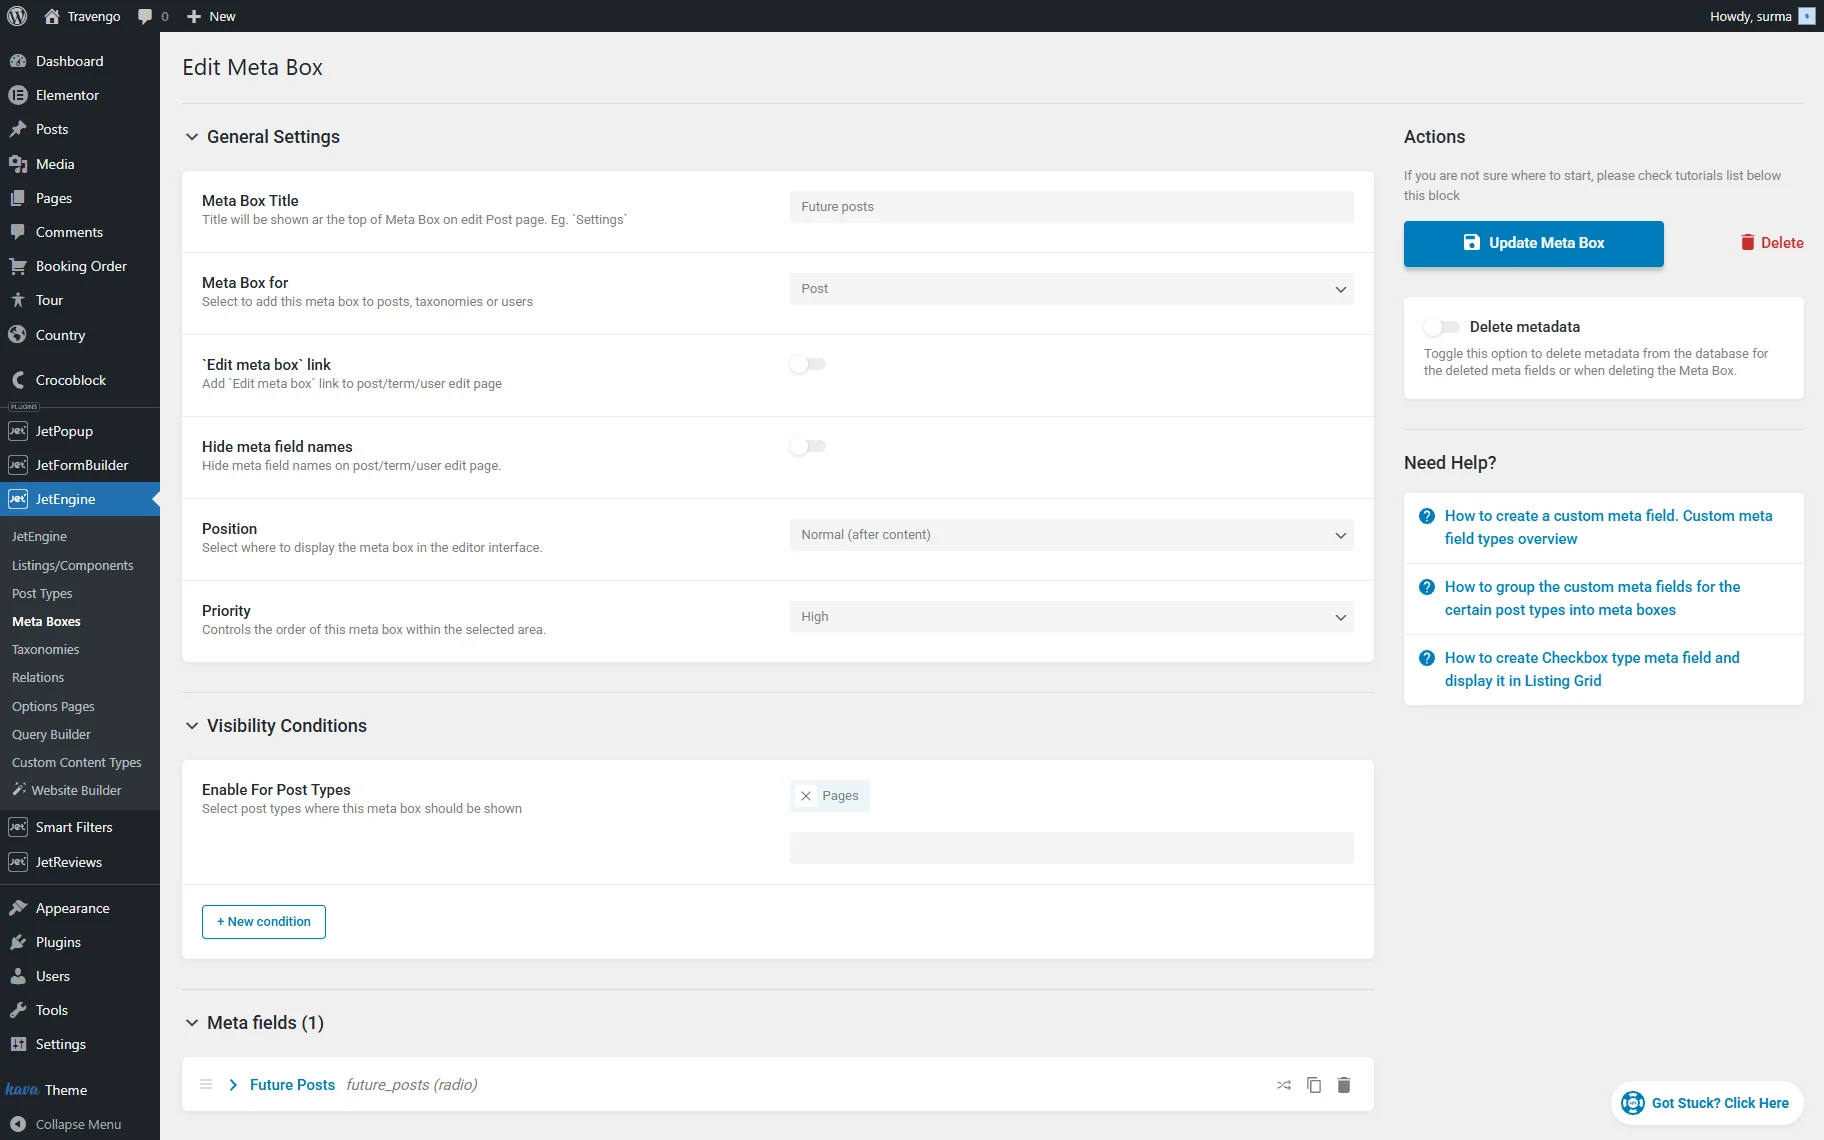
In the Meta fields tab, click the “New Meta Field” button.
Select the “Radio” Field Type and enter the Label for the field. In the Source field, select the “Query Builder” option. In the newly appeared Query field, select the Posts Query you created earlier.
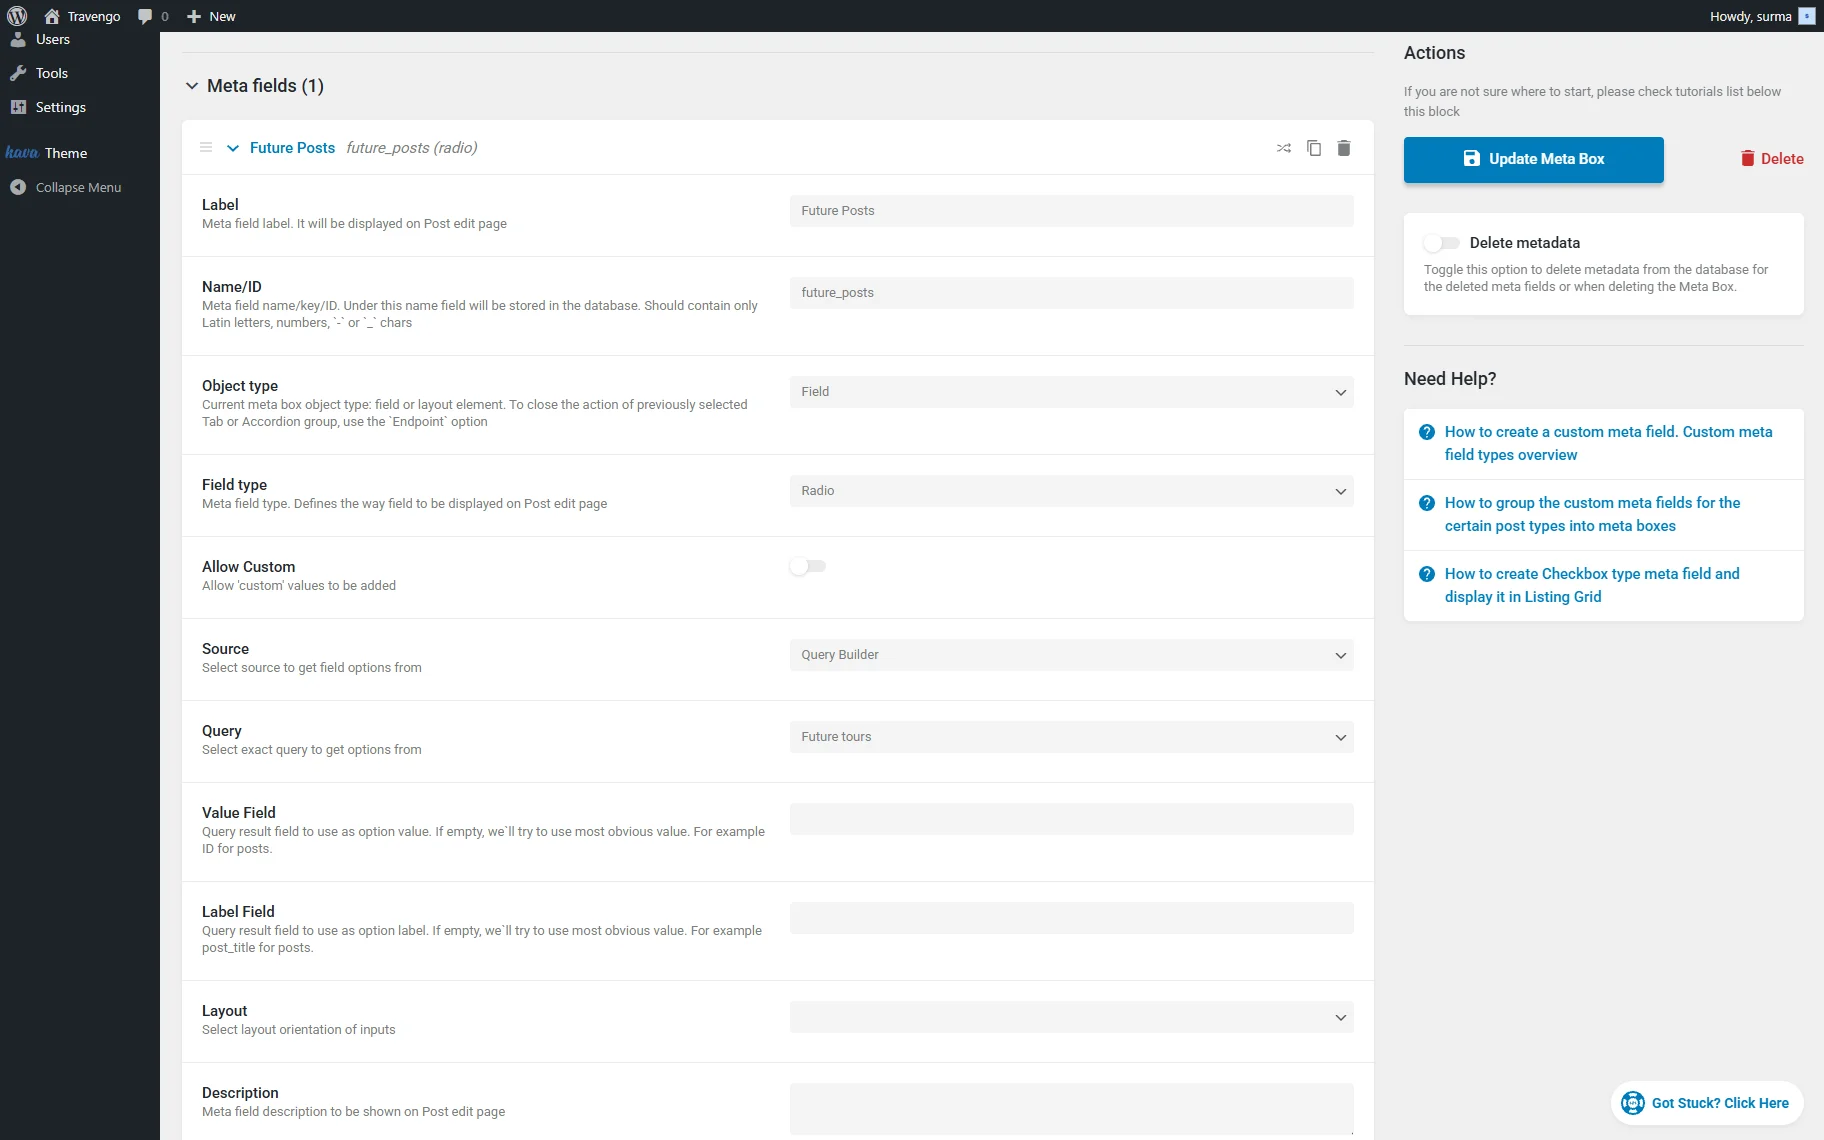
Once you are ready, click the “Add/Update Meta Box” button.
Add Values to the Radio Field
Open the backend page on which you need to display the value from the field. Here, we see the correct six posts as the field options.
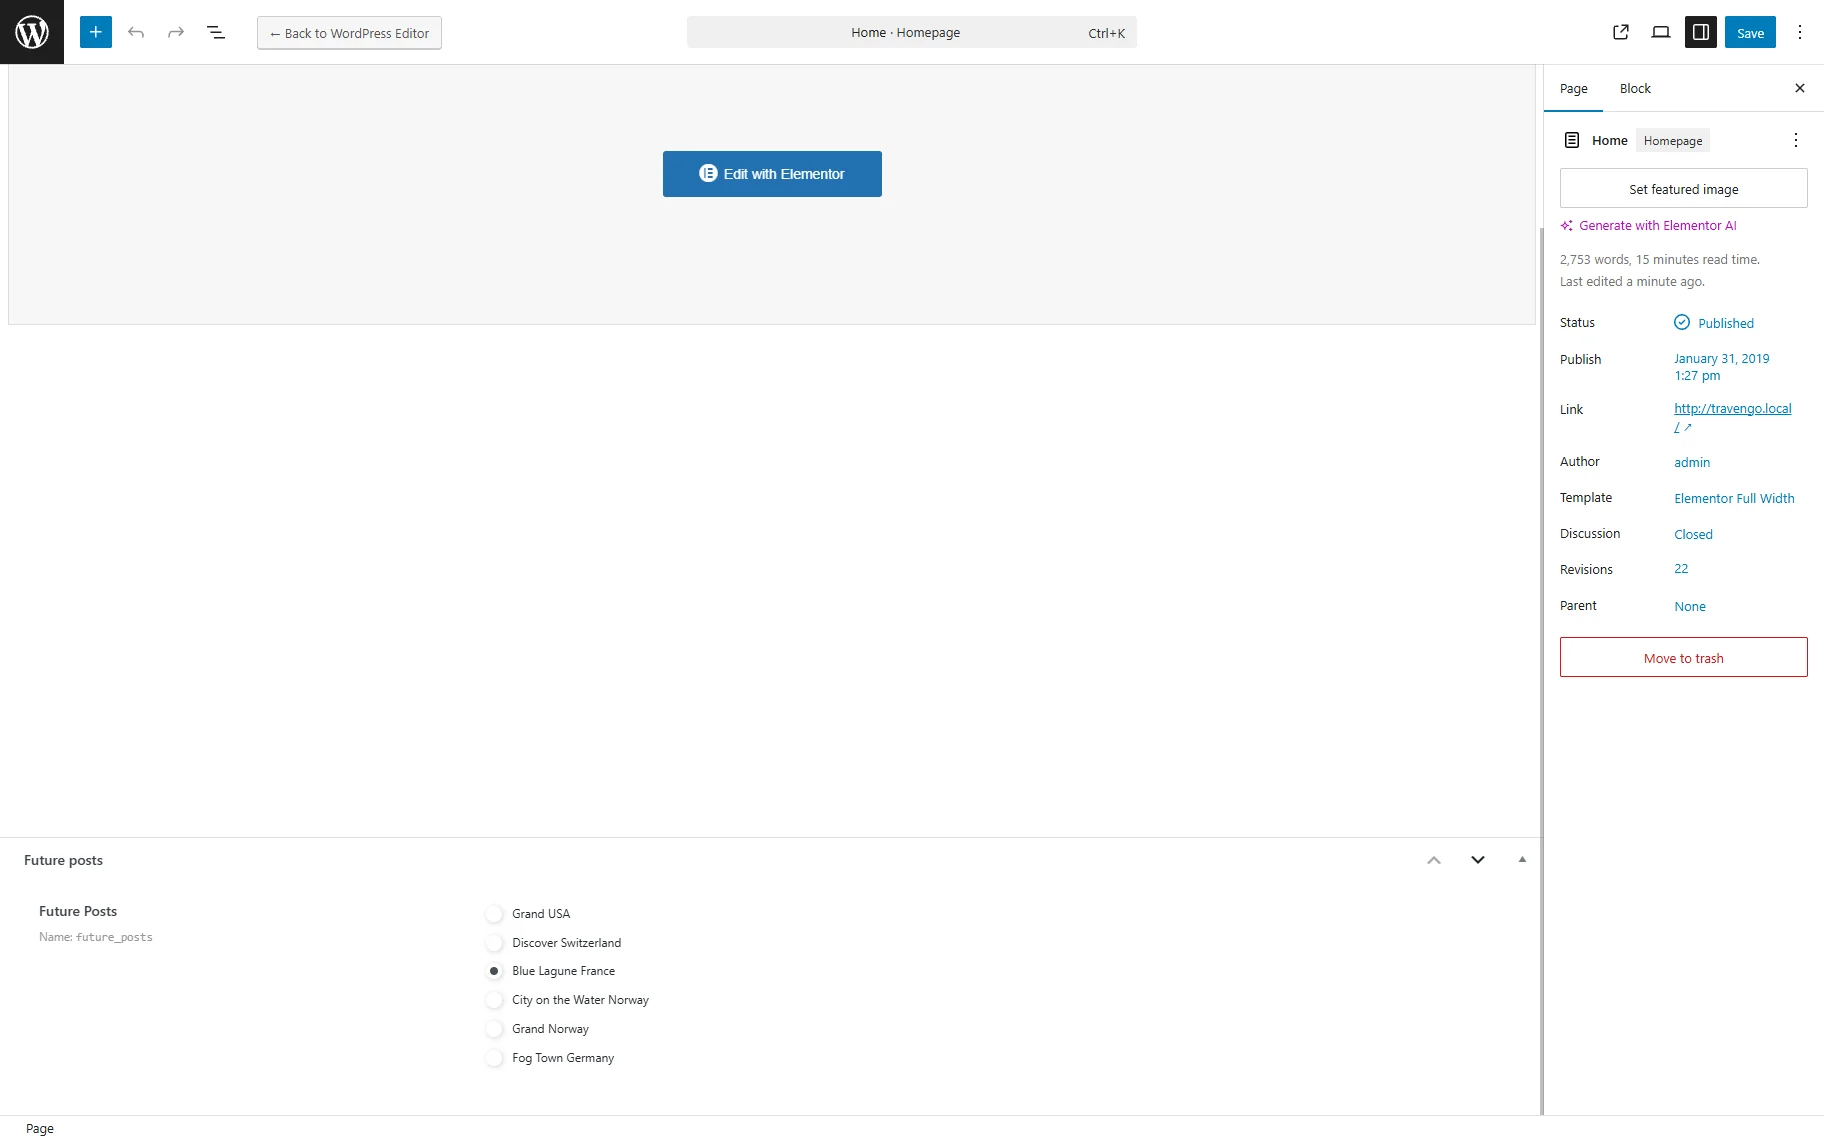
Select the desired option in the field and click the “Save” button.
Display the Value on the Page
Now, open the page in the editor (in Elementor, in our case). Add the Dynamic Field widget.
Select the “Meta Data” Source. As the Meta Field, choose the “Radio” field name. Enable the Filter field output toggle and select the “Get post/page title” option in the Callback field.
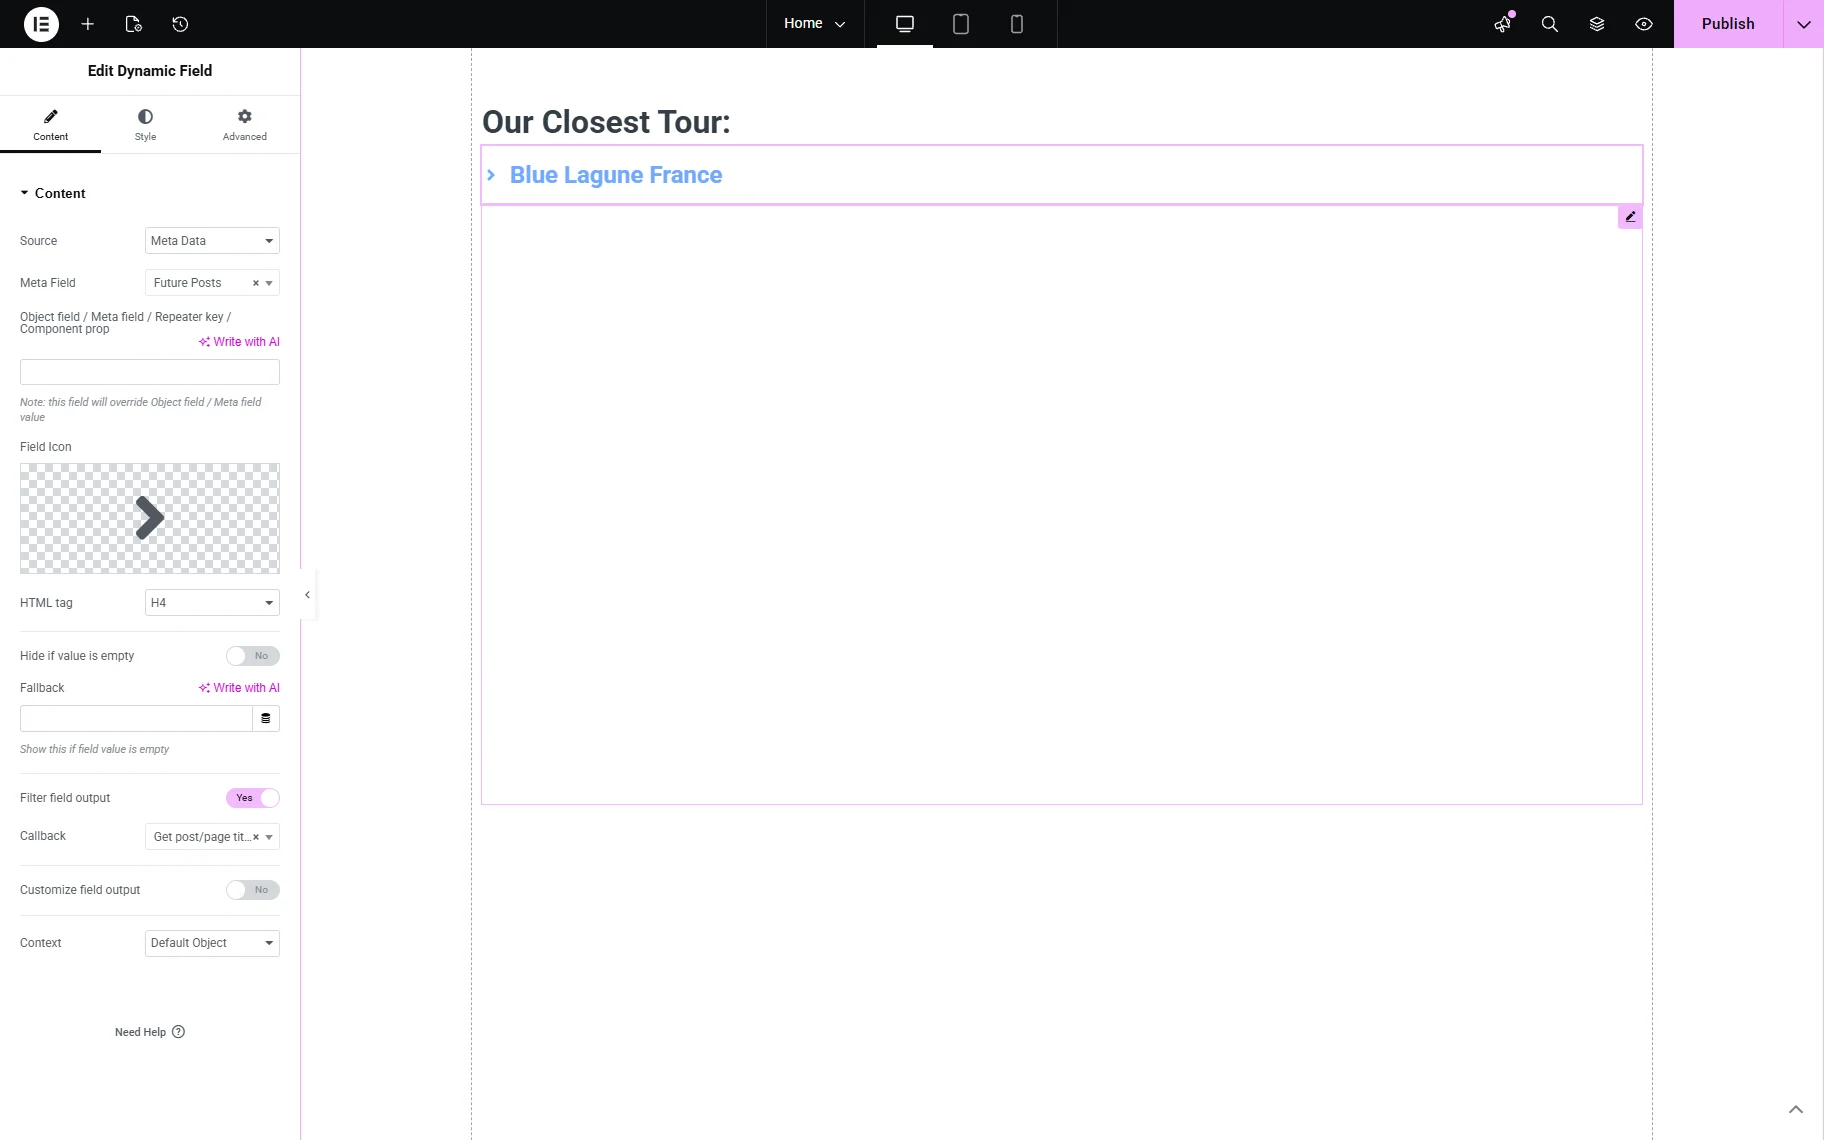
When all the needed settings are applied, click the “Publish” button.
Thus, on the frontend, we get the name of the post selected in the “Radio” field.

That’s it. Now you know how to set up the query results as a source for meta fields using the JetEngine plugin for WordPress.