How to Choose Different Front-end and Geocoding Map Providers for Map Listings
Find out how to select different map providers like Google, Leafet, or Mapbox in the JetEngine settings to display any map you would like.
Before you start, check the tutorial requirements:
- Elementor (Free version), WordPress Block editor (Gutenberg), or Bricks
- JetEngine plugin installed and activated with the Maps Listing module enabled
You can find all the needed settings in the WordPress Dashboard > JetEngine > Maps Settings directory.
Google Maps
Initially, let’s check the settings available once you select Google Maps as a Map Provider. It is the primary map provider located in the mentioned drop-down list.
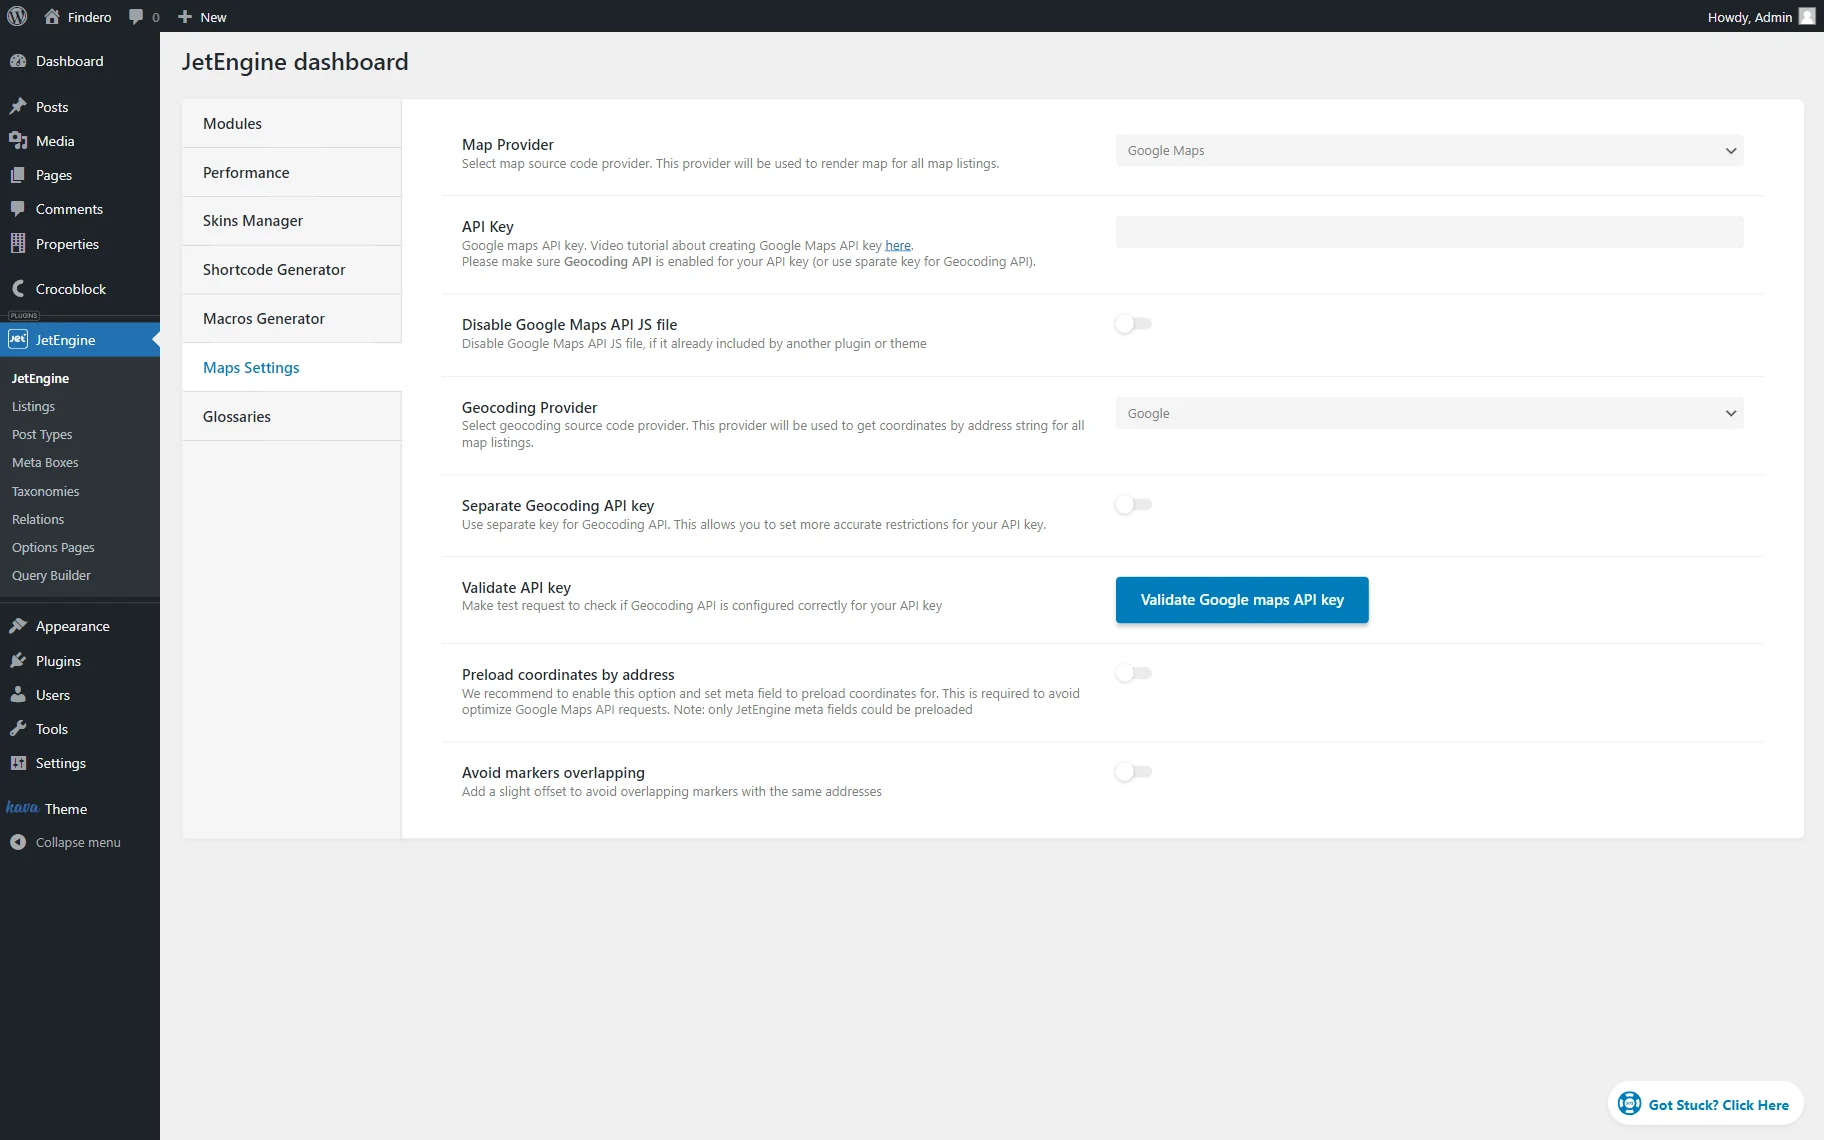
- API Key — paste the Google Maps API key. Make sure that Geocoding API is activated for the pasted API key or provide it separately in the Geocoding API Key field;
- Disable Google Maps API JS file — activate this toggle if you are using a plugin or theme that already includes Google Maps JS file. Otherwise, if you have two Google Maps Libraries on the page, it will cause an error;
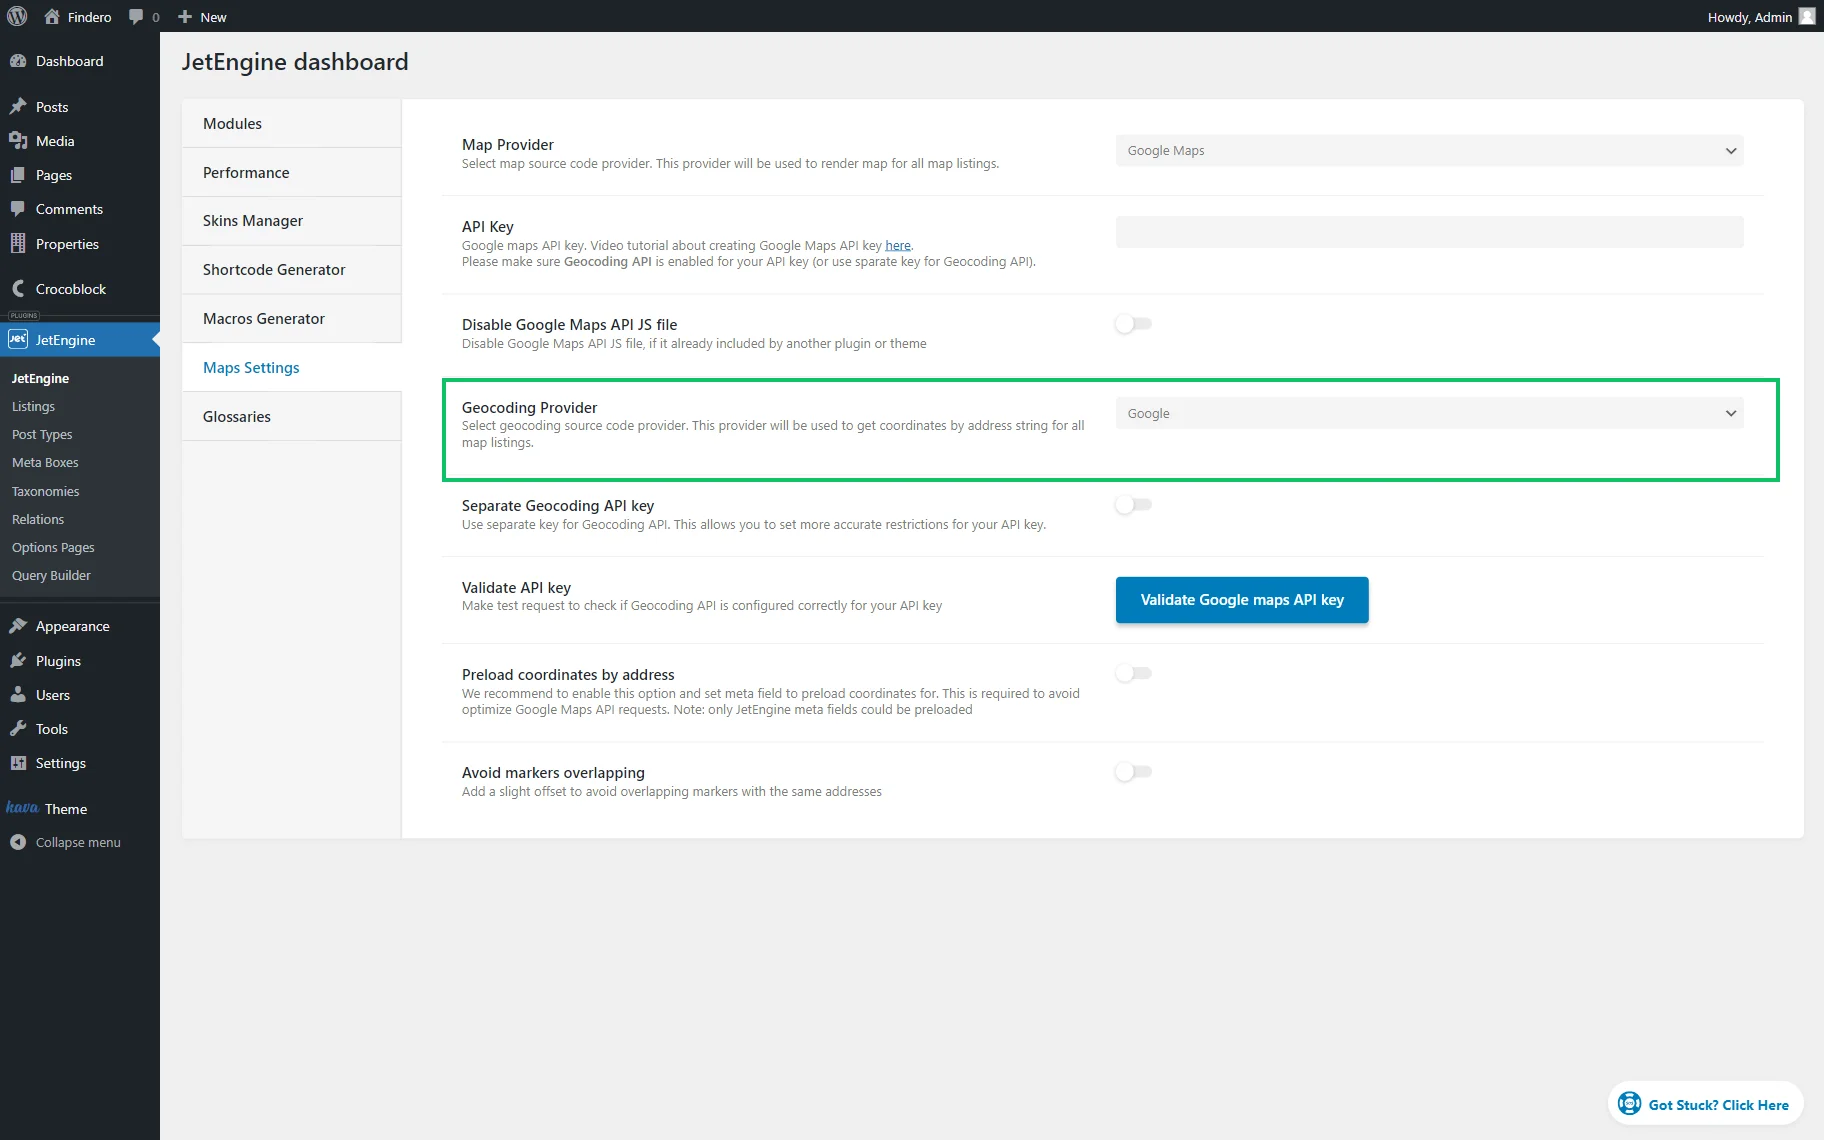
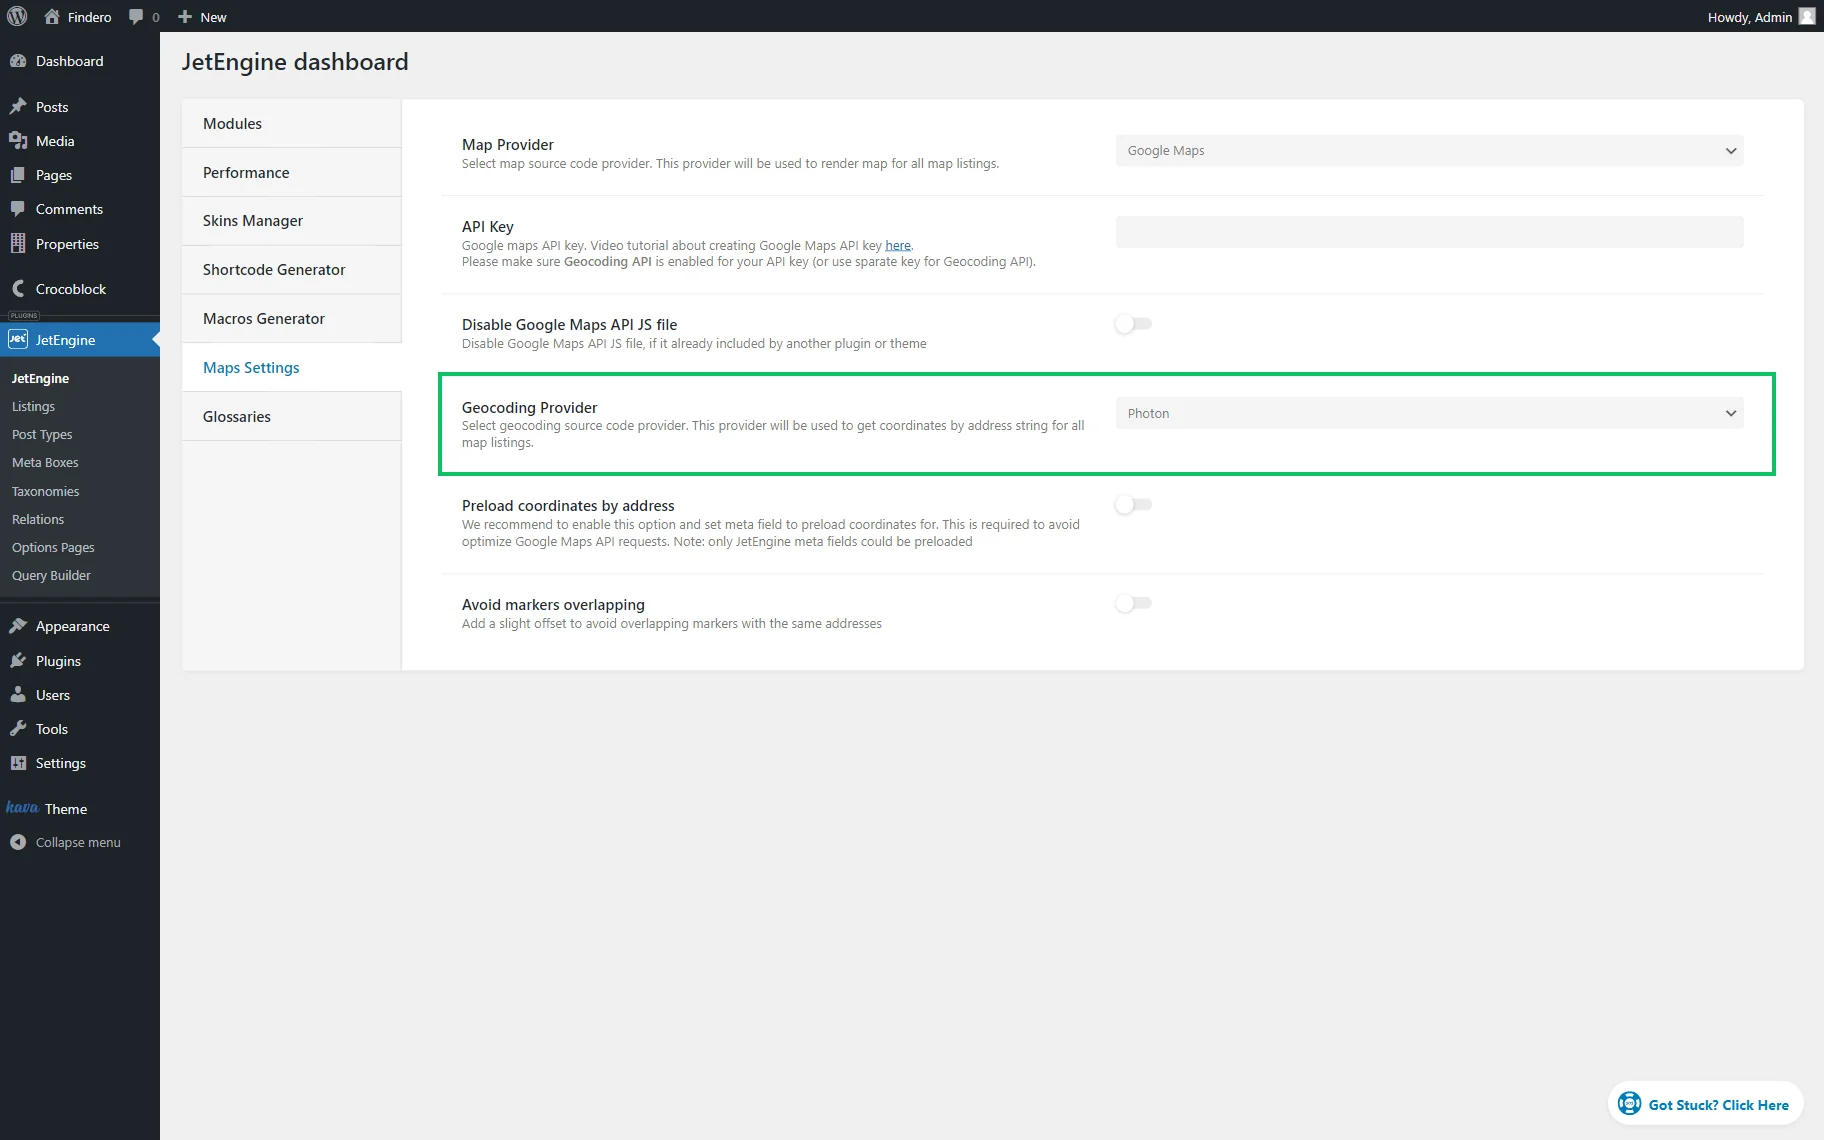
- Geocoding Provider — choose one of the suggested geocoding source code providers to get the coordinates by address string for all map listings.
Let’s check the settings available for each option in the Geocoding Provider fields.
The primary option for selection is “Google.” Check the settings available for customization.
- Separate Geocoding API key — activate this toggle if you have a different Google Maps API key with the Geocoding API enabled. Insert it into the special field. Ensure that you have set API restrictions settings to “None” or “IP addresses” in the Google Cloud Platform settings, APIs & Services > Credentials tab. To change the statuses, open the needed API key settings and select the “Don’t restrict key” option in the API restrictions section, or uncheck the “Geocoding API” option if the “Restrict key” is selected;
- Validate API key — test if the Geocoding API is appropriately configured by pressing the “Validate Google maps API Key” button. If everything is OK, you will receive a confirmation message;
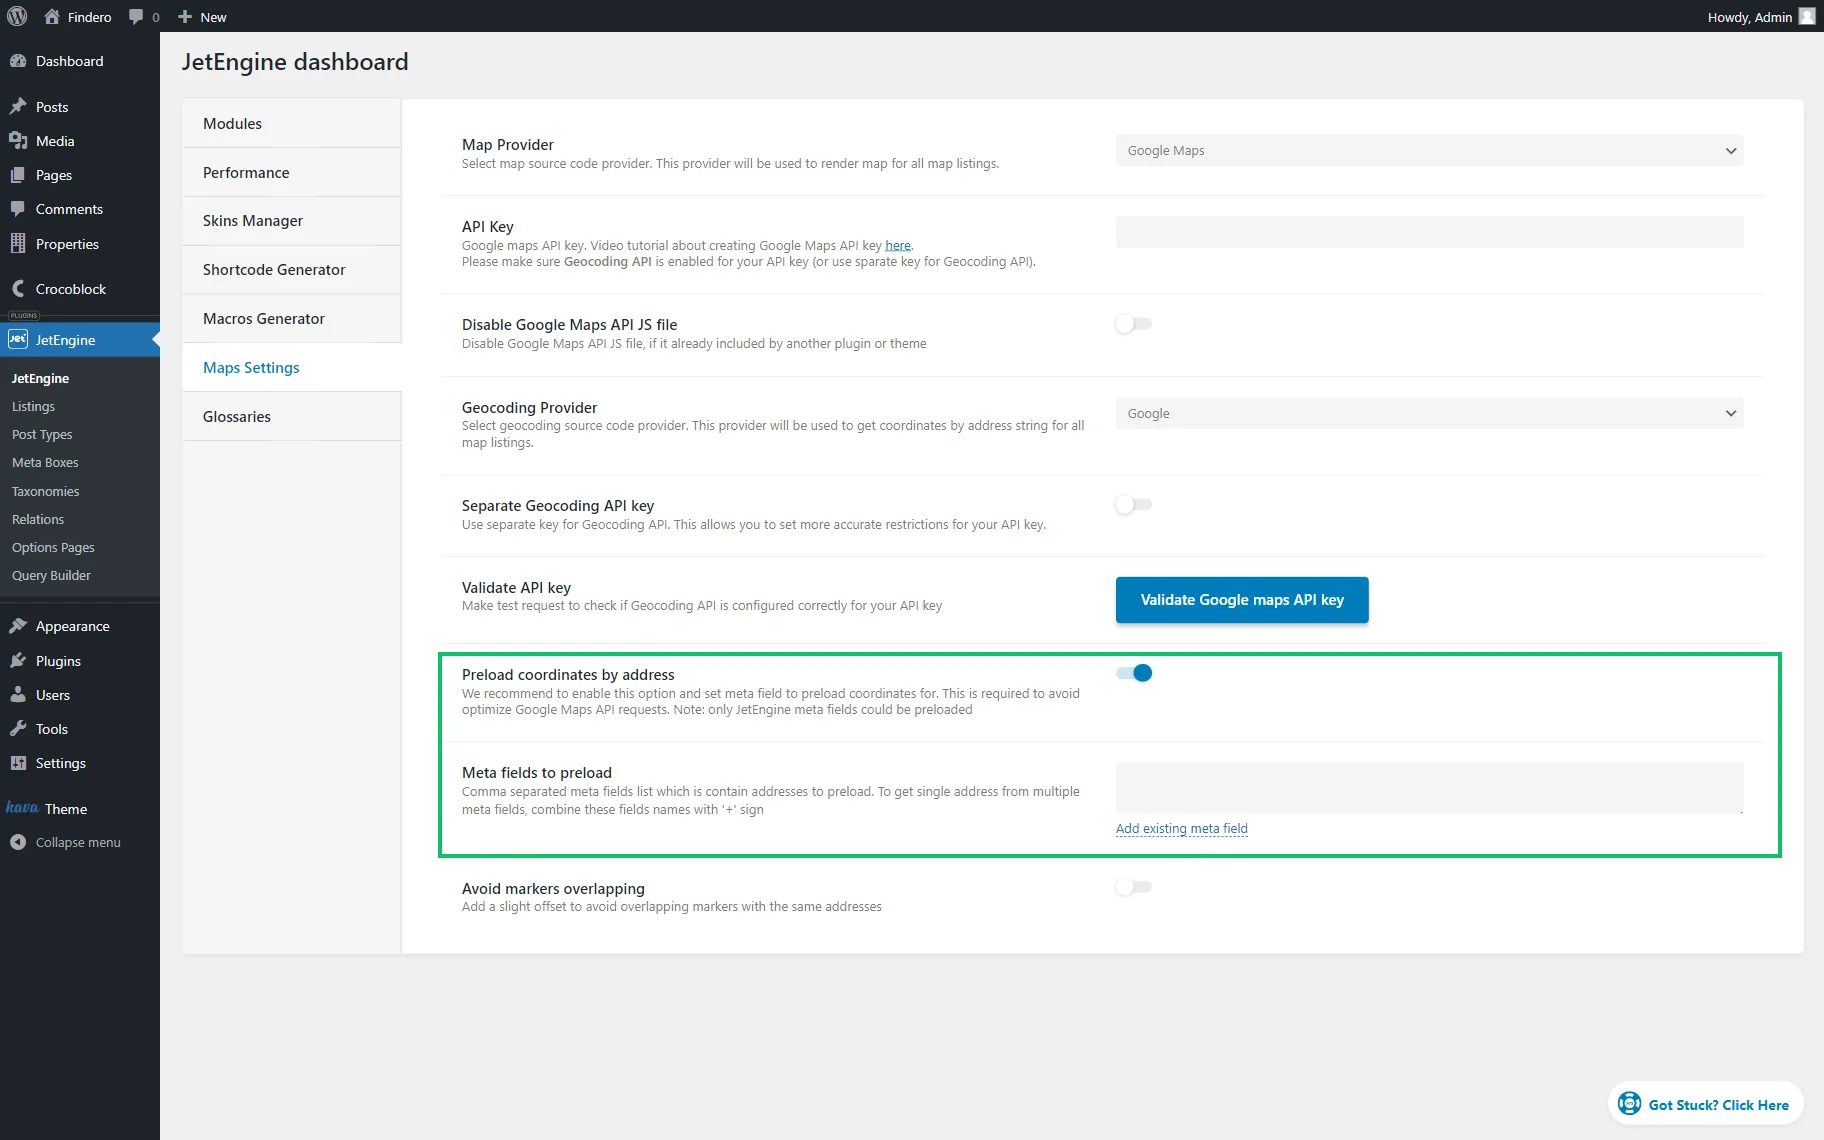
- Preload coordinates by address — preload some coordinates for the specified meta fields to optimize the website work. All the coordinates will be identified when the post is saved. Paste their meta field keys in the Meta fields to preload field.
Under the Meta fields to preload textarea, you can add the existing meta field by pressing the same named button.
This button will open the pop-up with additional settings:
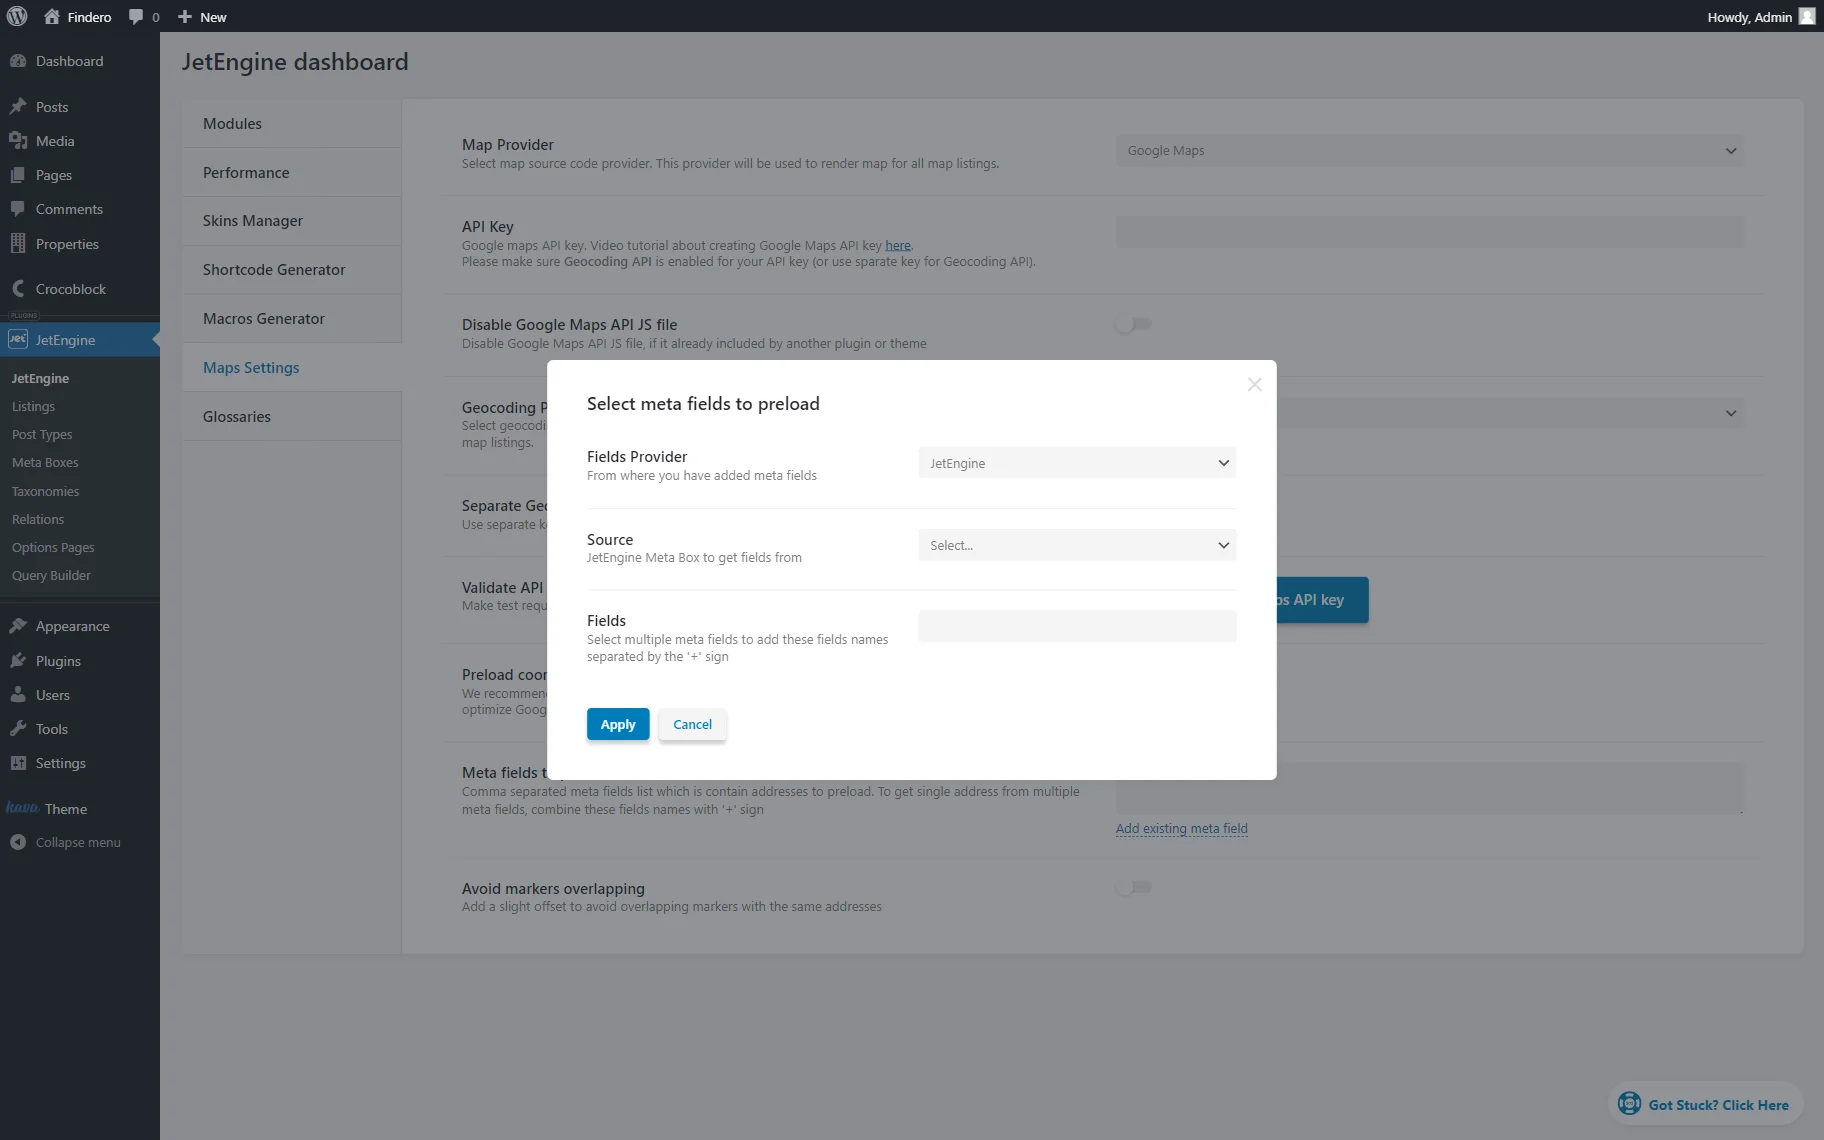
- Fields Provider — select either “JetEngine” or “Any other custom fields providers” to define the provider of the meta field;
- Source — if “JetEngine” is picked, define the meta box where you want to take the meta fields from, and for other providers, pick either “Posts,” “Terms,” or “Users” to make it a source for the meta fields;
- Fields — the field for the meta field value to get the address from. If several meta fields should be used (for instance, if parts of the address are stored in different meta fields), separate them with the “+” sign.
The Meta fields to preload settings are also described in the Map Listing Improvements chapter of the video tutorial.
Once you have adjusted the fields, press the “Apply” button to return to the last field left on the Maps Settings page:
- Avoid markers overlapping — toggle to add a minor offset between overlapping markers with the repeatable address.
OpenStreetMap/Photon
Please note that the OpenStreetMap provider can process only one request per second due to the low capacity. So, if you are not satisfied with these conditions, select another provider.
As you can observe, the following settings are the same as mentioned before. Activate the suggested toggles if required.

The settings shown in case the Photon is selected as a Geocoding Provider are pretty much the same as for the OpenStreetMap provider.
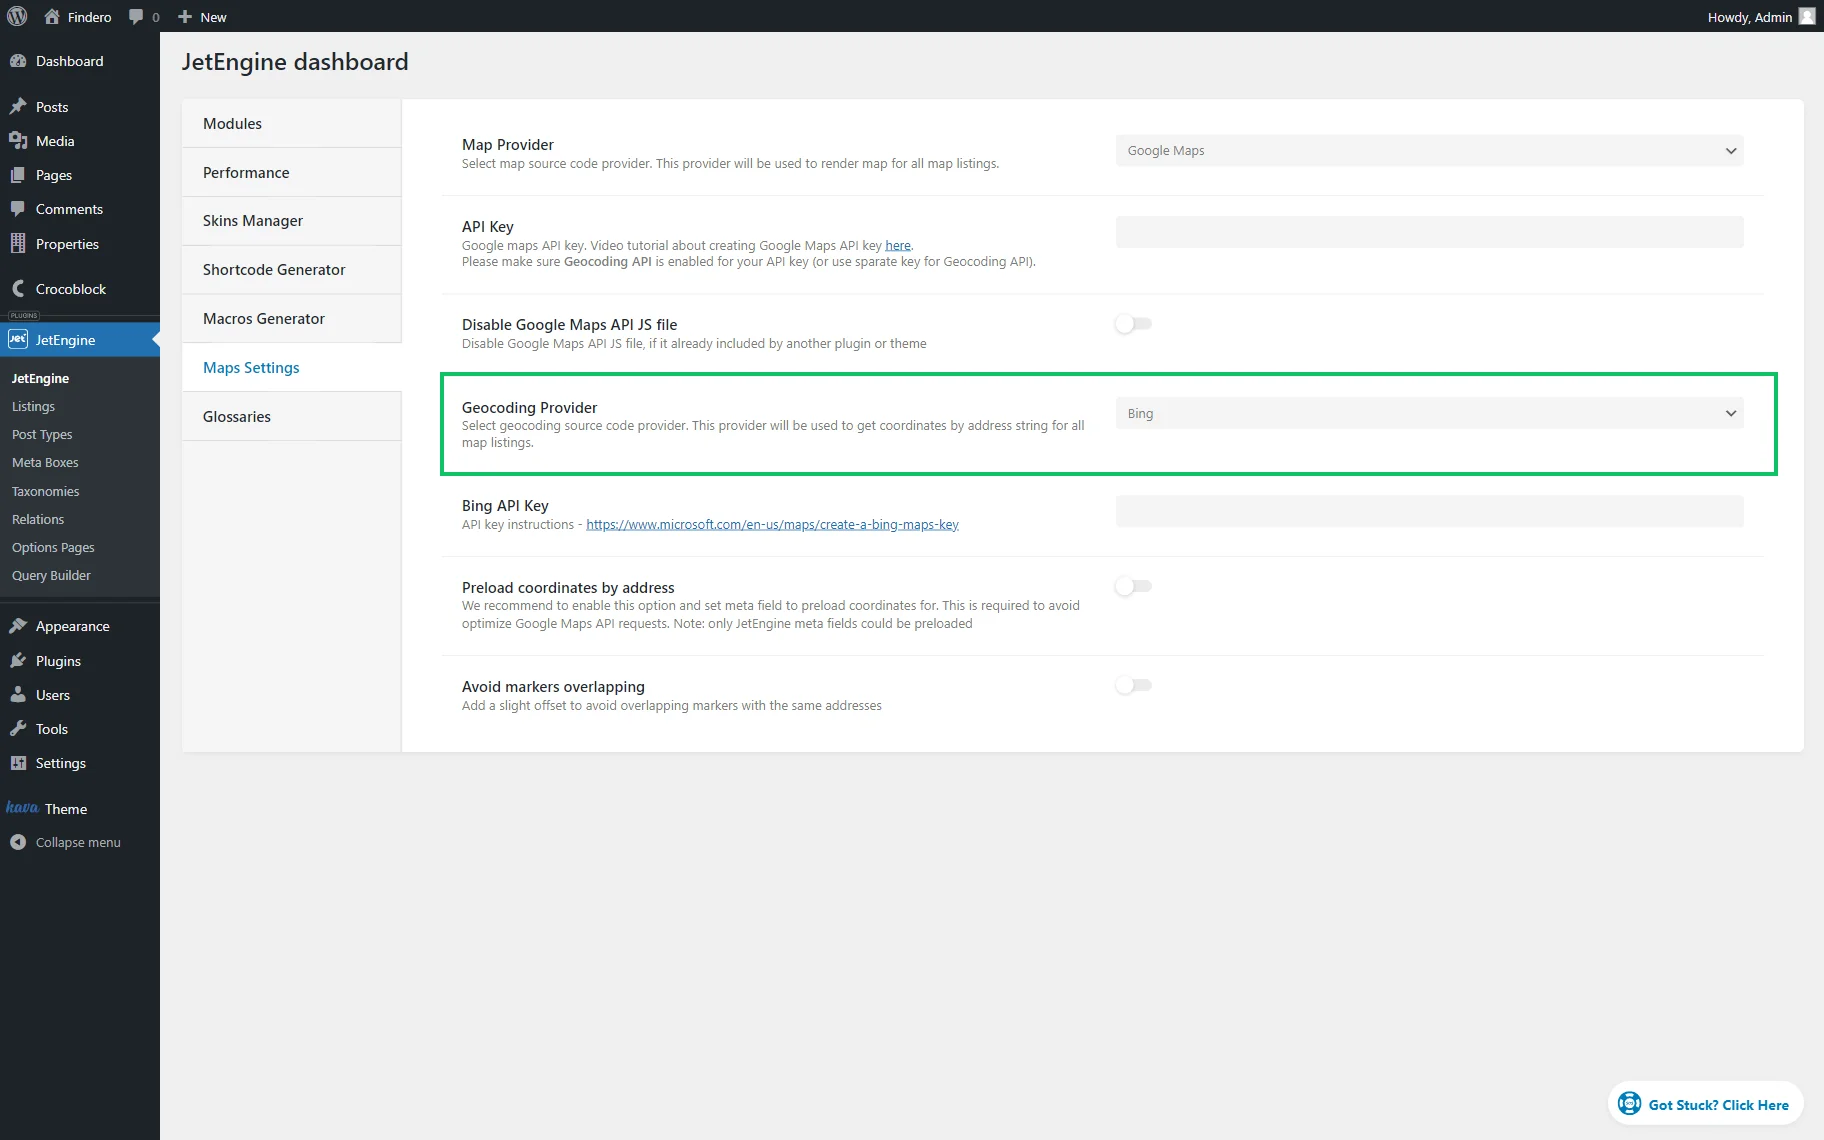
Bing
Bing provider settings slightly differ from the OpenStreetMap and Photon ones presented above.
Except for the mentioned Preload coordinates by address and Avoid markers overlapping toggles, there is a Bing API Key field. Complete it with the API key received on the Microsoft website.
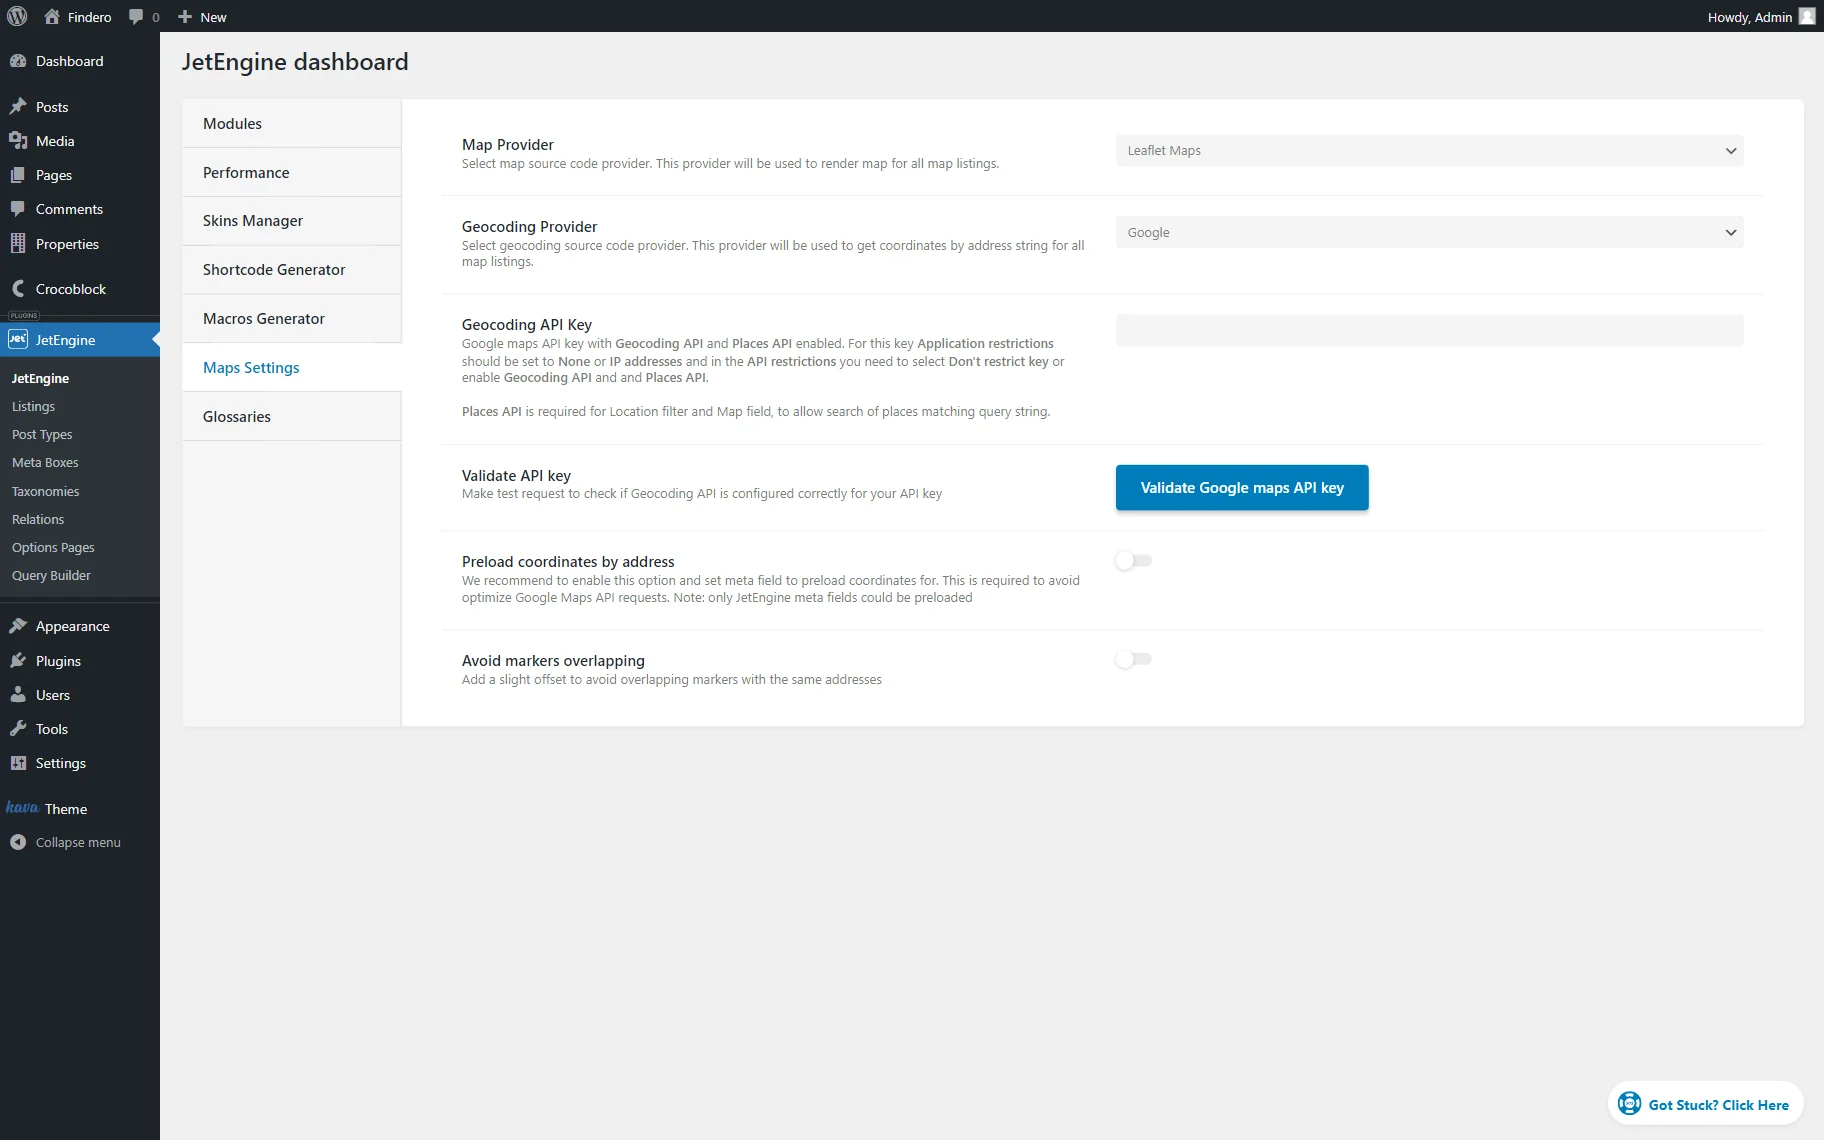
Leaflet Maps
The Leaflet Maps Map Provider adjustments are similar to those shown for Google Maps.
Select the desired Geocoding Provider and adjust the other fields. If any hesitations appear, check the previous section of the article, where all the providers are described.
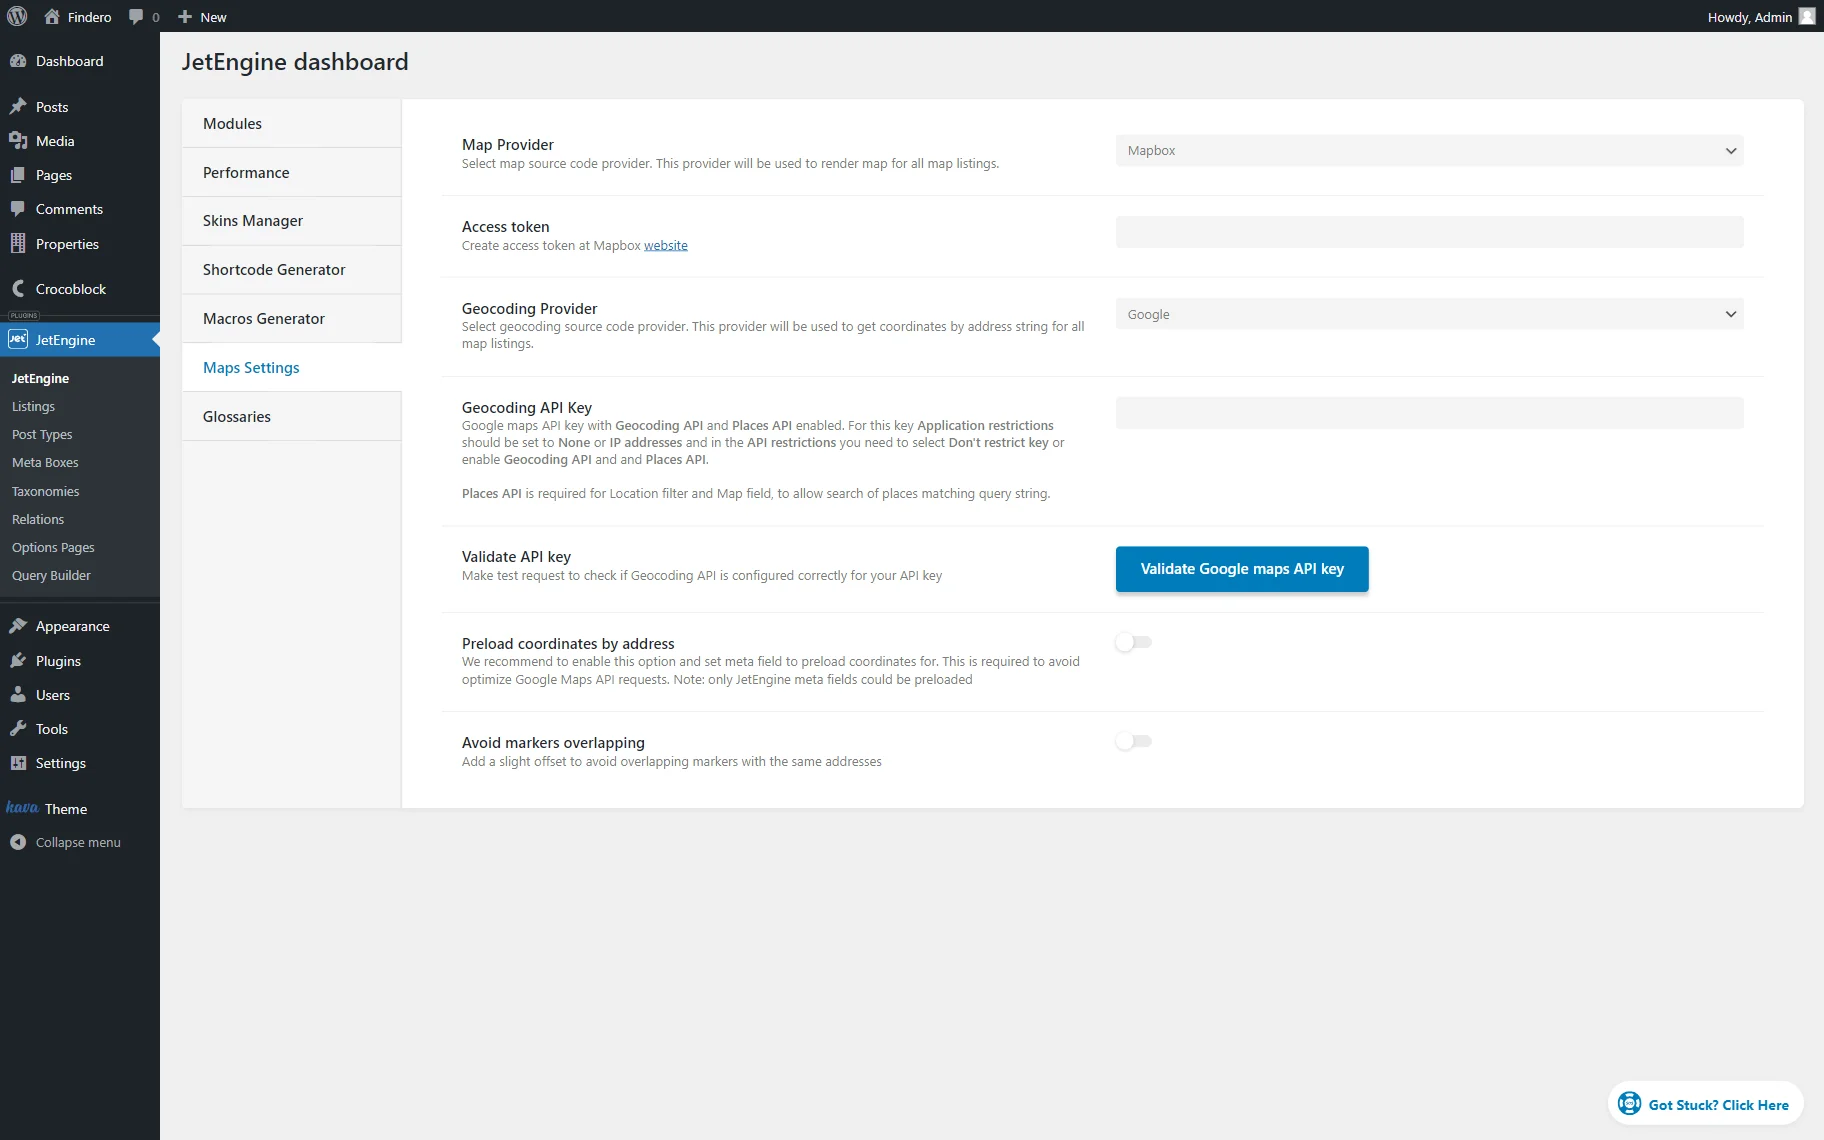
Mapbox
If you prefer using the Mapbox provider, you can see the Access token field except for the already discovered settings. It should be created on the Mapbox website.
All the settings are saved automatically. So, once you have finished and built a map listing, you can head to the page built with Gutenberg or Elementor.
Placing Map Listing onto a Gutenberg-Built Page
Head to WordPress Dashboard > Pages and open the needed page. Place the Map Listing block on the page.
You can read more about the block settings in the Map Listing Overview.
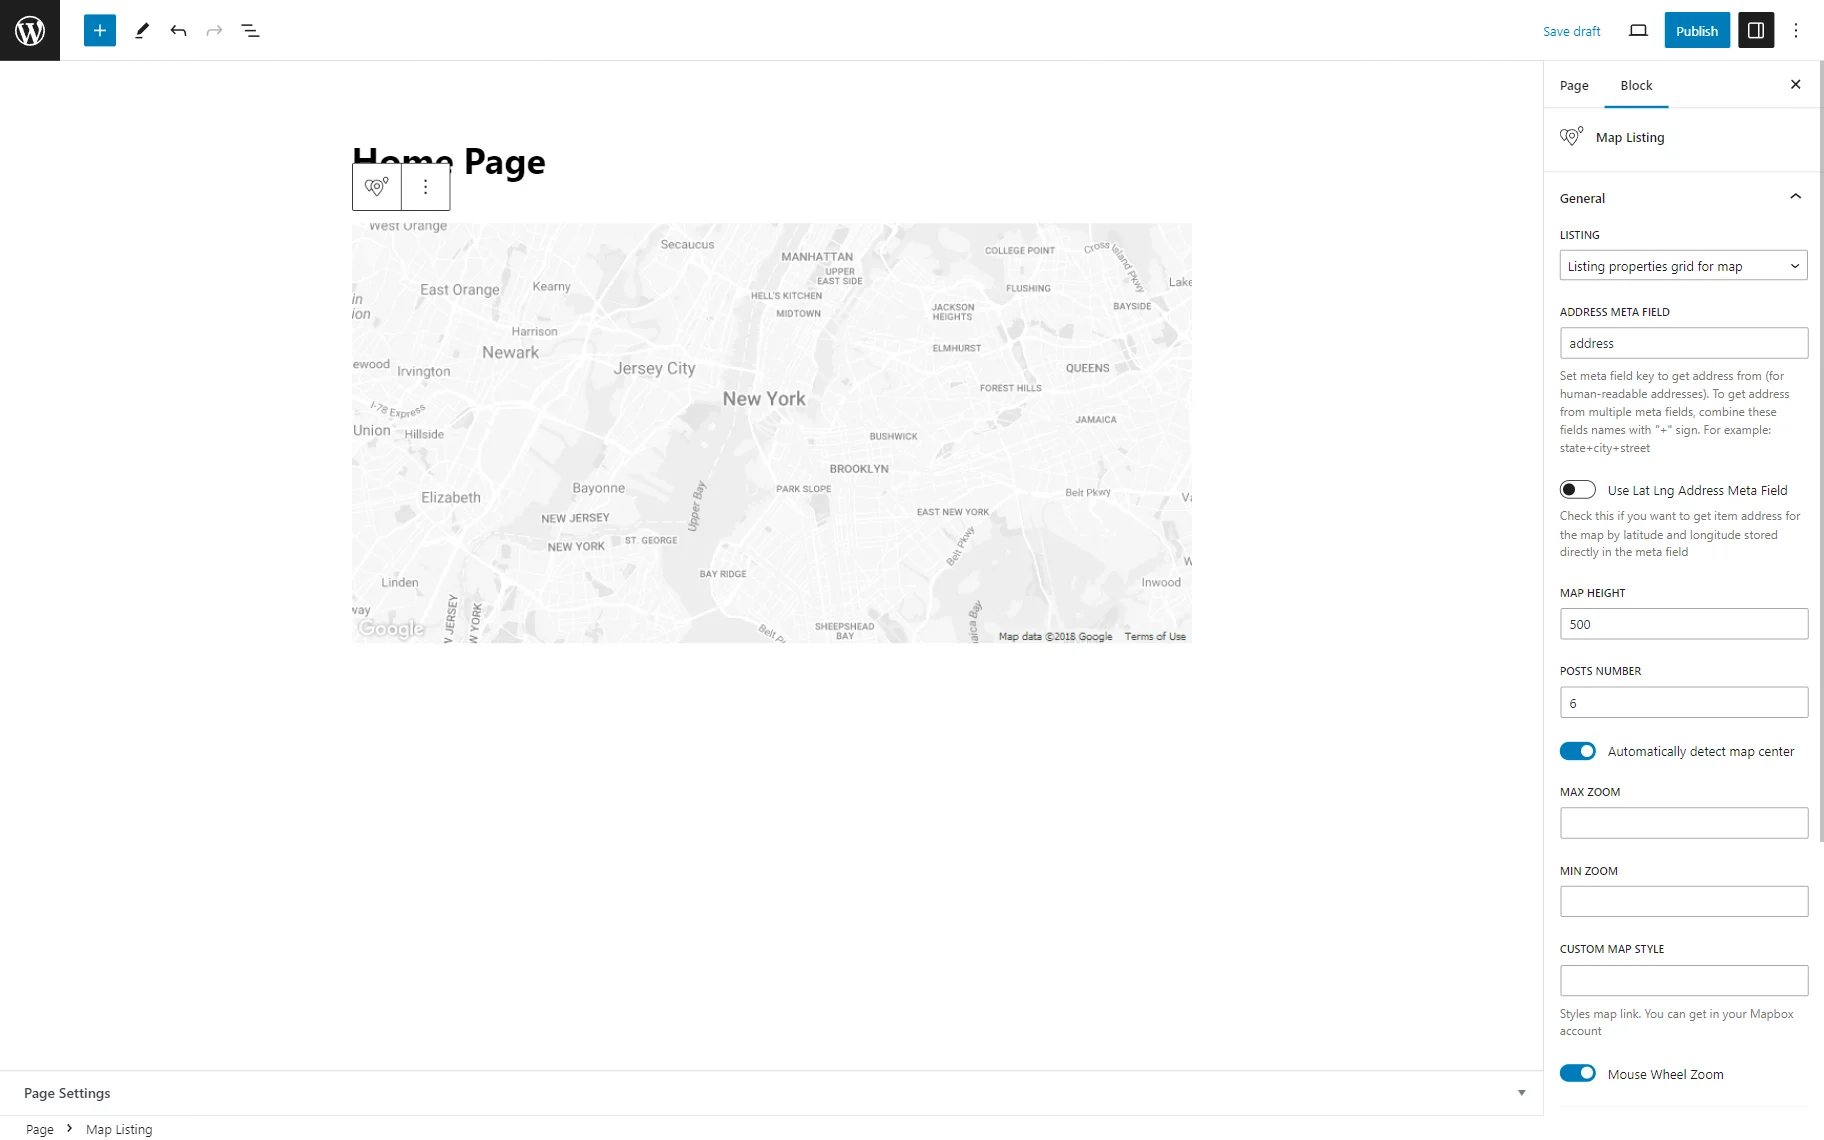
Style settings for the Map Listing block in Gutenberg are available if you have the JetStyleManager plugin installed and activated.
Don’t forget to press the “Publish/Update” button to post the page.
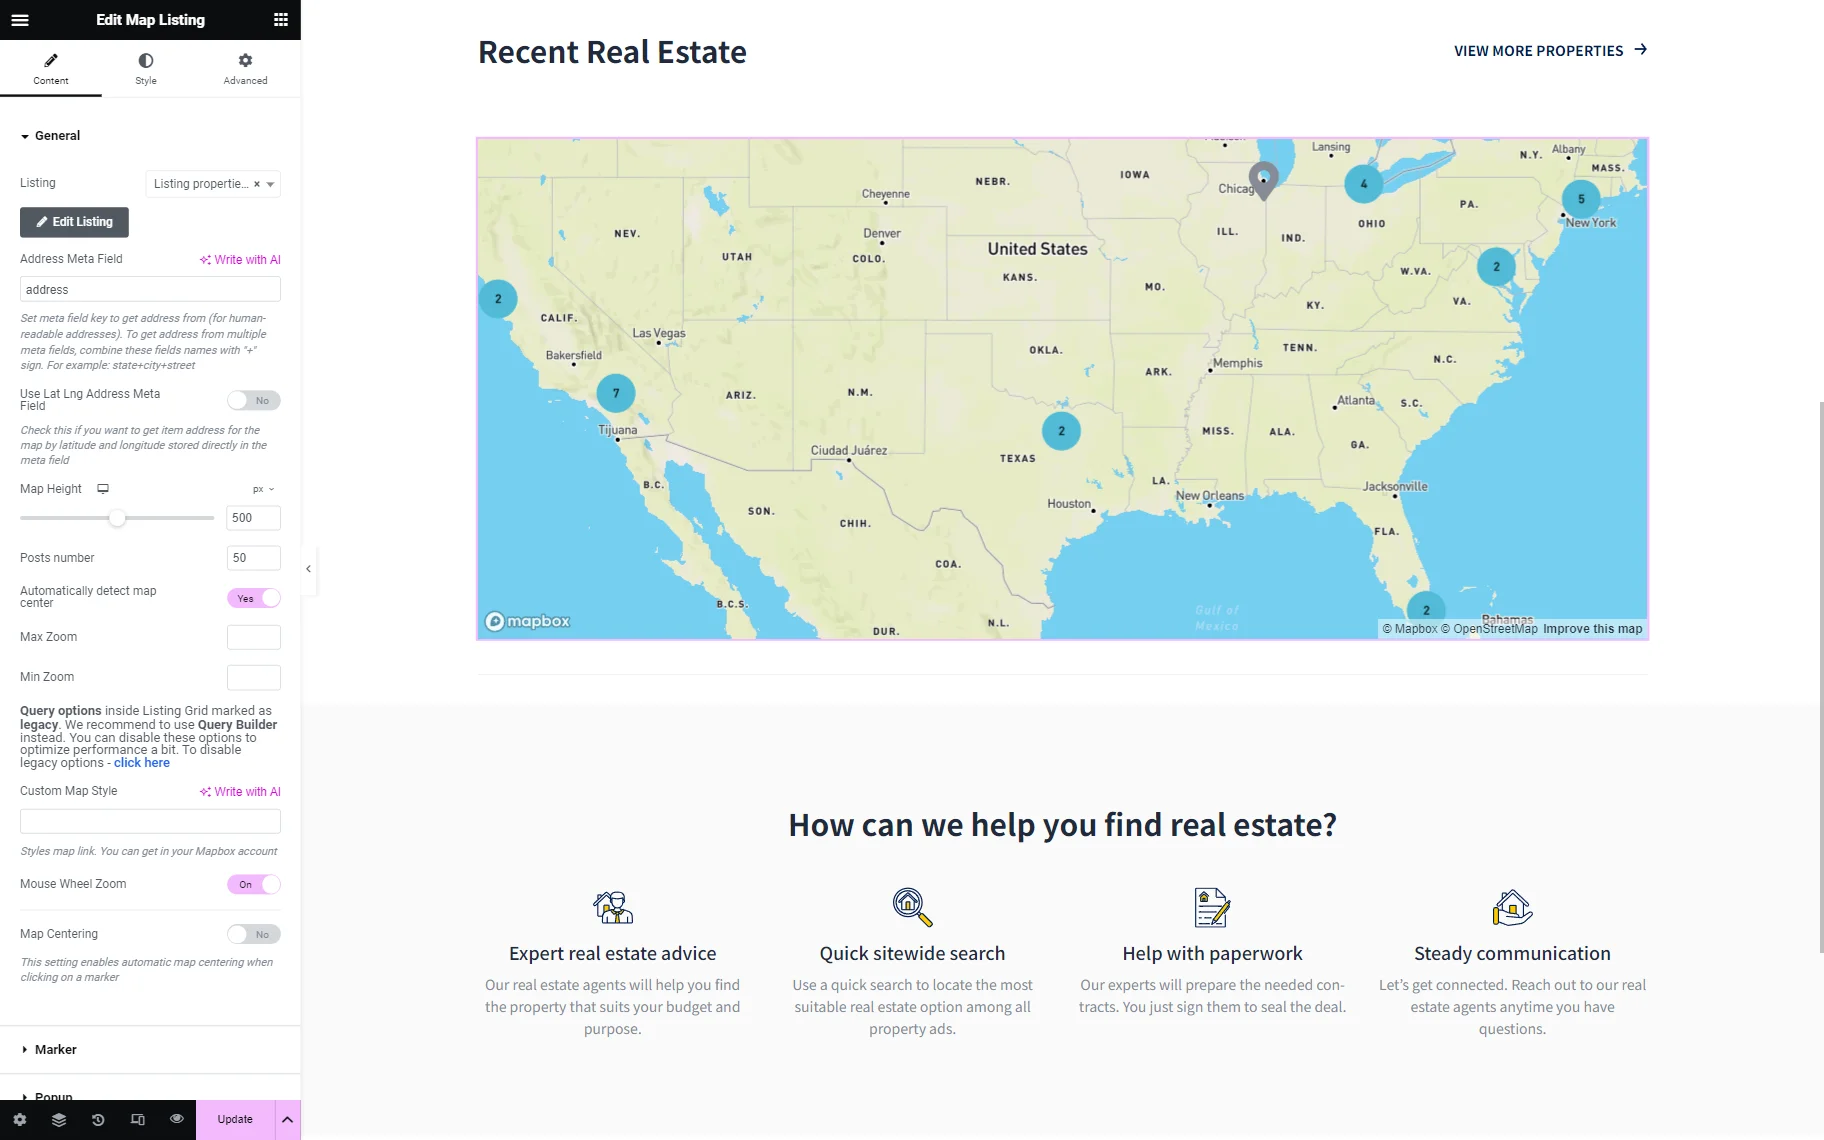
Adjusting Map Listing on an Elementor-Built Page
Open the needed page by heading to WordPress Dashboard > Pages and find the Map Listing widget.
All the settings here repeat those presented in Gutenberg, so work on the other adjustments and press the “Publish/Update” button to save the result.
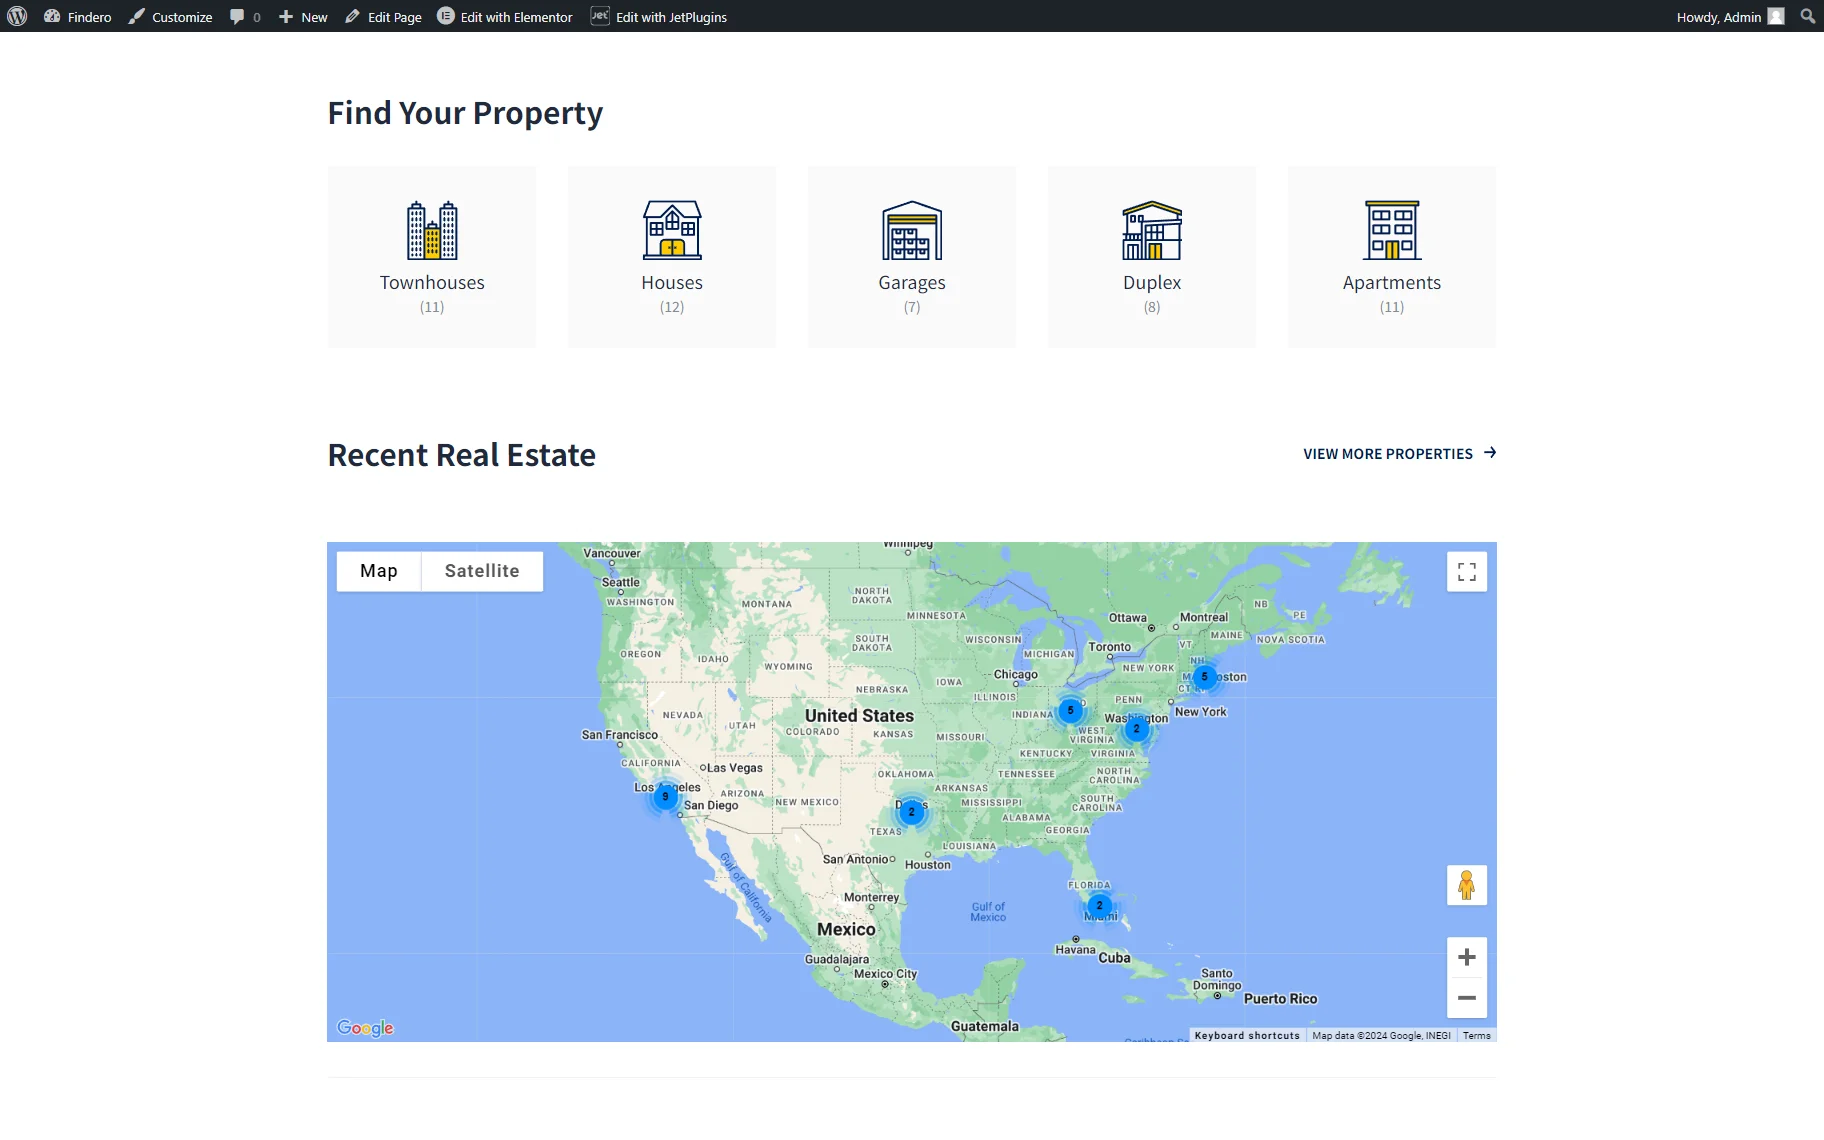
Check the Result
Inspect the result once the Google Maps provider is set.
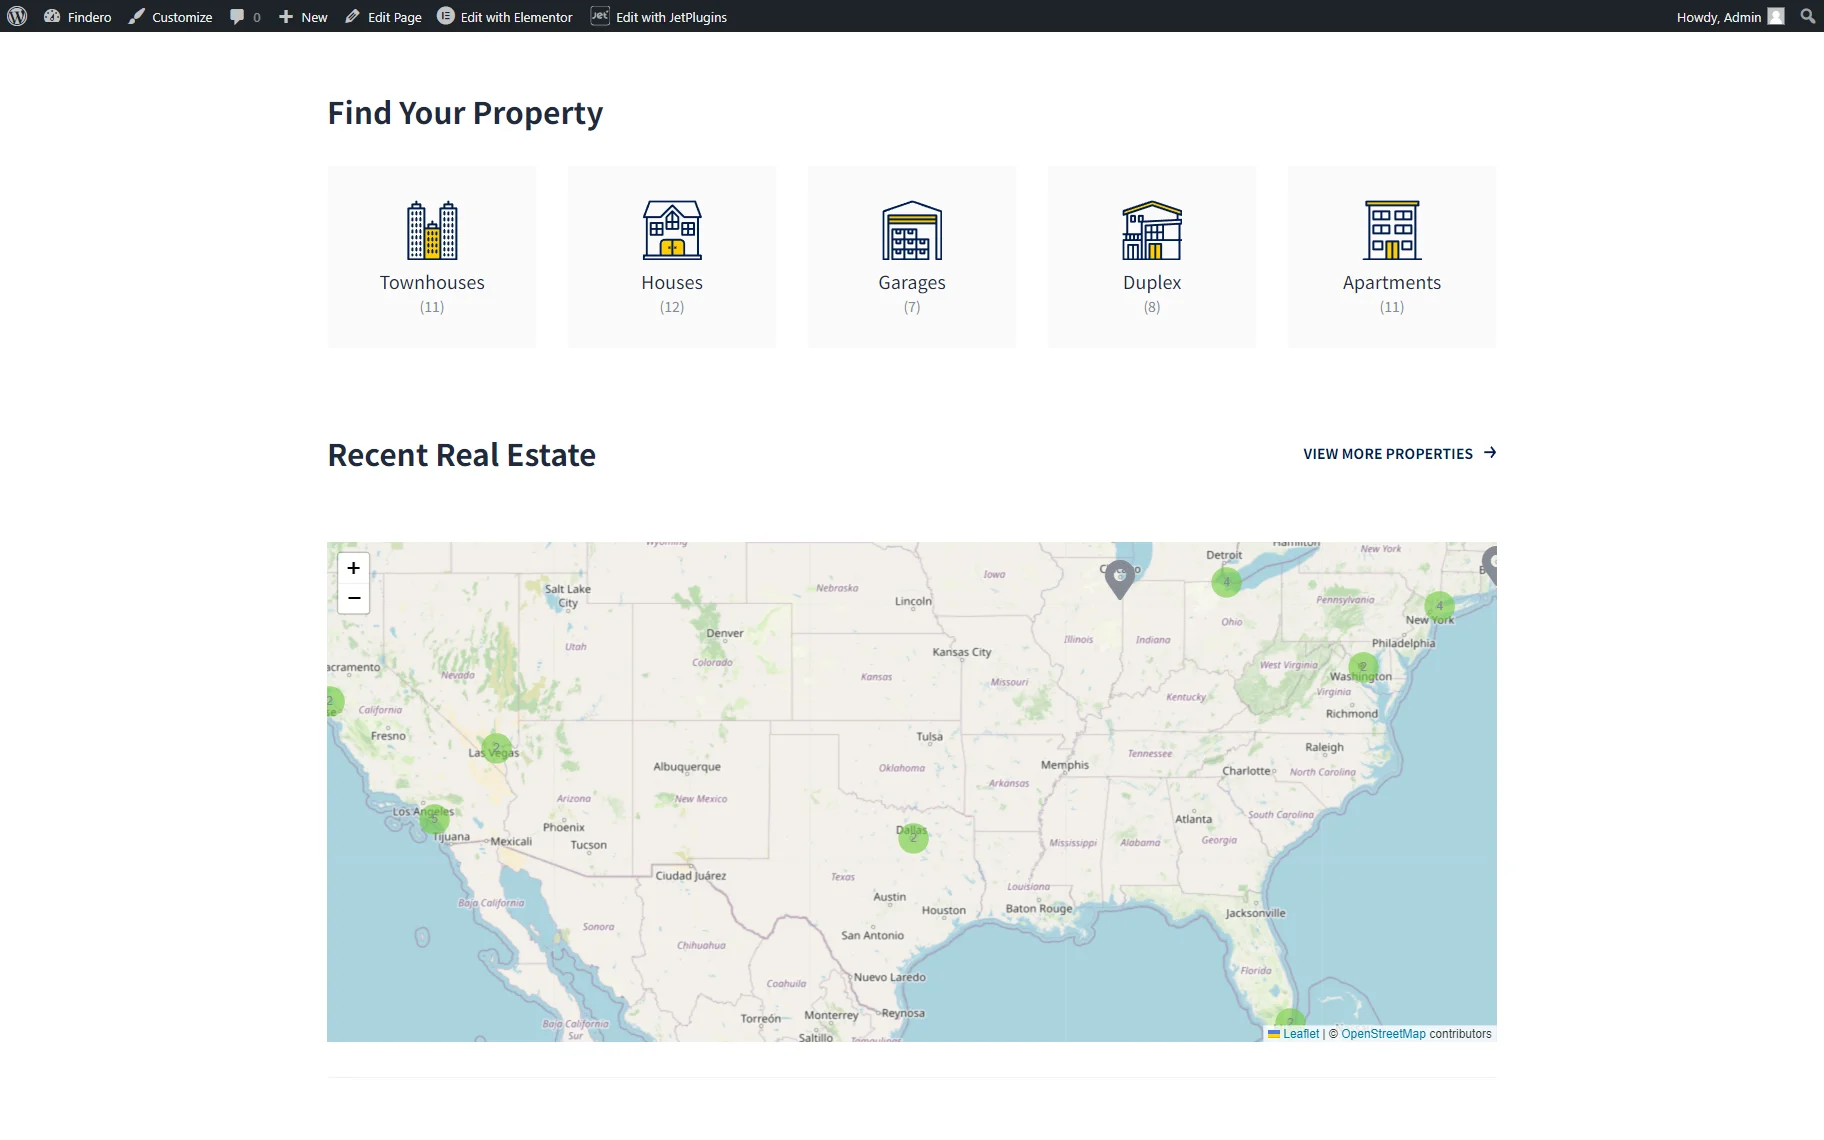
Another option to look at is a map made with Leaflet Maps.
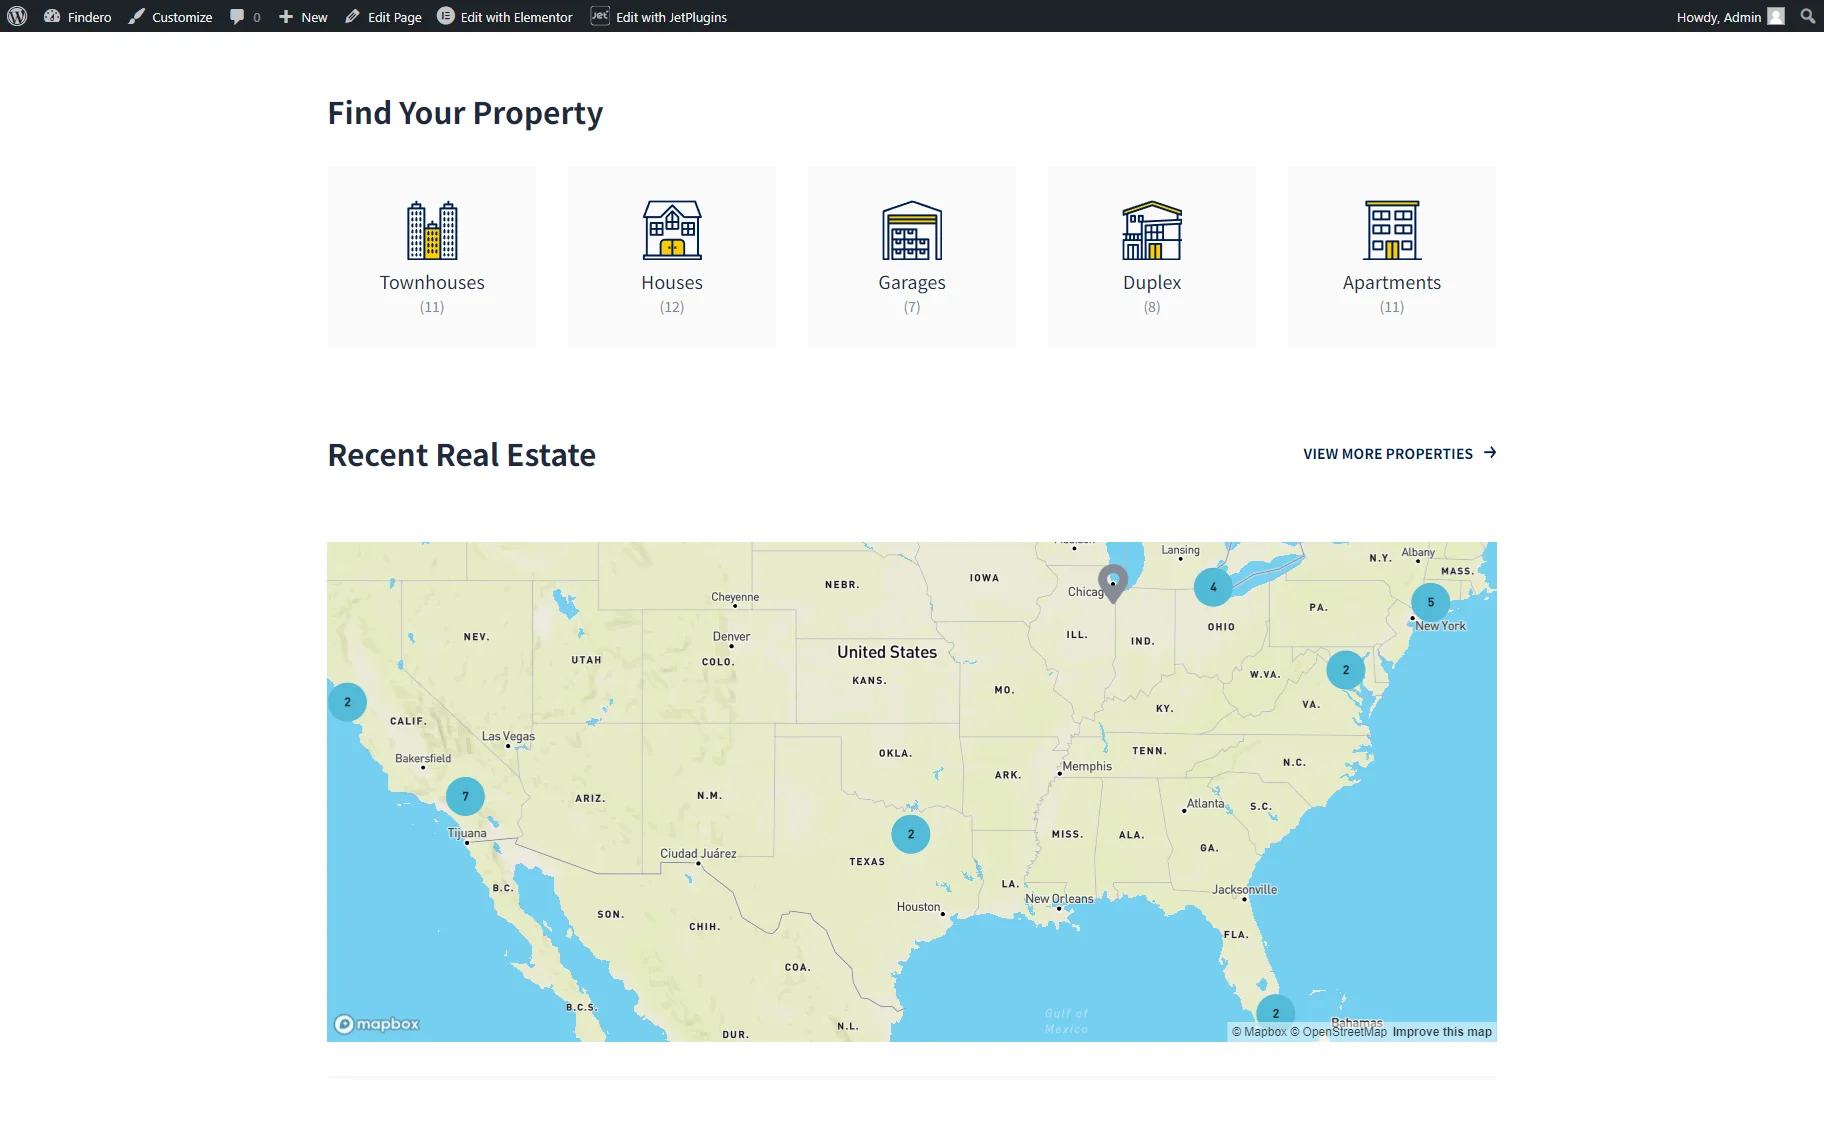
Or, if the Mapbox provider is your case, the map will look similar to the following picture.
Don’t hesitate to adjust any provider for the maps you are using on the WordPress website with the help of the JetEngine plugin.