How to Create Map Listings with Bricks
Discover how to create a Map Listing for the WordPress website with the Bricks theme builder and JetEngine plugin.
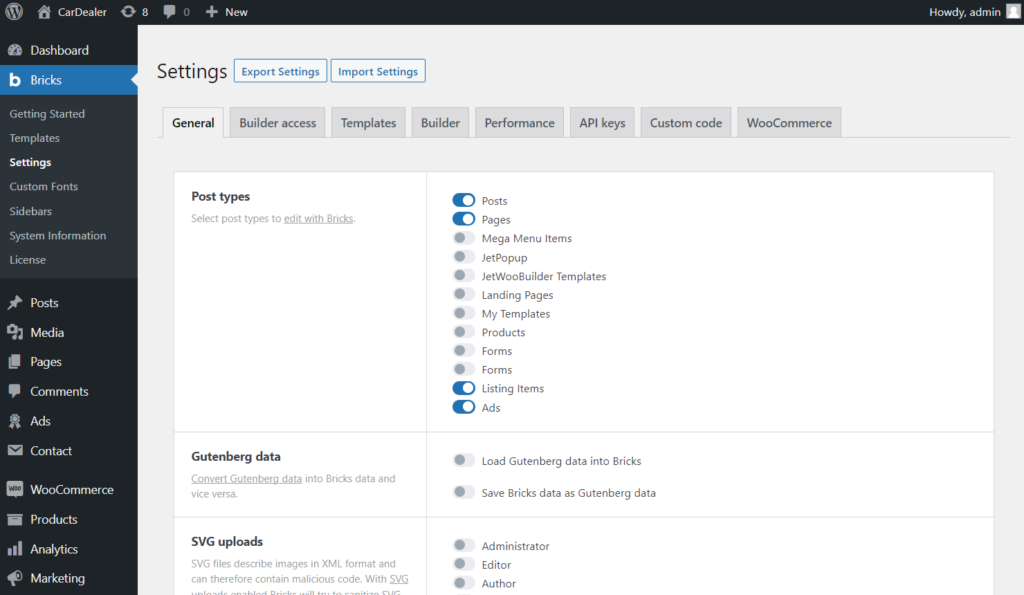
Discover how to enable the Maps Listings functionality from the JetEngine plugin and enrich your WordPress website with a dynamic map. You’ll be able to display dynamic content from the custom posts and meta fields using the Map Listing element in the Bricks builder.
Preparations
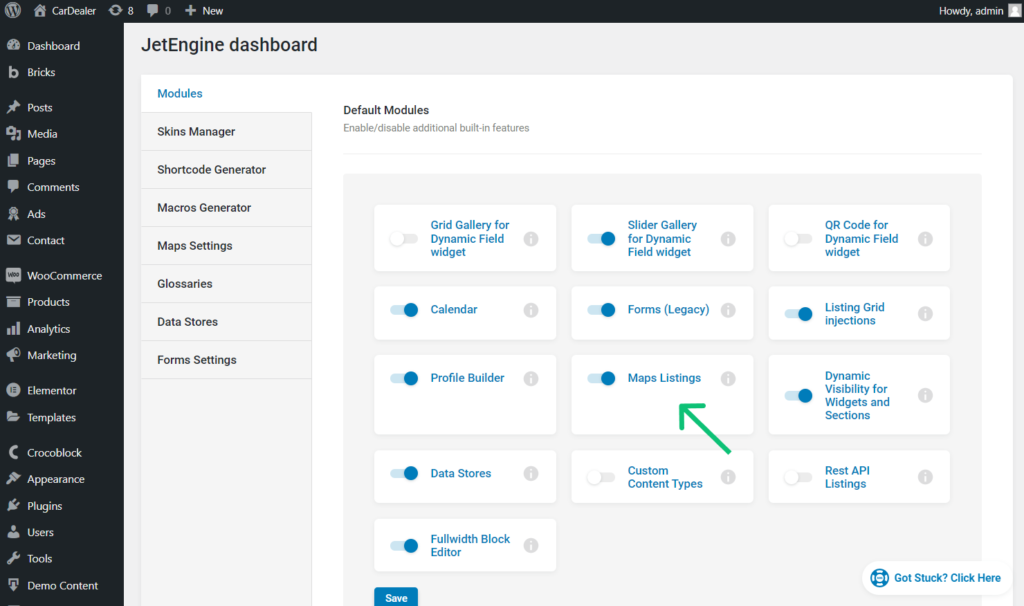
To activate the Maps Listings module, proceed to the JetEngine Dashboard, enable the Maps Listings toggle in the Default Modules section, and push the “Save” button.
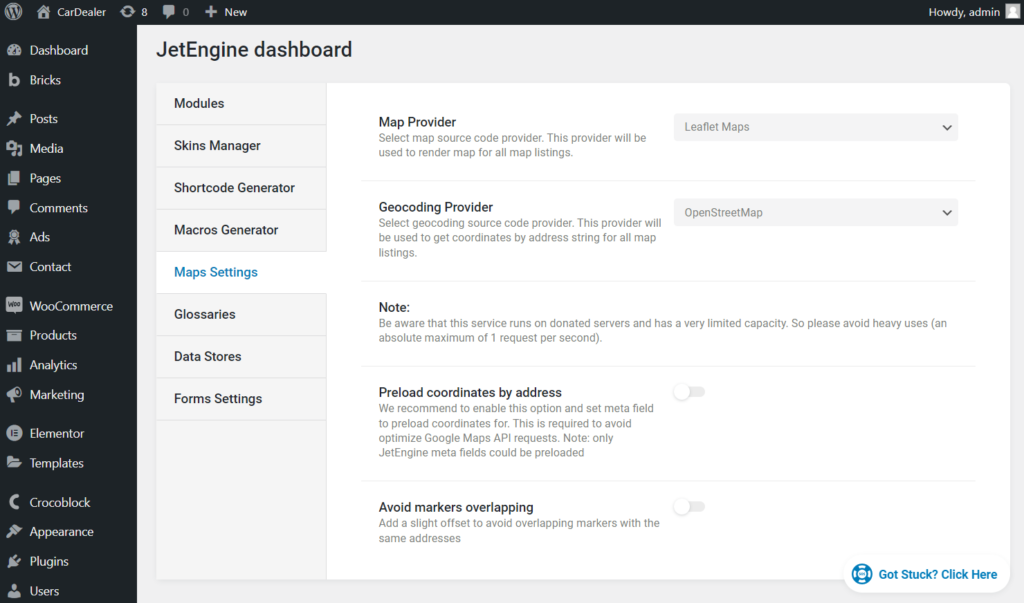
After that, proceed to the Maps Settings tab in the JetEngine settings dashboard.
Adjust available settings depending on the map provider you want to use.
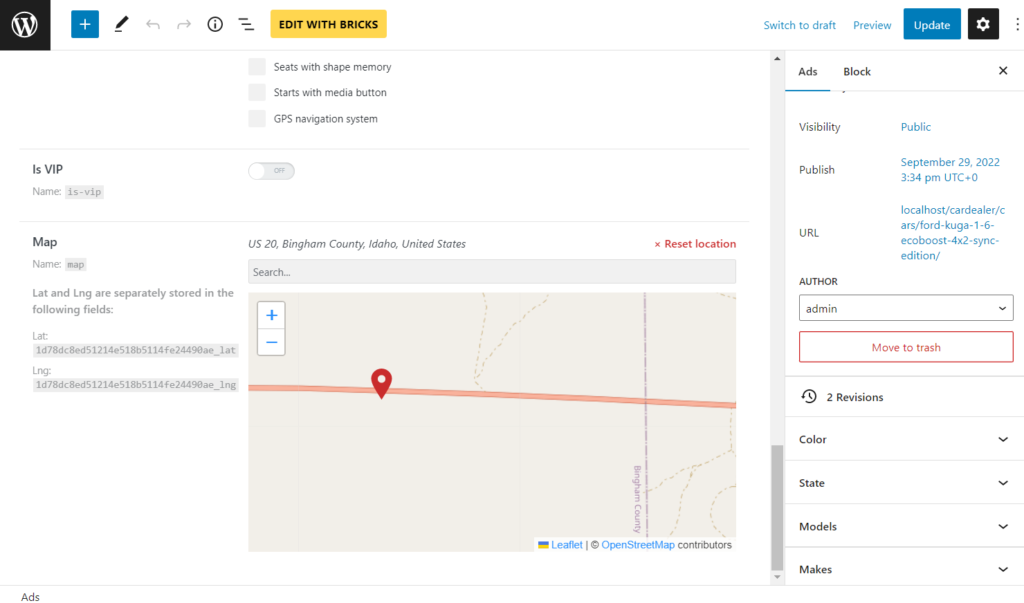
As the requirements said, you needed to create a dedicated CPT containing the Map meta field. Also, you can create a custom taxonomy or add a Meta Box to the WordPress posts, terms, or users with the Map meta field.
Proceed to JetEngine > Post Types, hit to edit the post type, scroll down to the Meta Fields tab, and add the Map meta field.

You can set one of the three Value formats that will be stored in the database:
- String with location Lat and Lng separated with a comma;
- Array with location Lat and Lng;
- Location Address.
In addition, there is an option to set the needed Map Height. The default map height is 300px.
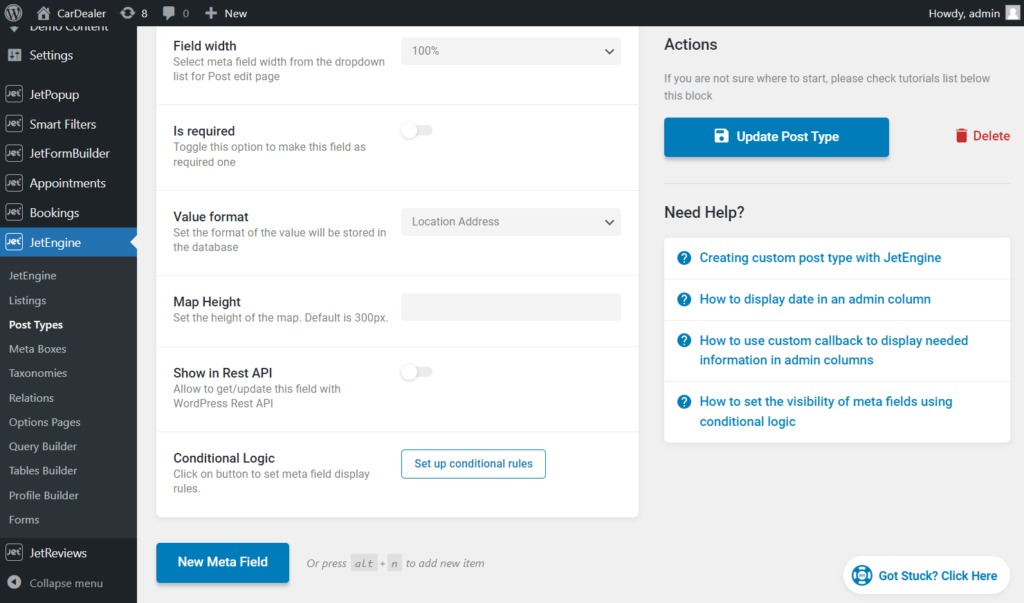
When you finish editing the CPT, click the “Update Post Type” button.
Proceed to the CPT tab on the WordPress Dashboard, create several posts, and make sure to fill the Map meta fields.
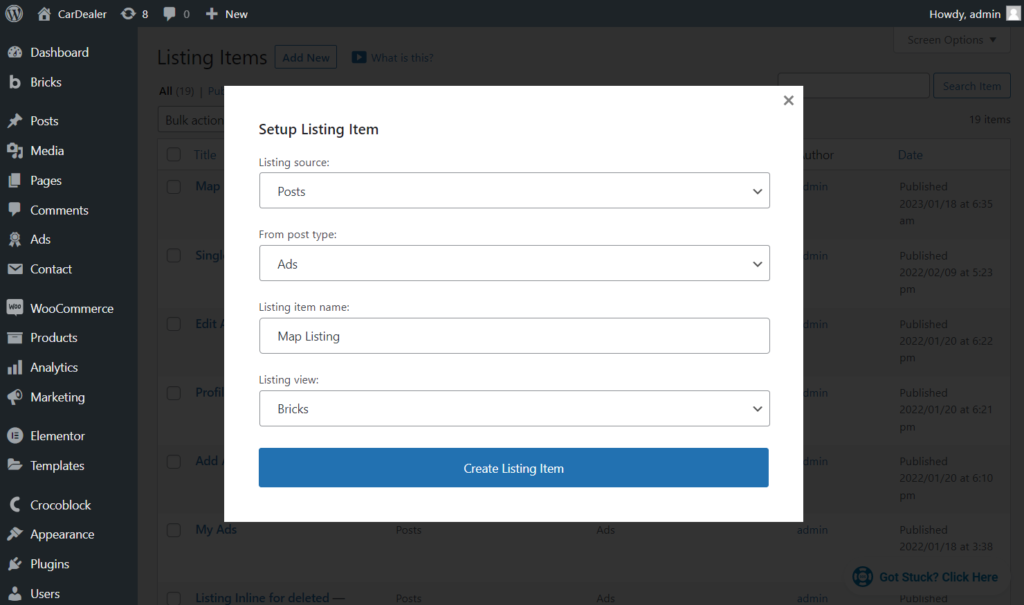
Create a Listing Template for Maps
Move to JetEngine > Listings and click the “Add New” button. Pick the “Posts” Listing source, the post type for the map in the From post type field (“Ads” in my case), enter the Listing item name, and select the “Bricks” Listing view. Push the “Create Listing Item” button.
Hit the “+” button on the canvas to add a new section. Drag-n-drop the dynamic elements such as Dynamic Field, Dynamic Image, and Dynamic Link to arrange the future content for the map. You can find more about Listing item creation with Bricks in the How to Create Listing Item with Bricks tutorial.
I used the Dynamic Image to show the post thumbnail, Dynamic Link with the “Permalink” Source so that users can proceed to the car page, and two Dynamic Field elements: the first to display the post title and the second to display the price from the custom meta field.
Also, I enabled the Customize field output in the second Dynamic Field. With this option, you can add the text before and after the value pulled from the meta field; %s stands for the value that is pulled; just add some content before and after it to add some text before and after the value.
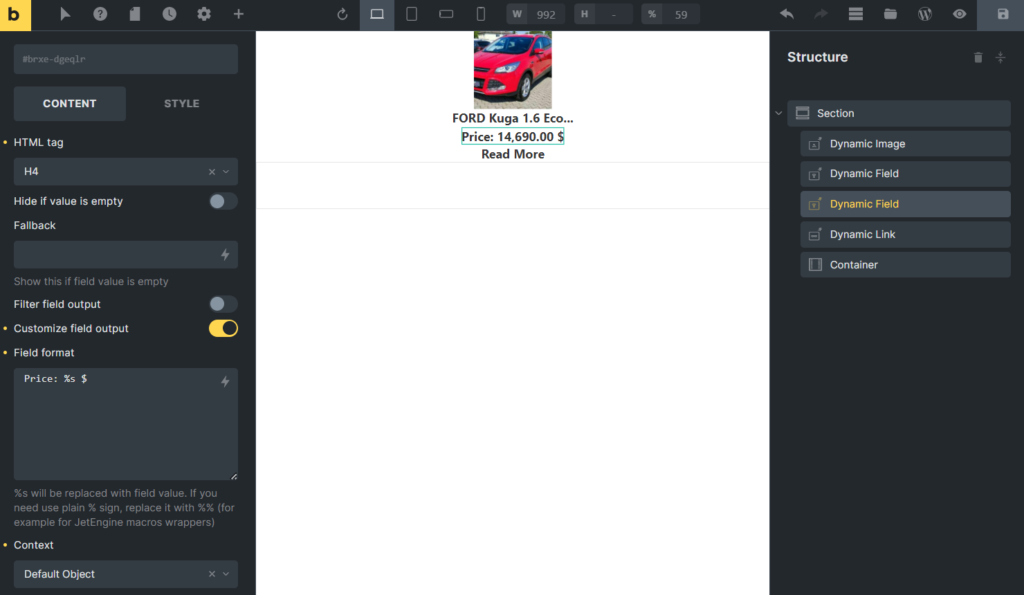
After you finish customizing, hit the “Save” button.
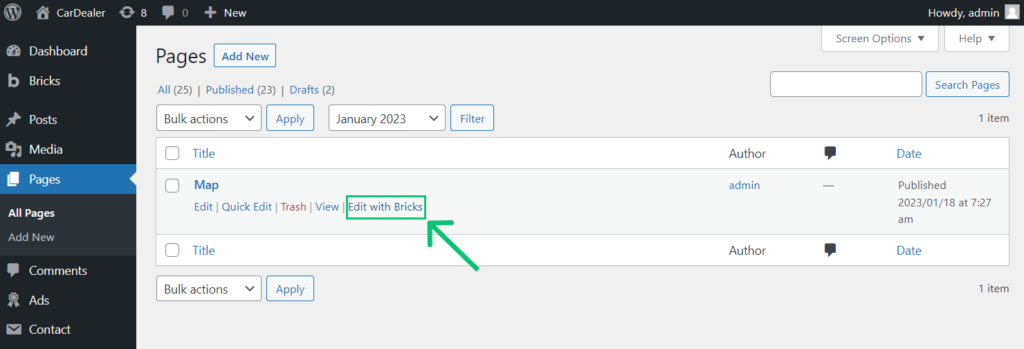
Add the Map Listing Element to the Page
Move to the Pages tab on the WordPress Dashboard and click “Edit with Bricks” on the page you created earlier to place the dynamic map here.
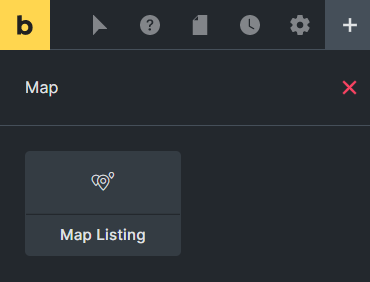
Add a new Section and drag-n-drop the Map Listing element.
Now, let’s get through the Map Listing settings.
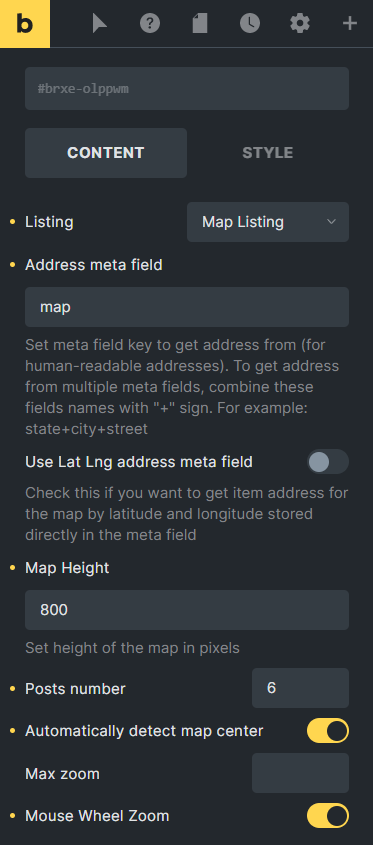
General settings
- Listing — choose the Listing template you created for the map;
- Address Meta Field — paste the name of the meta field where you insert the address into this bar;
- Use Lat Lng Address Meta Field — in case you have a meta field where you put the address in the form of latitude and longitude, enable this toggle and afterward paste the name of the field into Lat Lng Address Meta Field bar;
- Map Height — you can set the height of the map element on the page by moving the slider or typing the height into the bar;
- Posts number — every marker on the map will be taken from one post. Here you can define how many markers to show at the same time;
- Automatically detect map center — when this toggle is turned on, the map listing automatically defines the center regarding the placed marks and shows the map centered according to it;
- Max Zoom — choose the default zoom of the map when it opens the first time;
- Mouse Wheel Zoom — when this toggle is turned on, you can scale the map up and down by spinning the mouse wheel.
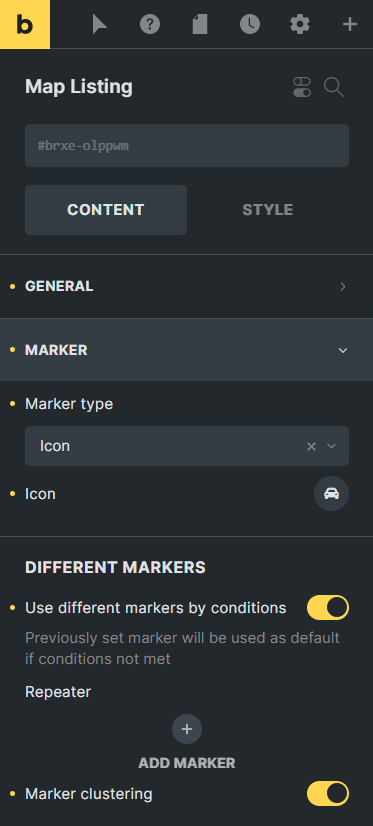
Marker settings
You can place such Marker types on the map:
- Image. It can be any image you upload to the Media Library;
- Icon. You can choose the icon from the icon library;
- Text. This option allows you to add a label to the address. In the Marker Label drop-down menu, you can choose where to take the text from:
- Post Title – the title of the CPT item;
- Meta Field – in this case, you can choose the meta field from the Meta Field, select or type its name to the Or enter meta field key bar;
- Static Text – all the addresses will be marked with the exact text you write to the Marker Label bar.
The “Text” Marker type also has the Callback drop-down menu. It allows you to choose the type of data you want to display.
- Dynamic Image. Unlike the “Image” Marker type, this one allows you to set the picture that will change according to the CPT item. Choose the meta field where you store the images in the Meta Field drop-down menu or type its name into the Or enter meta field key bar.
You can set different markers for the items. If you enable the Use different markers by conditions toggle, the settings you have chosen in previous fields will be used as a default marker. Besides that, you can add some conditions, and when they are met, the marker changes. Click on the “Add Item” button and choose how and on which conditions the marker will change.
If there are many items on the map and it looks messy, you can enable the Marker Clustering toggle, and all markers placed close will gather in convenient clusters.
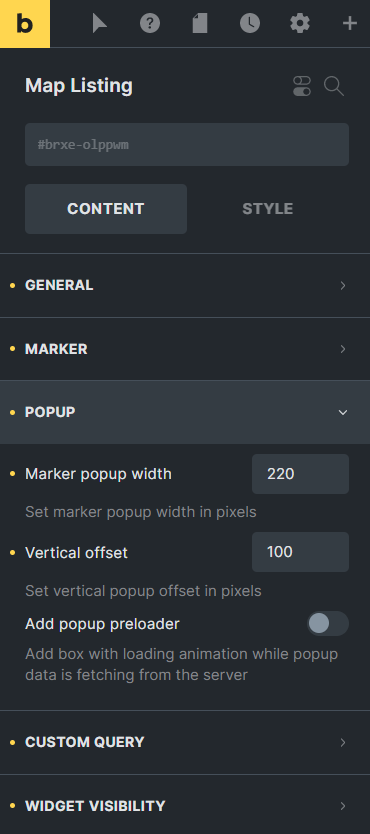
Pop-up settings
The markers are shown in the pop-ups. Here you can define some of the pop-up settings:
- Marker popup width — with the help of this slider, you can define the width of the pop-up window;
- Vertical offset — here, you can set, in pixels, how far from the marker the pop-up emerges;
- Add popup preloader — enable this toggle if you want to add the loading animation to the pop-up window. It will be shown while the pop-up loads.
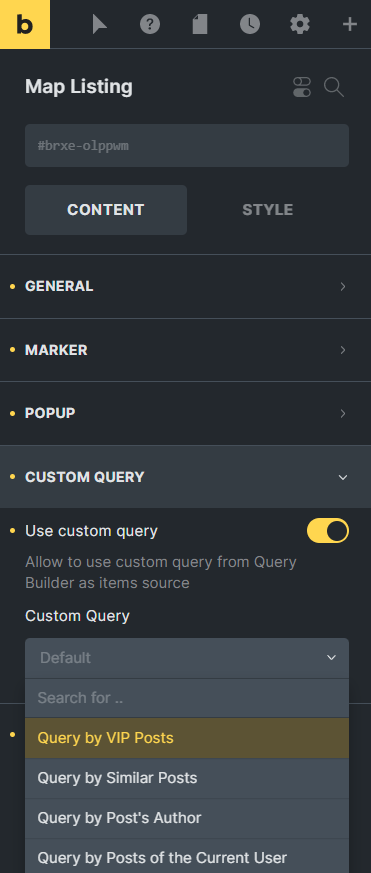
Custom Query
Once enabled, you can select a custom query built beforehand in the Query Builder.
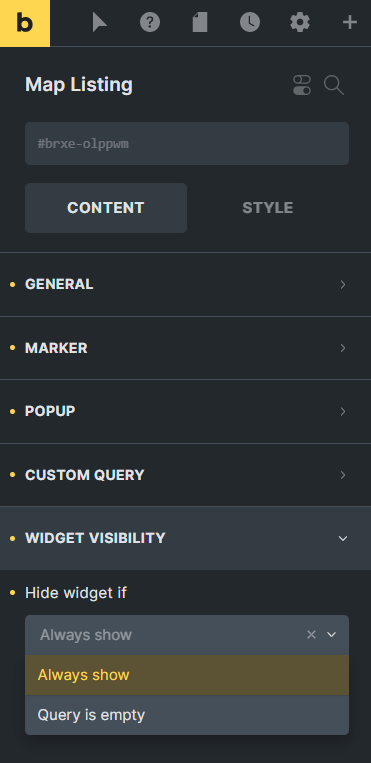
Widget Visibility
With the Widget Visibility settings section, it is possible to make the element always shown or hide it when the query is empty.
After you finish customizing the page with Map Listing, hit the “Save” button.
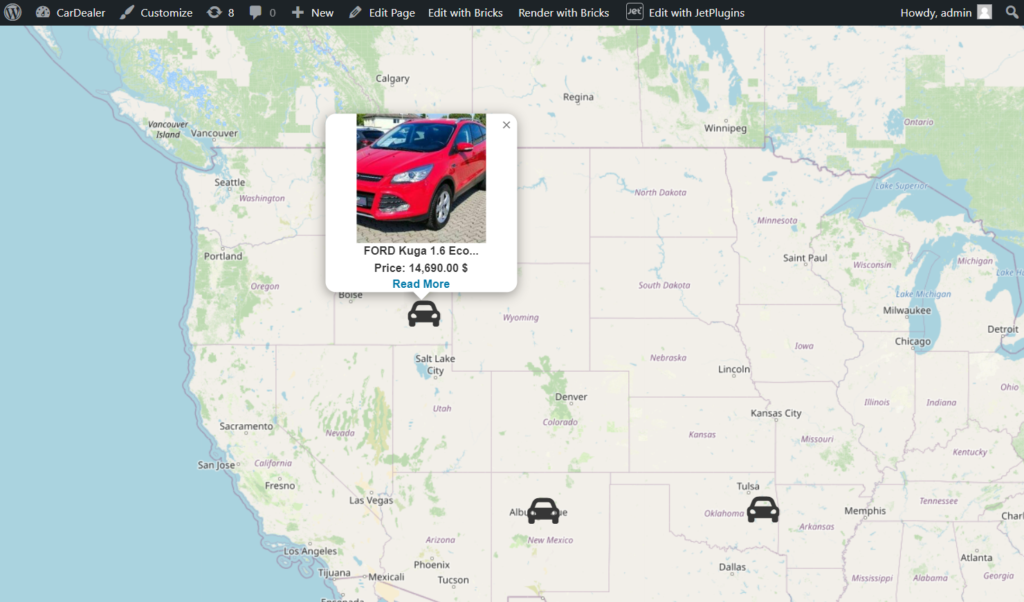
Map Listing on the Front End
Proceed to the page with Map Listing on the front end. When you click on the icons, you can see the pop-ups with posts placed according to addresses in the Map meta field.
That’s all. Now you know how to create a dynamic map for the WordPress website with the Bricks theme and JetEngine plugin.