How to Populate Form Fields Using JetEngine Query Builder
In this guide, you will find out how to populate Select, Radio, and Checkbox form fields using JetEngine Query Builder on your WordPress website.
Before you start, check the tutorial requirements:
- Elementor (Free version), Block editor (Gutenberg), or Bricks
- JetFormBuilder plugin installed and activated
- JetEngine plugin installed and activated
JetFormBuilder can populate Select, Radio, and Checkbox fields dynamically by using data returned from JetEngine Query Builder.
This approach is useful when form options should reflect the queried content instead of manually adjusted ones. For example, users can choose authors from a specific Custom Post Type, select specific user roles from a users query, or pick WooCommerce products from a specific category.
In this tutorial, we will explain how JetEngine Query Builder and JetFormBuilder work together, how option values and labels are mapped, and how to build dynamic fields for several common scenarios.
Form and JetEngine Query Ecosystem
With the approach described in this tutorial, we create a connection between a JetEngine query and a JetFormBuilder field. The query retrieves data, while the form field displays it to users.
In other words, instead of manually creating options inside a Select, Radio, or Checkbox field, you create a query and connect the field to its results.
Understanding Query Variable and Label Mapping
To display dynamic options correctly, JetFormBuilder must know:
- Which query should be used as the data source;
- Which property should be stored as the submitted value;
- Which property should be displayed to users.
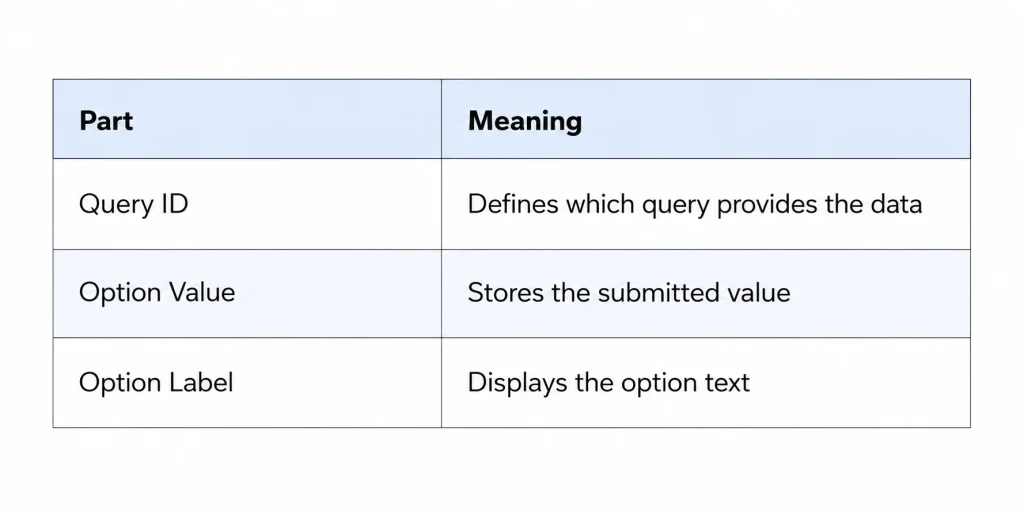
For example, if a “Posts Query” returns the following properties:
- “ID”;
- “post_title”;
- “post_author”
you can use:
- “ID” as the Option Value;
- “post_title” as the Option Label.
Use Cases
The following examples demonstrate three common scenarios for dynamic field population. Although the implementation differs depending on the data source, the overall workflow remains the same:
- Build a query that returns the required data;
- Verify the query output using Preview results;
- Connect the query to a form field;
- Map the option values and labels;
- Test the result on the front end.
Custom Post Type-based query
In this example, visitors will vote for the next book club author. The list of available authors will be generated dynamically from a Custom Post Type (CPT) query. To keep the list relevant, the query will return only authors marked as bestselling.
Build a query
To provide dynamic options for the Radio Field, we need a query that returns the required authors. We will use this query as the source later in the form.
Navigate to WordPress Dashboard > JetEngine > Query Builder and the “Add New” button.
Give a query a descriptive name. In this case, we name it “Is Bestselling Query”.
Select the needed Query Type. As we want the Custom Post Type to be the source of the query, we leave the default “Posts Query” option selected.
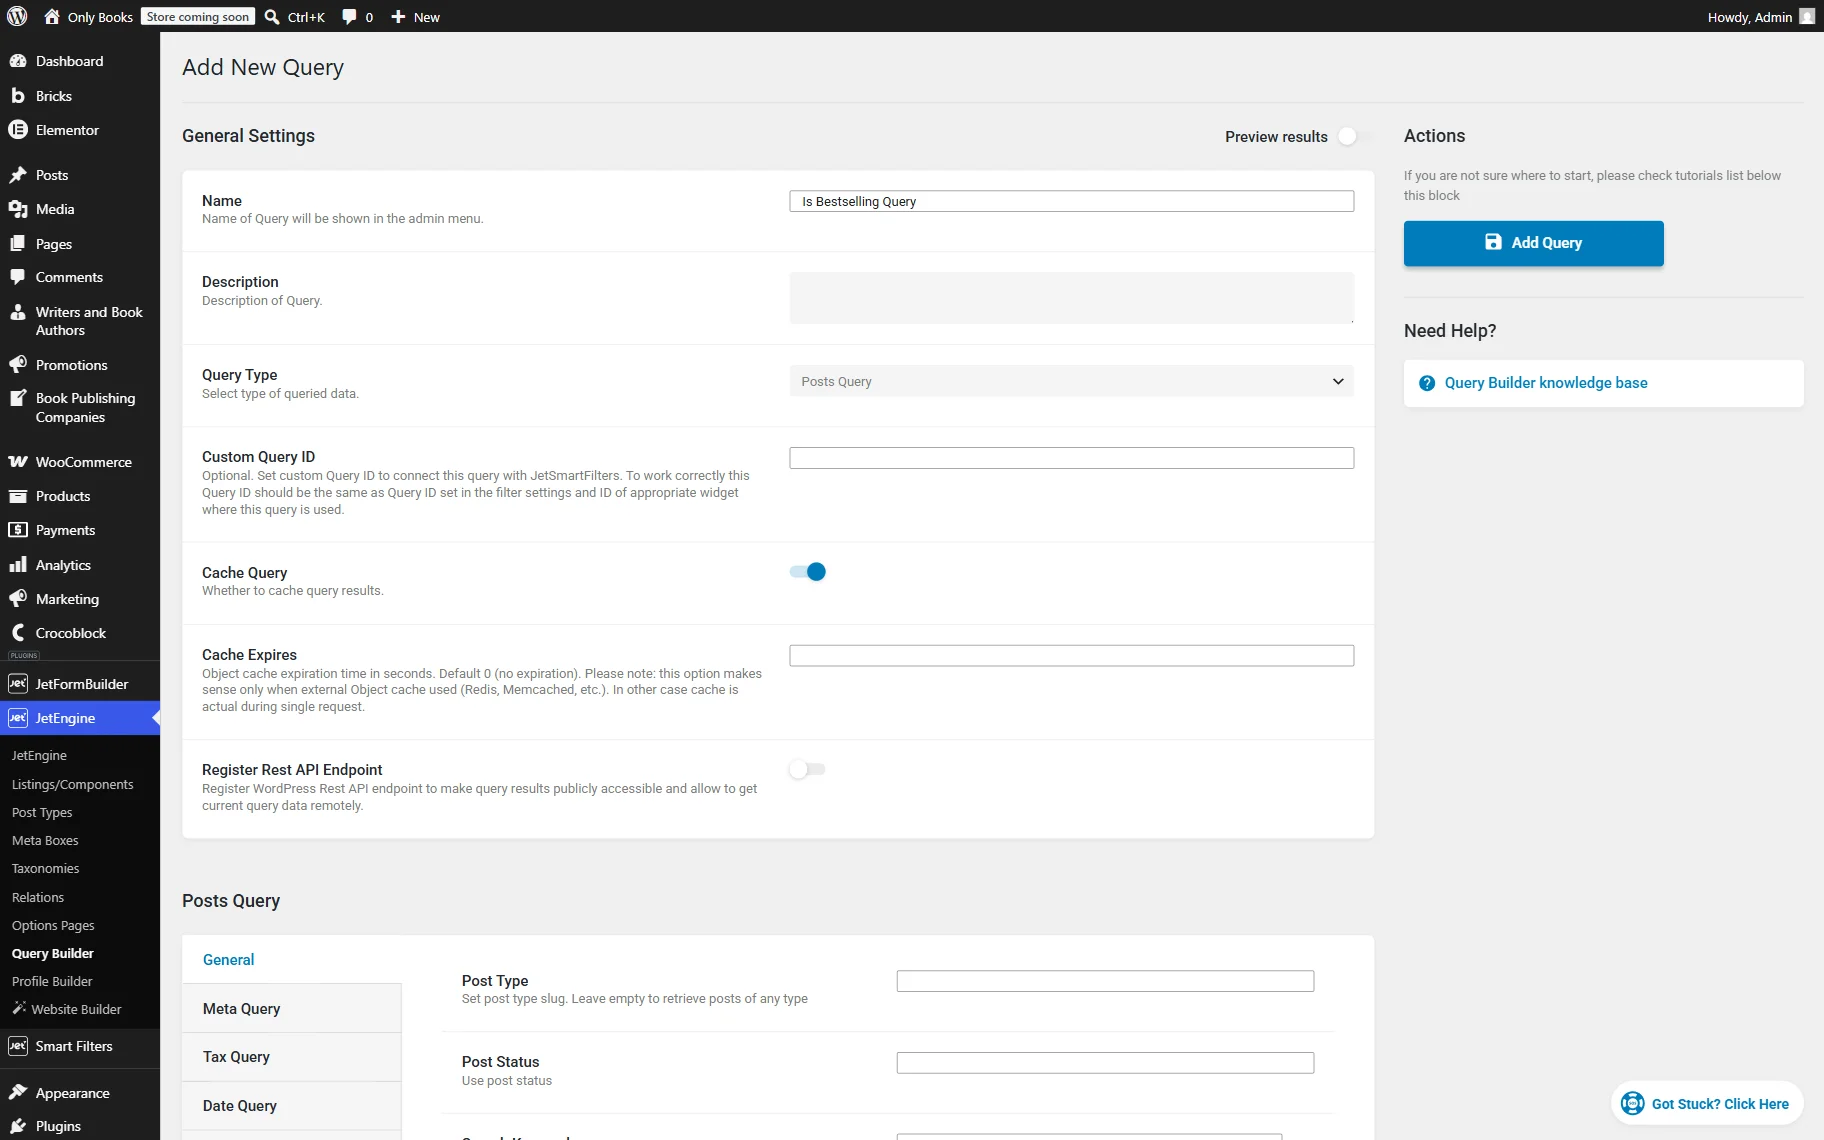
Scroll down to the Posts Query section and select the Post Type you work with. In our case, it’s “Writers and Book Authors.”

To display only the bestselling authors, we will filter the query results using a custom meta field. In our case, the CPT we work with has a “Radio” meta field called “Is Bestselling” with two possible values: “Yes” and “No”. This field is completed in every CPT post. So, now we can query CPT based on this data.
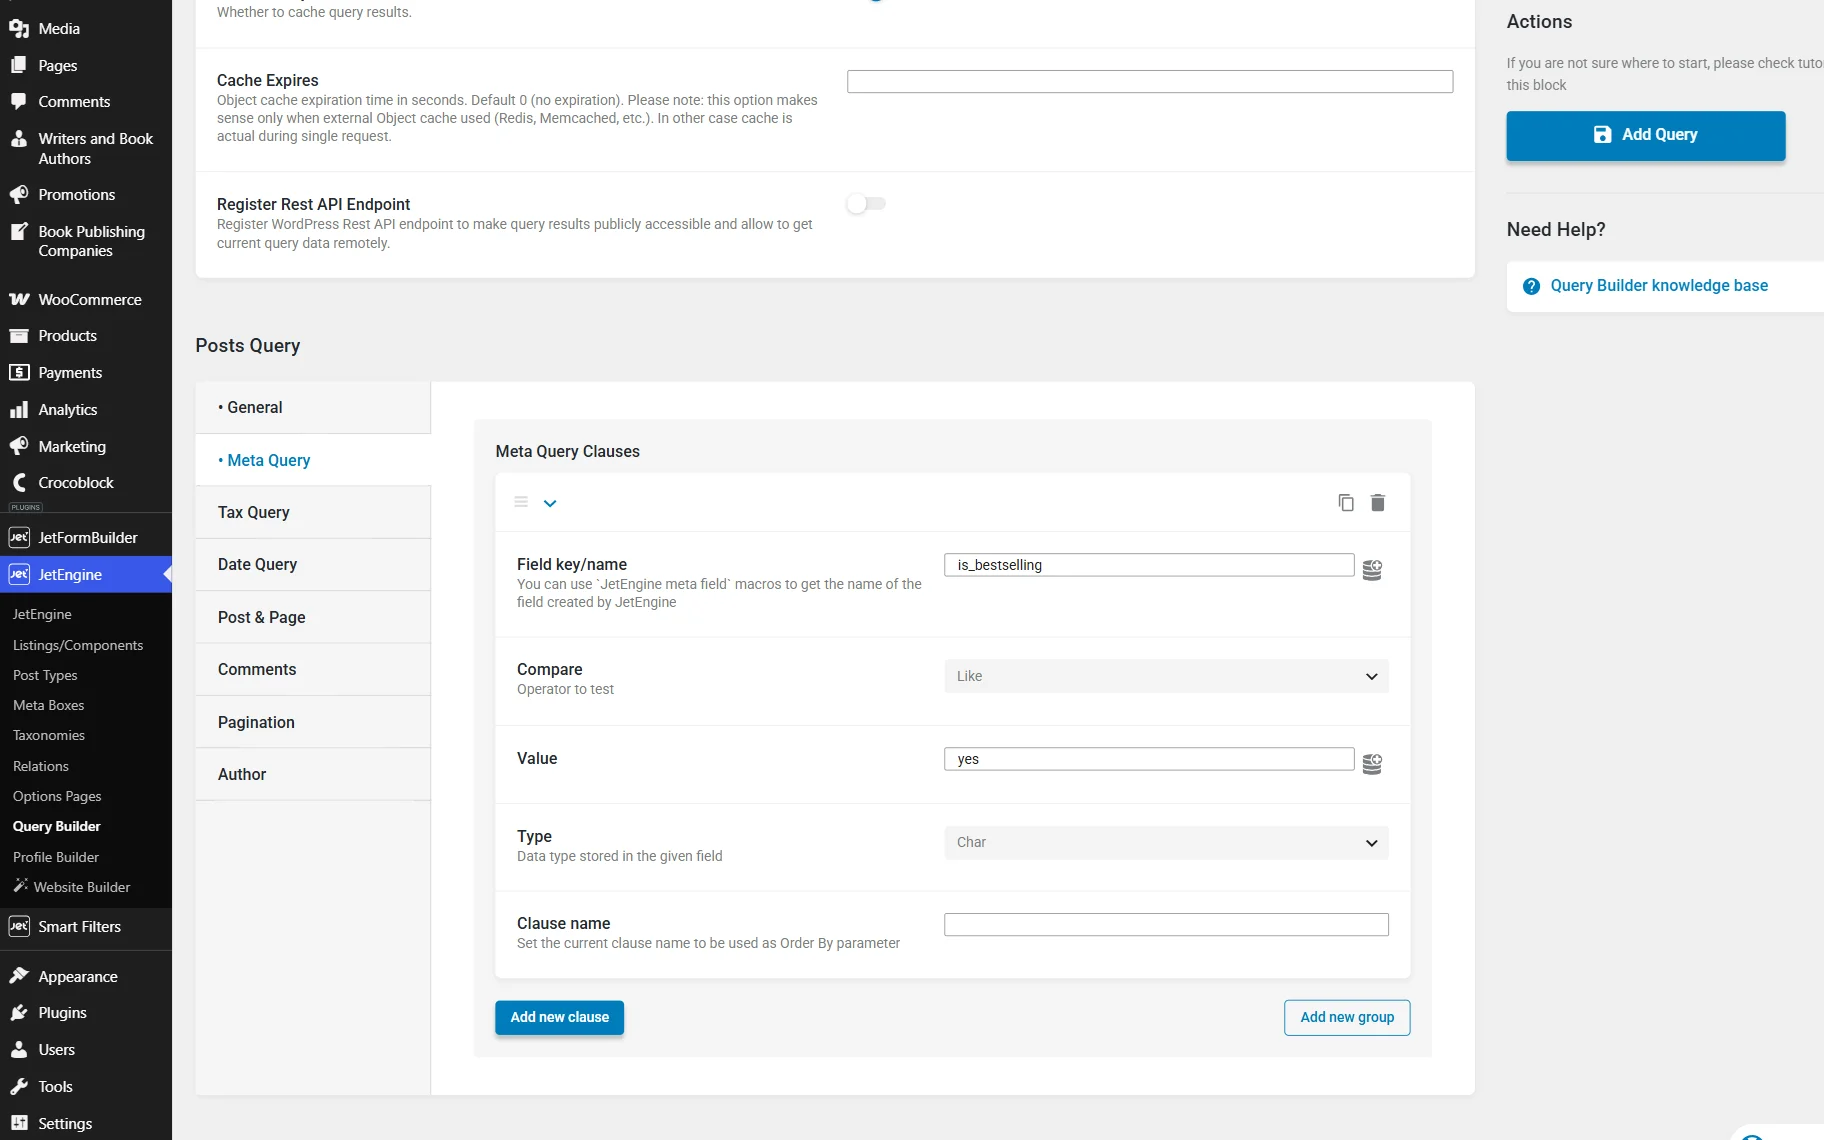
To do so, we proceed to the Meta Query tab and hit the “Add new” button.
We complete the Field key/name with the “is_bestselling” value, which is a Name/ID of the meta field attached to the post type.
Then, in the Compare field, we select the “Like” operator. This setting instructs the query to search for records containing the specified value.
Next, we enter the “yes” Value. Since the “Is Bestselling” radio field stores either “yes” or “no”, this condition ensures that only authors marked as bestselling are returned.
We also set Type to “Char” because the stored value is a text string rather than a number or date.
Before connecting this query to the form, it is important to verify that the query returns the expected results. So, we scroll up the page and activate the Preview results toggle to see if the query works correctly.
There, we see that the query gives results, so everything works fine. This step helps identify configuration issues early.
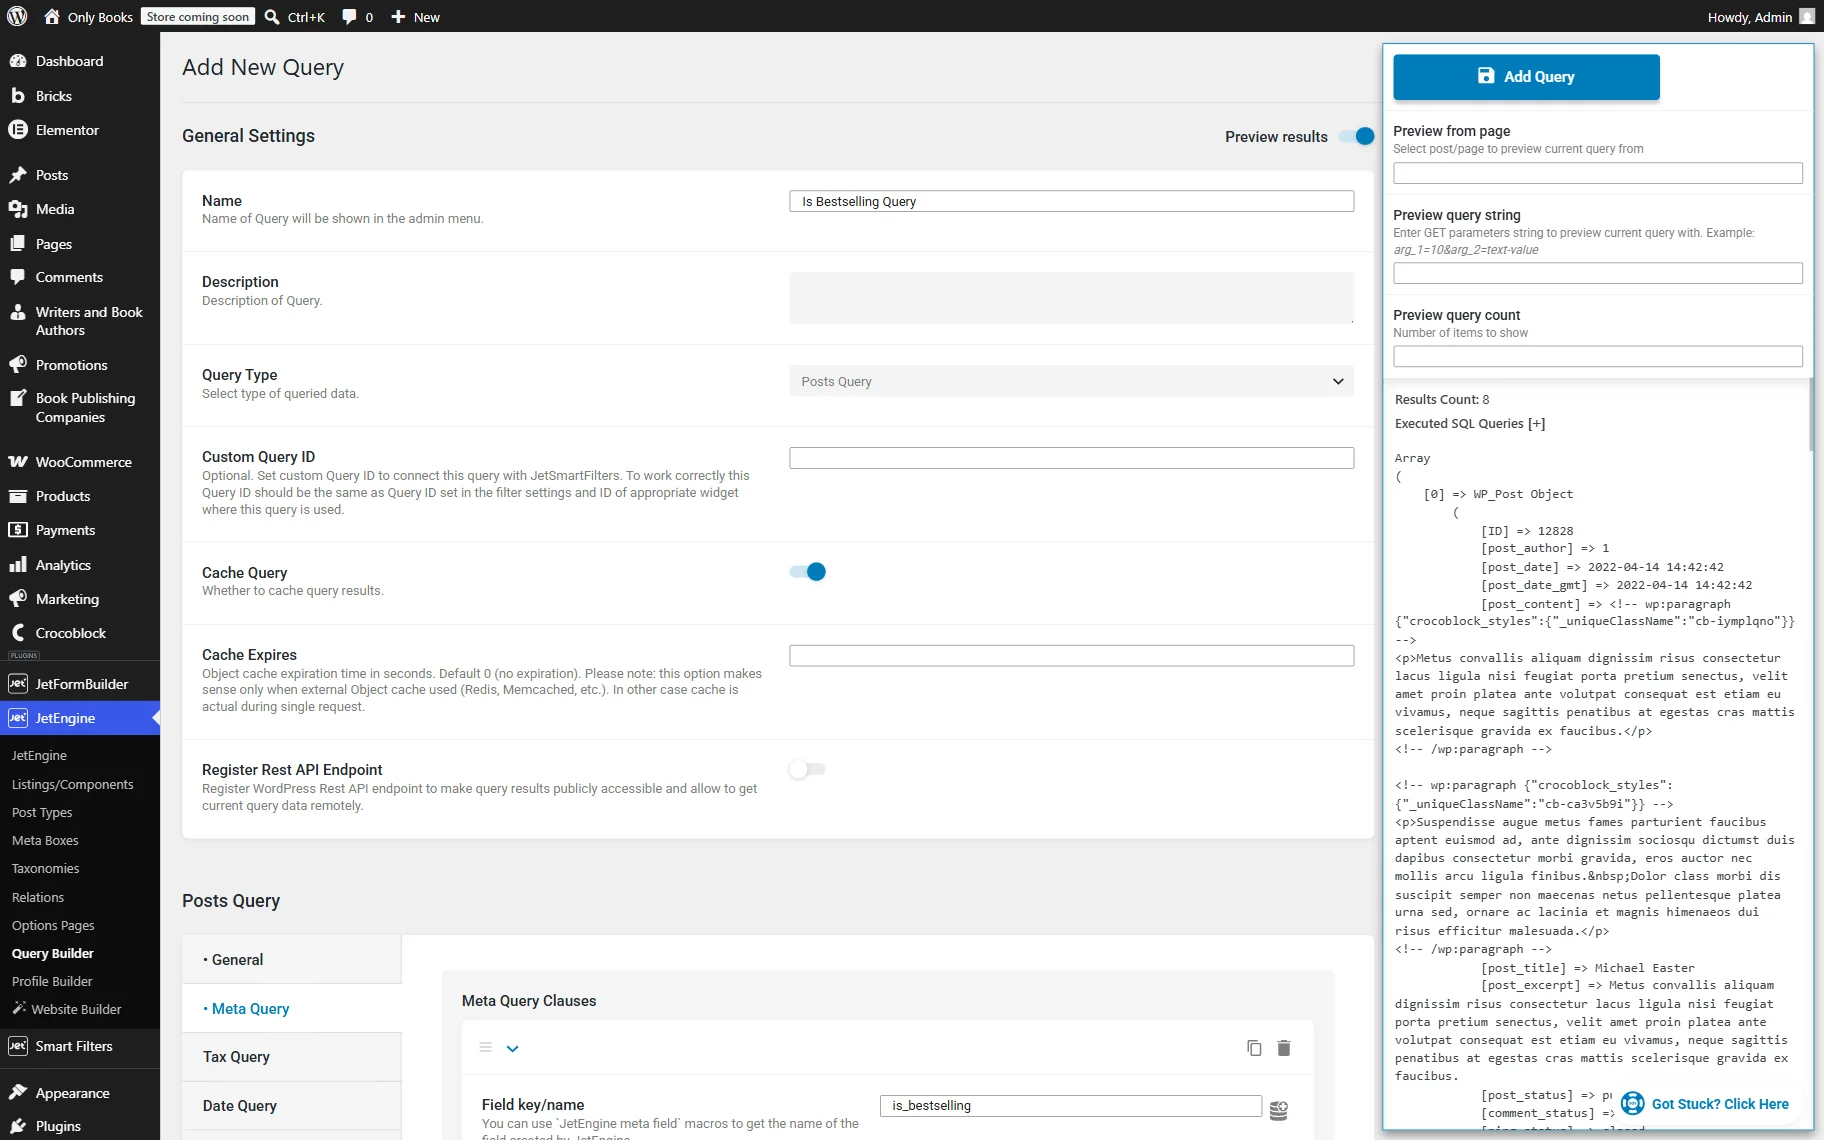
Once you ensure that your query works correctly, press the “Add Query” button.
Create a form
Now that the query is ready, we can create a form and connect one of its fields to the query output. To do so, go to the WordPress Dashboard > JetFormBuilder > Add New Form directory.
Name a form. For example, we enter the “Vote for the next book club author” title.
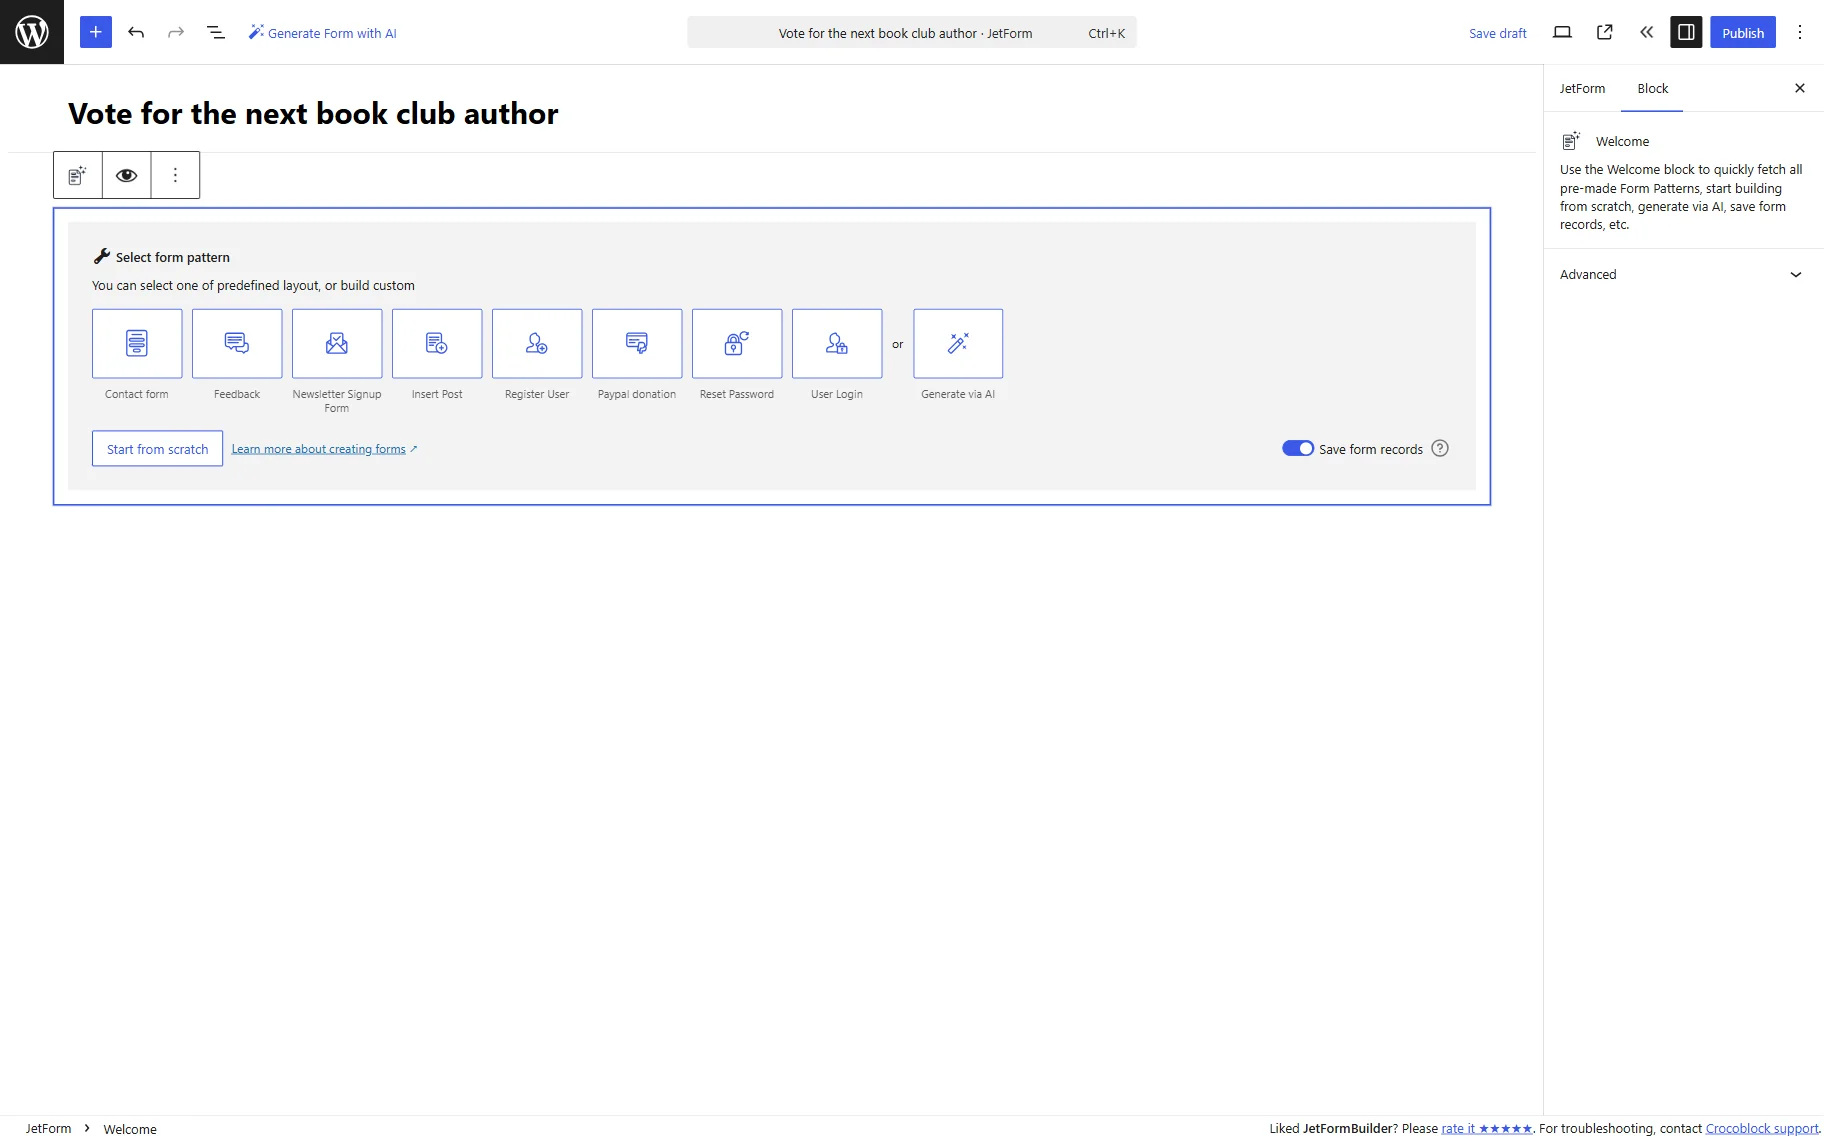
At the beginning of every form, there is always a Welcome Block placed automatically. We delete it as we don’t need it for this case.
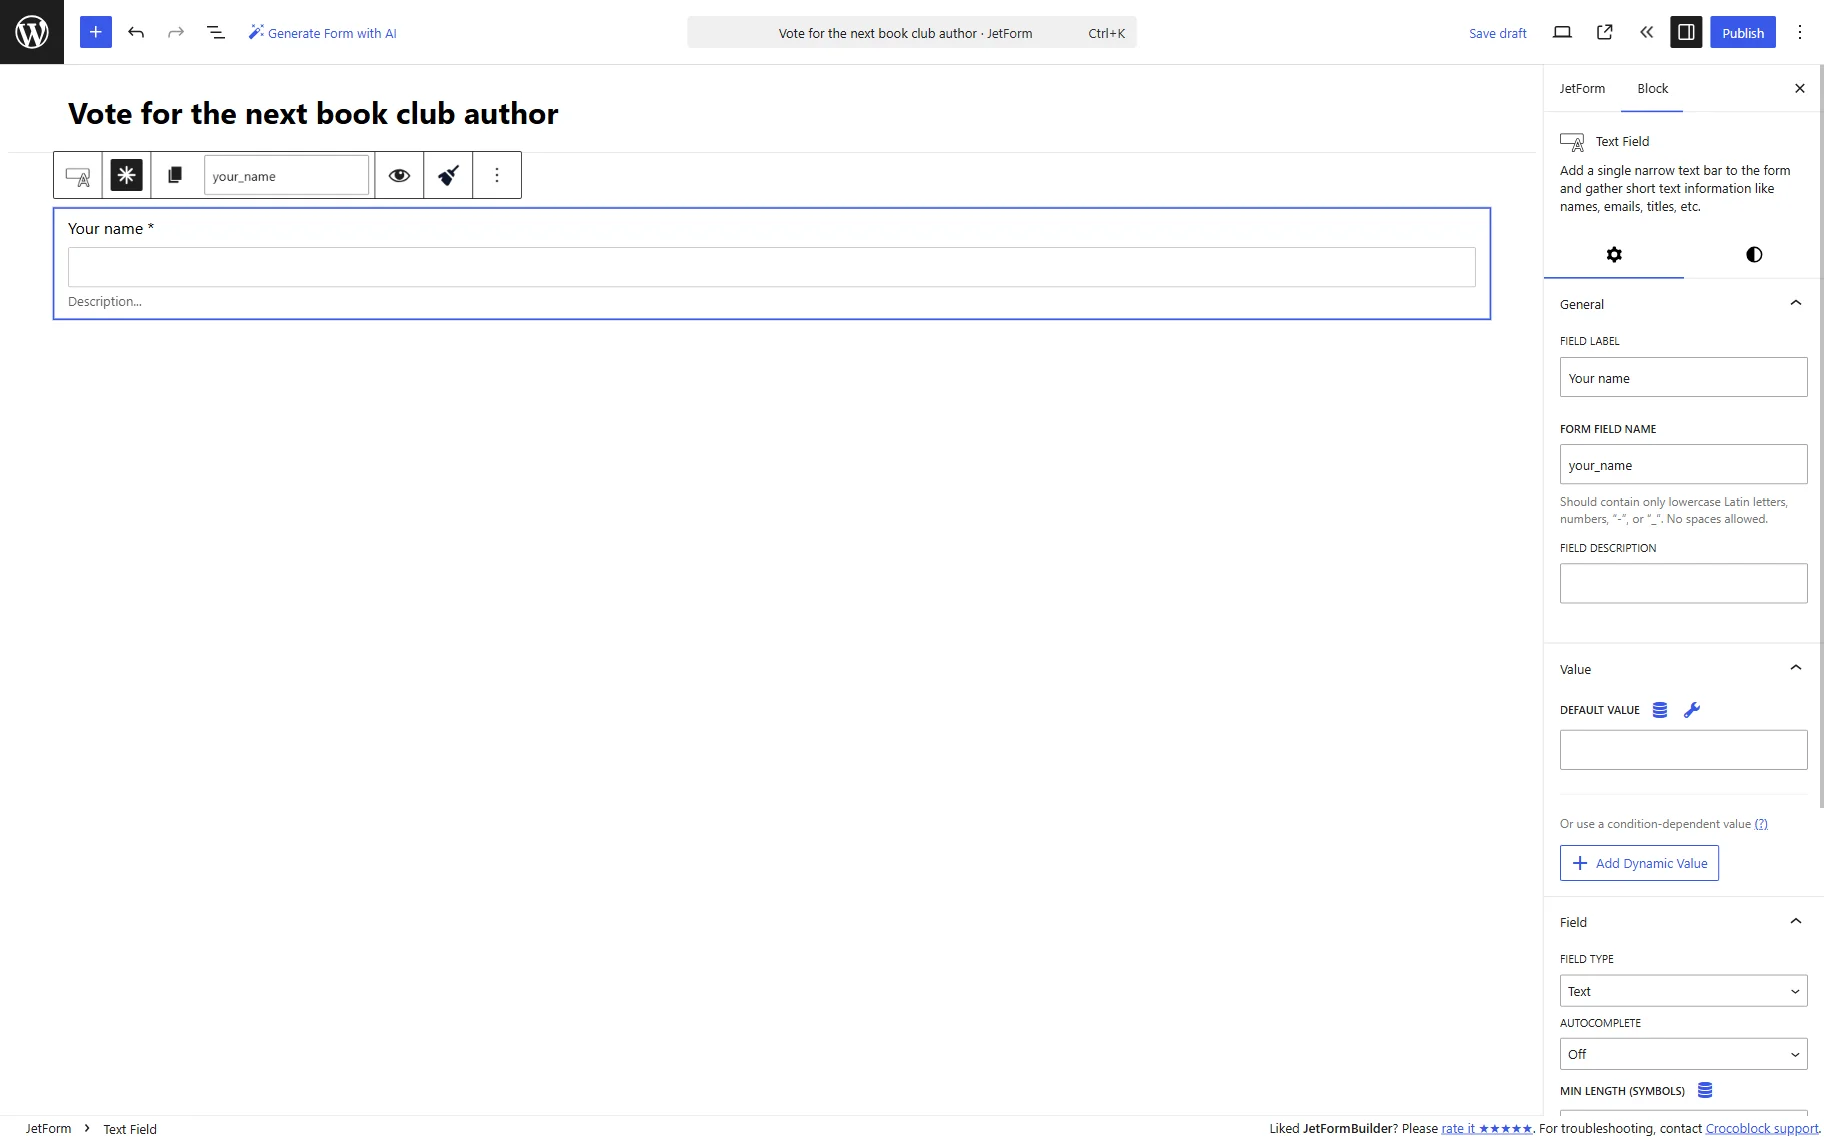
To start our form, we place the Text Field on the canvas. We complete the FORM LABEL with the “Your name” value to collect the visitor’s name; the FORM FIELD NAME will be generated automatically based on the label and can be left unchanged.
We also make this field required for completion by clicking the “asterisk” sign below the field.
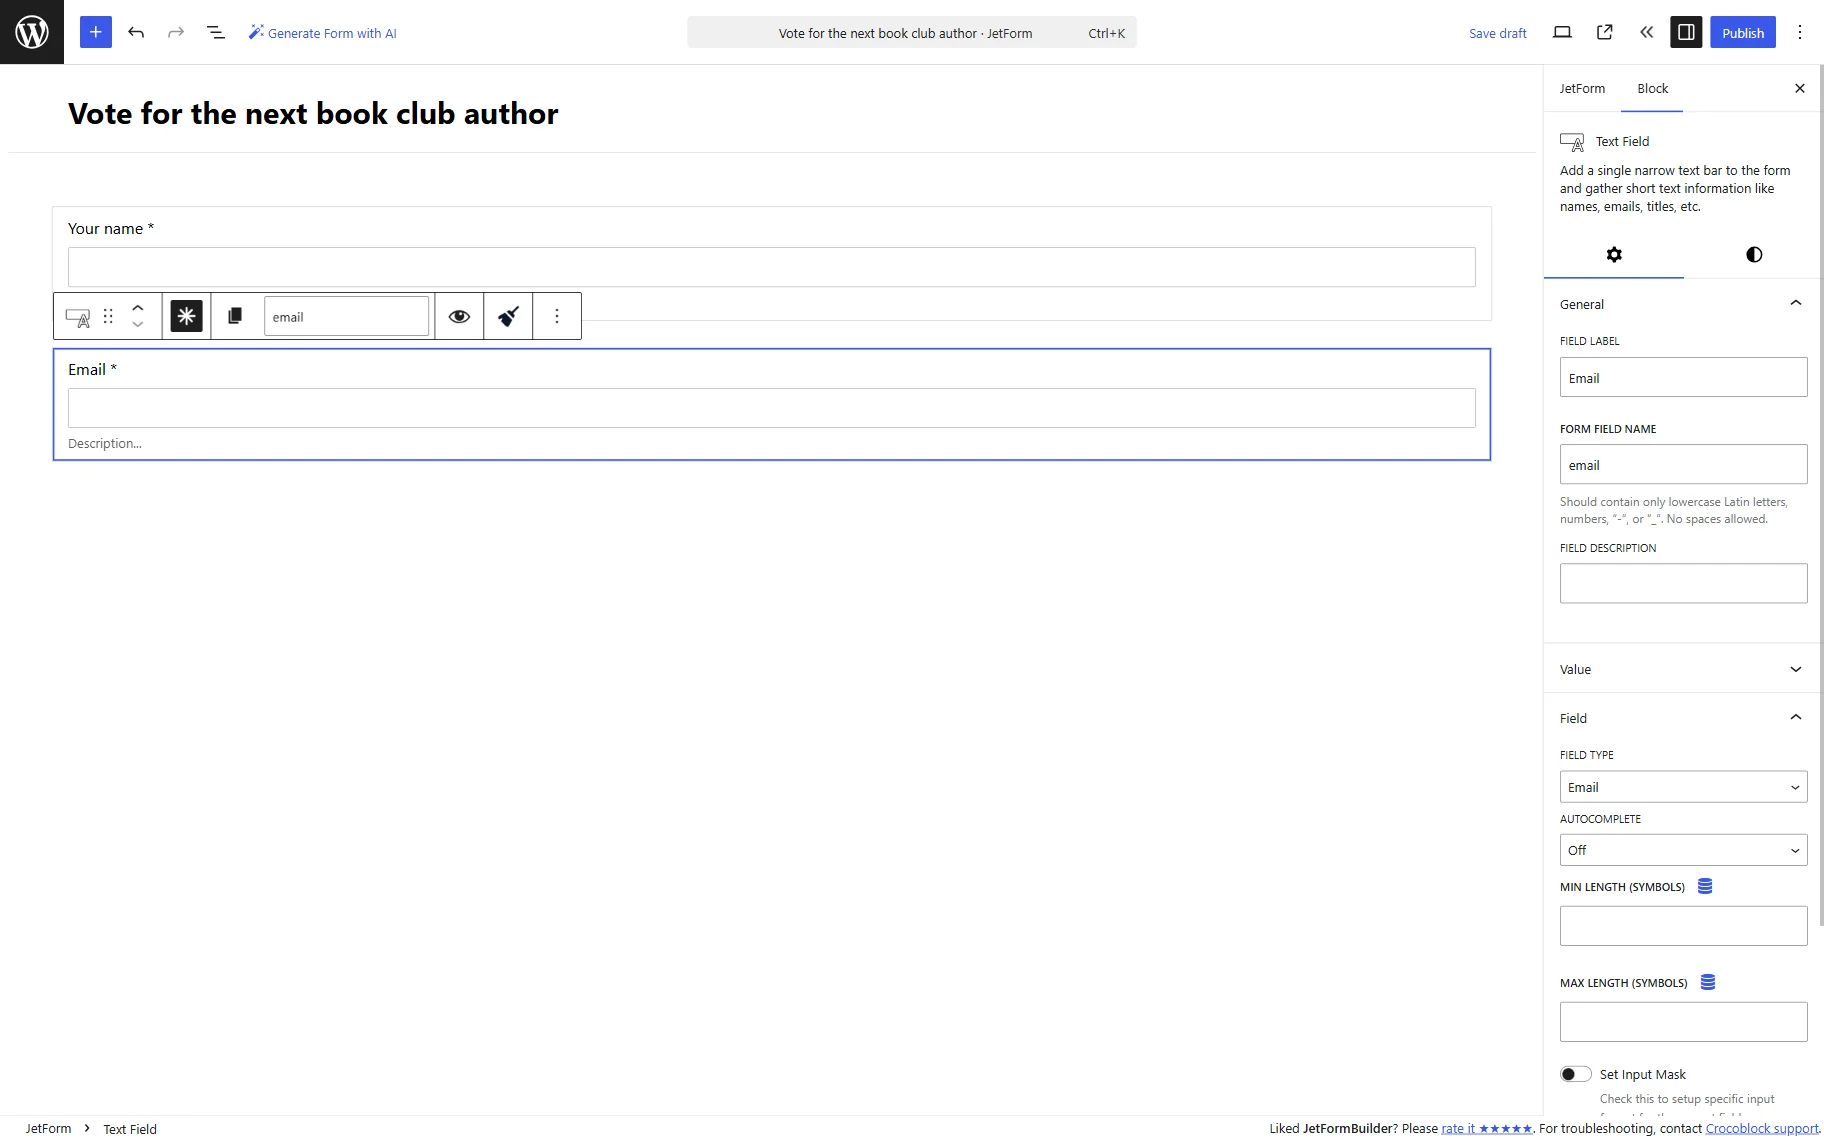
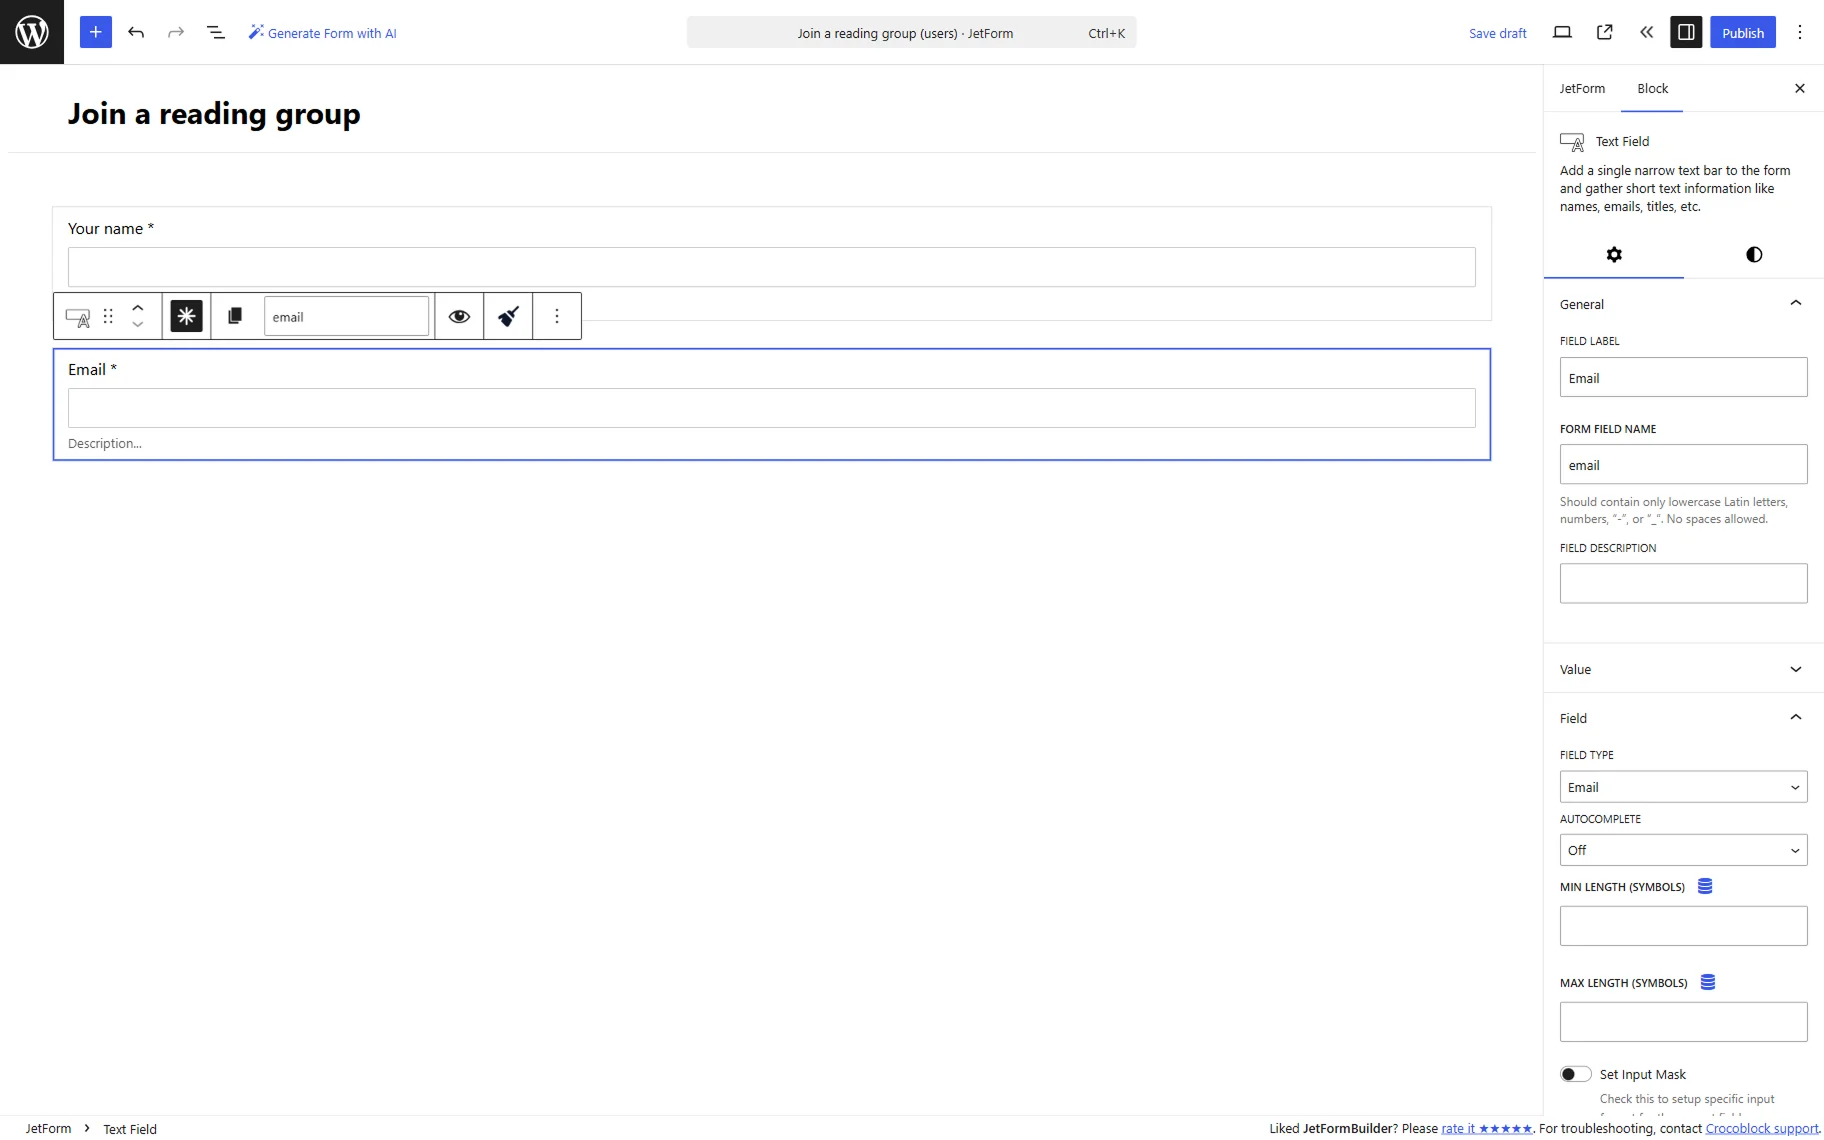
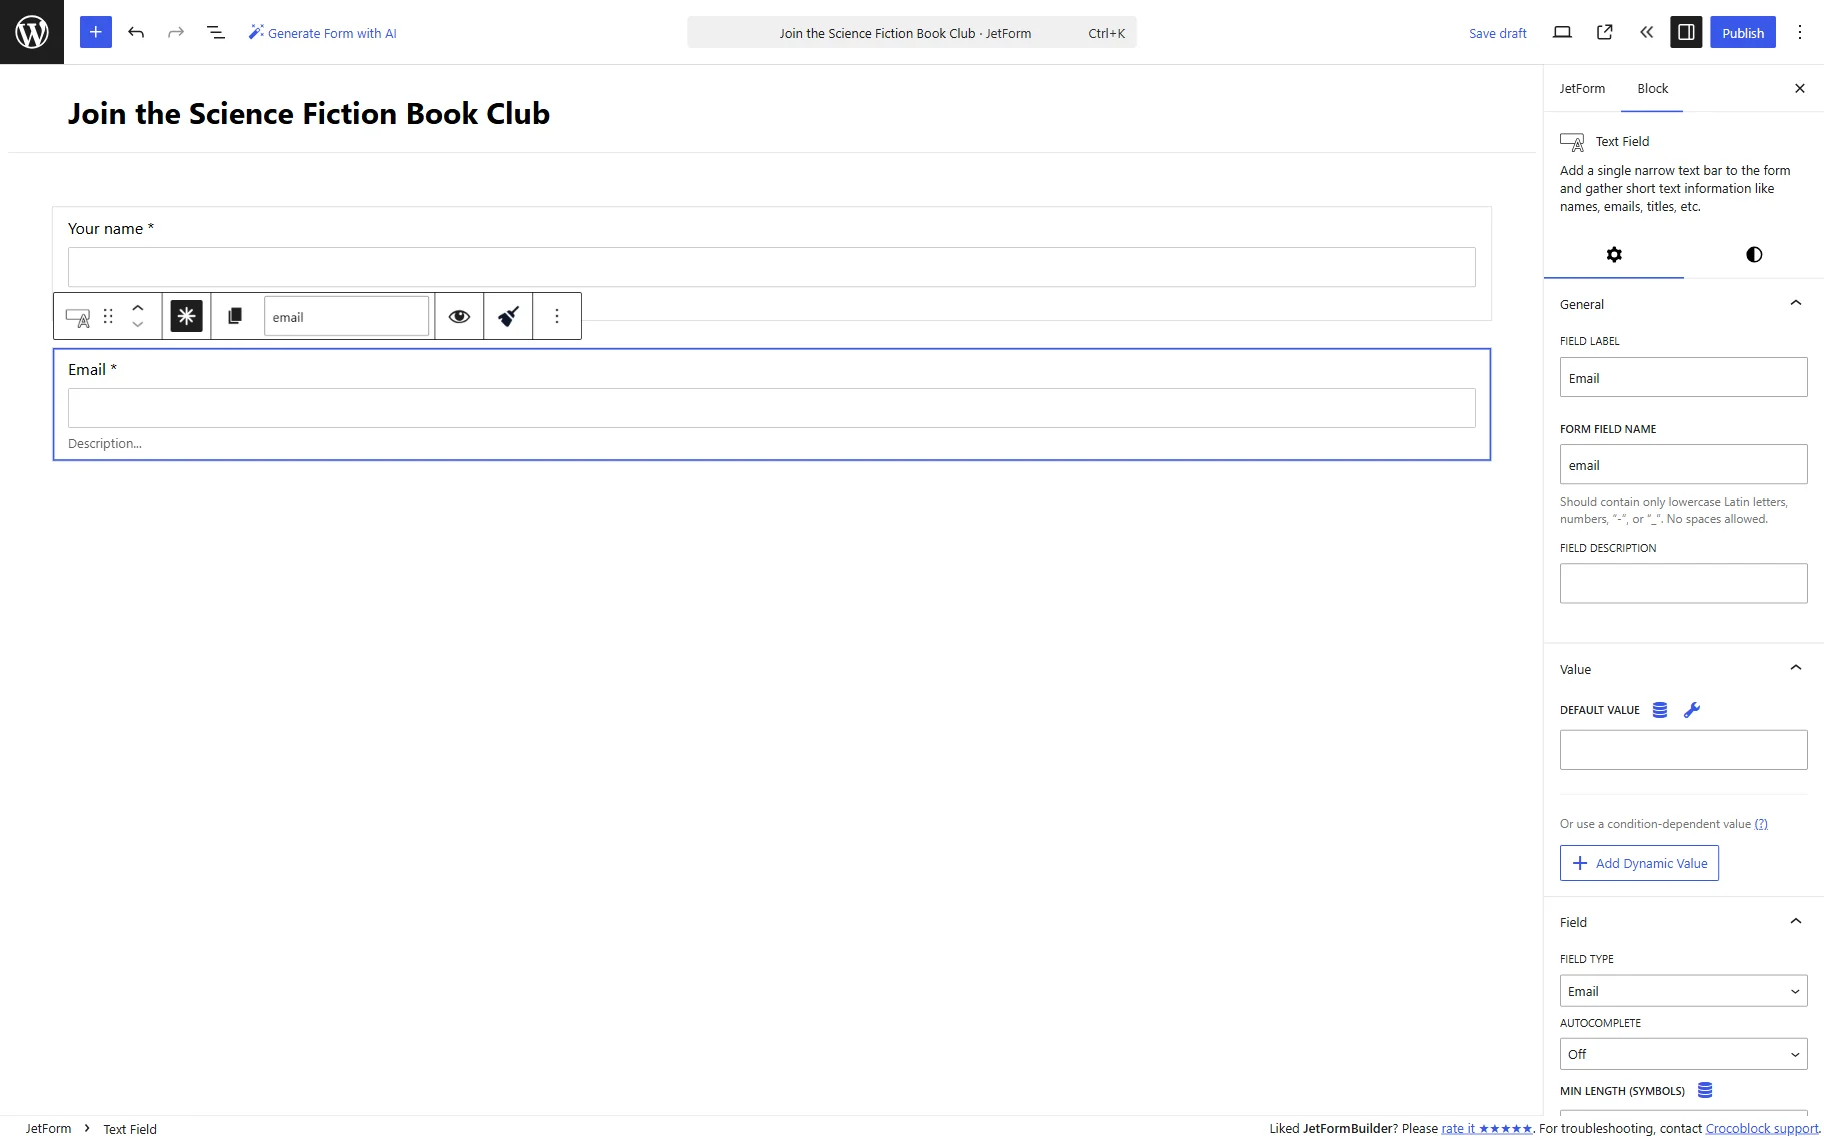
Next, we add one more required Text Field, this time called “Email.”
In the field settings, we find the Field tab and change the FIELD TYPE to “Email.” This validation ensures that only properly formatted email addresses can be submitted.
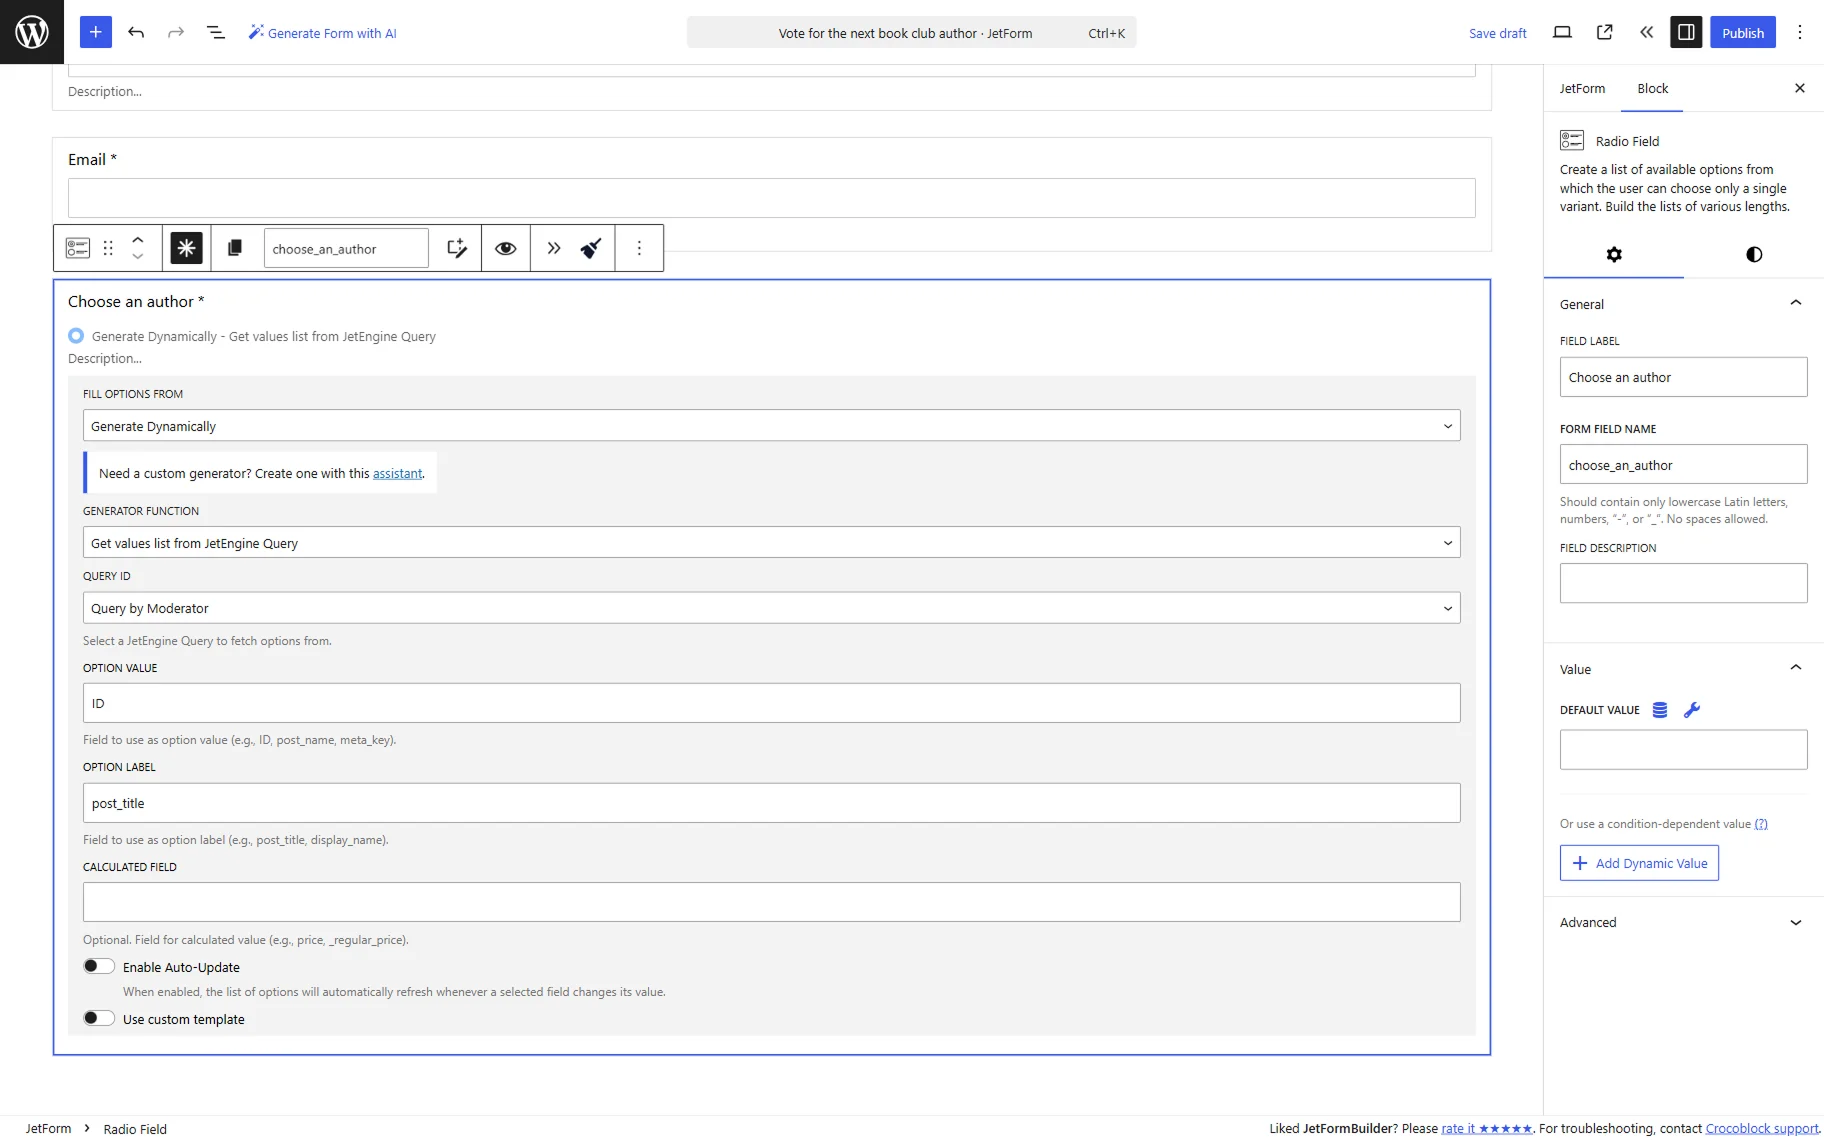
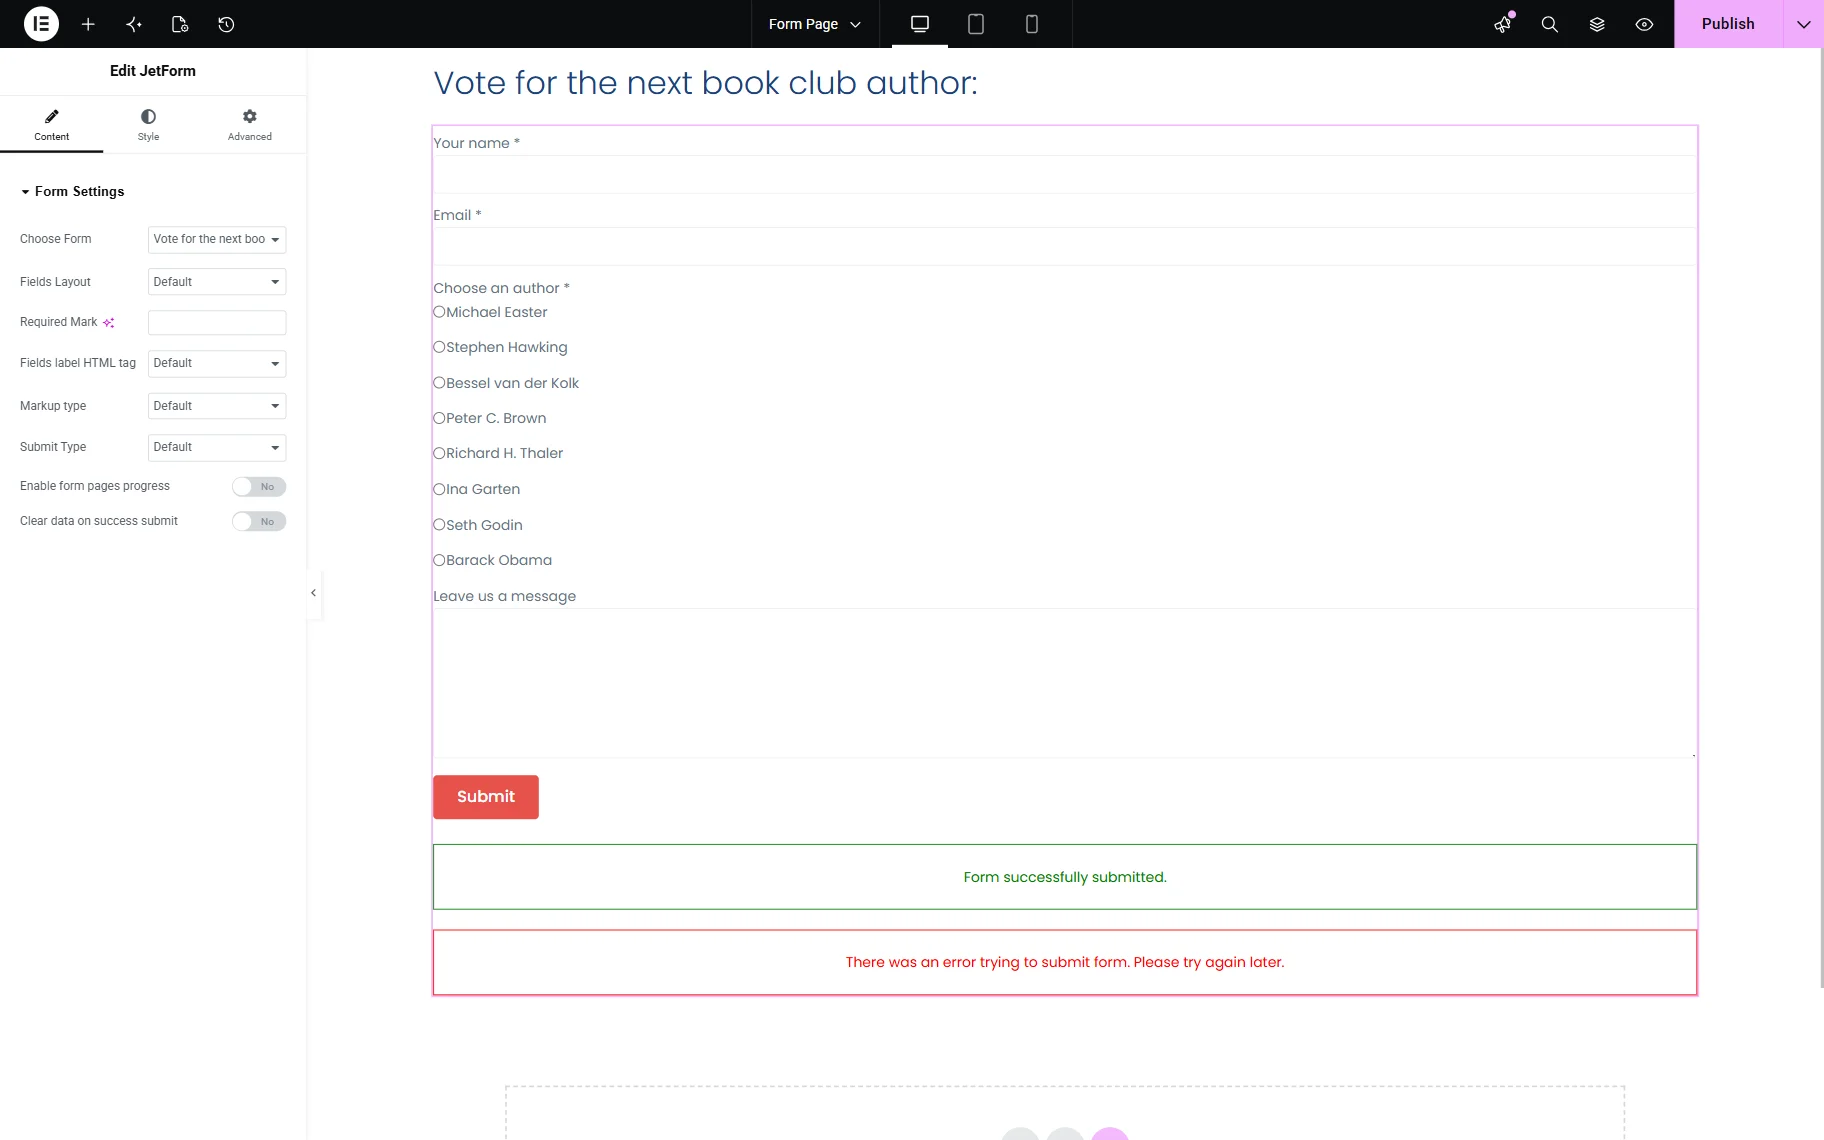
Then, we add a Radio Field to the form. This field will display the list of bestselling authors returned by the query. Since users should be able to vote only for one author, Radio Field is a suitable choice for this scenario.
We make this field required and set the FIELD LABEL to “Choose an author,” and the FORM FIELD NAME is set automatically.
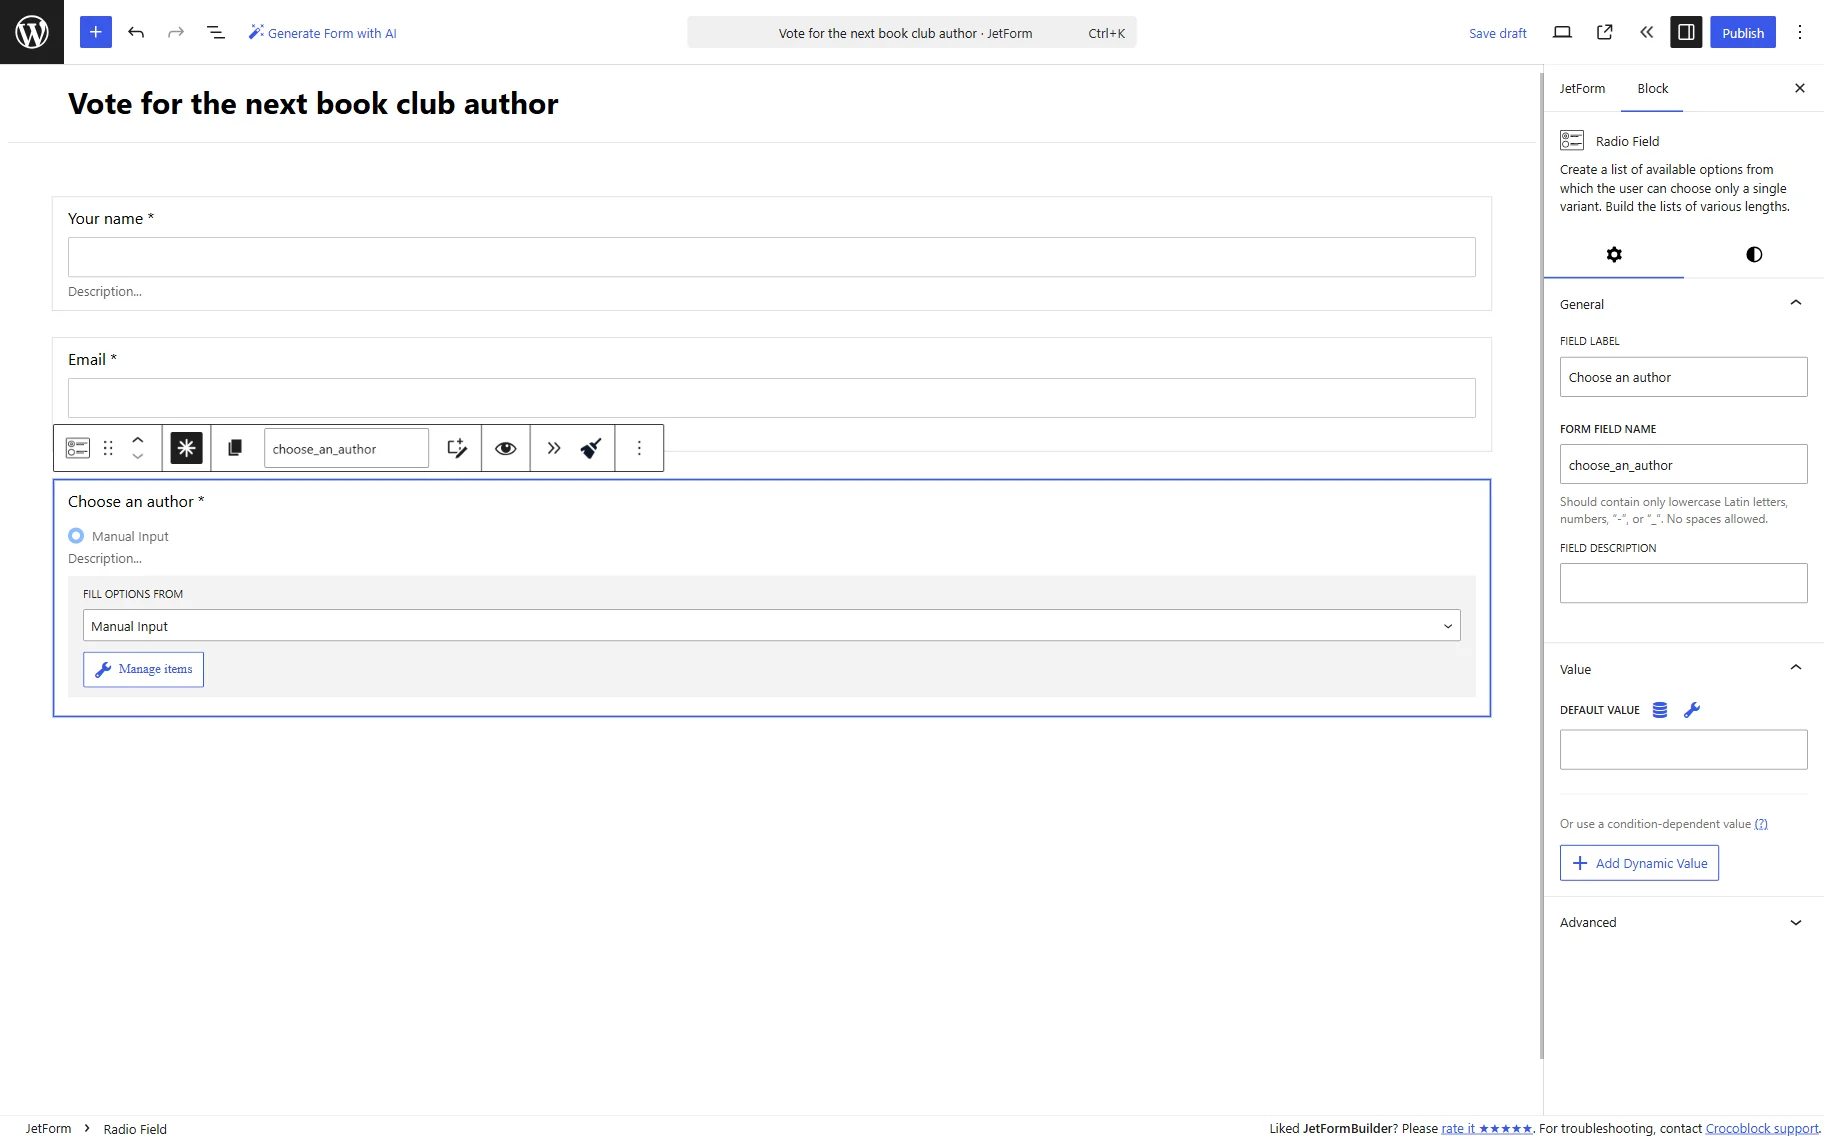
To populate the field dynamically, locate the FILL OPTIONS FROM settings and choose the “Generate Dynamically” option. This setting allows the field to retrieve its options from an external data source instead of manually entered values.
In the GENERATOR FUNCTION dropdown, pick “Get values list from JetEngine Query”. Then, select the previously built query in the QUERY ID field.
As for the OPTION VALUE, we complete this field with the “ID” value. OPTION VALUE defines what will be stored when the form is submitted.
Next, we put the “post_title” value in the OPTION LABEL field. OPTION LABEL defines what visitors will see in the list of available authors.
As for the CALCULATED FIELD, we leave it empty. This property allows JetFormBuilder to retrieve an additional value from the query results and attach it to each generated option.
While this value is not displayed to visitors, it demonstrates how additional properties can be passed from Query Builder to the form when needed.
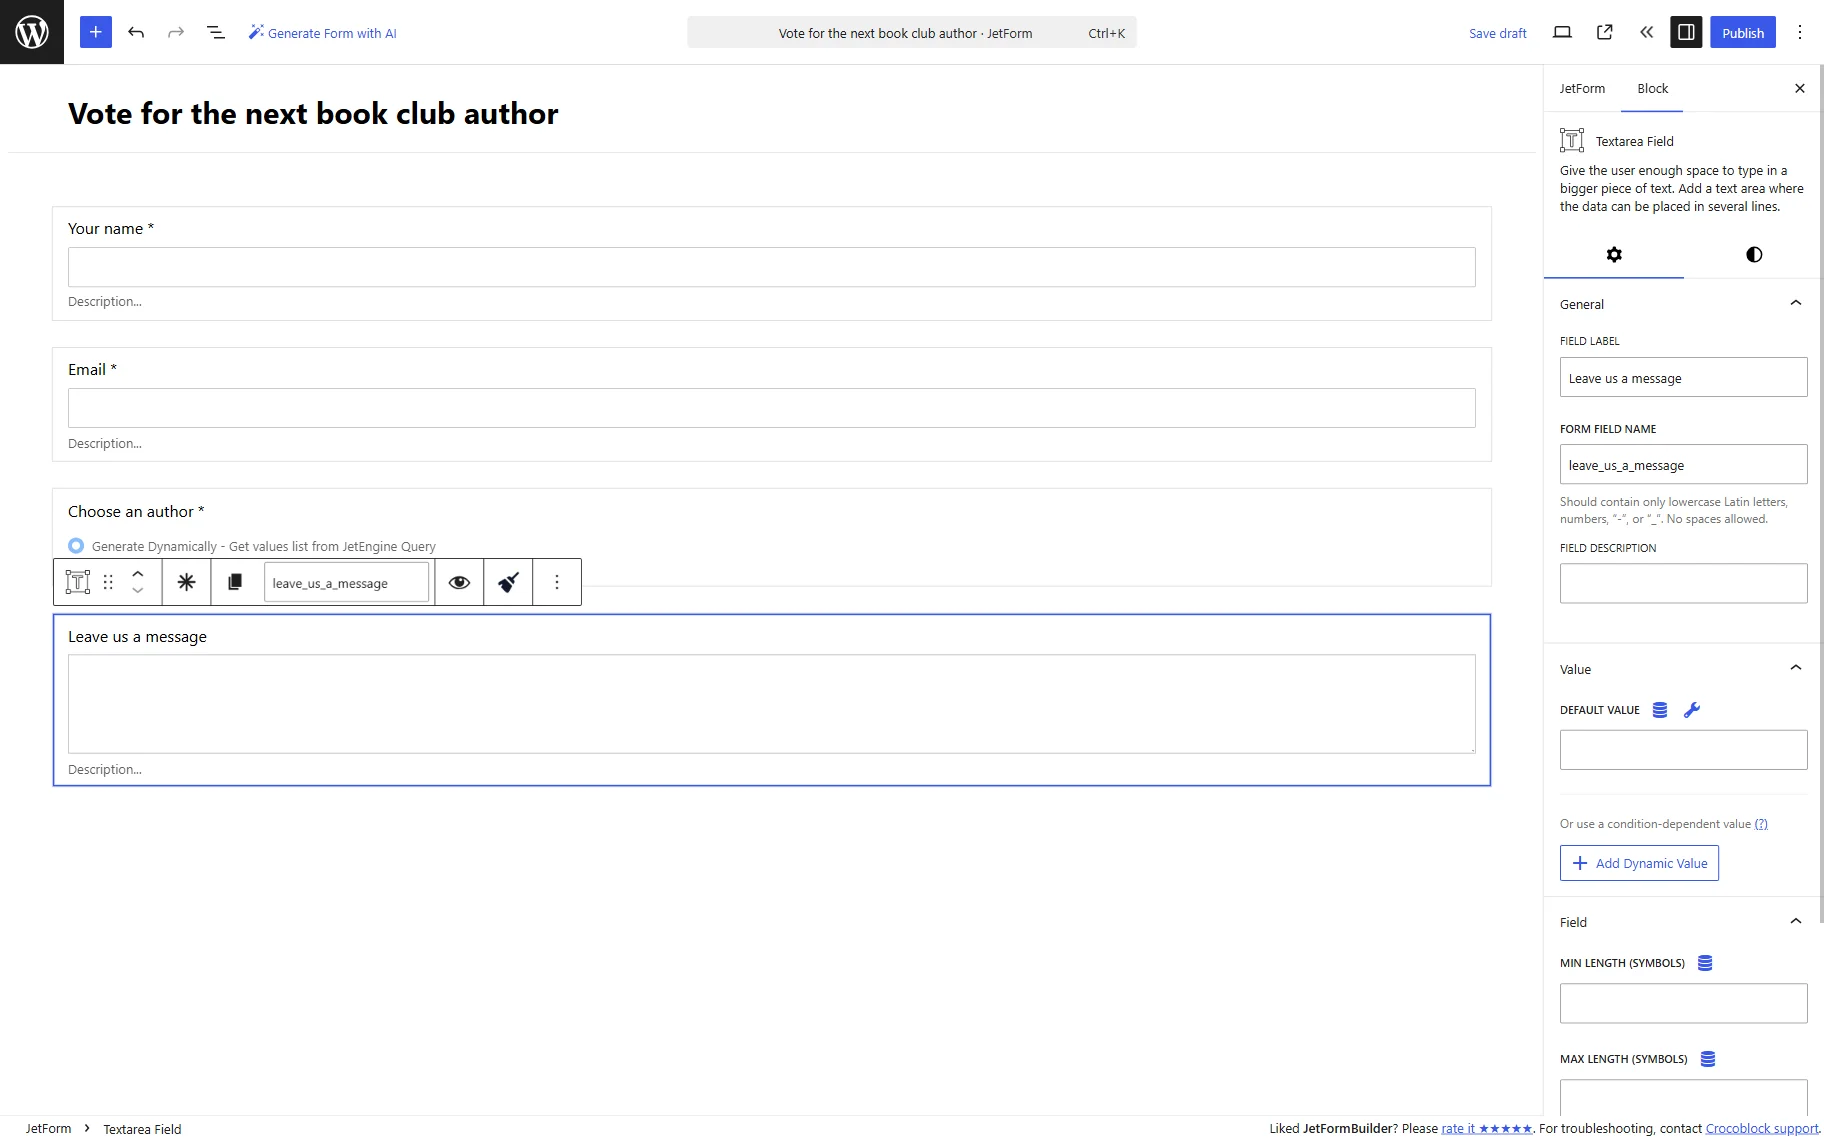
Below the Radio Field, we place the Textarea Field with the “Leave us a message” FIELD LABEL. This field will be optional for completion and will let users share their additional comments.
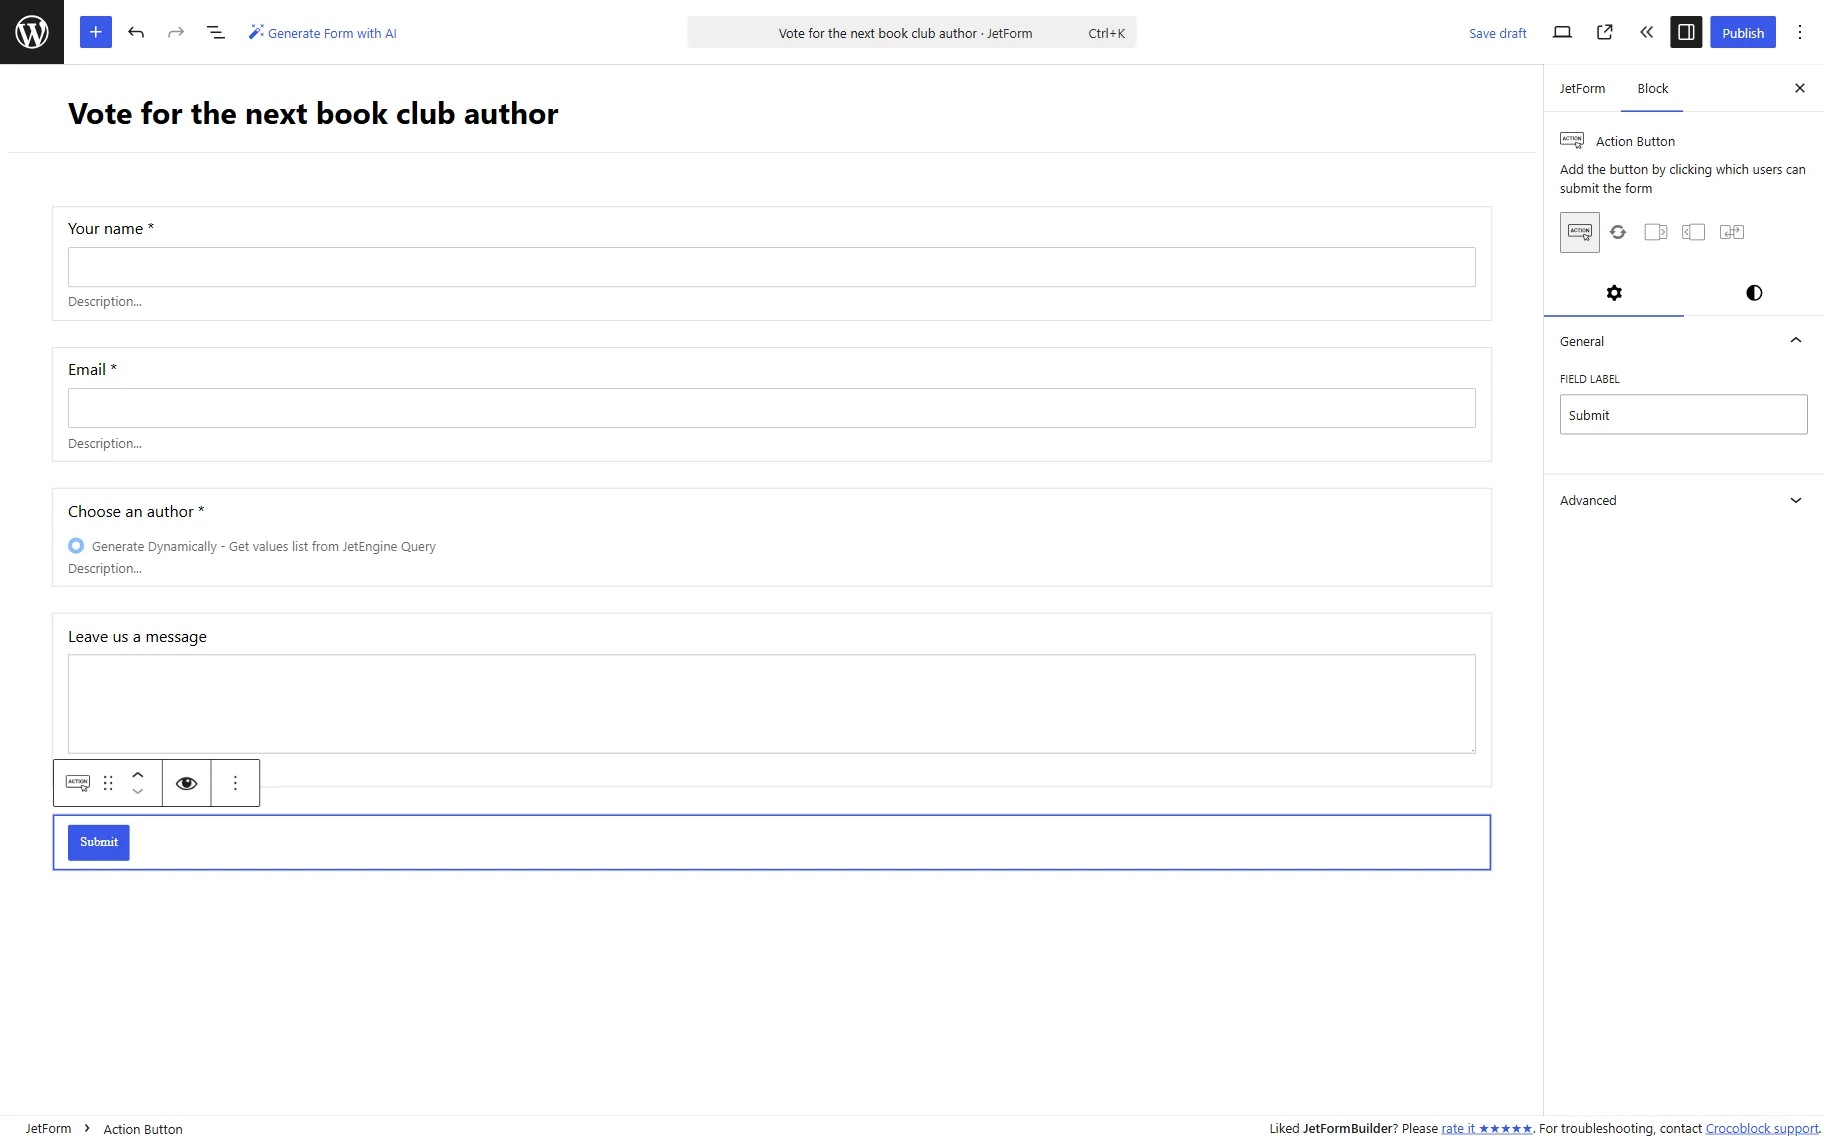
Complete the form by adding an Action Button block to the form. We don’t make changes to the settings, leaving the default “Submit” label.
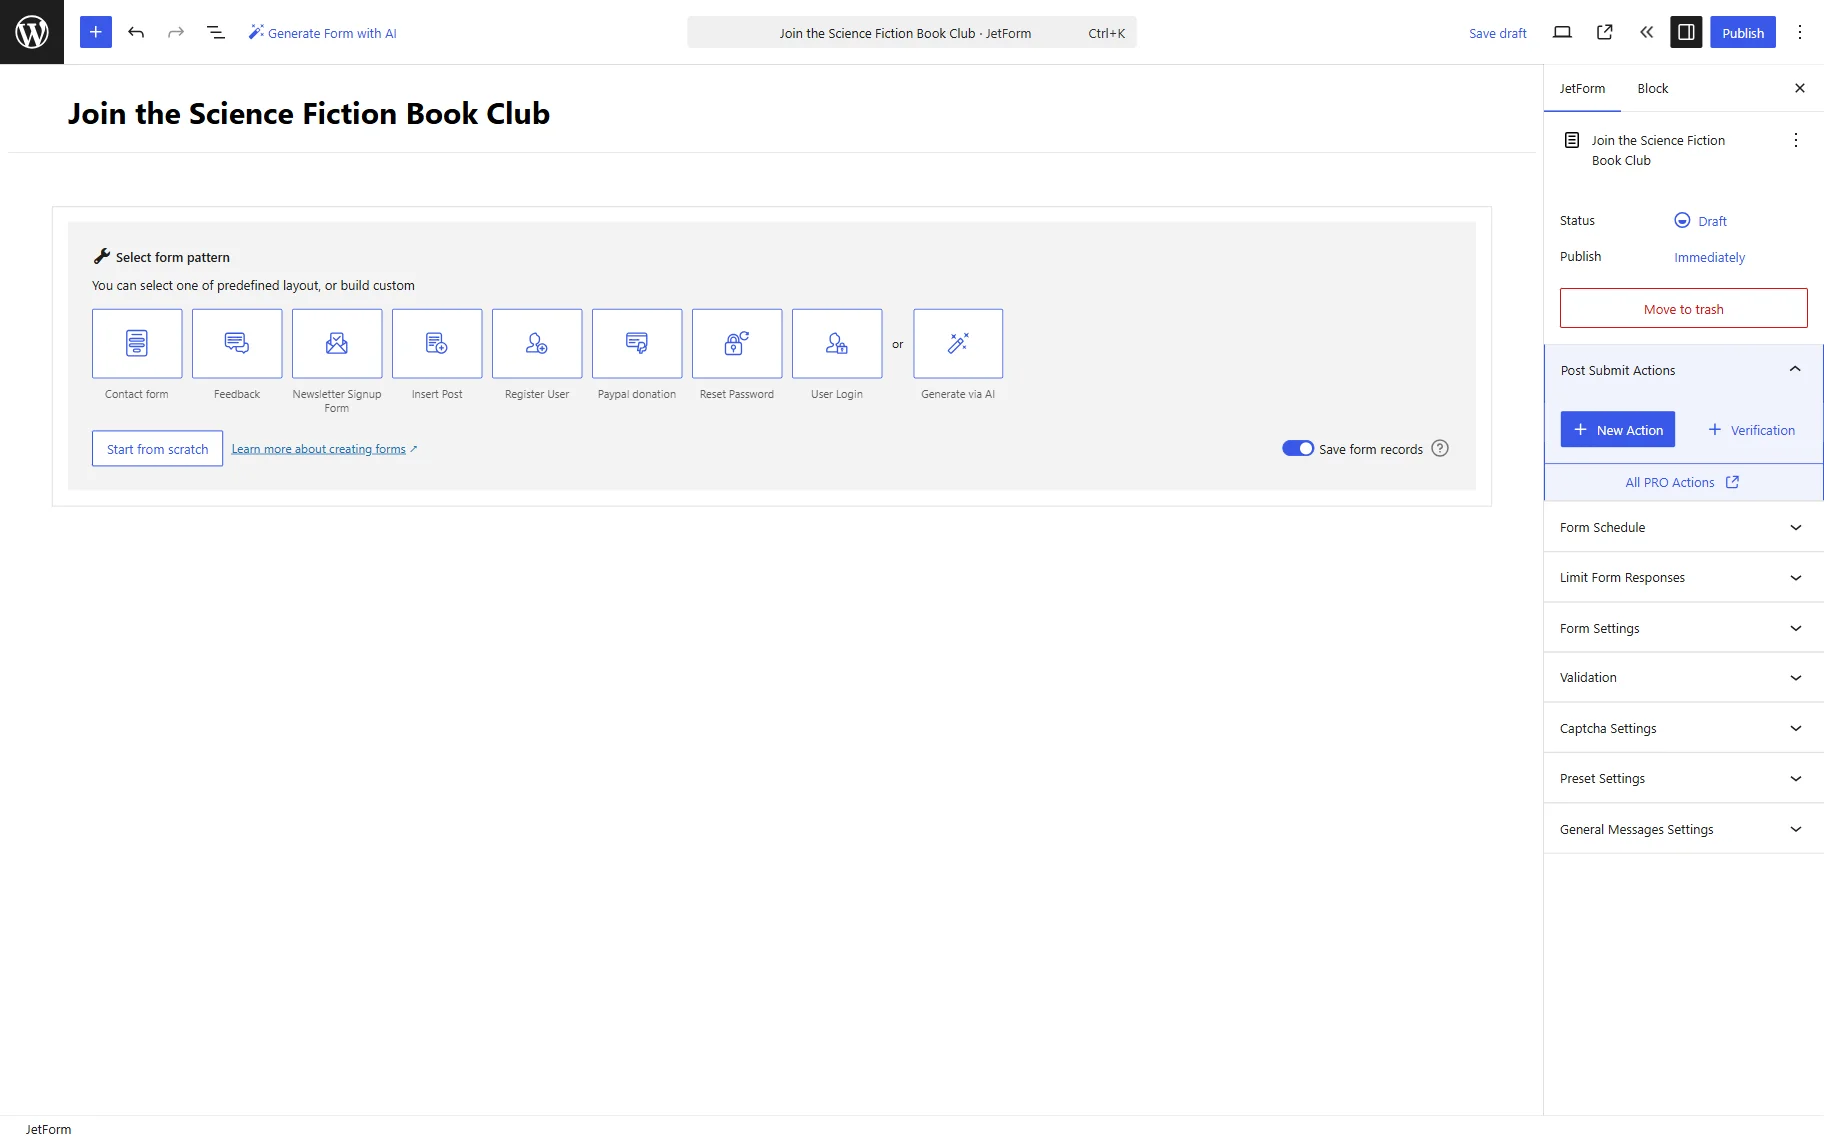
To preserve the submitted data, we want to add a “Save Form Record” action to the form.
So, we switch to the JetForm tab of the settings. Here, in the Post Submit Actions tab, we click the “New Action” button and add the “Save Form Record” action.
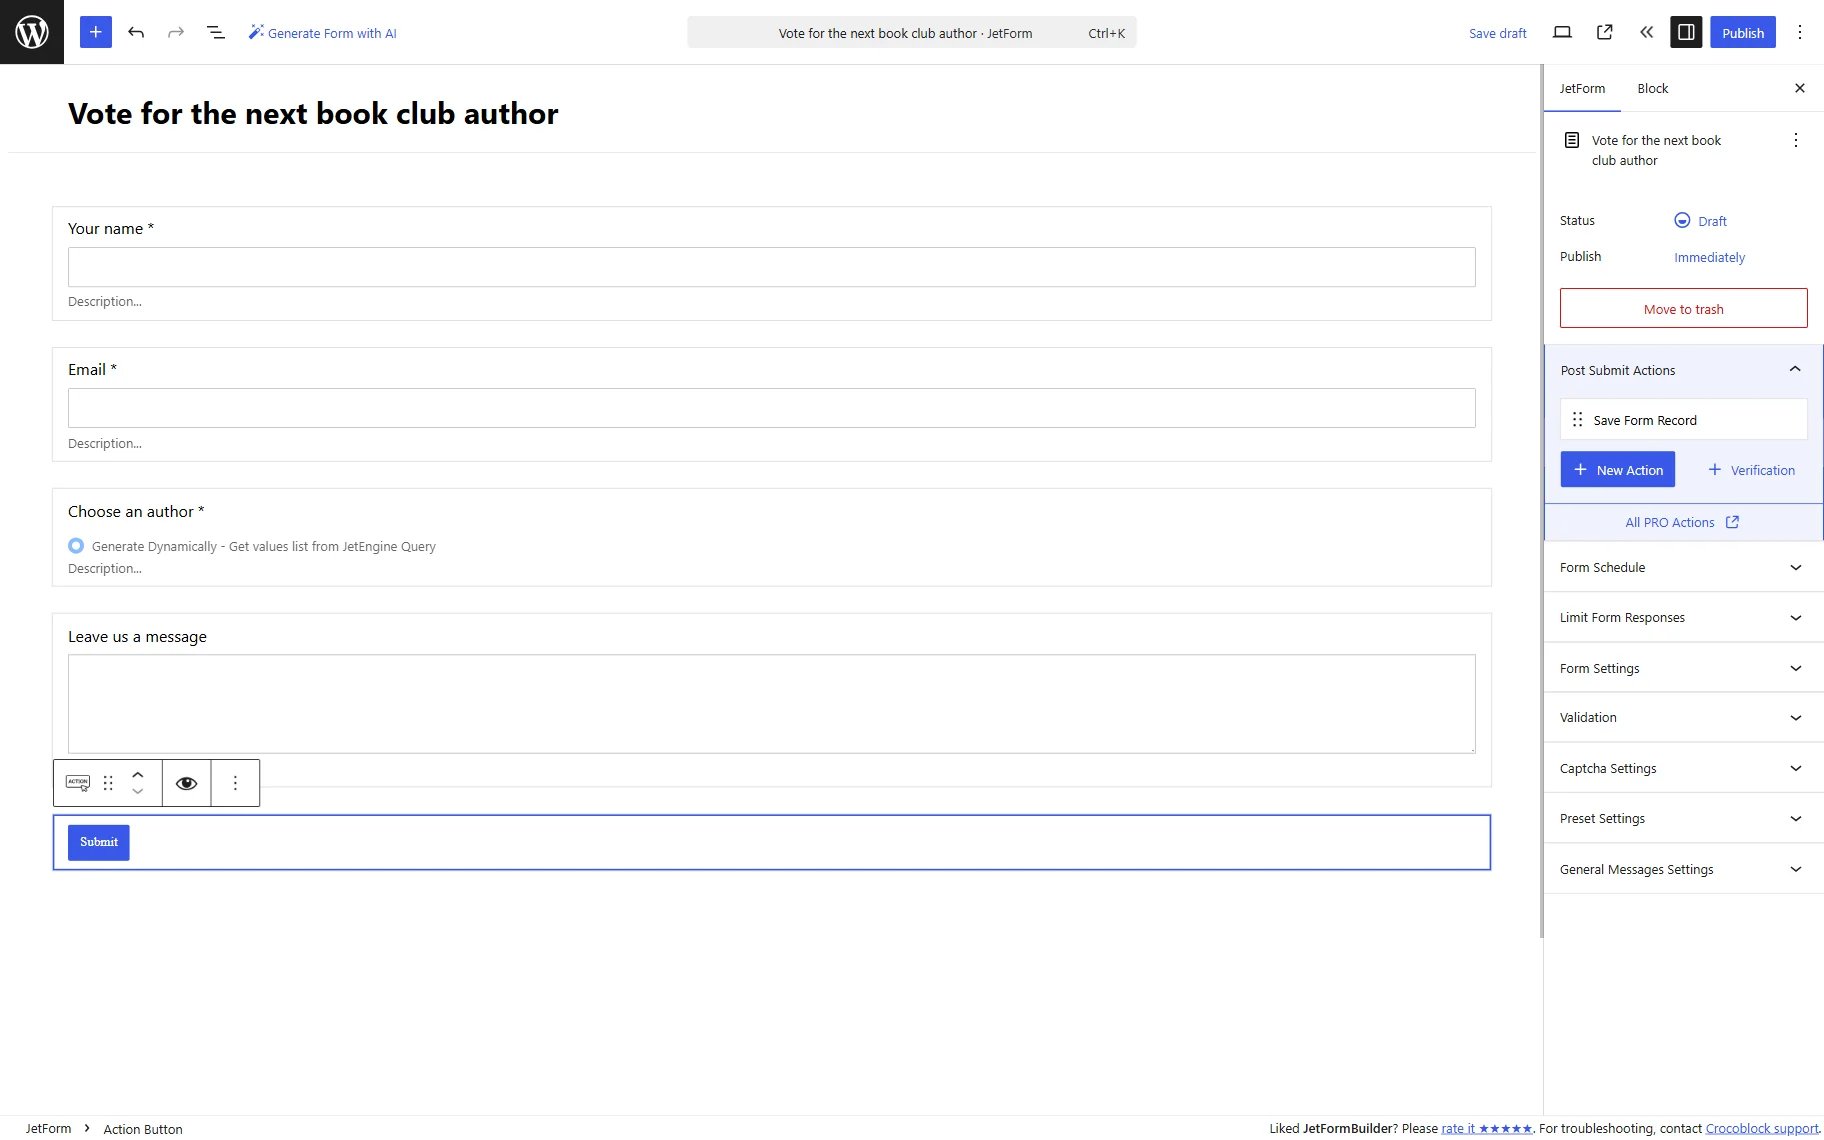
When the form is ready, press the “Publish/Save” button.
Add form to the page
We proceed to WordPress Dashboard > Pages and press the “Add New” button. The form can be added to pages built with Elementor, Gutenberg, or Bricks. In this tutorial, Elementor is used for demonstration purposes.
Once the page editor is opened, we add a JetForm widget to the page.
In the Select Form dropdown, we select the form built with JetFormBuilder.
Work on other settings if needed and save the page.
Check the result
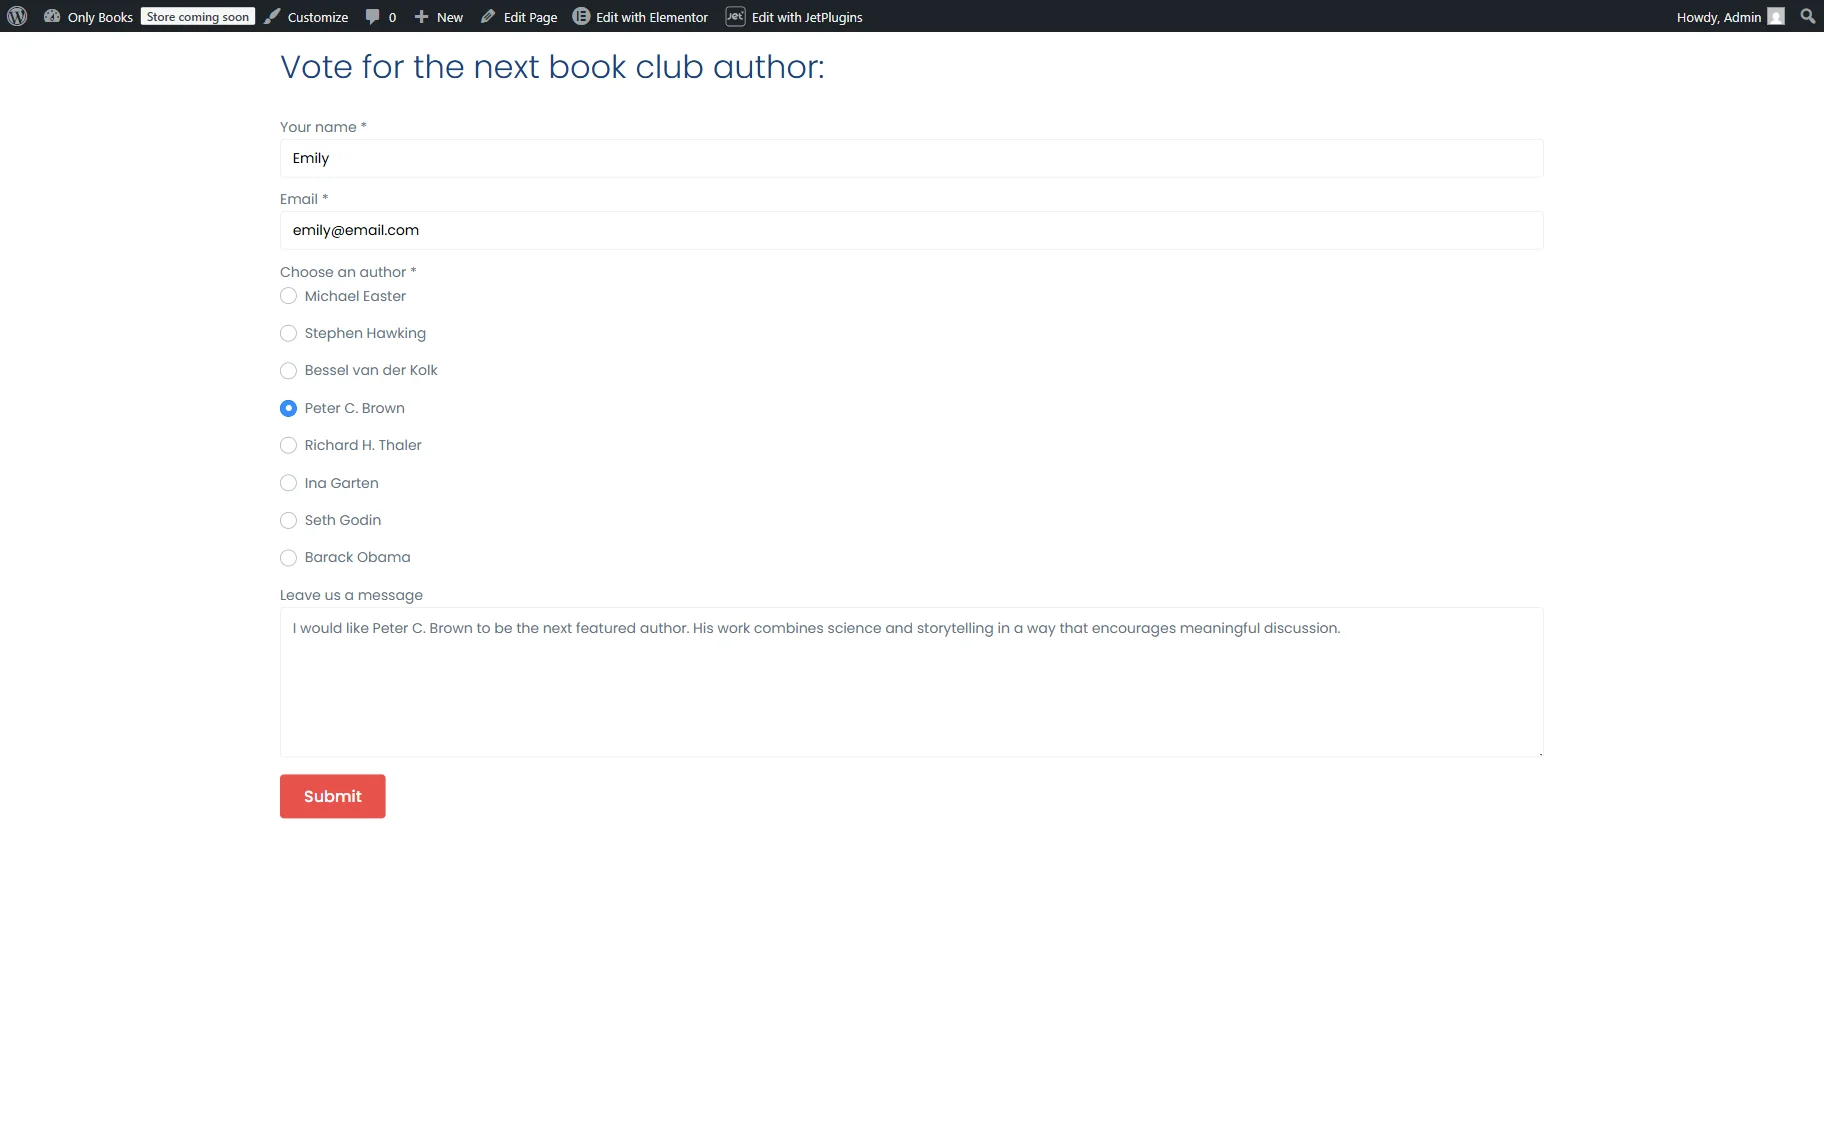
Open the page on the front end and complete the form to verify that the form works as expected. The Radio Field should display the queried items (in this case, the bestselling authors).
If the form was set correctly, the success message will be displayed after submission.
If you have adjusted the “Save Form Record” action, you can also check the form record in the WordPress Dashboard > JetFormBuilder > Form Records directory by opening the corresponding record. This final check confirms that both the form and its post submit actions are functioning correctly.

Users-based query
In this example, visitors will choose a reading group moderator when joining a reading group. The Select Field options will be generated dynamically from a “Users Query” filtered by a specific user role and the meta field’s options.
Build a query
To populate the Select Field dynamically, we first need a query that retrieves only eligible users. JetFormBuilder will use this query as the source of field options.
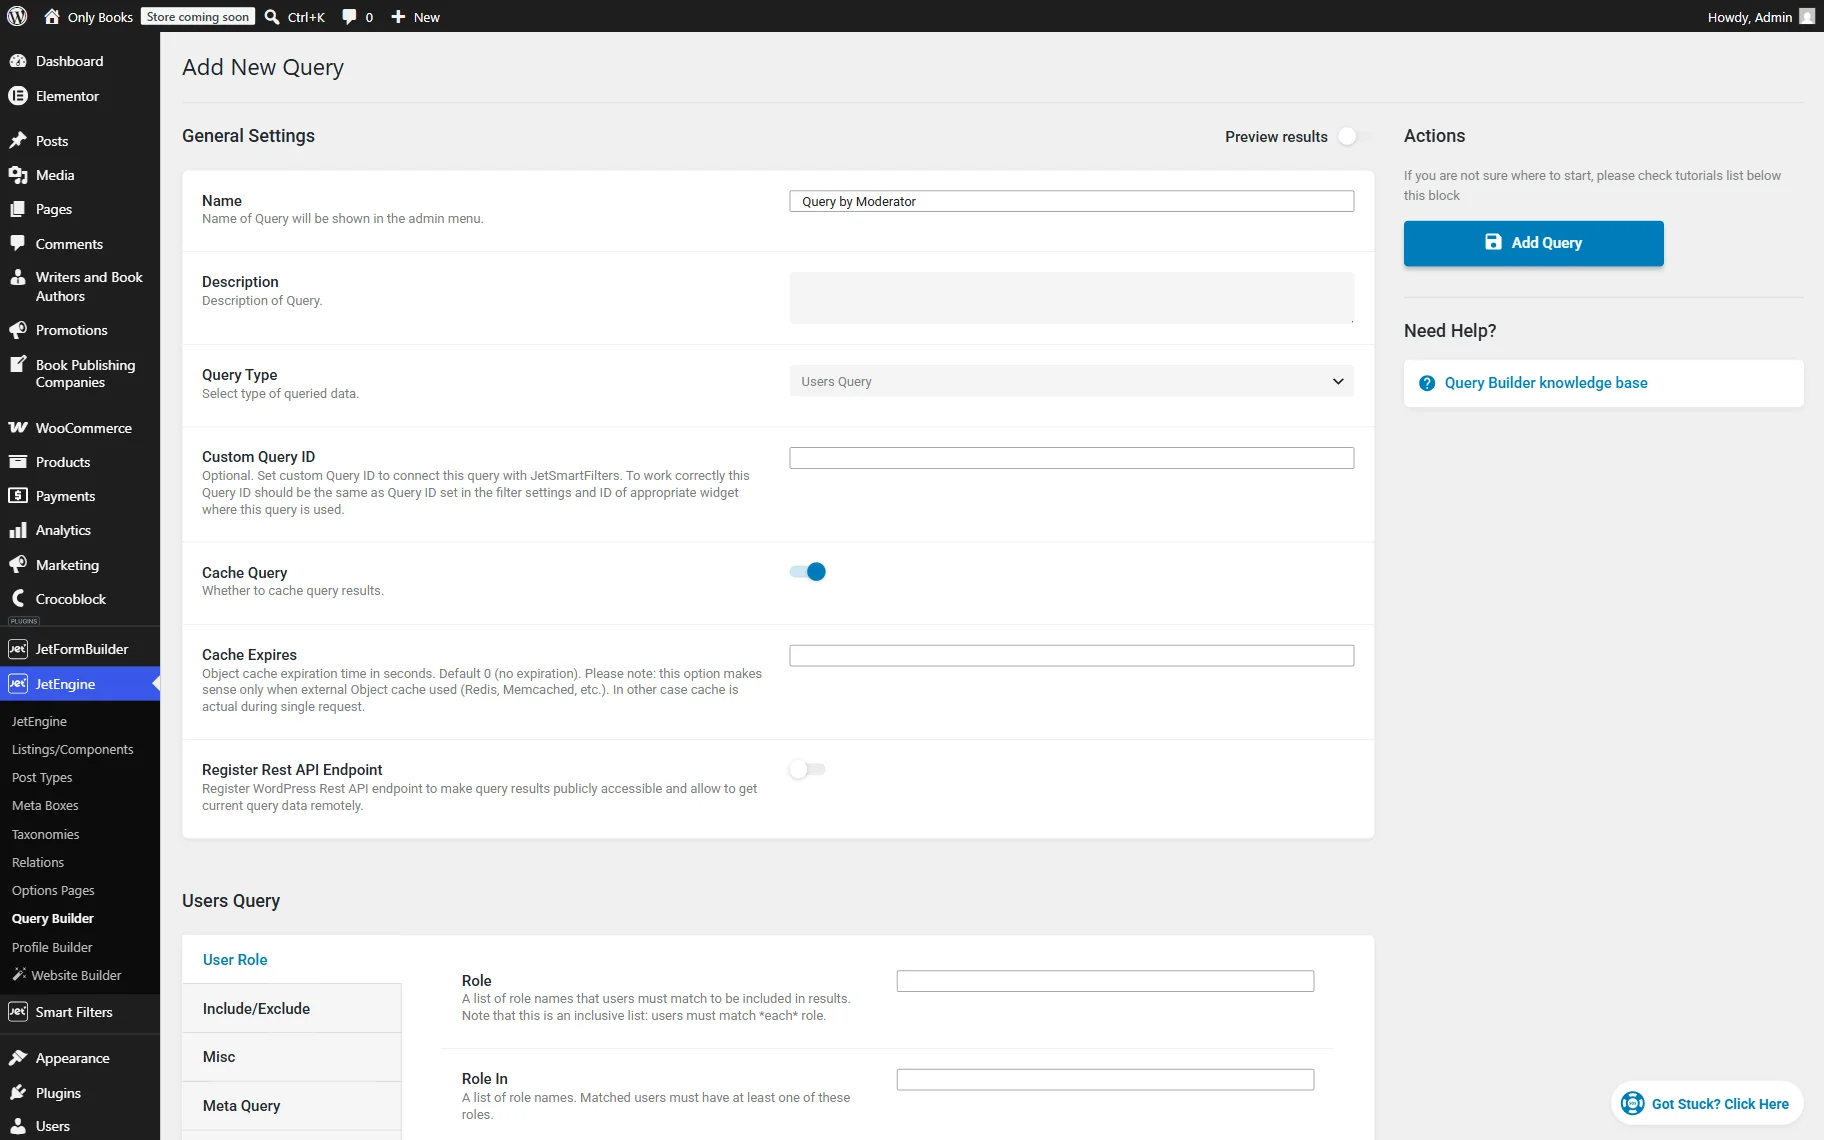
To do so, proceed to WordPress Dashboard > JetEngine > Query Builder and click the “Add New” button.
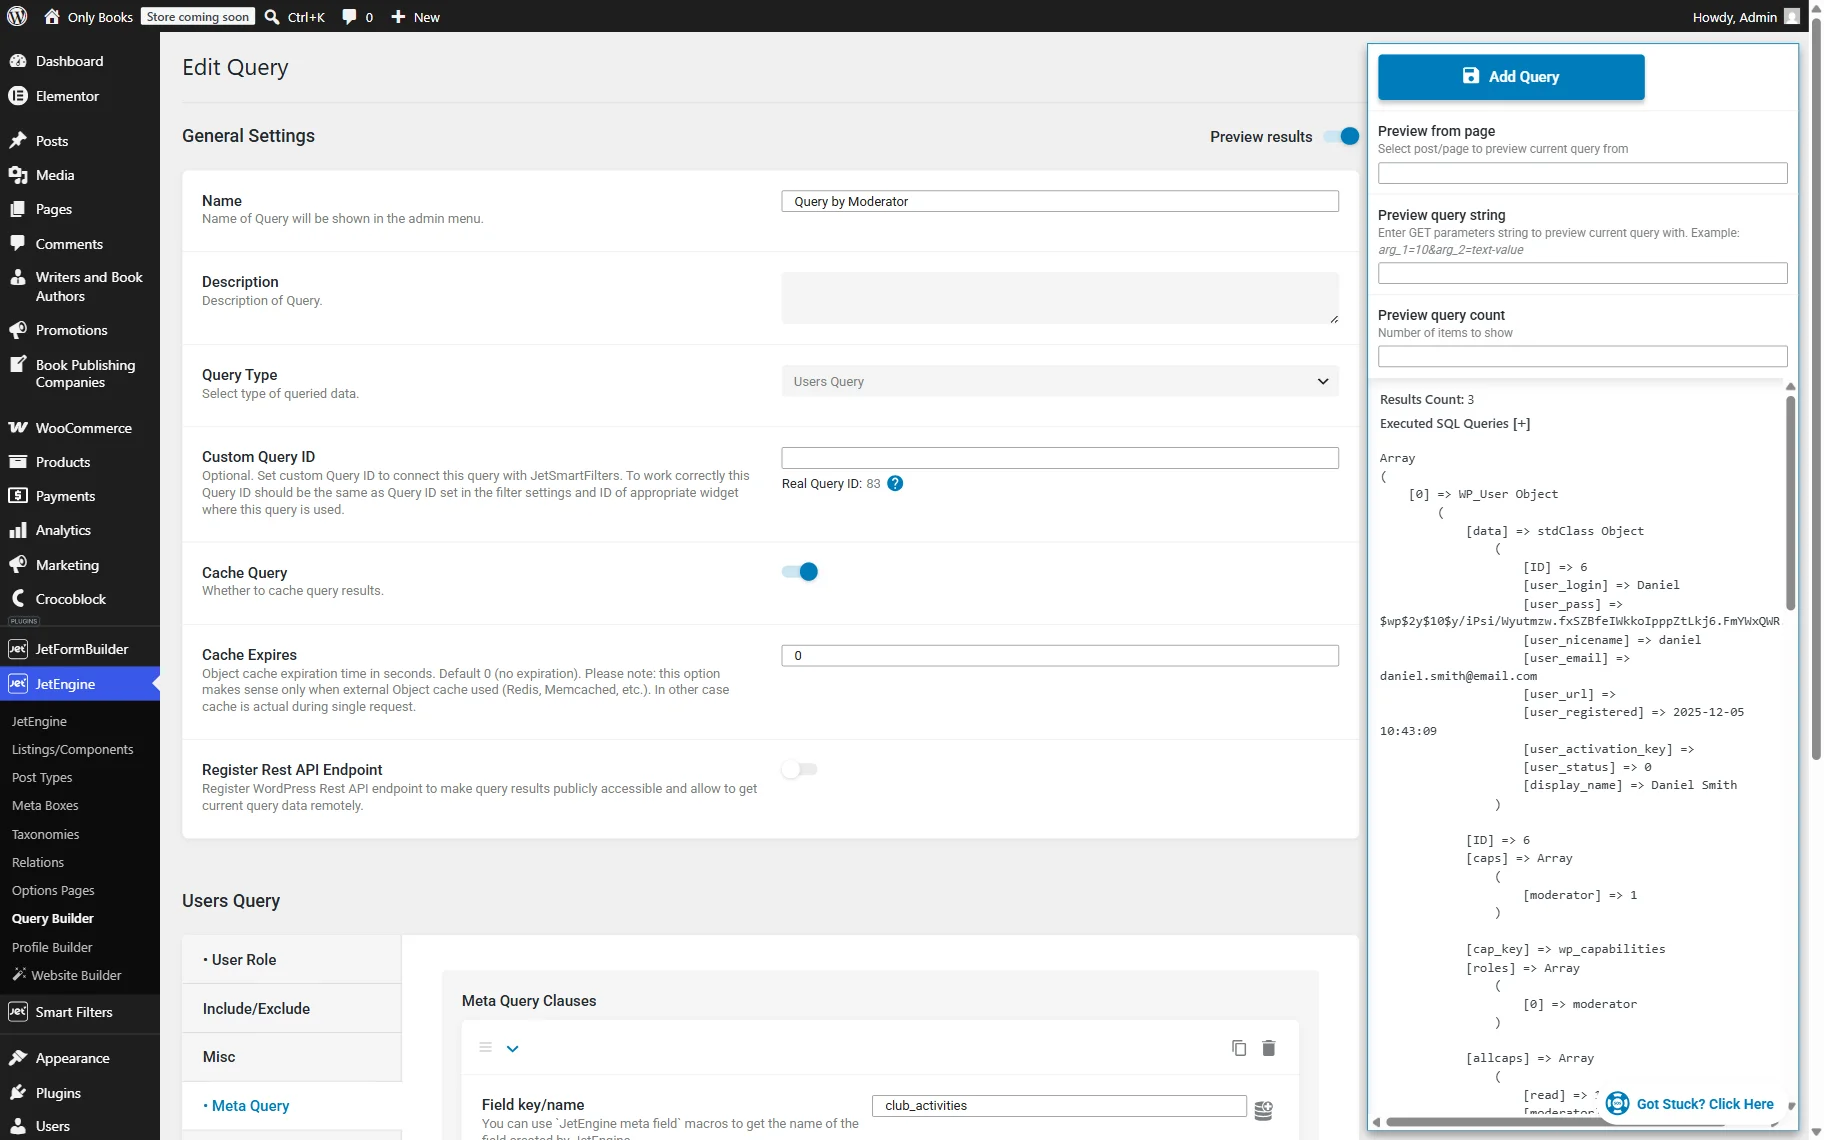
Give a query a descriptive name. In our example, it’s “Query by Moderator”.
Set the Query Type to “Users Query.” This query type is specifically designed to retrieve WordPress users and their properties, such as IDs, usernames, display names, email addresses, and custom user meta fields.
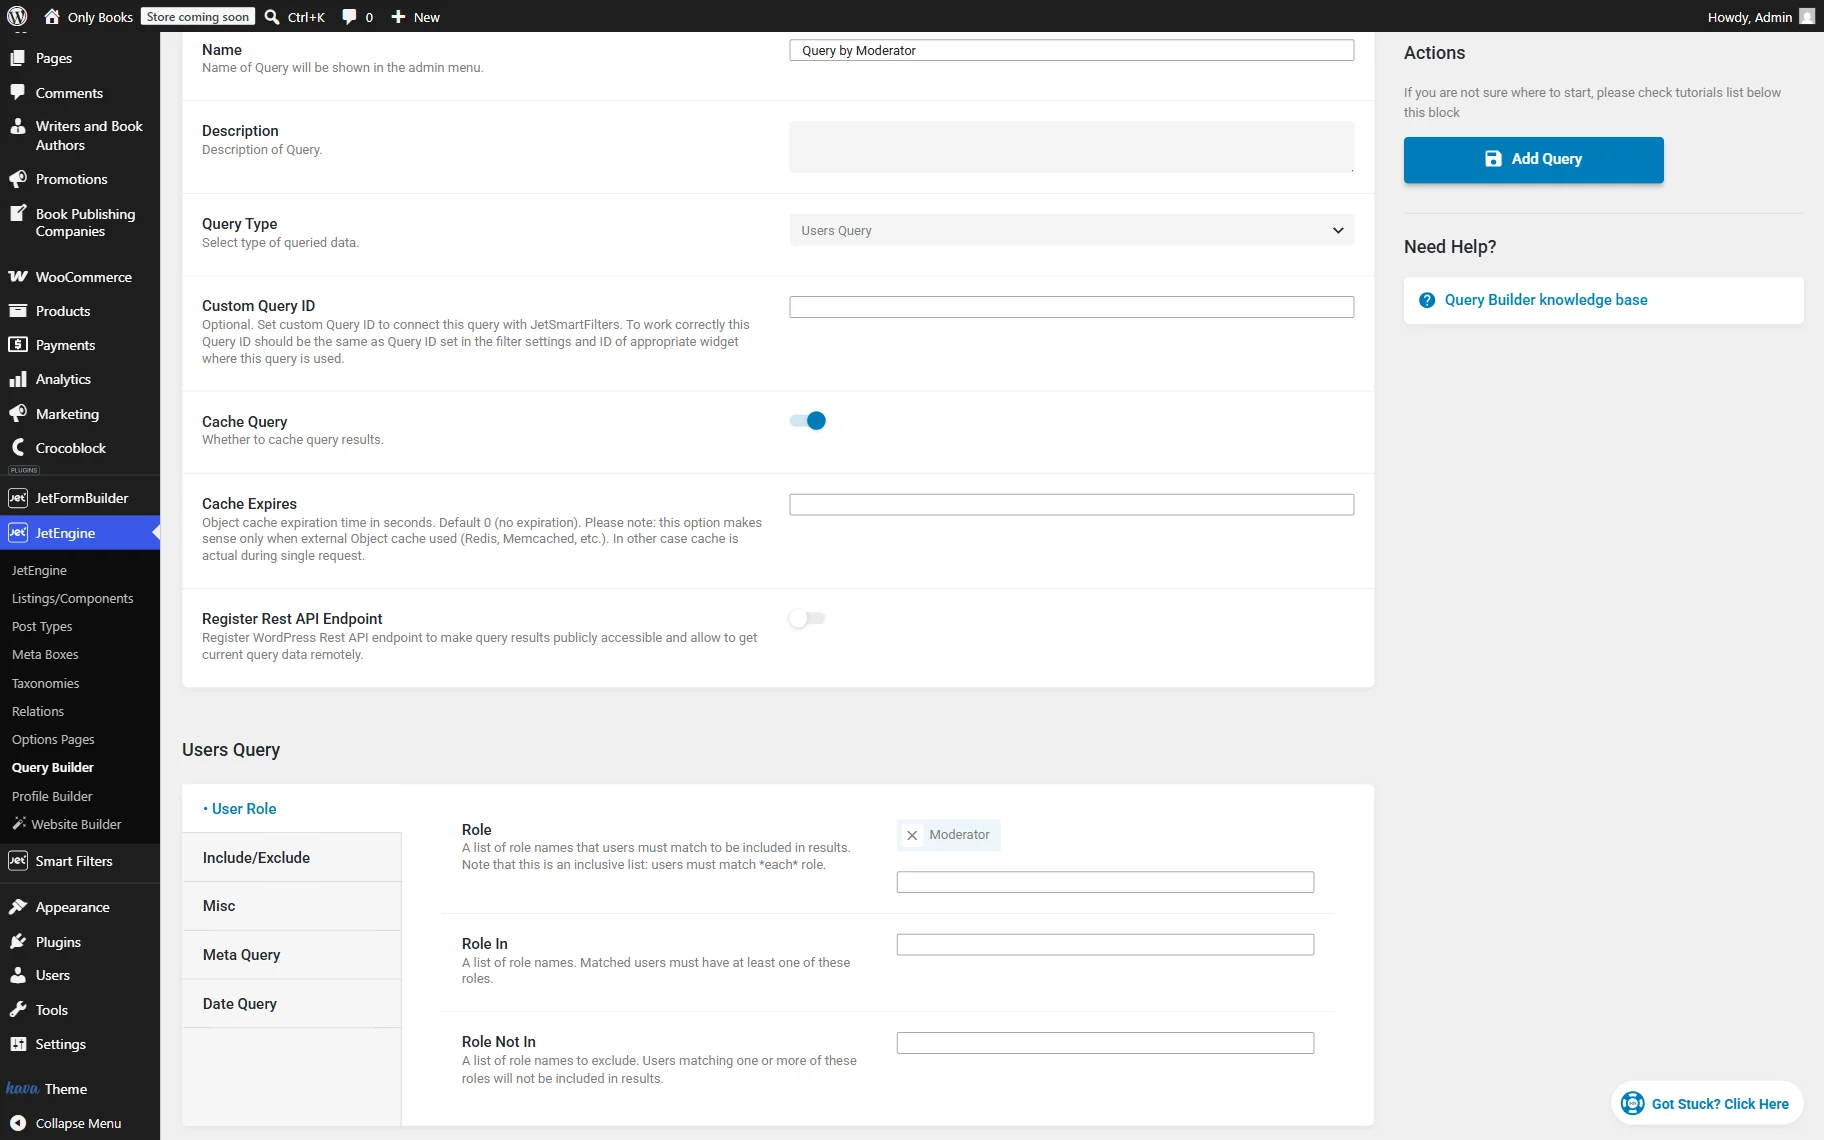
Scroll down to the Users Query section. Here, in the User Role section, we set Role to “Moderator”.
This condition limits the query results to users assigned to the “Moderator” role and excludes other user accounts from the options list.
In this example, the “Moderator” user role was created beforehand with the User Role Editor plugin, but any existing WordPress user role can be used instead.
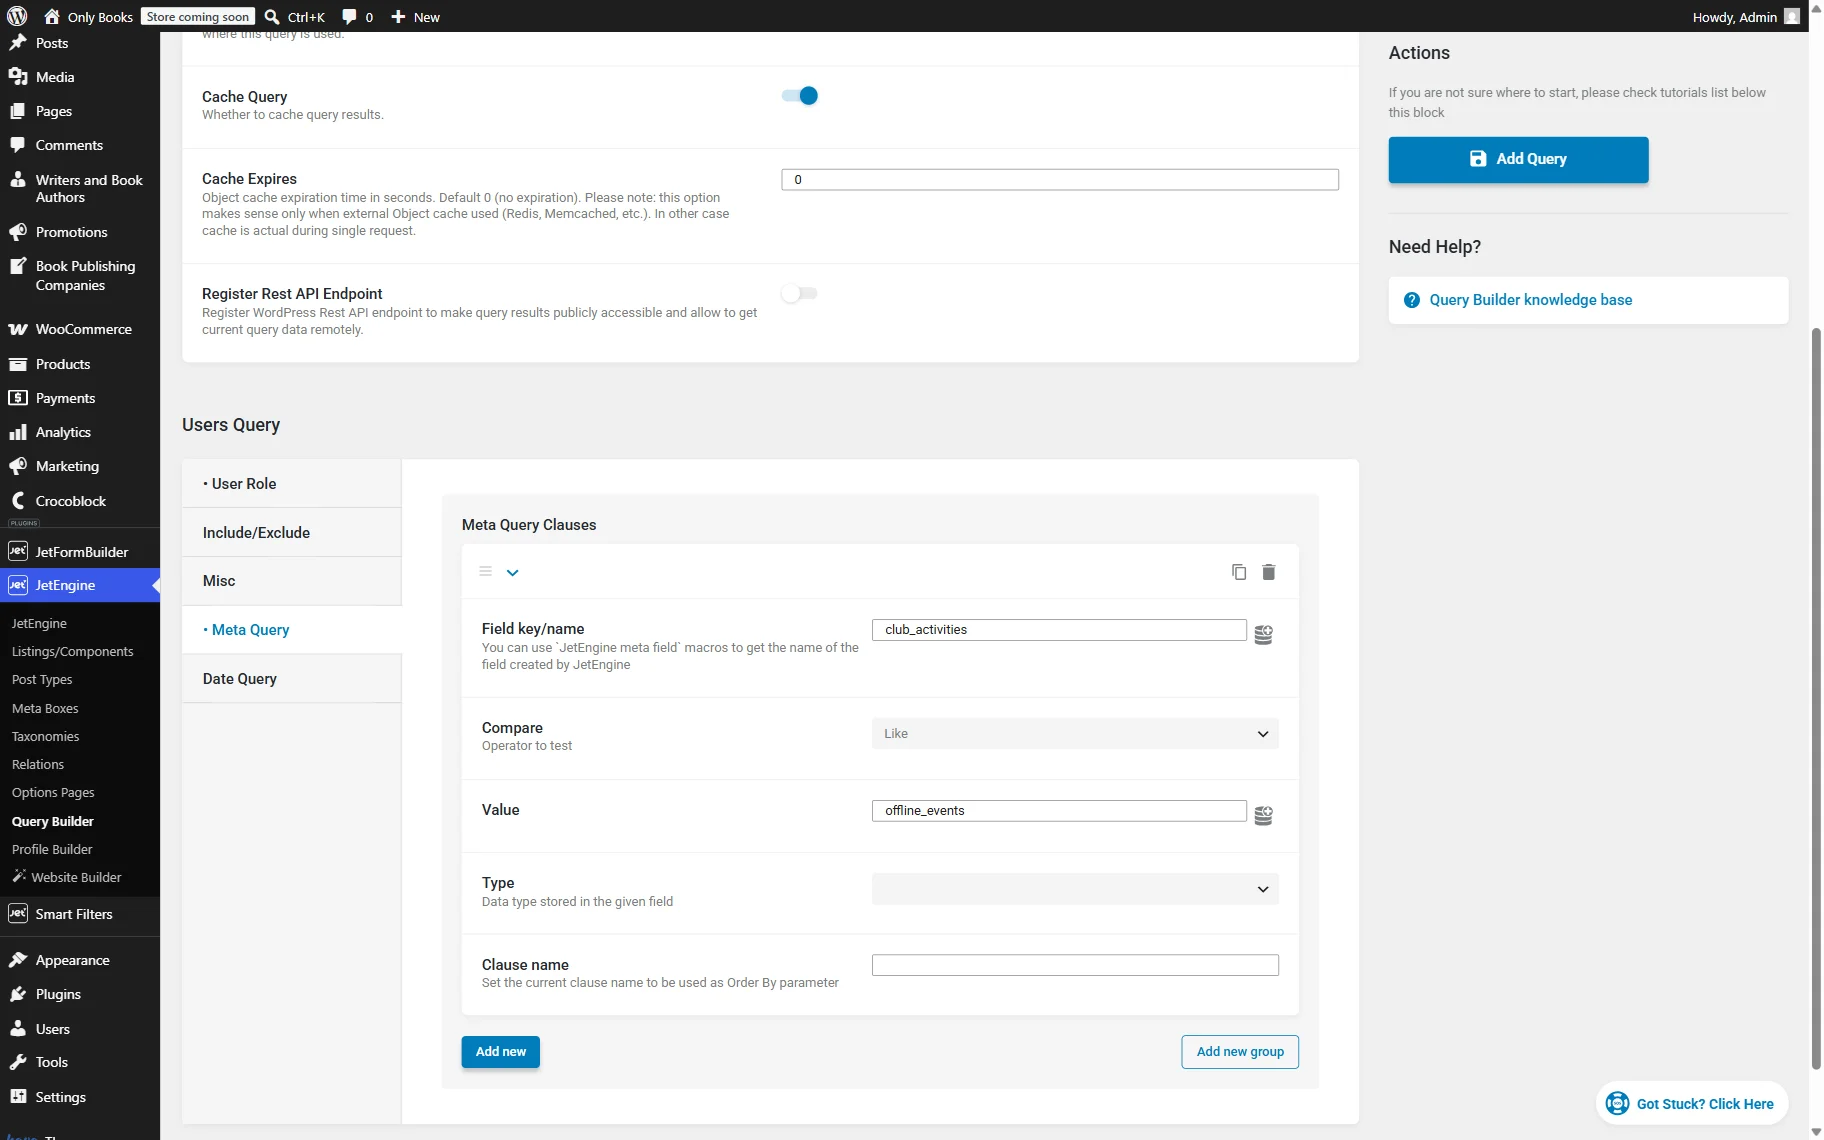
We also go to the Meta Query tab and press “Add new”. Since we want to query users who only conduct the offline events, we set Field key/name to “club_activities” (the name of the meta field), Compare operator to “Like,” and Value to “offline_events” (meta field option’s key).
Before connecting the query to the form, verify that it returns the expected users. This step helps prevent empty field options later in the setup process.
Enable the Preview results toggle to review the query output.
The preview will display only users assigned to the “Moderator” role and those who have the “Offline events” option selected in the “Club activities” meta field. If no results appear, verify if at least one of the users is assigned to the role and has the specified value selected in the meta field.
Once the query is ready, press the “Add Query” button.
Create a form
Now, let’s create a form with a field based on a query. The query will provide the list of moderators as selectable options.
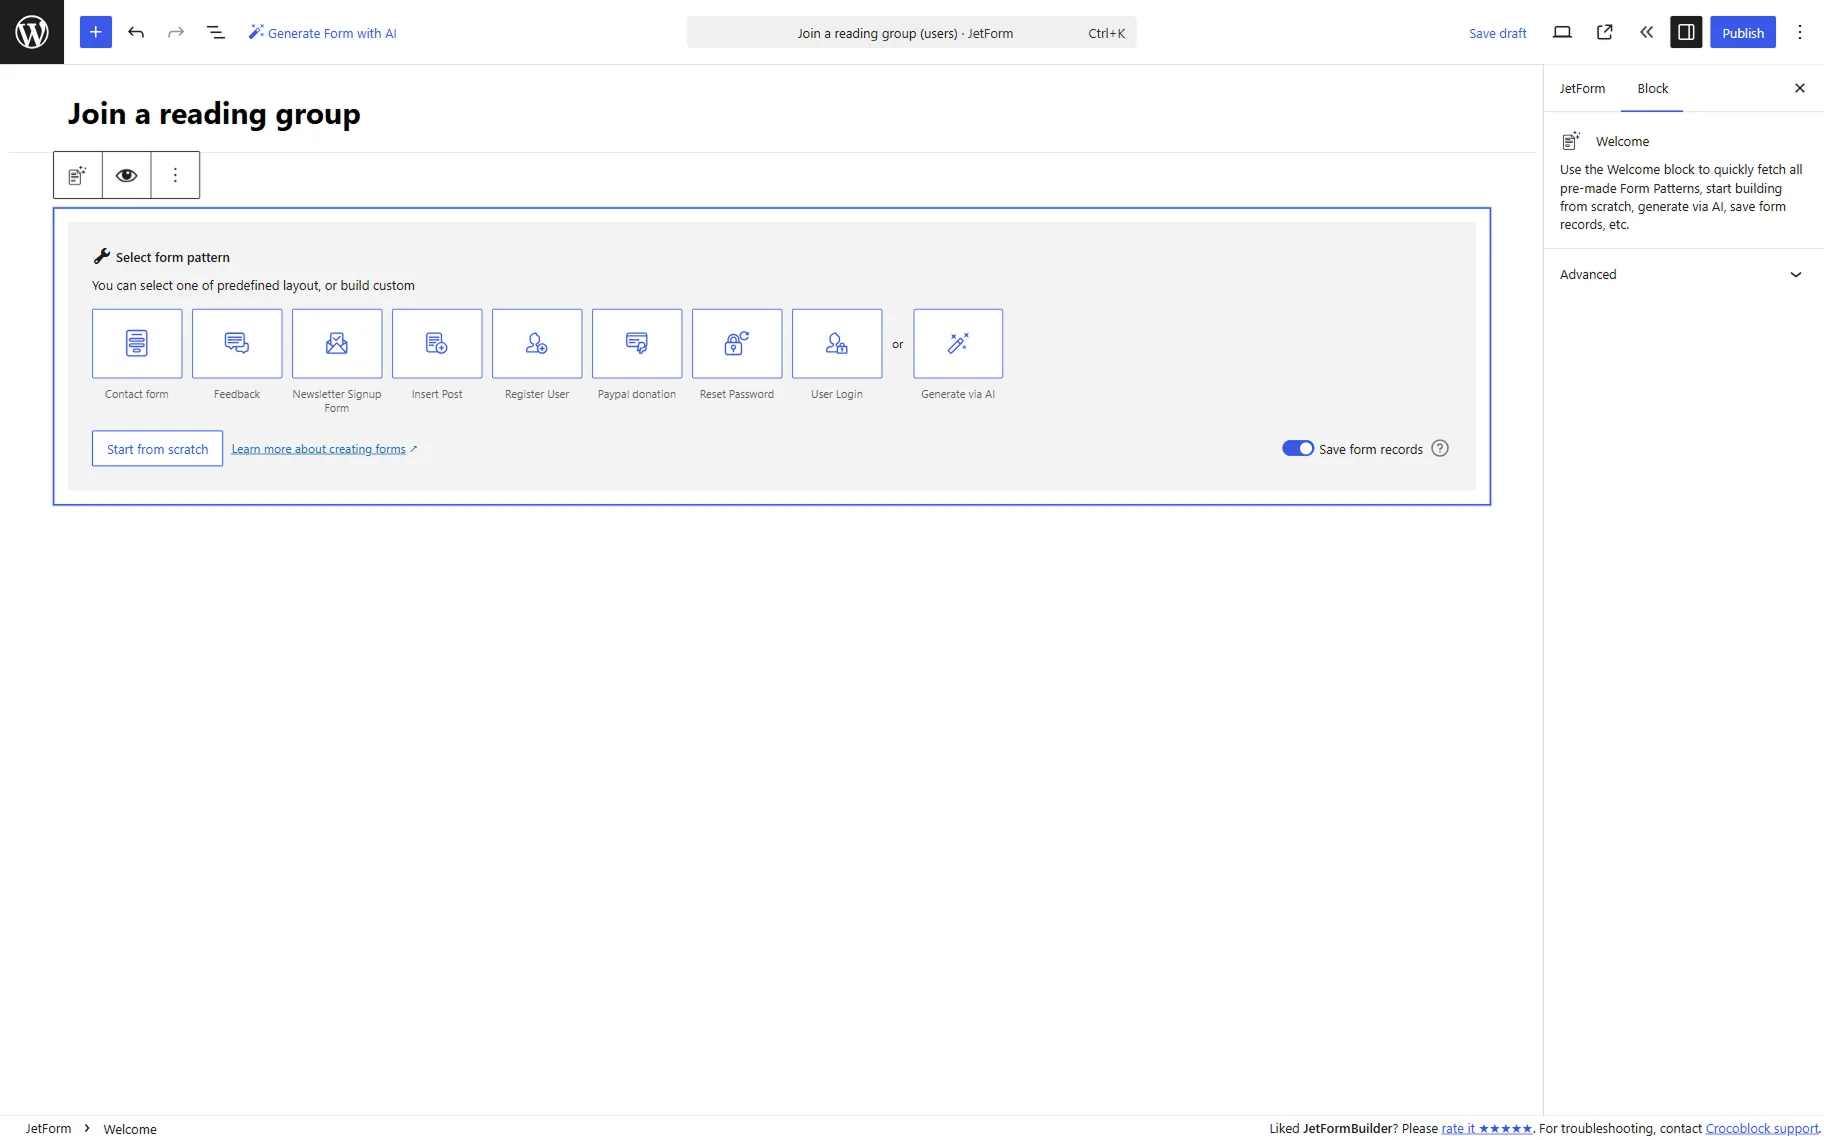
To do so, go to WordPress Dashboard > JetFormBuilder > Add New and name a form. In our case, this form will be called “Join a reading group.”
By default, the Welcome Block is added to the form. We delete it, as we don’t need the offered presets; we will build our form from scratch.
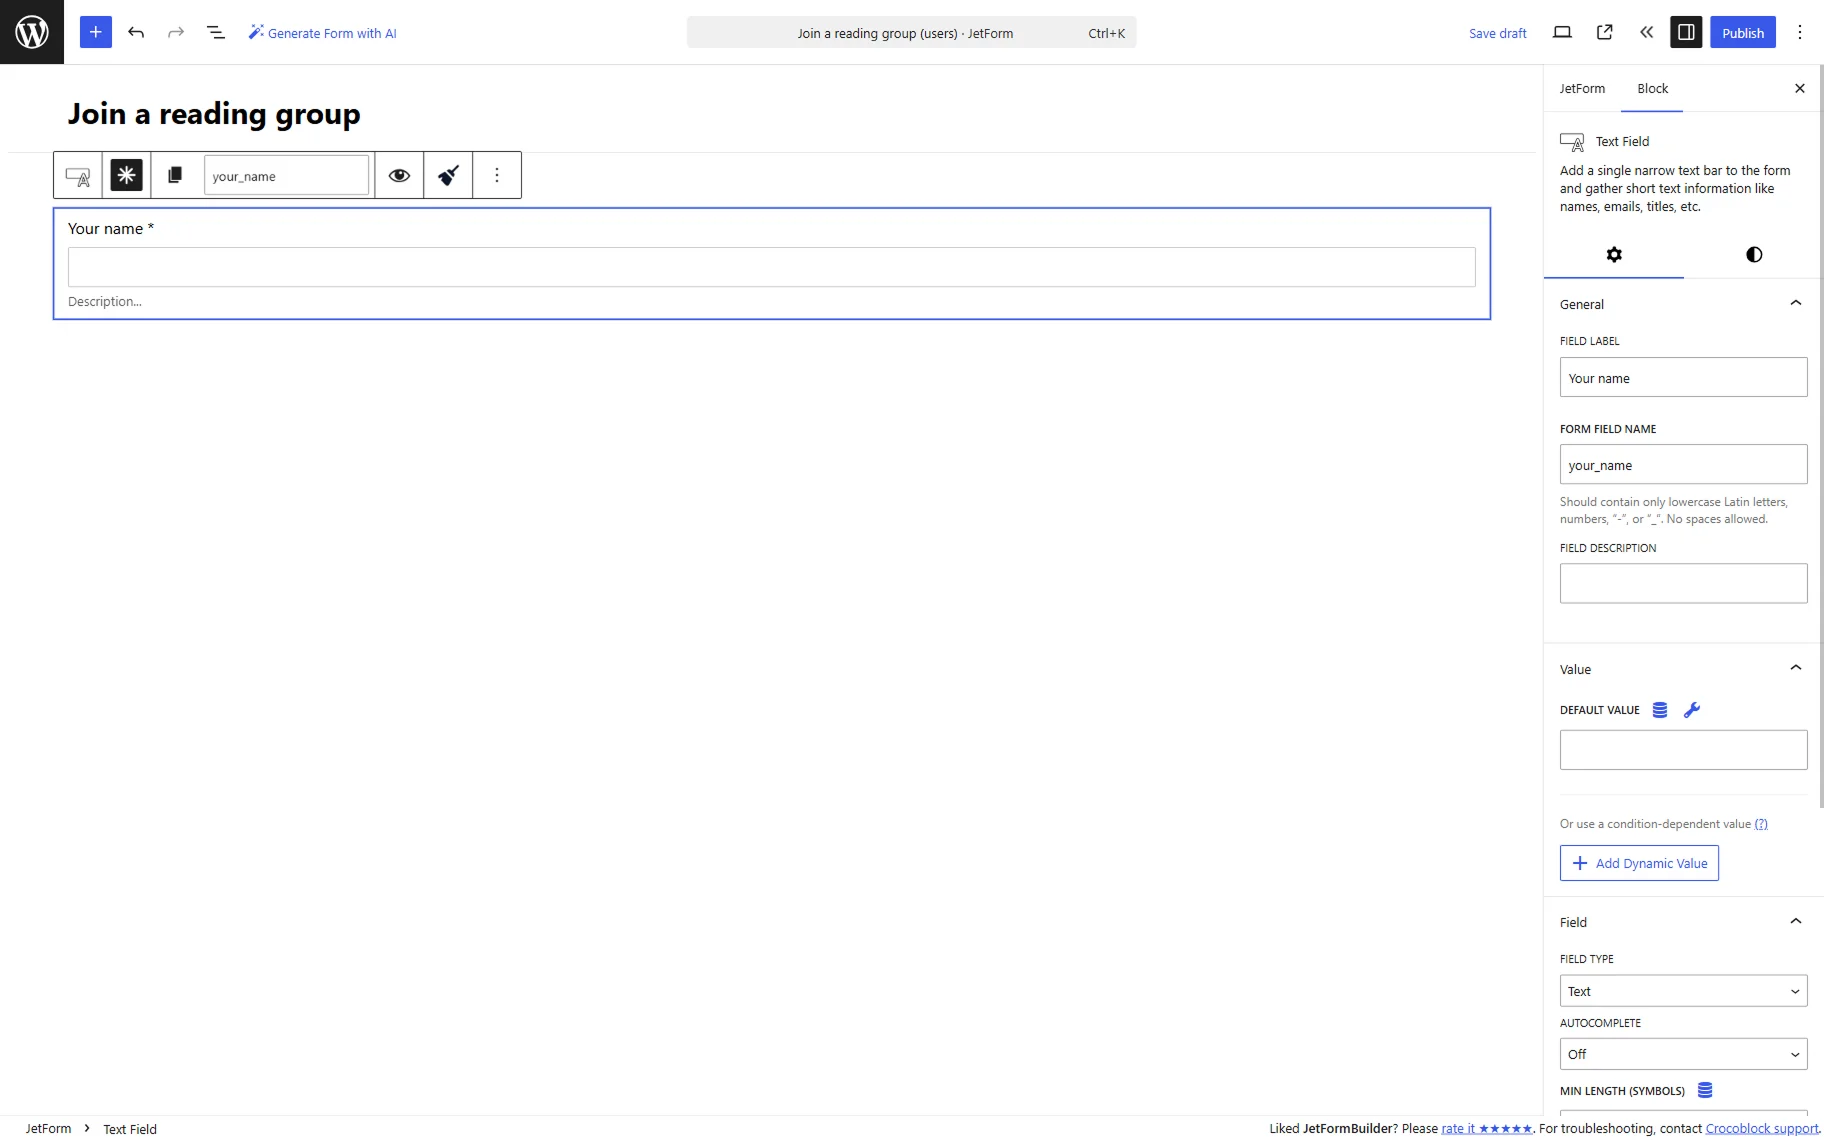
First, we add a “Your name” Text Field to the form and make it required for completion. This field will collect the user’s name when they join a reading group.
Then, we add another required Text Field, “Email.” This one has the “Email” FIELD TYPE set in the Field tab to validate the input.
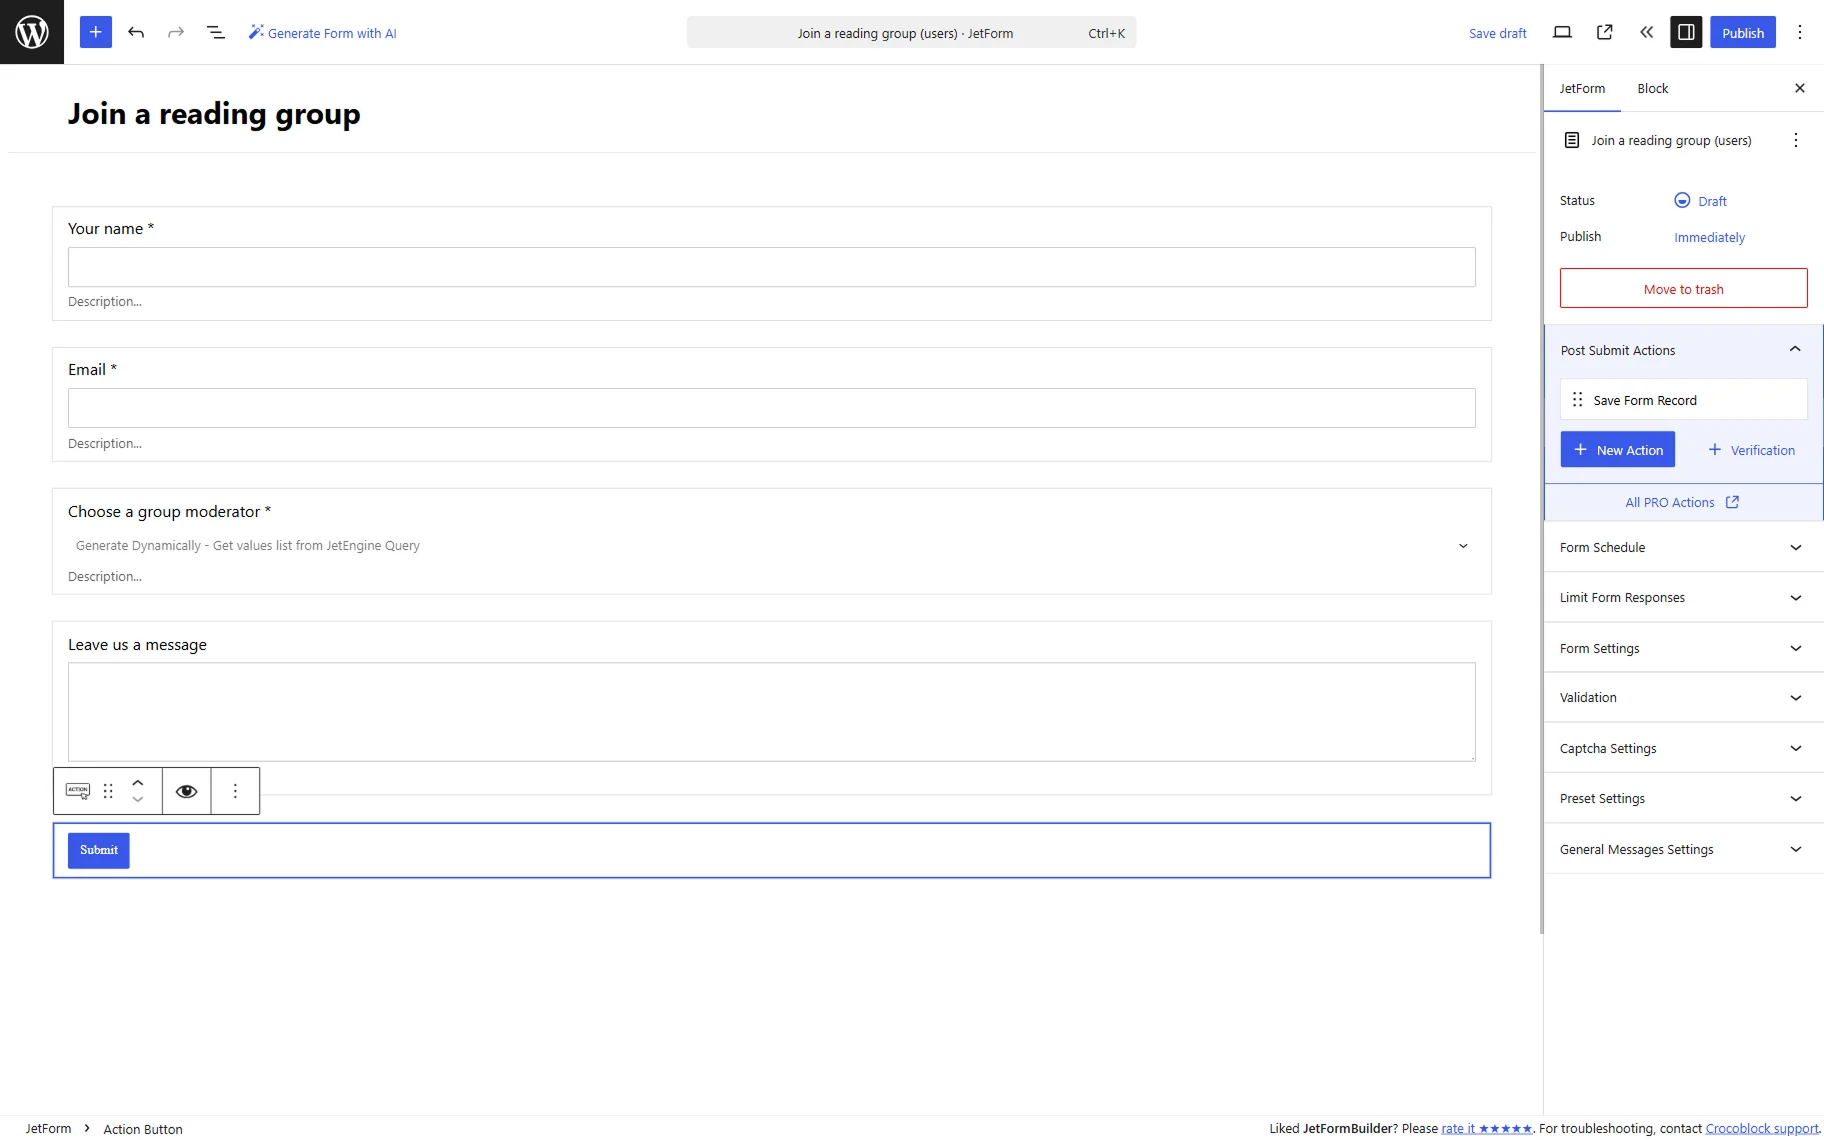
Next, we add a required Select Field to the form. In its block settings, we set the FIELD LABEL to “Choose a group moderator” and the FORM FIELD NAME to “group_moderator” for easier identification.
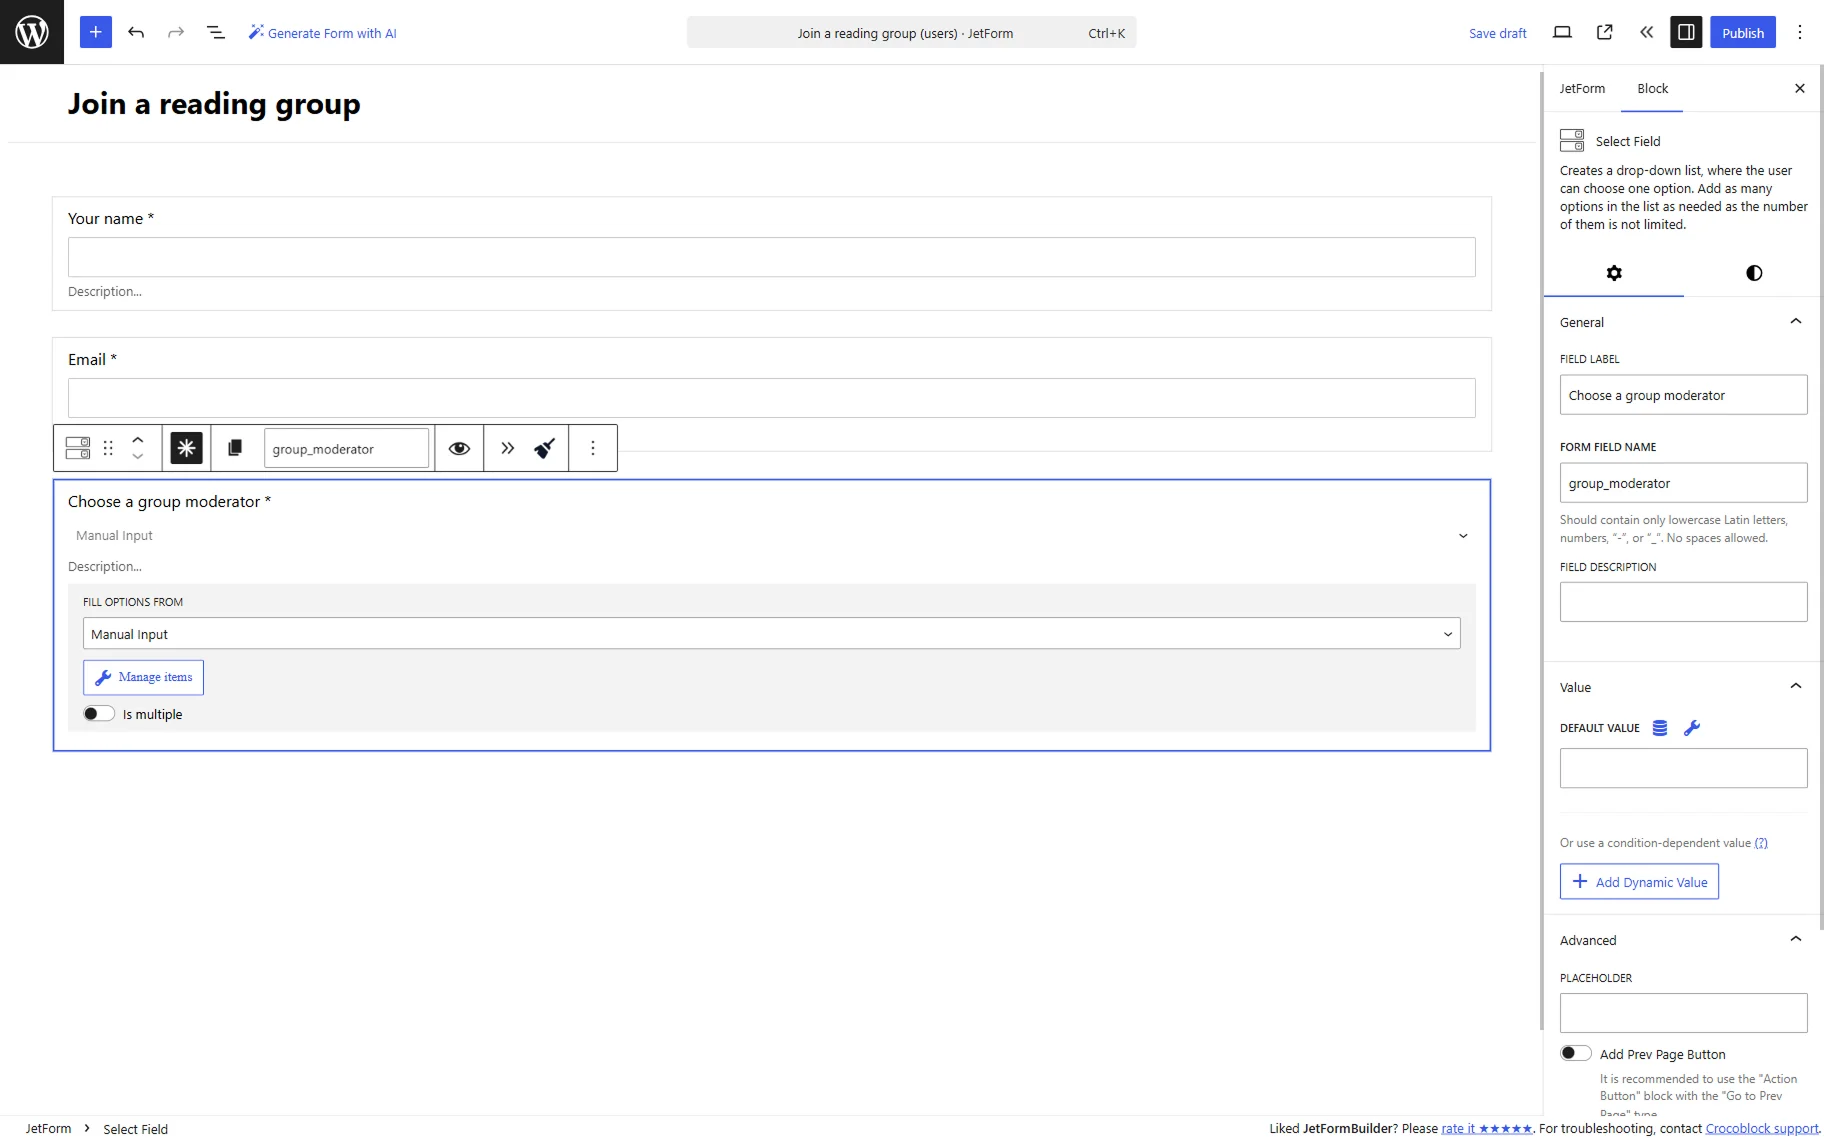
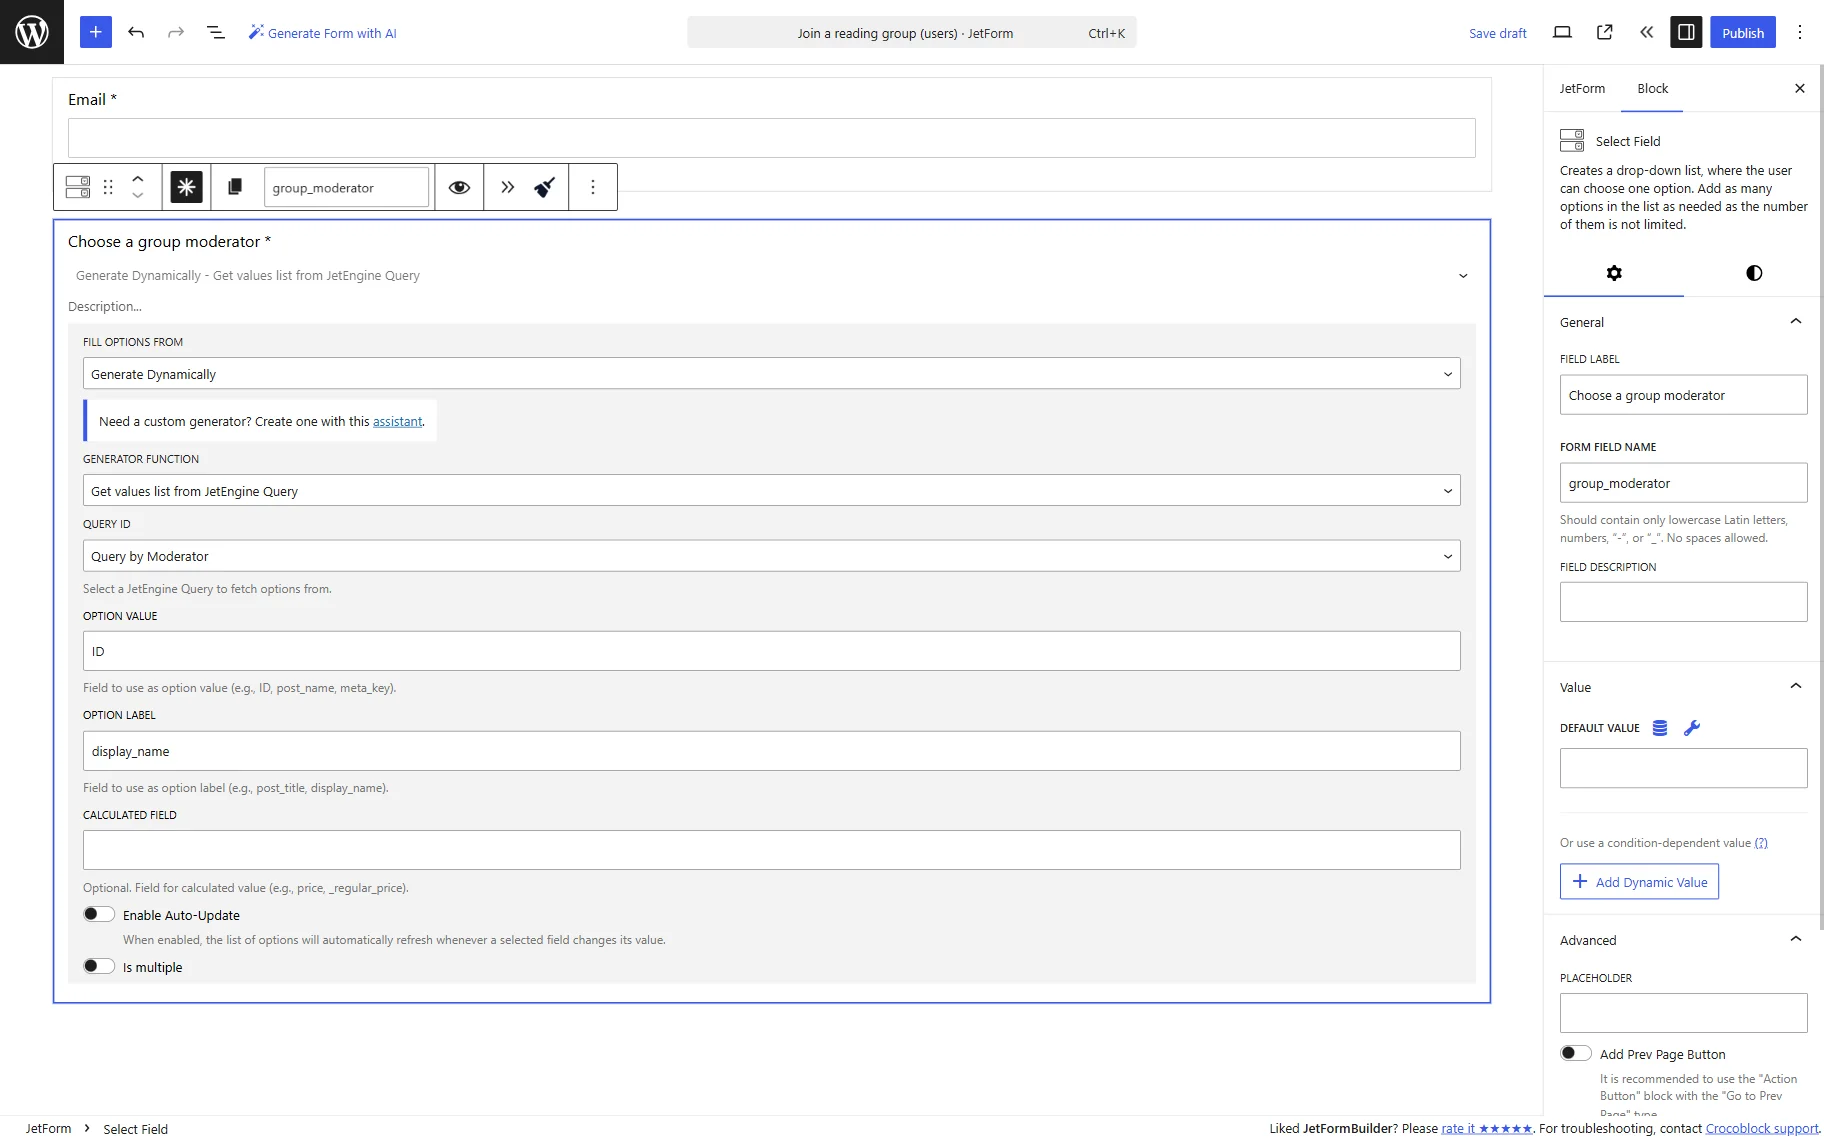
To populate fields dynamically, we select the “Generate Dynamically” option in the FILL OPTIONS FROM selector and pick the “Get values list from JetEngine Query” option in the GENERATOR FUNCTION select, correspondingly.
In the QUERY ID field, we pick the query built earlier.
In the OPTION VALUE field, we enter the “ID” value. The “ID” property is used as a submitted value because each WordPress user has their own identifier.
In the OPTION LABEL field, we paste the “display_name” value. This user-friendly value will be shown to users as options.
As for the CALCULATED FIELD, we leave it empty because this use case doesn’t require any additional calculated fields.
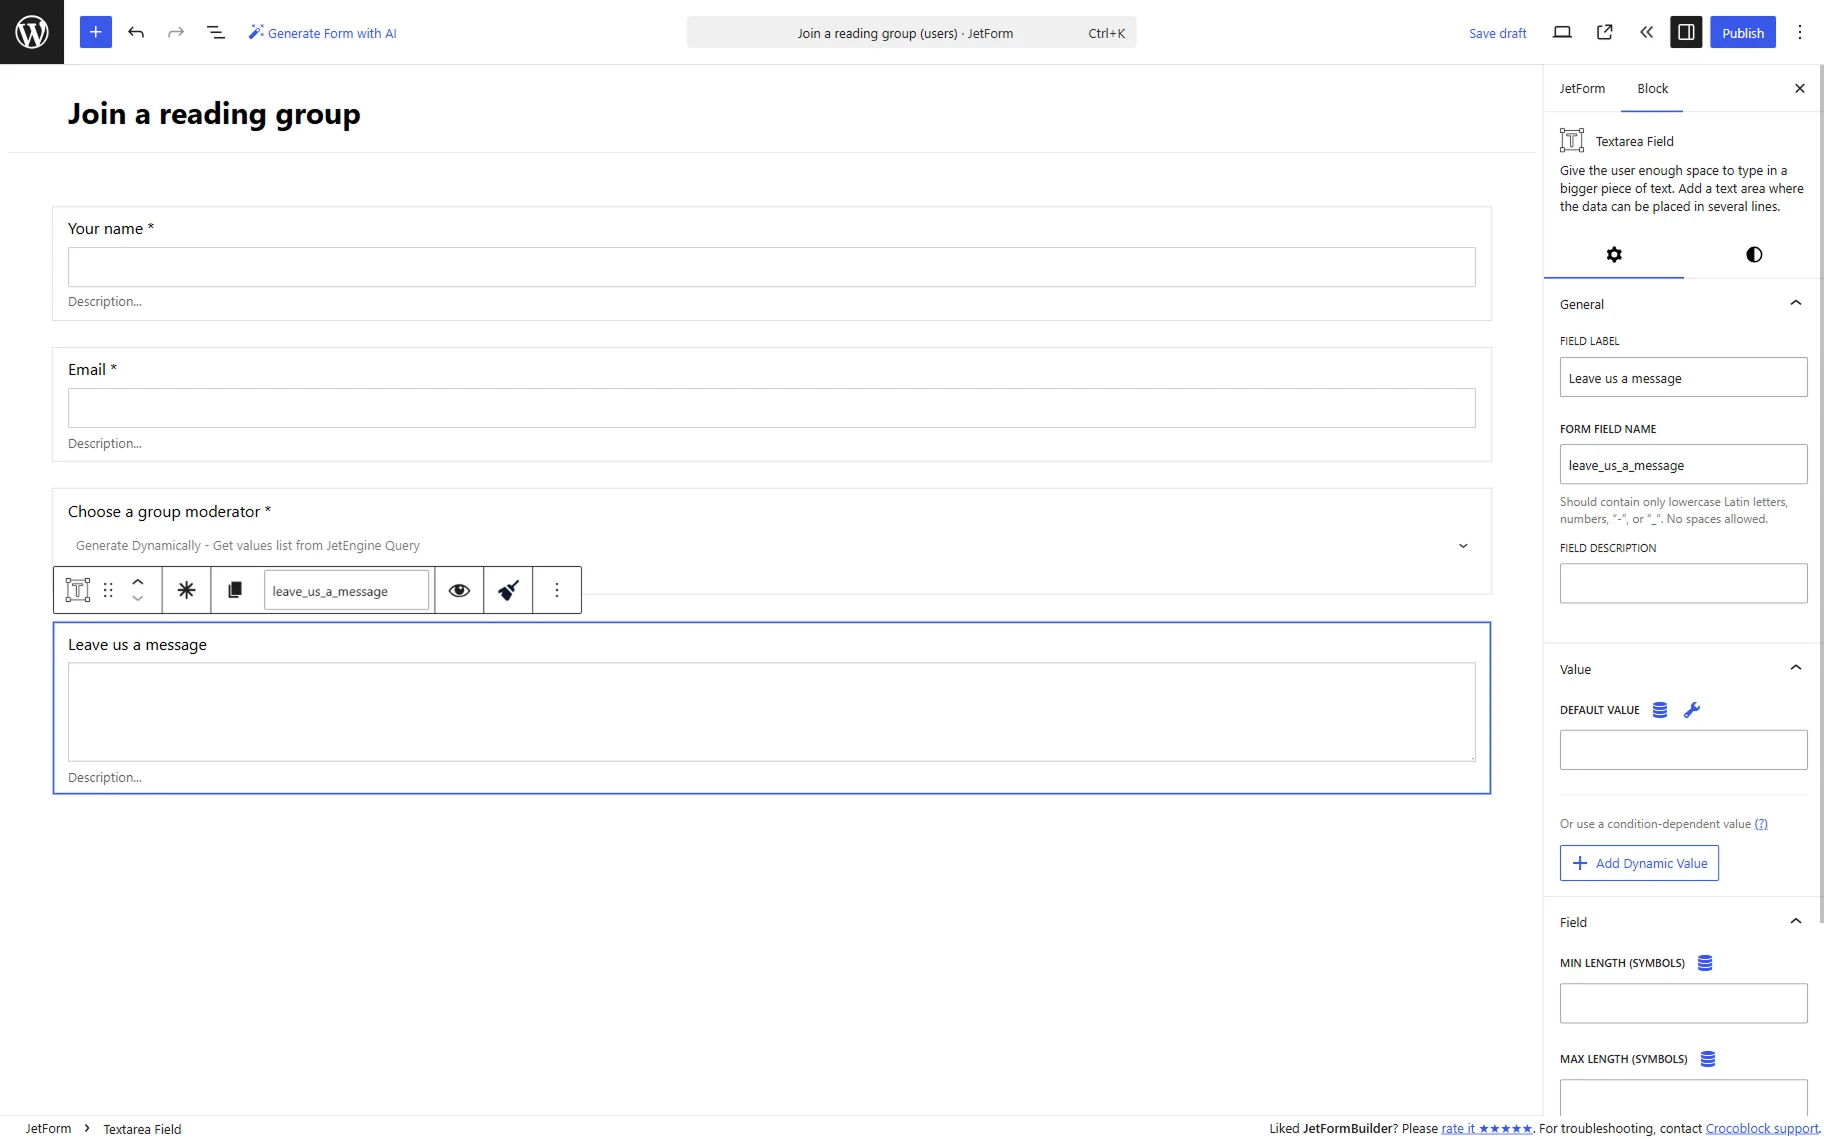
Below the moderator selection field, we add a “Leave us a message” Textarea Field. This optional field allows users to enter additional information when submitting the form.
Complete the form with the Action Button block with the “Submit” FIELD LABEL.

To store the form records, open the JetForm tab and navigate to the Post Submit Actions section.
Here, press the “New Action” button and add the “Save Form Record” action to the form. This action stores the form submission data in the Form Records page.
Once the form is ready, save the result.
Add form to the page
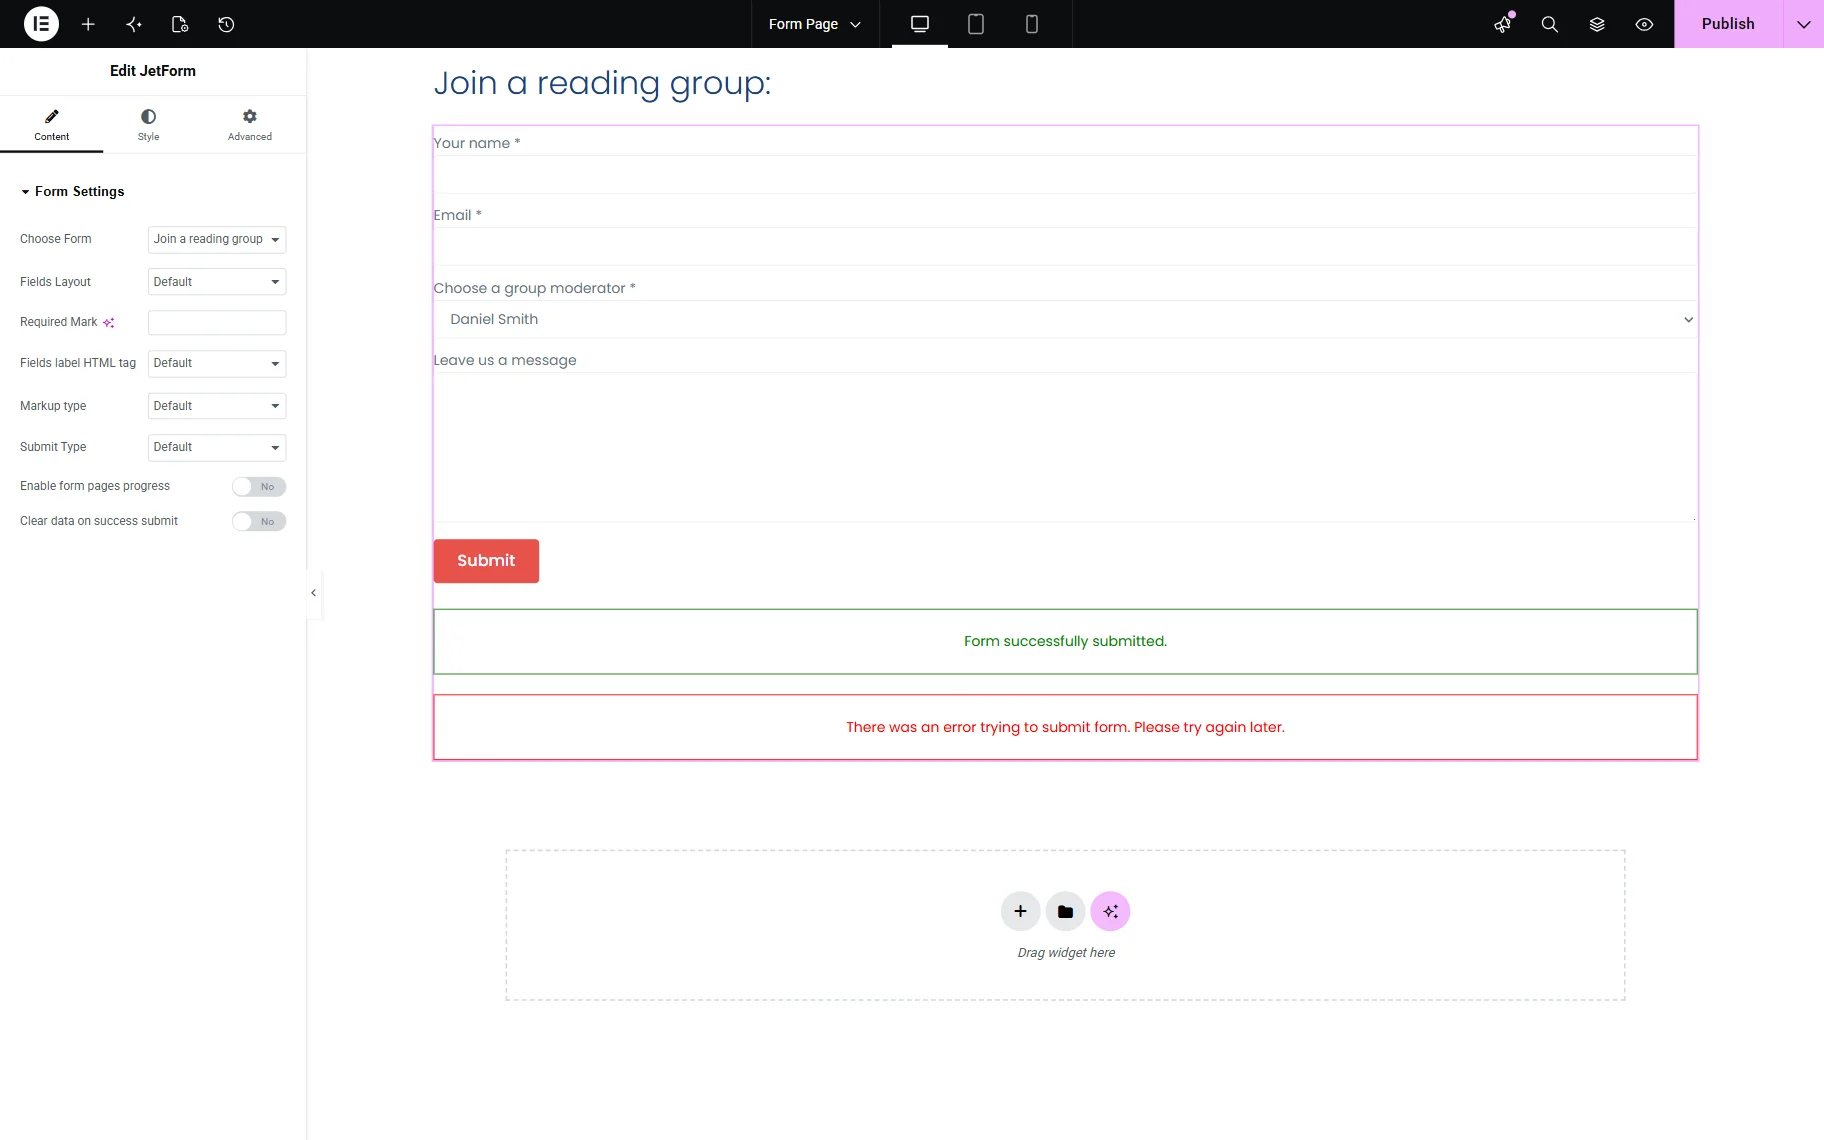
Open the page where you want to add the form. The form can be added to the page edited with Elementor, Gutenberg, or Bricks editors. In this example, Elementor is used for demonstration purposes.
Open the existing page ot create a new one in the WordPress Dashboard > Pages directory.
Add the JetForm widget to the page and select the form you have just built in the corresponding field.
Make other changes to the page if needed and save the page when ready.
Check the result
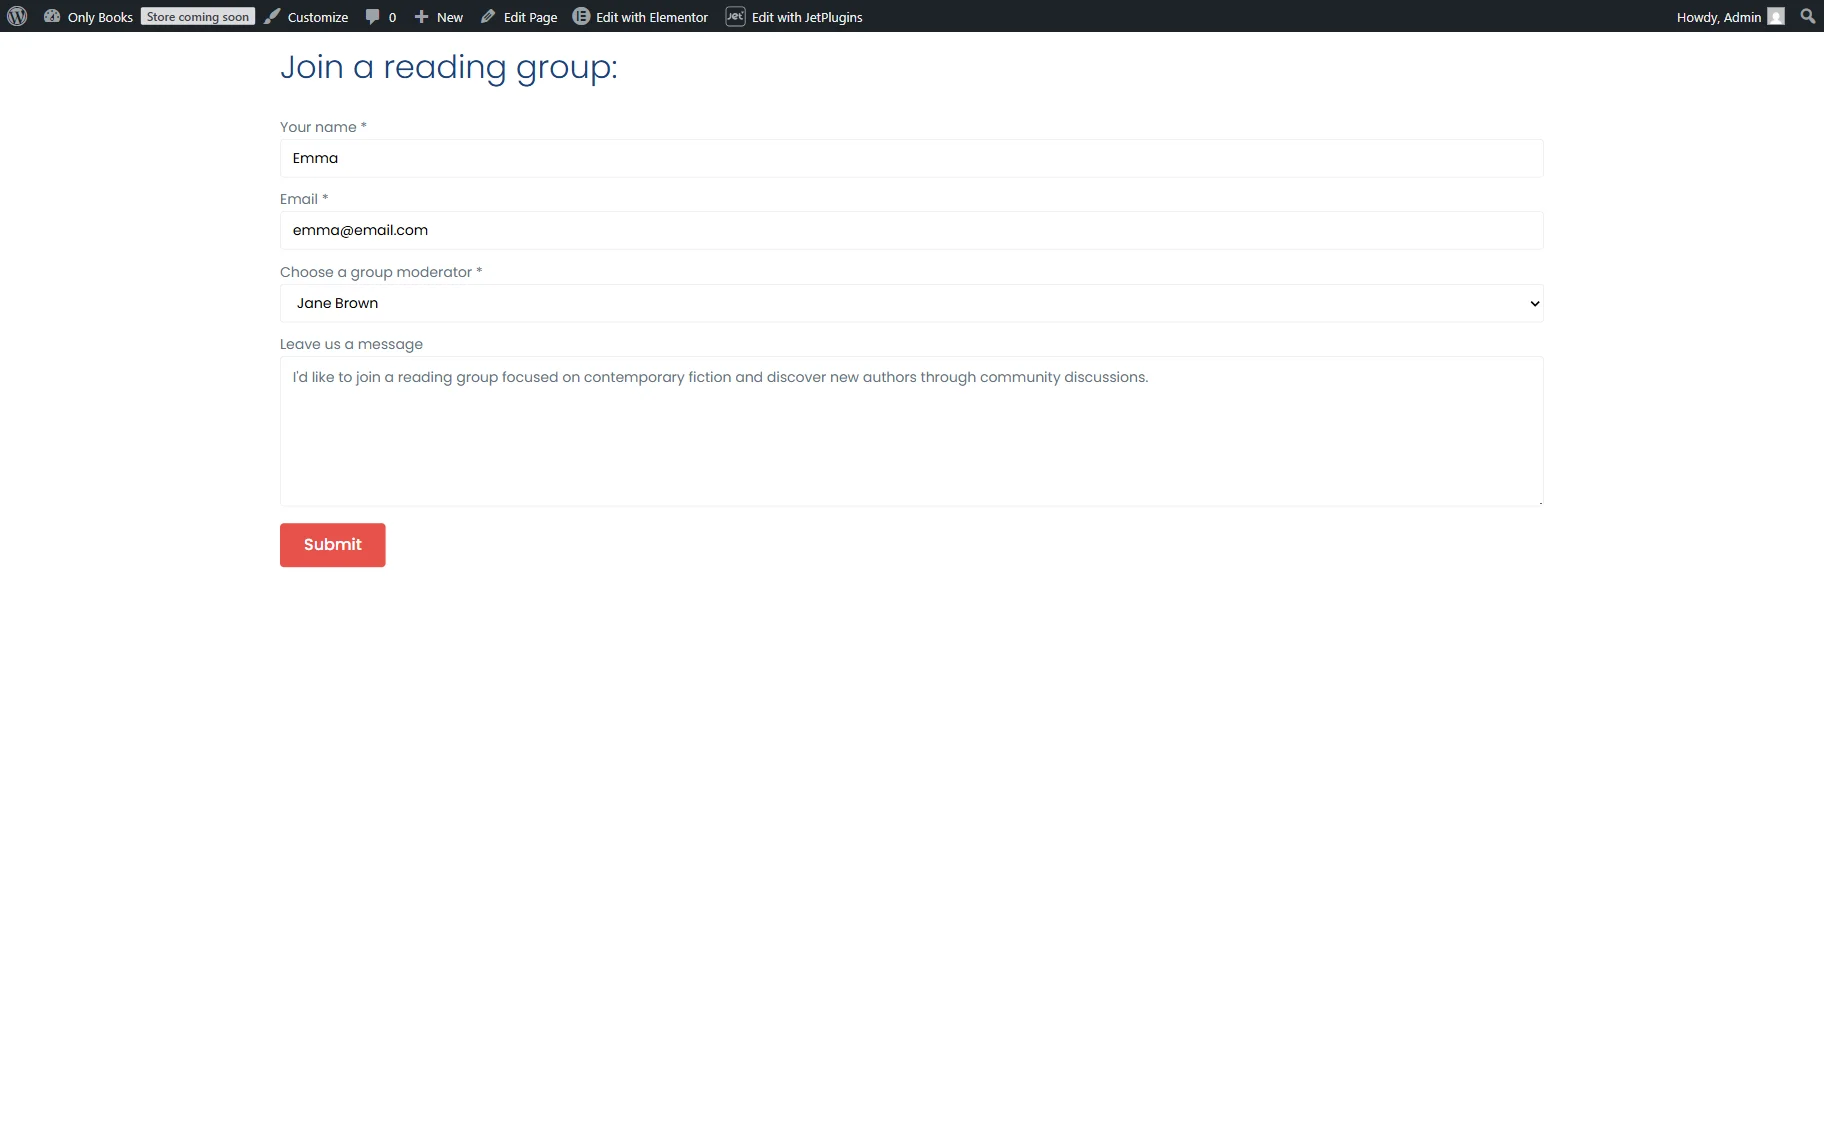
Open the page you have just edited on the front end. To check if the form works, complete and submit it.
The dropdown now displays only users with the “Moderator” role and the “Offline events” option in the “Club activities” meta field, confirming that the query is applied to the form successfully.
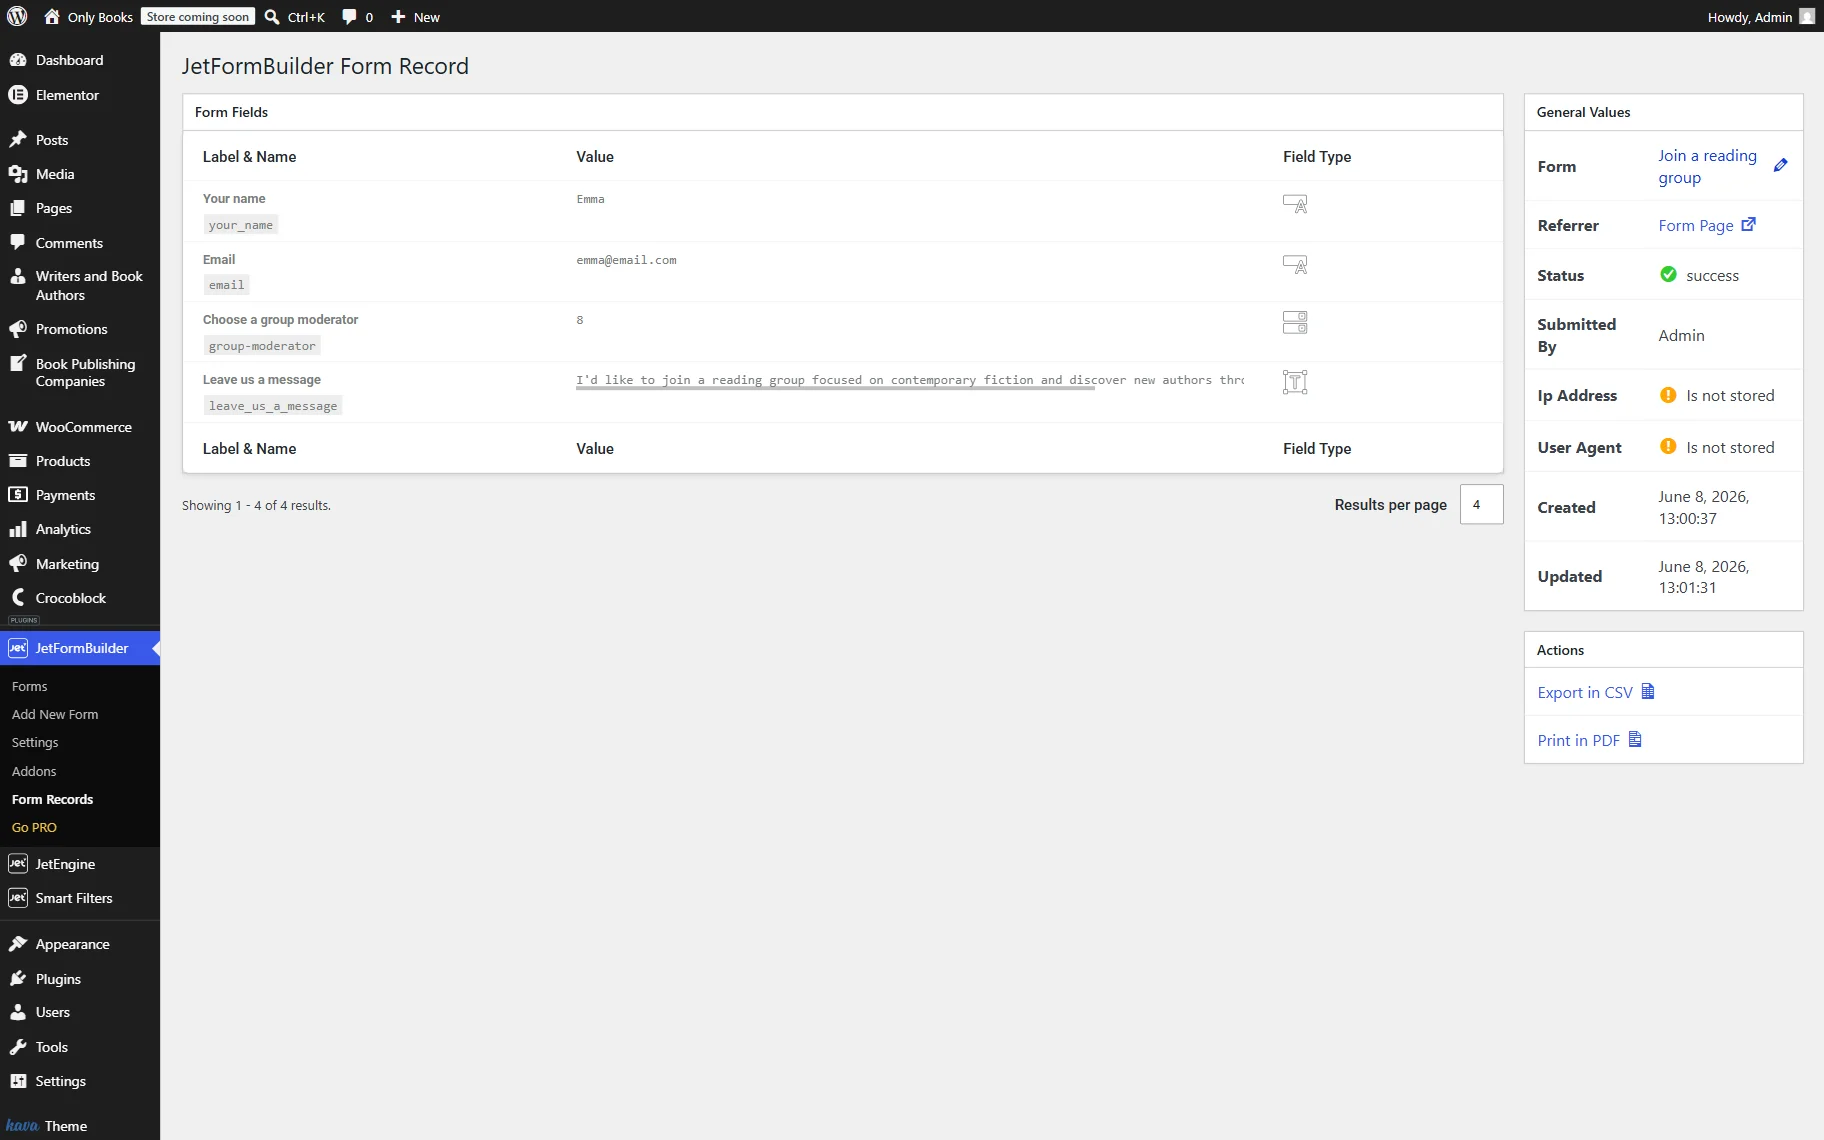
If you have added the “Save Form Record” action to the form, you can check the corresponding form record in the WordPress Dashboard > JetFormBuilder > Form Records directory.
WooCommerce products-based query
In this example, users will select books for discussion in a science fiction reading group. The Checkbox Field options will be generated dynamically from products assigned to the “Science Fiction” category.
Using a dynamic query instead of adjusting the options manually makes the maintenance easier, as there is no need to make changes to the form every time new products are added to the category. Every added item will be added to the form automatically as well.
Build a query
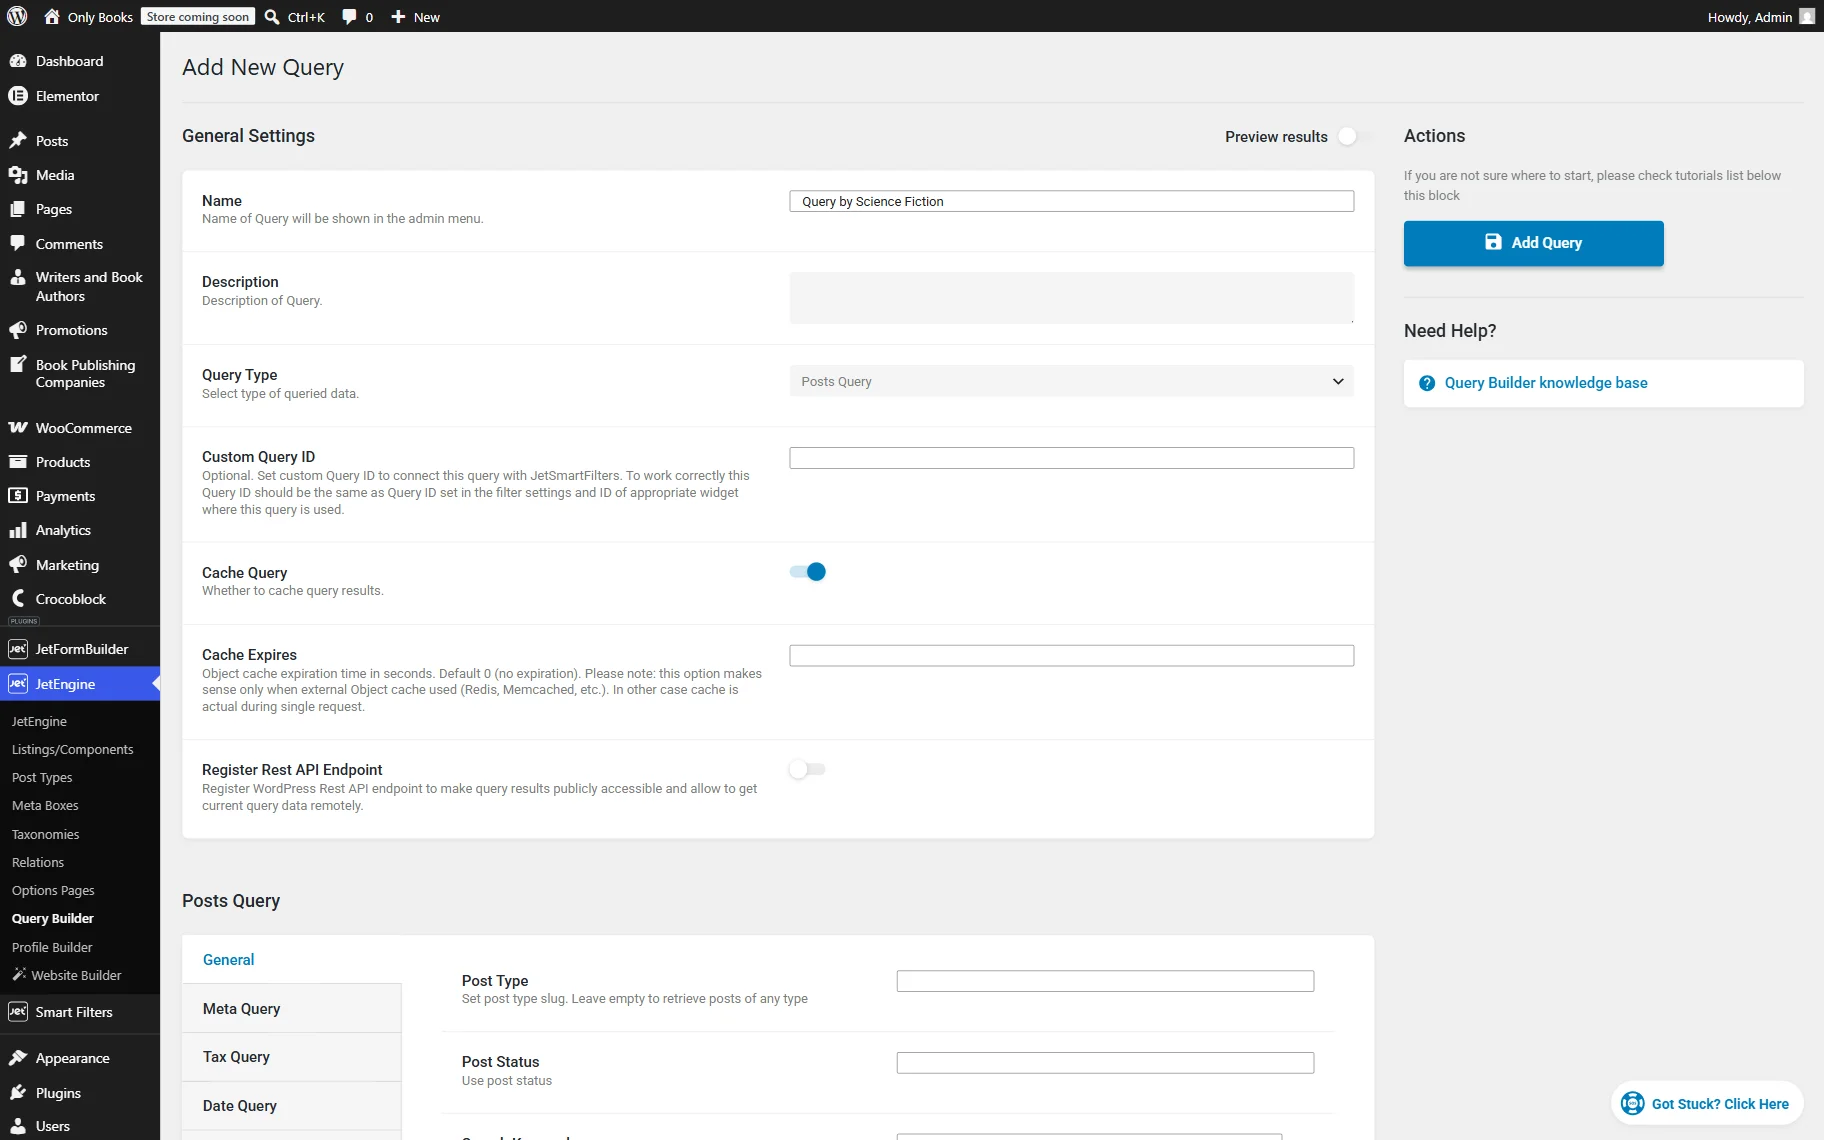
To populate fields dynamically, we first need to build a query that will display the WooCommerce products. In the WordPress Dashboard > JetEngine > Query Builder directory, press the “Add New” button to open the query editor.
Name your query (here, “Query by Science Fiction”) and select the “Posts Query” Query Type.
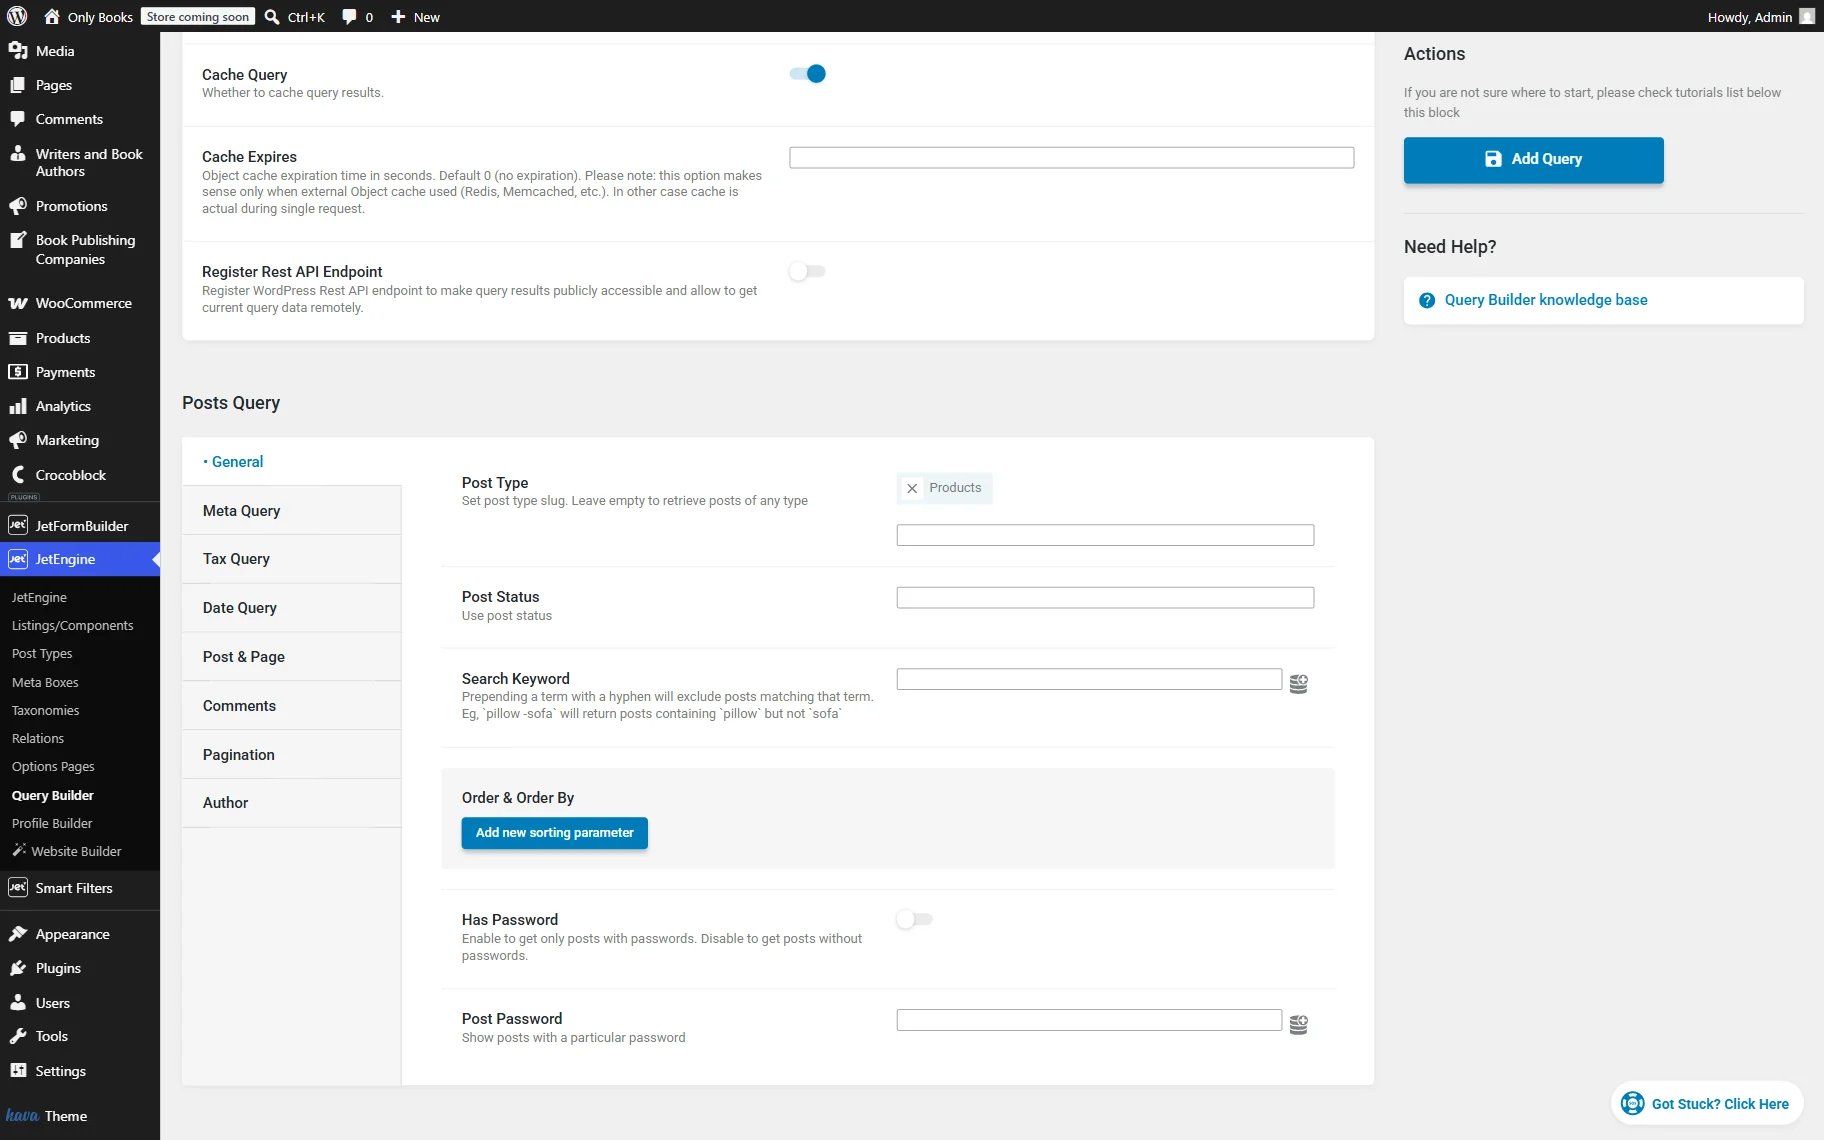
Scroll down to the Posts section. In the General tab, select the “Products” Post Type. This limits query results to products only.
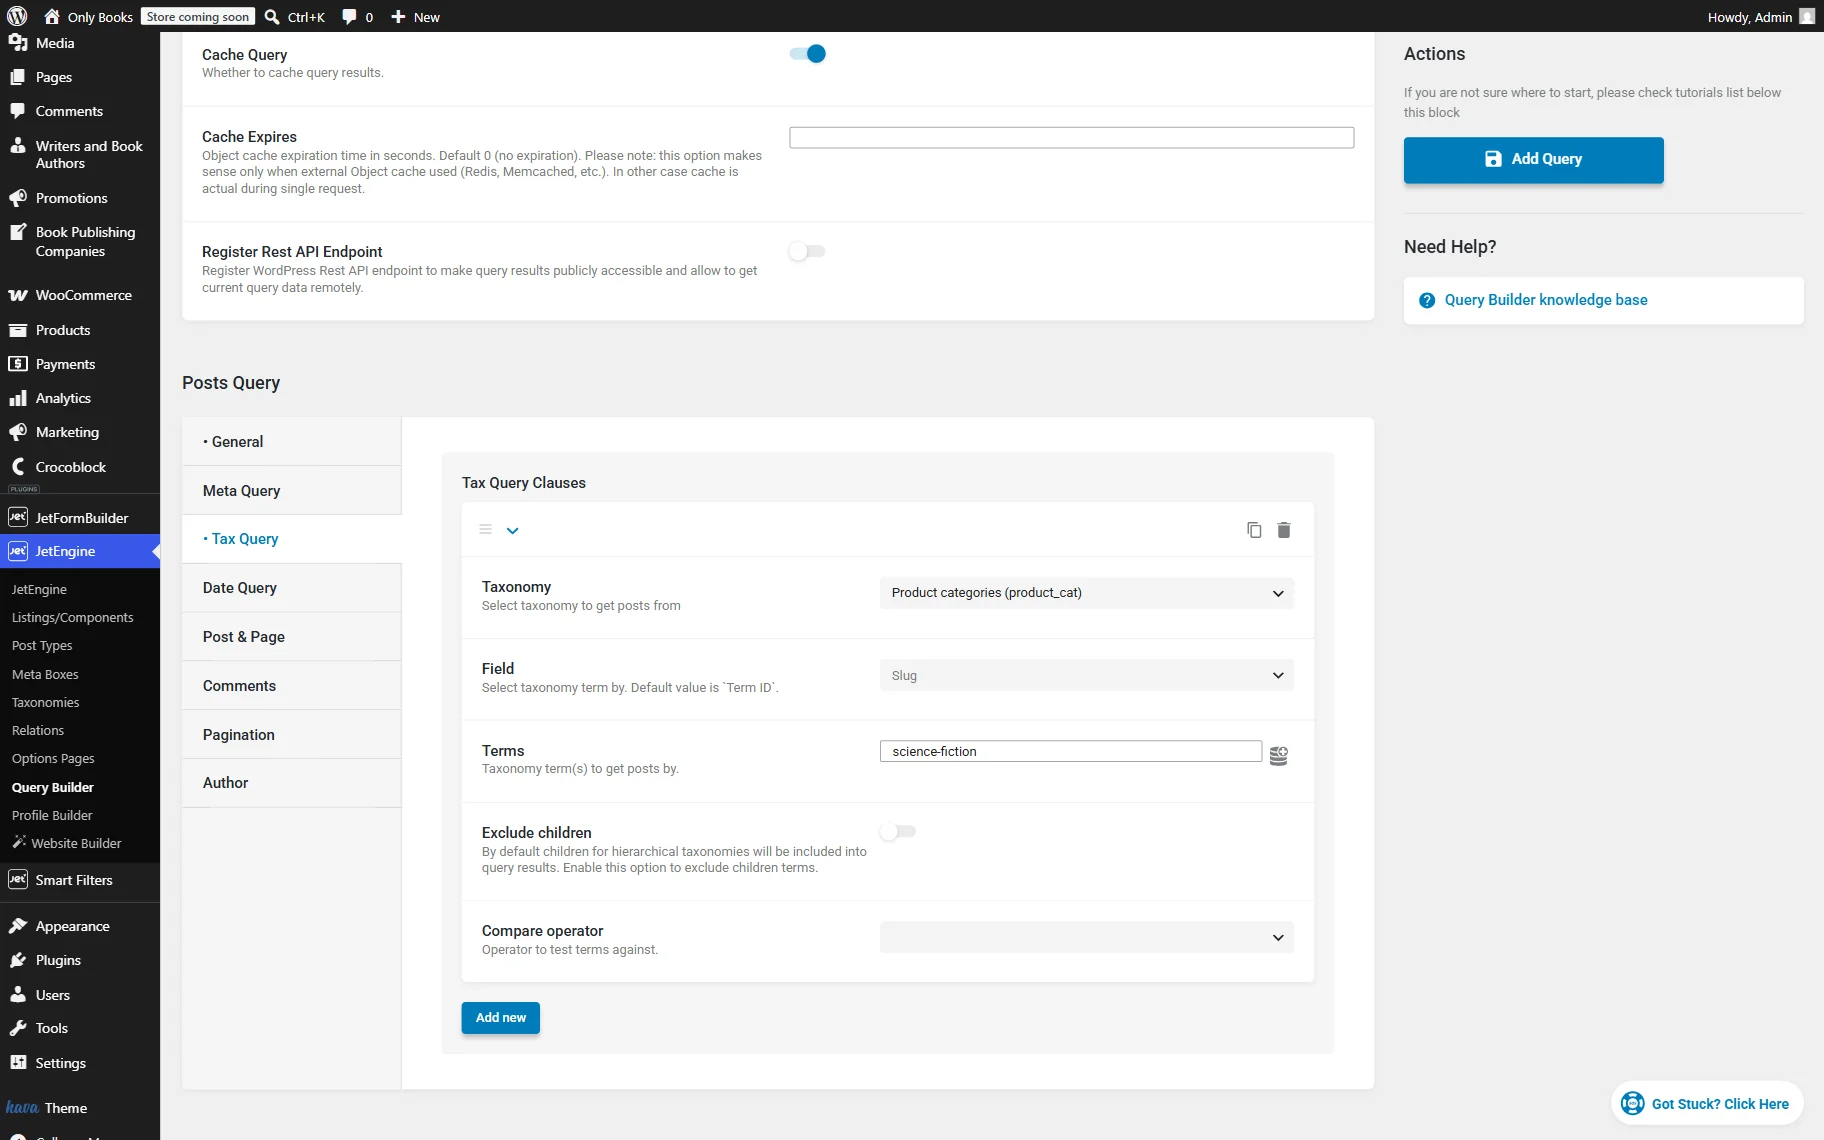
With this query, we want to display only books connected to the “Science fiction” term of the “Product categories”, so we go to the Tax Query tab and click the “Add new” button in the Tax Query Clauses section.
In the Taxonomy select, we find and pick the “Product categories” option. Then, we set the Field to “Slug” and complete the Terms field with the “science-fiction” value, which is the slug of the needed term.
In this configuration, JetEngine searches only for products assigned to the category where slug equals “science-fiction”. Any products assigned to other categories will be excluded from the results.
Before connecting the query to the form, it is recommended to verify that the query returns the needed results.
You can check the result with the Preview results toggle. If everything is set up correctly, you will see the preview with the queried results.
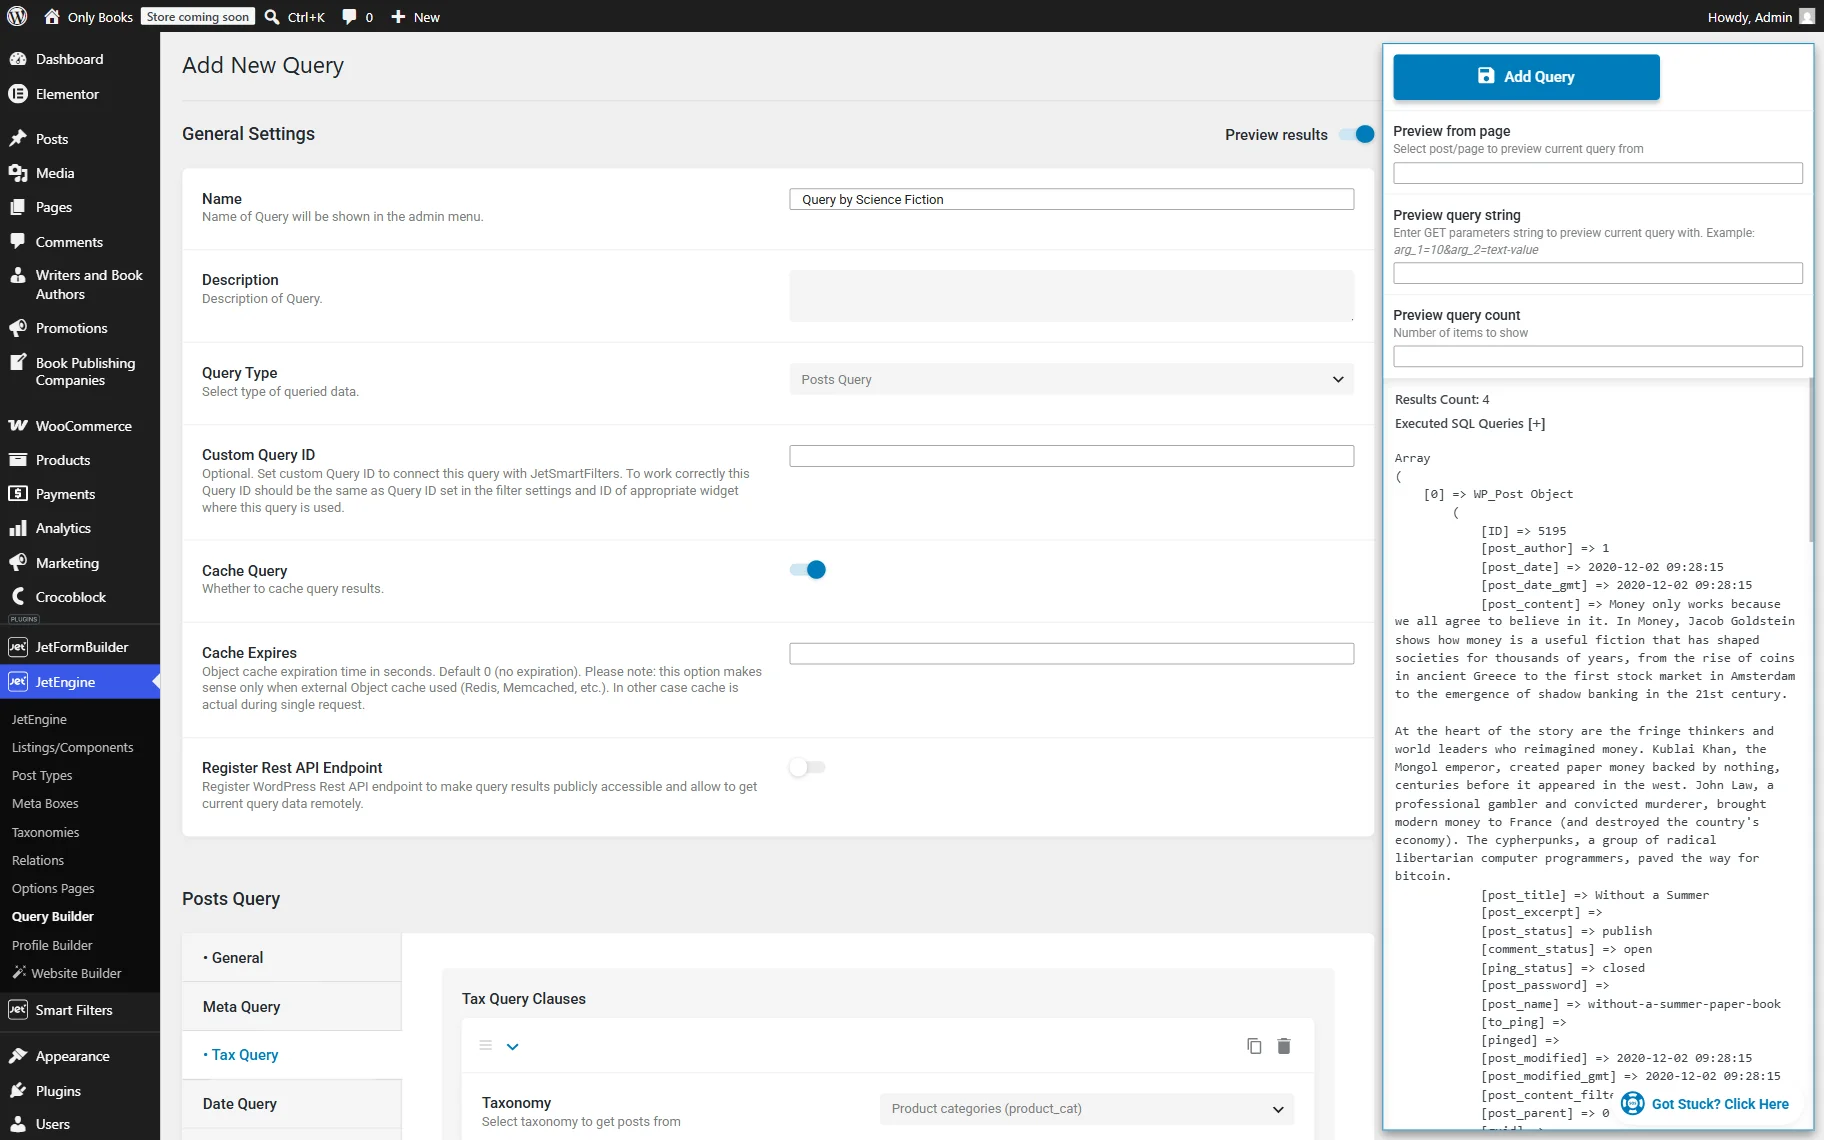
Press the “Add Query” button when ready.
Create a form
Now, when the query is ready, we can use it as a source for one of our form fields.
Navigate to the WordPress Dashboard > JetFormBuilder > Add New Form directory to build a new form.
Name your form. For example, we give it a “Join a Science Fiction Book Club” title.
We delete the Welcome Block added to the form by default to build a form from scratch.
To begin a form, we add a required Text Field with the “Your name” FIELD LABEL.

The second Text Field we add to the form is required “Email.” We change its FIELD TYPE to “Email” in the Field tab of the settings, so the entered input will be validated to pass only correct email addresses.
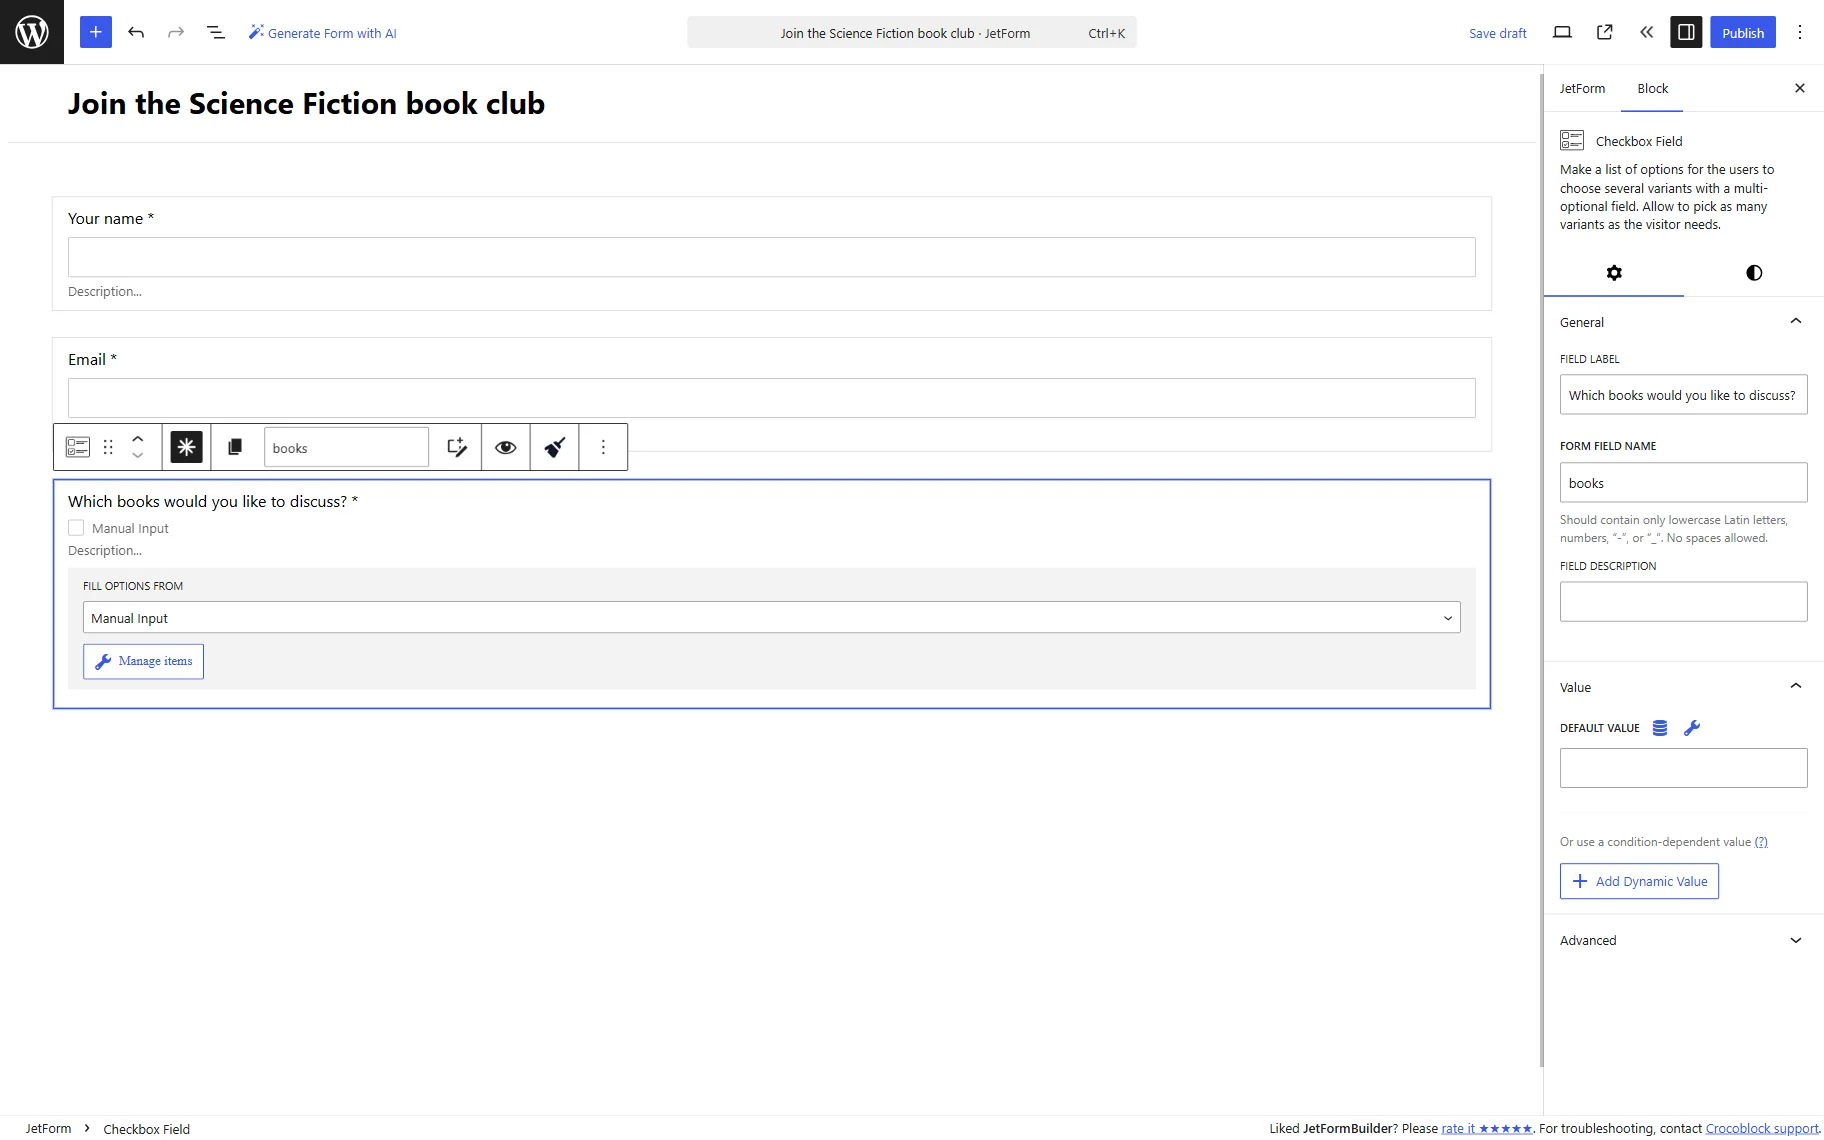
Next, we add a required Checkbox Field to the form. We complete the FIELD LABEL with the preferred value (here “Which books would you like to discuss?”) and set FORM FIELD NAME to “books.”
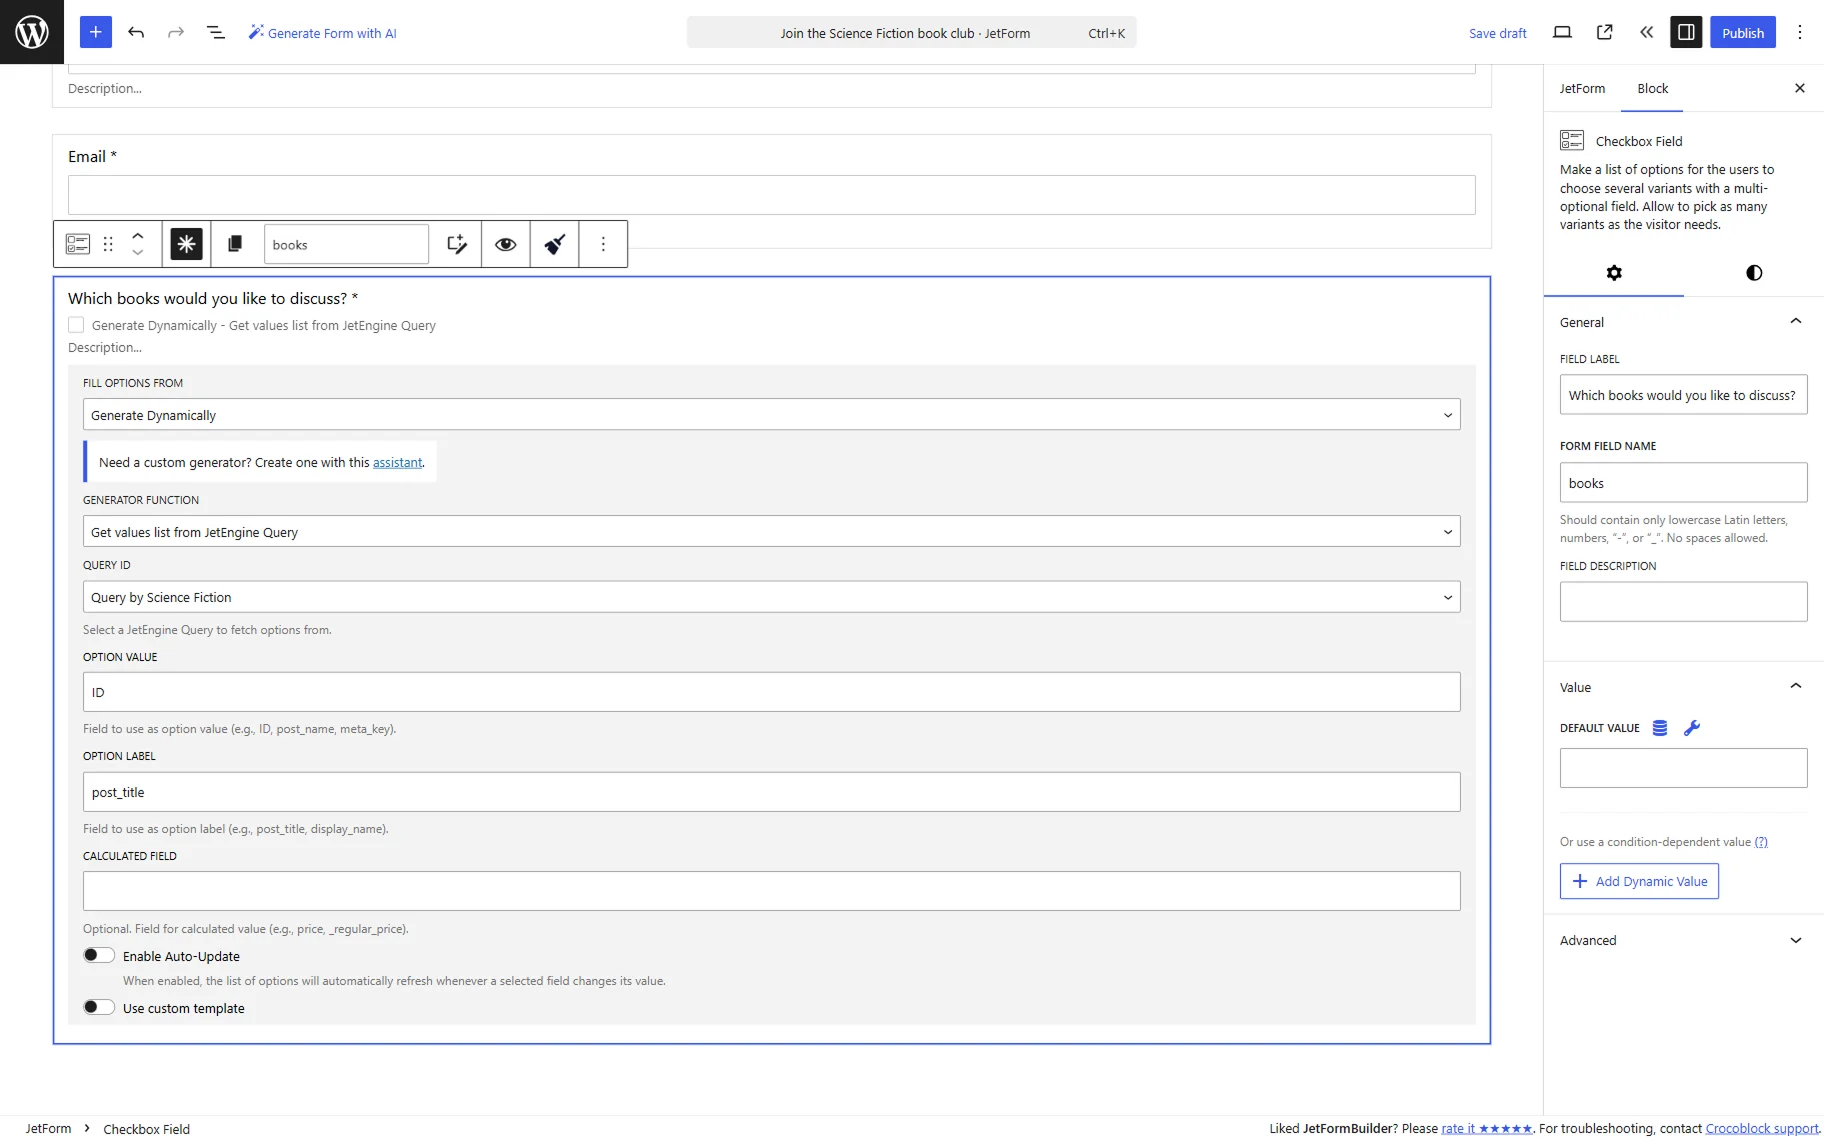
In the FILL OPTIONS FROM field, we pick the “Generate Dynamically” option. Then, in the appeared GENERATOR FUNCTION field, select “Get values list from JetEngine Query.” This option allows JetFormBuilder to retrieve available options directly from the query results.
In the QUERY ID field, we select the built query. Then, we complete the OPTION VALUE field with the “ID” value, which is used as the submitted value because each product has its own identifier.
Next, we complete the OPTION LABEL with the “post_title” value, which will be used as a visible label as it contains the product title.
Depending on the query structure, the CALCULATE FIELD may be used to pass an additional value returned by the query. If your use case does not need additional calculated values, you can leave this field empty.
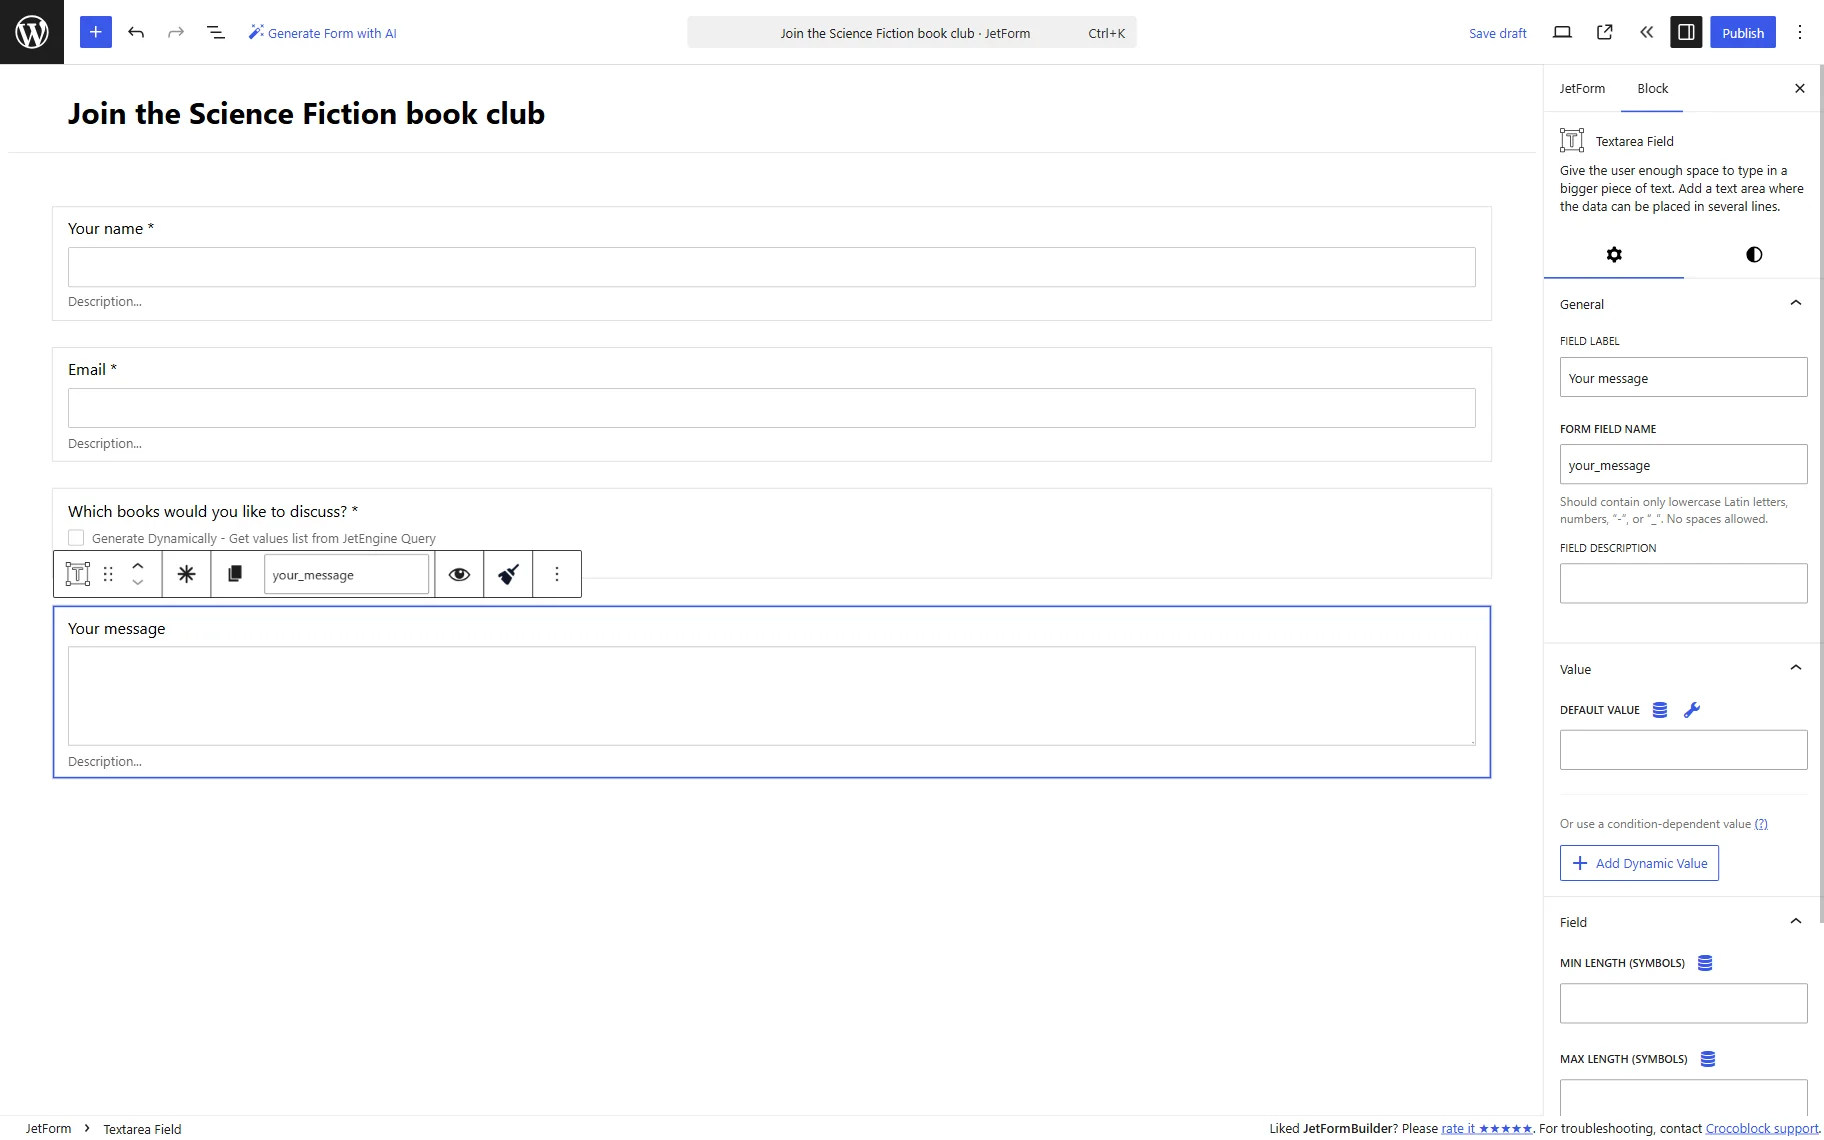
Below the options list, we add a Textarea Field to the form, the one called “Your message.” This optional field can be used by users to leave an additional message.
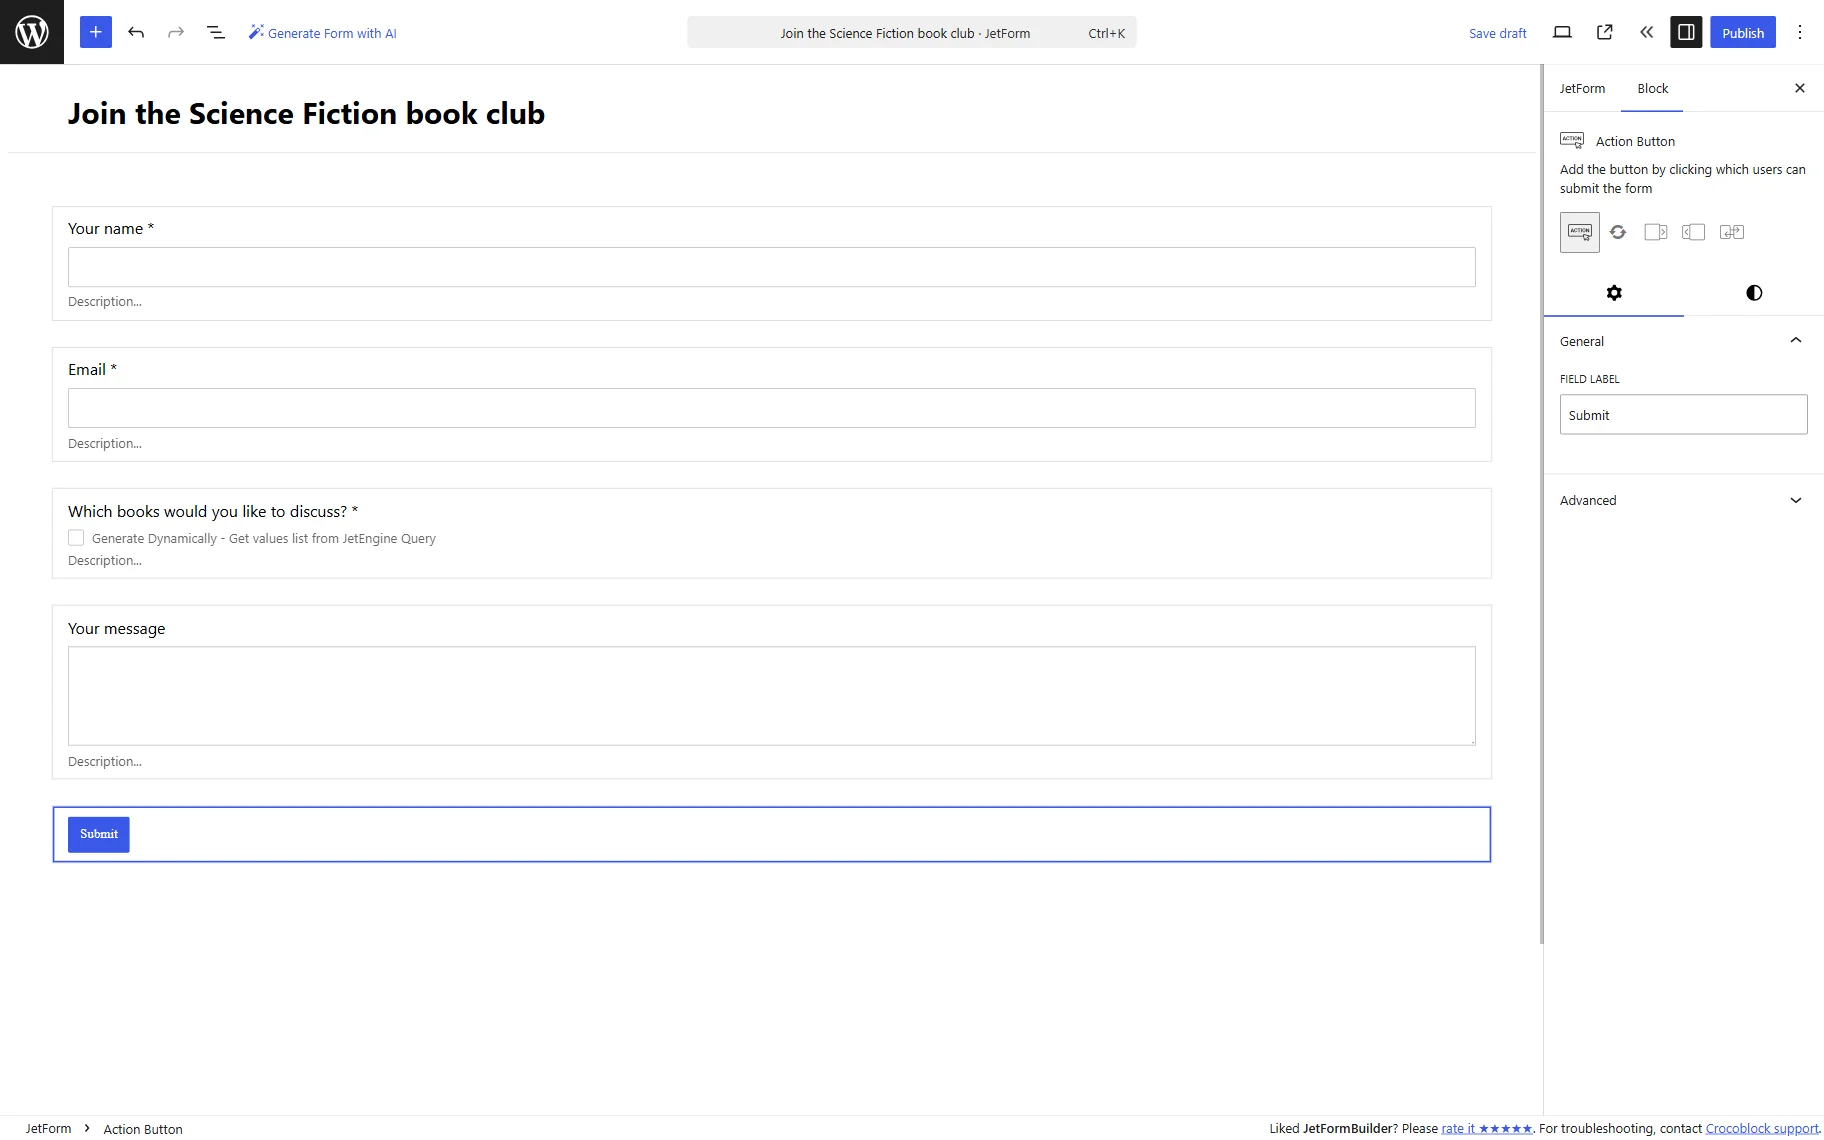
Complete the form with an Action Button. It will be the “Submit” button of the form.
To store submissions, move to the JetForm tab and open the Post Submit Actions section. Here, add a “Save Form Record” action by pressing the “New Action” button and selecting the needed action.
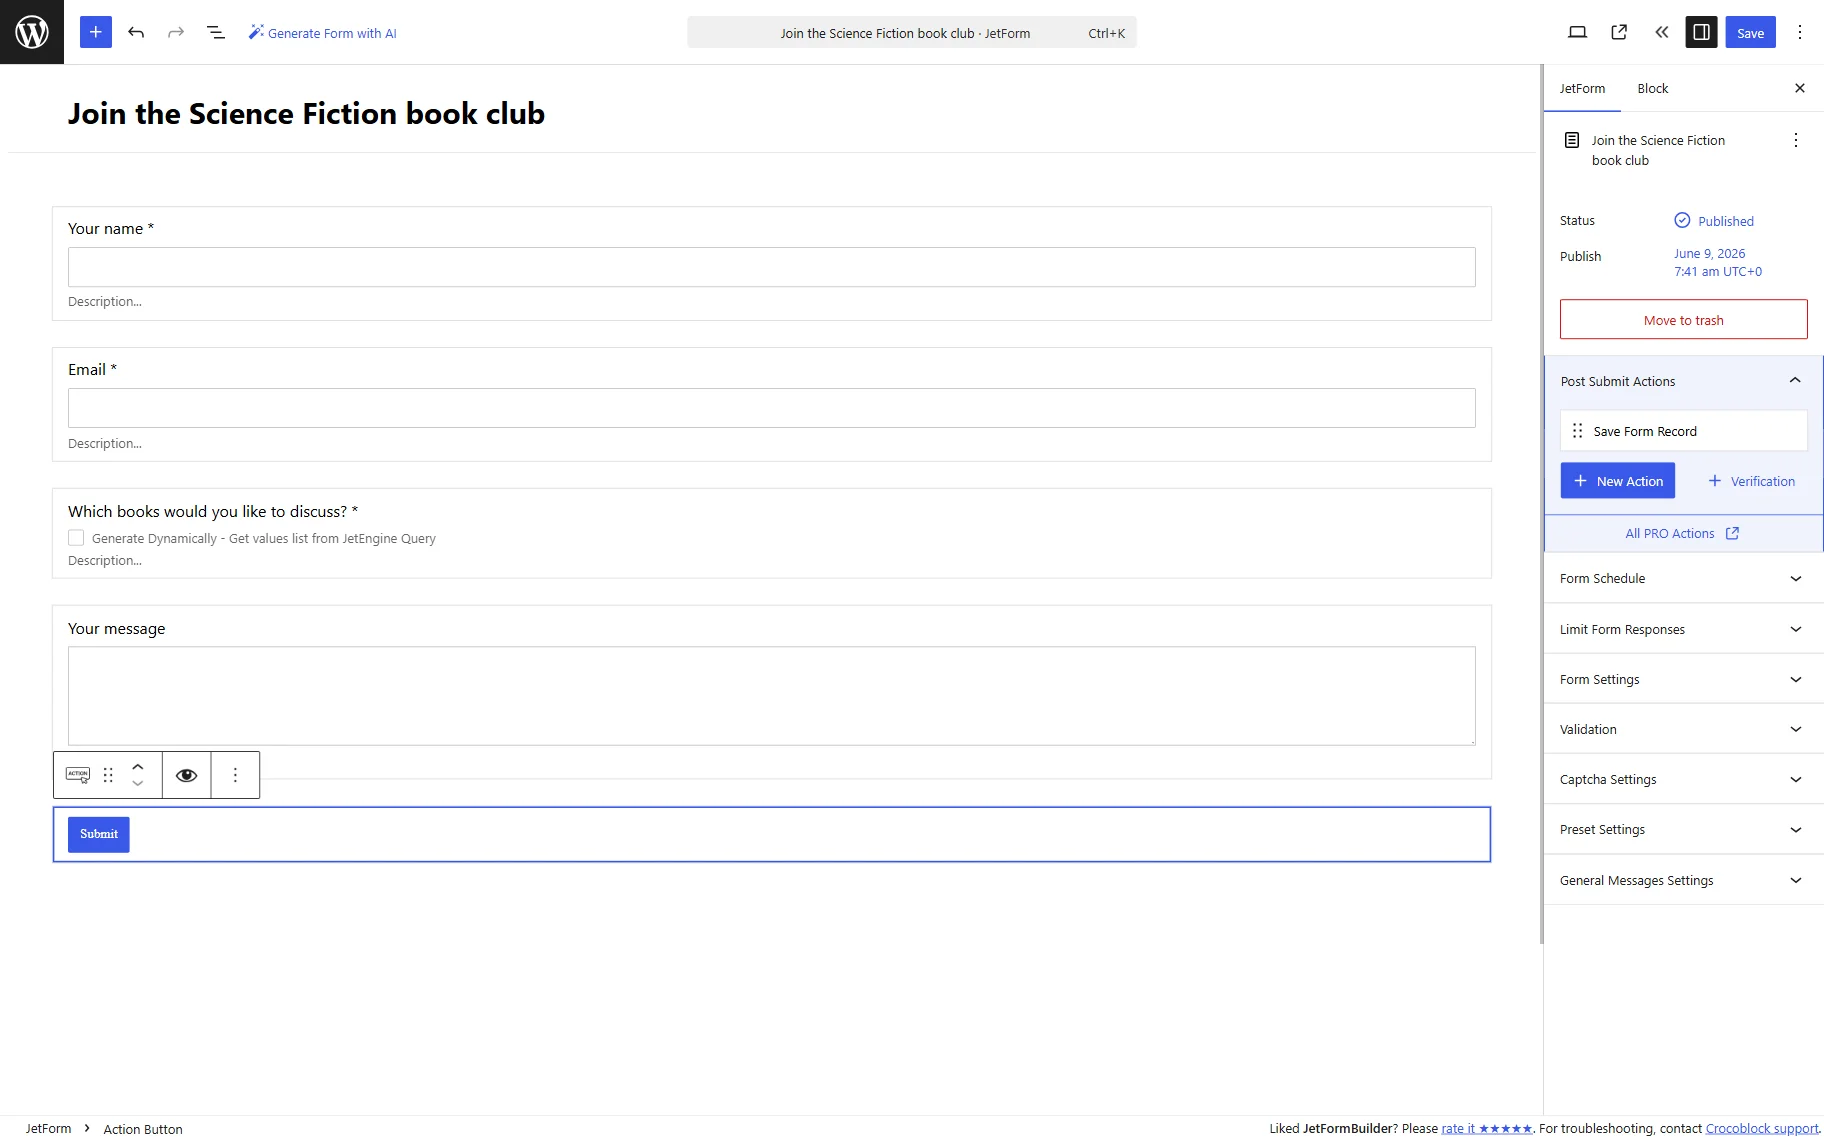
When the form is ready, press the “Publish/Save” button.
Add form to the page
Now, we should add the built form to the page. The form can be added to the page edited with Elementor, Gutenberg, or Bricks. In this guide, we will use Elementor.
This will be the new page, so now we go to WordPress Dashboard > Pages > Add New.
Here, we add a JetForm widget to the page and select the built form in the Choose Form field.
When the page is ready, save the result.
Check the result
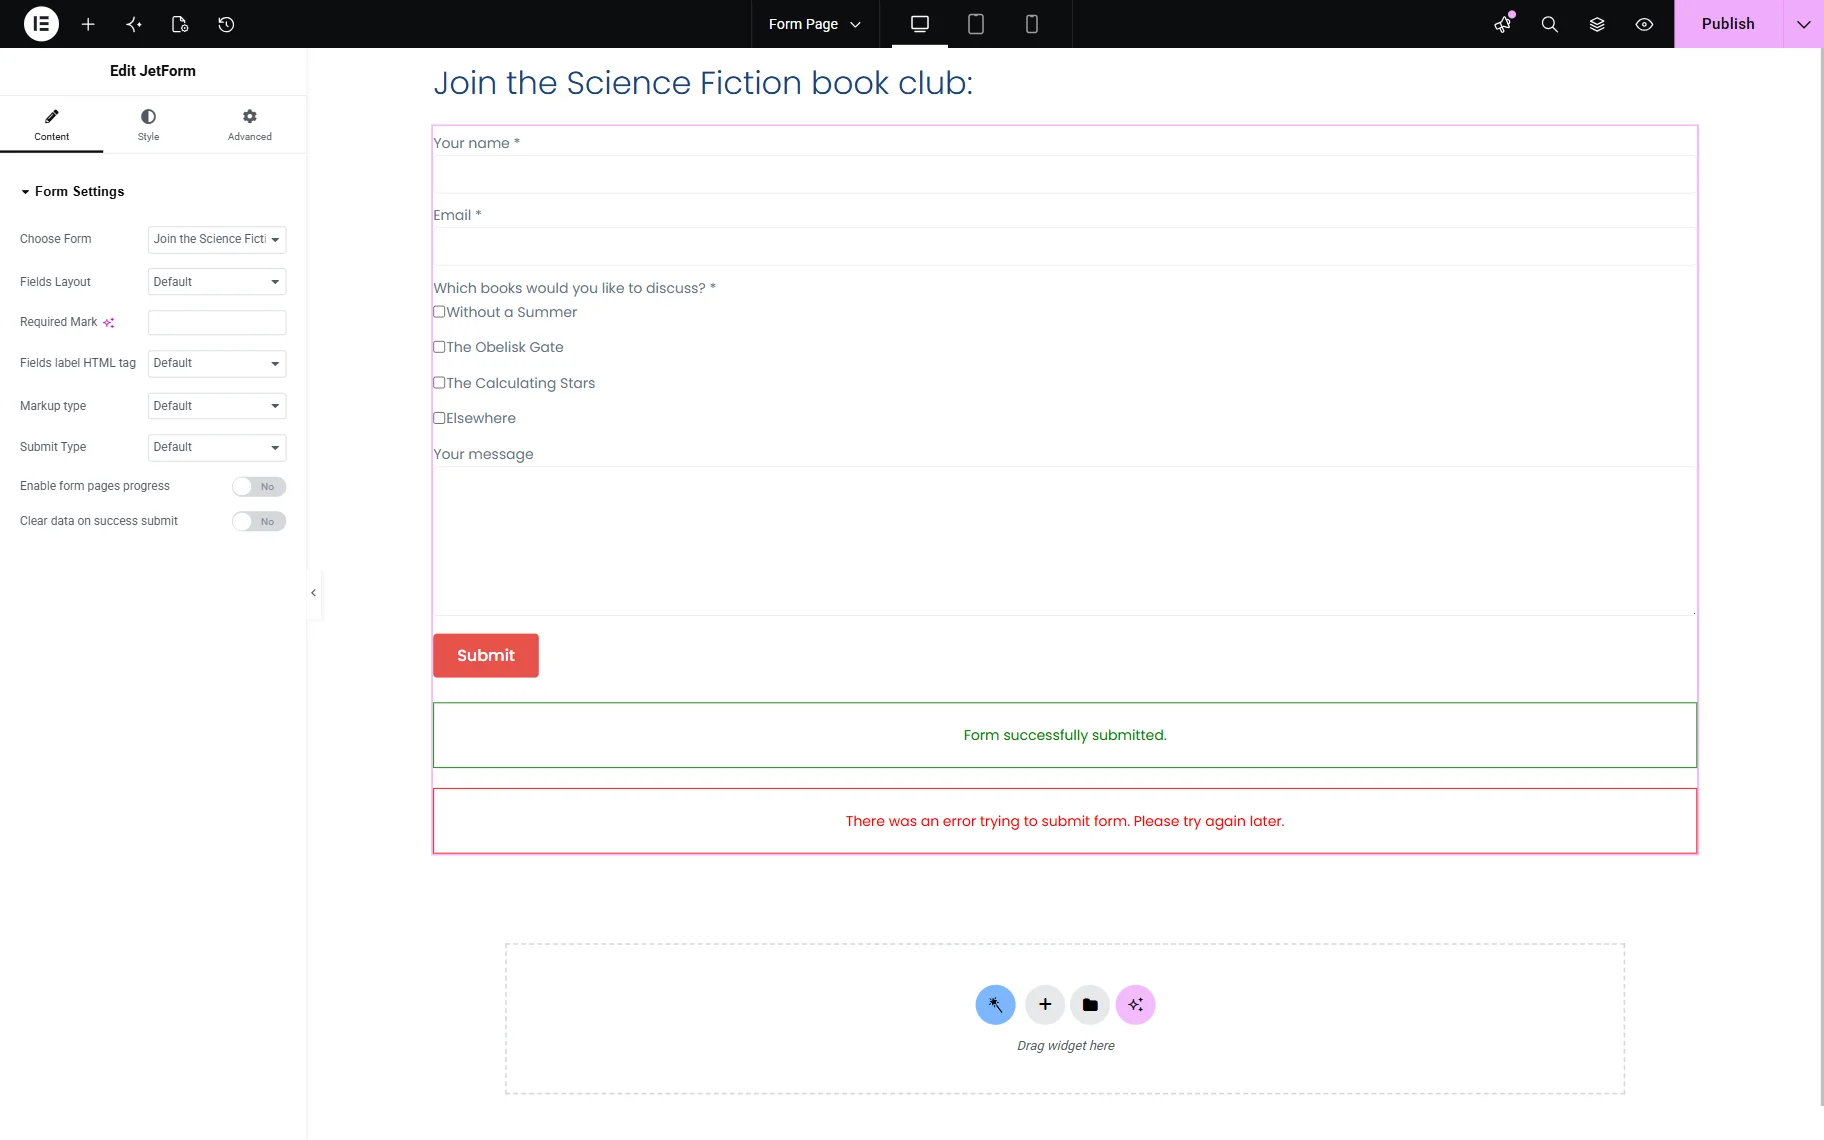
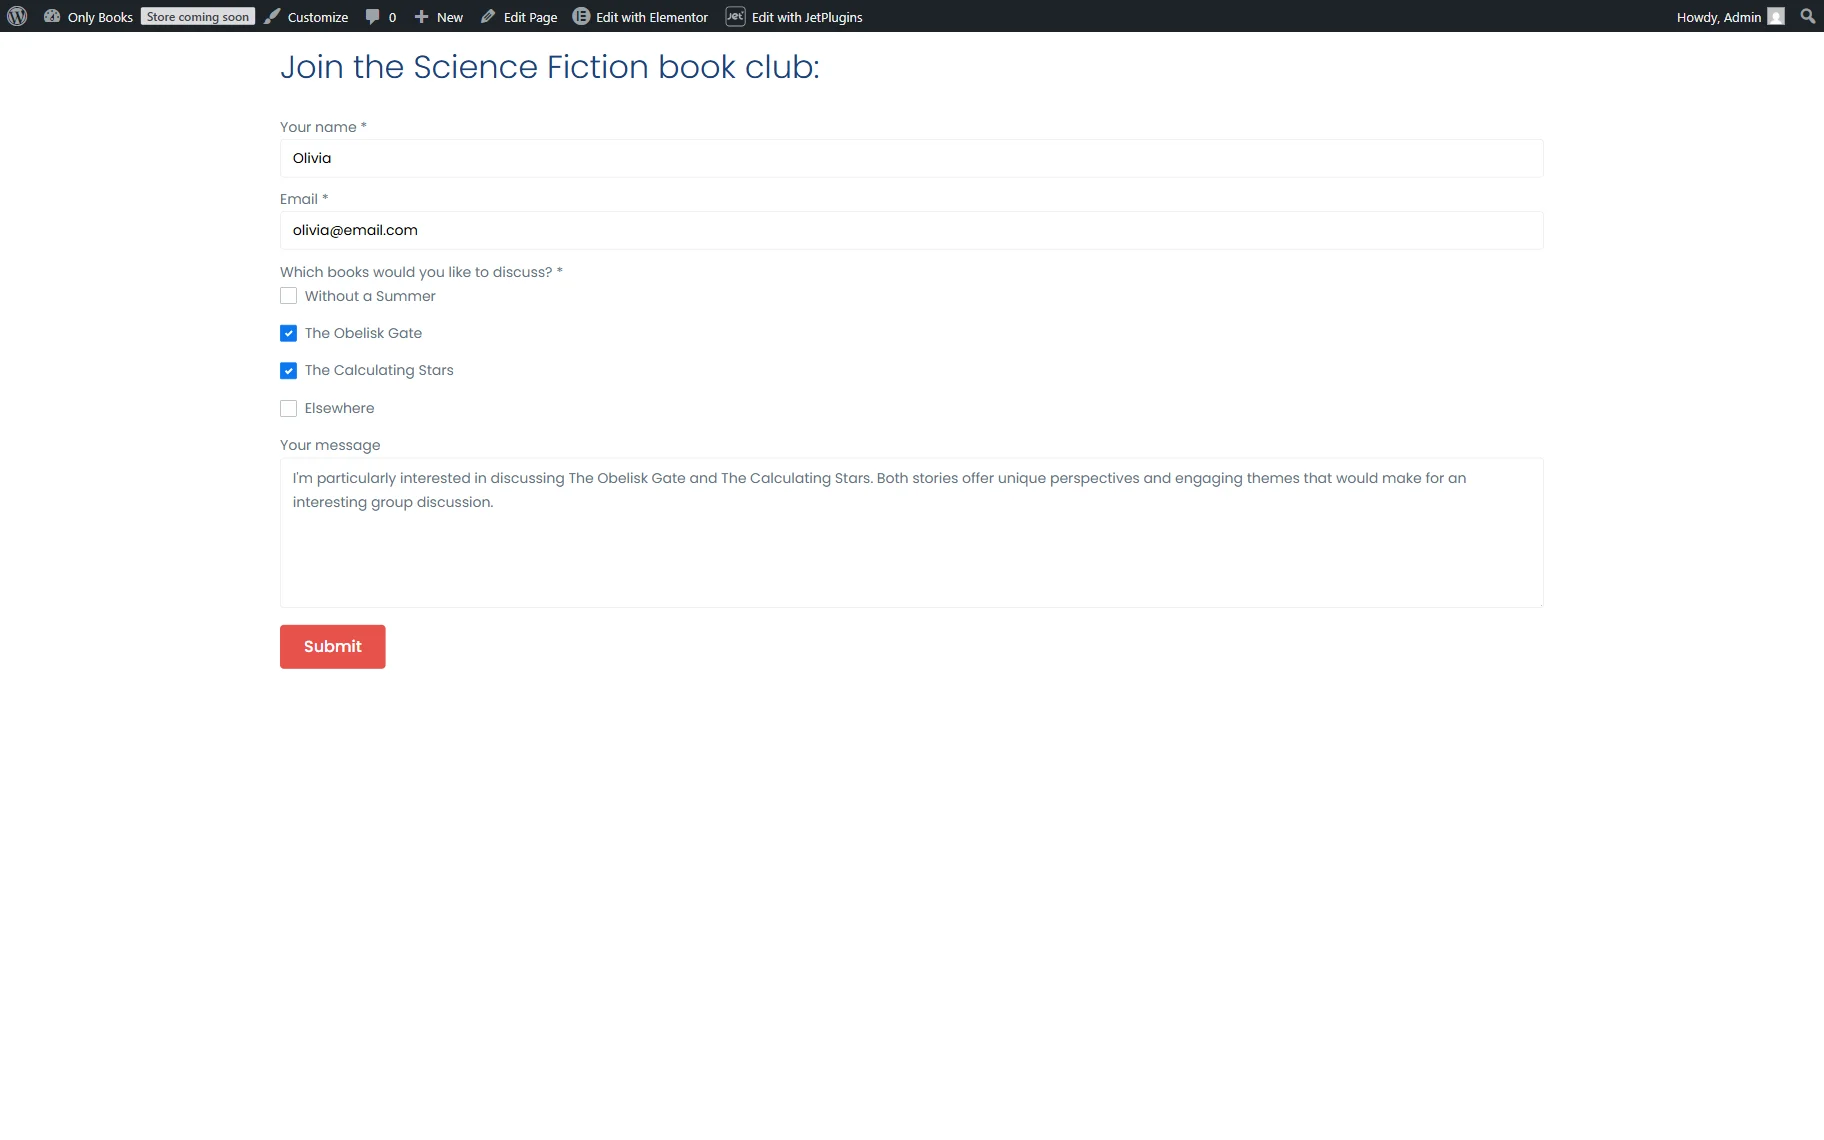
Open the just-built page on the front end. Complete and submit the form to check if it works correctly.
In our case, the form contains the Checkbox Field with the queried items, so everything works correctly.
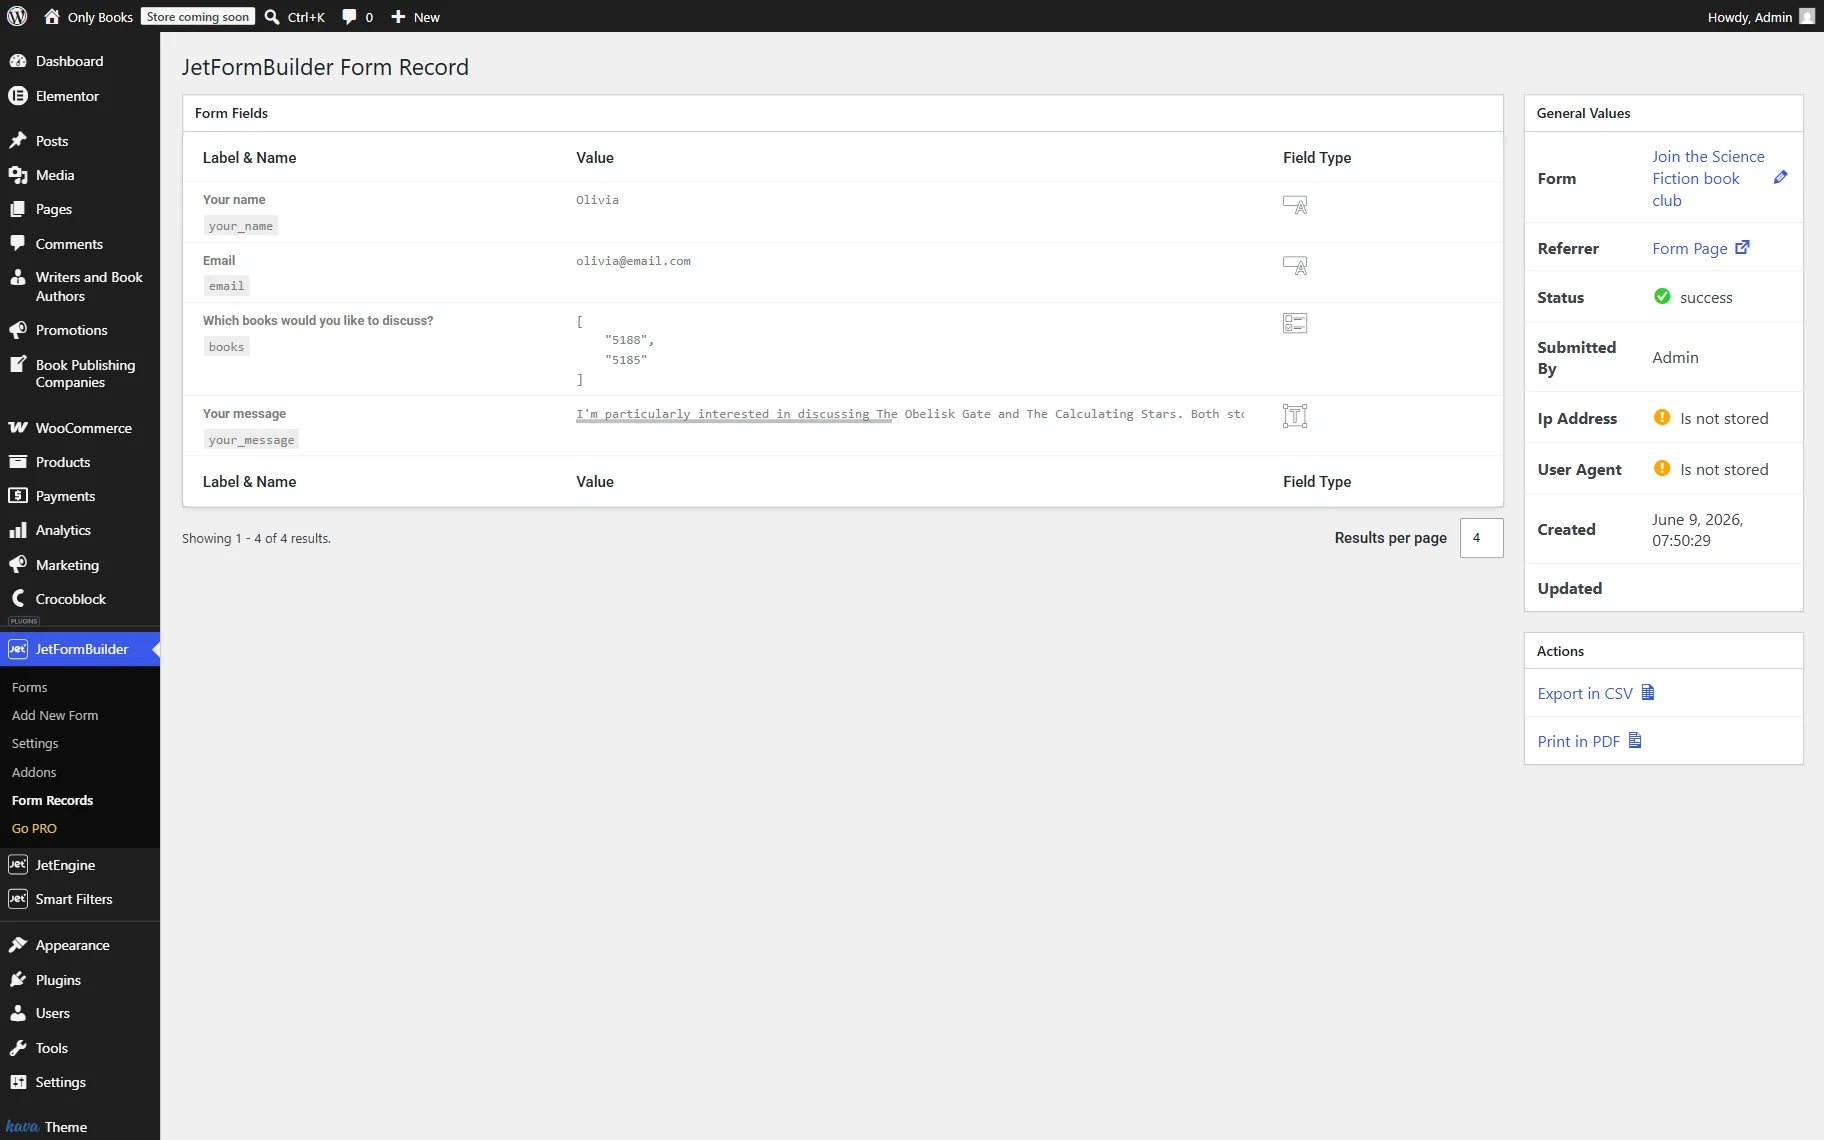
If you have adjusted the “Save Form Record” action, you can check the corresponding record in the WordPress Dashboard > JetFormBuilder > Form Records list.
FAQ
Check that the correct query is selected in the field settings and verify that the OPTION VALUE and OPTION LABEL properties match the query output.
Open the query and enable the Preview results toggle. The returned data structure will show the available property names.
Yes. However, the column names returned by the SQL query must match the properties referenced in the OPTION VALUE and OPTION LABEL settings.
Relation-based queries can also be used as a source of dynamic options, provided that the query returns the required properties.
It refreshes automatically. However, if you experience any issues, you can clear the website cache to troubleshoot and ensure that the updated content appears in the Preview results.
That’s all about populating JetFormBuilder form fields by using the JetEngine Query Builder functionality for WordPress.