How to Set Query Results Count Dynamic Tag
In this tutorial, we will closely look into the features of the Data Store Button widget by JetEngine.
A Dynamic Tag is a special source of content. Instead of typing in the text or uploading media right to the widget, you can pull it dynamically from another source with the help of a dynamic tag.
With the Query Results Count dynamic tag, you can show the total number of query results and the number of currently visible query results on the page.
How to Display the Query Results Counter

You can display the query results number using the Query Results Count dynamic tag. For that, you need to create any query with the help of Query Builder. Then make the Listing Grid, add the widget to any page, and apply the query to it.
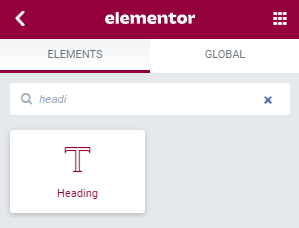
For the Query Results Count dynamic tag, you can use the Heading widget. Drag and drop it above the Listing Grid.
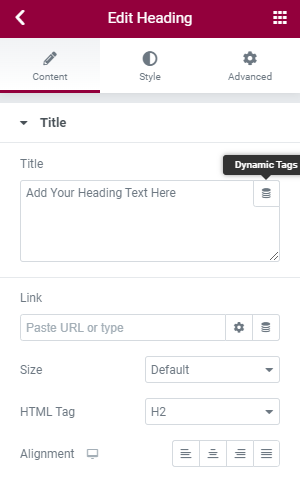
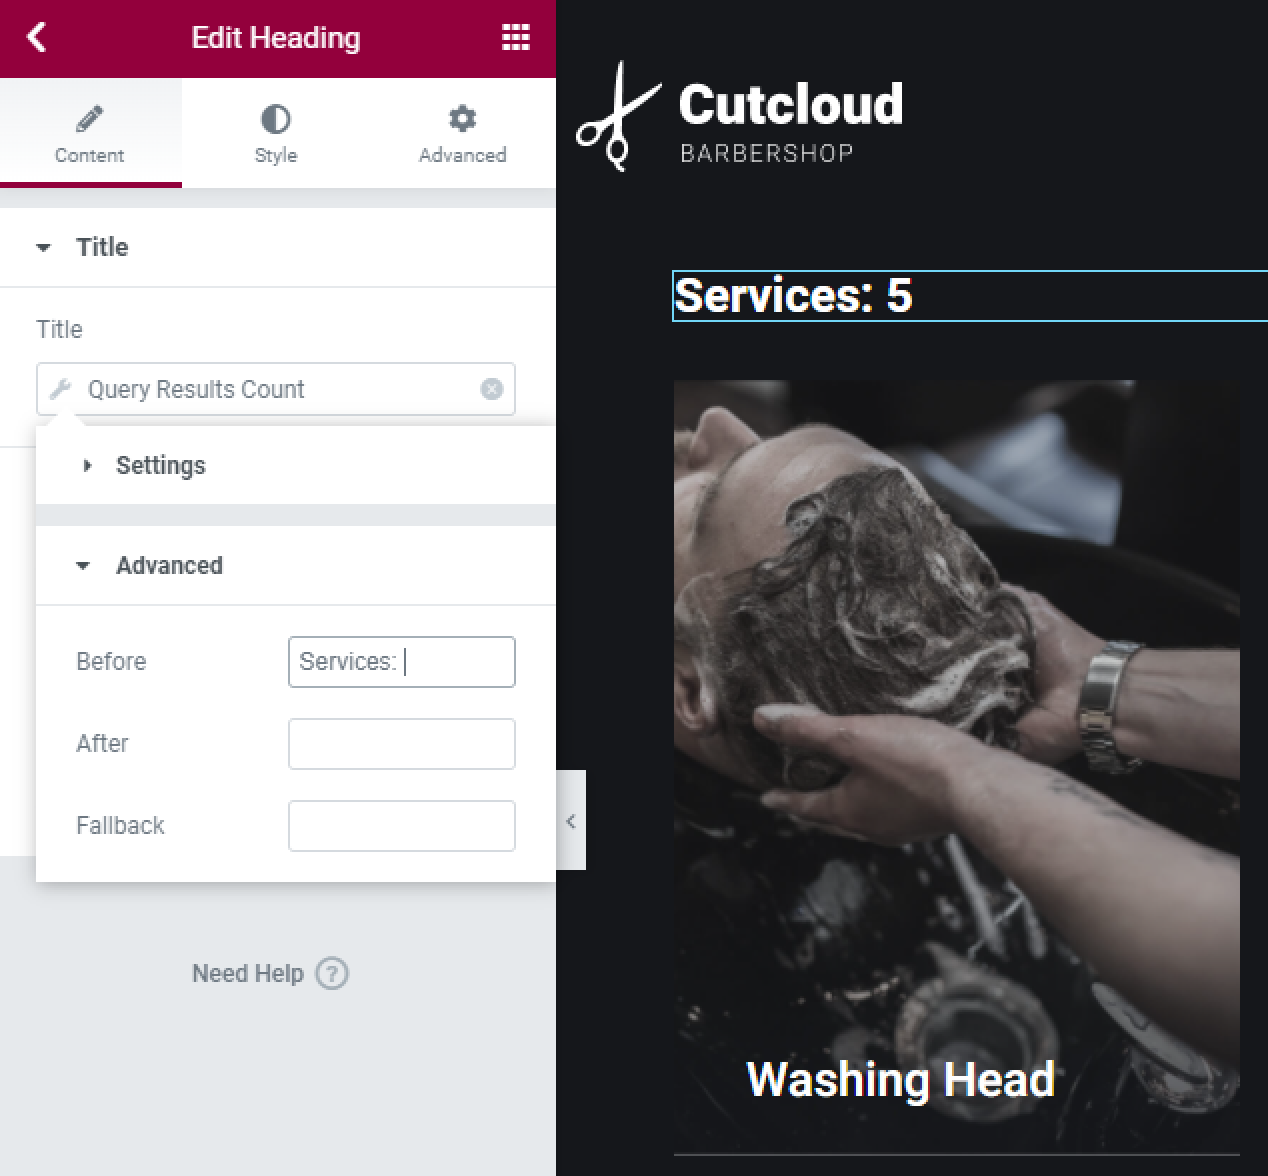
Click to edit the Heading and hit the “Dynamic Tags” button in the Title field.
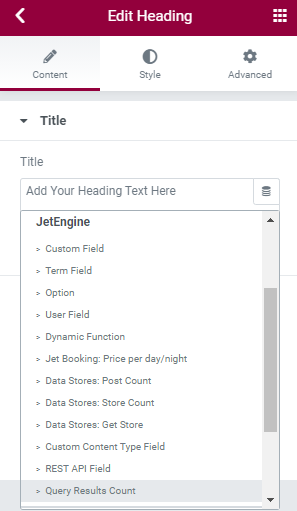
Then select the “Query Results Count” dynamic tag from the list.
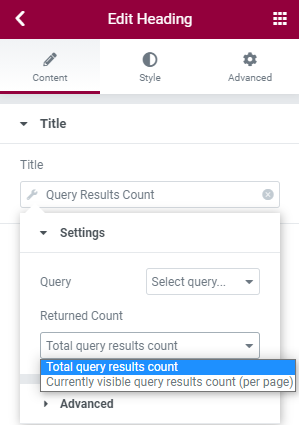
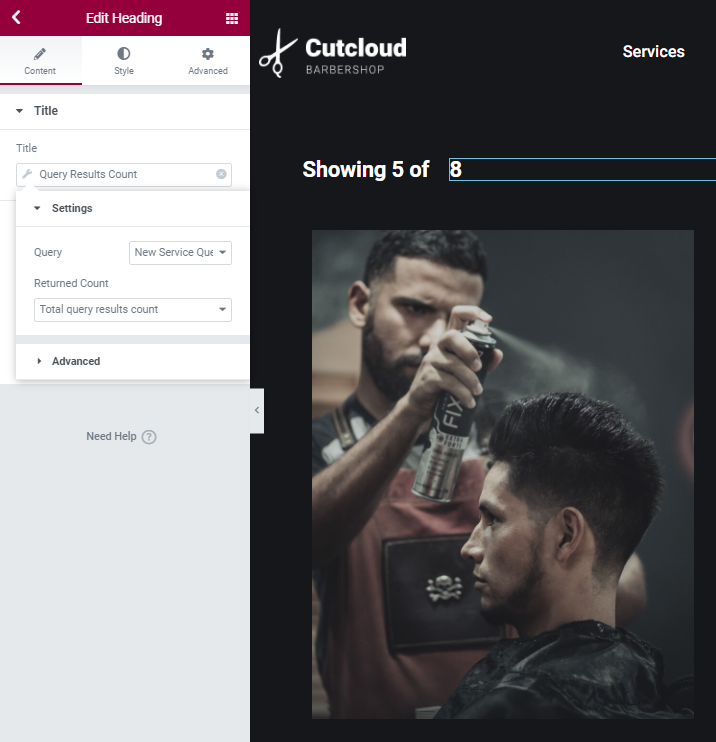
In the appeared Settings tab, we have such features:
- Query. Select the query with pagination that is applied to the widget under;
- Returned Count:
- Total query results count – shows the number of total query results of all pagination pages;
- Currently visible query results count (per page) – shows the number of results on the current page.
Total and currently visible query results will be equal if you don’t use Pagination in the query, so it doesn’t matter what you choose. As to the Query Results Count with pagination, we’ll get to that in the second part of this tutorial.
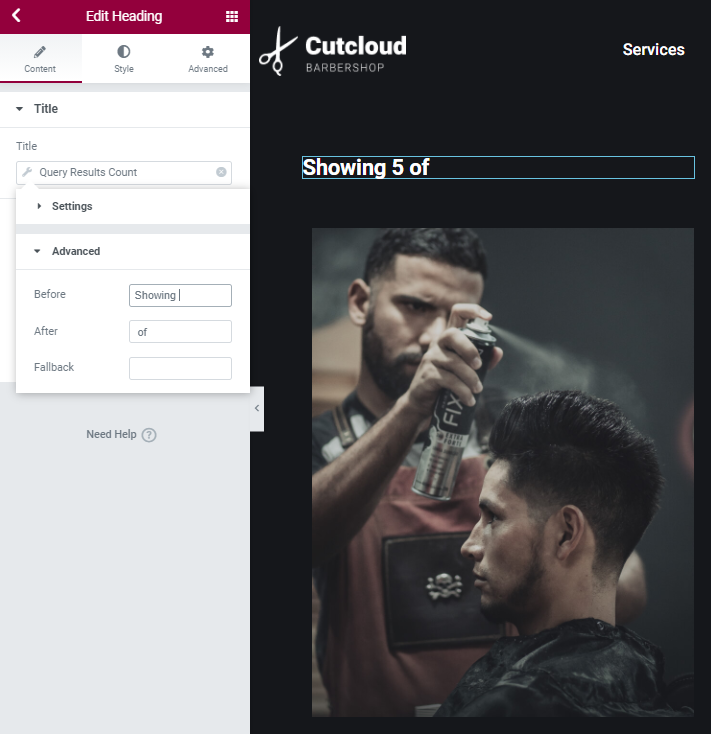
In the Advanced tab, there are such fields:
- Before and After. Here you could enter text before and after the number. In those two fields, you can use indents to separate the number from the text;
- Fallback. Enter the text that will be shown if data is failed to be displayed.
After you finish customizing, press the “Update” button.
How to Display the Query Results Counter for the Query with Pagination
To display a certain number of posts per page, you can use the Pagination widget and set the Pagination in the Query Builder with the WordPress JetEngine plugin.
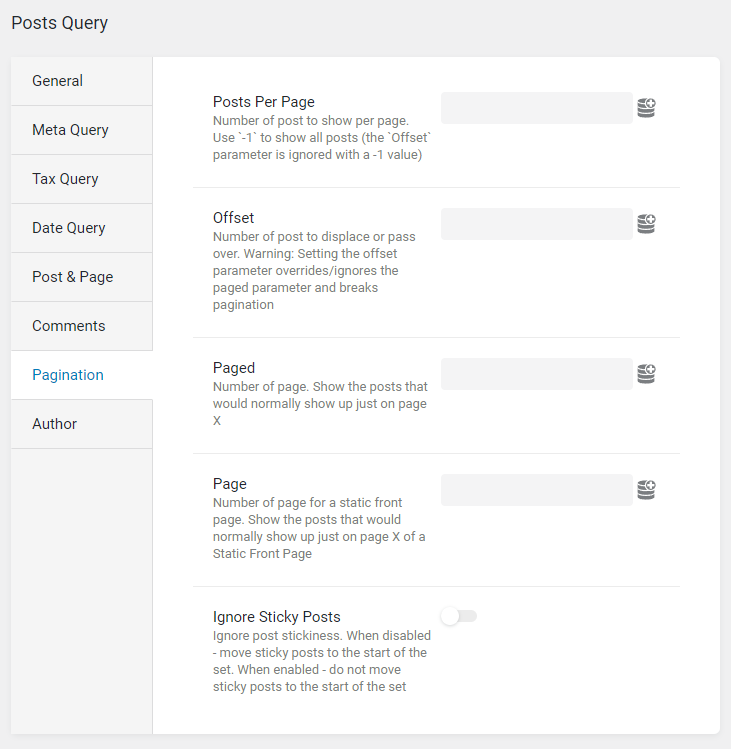
In this tab, you can set the Posts Per Page number and then add the posts to the particular pagination page. This feature is available for Posts, Comments, and WC Product queries.

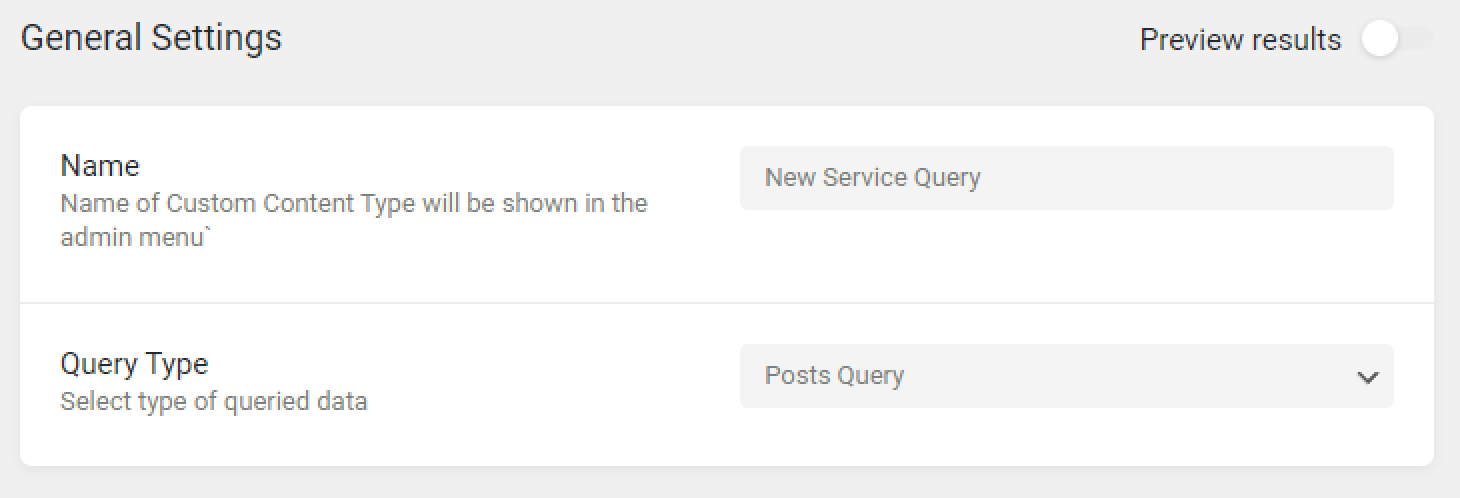
Proceed to JetEngine > Query Builder and hit the “Add New” button. Name your query and choose the appropriate Query Type. As an example, we have created a Posts Query.
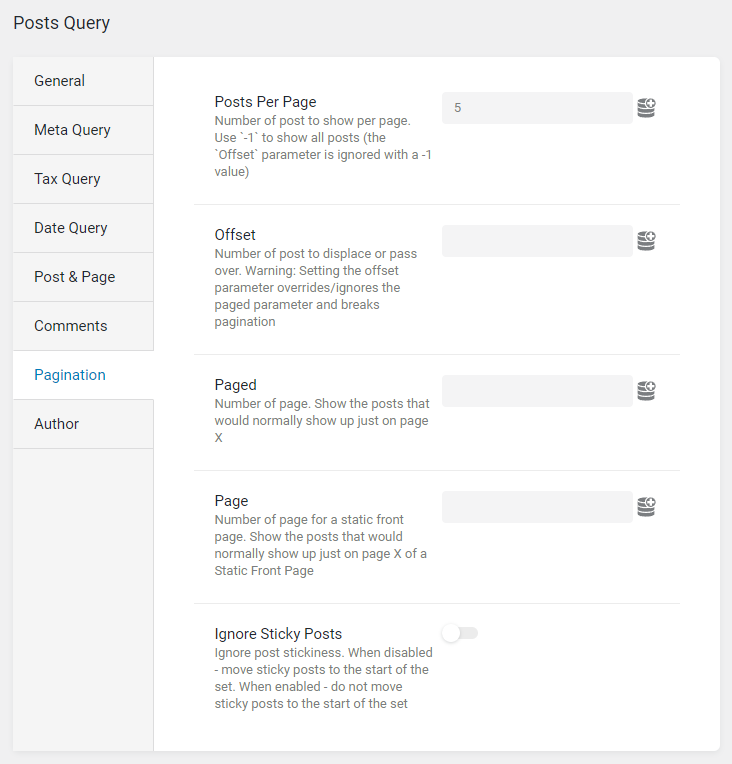
Open the Pagination tab and enter the number of Posts Per Page.
When you are done, click on either the “Add Query” or “Update Query” button.
Proceed to any page and drag and drop such widget as Listing Grid to it. Then add the Pagination widget under the Listing Grid.
By the way, we have a dedicated tutorial about adding the Pagination to the Listing Grid widget. You can check it out here.

The default number of pages in pagination in the Elementor editor is always “10.” On the front end, it shows the number of available pages.

Above the Listing Grid, we have added two columns with the Heading widget in each of them.

Click to edit the first Heading and hit the “Dynamic Tags” button in the Title field.
Then select the “Query Results Count” dynamic tag from the list.
In the appeared Settings tab for the first Heading widget, we have chosen our query and the “Currently visible query results count (per page)” option.

In the Advanced tab, we have added the text to Before and After fields. Don’t hesitate to use indents to separate the number from the text.
The next Heading, we have set up a way to show the Total query results count. After you finish customizing, press the “Update” button.
That’s it. You now know how to display counters of Query Results for the Listing Grid with different query settings.