How to Create a Drop-Down Menu with Mega Menu Widget in Elementor
The tutorial explains how to create a drop-down menu (including a sub-menu), add it to specific posts/pages/categories, manage menu settings and appearance, add it to theme templates, and style via the JetMenu plugin.
Before you start, check the tutorial requirements:
- Elementor (Free version)
- JetMenu plugin installed and activated
- JetThemeCore plugin installed and activated
Create a Menu
Navigate to the WordPress Dashboard > Appearance > Menus tab and create a new menu by clicking the “Create a new menu” link.
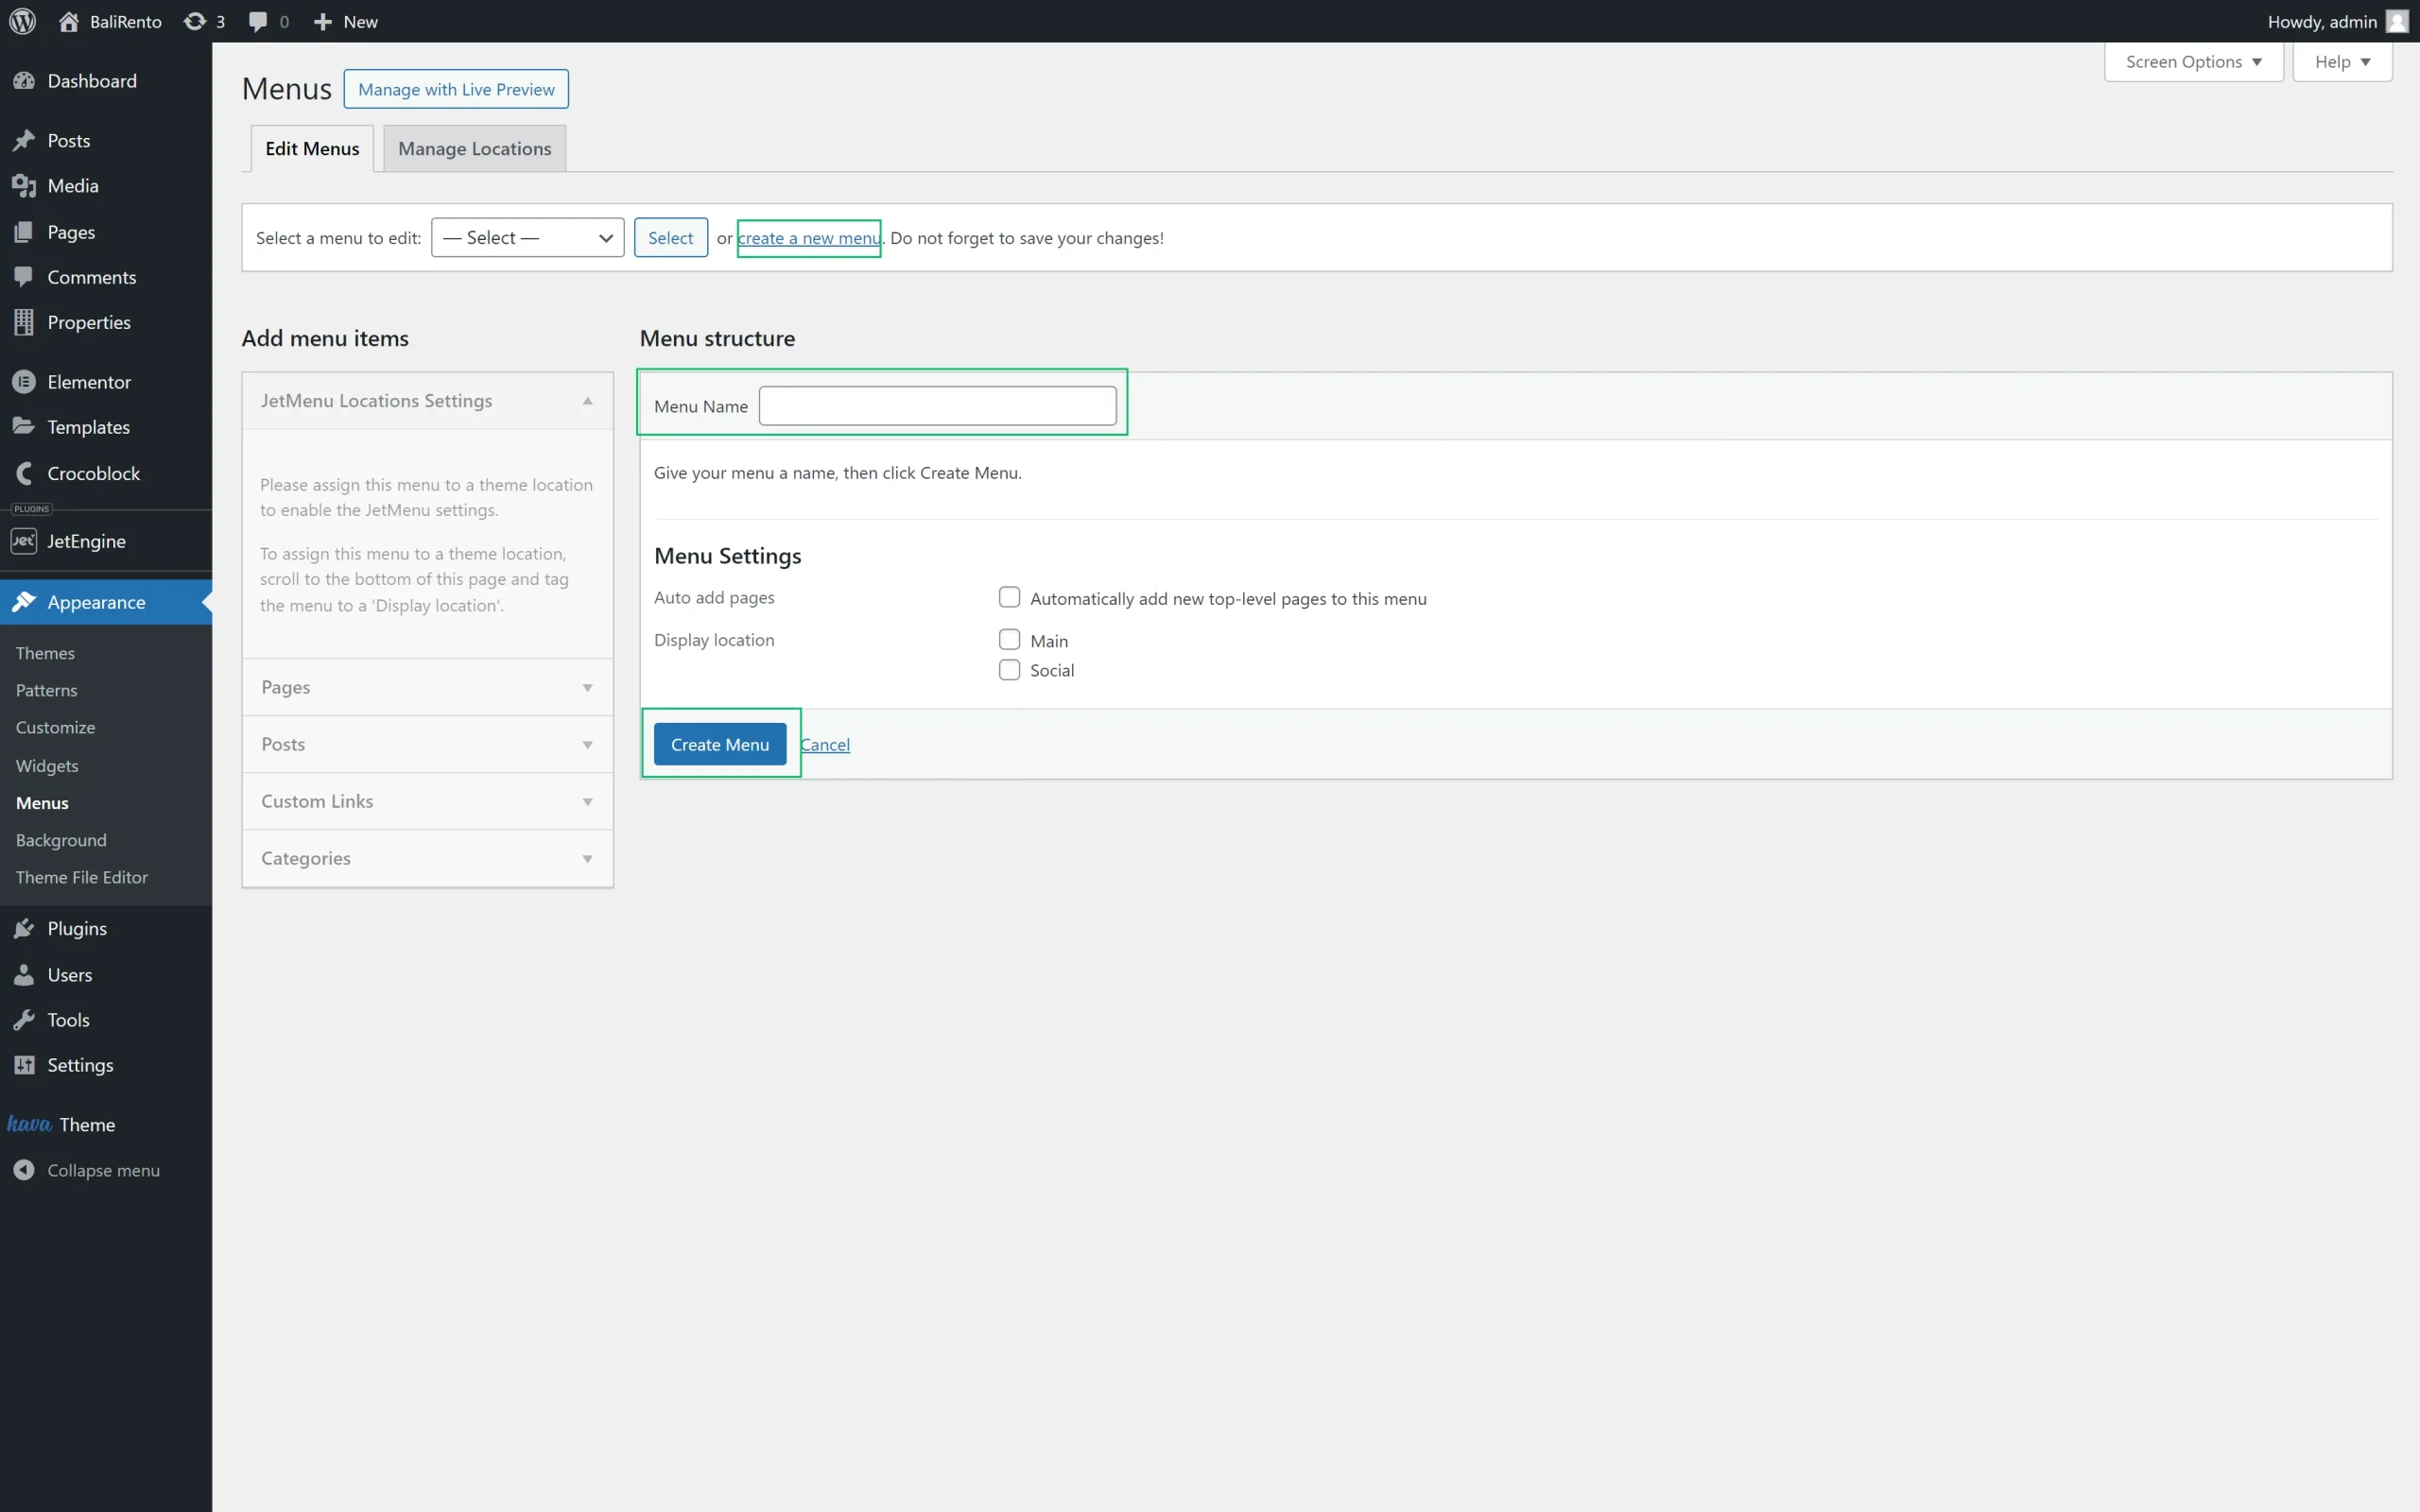
Type the menu’s name into the corresponding field and press the “Create Menu” button.In the Add menu items tab, select the Pages, Posts, and Custom Links you want to appear in the menu.
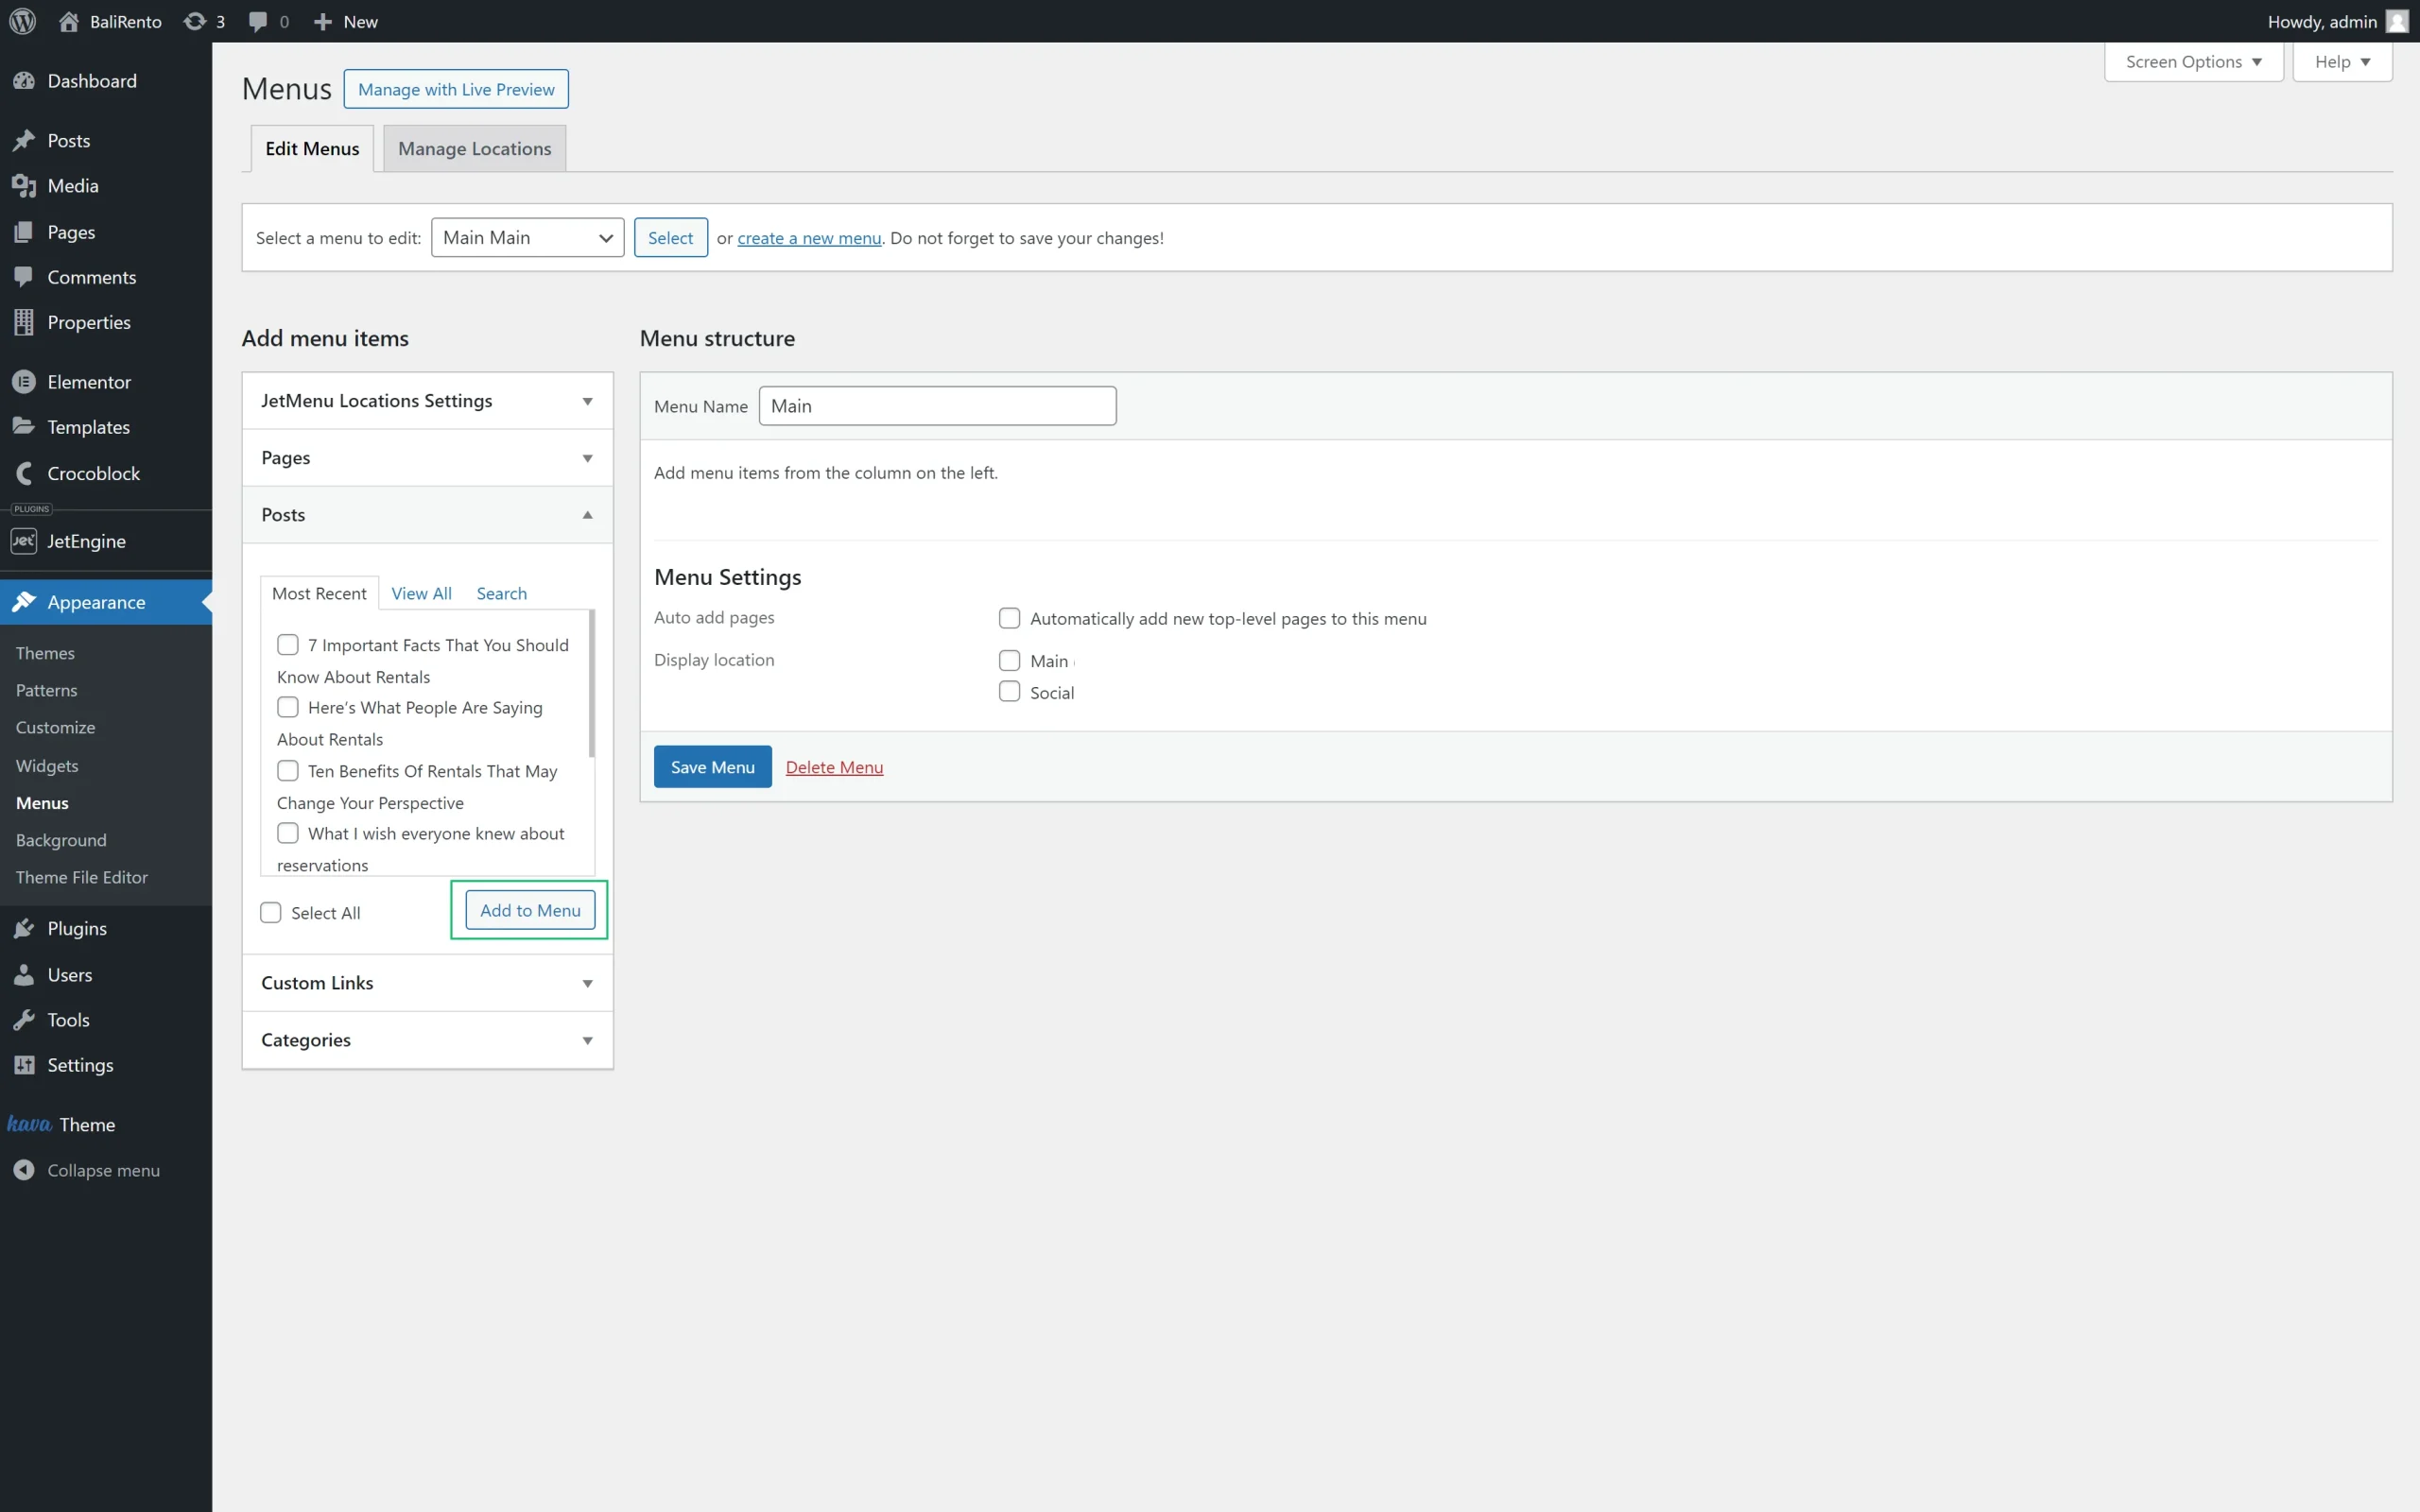
Press the “Add to Menu” button. Now, the added items will be displayed in the Menu structure tab.
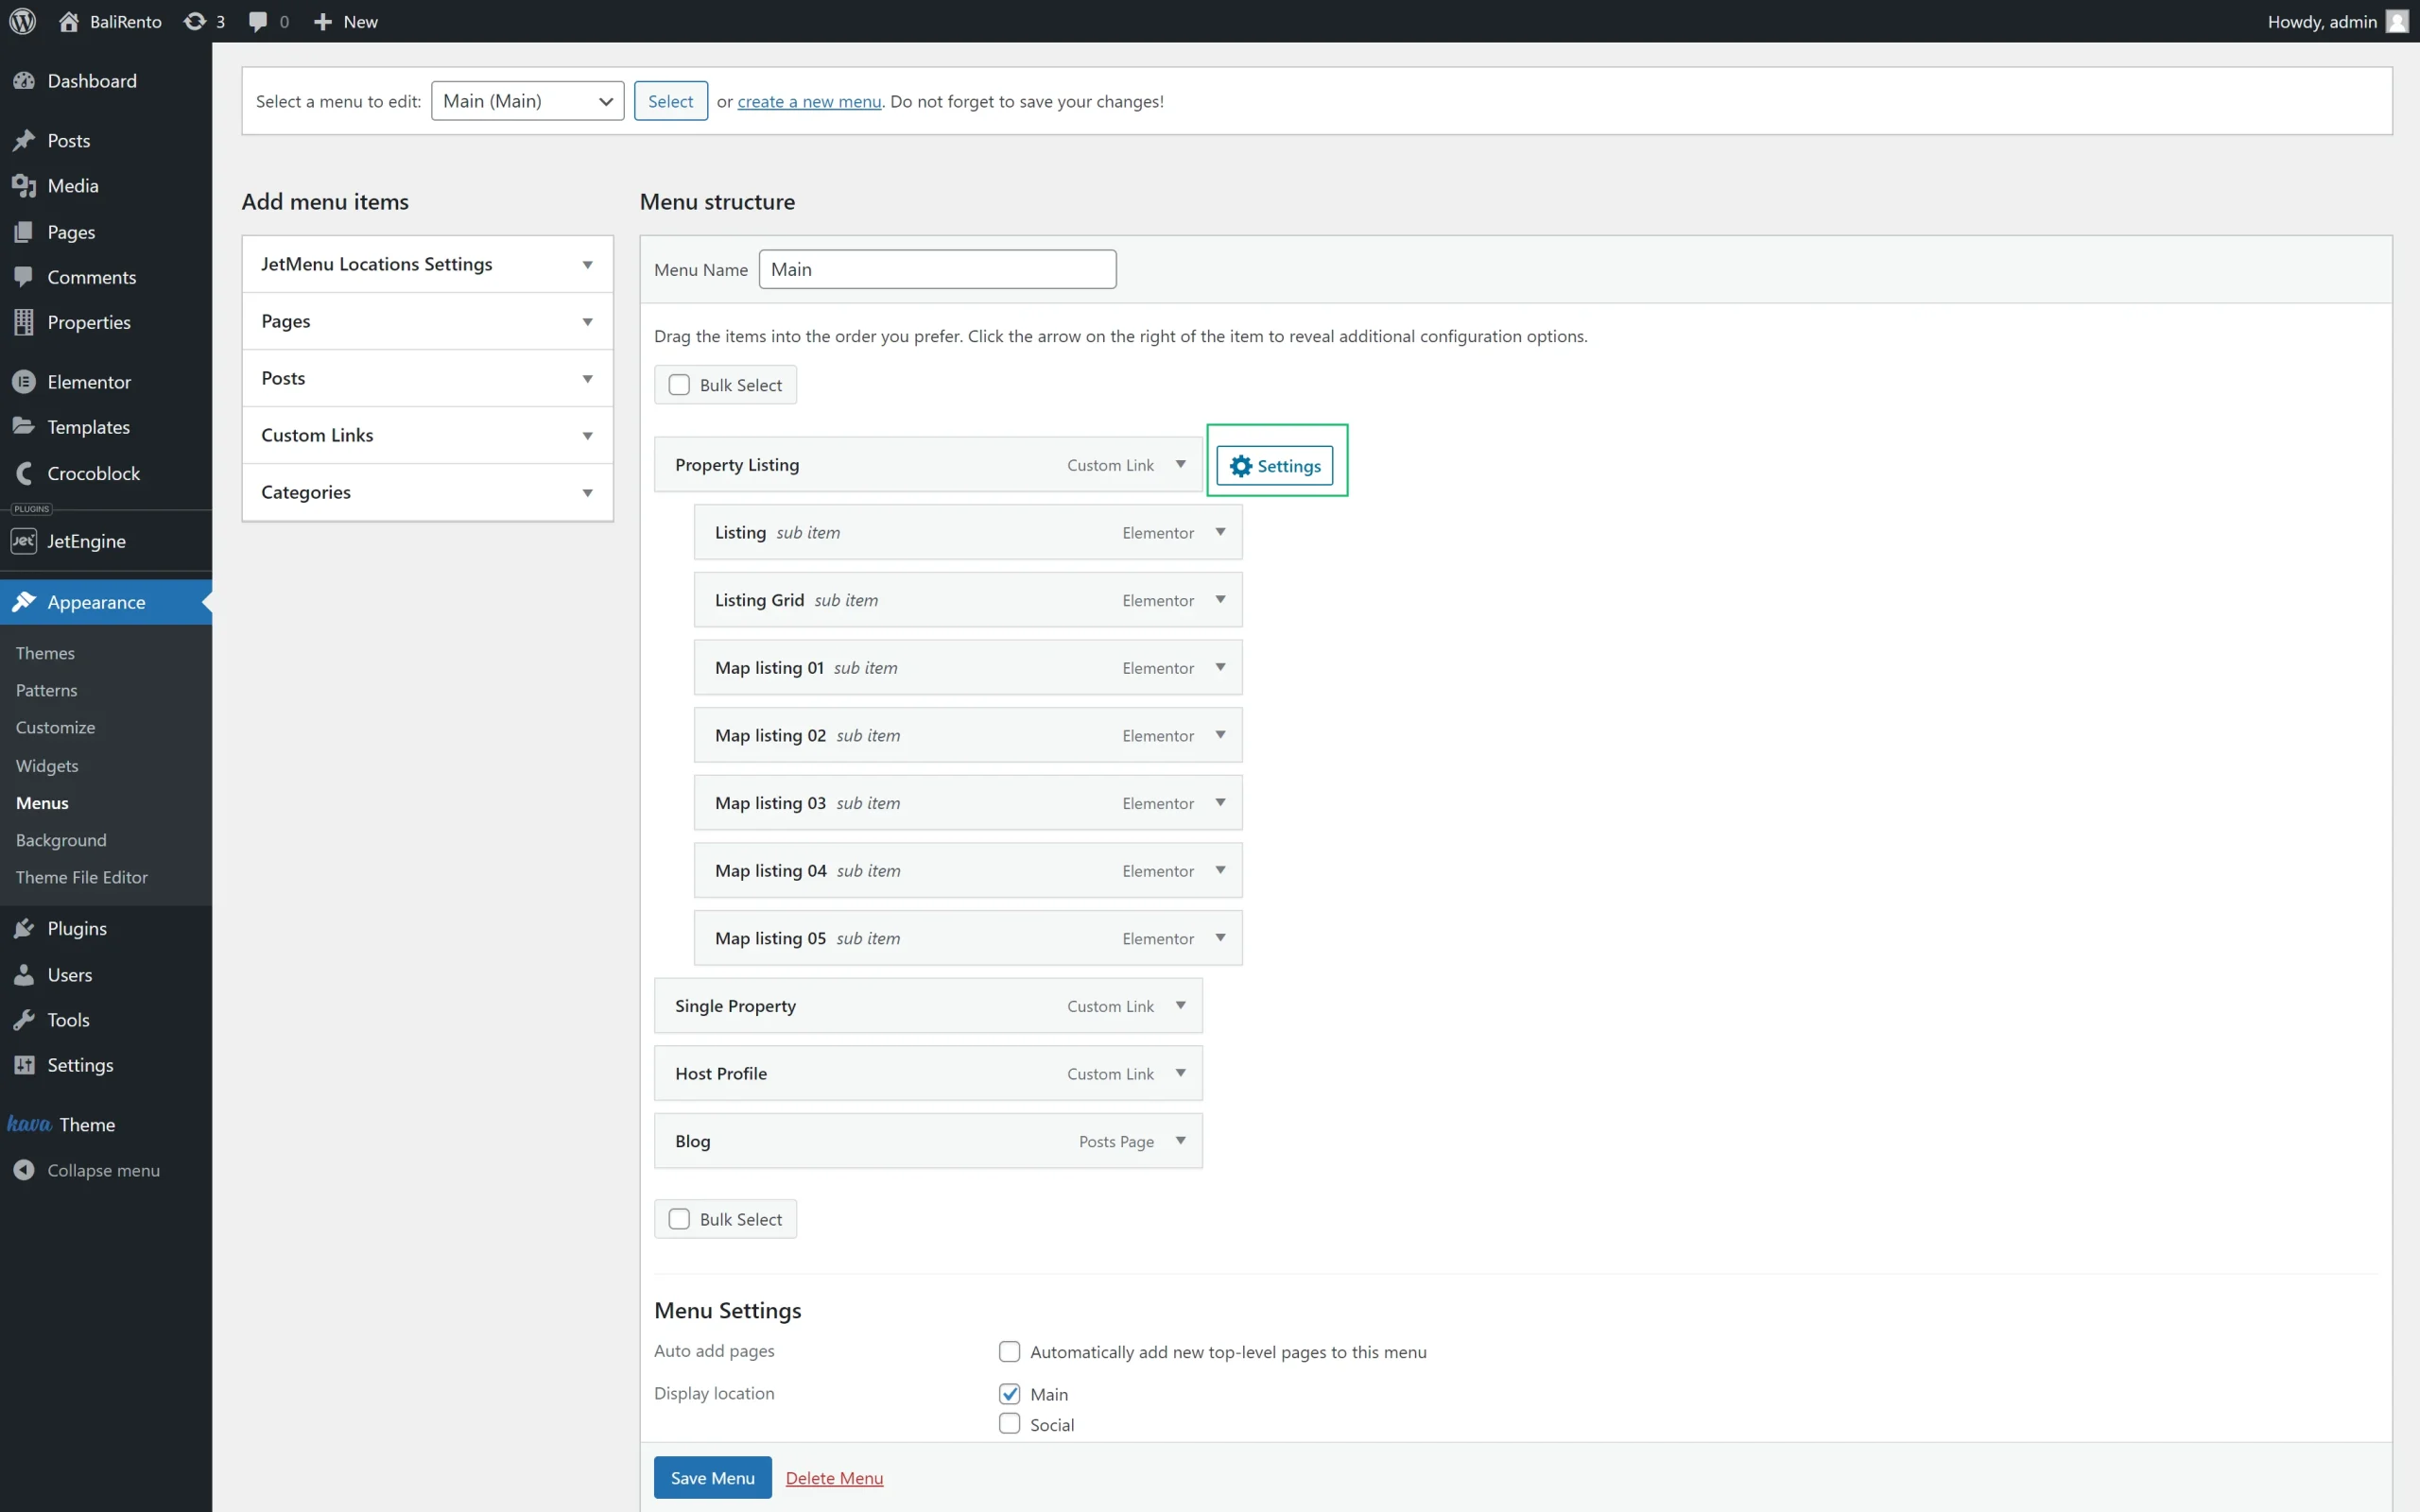
At first, the menu’s structure contains only main menu items. To create a sub-item (a child of any item), grab and drag the items to the right under the main item where you want to add sub-items. Select the “Main” option as the Display location in the Menu Settings block.
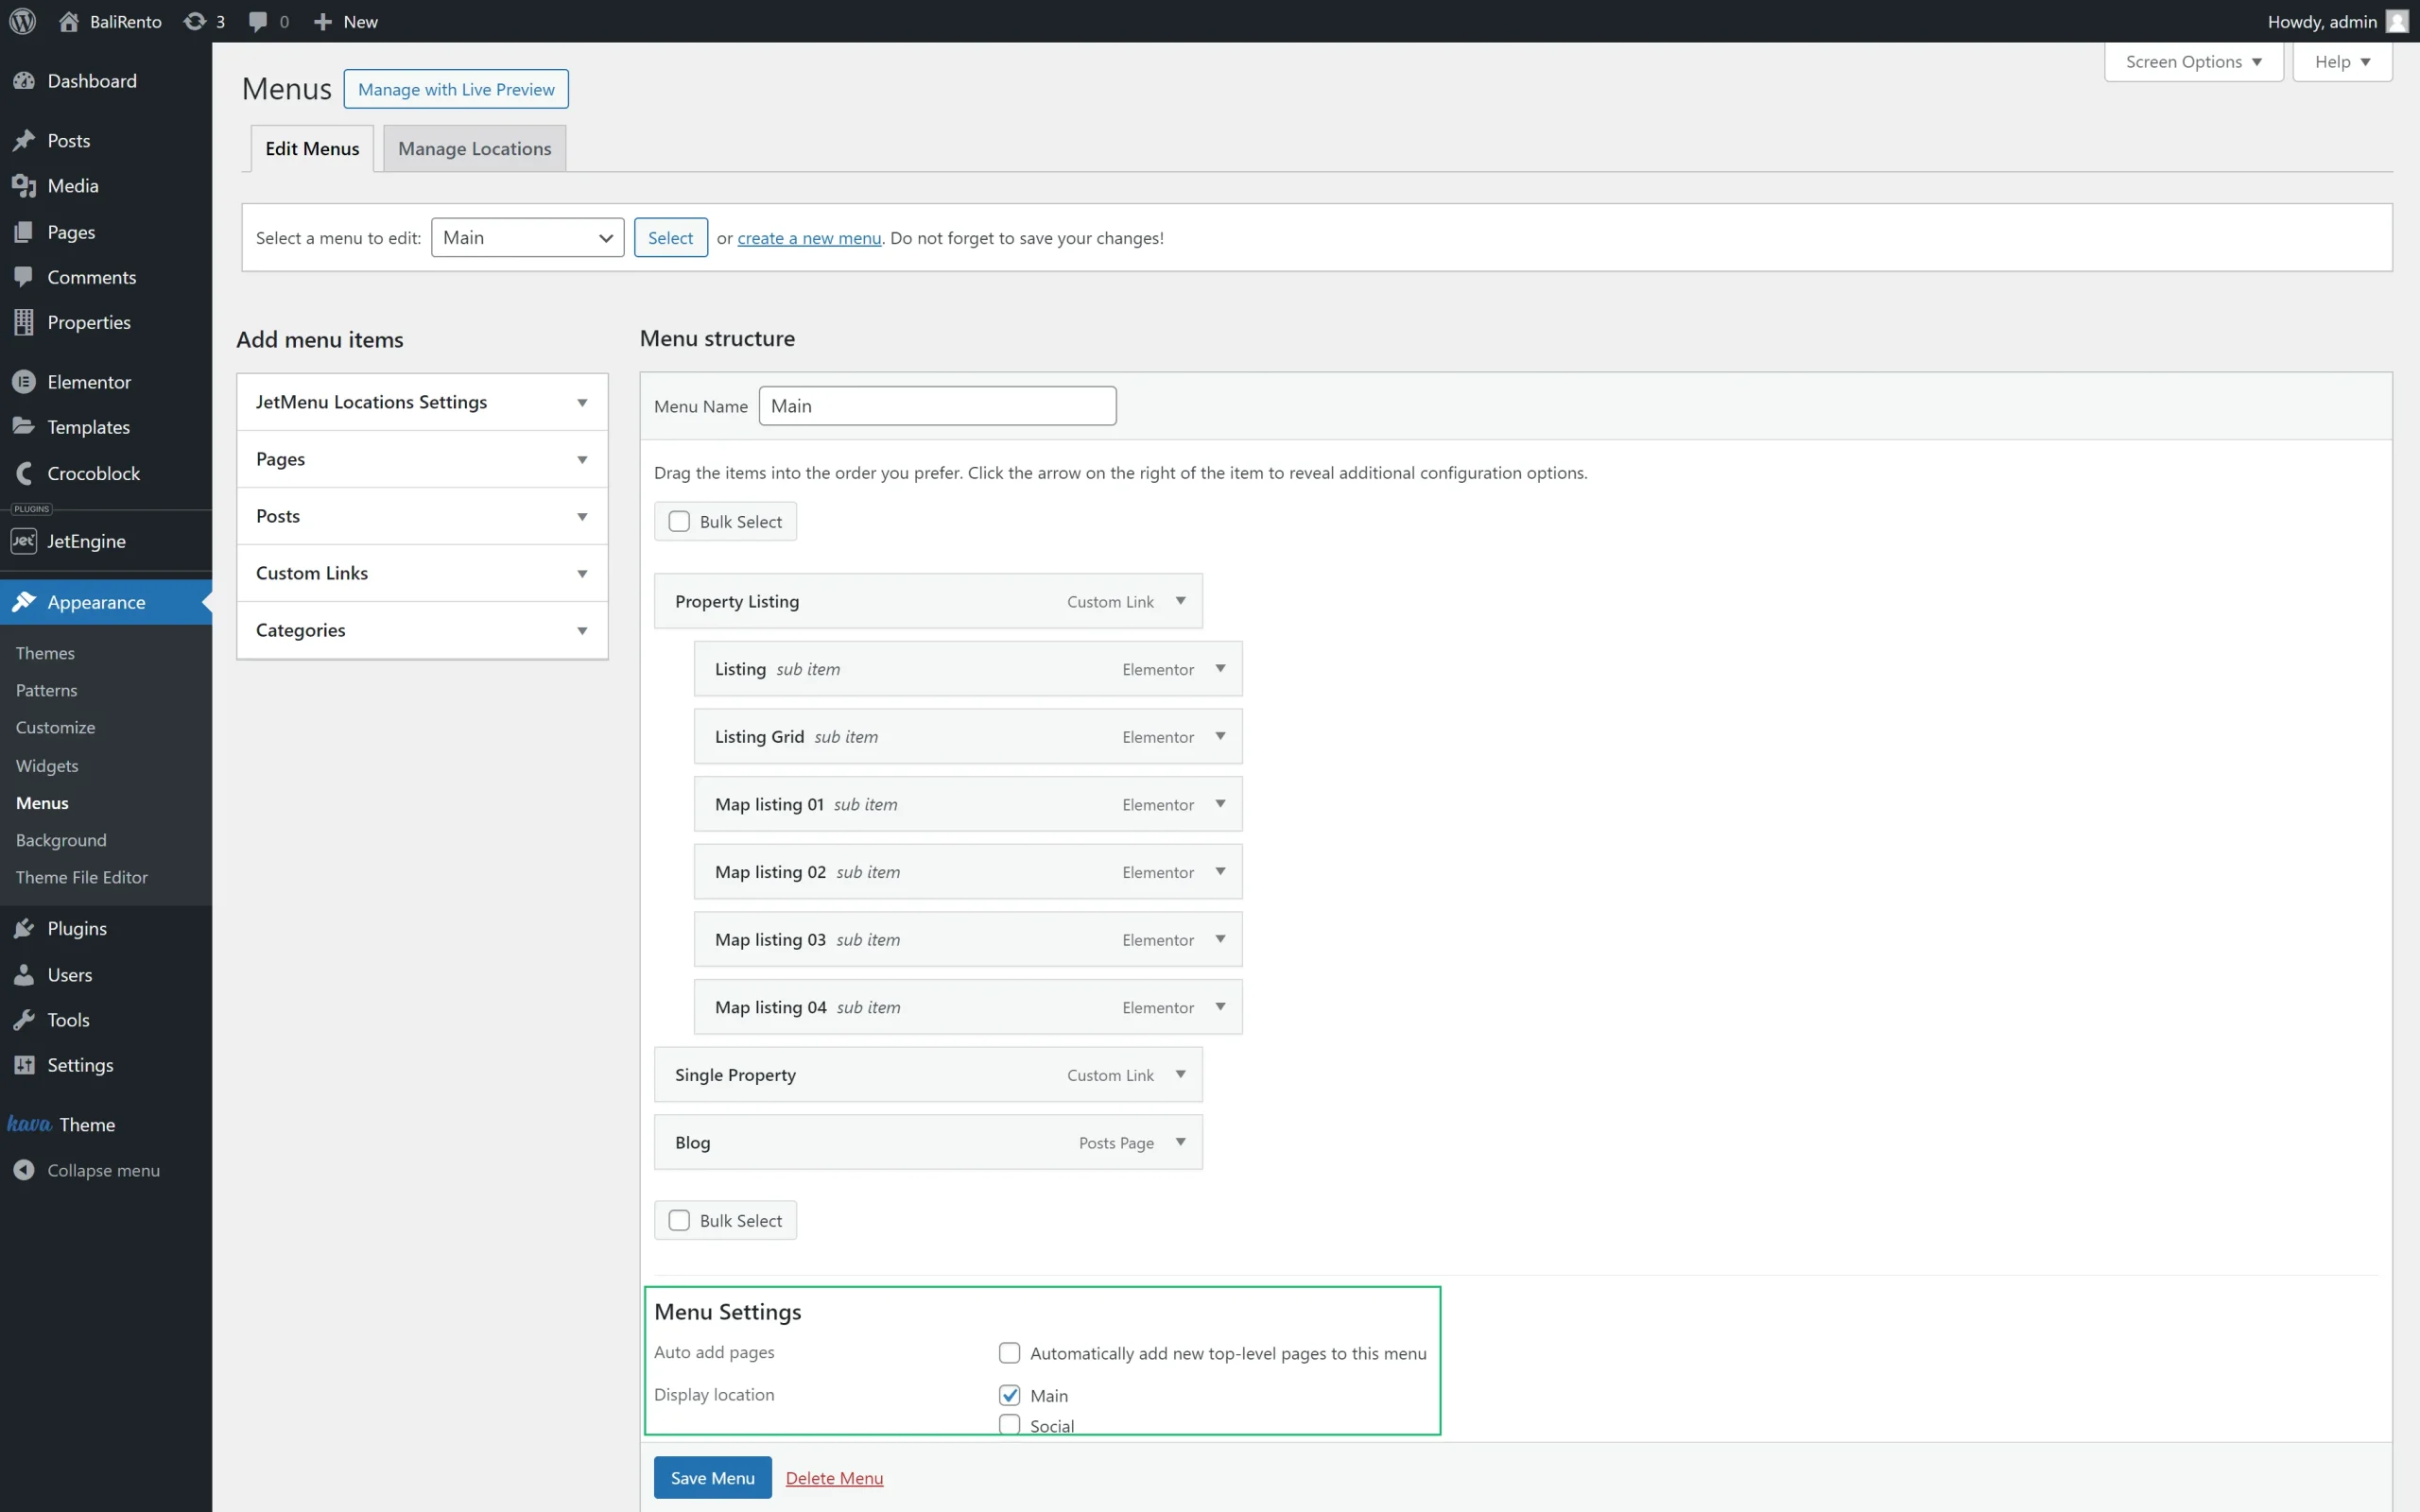
Press the “Save Menu” button.
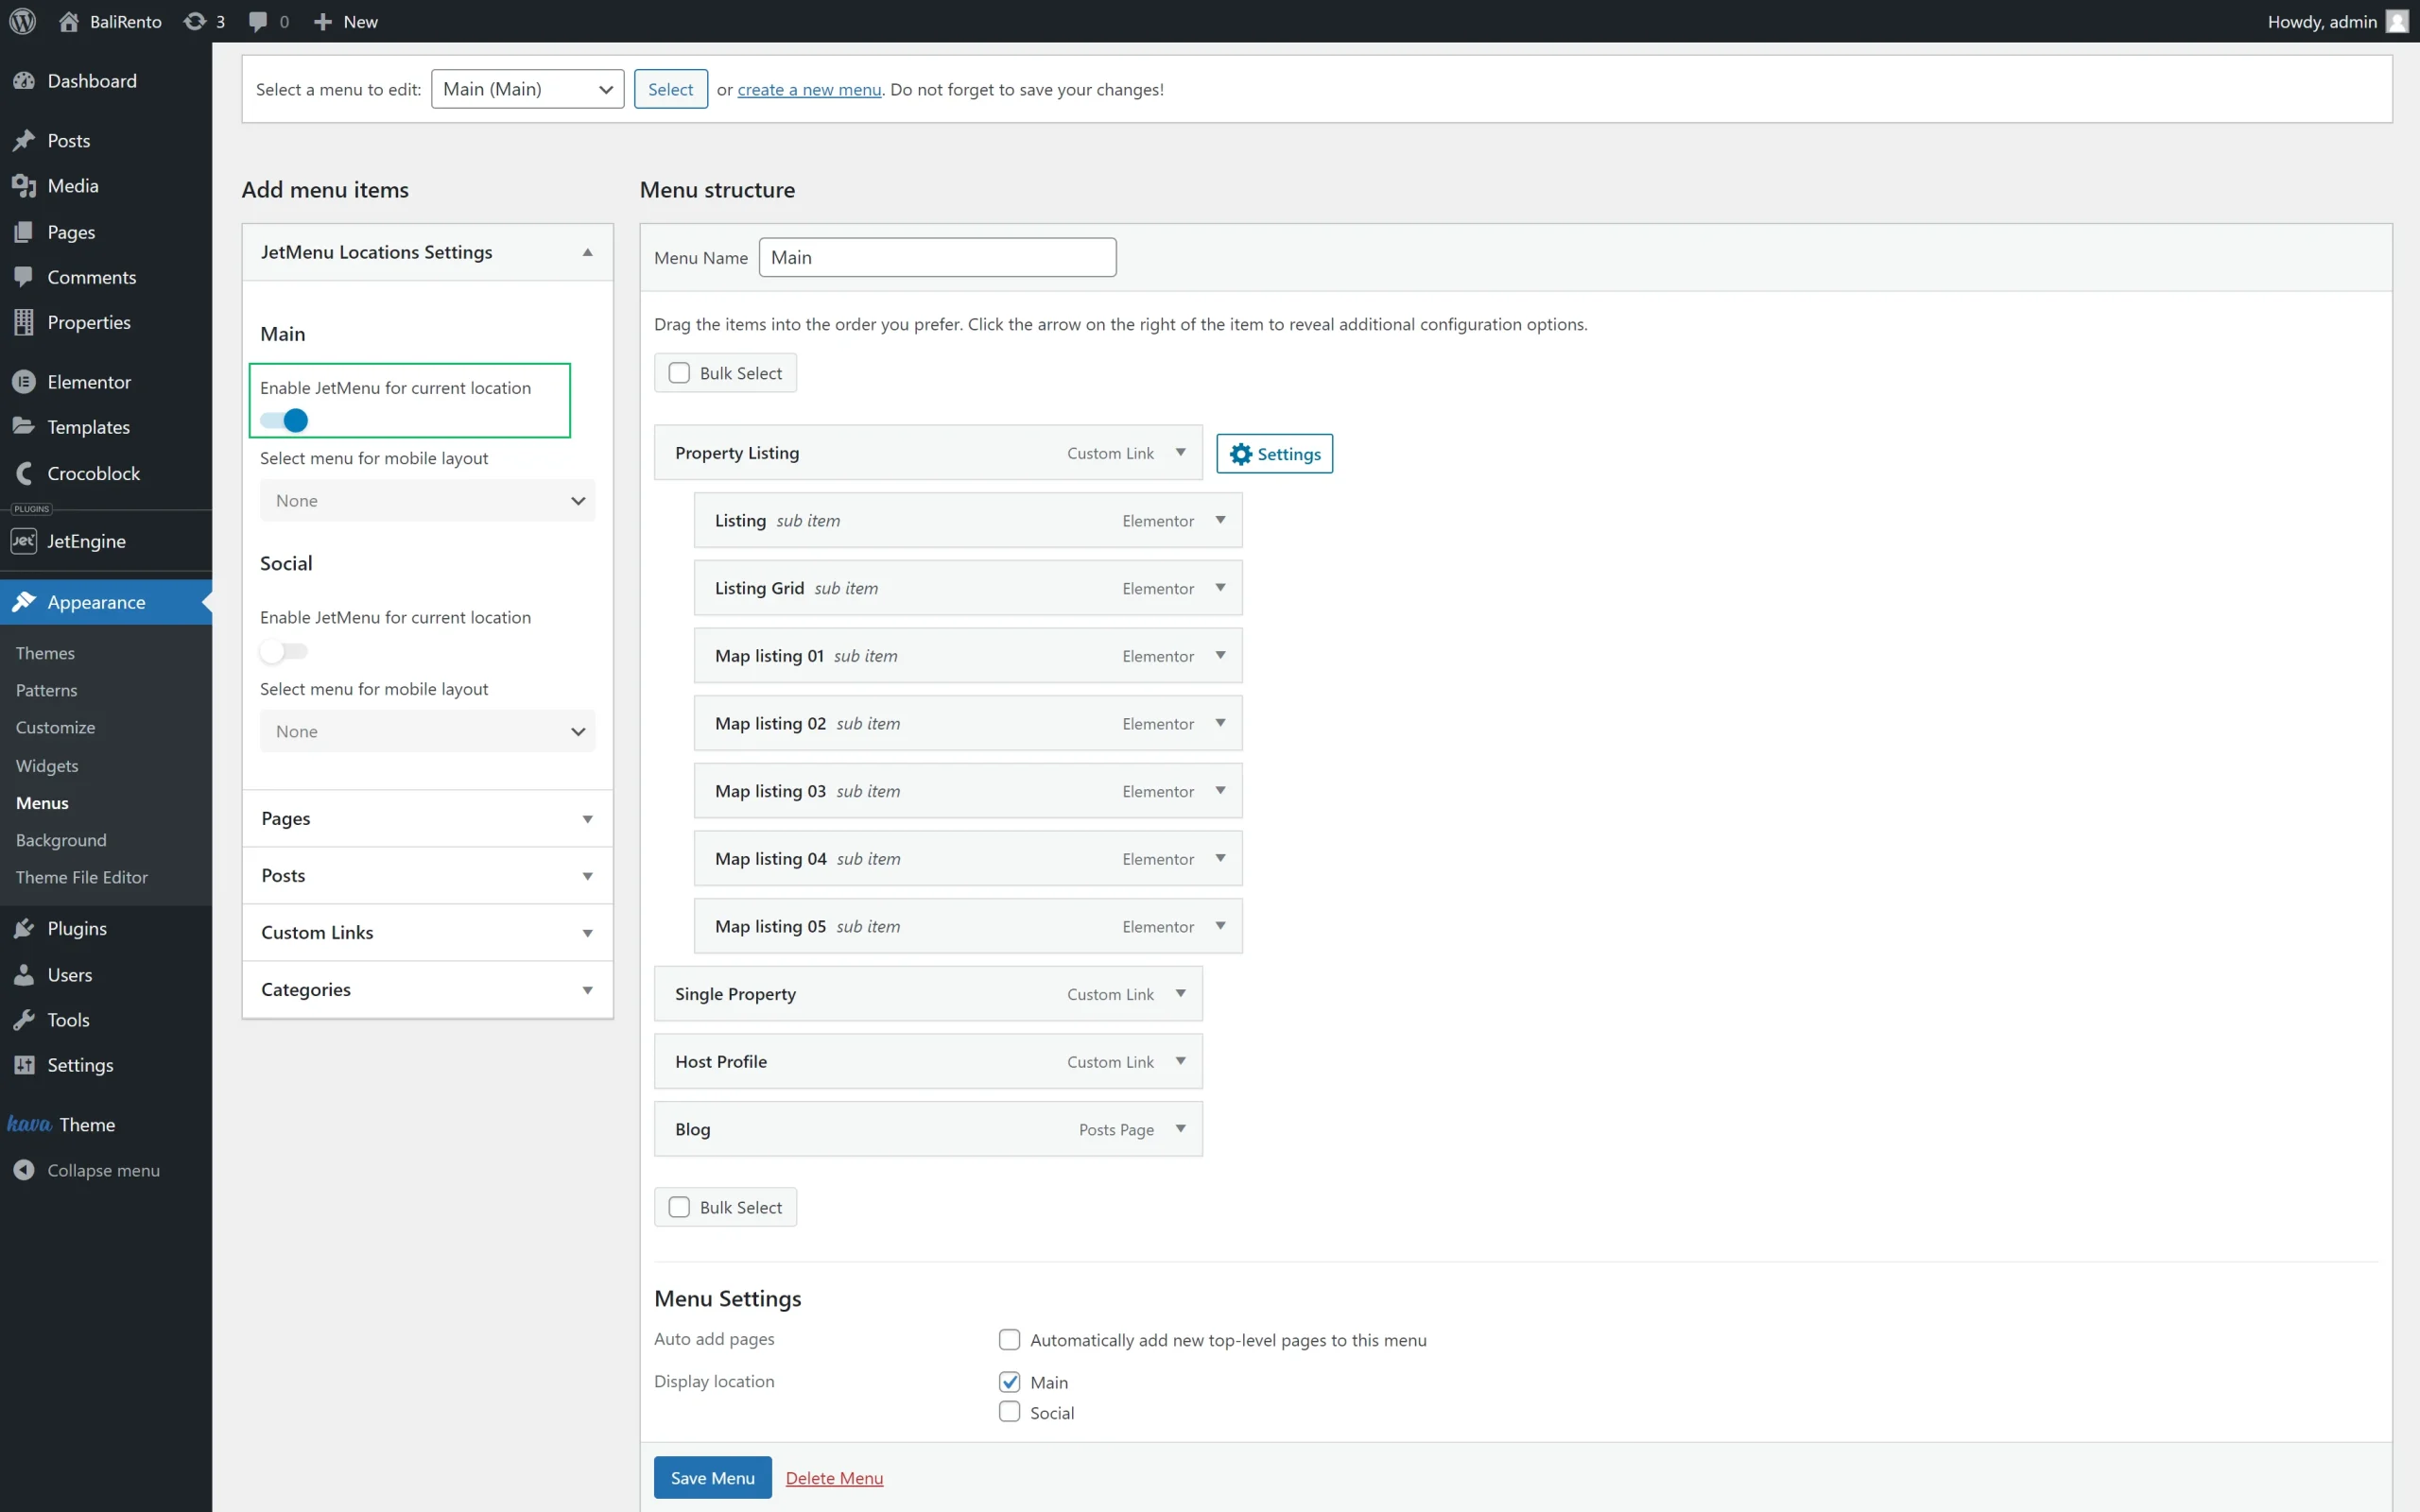
Your new menu can be shown anywhere on the page; the list of menu locations depends on the theme active on your site. Make sure to activate the Enable JetMenu for the current location toggle in the JetMenu Location Settings tab and click the “Save Menu” button,
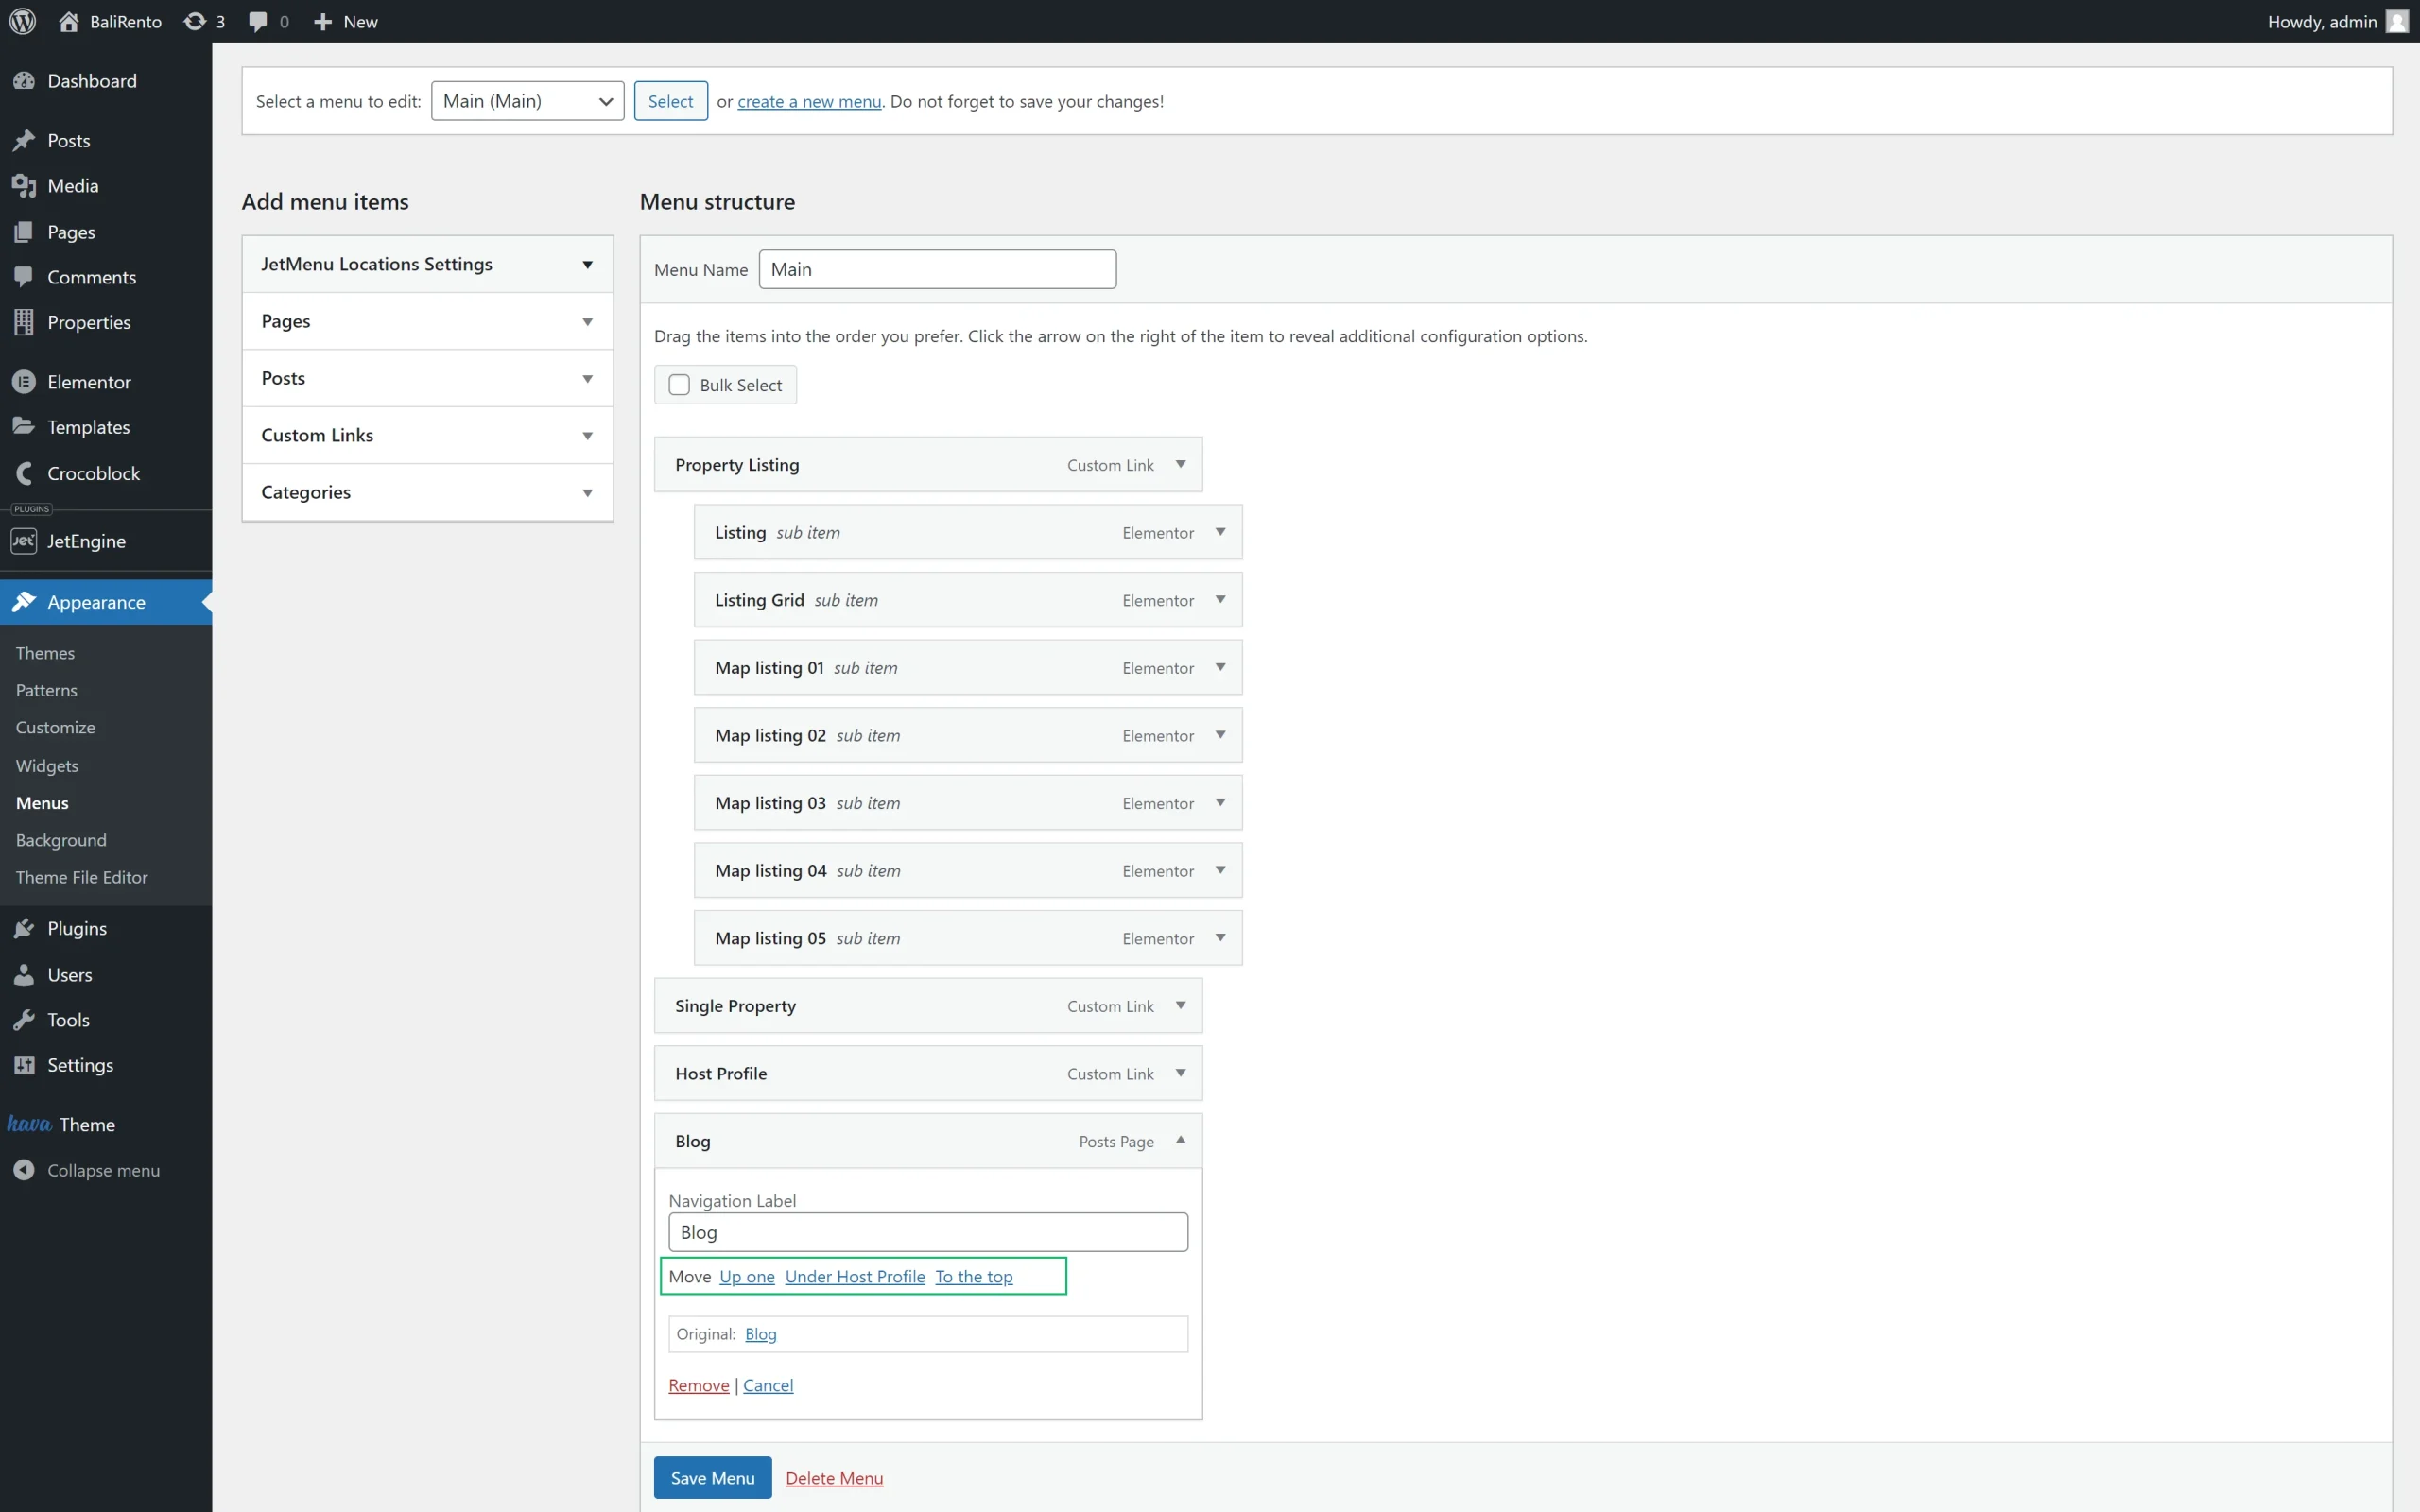
Arrange the Menu’s Items
The menu’s items are arranged according to the order they were added. To rearrange the order, unroll the needed item and move it up or down by clicking the corresponding buttons.
Add the Mega Content
To add the mega content, press the “Settings” button, which appears next to the menu item when hovered over.
The Settings pop-up contains the following tabs: Mega Content, Item Icon, Item Badge, and Advanced.
The Mega Content tab allows creating and editing the mega content.To create the mega content, activate the Use Mega content toggle. Then, select the editor from the Mega content type drop-down menu and press the “Edit Mega content” button.

Add the necessary content to display it in the mega menu.
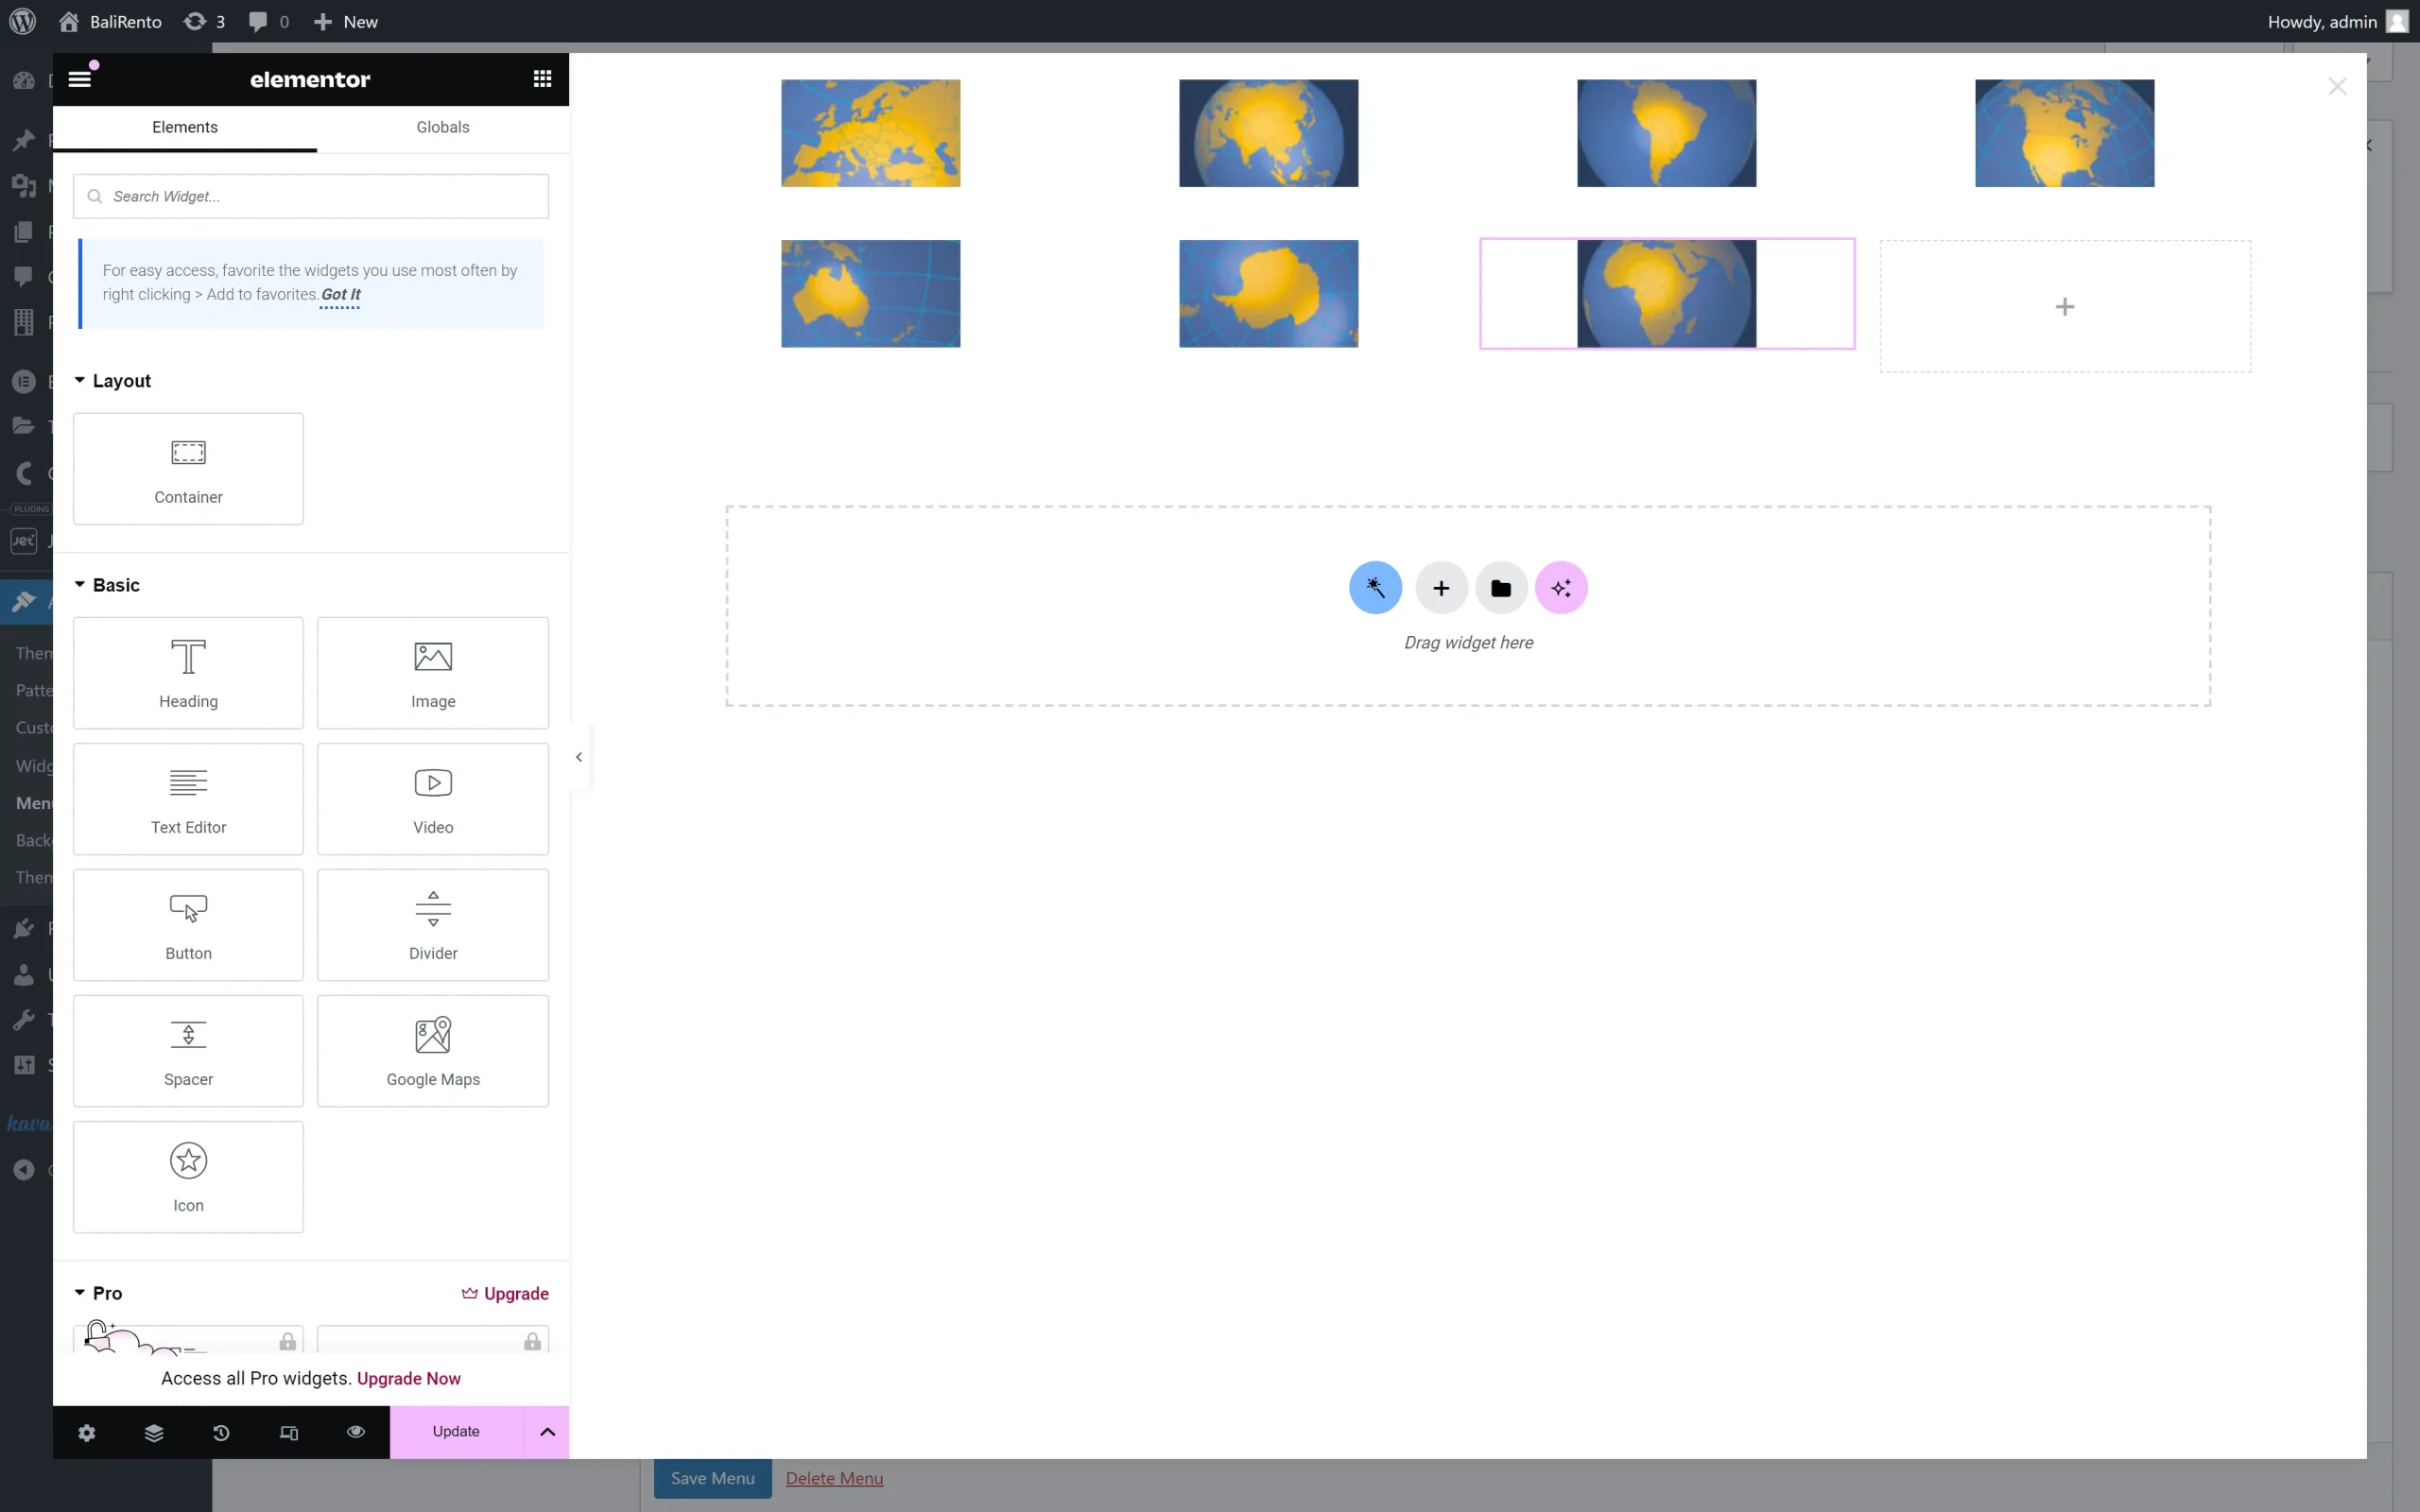
Once ready, press the “Update” button.
Close the “Edit Mega content” window to return to the previous pop-up window.
Adjust settings in other tabs if needed. These tabs allow assigning icons and badges to menu items and managing their style options (i.e., icons, colors, sizes).
Press the “Save” button to save the settings. Once done, push the “Save menu” button to apply changes.
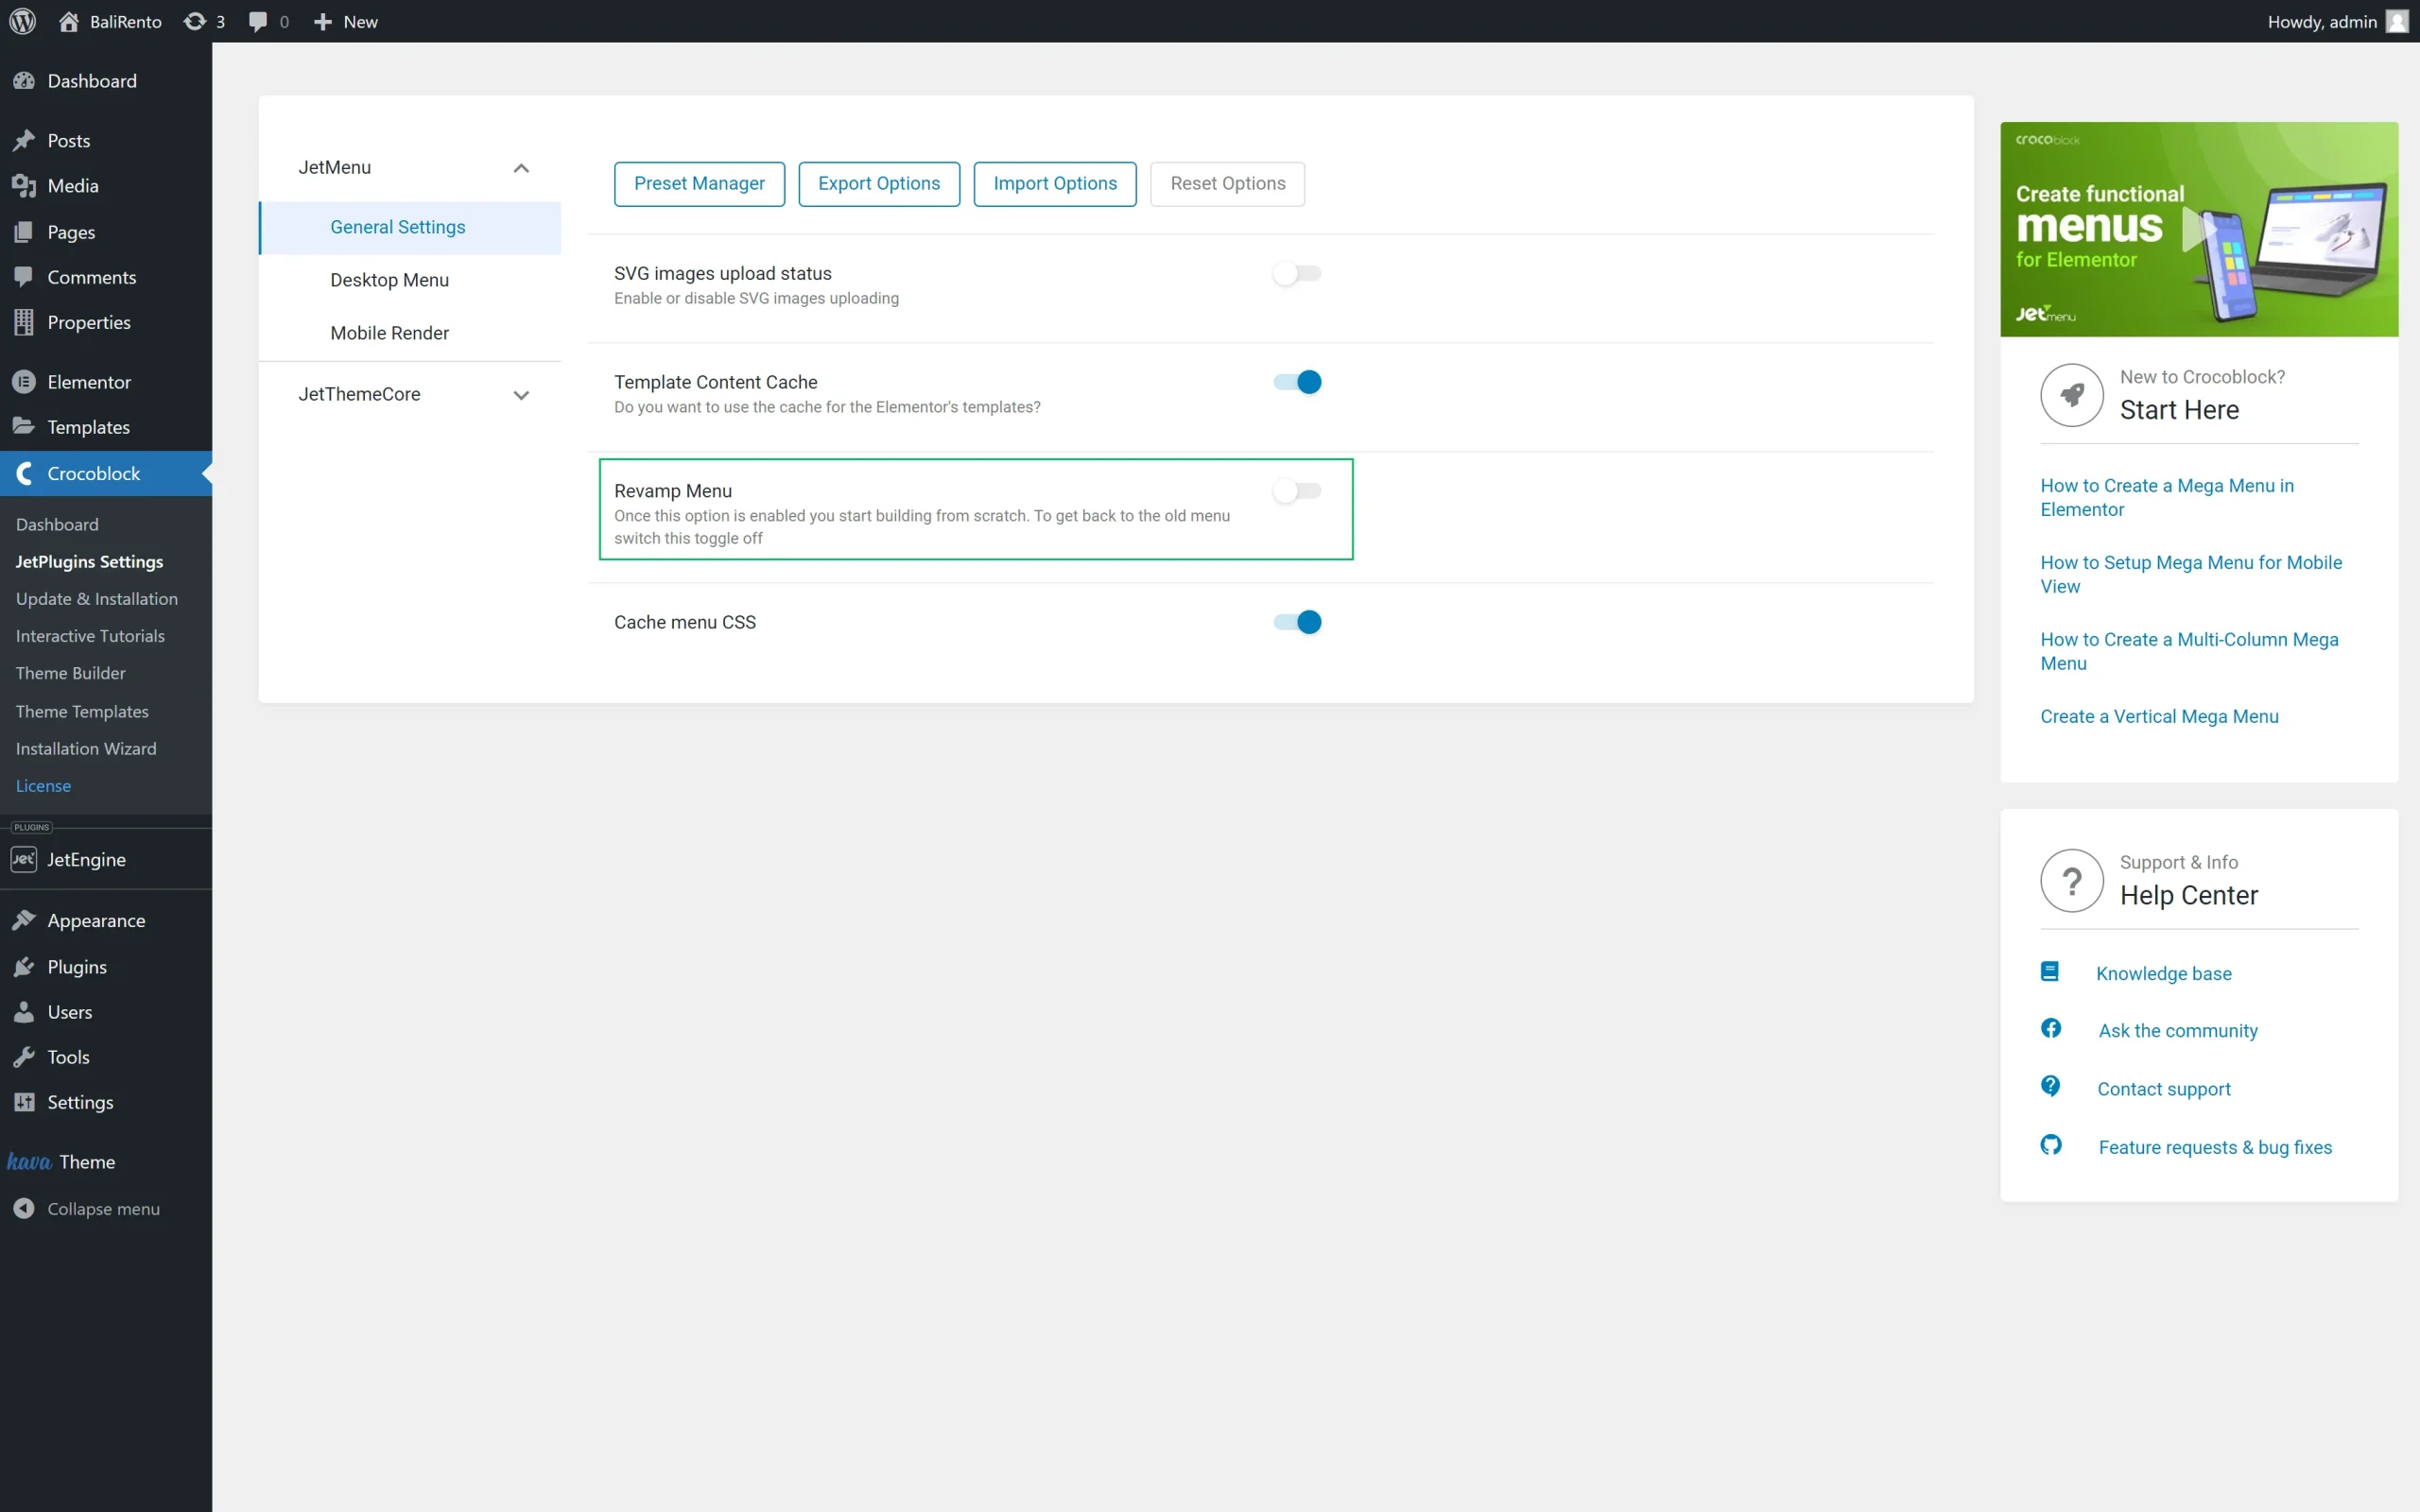
Adjust the JetMenu Plugin Settings
Navigate to WordPress Dashboard > Crocoblock > JetPlugins Settings and open the JetMenu tab. Unroll the Main Menu tab and select the “Dropdown” option from the Layout list. If set, this option activates other settings related to the drop-down menu, such as the Dropdown Layout, Dropdown Position, Dropdown Icon, etc.
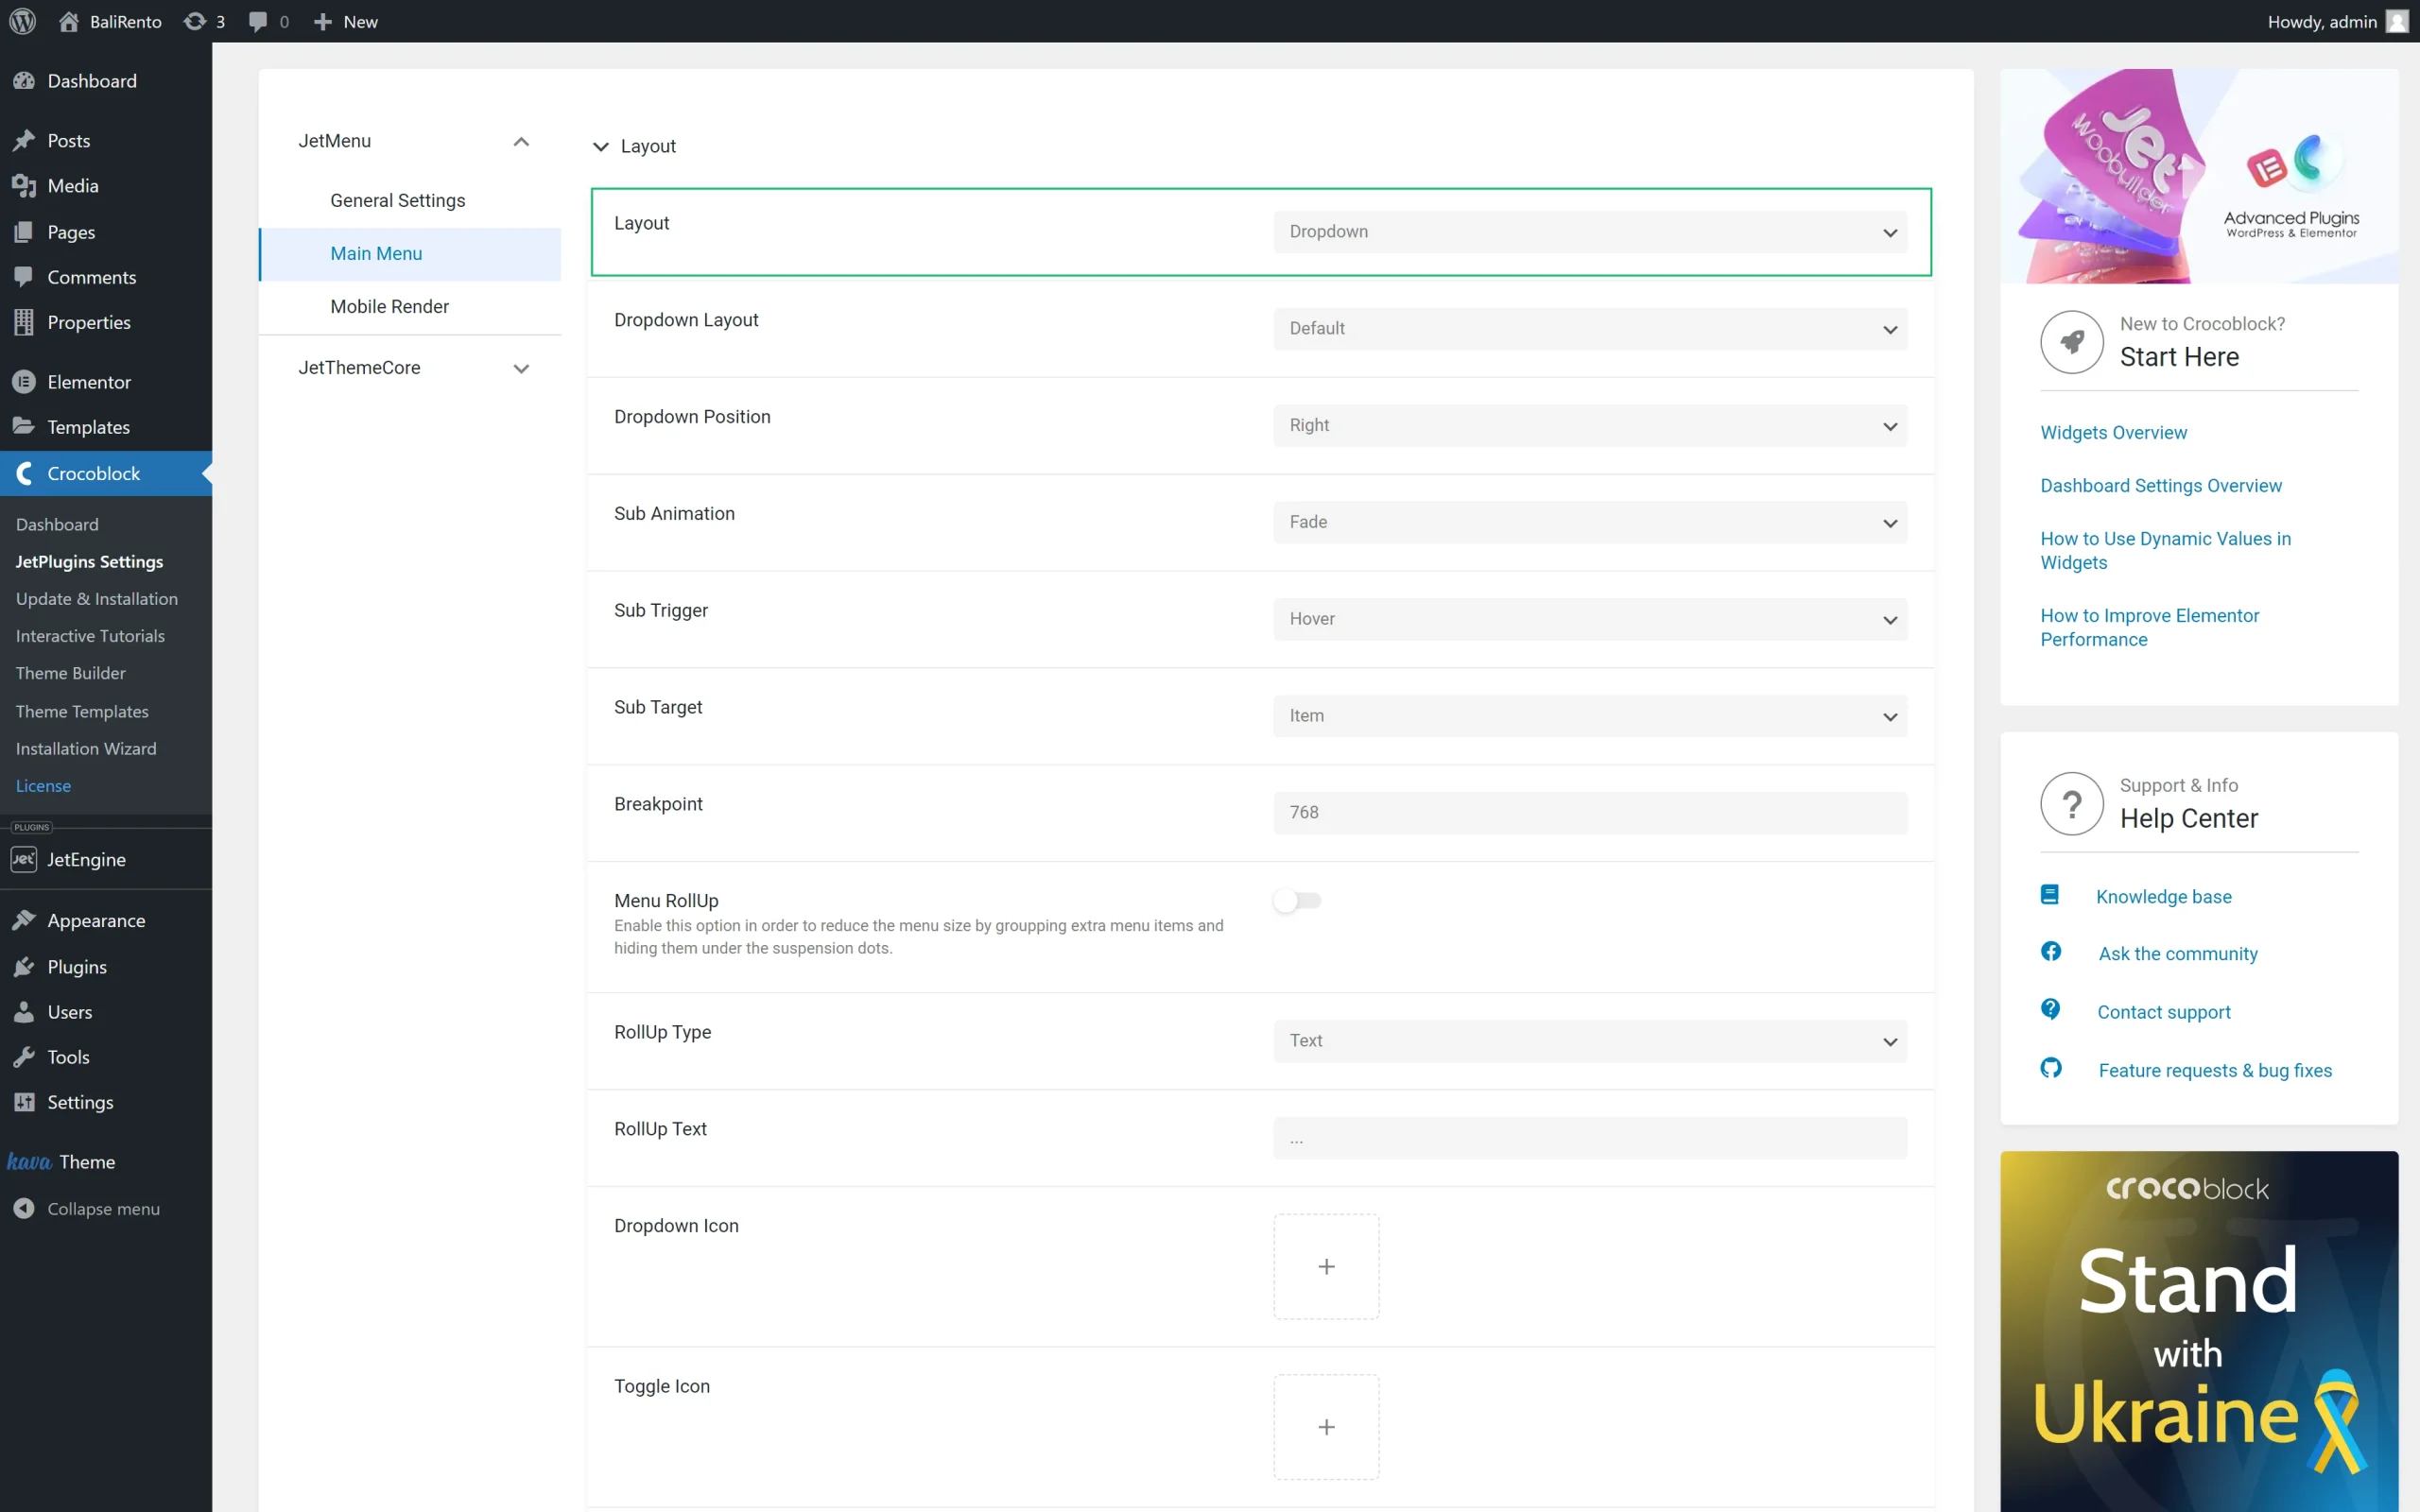
In the Layout section, you can also set the Sub Animation, Sub Trigger, and Sub Target options and upload or select a Toggle Icon and Toggle Opened Icon.In the Main Menu section, specify the Container Width, alter typography, colors, paddings, borders, distances, badge settings, and more.
Add the Drop-Down Menu with the Mega Menu Widget
You can build the drop-down menus using the Mega Menu widget to display them further on the front end.
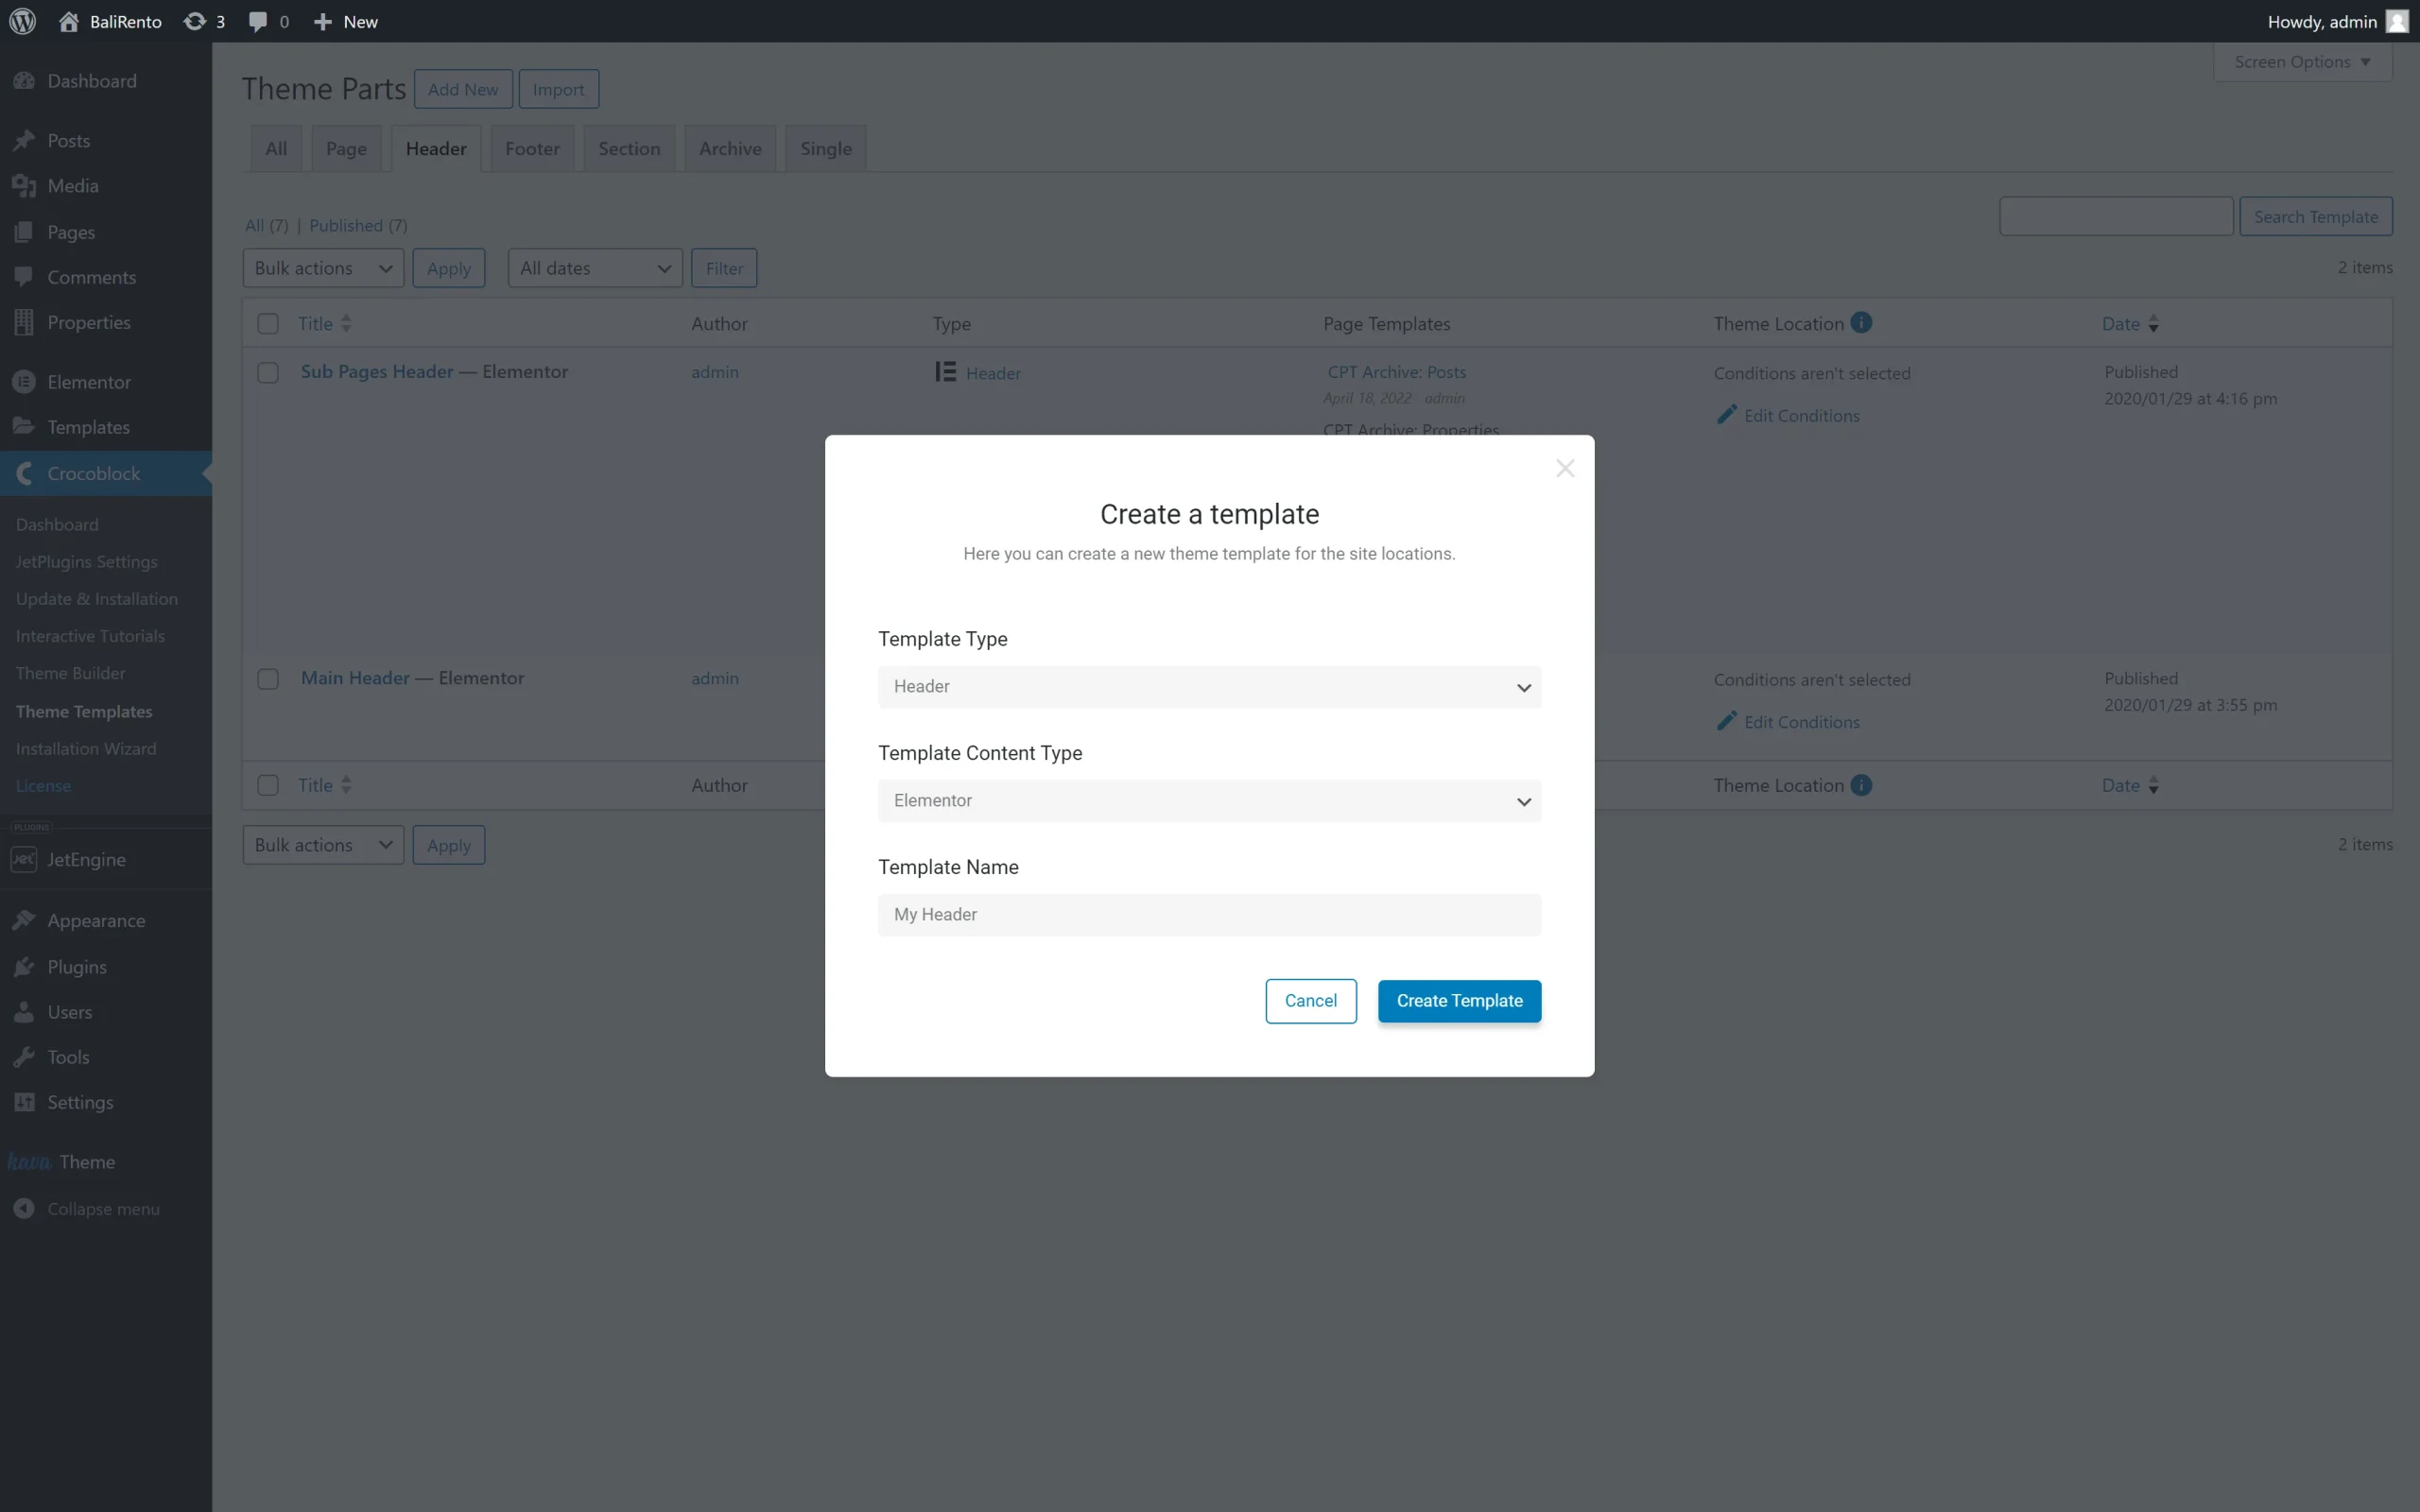
Navigate to the WordPress Dashboard > Crocoblock > Theme Templates tab.
Press the “Add New” button and fill in the pop-up fields: select the “Header” option from the Template Type drop-down list, then select the editor from the Template Content Type drop-down list, and finally type the header’s name in the Template Name field.Press the “Create Template” button.
Additionally, read the tutorial How to Create a Custom WordPress Header with JetThemeCore for instructions.
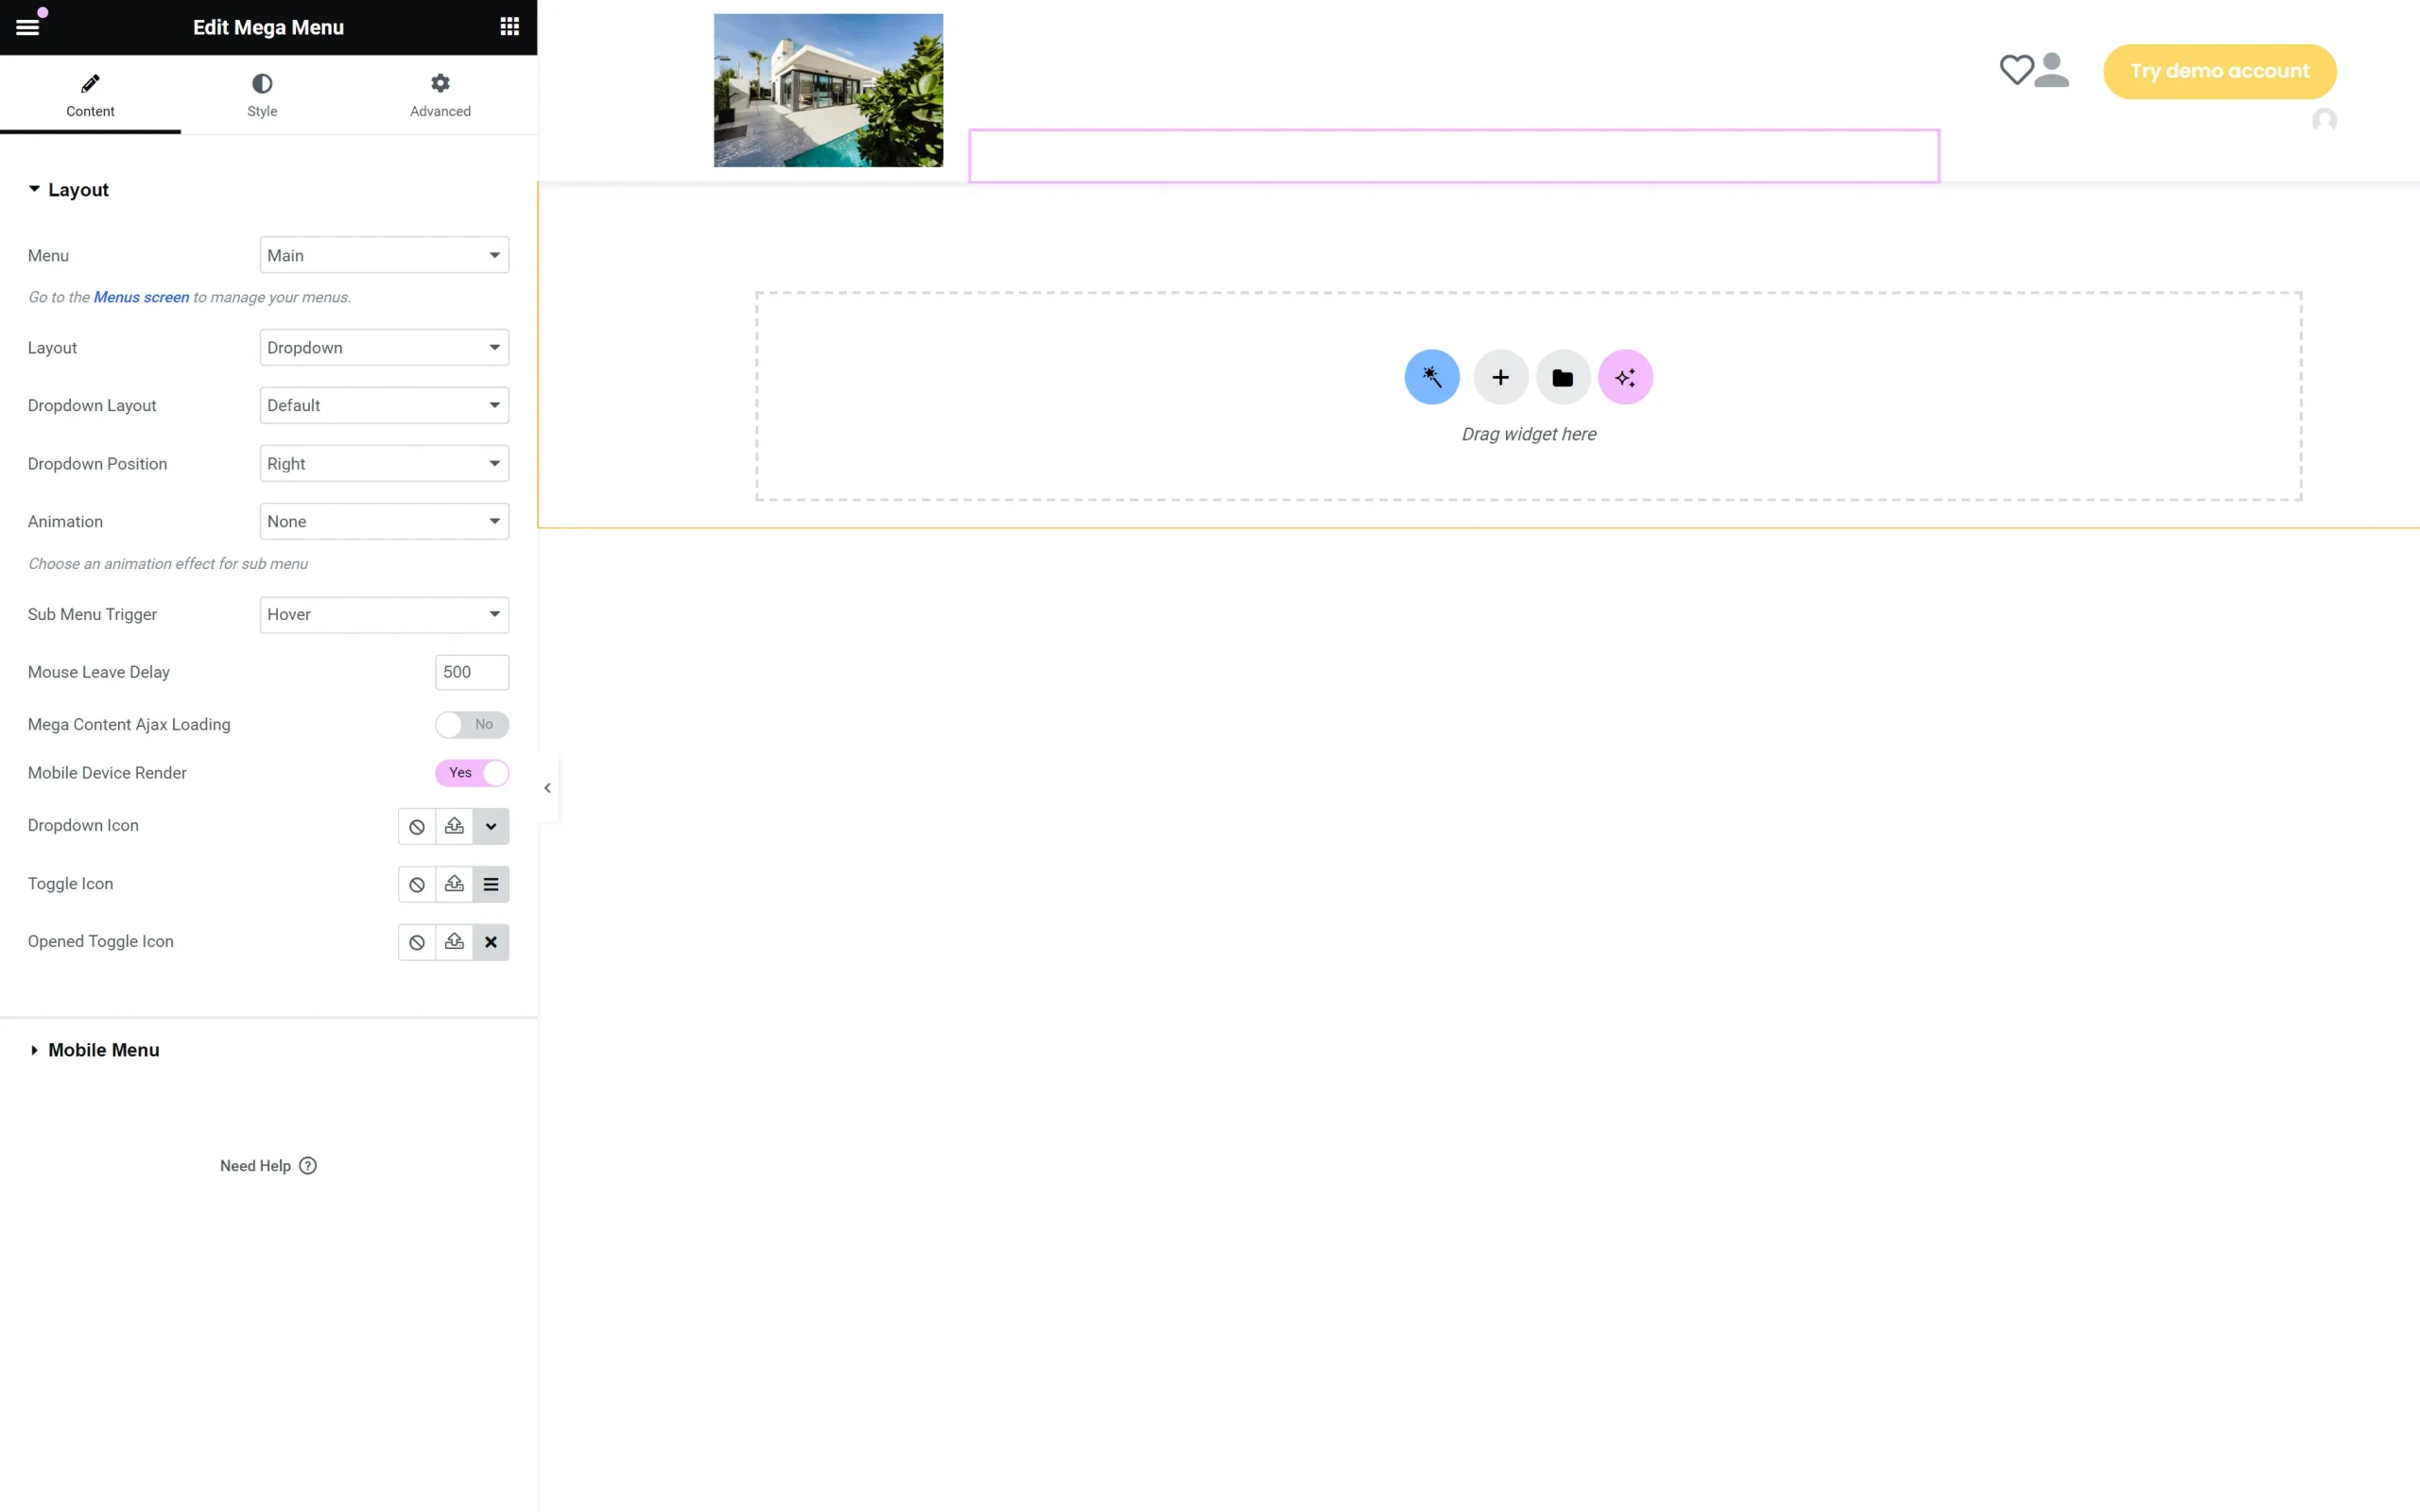
Find the Mega Menu widget and drag and drop it to the page. Select the created menu from the Menu drop-down menu and pick the “Dropdown” option from the Layout list.
Read How to Create a Revamp Mega Menu in Elementor to learn how to build mega menus.
Style the menu as needed and press the “Update” button to save changes.
Specify the visibility conditions of the header. Also, if required to apply visibility conditions to the header, read How to Set Header Conditions in WordPress in the tutorial.
Check the Result
Now, navigate to the front end to check the menu.
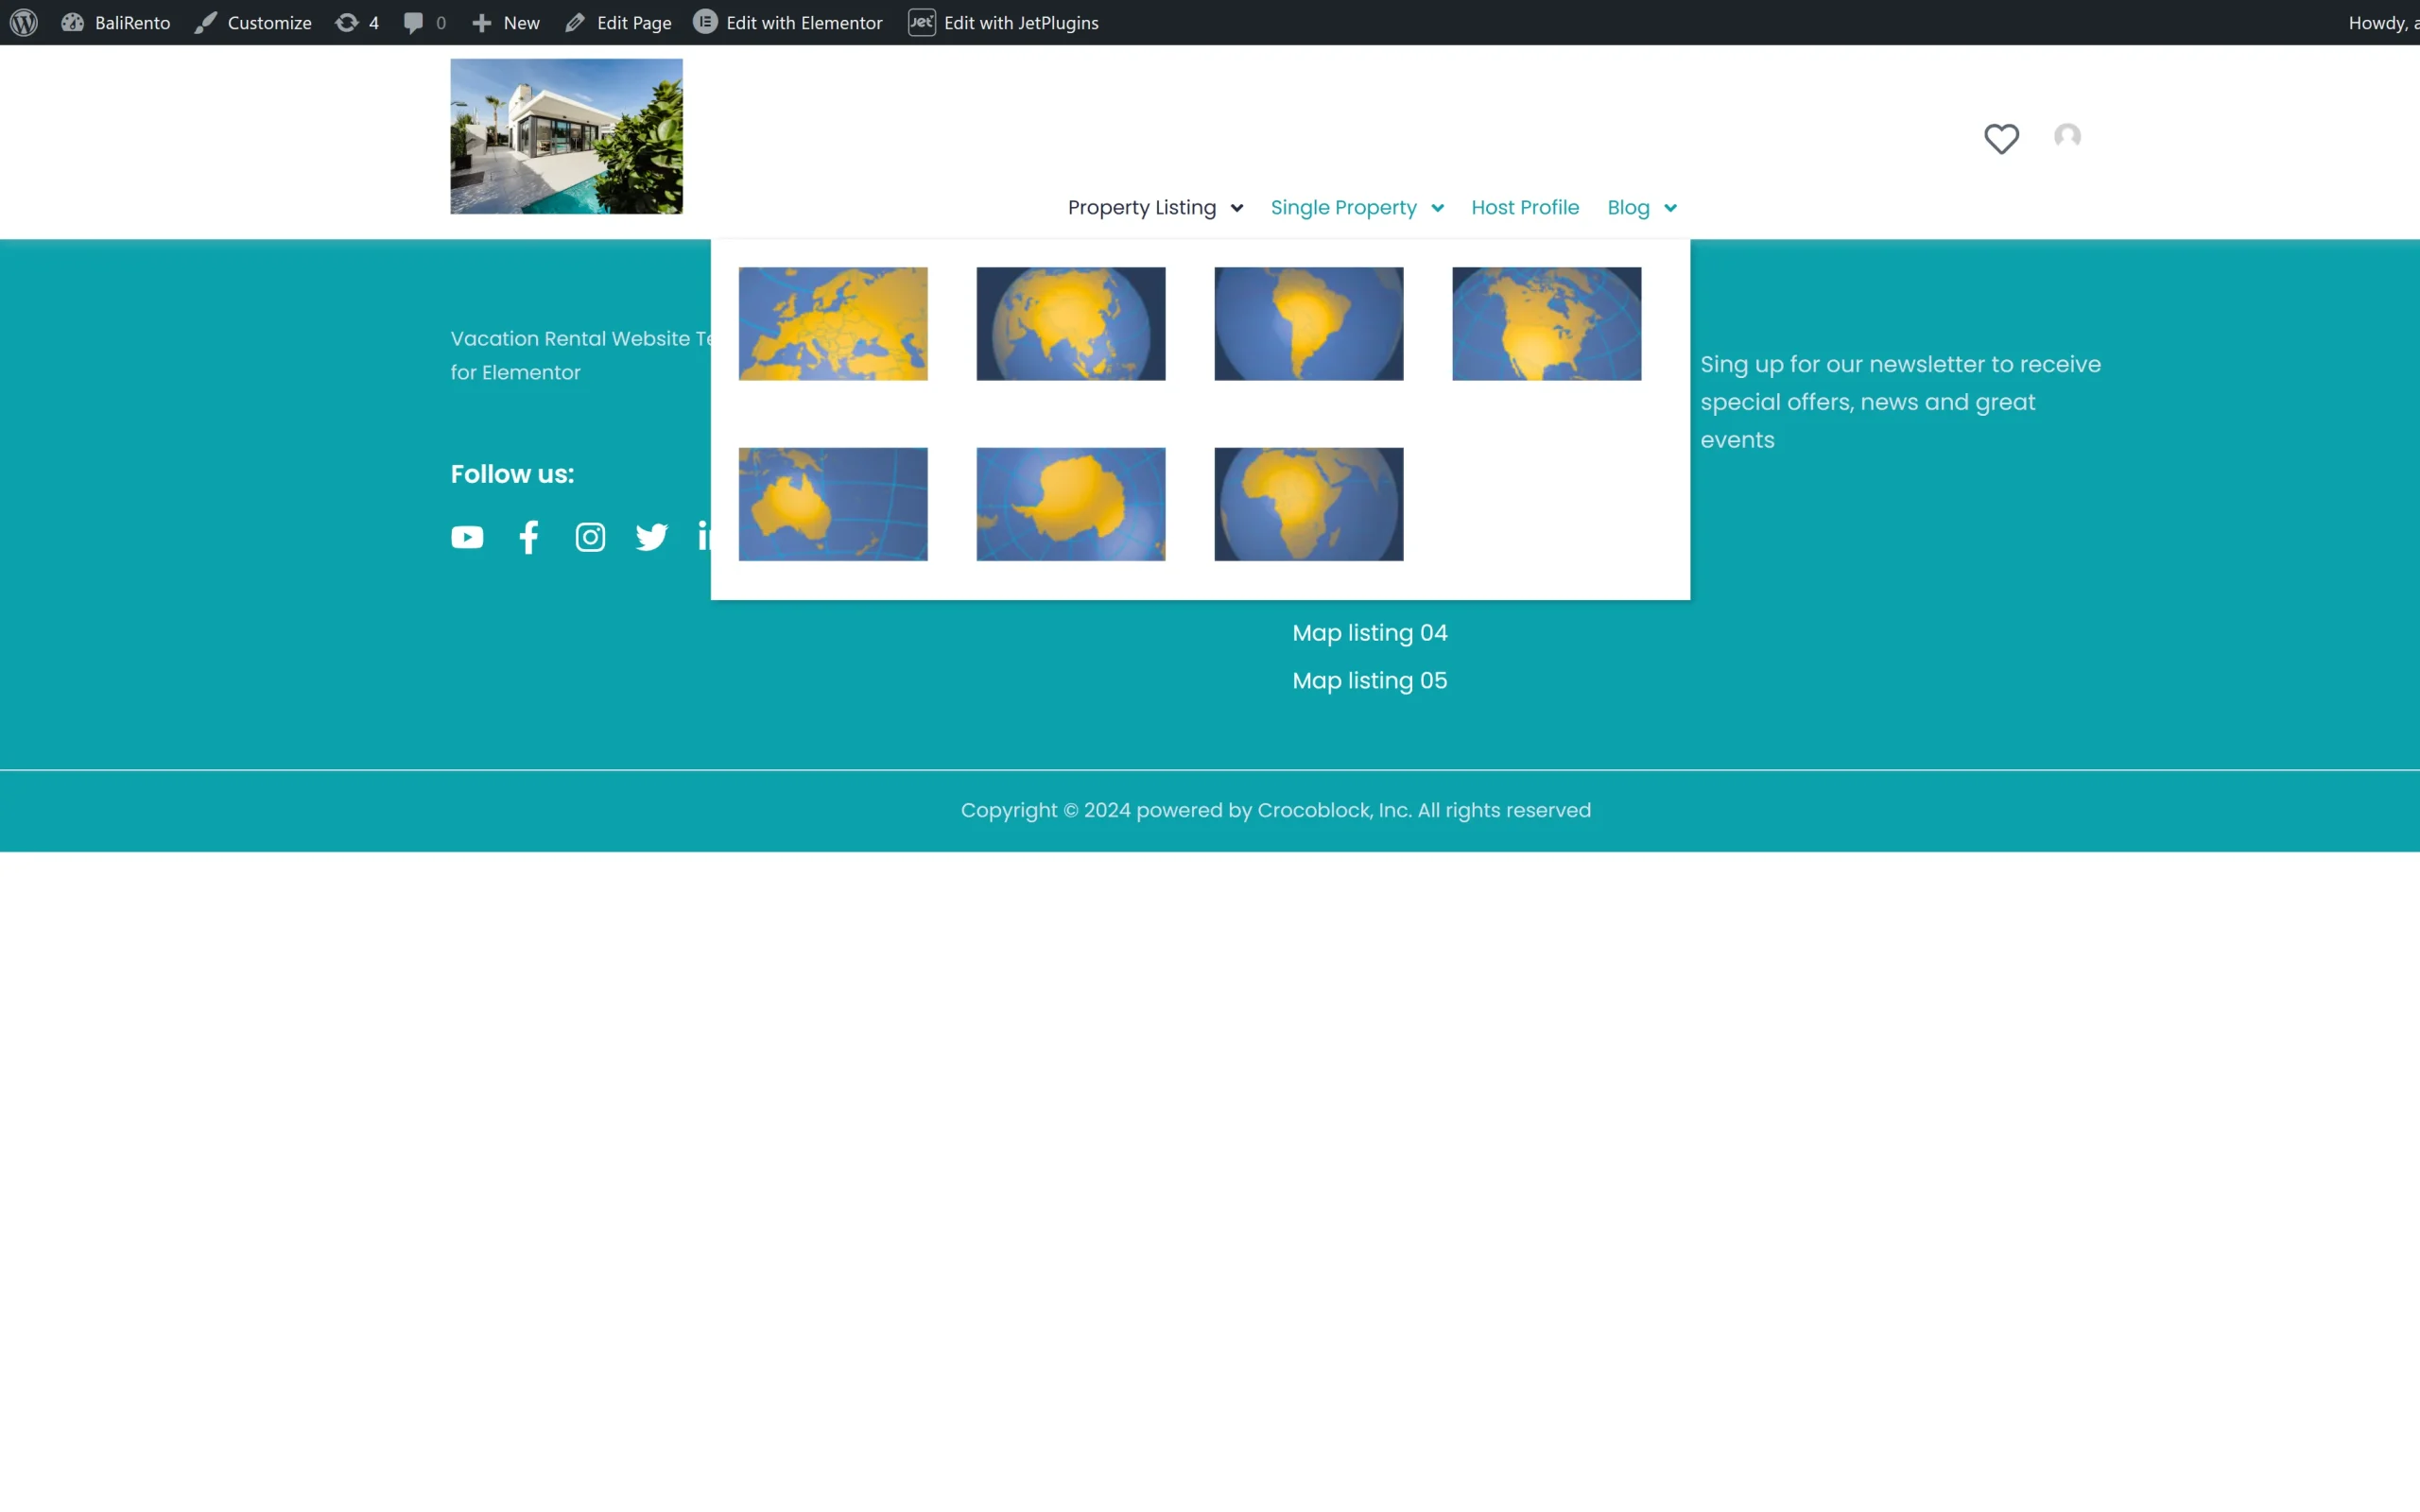
That’s it. Now, you know how to create stylish drop-down menus and manage their settings and appearance using the JetMenu plugin for WordPress websites.