How to Show/Hide a Menu Based on Dynamic Visibility Conditions
Learn how to apply the Dynamic Visibility Conditions to show/hide menu items depending on the user role, user status, page conditions, WooCommerce data, etc., in this step-by-step guide to conditional menu visibility in JetMenu for WordPress.
Before you start, check the tutorial requirements:
- Elementor (Free version) or Block Editor (Gutenberg)
- JetMenu plugin installed and activated
- JetEngine plugin installed and activated
- JetThemeCore plugin installed and activated
In this tutorial, we explain how to show or hide menu items based on Dynamic Visibility conditions in JetMenu, exemplify cases for logged-in users and non-logged-in ones, and for items placed on a specific page.
Check our video tutorial to learn how to show or hide individual links based on user role, login status, page type, and more. Thus, you can build smart navigation where guests, logged‑in users, and customers all see different menus without writing custom code.
Set the Dynamic Visibility Conditions
First, you have to set up dynamic visibility for menu elements in the Appearance Jet Menus tab: move to the WordPress Dashboard > Appearance > Menus page if you use the Kava theme or to the WordPress Dashboard > Appearance > Jet Menus page if you use a block theme.
Here, Select a menu to edit in the corresponding drop-down list (the “Main” menu, in this case), and unroll settings near the menu item you intend to set the Dynamic Visibility condition.
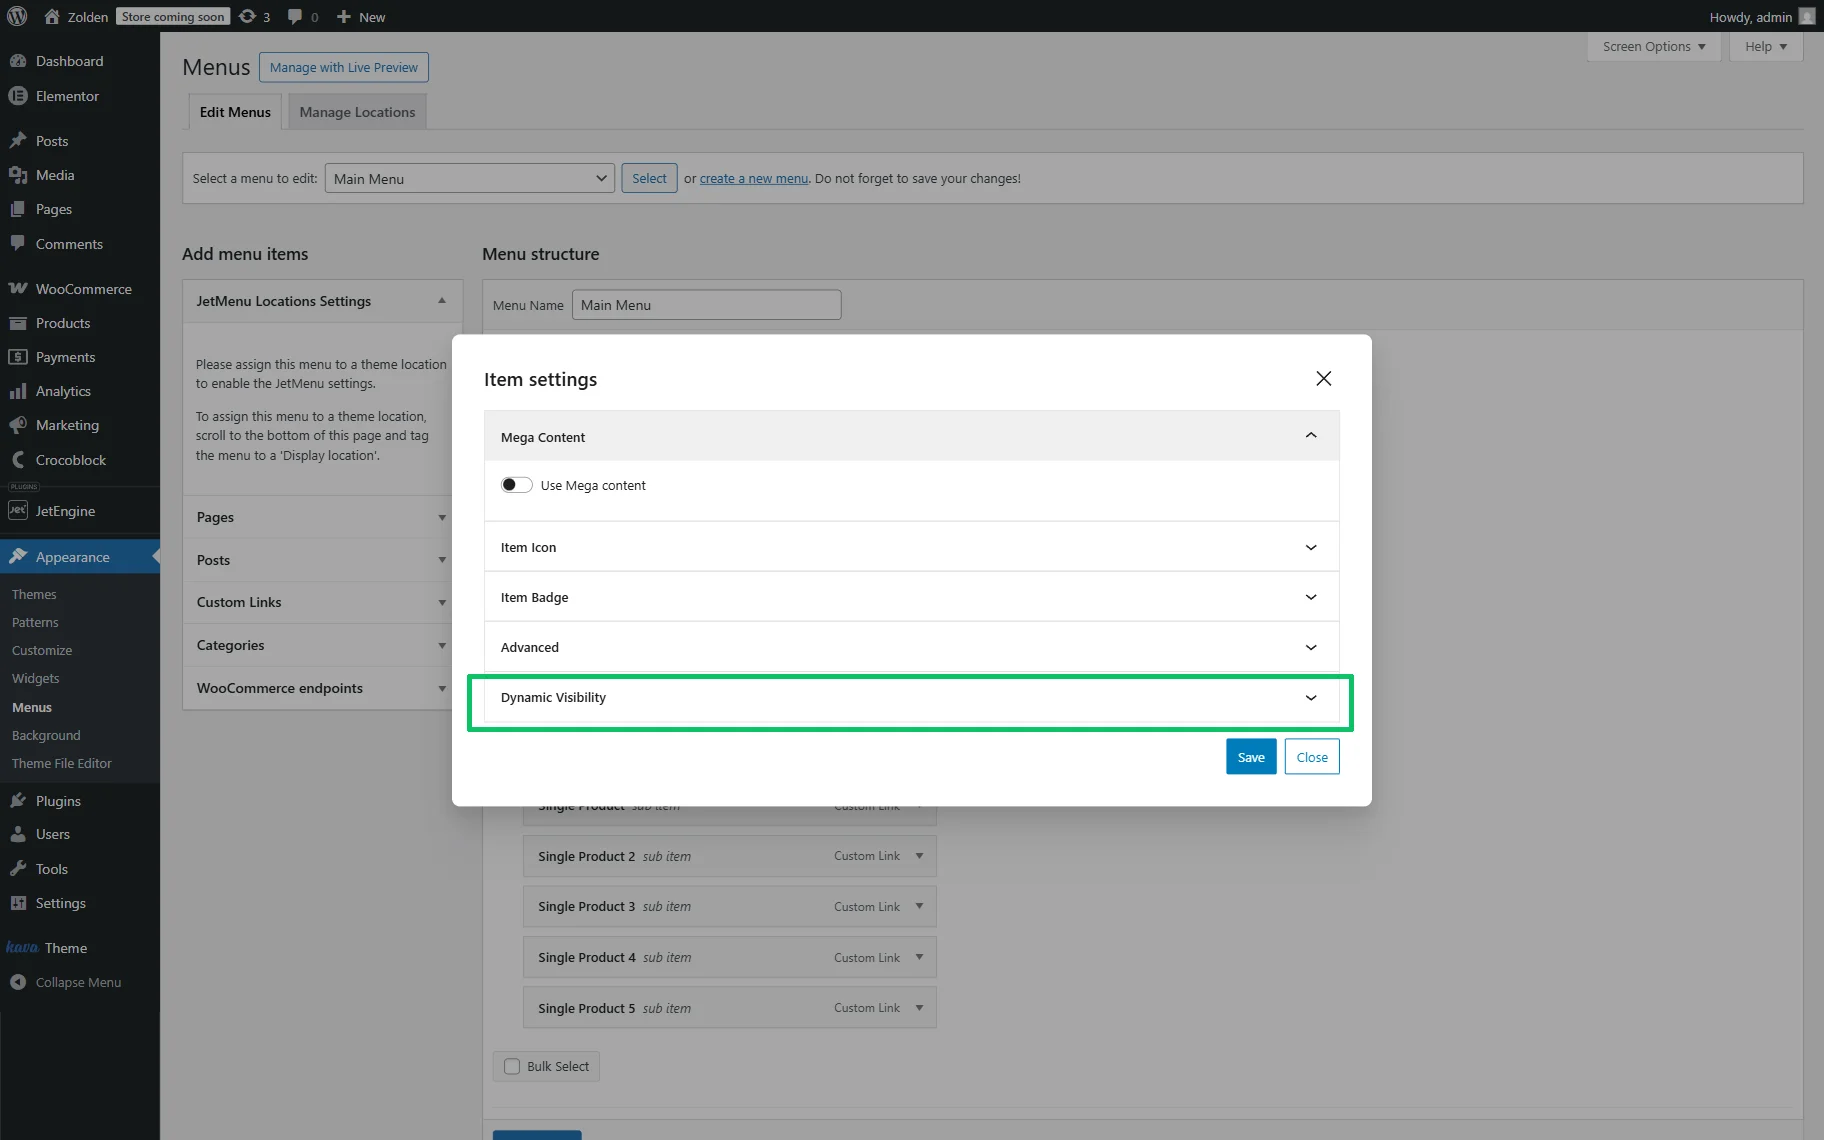
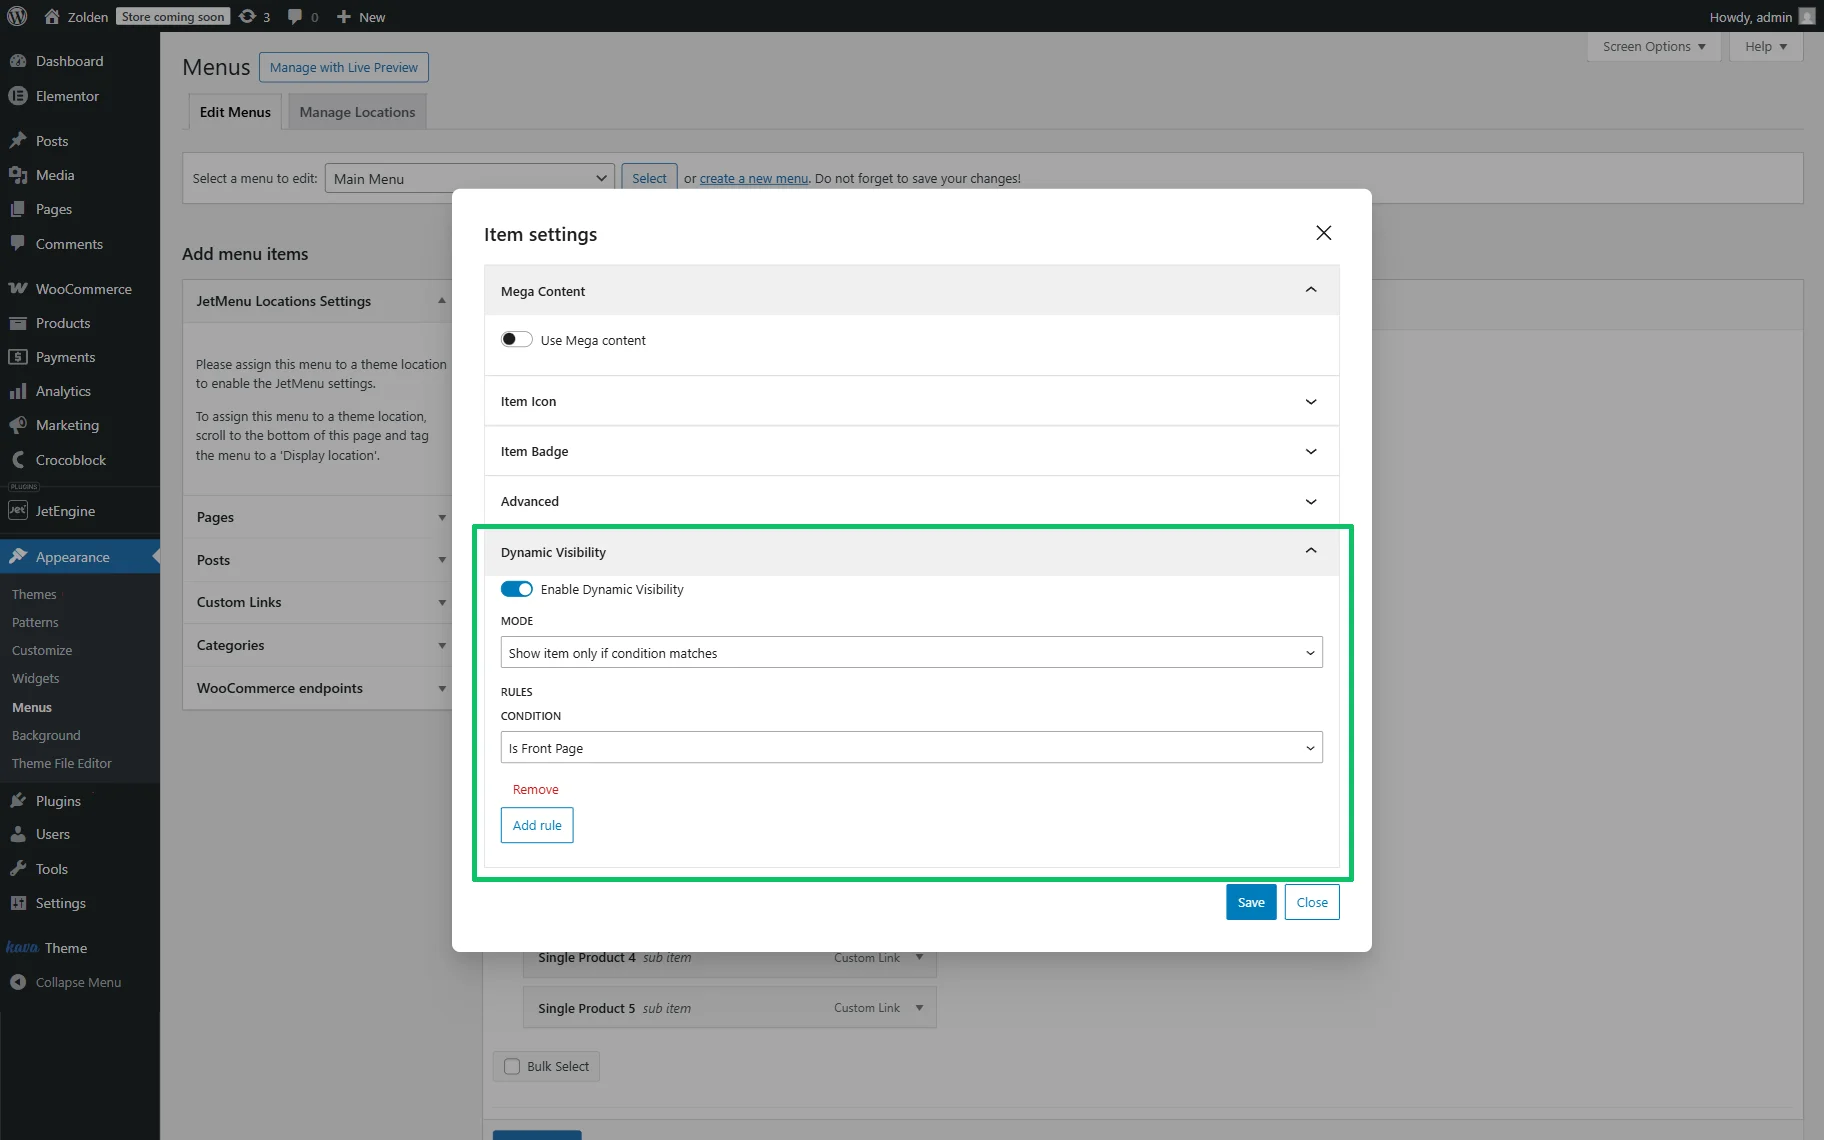
In the newly appeared Item settings pop-up, unfold the Dynamic Visibility block, and enable the Enable Dynamic Visibility toggle.
Next, set the needed MODE; in this case, we configure logged-in only and not logged-in menu items with JetMenu and allow only the logged-in users to purchase discounted goods.
We select the “Show item only if condition matches” option. After that, we move to the RULES section and press the “Add rule” button. Then, we select “Logged In” CONDITION and set the “YES” VALUE.
Then, we press the “Save” button, close the Item settings pop-up, and save the menu.
Add the Menu to a Header
First, navigate to the WordPress Dashboard > Crocoblock > Theme Templates tab and create a header template in an editor you prefer.
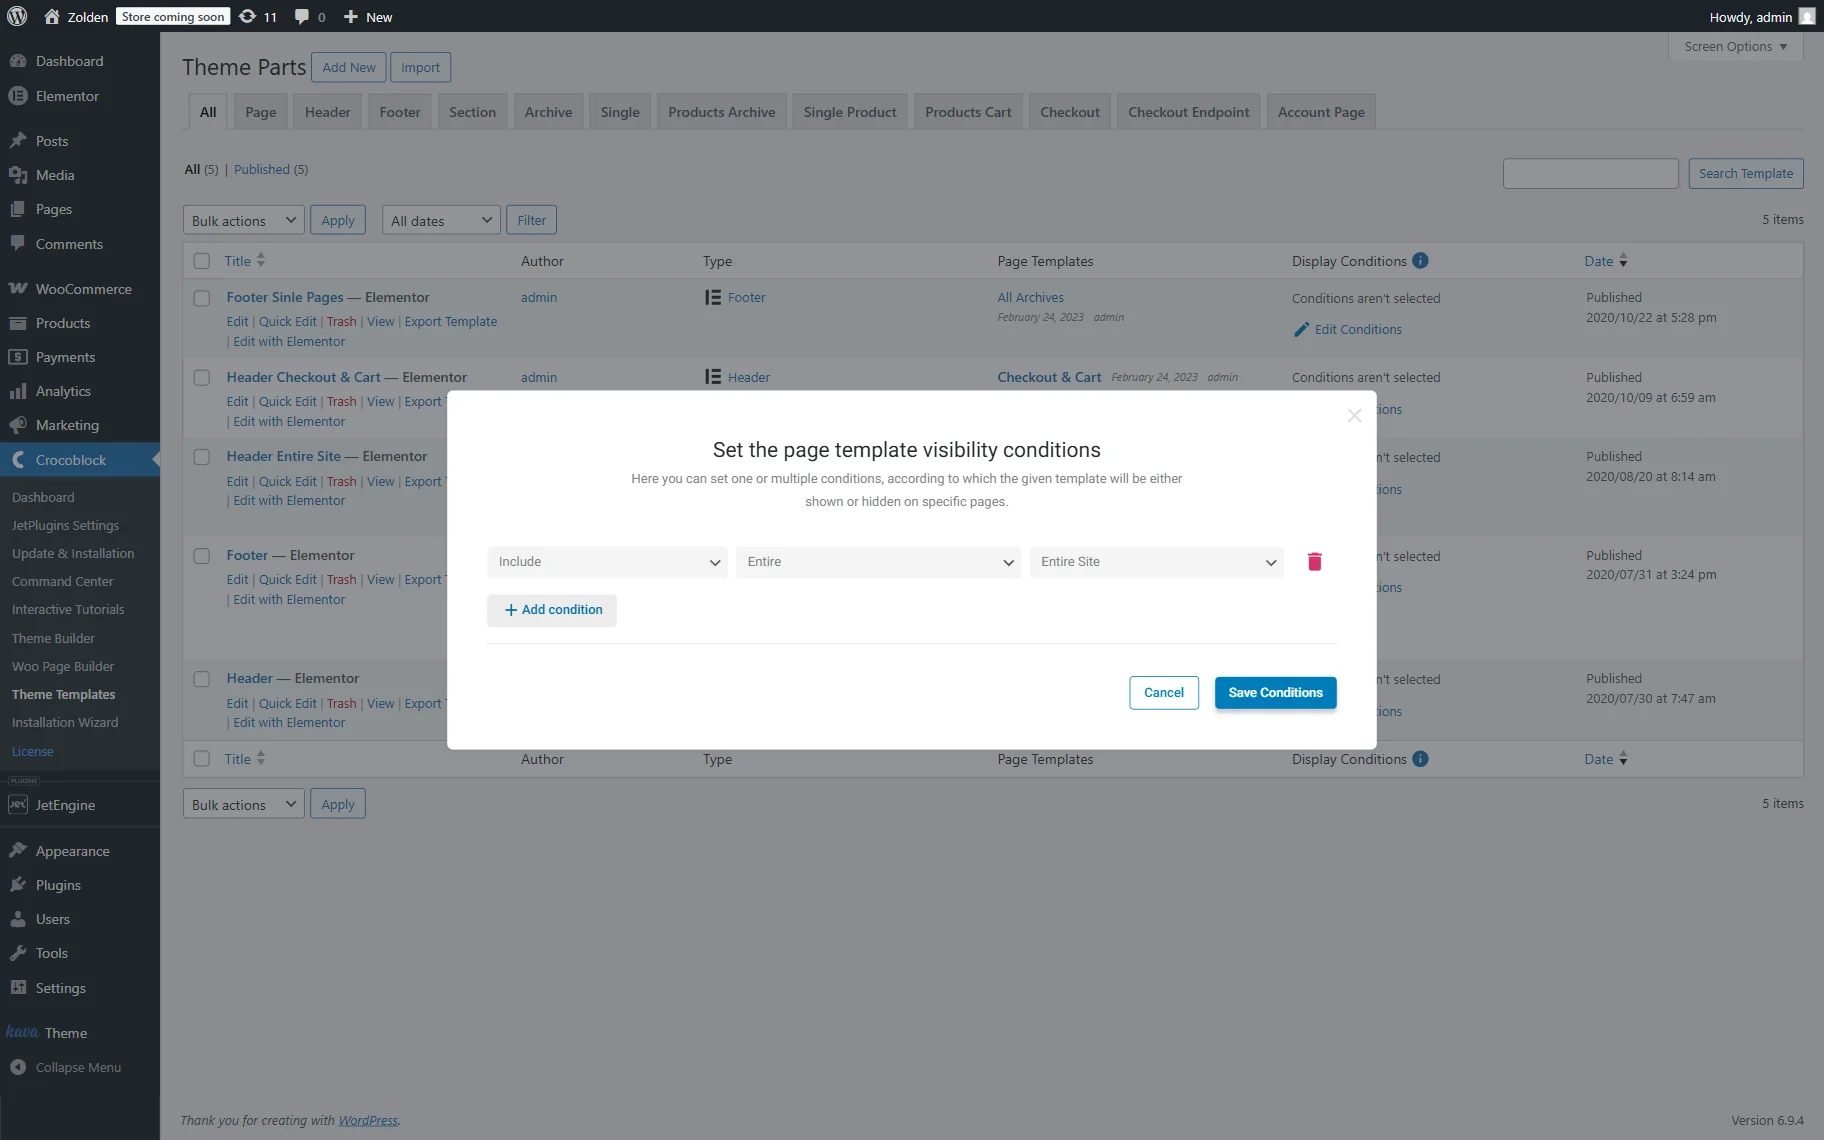
Then, set the needed conditions to display the header on the needed pages of the site.
Also, read the Break Free from Default WordPress Headers and Footers with JetThemeCore article or watch the How to Edit Header and Footer in WordPress? video to learn more about the header/footer modification and checking the final designs.
In this case, we set the condition that allows displaying the header on the entire site.
In the next step, add a menu widget (e.g., the Mega Menu widget) and design the menu as needed.
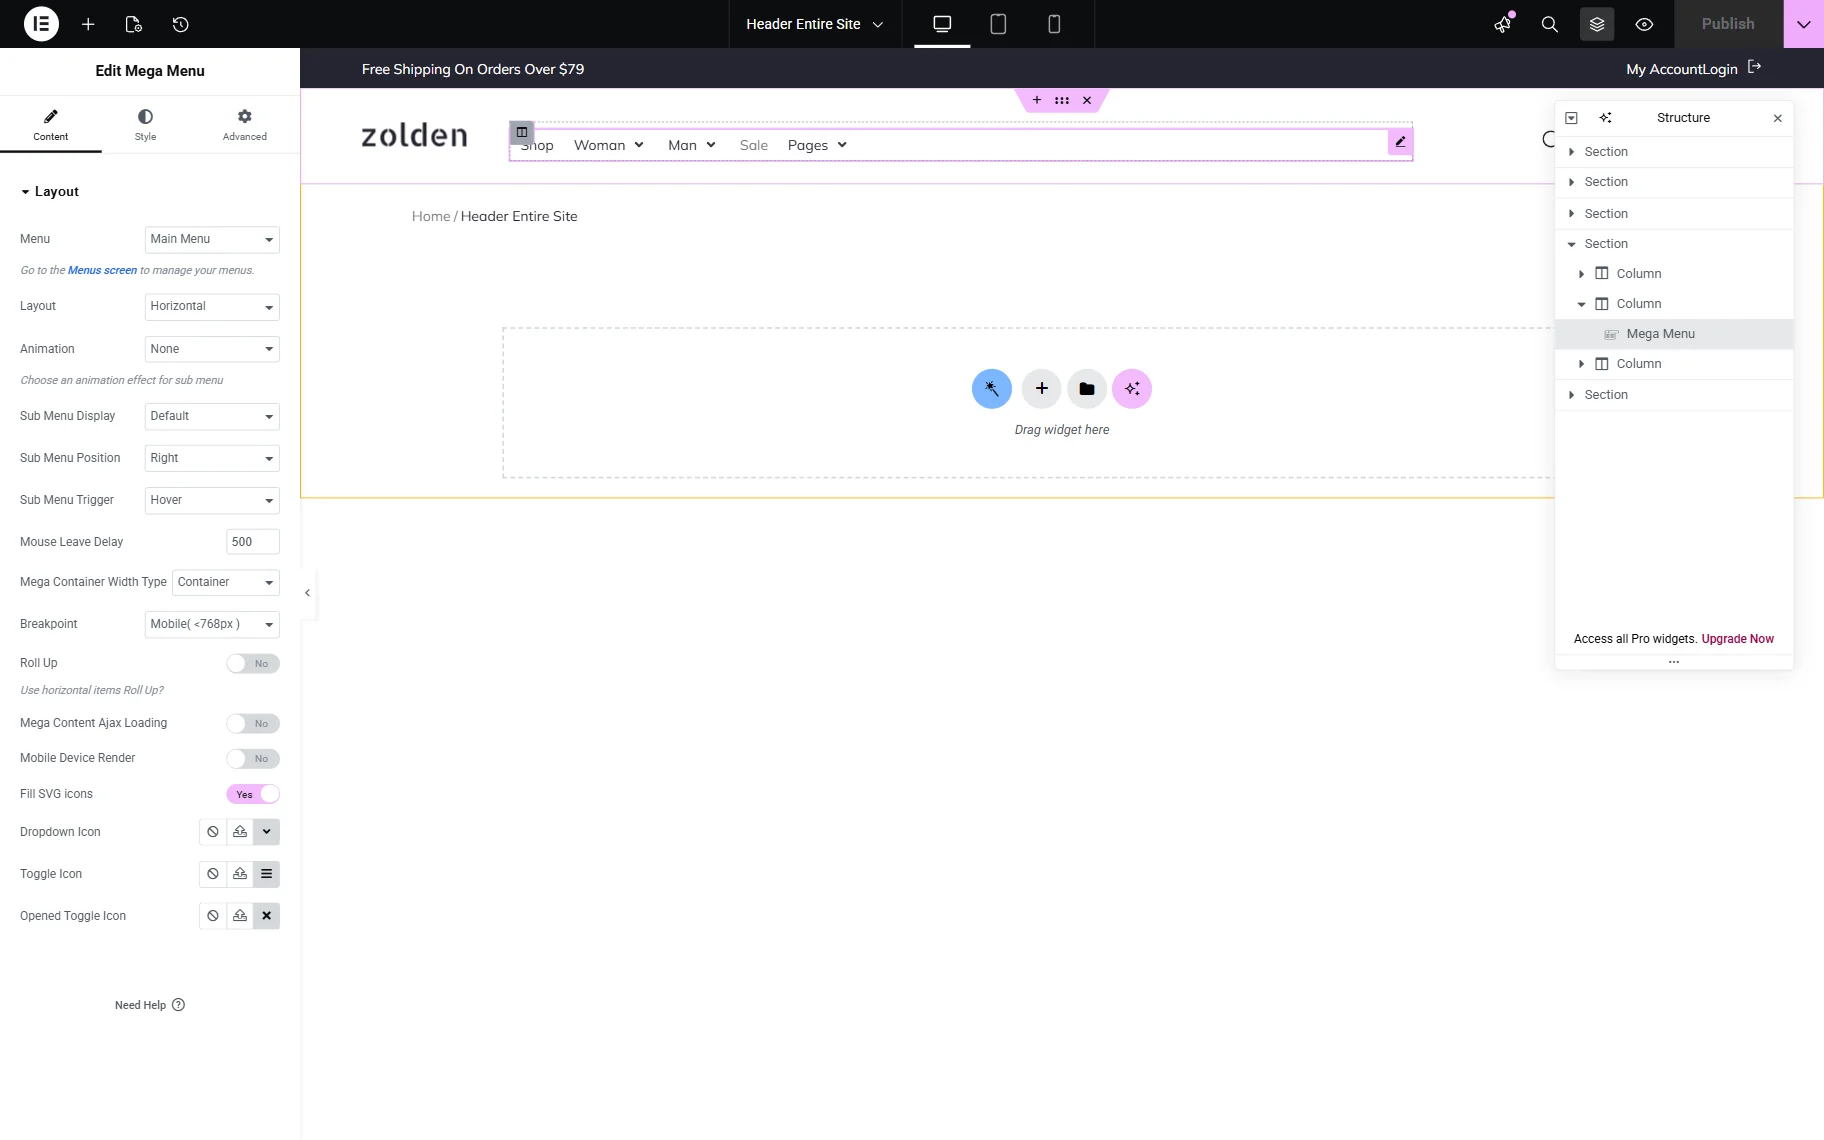
For more details on using this widget, read the How to Create a Mega Menu in Elementor tutorial, as well as use tips and tricks in this field according to the 4 Ways to Create a Custom Menu in WordPress article.
Finally, save the header.
Test the Flow
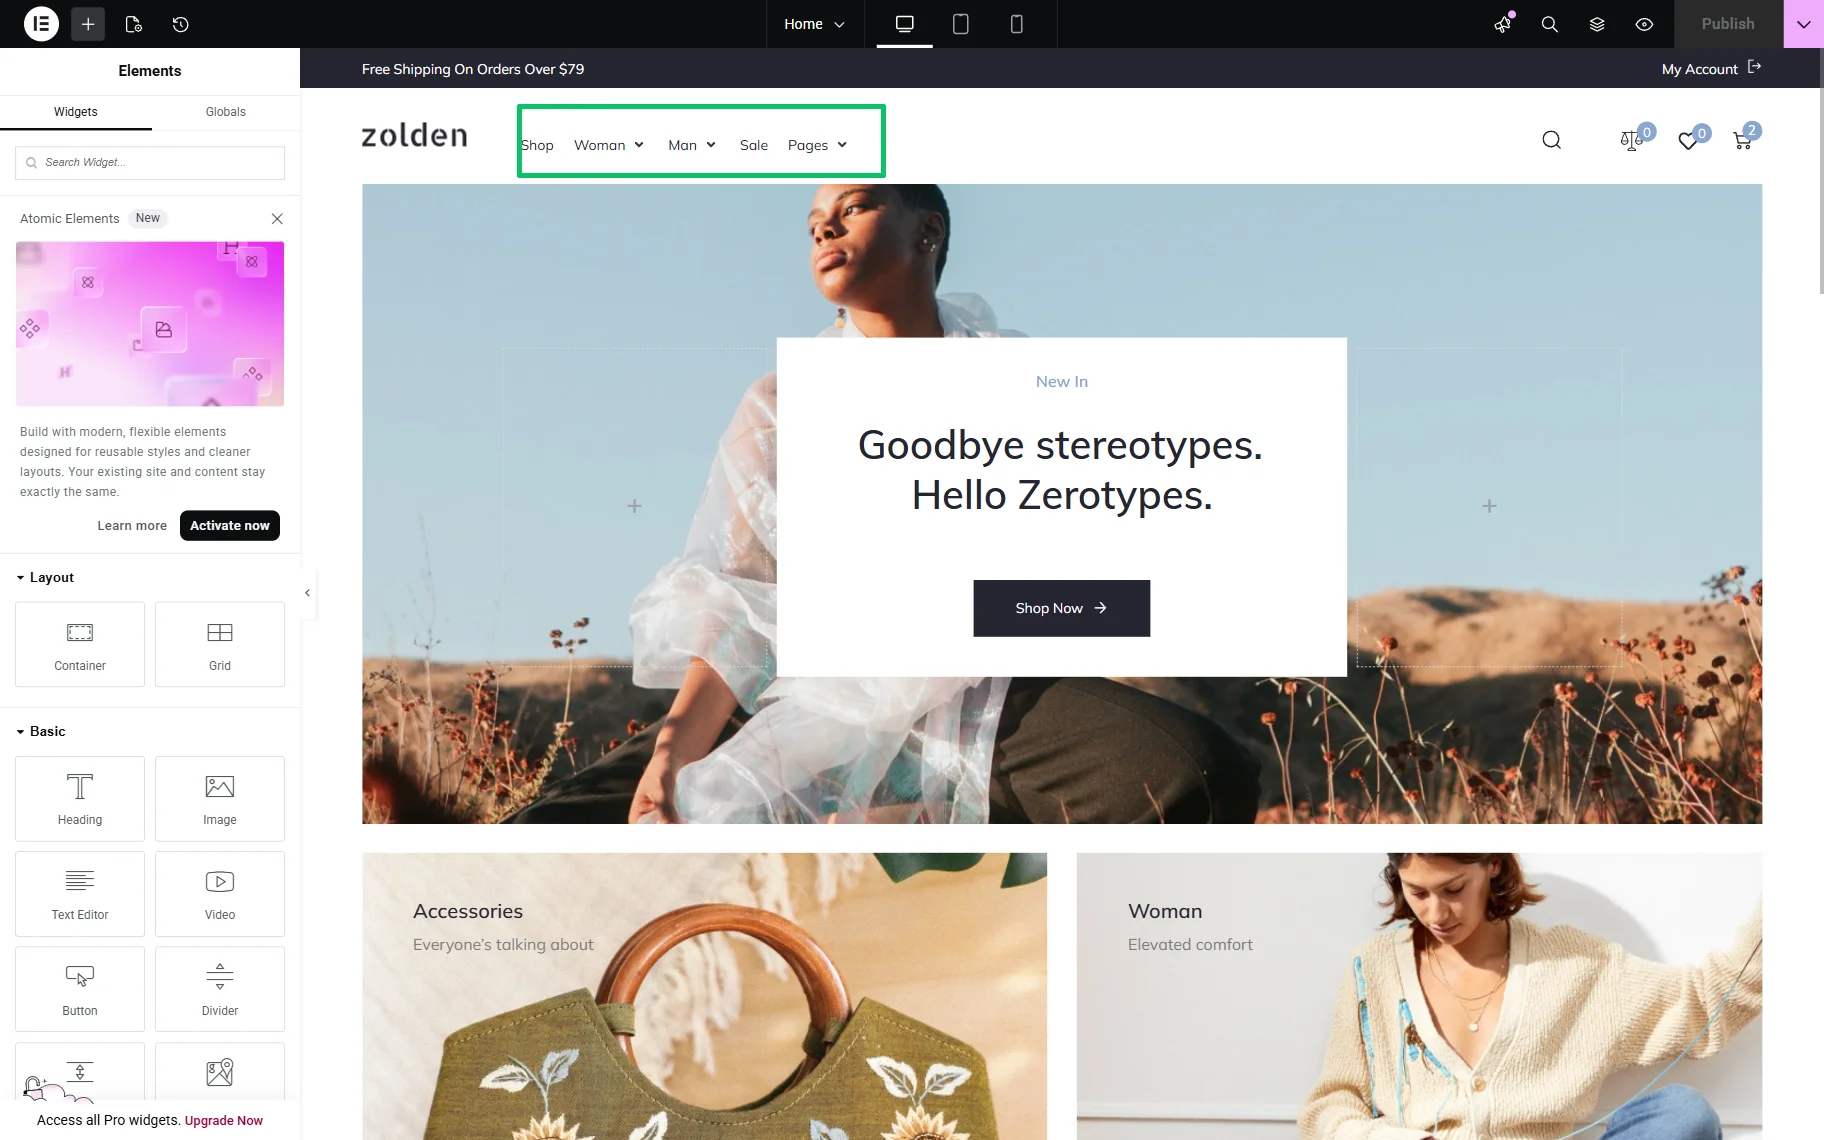
Since we set the condition for the header to be shown on every page, we can open any page to observe the menu. Here, we open the home page while logged in to the site.
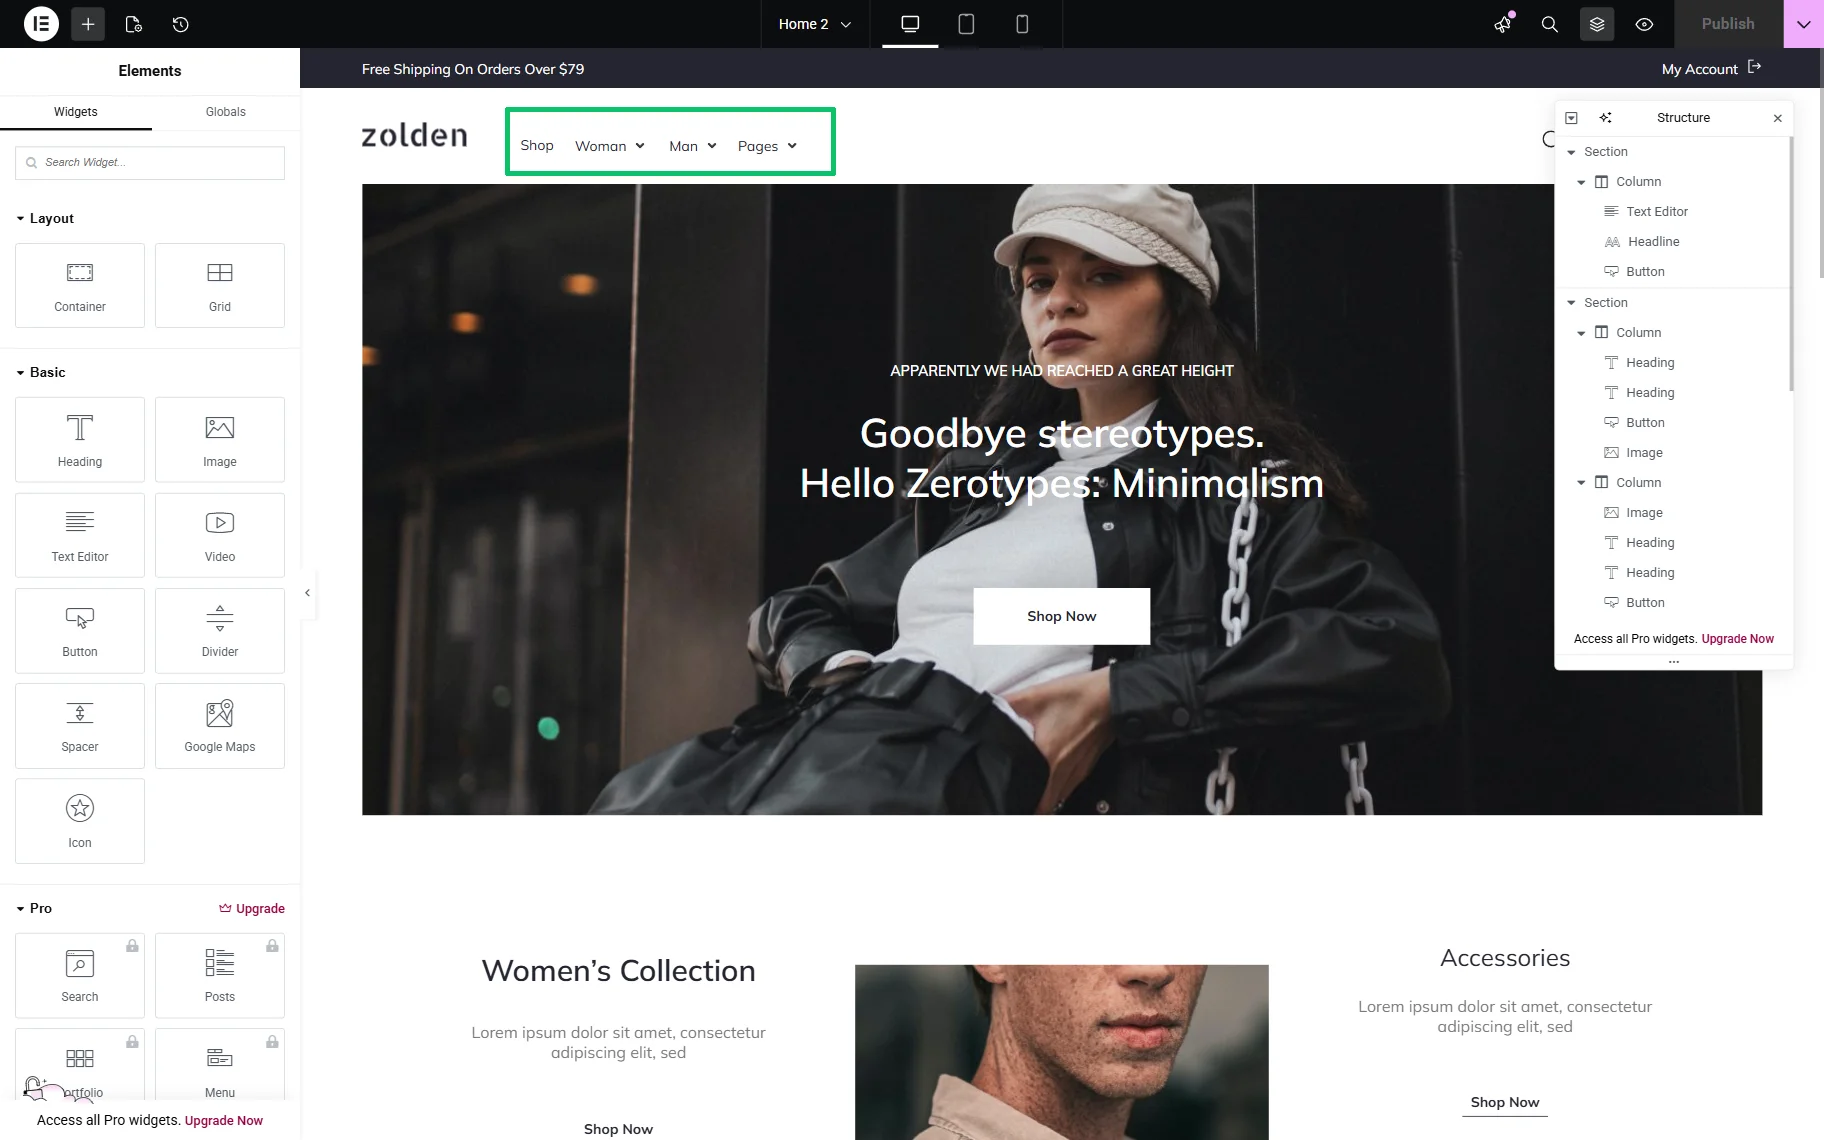
Also, to check the same page without logging in, we logged out and opened this page on the front end. Here, as one can see, the “Sale” menu item is hidden.

Also, you can set another dynamic visibility condition. For example, to hide the specific menu item on a page, return to the Dynamic Visibility settings in the WordPress Dashboard > Appearance > Menus page.
Here, specify the “Hide item if condition matches” MODE for the corresponding page (the “Is Front Page” page, in this tutorial). Then, the needed menu item will be invisible on the page that we assigned as the front page.
Also, in the same way, you can set the visibility conditions for a WooCommerce site (e.g., to the Shop page). Read the WooCommerce Shop Page Template with Crocoblock article to learn how to customize the WooCommerce shop page templates: get ideas, plugins, and tools.
That’s it. Now you know how to apply the Dynamic Visibility Conditions to show/hide menu items depending on the user role, user status, page conditions, WooCommerce data, etc., in this step-by-step guide to conditional menu visibility in JetMenu for WordPress.